
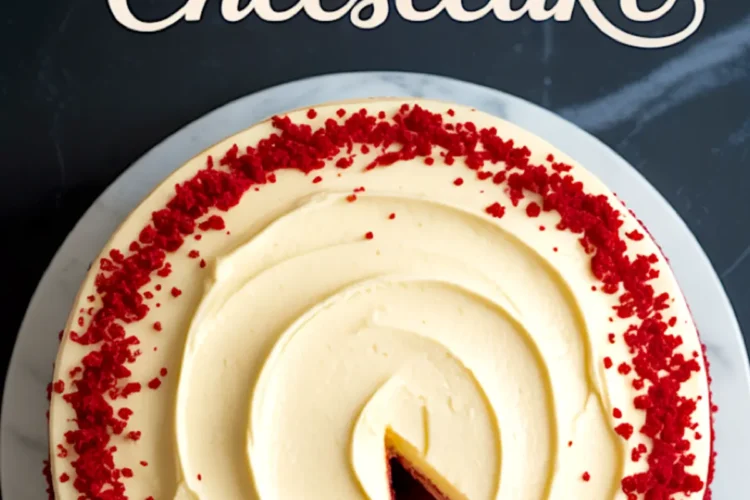
You want something that’s more than just red velvet and more than just cheesecake. You’re here for both — stacked, layered, and frosted into a dessert that looks like a celebration and eats like a memory.
This red velvet cheesecake gives you exactly that. It layers a rich, creamy cheesecake right between two plush, cocoa-kissed red velvet cakes. Then it wraps it all up in a thick cloud of cream cheese frosting. You’ll learn how to get clean, bold layers, the ideal frosting texture, and the trick I use to make the cheesecake slice perfectly every time.
One unexpected ingredient gives the cake its signature texture. I’ll tell you what it is in a minute. But let’s begin where every good cake does with confidence.
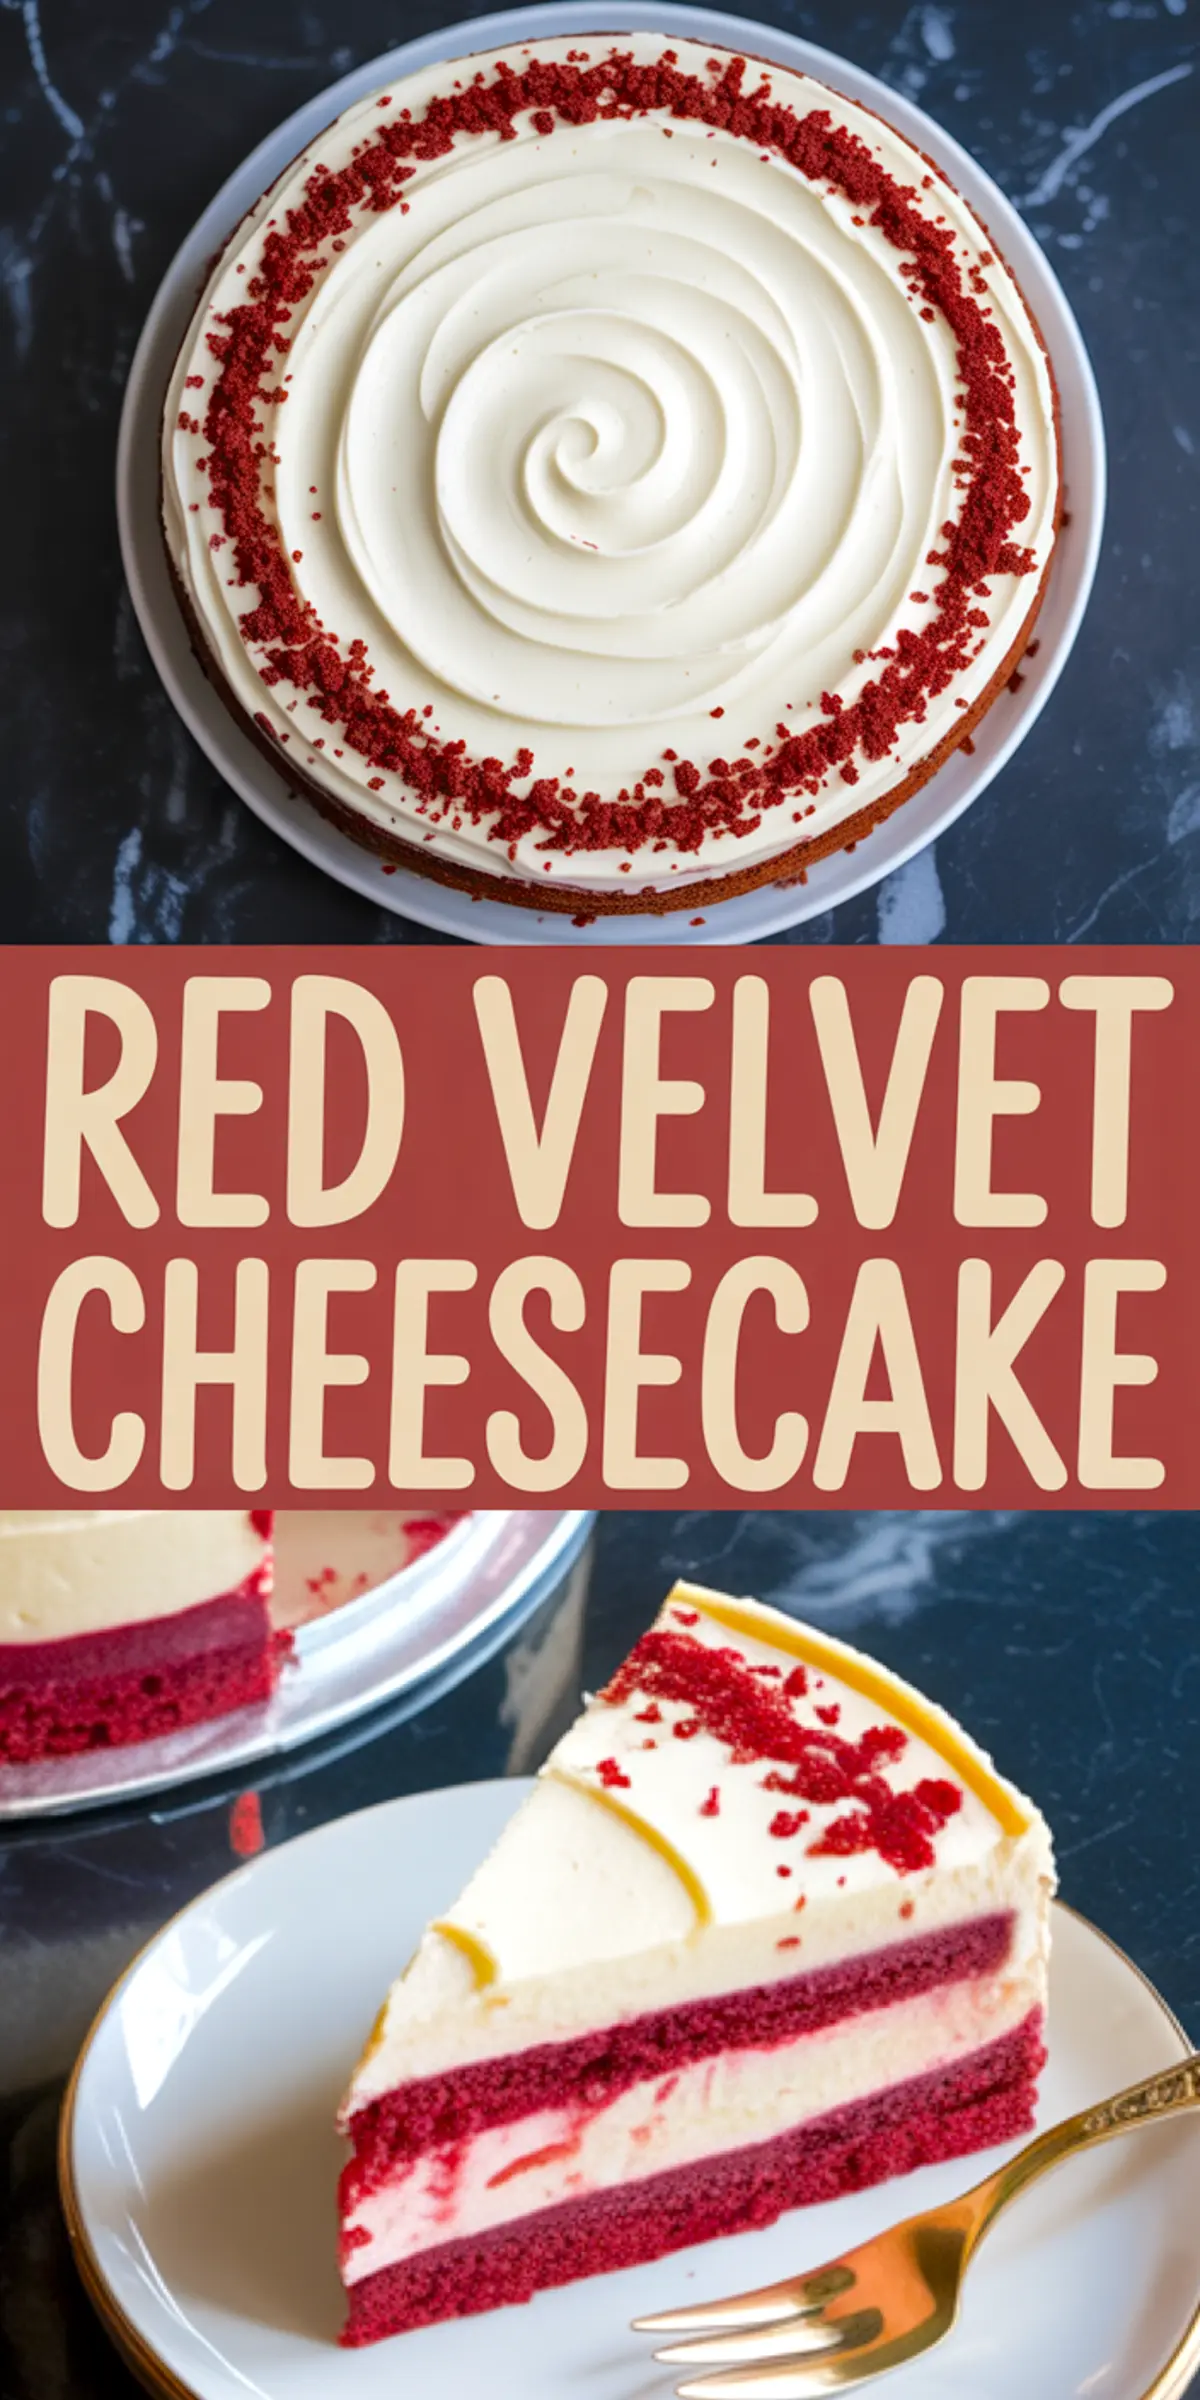
You don’t need to be a pastry chef. You just need a plan. And you’ll get one here.
Ingredients That Define Red Velvet Cheesecake’s Texture and Taste
The red velvet layers use both cocoa powder and buttermilk. That combination makes the flavor deep and a little tangy, with just enough chocolate to feel like cake instead of candy.
You’ll also need red gel food coloring. I’ve tested liquids and powders, but gel gives a stronger red without changing the batter texture.
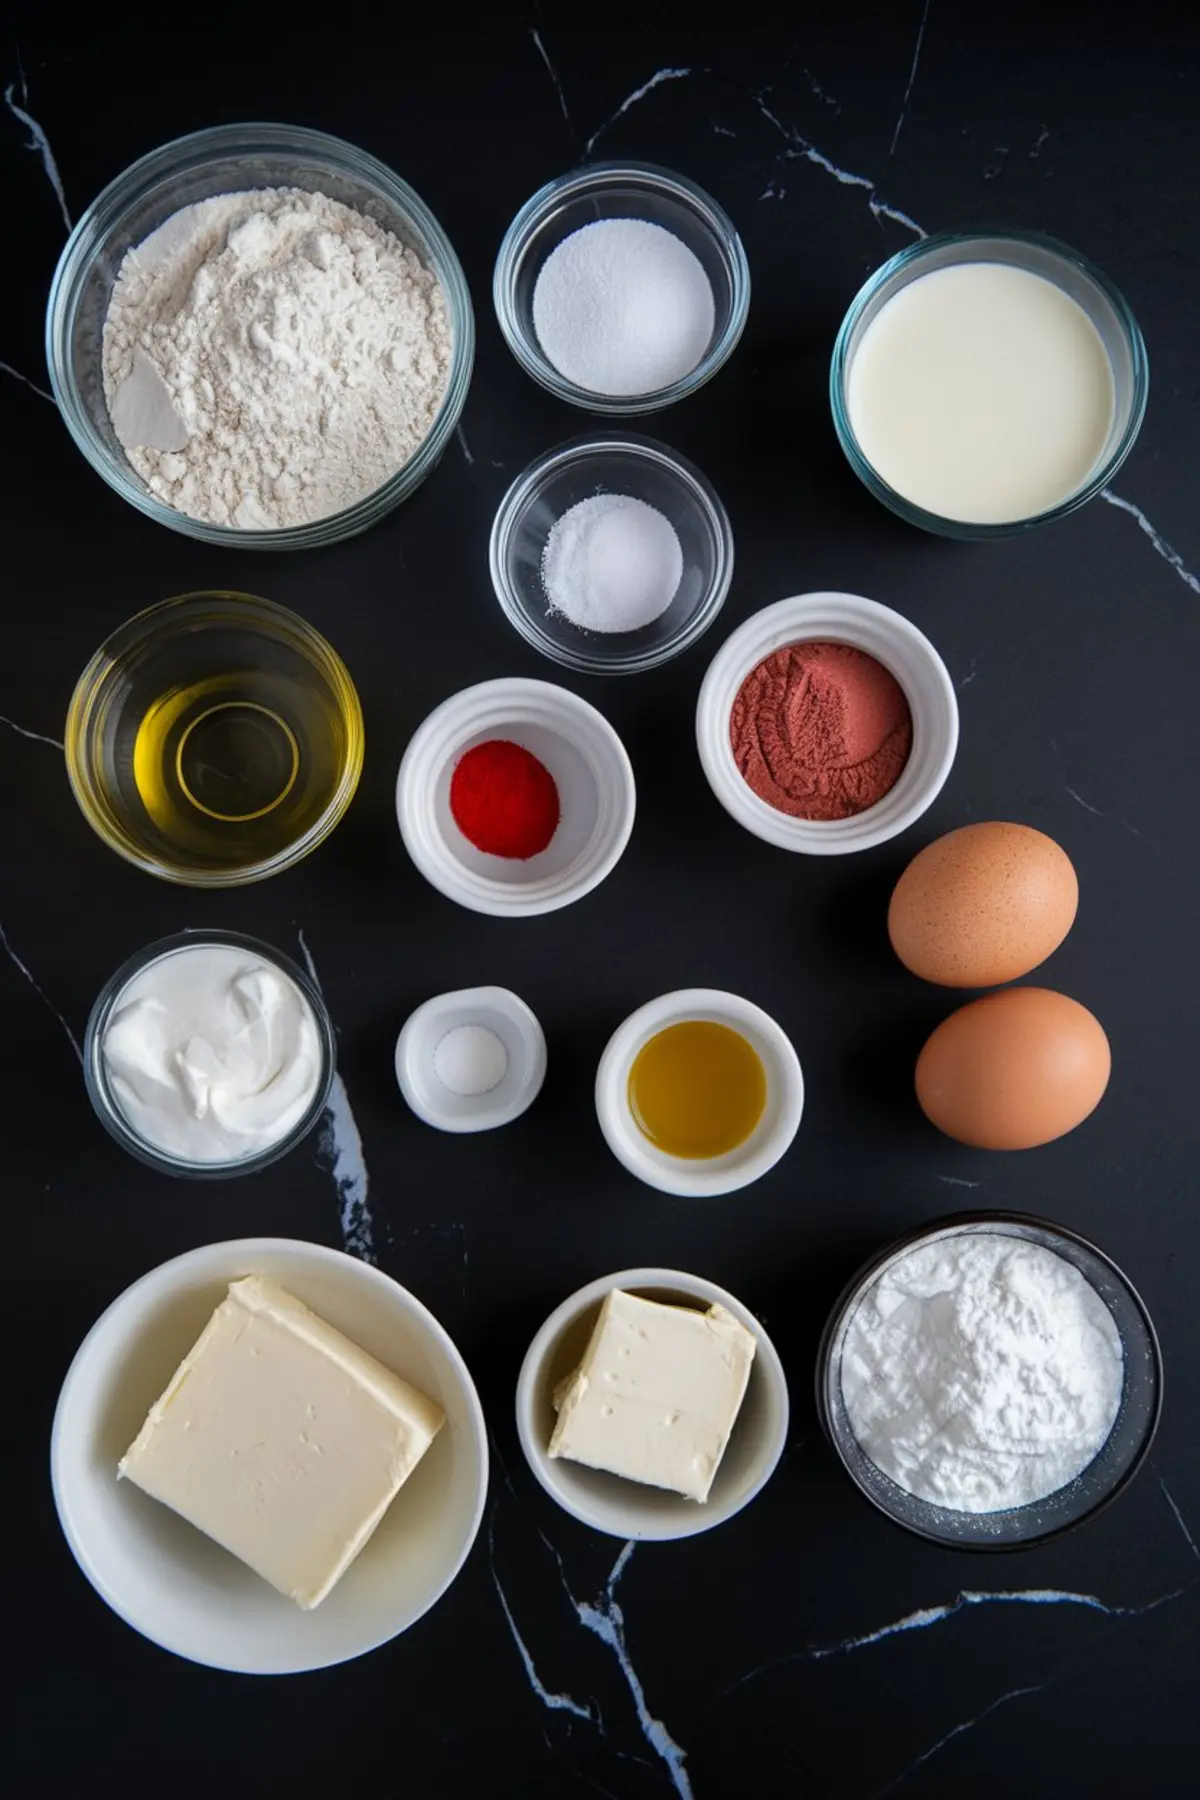
Vegetable oil keeps it moist for days. I’ve used butter in the past, but oil gives a softer crumb, which you want in a layered dessert like this.
The cheesecake layer relies on three bricks of cream cheese, softened to room temperature. It’s important not to rush that step. Cold cream cheese will give you lumps no matter how long you beat it.
Sour cream helps loosen the mixture and adds acidity. You’ll notice it makes the baked cheesecake more spoonable and easier to slice.
For the frosting, I stick with the classic: cream cheese and butter. A pinch of salt lifts everything. If your frosting feels too sweet, that salt will rescue it. Don’t skip it.
Comparison: Block Cream Cheese vs. Whipped Cream Cheese in Cheesecake Filling
I’ve tested both block-style cream cheese and the whipped kind from tubs when making the cheesecake layer. The difference is more than texture — it changes the entire structure.
Block cream cheese holds its shape during baking. It creates a firm, sliceable layer that can stand between the red velvet cakes without collapsing. Whipped cream cheese, on the other hand, contains added air and stabilizers. It bakes softer and often sinks or weeps when chilled.
In my kitchen notes, I always mark this clearly: only use full-fat block cream cheese for this recipe. It’s the backbone of the cheesecake layer and the reason it cuts clean without losing its height.
How to Make the Cheesecake Layer First
Start by lining your springform pan. Parchment paper makes removal easier. I don’t skip this even on nonstick pans — better safe than scraping.
Beat the cream cheese and sugar until they’re completely smooth. Then add the eggs one at a time. Take your time here. Rushing means streaks.
After that, mix in the sour cream and vanilla. Don’t overbeat once the eggs are in. That can trap air and lead to cracking.
Bake until it’s just set with a slight jiggle. Then cool for an hour before chilling for several more. Cold cheesecake is easier to move and won’t squish when you stack the layers.
Baking the Red Velvet Cake Layers from Scratch
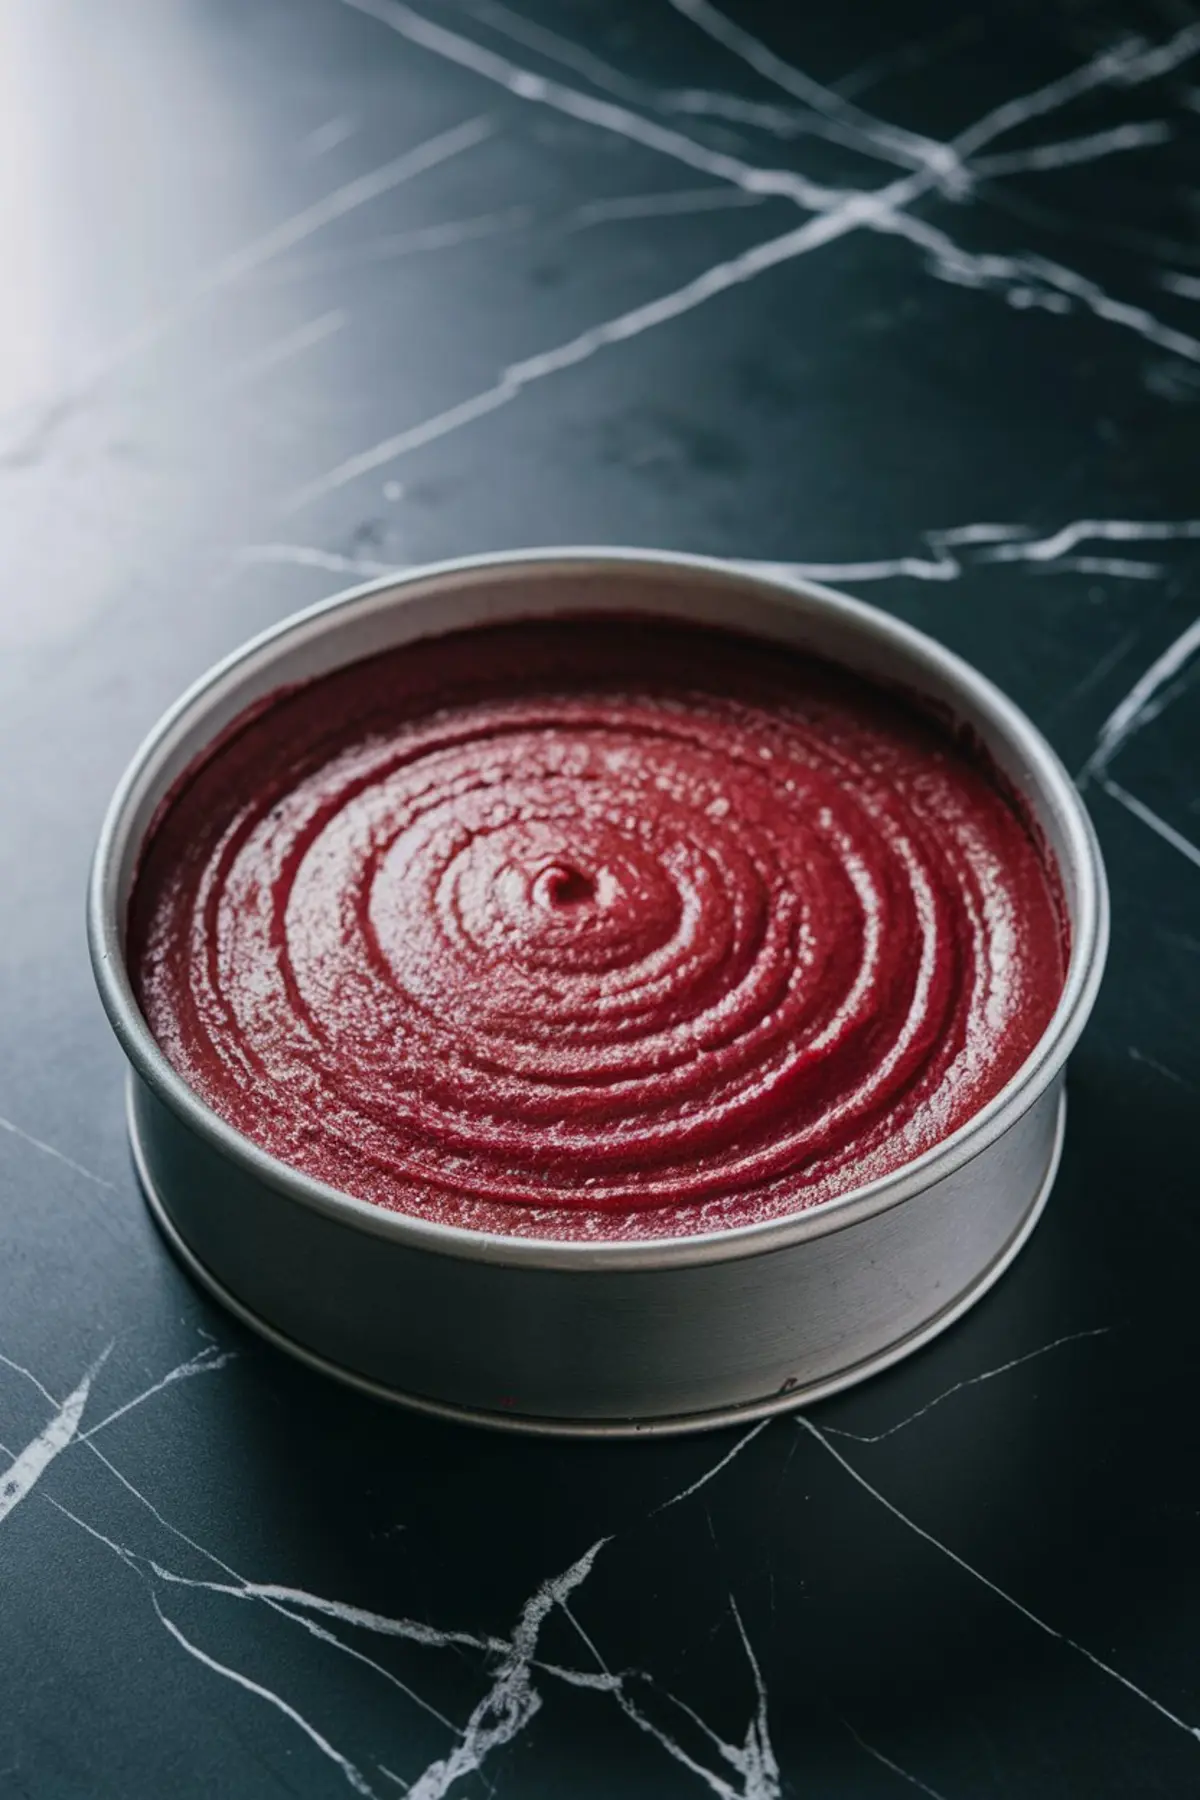
Preheat your oven and prepare two round pans. I line both with parchment rounds, then grease the sides. That’s how you keep the edges soft.
Mix the dry ingredients: flour, sugar, baking soda, cocoa powder, and salt. In another bowl, whisk the oil, buttermilk, eggs, vinegar, red coloring, and vanilla.
Then pour the wet into the dry. Mix just until smooth. No need to overthink it.
Divide into the pans and bake until a toothpick comes out clean. Let them cool completely. I usually chill mine for 20 minutes before assembly to make them easier to handle.
Making the Cream Cheese Frosting That Actually Spreads
Use room temperature cream cheese and butter. Cold butter will make the frosting split. And warm butter will turn it to soup.
Beat until smooth, then slowly add the powdered sugar. I add mine in three rounds, scraping the bowl each time. The vanilla goes in at the end, along with a pinch of salt.
The texture should be thick but spreadable. If it’s too soft, pop it in the fridge for 10 minutes before using.
Assembling the Cheesecake-Cake Without the Layers Sliding
Start with one red velvet layer on your cake stand.
Carefully remove the cheesecake from the springform pan. I usually run a warm knife around the edges first, then lift the whole thing with a wide spatula.
Place the cheesecake on top of the first cake layer. Then add the second red velvet cake over it.
Use an offset spatula to frost the top and sides. I start with a thin crumb coat and chill it for 10–15 minutes before applying the final layer.
If your layers feel unstable, insert a skewer down the center before chilling. You can remove it later before slicing.
The Unexpected Secret That Holds This Cake Together
Here’s the part I hinted at earlier. The vinegar. It’s small but mighty.
Red velvet recipes often include vinegar to react with baking soda. But here, it also adds that classic tang that balances the sugar in the frosting and the richness of the cheesecake. Without it, the cake can taste flat.
I’ve skipped it once, and the difference was obvious. That’s why I make a note in my Pin Notebook every time: don’t forget the vinegar.
Other Cheesecake Recipes to Try Next
If you love cheesecake, you might want to save these for later too:
Honey Lavender Cheesecake – floral and creamy
Mini Blackberry Cheesecake – bite-sized and summer-ready
Snickers Cheesecake – rich and layered with candy
Apple Cheesecake – fall spice and fruit baked in
Peach Cheesecake – a soft, sweet finish to any summer meal
Save and Share Your Red Velvet Cheesecake
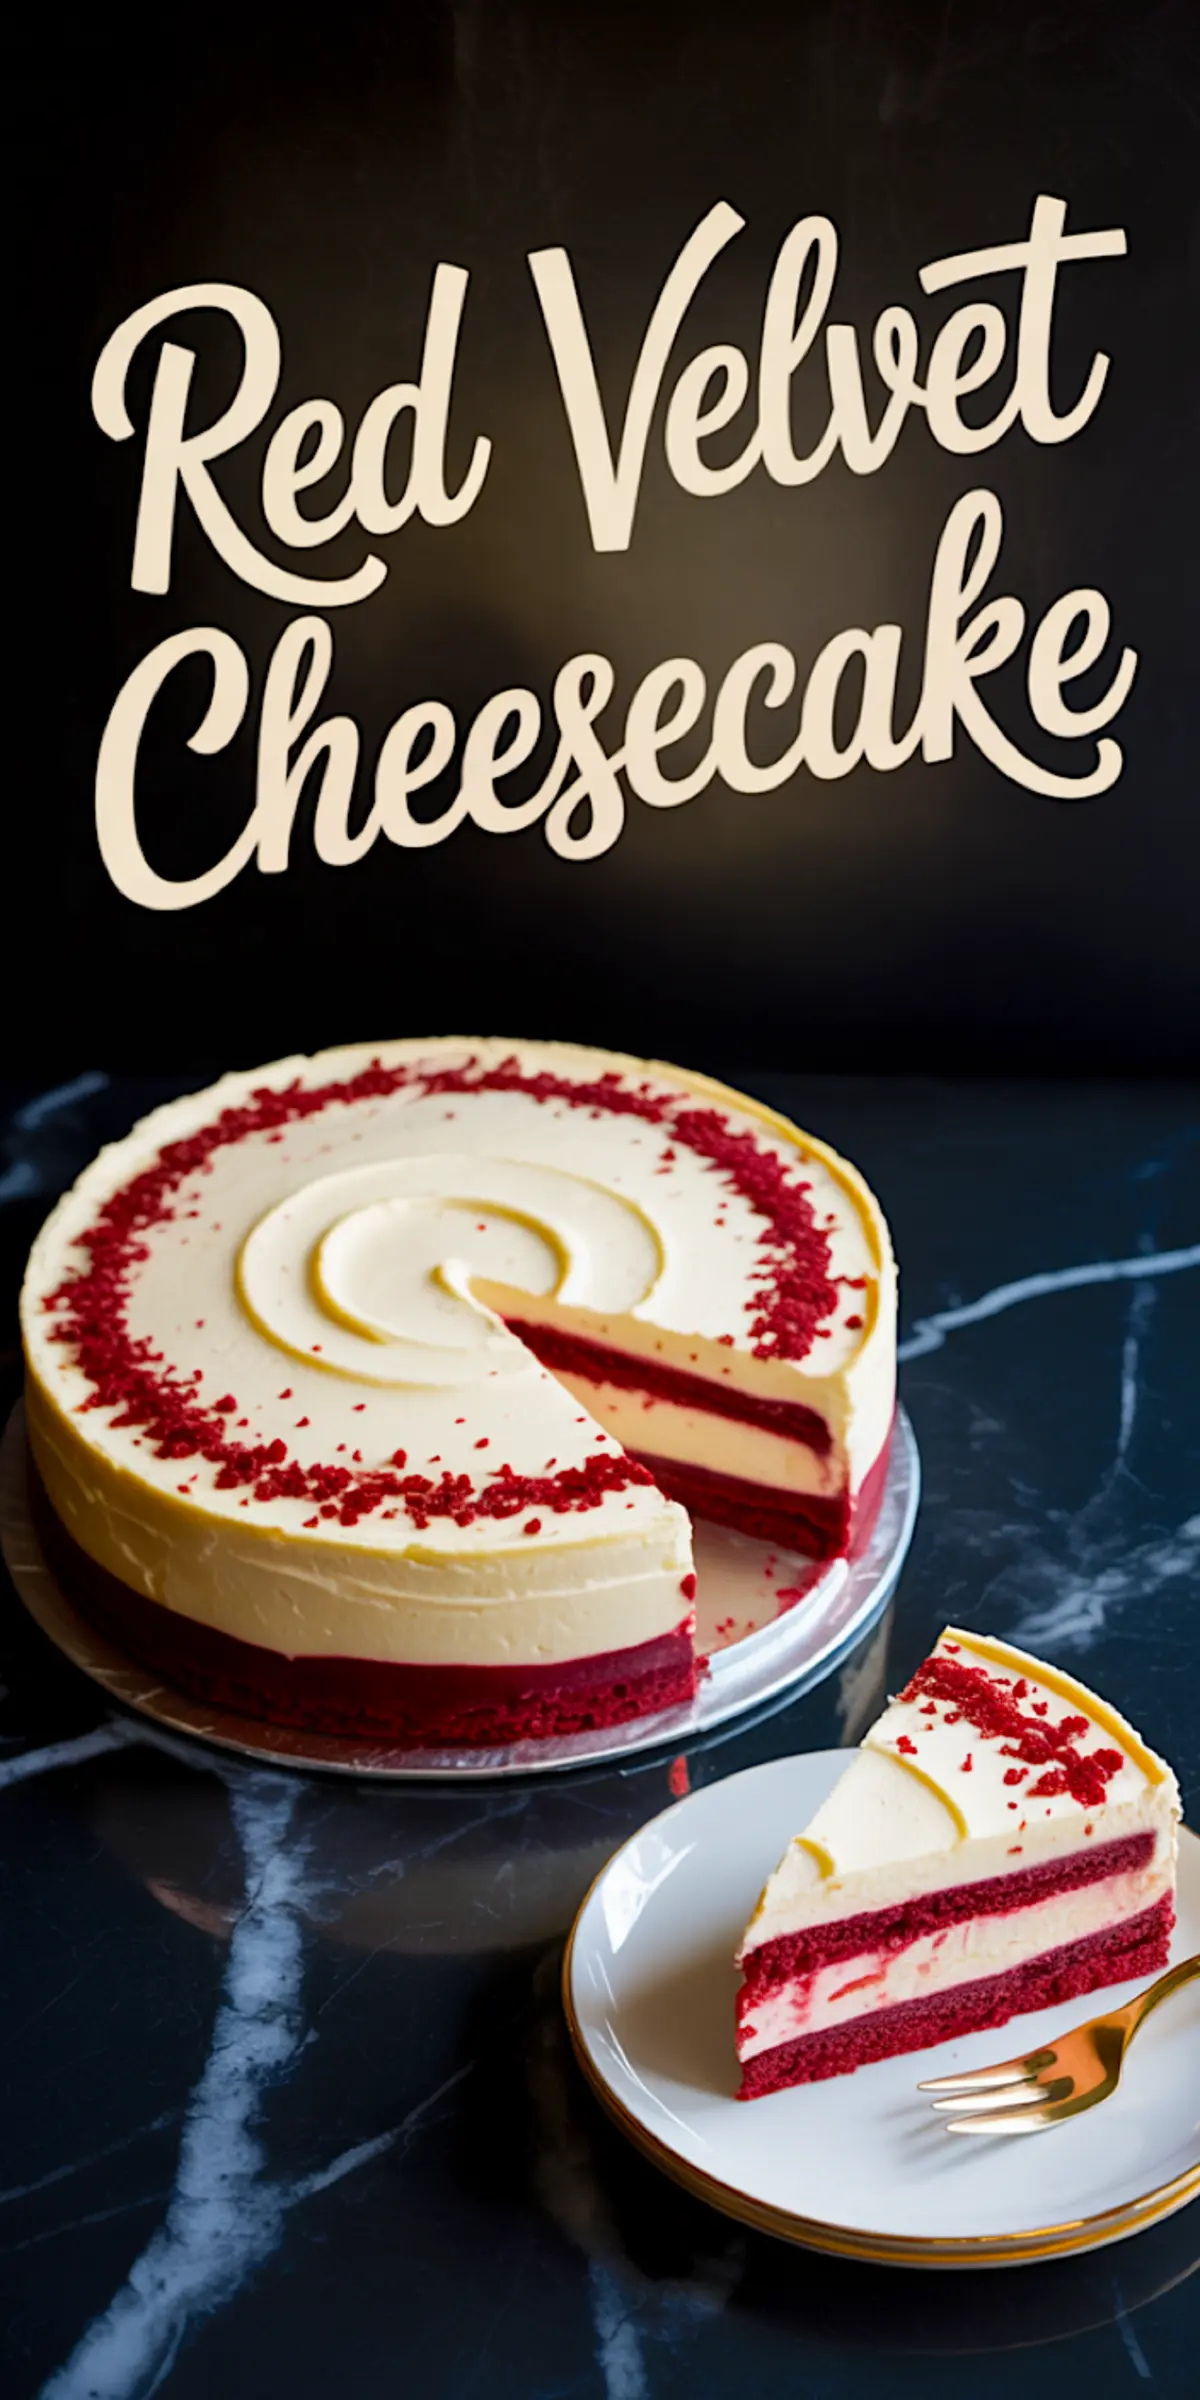
You can save this red velvet cheesecake for Christmas, birthdays, or just to celebrate a quiet weekend at home.
Pin it to your dessert boards so you can find it when you’re ready to bake. And if you try it, let me know in the comments how it turned out.
Did you tweak anything? Use a different frosting? Add a raspberry swirl? I’d love to hear.
Red Velvet Cheesecake Recipe
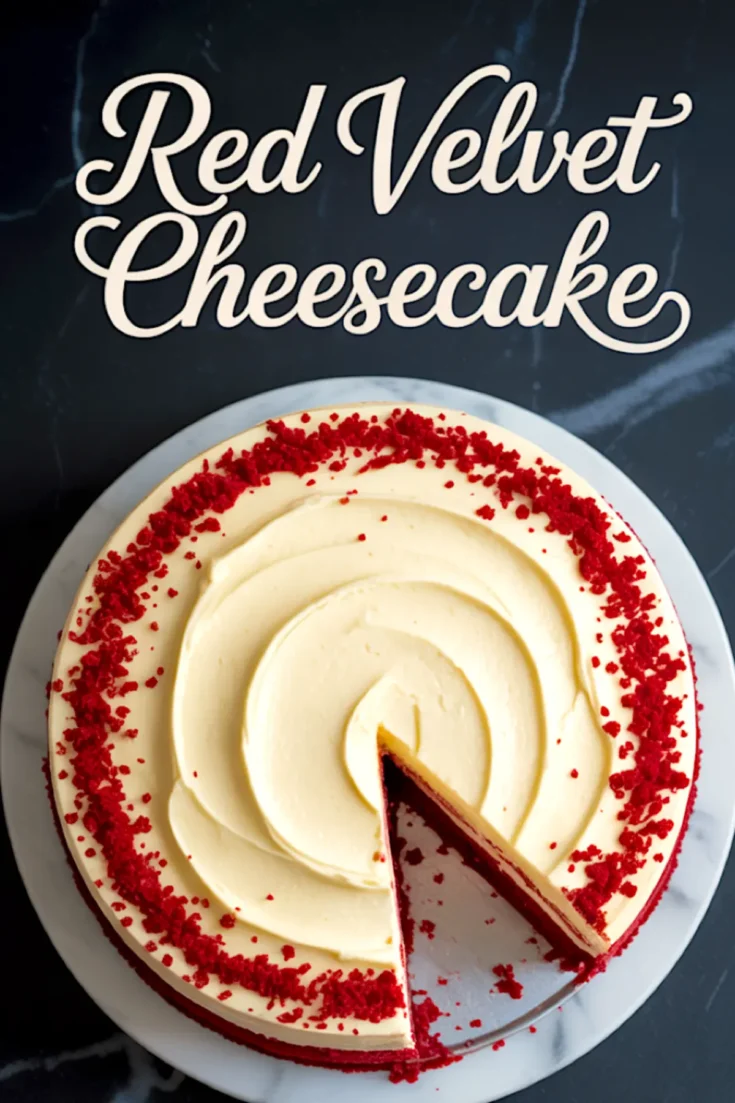
Red velvet cheesecake combines two soft, vibrant red velvet cake layers with a rich and creamy cheesecake center. The entire dessert is frosted with a smooth cream cheese frosting, making it a striking and satisfying layered cake. This recipe breaks each part down into manageable steps to help you build it from scratch.
Ingredients
- FOR THE RED VELVET CAKE LAYERS:
- 2 ½ cups all-purpose flour
- 1 ½ cups granulated sugar
- 1 teaspoon baking soda
- 1 teaspoon fine salt
- 1 tablespoon unsweetened cocoa powder
- 1 ½ cups vegetable oil
- 1 cup buttermilk, room temperature
- 2 large eggs, room temperature
- 2 tablespoons red gel food coloring
- 1 teaspoon white distilled vinegar
- 2 teaspoons vanilla extract
- FOR THE CHEESECAKE LAYER:
- 24 oz (3 packages) cream cheese, softened
- 1 cup granulated sugar
- 3 large eggs
- ¾ cup sour cream
- 1 teaspoon vanilla extract
- FOR THE CREAM CHEESE FROSTING:
- 16 oz cream cheese, softened
- ½ cup unsalted butter, softened
- 4 cups powdered sugar, sifted
- 1 teaspoon vanilla extract
- Pinch of salt
Instructions
- MAKE THE CHEESECAKE LAYER: Preheat the oven to 325°F (163°C). Line the bottom of a 9-inch springform pan with parchment paper and lightly grease the sides.
- BEAT THE CHEESECAKE MIXTURE: In a large bowl, mix the softened cream cheese and sugar until smooth and lump-free. Add the eggs one at a time, beating well after each addition. Scrape down the sides of the bowl and beat in the sour cream and vanilla until fully incorporated.
- BAKE THE CHEESECAKE: Pour the mixture into the prepared pan. Bake for 50–55 minutes, or until the center is set with a slight jiggle. Remove from the oven and let it cool at room temperature for 1 hour, then refrigerate for at least 4 hours or overnight until fully chilled and firm.
- MAKE THE RED VELVET CAKE BATTER: Preheat the oven to 350°F (177°C). Grease and line two 9-inch round cake pans with parchment paper. In a large bowl, whisk together flour, sugar, baking soda, salt, and cocoa powder. In a separate bowl, whisk together the vegetable oil, buttermilk, eggs, red food coloring, vinegar, and vanilla extract.
- COMBINE AND BAKE: Add the wet ingredients to the dry ingredients and mix until just combined and smooth. Divide the batter evenly between the prepared pans and bake for 22–25 minutes, or until a toothpick inserted in the center comes out clean. Cool the cakes completely on a wire rack.
- MAKE THE CREAM CHEESE FROSTING: In a large bowl, beat together the softened cream cheese and butter until smooth. Gradually add the sifted powdered sugar and beat until light and fluffy. Mix in the vanilla extract and a pinch of salt until well blended.
- ASSEMBLE THE CAKE: Place one red velvet cake layer on a serving plate. Carefully remove the chilled cheesecake from the springform pan and place it on top of the cake layer. Add the second red velvet cake layer over the cheesecake.
- FROST AND FINISH: Use an offset spatula to spread the cream cheese frosting evenly over the top and sides of the cake. Smooth the surface as desired and chill the assembled cake for 30–60 minutes before slicing to allow it to set.
Notes
For clean layers, chill the red velvet cakes slightly before assembling. Use a hot knife for smoother cuts when serving.
Nutrition Information:
Yield:
12Serving Size:
1Amount Per Serving: Calories: 1211Total Fat: 77gSaturated Fat: 32gTrans Fat: 1gUnsaturated Fat: 38gCholesterol: 217mgSodium: 932mgCarbohydrates: 110gFiber: 1gSugar: 85gProtein: 23g
