

I remember my first encounter with these chocolate hazelnut truffles. My grandmother spread them on a plate during a warm afternoon gathering, and the aroma tempted me at once. The moment I tasted one, I noticed layers of flavor that made me close my eyes and smile. I still recall that satin-like finish and the satisfying crunch of toasted hazelnuts.

I developed my own version after years of experimenting, and I now include an extra dash of magic, a secret ingredient that I promise to share later. You will find this recipe rewarding because each piece you create captures a special harmony between smooth chocolate and the gentle hint of hazelnut.
Preparing the Ganache Base
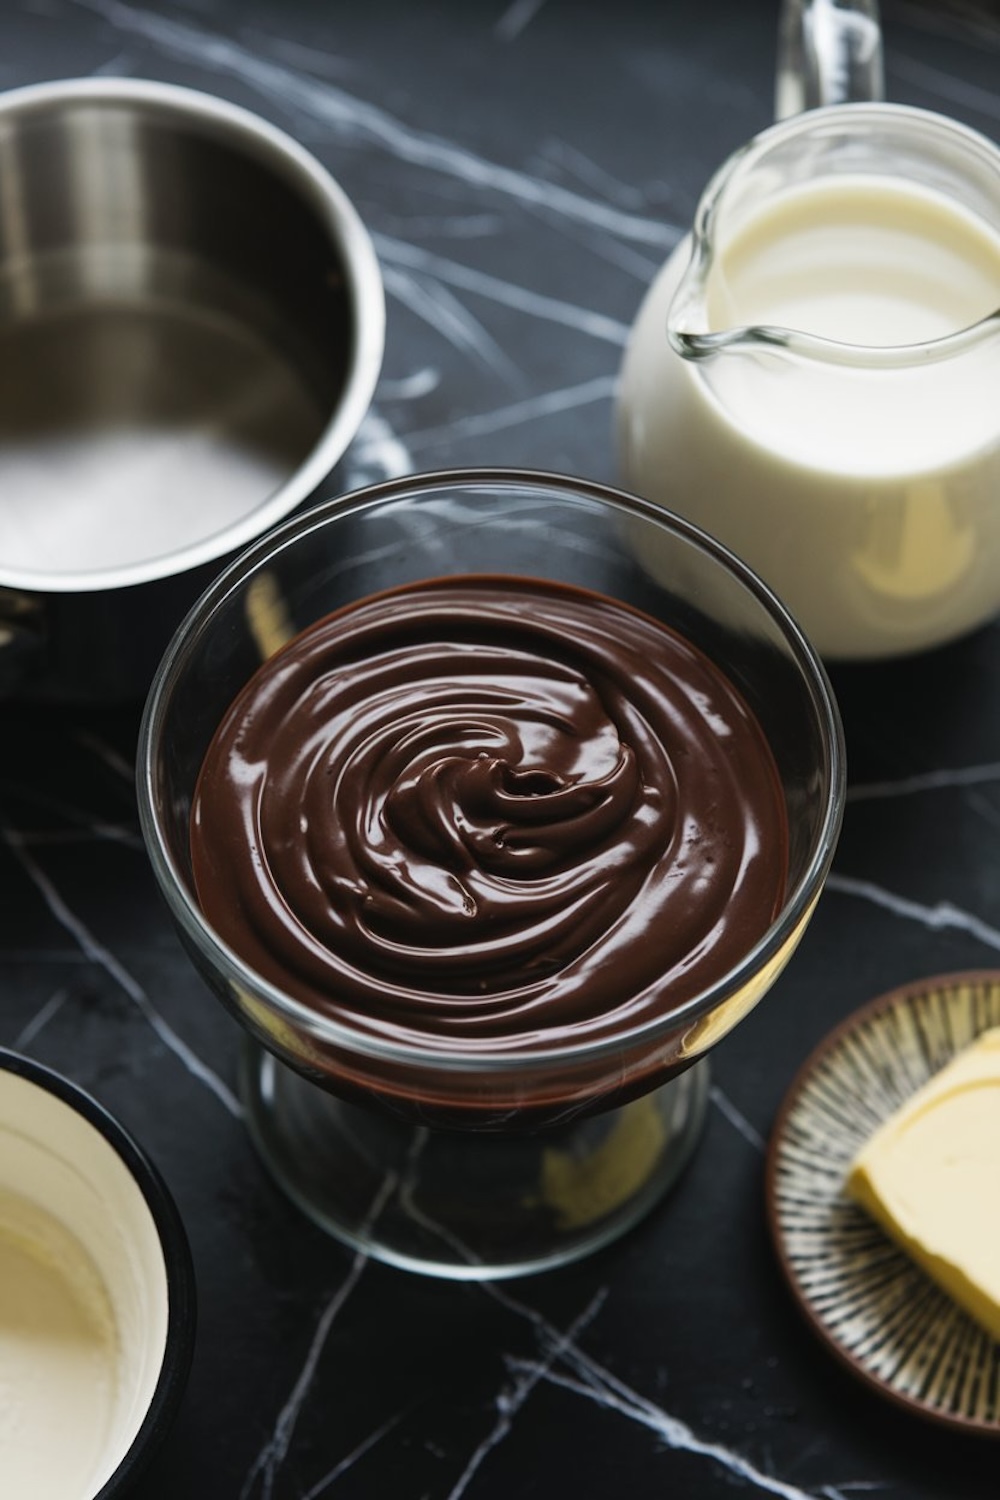
You will appreciate the soft center that forms the core of these truffles. Heat the heavy cream on a low flame until small bubbles form at the edge. Then pour it over the dark chocolate pieces, letting the warmth soften the chocolate. Stir gently, and watch as the mixture becomes glossy and thick.
This blend sets the stage for the flavor that follows. Fold in the butter once the chocolate fully melts, and introduce the vanilla extract to round things out. Include the chopped hazelnuts at this stage, stirring until each piece is coated. Place the bowl in the fridge to set, allowing the ganache to become firm enough for shaping.
Shaping Each Truffle
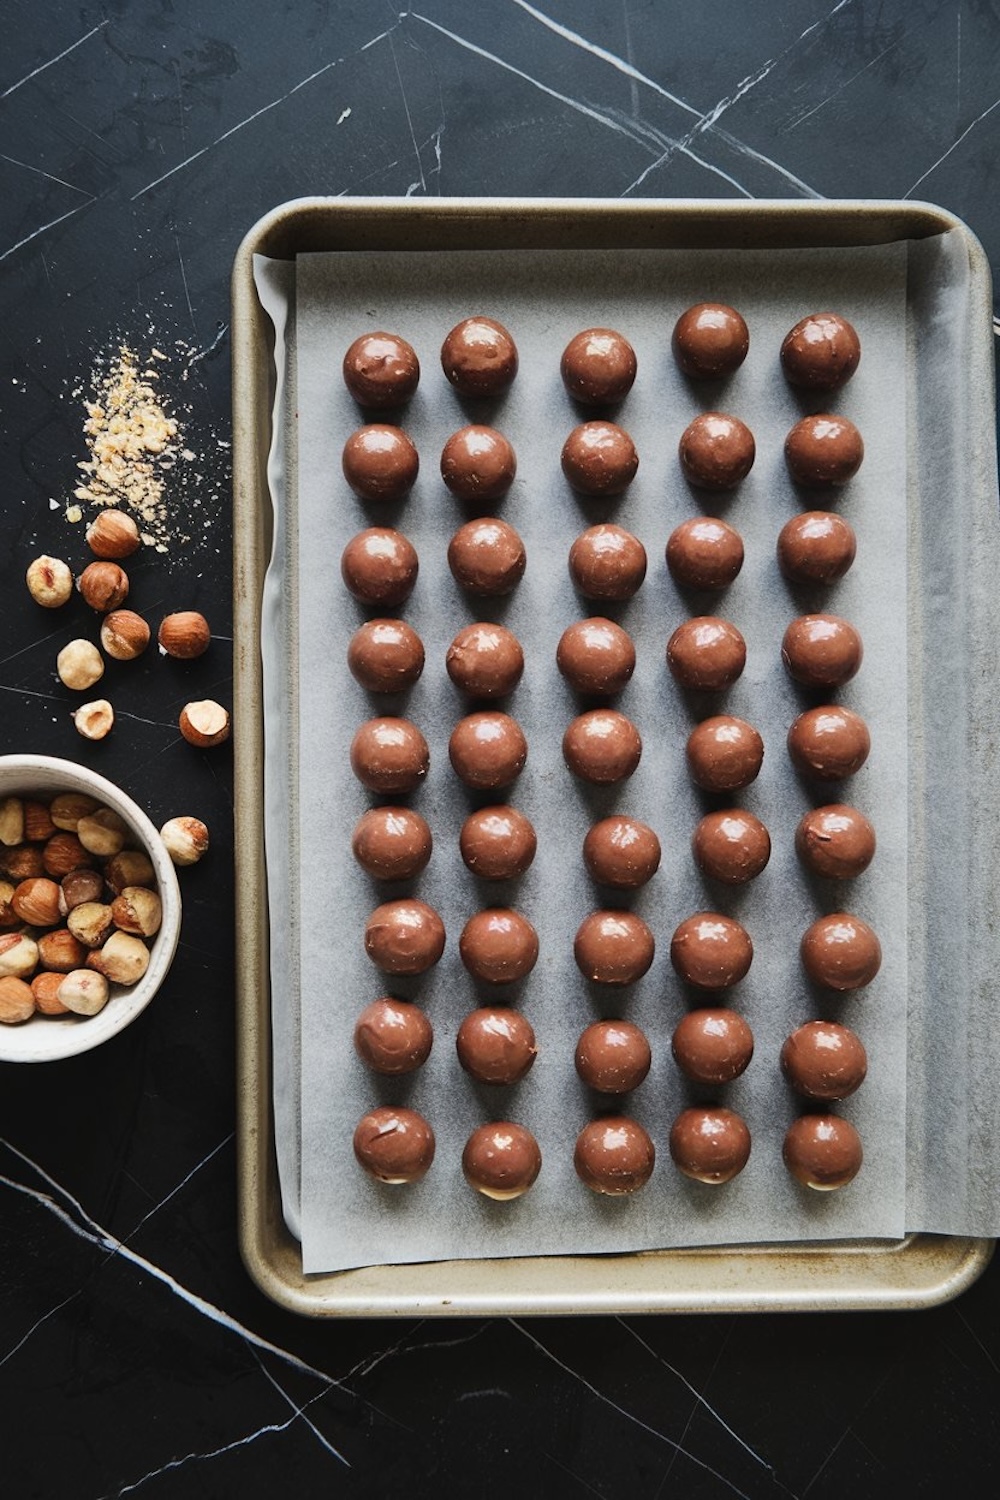
Take a spoon or a small scoop and gather a bite-sized portion of chilled ganache. Roll it in your palms to create a round shape. Press a single whole hazelnut into the center, then seal it fully. Set each piece on a sheet of parchment paper to help you manage them without sticking. Return them to the fridge so they maintain their shape. This pause also locks in the hazelnut essence, ensuring that each bite will have a contrast of textures.
Coating the Truffles in Melted Chocolate
Warm your chosen chocolate in short intervals in the microwave. Stir in between bursts, and stop when it flows easily off a spoon. Dip each chilled sphere into the melted chocolate. Lift it out with a fork, letting excess drip off. Roll or gently press each truffle in extra chopped hazelnuts to create a textured outer layer. Place them on a tray lined with parchment paper. This simple step saves you from messy counters and also stops them from fusing together. Let them rest until the shell solidifies, which takes a little while in a cool kitchen or a quick 15 minutes in the fridge.
The Secret Dash of Magic
Now the time has come to reveal the detail I hinted at earlier. My hidden gem is a tiny pinch of fine sea salt. It is easy to overlook, but it can shift the overall taste profile in a way that surprises those who try it. That tiny sprinkle highlights the chocolate notes and amplifies the toasted hazelnuts. You can stir it right before you pour the warm cream over the chocolate, or blend it at the final stage. I keep it out of the initial instructions because I want you to remain curious. It might seem small, but you will sense the difference.
I once saw my cat, Whiskers, sneak a sniff of the empty chocolate wrapper. He seemed curious but soon realized it was not his usual treat. He prefers to watch me and flick his tail while I shape the ganache.
My routine also includes that old Golden Spoon I inherited from my aunt. I use it to stir the chocolate during melting. It reminds me of those who taught me the joy of homemade creations. Sometimes I record small tweaks in my Pin Notebook, where I keep notes on ingredients I test and flavor combinations I try.
Personal Reflections and Serving Ideas
I like to serve these truffles fresh out of the fridge, but I have also arranged them on a dessert stand for an evening get-together. You can pair them with hot coffee or serve them as an indulgent conclusion to a savory meal. If you adore no-bake sweets, you might want to explore a few more ideas. I recently posted about Chocolate Covered Strawberries, which rely on quality berries dipped in smooth chocolate. Another option is Chocolate Fondue if you crave a shared dessert. You might also enjoy the dense layers of my Chocolate Fudge Cake.
These links direct you to more chocolate delights that share the same approach: simple steps, quality ingredients, and enjoyable results. My key principle remains the same. I aim to show that good treats can come from straightforward methods. These truffles stand as a fine example. You transform a few pantry staples into something that will impress anyone who tries them.
Storage and Extra Notes
Keep your truffles in an airtight container, and place them in the fridge for a firm bite. They usually last for up to two weeks in cool conditions, though I doubt they will remain untouched that long. I have shared them with neighbors, and they vanish fast at gatherings. The dash of salt sparks curiosity, so people keep asking how I made them taste so refined. I believe the secret ingredient plus good-quality chocolate can elevate the entire experience.
I sometimes switch the type of chocolate and experiment with flavors. Milk chocolate yields a sweeter taste, while semisweet versions give a deeper flavor profile.
You might stir in a few drops of hazelnut liqueur if you want an adult twist. My Pin Notebook contains scribbles about these variations, which help me recall the version that worked best for me. I encourage you to record your own ideas if you wish to personalize the recipe further.

Community and Sharing
I invite you to keep a stash of these truffles on hand for quiet evenings or friendly visits. Pin this recipe to your dessert board so you can find it again later. Share your comments below and let me know how yours turned out.
You can swap ideas with fellow home cooks, ask questions, or suggest your own creative additions. I love the sense of unity that forms when people talk about kitchen adventures.
Closing Thoughts
I hope these steps guide you toward a successful batch. Feel free to adapt the method to your taste, and remember that small touches, such as a pinch of salt, can make a big difference. Pin it, share it, and join the conversation. I look forward to hearing your experiences and stories.
Homemade Chocolate Hazelnut Truffles Recipe
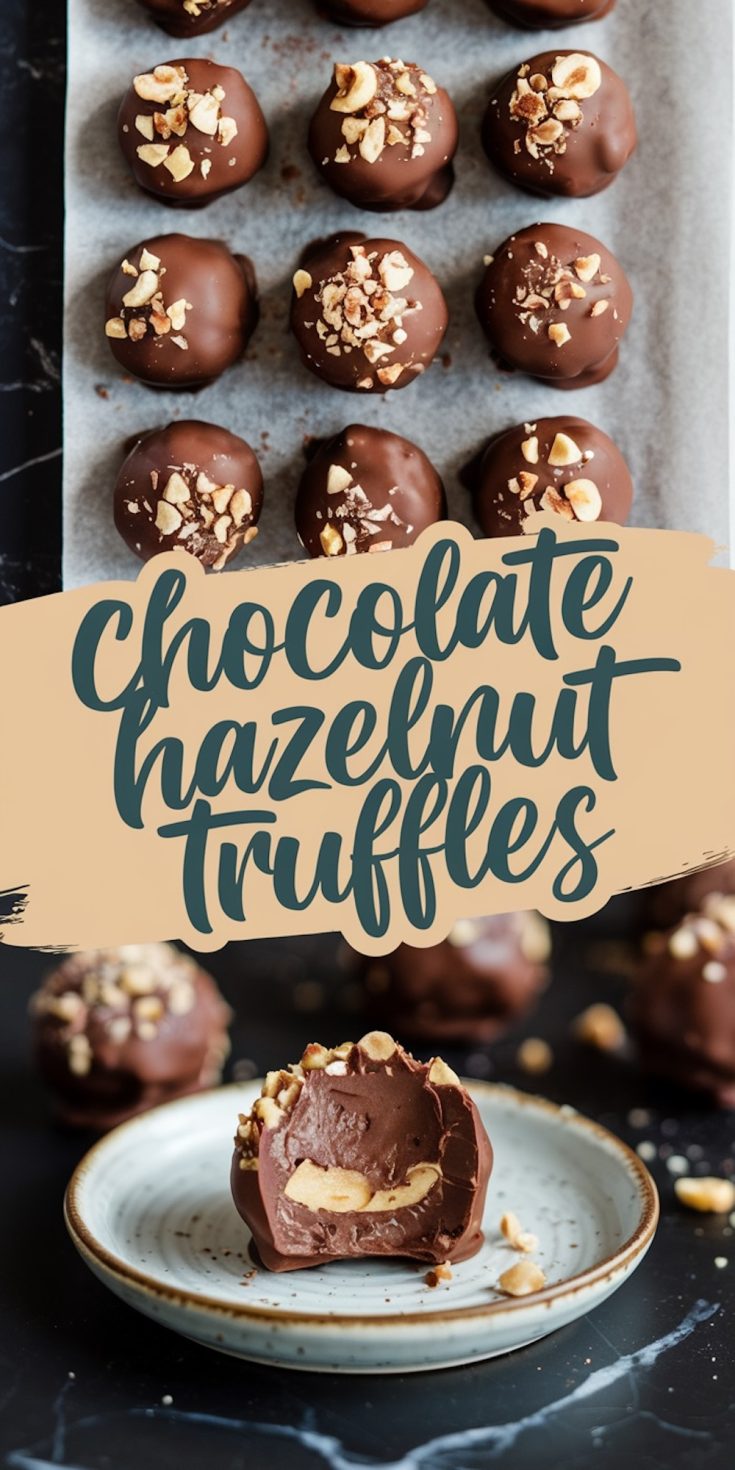
A simple yet satisfying recipe for rich and creamy chocolate hazelnut truffles, perfect for sharing or enjoying as a treat.
Ingredients
- 2 ½ cups (500g) dark chocolate chips or finely chopped dark chocolate
- 1 ¼ cups (300ml) heavy cream
- 2 ½ tablespoons unsalted butter
- 1 ¼ teaspoons vanilla extract
- 1 ¼ cups (150g) toasted hazelnuts, finely chopped (plus extra for rolling)
- 30 whole hazelnuts (one for each truffle)
- 1 ¼ cups (300g) milk or dark chocolate, melted, for coating
Instructions
- MAKE THE GANACHE BASE: Heat the heavy cream in a small saucepan over medium heat until it just begins to simmer, avoiding a boil. Remove from heat and pour the cream over the dark chocolate in a heatproof bowl. Let it sit for 2–3 minutes, then stir with a spatula until smooth and glossy. Stir in the butter and vanilla extract until combined. Fold in the finely chopped hazelnuts, cover with plastic wrap, and refrigerate for about 2 hours until the ganache is firm enough to scoop.
FORM THE TRUFFLES: Line a baking sheet with parchment paper. Use a small cookie scoop or spoon to portion the ganache, rolling it between your palms to form 1-inch balls. Insert one whole hazelnut into the center of each ball, rolling again to seal. Place the truffles on the prepared baking sheet and chill for 30 minutes.
DIP AND COAT: Melt the milk or dark chocolate in a microwave-safe bowl in 15-second intervals, stirring after each until smooth. Dip each truffle into the melted chocolate using a fork, letting any excess drip off. Roll the truffle in the extra chopped hazelnuts and return to the baking sheet.
LET THEM SET: Allow the truffles to set completely at room temperature or refrigerate for about 15 minutes until firm.
Nutrition Information:
Yield:
30Serving Size:
1Amount Per Serving: Calories: 232Total Fat: 22gSaturated Fat: 3gTrans Fat: 0gUnsaturated Fat: 17gCholesterol: 4mgSodium: 1mgCarbohydrates: 9gFiber: 3gSugar: 4gProtein: 5g
