
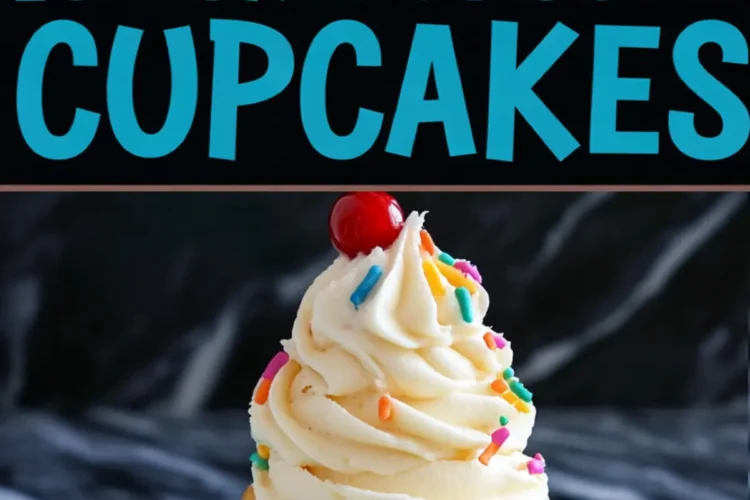
There’s something about desserts that look like something else. These Ice Cream Cone Cupcakes play with that idea in the best way. They bring together the joy of cake and the nostalgia of an ice cream cone, all in one tidy, handheld treat.
You’ll learn exactly how to make them sturdy, fluffy, and fun to decorate. I’ll also share one tip that surprised even me. It changed how I think about frosting.
These aren’t just cute. They’re practical. No slicing. No extra plates. Just hand them out and watch people smile. For summer birthdays or ice cream-themed parties, these cupcakes feel right. They sit comfortably next to Ice Cream Cookie Tacos and Ice Cream Cone Cookies.

Choosing the Right Ice Cream Cones and Cupcake Base
Flat-bottomed cones make this recipe work. They fit snugly into muffin pans, which keeps the batter stable while baking. I’ve tried the pointed ones. They tip too easily, even when propped up in foil.

The batter itself is a classic vanilla base. It rises gently in the cone without spilling. I always prefer sour cream over yogurt here. It gives the crumb a richer texture. In my notebook, I marked that swap down as a must for softer cupcakes.
For themed birthdays like a Two Sweet Party 2nd Birthday, these cones work better than full cakes. They’re easier for little hands. Less mess. More giggles.
Mixing Technique That Keeps Cupcakes Light
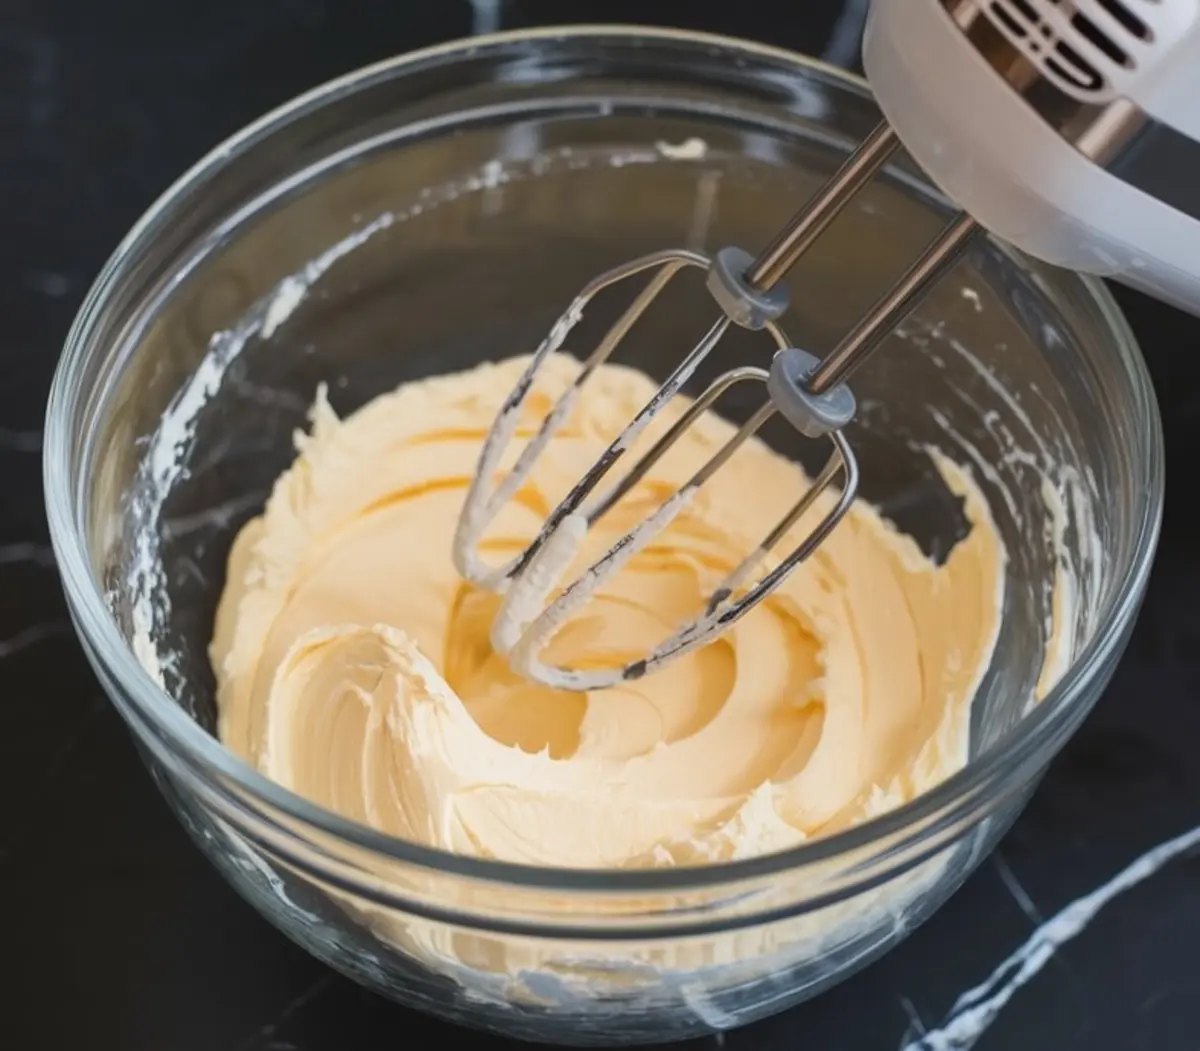
Start by creaming your butter and sugar until it’s pale. Don’t rush this. It’s not just about mixing. It’s about aerating the base. That air gives the batter its rise.
When adding the eggs, beat them in one at a time. I used to crack both in at once. My cupcakes would turn dense. Adding them slowly makes a difference.
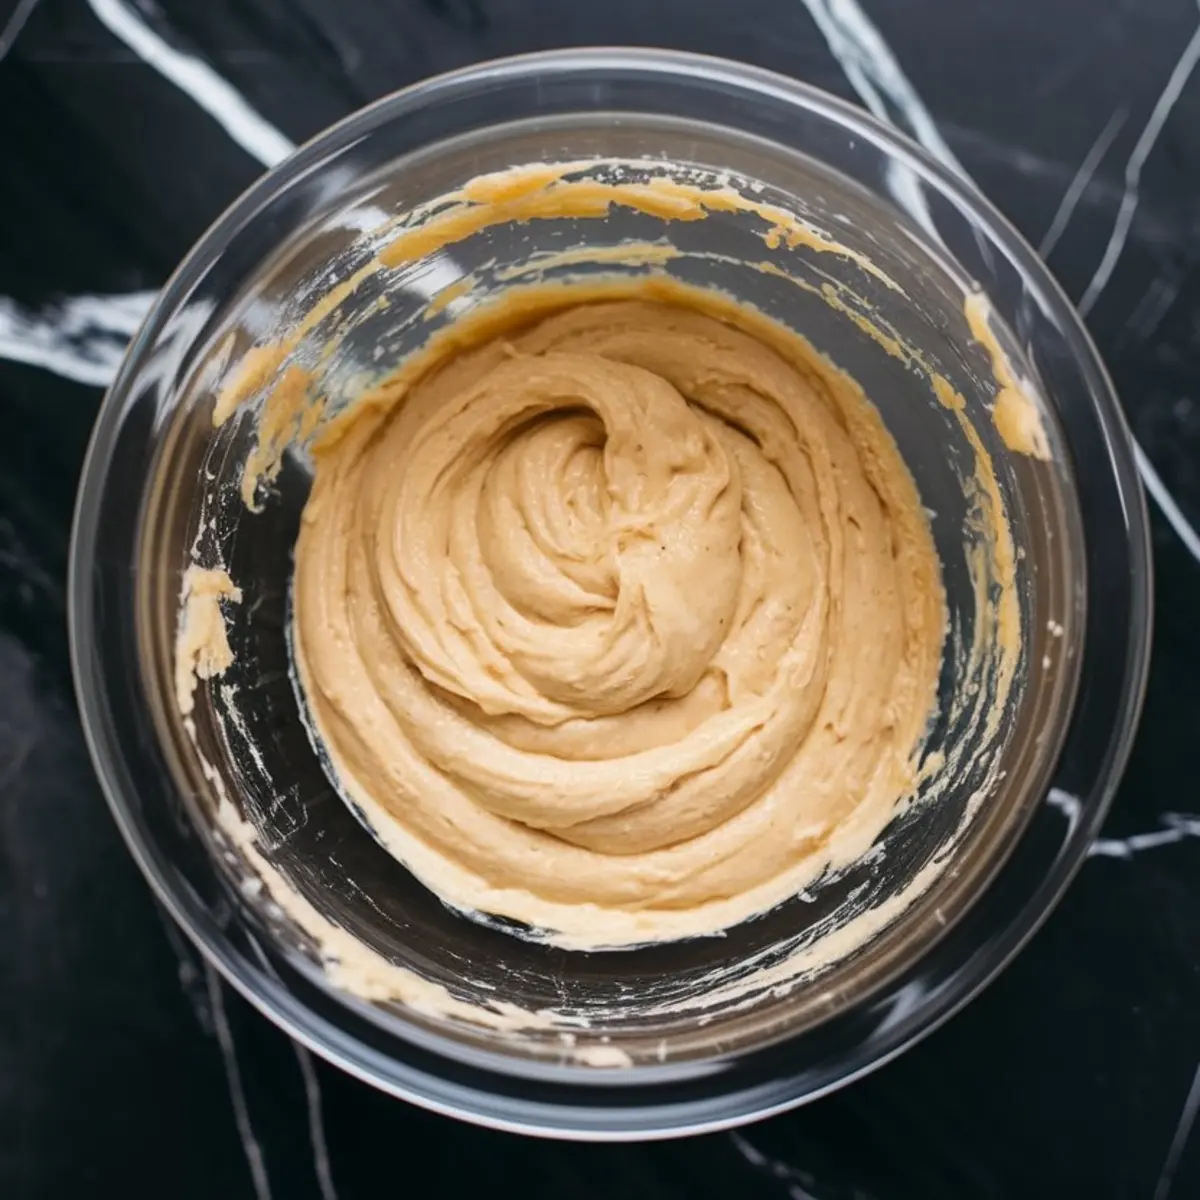
I mix the dry ingredients separately and then alternate them with the milk-sour cream mix. Always begin and end with the dry. If you overmix, even just a little, the crumb tightens up.
This technique is the same one I use for Charcoal Ice Cream when I want a smooth scoop that still holds its form.
Piping Batter Neatly Into the Cones
The easiest way to fill the cones is with a piping bag. No drips, no uneven tops. I used a freezer bag the first time. It worked fine, but the real piping bag gives you more control.
Fill each cone about two-thirds full. Go any higher, and they might overflow during baking. That’s not the kind of frosting surprise you want.
Use a muffin pan to keep them upright. A second pan helps if you’re baking a larger batch, especially when prepping Chocolate Ice Cream Sandwiches or Ice Cream Cookie Tacos for a crowd.
One Smart Comparison: Milk vs. Heavy Cream in Frosting
I’ve tested the frosting both ways. Using milk keeps it light, soft, and easy to pipe. Heavy cream makes it richer and holds the shape longer.
If you’re decorating for looks and plan to transport the cupcakes, choose cream. If you’re serving them fresh at home, milk keeps the flavor clean.
In my notes, I lean toward milk when pairing with Coffee Cookies and Cream Ice Cream. That combo brings just enough indulgence without feeling too heavy.
Decorating That Actually Feels Fun
Wait until the cupcakes cool fully. Piping on warm cake will melt your frosting faster than you’d think. A tall swirl makes them look like soft-serve cones.
Use a large star tip to give them that classic twist. I always finish with rainbow sprinkles and a maraschino cherry. That visual reminds me of my Patriotic Ice Cream where color and swirl matter just as much as flavor.
Want to add your own twist? Try tinting the frosting pastel shades or referencing ideas from ice cream birthday cake spreads and ice cream theme cupcakes.
The Unexpected Twist That Seals It
Here’s the part I hinted at earlier. A pinch of salt in the frosting.
Just a little—less than 1/8 teaspoon. It cuts through the sweetness and makes the vanilla pop. I used to skip it. Now, I won’t frost without it. It gives these cupcakes a grown-up edge without changing what makes them fun.
This same trick brought depth to a batch of Marble Patriotic Ice Cream. Salt brings balance. Even in the sweetest treats.
Keep These in Your Summer Rotation

Ice Cream Cone Cupcakes land in that sweet spot where playful meets practical. Kids adore them. Grown-ups eat two. They work for birthdays, BBQs, or casual summer nights when you want something cheerful and simple.
If you’re brainstorming more ice cream cake ideas, or working through your list of easy ice cream treats, this recipe fits right in. Save this post to your board.
And if you bake these, I’d love to hear how they turned out. Did you try the salt trick? Swap the frosting?
Leave a comment below and let’s swap notes.
Ice Cream Cone Cupcakes Recipe

Ice Cream Cone Cupcakes create a playful and nostalgic dessert that combines the fun appearance of ice cream cones with the soft, tender texture of cupcakes. The flat-bottomed cones serve as both the vessel and part of the treat, making them easy to serve at parties or gatherings. A swirl of fluffy frosting and colorful sprinkles finish them off beautifully.
Ingredients
- FOR THE CUPCAKES
- Ice cream cones (flat-bottomed type)
- 1 ½ cups all-purpose flour
- 1 ½ teaspoons baking powder
- ½ teaspoon baking soda
- ¼ teaspoon salt
- ½ cup unsalted butter, softened
- ¾ cup granulated sugar
- 2 large eggs
- 1 teaspoon vanilla extract
- ½ cup sour cream
- ½ cup milk
- FOR THE FROSTING
- 1 cup unsalted butter, softened
- 3 ½ cups powdered sugar
- 1 tablespoon vanilla extract
- 2 tablespoons heavy cream or milk
- Sprinkles
- Maraschino cherries
Instructions
PREHEAT THE OVEN: Set the oven to 350°F (175°C). Place one cone upright in each well of a standard muffin pan to keep them stable during baking.
MIX DRY INGREDIENTS: In a medium bowl, whisk together the flour, baking powder, baking soda, and salt. Set aside.
CREAM BUTTER AND SUGAR: In a large bowl, beat the butter and granulated sugar together until the mixture becomes pale and fluffy. This incorporates air for a lighter texture.
ADD EGGS AND VANILLA: Beat in the eggs one at a time, making sure each is fully incorporated before adding the next. Stir in the vanilla extract.
COMBINE WET AND DRY INGREDIENTS: Alternate adding the dry ingredients and the milk mixed with sour cream to the butter mixture, starting and ending with the dry ingredients. Mix slowly by hand to avoid overmixing, which can make the cupcakes tough.
FILL THE CONES: Fill each cone about two-thirds full with batter. A piping bag helps to distribute the batter neatly without spills.
BAKE: Place the muffin pan in the preheated oven and bake for 18 to 22 minutes. The cupcakes are done when the tops are golden and spring back when gently pressed.
COOL COMPLETELY: Allow the cupcakes to cool completely before decorating to prevent the frosting from melting.
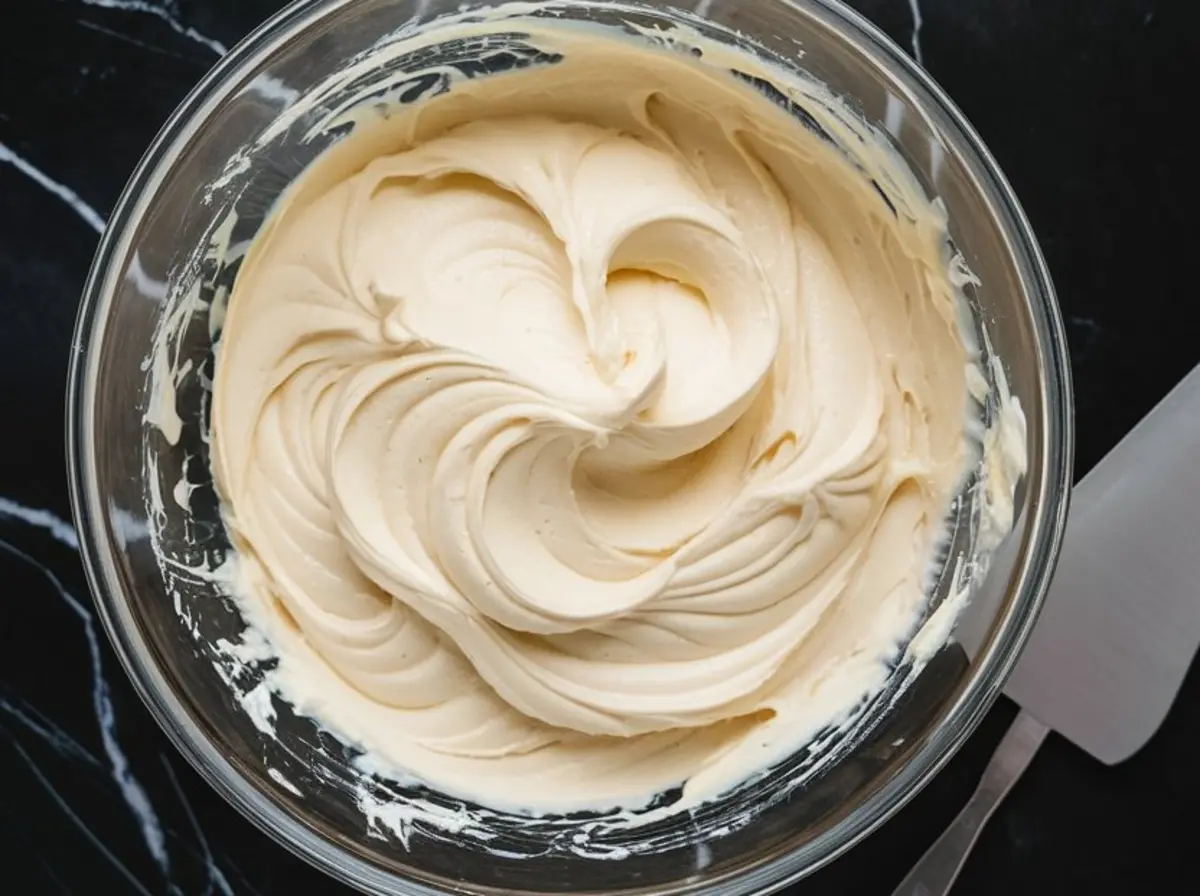
MAKE THE FROSTING: In a large bowl, beat the butter until creamy. Gradually add the powdered sugar, mixing on low speed at first to avoid spillage. Add the vanilla extract and heavy cream (or milk), then beat on high speed until the frosting becomes light and fluffy.
DECORATE: Using a large star piping tip, pipe tall swirls of frosting on each cooled cupcake to resemble soft-serve ice cream. Add sprinkles and top each with a maraschino cherry.
Notes
Using a muffin pan to hold the cones ensures stability during baking. Avoid overfilling the cones to prevent overflow.
Nutrition Information:
Yield:
18Serving Size:
1Amount Per Serving: Calories: 370Total Fat: 20gSaturated Fat: 12gTrans Fat: 0gUnsaturated Fat: 7gCholesterol: 72mgSodium: 153mgCarbohydrates: 45gFiber: 0gSugar: 35gProtein: 3g
