

I never thought a mini cheesecake could say something real. But then I made these.
They’re simple at first glance vanilla cheesecake, a cocoa graham base, glossy ganache. But what they do is quieter. They tell someone, “I made this for you.” No bakery box. No rush job. Just care, packed into a little heart.
In this post, you’ll learn how to make these heart shaped cheesecakes with confidence, even if baking usually feels intimidating. I’ll walk you through the structure, texture, and technique so you feel ready, not overwhelmed. And yes, there’s a little surprise waiting in the filling. The part no one expects.
I’ve baked mini cheesecakes for years. I’ve piped them in jars, stacked them on cookie crusts, even baked red white and blue mini cheesecakes for a 4th of July picnic. But these are the ones I come back to when I want the gesture to mean more than dessert.
Let’s begin with the base.

Cocoa Graham Cracker Crust: The Foundation That Balances Sweetness
The crust in this recipe starts with classic graham cracker crumbs, but I stir in just a bit of unsweetened cocoa powder.

That one change makes the sweetness in the filling feel softer. Less predictable. The crust bakes for just eight minutes, but that quick oven time locks in the structure, giving you a base that doesn’t crumble apart on the first bite.
You want to press the mixture down until it holds. I use the bottom of a spice jar to pack it evenly.
For anyone who’s tried crusts with or without cocoa: in my notes, the cocoa version always wins when paired with fruit or ganache. The flavor doesn’t shout. It hums under the surface.
Creamy Cheesecake Filling with a Hint of Lemon

The filling here is rich, but not heavy. Cream cheese gives it body. Sour cream keeps it smooth.
The unexpected touch is lemon zest. Just a bit. I use a fine rasp grater so the zest folds evenly into the batter. It doesn’t taste like lemon cheesecake. But it wakes up the vanilla. It adds that fresh note that makes you pause.
I always make sure the cream cheese is fully softened before beating. Cold cream cheese will never go smooth, no matter how long you mix. And mix slowly. Too much air leads to puffing and cracking.
The filling settles into the crust like silk. I spoon it to the top of each mold and smooth the surface gently.
I’ve made mini blackberry cheesecakes with similar base ratios. But this filling holds firmer and slices cleaner, especially when chilled overnight.
Baking Tips for Even, Crack-Free Results
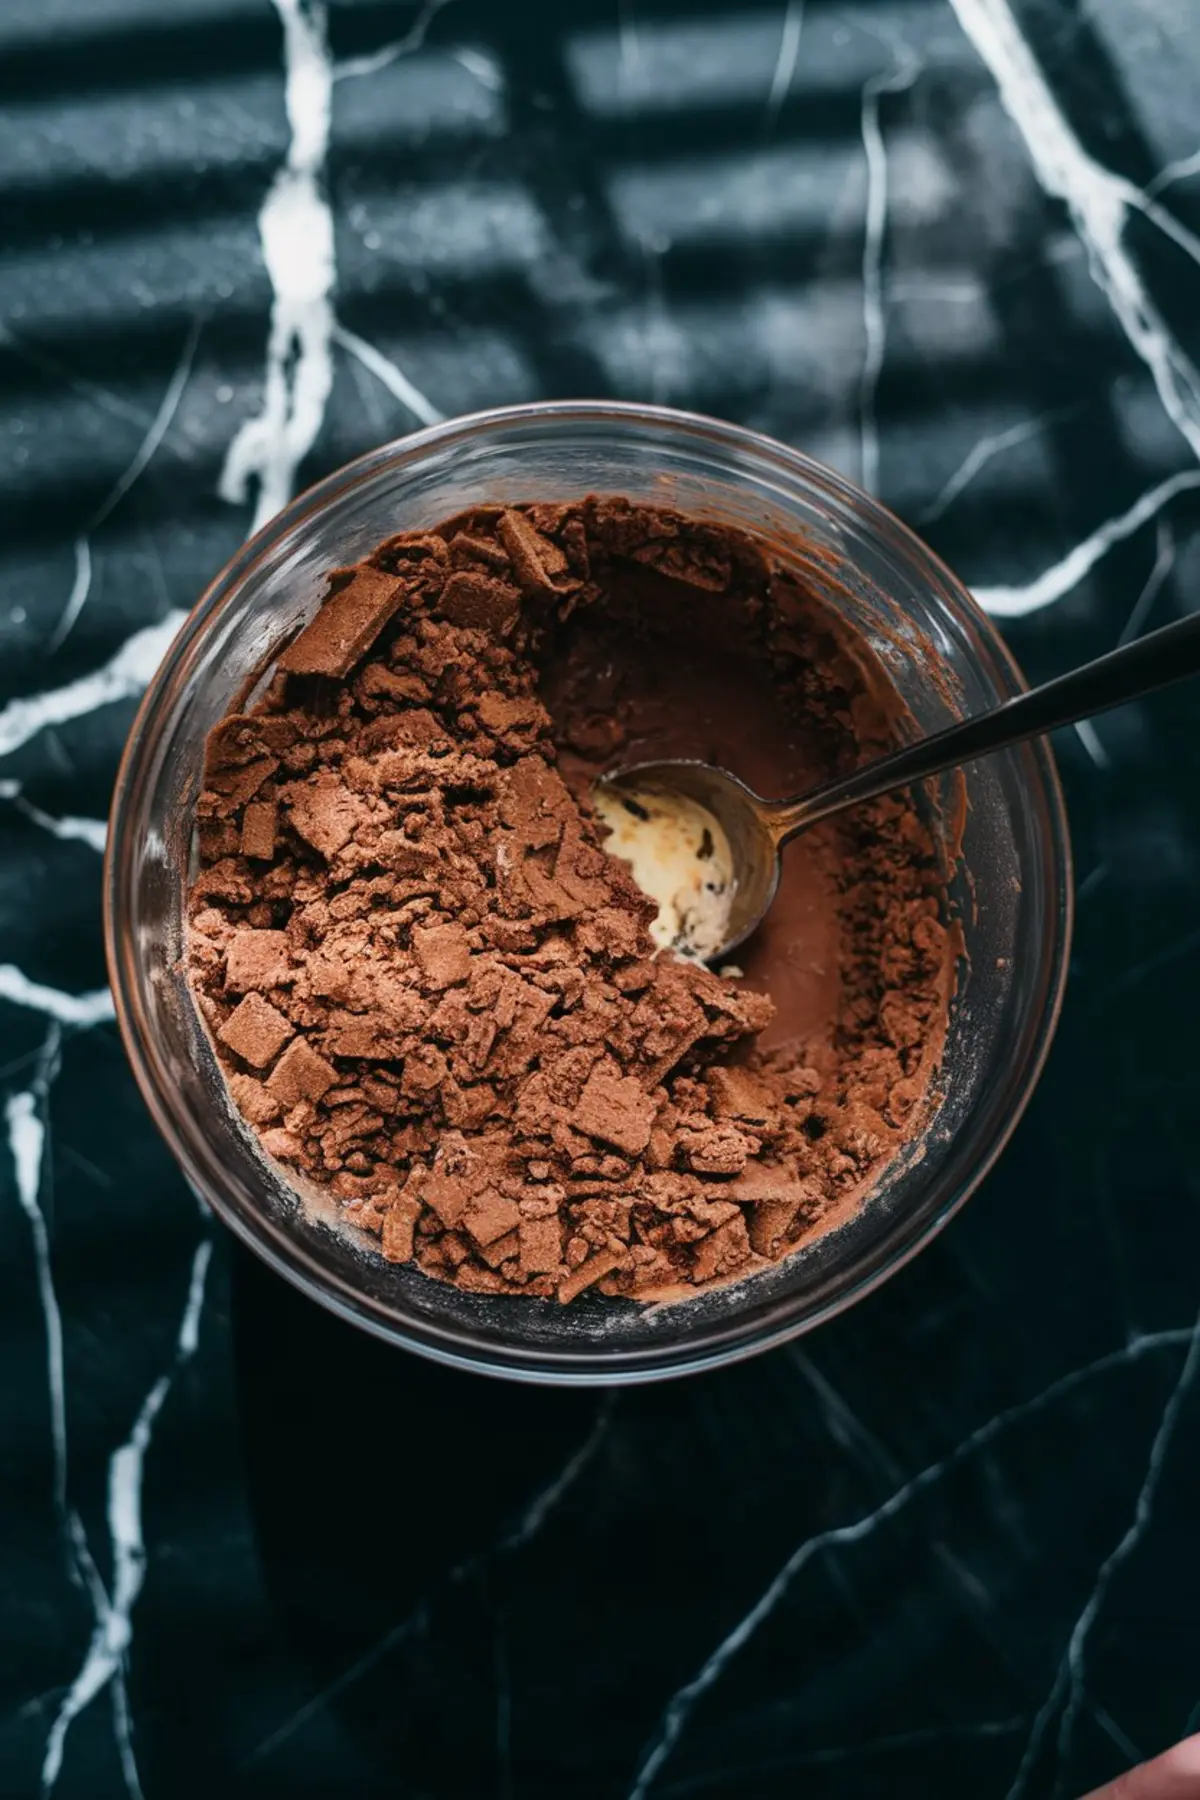
The key with mini cheesecakes is to bake low and steady. These go in at 325°F. After about 20 minutes, the centers should still wobble slightly when nudged.
I don’t pull them straight out. I turn off the oven, crack the door, and let them sit for 10 minutes. That slow cool-down helps prevent sudden temperature shifts that cause cracks.
Once out of the oven, they rest at room temperature until cool. Then they go into the fridge for at least four hours. Overnight works best if you have the time.
For clean edges, I freeze them for 20 minutes before unmolding. It makes a real difference in the final look.
Dark Chocolate Ganache Drip: The Glossy Finish
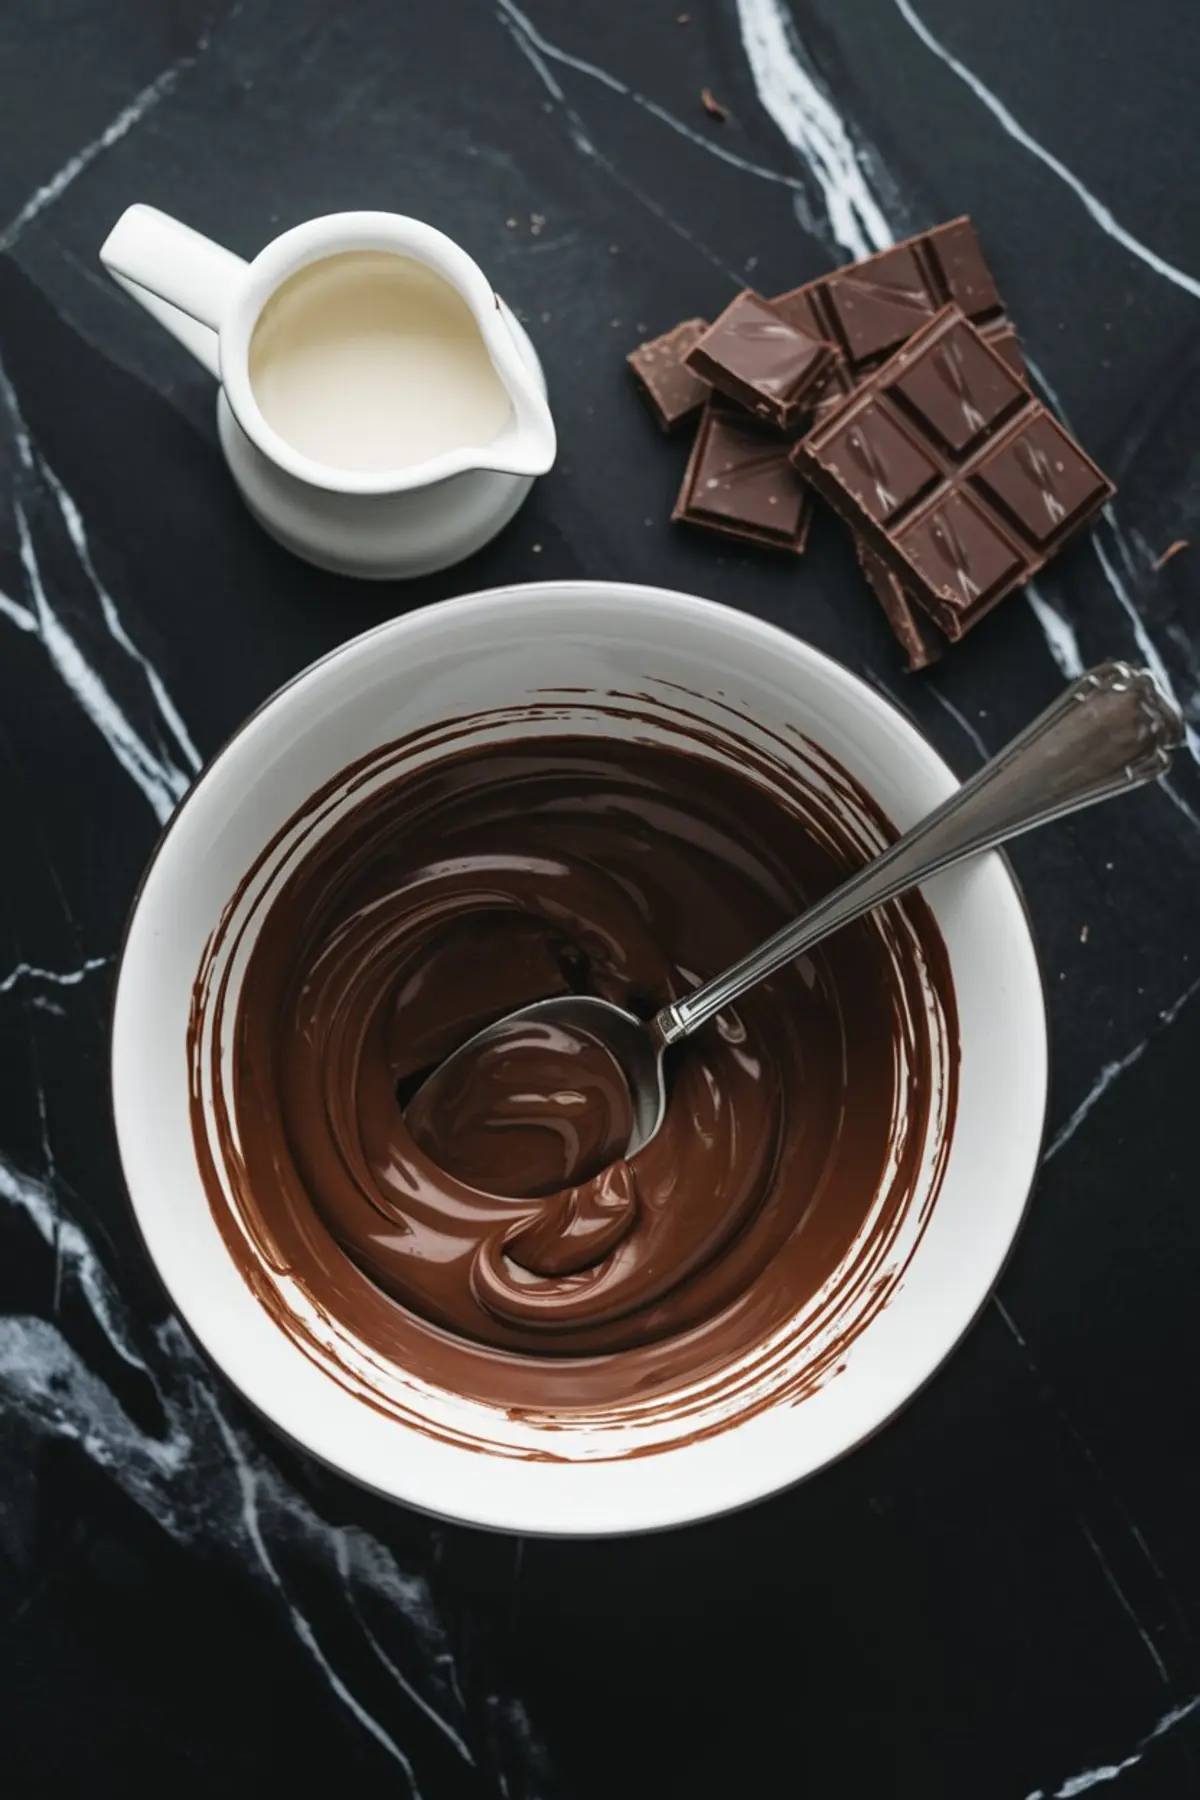
Ganache is where it all comes together.
I warm cream gently just to a simmer and pour it over finely chopped dark chocolate. Let it sit for a minute, then stir until smooth. That gloss is what gives these mini cheesecakes their polished look.
I don’t use milk chocolate here. It muddies the balance. Dark chocolate adds a bitter note that cuts through the richness.
Spoon it slowly over each cheesecake. Let it drip. No need to rush. The contrast between the dark ganache and the pale vanilla cheesecake is part of the visual charm.
Why the Raspberry on Top Matters
It’s not decoration. It’s punctuation.
The fresh raspberry brings a bright tartness to each bite. And it plays against the smoothness of the ganache.
I’ve tried strawberries and even edible flowers on top. But the raspberry, for its color and size, fits better than anything else. It’s small enough not to weigh down the structure, and bold enough to stand out.
That’s the detail guests remember. Not the cream cheese or the cocoa, but that sharp pop of berry at the very top.
The Hidden Detail That Makes These Cheesecakes Feel Extra
Earlier, I mentioned there’s a subtle twist in the recipe. Something unexpected.
It’s the lemon zest. Just half a teaspoon, but it’s what elevates the entire cheesecake. People won’t name it, but they’ll notice the flavor feels cleaner, lighter. You won’t taste citrus, exactly. You’ll taste clarity.
It’s one of those additions that doesn’t fight for attention—it helps everything else make sense.
Save and Share Your Cheesecakes

If you’re thinking about making these heart shaped cheesecakes for a date night, a Galentine’s celebration, or just because it’s Tuesday, you’ll walk away with something memorable. Not just for the people you share them with—but for yourself, too.
Save this recipe to your board so you can find it next time you want a dessert that says something without needing to explain it.
And if you do make them, come back and let me know how it went. Did the ganache drip just the way you wanted? Did the crust hold up? I’d love to hear about it in the comments.
Heart Shaped Cheesecakes Recuipe

Mini heart-shaped cheesecakes are baked in individual molds with a cocoa-enhanced graham cracker crust, a creamy vanilla filling, and a glossy dark chocolate ganache drip. A single raspberry tops each cheesecake for a simple and elegant finish.
Ingredients
- FOR THE CRUST
- 1 cup finely crushed graham cracker crumbs
- 1 tablespoon unsweetened cocoa powder
- 4 tablespoons unsalted butter, melted
- FOR THE FILLING
- 16 ounces full-fat cream cheese, softened
- 1/2 cup granulated sugar
- 2 large eggs, room temperature
- 1/3 cup sour cream
- 1 teaspoon vanilla extract
- 1/2 teaspoon finely grated lemon zest
- FOR THE GANACHE
- 1/2 cup heavy cream
- 4 ounces dark chocolate, finely chopped
- FOR TOPPING
- 12 fresh raspberries
Instructions
- PREPARE THE OVEN AND MOLDS: Preheat the oven to 325°F. Line heart-shaped molds or a muffin tray with parchment or paper liners to ensure easy removal.
- MAKE THE CRUST: In a medium bowl, stir together graham cracker crumbs, cocoa powder, and melted butter until the mixture resembles wet sand. Divide evenly among the molds and press firmly to create a compact base.
- BAKE THE CRUST: Bake the crusts for 8 minutes, then remove from the oven and allow them to cool slightly while preparing the filling.
- MAKE THE FILLING: In a mixing bowl, beat softened cream cheese until smooth and free of lumps. Add sugar and mix until fully combined. Beat in eggs one at a time, mixing well after each addition. Add sour cream, vanilla extract, and lemon zest, and stir until the mixture is smooth and uniform.
- FILL THE MOLDS: Spoon the cheesecake batter into the cooled crusts, filling nearly to the top. Smooth the tops with a spoon or spatula.
- BAKE THE CHEESECAKES: Place the tray in the oven and bake for 18 to 20 minutes, until the centers are just set with a slight wobble. Turn off the oven, crack the door, and let the cheesecakes rest inside for 10 minutes.
- COOL AND CHILL: Remove the tray from the oven and transfer the cheesecakes to a cooling rack. Let them cool completely at room temperature, then refrigerate for at least 4 hours until fully set.
- MAKE THE GANACHE: In a small saucepan, heat the heavy cream over medium heat until it just begins to simmer. Remove from heat and pour over the chopped chocolate in a bowl. Let sit for 1 minute, then stir until smooth and glossy.
- DECORATE THE CHEESECAKES: Once the cheesecakes are chilled and firm, spoon ganache over each one, allowing some to drip naturally over the edges. Place a fresh raspberry on top of each cheesecake for garnish.
Notes
Use full-fat cream cheese for the best texture and flavor. For clean edges when removing from molds, briefly freeze the cheesecakes for 15–20 minutes before unmolding. Store leftovers in the refrigerator for up to 3 days.
Nutrition Information:
Yield:
12Serving Size:
1Amount Per Serving: Calories: 342Total Fat: 26gSaturated Fat: 15gTrans Fat: 0gUnsaturated Fat: 9gCholesterol: 95mgSodium: 170mgCarbohydrates: 23gFiber: 1gSugar: 17gProtein: 5g
