
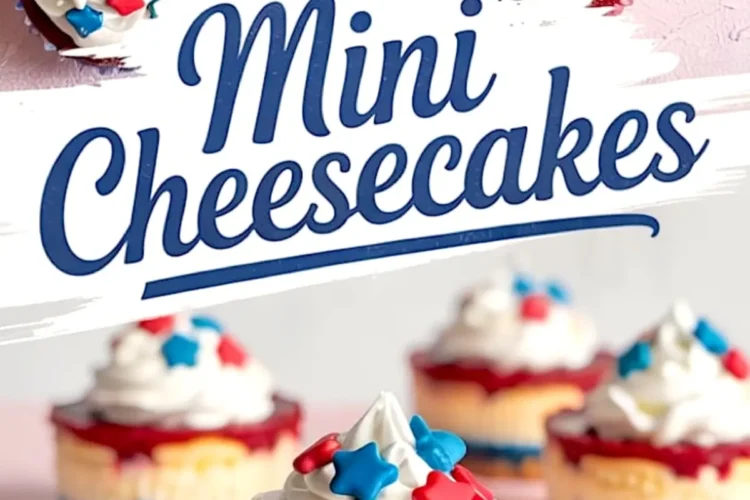
Some recipes shout. This one hums. These red, white, and blue mini cheesecakes don’t rely on fanfare, they offer quiet charm, gentle layers, and a steady hand in the kitchen. They’ve become a tradition in my home around the Fourth of July, baked calmly the night before and chilled while the heat rises outside.
In this piece, I’ll walk you through the kind of baking that rewards slowness. I’ll show you why I use a graham base instead of a cookie one. I’ll share what the jam needs (and doesn’t need) to keep things bright. And tucked in the middle, you’ll find the one small detail that brings everything together. It’s something I recorded in my notes after the third time making these.
A Crust That Holds Its Shape in July Heat
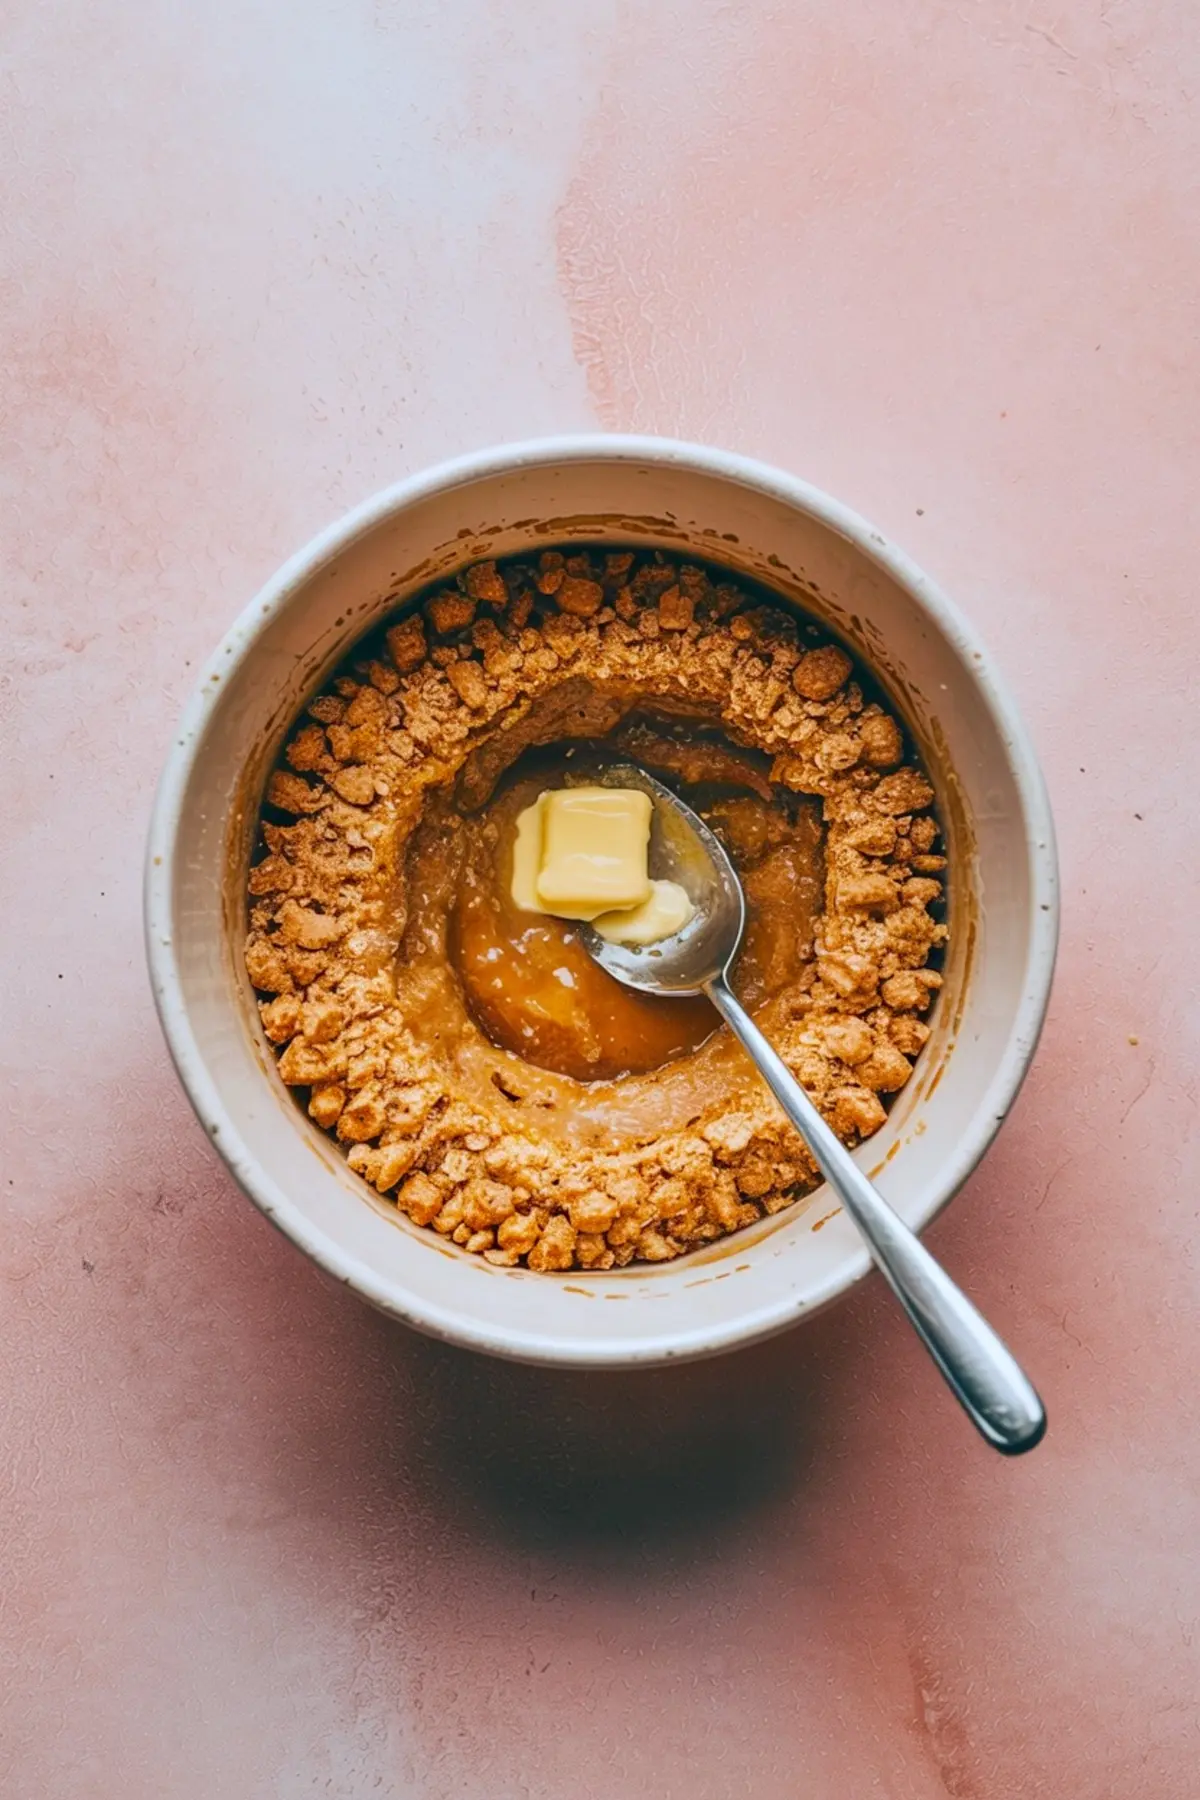
I start with graham crackers, crushed fine enough that they settle without grit. A bit of sugar keeps the crust from tasting flat. Butter, melted gently, binds it together. You’ll know the texture is right when it holds a line if you press a spoon across the bowl.
Each portion gets pressed into a lined muffin tin. I use the bottom of an old spice jar to get even pressure. That extra minute of care makes unmolding them later far easier.
The Cheesecake Filling Needs Softness, Not Speed
Cream cheese must be truly soft before you begin. Rushed cheese gives lumps, and no mixer can save you from it later. I leave mine on the counter until a clean finger leaves a dent. Sour cream adds a gentle tang. Vanilla gives warmth. A spoonful of flour steadies the mixture.
I divide the batter and tint half with blue gel coloring. Gel doesn’t thin it out like liquid dyes do. I’ve used both, and the gel holds the structure. The uncolored half stays white.
Layer Slowly and Tap Gently
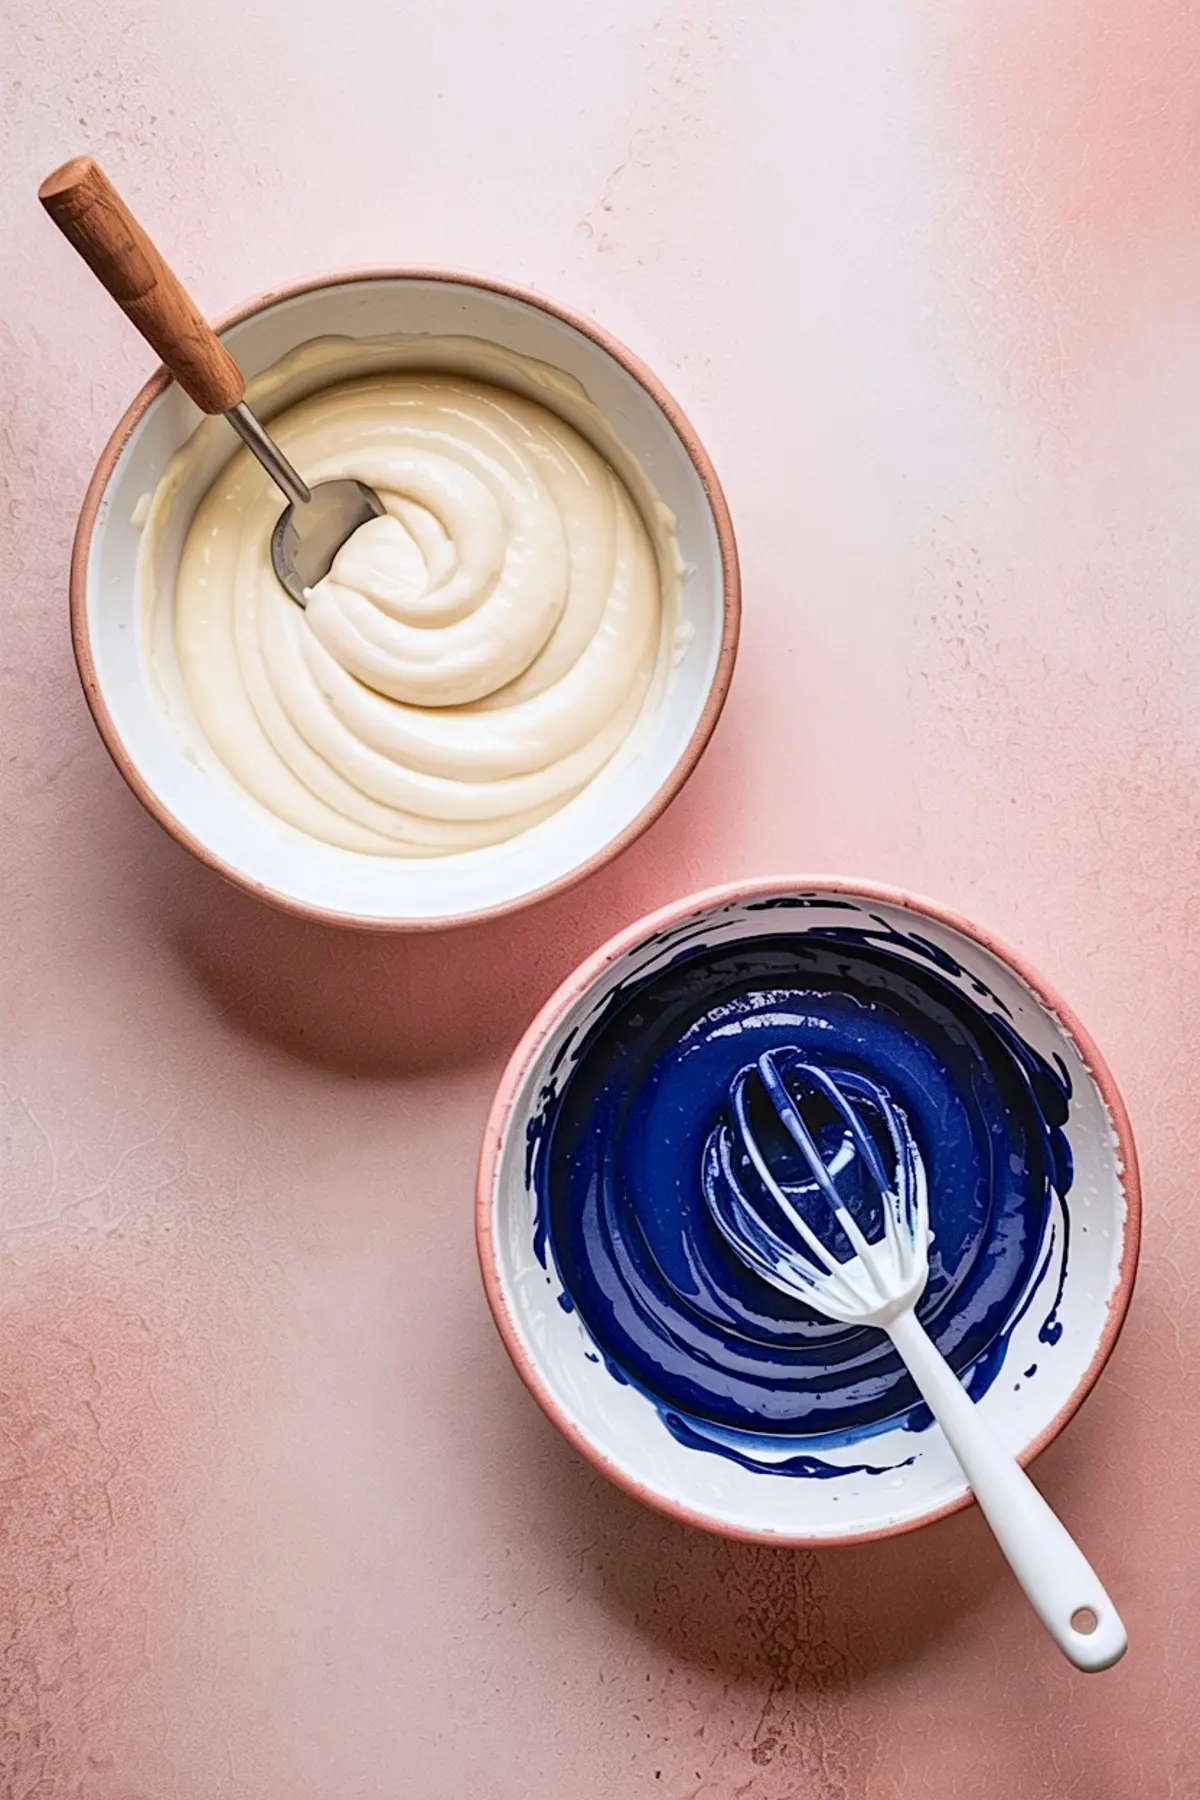
Blue goes first. Not for symbolism, but for function. The heavier tinted batter supports the lighter white. Drop the layers in slowly. Then, tap the tin against the counter. You want bubbles to rise, not layers to shift.
If you chill the bowl of batter for 10 minutes beforehand, the lines stay cleaner. I’ve scribbled that tip in the margin of my Pin Notebook.
Bake Quietly and Cool with Care
I bake these at 325°F. The moment the centers stop wobbling like loose jelly, I pull them from the oven. Not firm, just calm.
Leave them in the tin for 15 minutes. Then, lift each one to a rack. Let them reach room temperature before chilling. The refrigerator firms them, but don’t rush that first hour of ambient rest.
A Jam Layer Needs Restraint and a Pinch of Salt
After chilling, I spread seedless jam on each. Raspberry gives a bolder red. Strawberry gives a sweeter edge. I’ve used both. If I’m honest, I lean raspberry.
Now here’s the small thing. The one that brought it all together. A pinch—not a shake—of fine salt stirred into the jam before spreading. It rounds out the sweetness and softens the edge of the fruit. I added it once by accident, wrote it down with a star in my notebook, and have never left it out since.
Store-Bought Jam vs. Homemade: What’s Worth It?
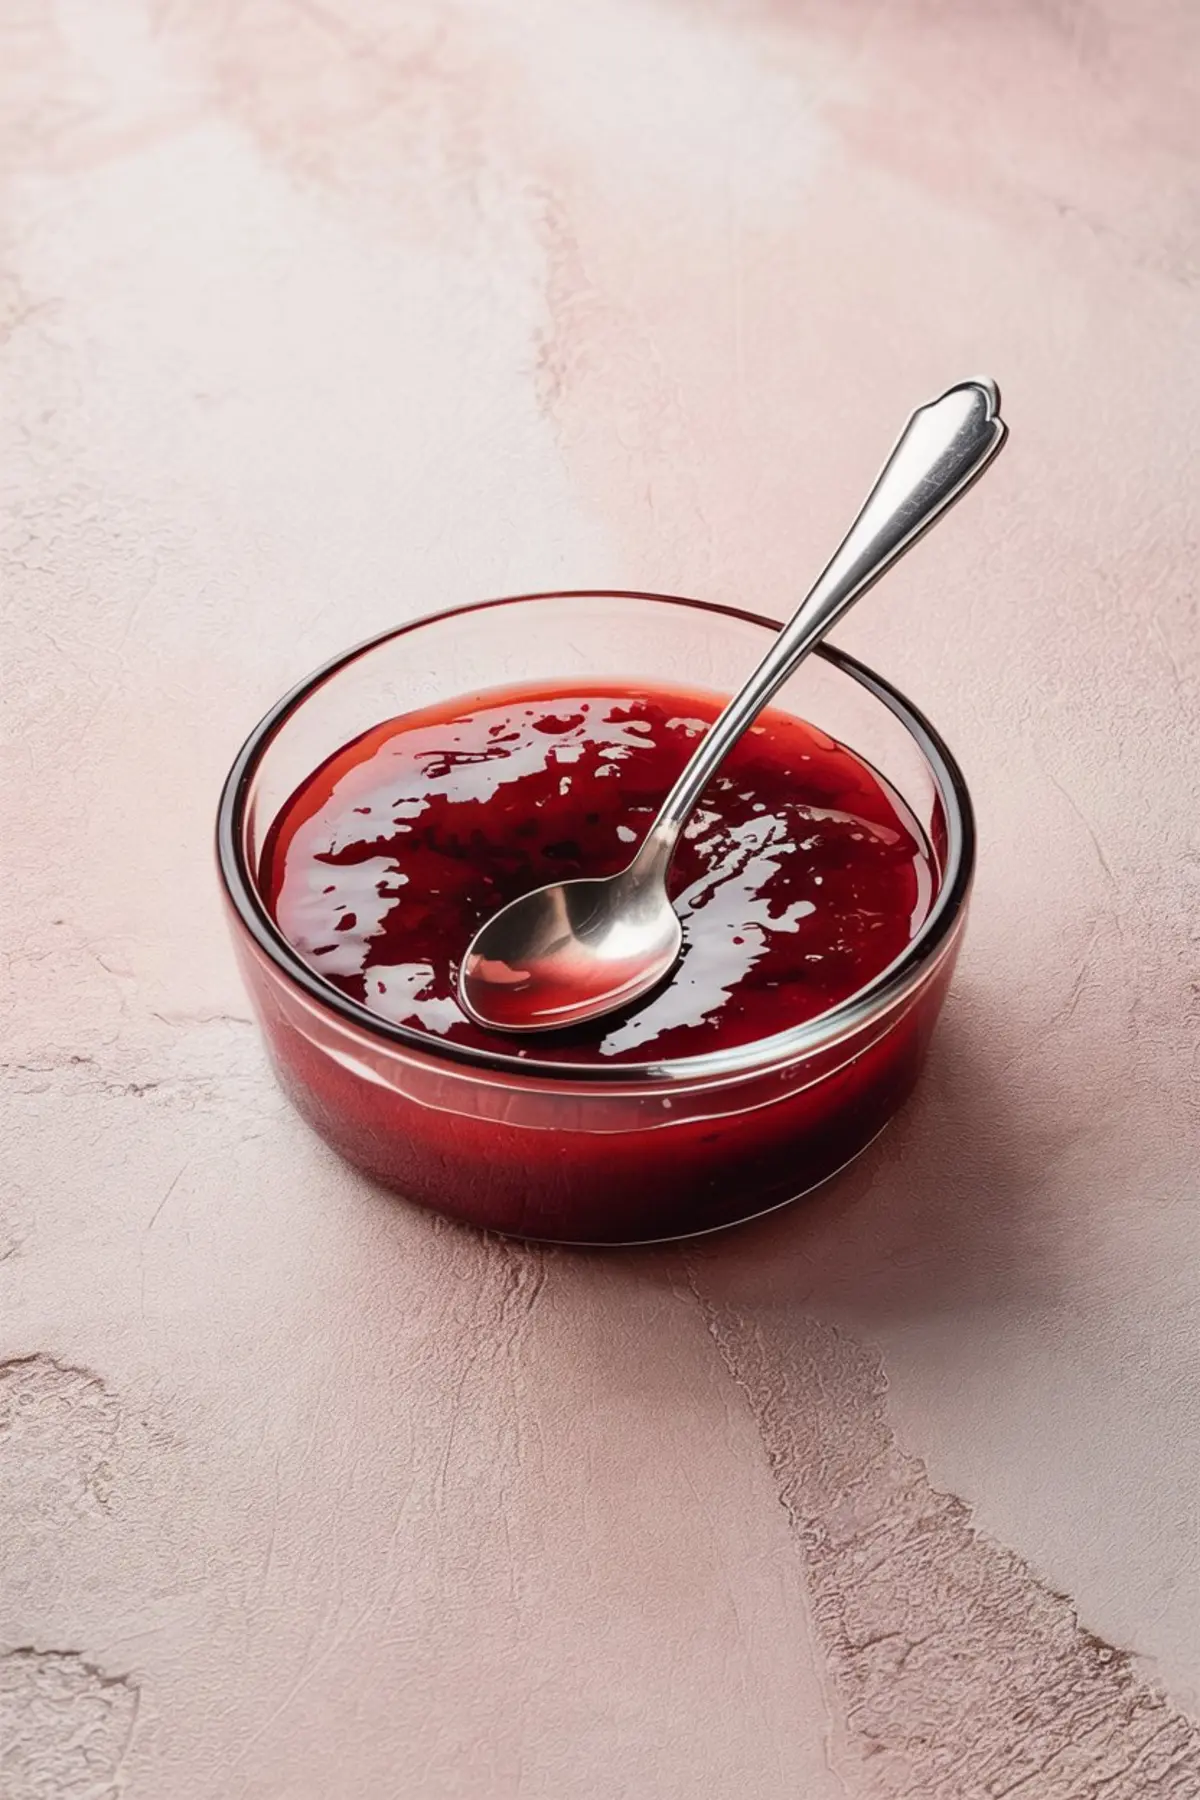
I love making jam. But not here. I’ve tried homemade in this recipe and found it too loose. These cheesecakes need the structure that comes from a jar. Something smooth. Something that sets when chilled. Save the homemade for toast.
Why These Mini Cheesecakes Stay Steady on the Table

They hold. They don’t melt or lean. They travel well. They sit beautifully beside a cold pitcher of Frozen Independence Margarita, or on a plate with Patriotic Strawberries and Fourth of July Strawberries. If you prefer a full-size option with a similar color theme, the Patriotic Swirl Cheesecake makes a lovely centerpiece.
Add a tray of Red White Blue Bark or offer a round of Red, White & Boozy Shots if the evening leans that way.
Save This Recipe, Then Come Back and Tell Me How It Went
If you’re like me, you’ll make notes the first time. Did the jam set right? Did you try the salt? What about the chill time? Pin this recipe for your Fourth of July board, or tuck it into your summer folder. Then come back and leave a comment. Let’s share what worked.
There’s always something to learn, even from a muffin tin of cheesecake.
Red, White & Blue Mini Cheesecakes
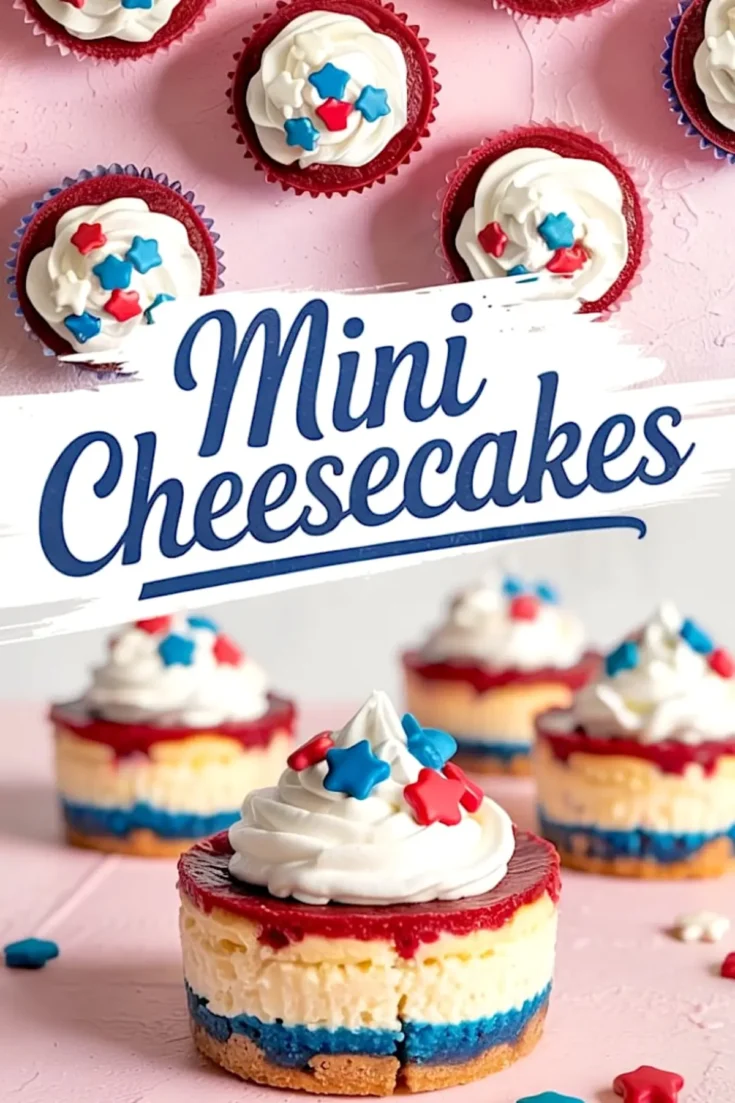
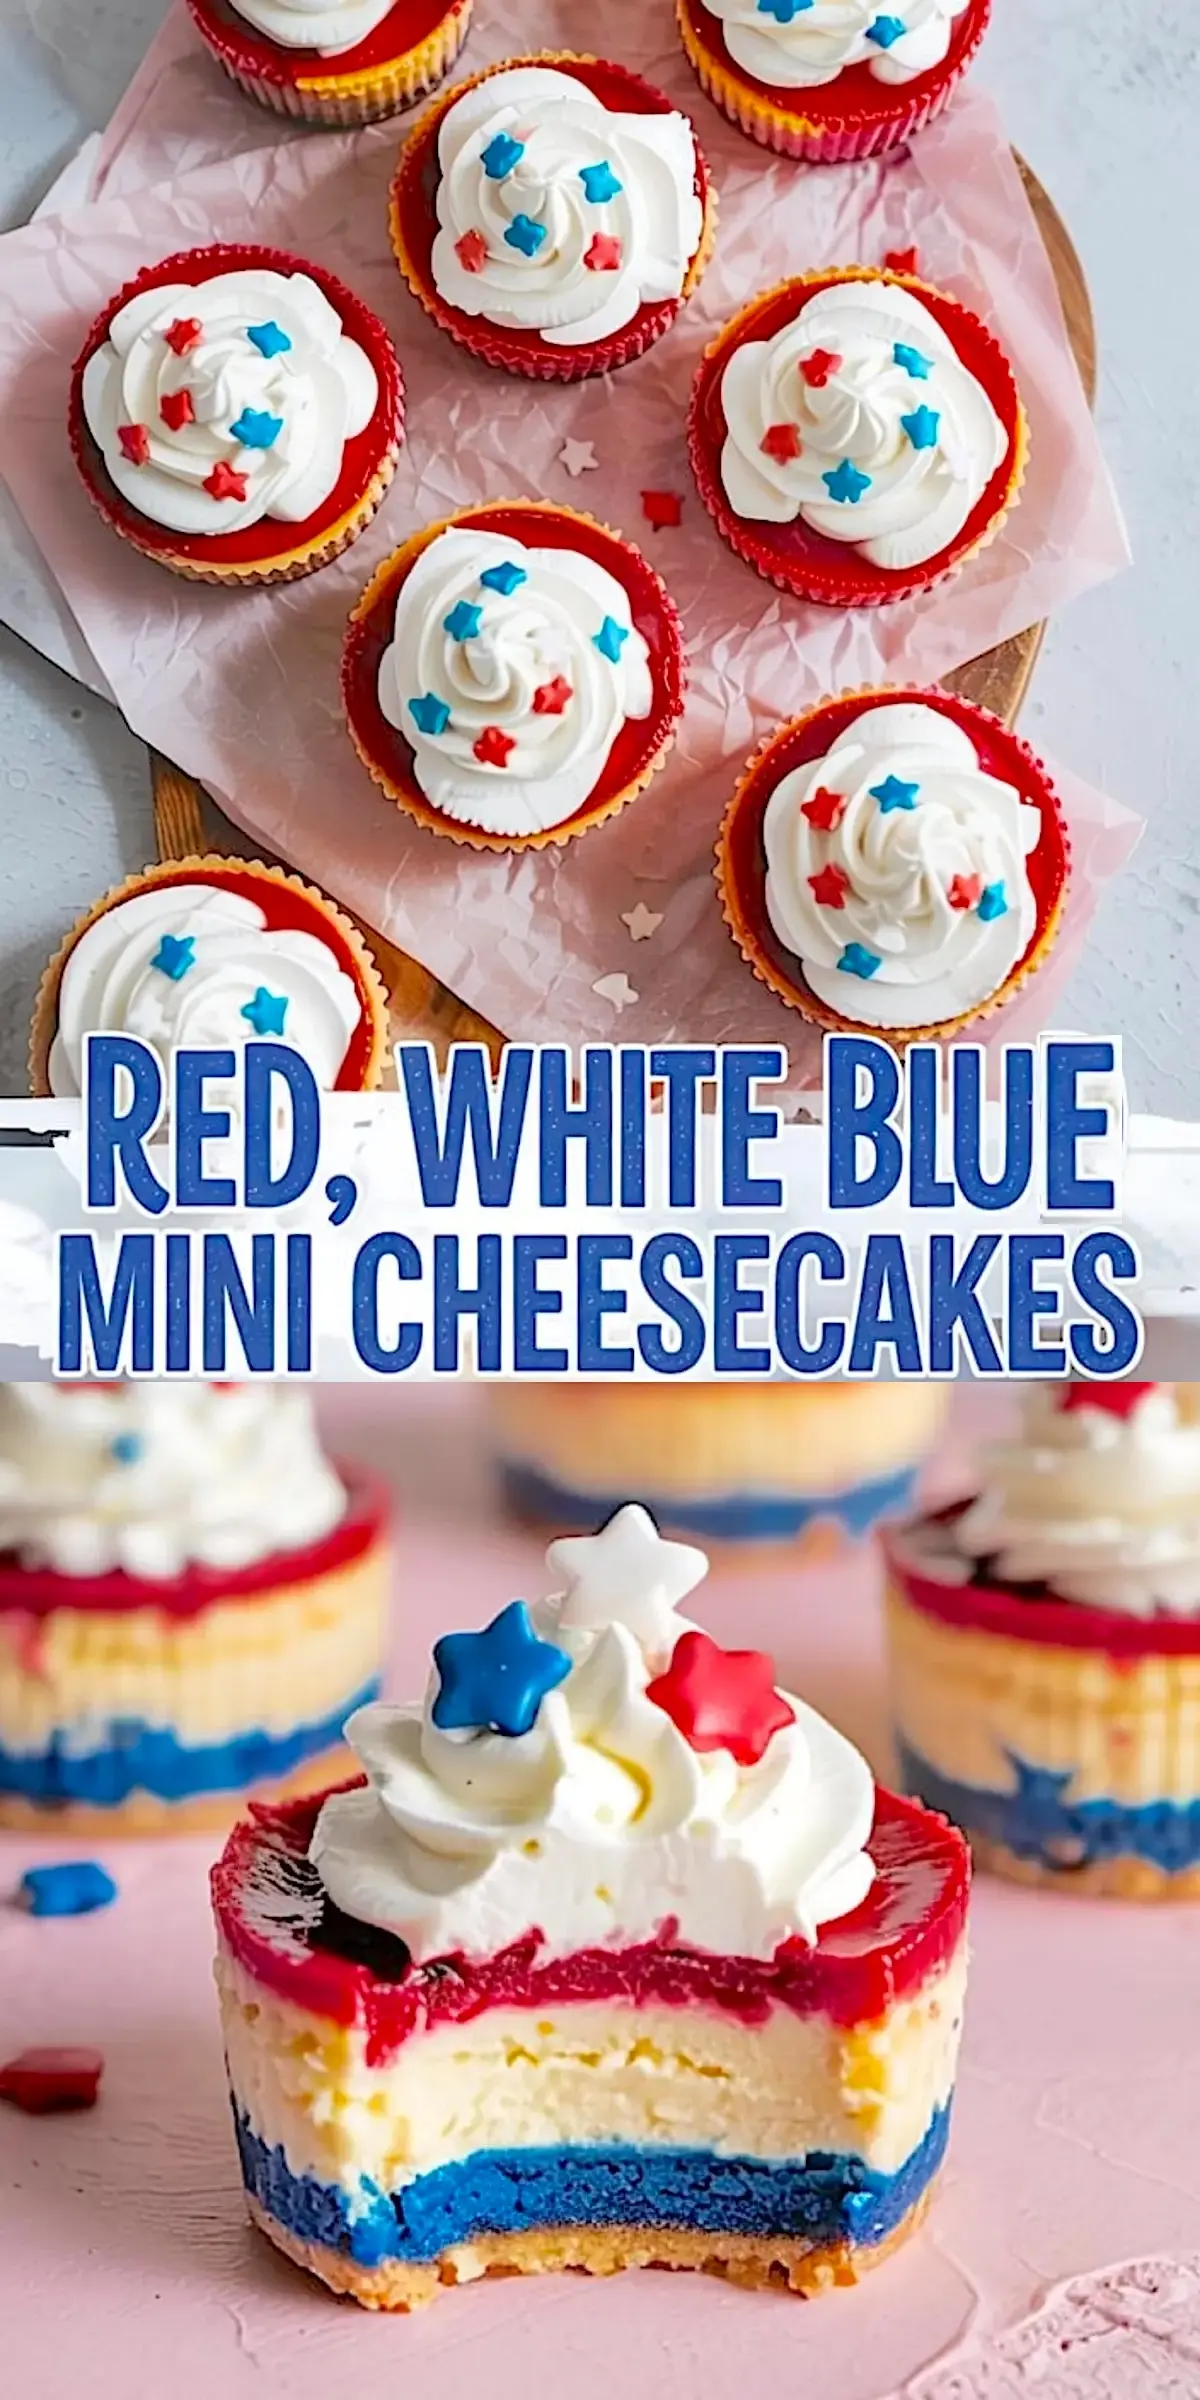
A layered cheesecake dessert with patriotic flair, perfect for summer celebrations. Each mini cheesecake features a buttery graham cracker crust, vibrant blue and classic white cheesecake layers, a glossy red jam topping, and festive whipped cream with star sprinkles.
Ingredients
- For the crust:
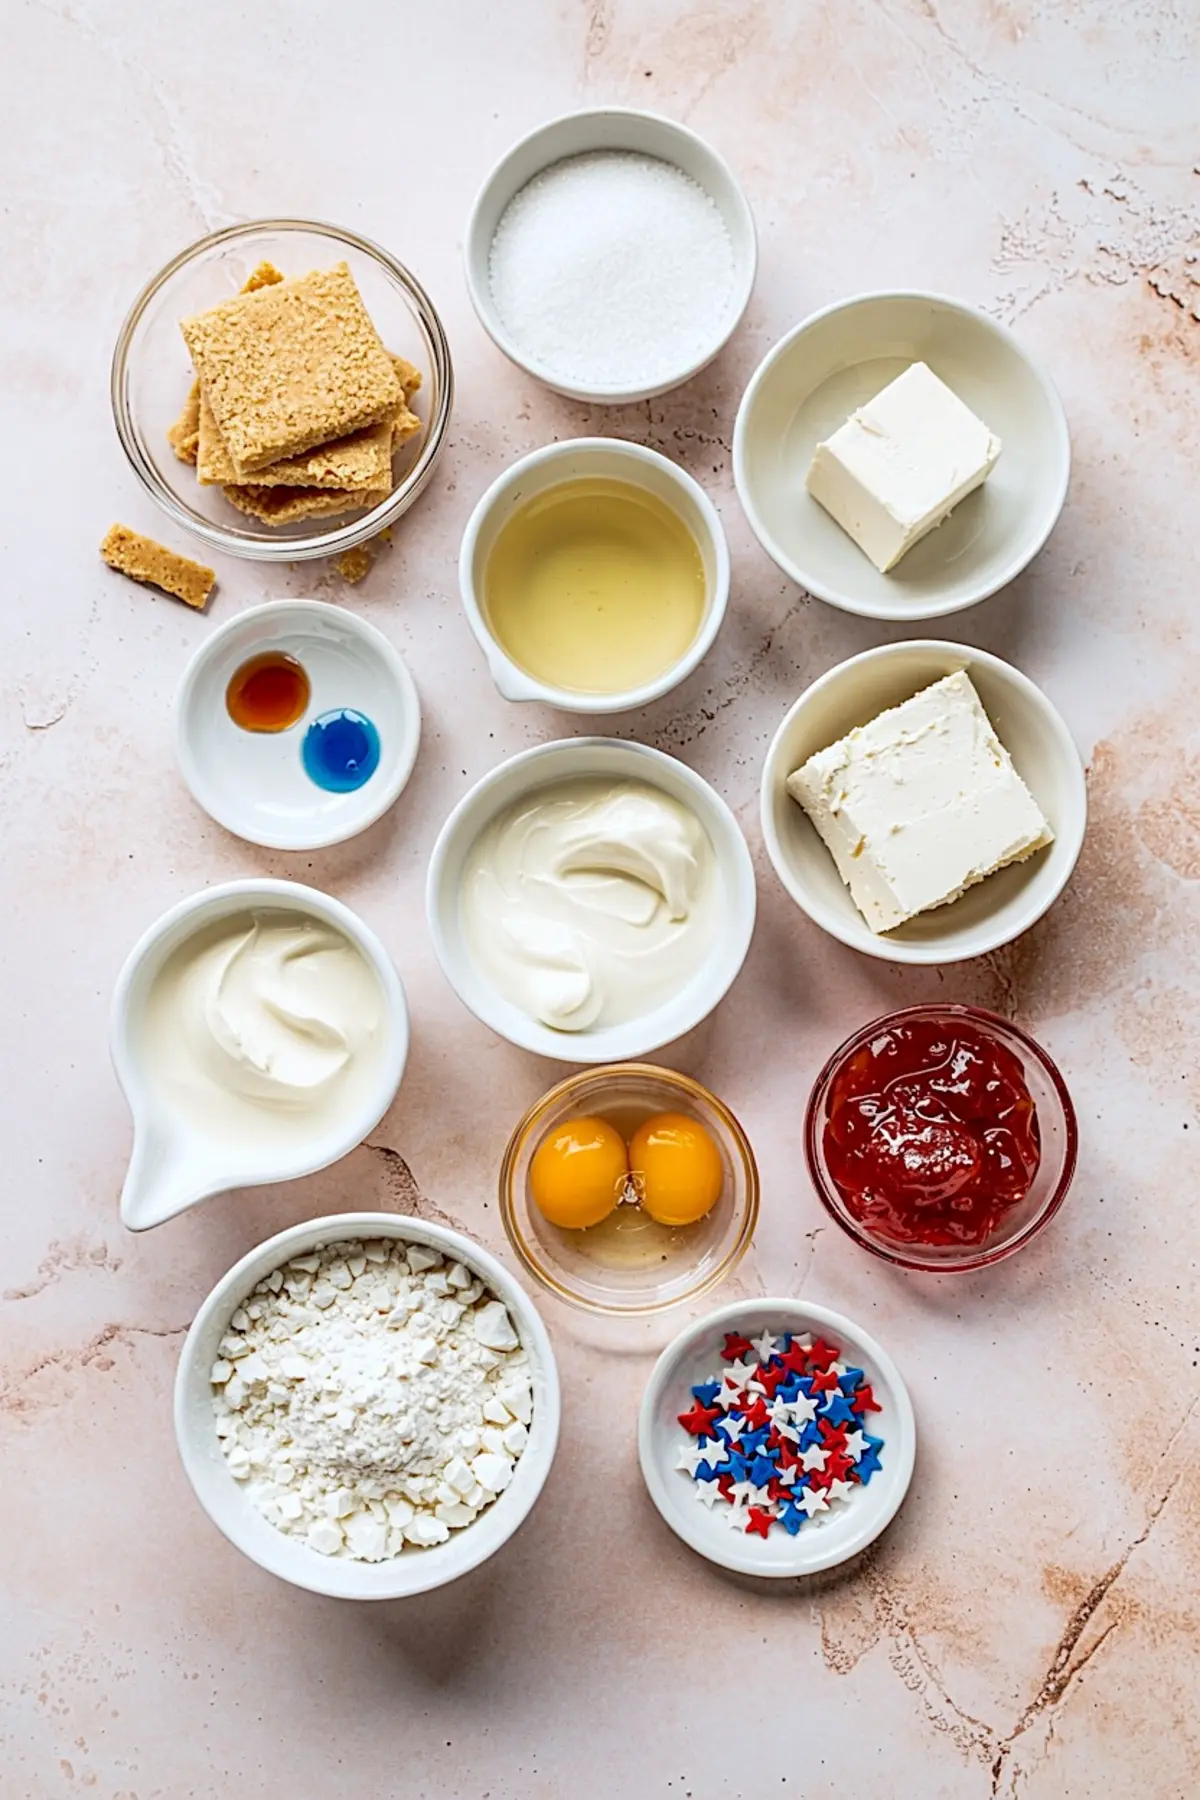
- 1 cup graham cracker crumbs (about 8 full sheets)
- 2 tablespoons granulated sugar
- 4 tablespoons unsalted butter, melted
- For the cheesecake layers:
- 16 ounces cream cheese, softened (2 standard blocks)
- 1/2 cup granulated sugar
- 1/4 cup sour cream
- 2 large eggs
- 1 teaspoon vanilla extract
- 1 tablespoon all-purpose flour
- Blue gel food coloring
- For the topping:
- 1/3 cup strawberry or raspberry jam (seedless)
- Whipped cream (store-bought or homemade)
- Red, white, and blue star-shaped sprinkles
Instructions
- PREPARE THE MUFFIN PAN: Preheat the oven to 325°F (163°C). Line a 12-cup muffin pan with paper cupcake liners to ensure easy removal after baking.
- MAKE THE CRUST: In a medium bowl, stir together graham cracker crumbs, granulated sugar, and melted butter until the mixture resembles wet sand. Spoon about 1 tablespoon into each liner and press it down firmly using the back of a spoon or the bottom of a small glass to form a compact crust.
- MAKE THE CHEESECAKE BATTER: In a large mixing bowl, beat the softened cream cheese until completely smooth. Add granulated sugar, sour cream, eggs, vanilla extract, and flour. Mix on medium speed just until the batter is smooth and combined, being careful not to overmix. Divide the batter evenly into two separate bowls. Leave one bowl plain for the white layer, and add blue gel food coloring to the other, stirring until the desired rich blue color is reached.
- LAYER THE BATTER: Spoon 1 to 2 tablespoons of the blue batter over each prepared crust. Then carefully spoon an equal amount of white batter on top of the blue layer. Tap the pan gently on the counter to remove air bubbles and level the tops.
- BAKE: Place the muffin pan in the oven and bake for 16 to 18 minutes, or until the centers are set but still slightly jiggly when the pan is moved. Remove from the oven and let the cheesecakes cool in the pan for 15 minutes. Then transfer them to a wire rack to cool completely. Once cooled, refrigerate for at least 2 hours, or overnight for best results.
- ADD JELLY LAYER: After chilling, spoon a thin layer of strawberry or raspberry jam onto each mini cheesecake. Use the back of a spoon to spread it evenly across the surface.
- DECORATE: Pipe whipped cream onto each cheesecake in a swirl pattern. Finish by sprinkling red, white, and blue star-shaped sprinkles over the top for a festive look.
Notes
Store leftover cheesecakes in an airtight container in the refrigerator for up to 3 days. For cleaner layers, chill the batter for 10–15 minutes before assembling. Use gel food coloring rather than liquid to prevent thinning the batter.
Nutrition Information:
Yield:
12Serving Size:
1Amount Per Serving: Calories: 304Total Fat: 22gSaturated Fat: 12gTrans Fat: 0gUnsaturated Fat: 8gCholesterol: 88mgSodium: 211mgCarbohydrates: 23gFiber: 0gSugar: 17gProtein: 5g
