
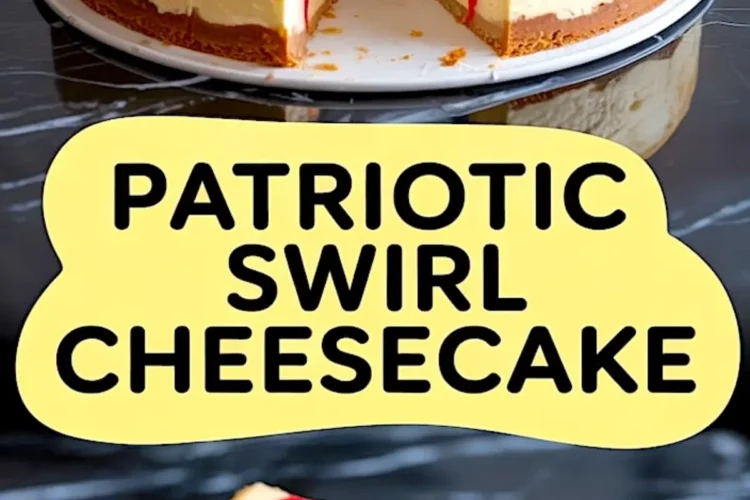
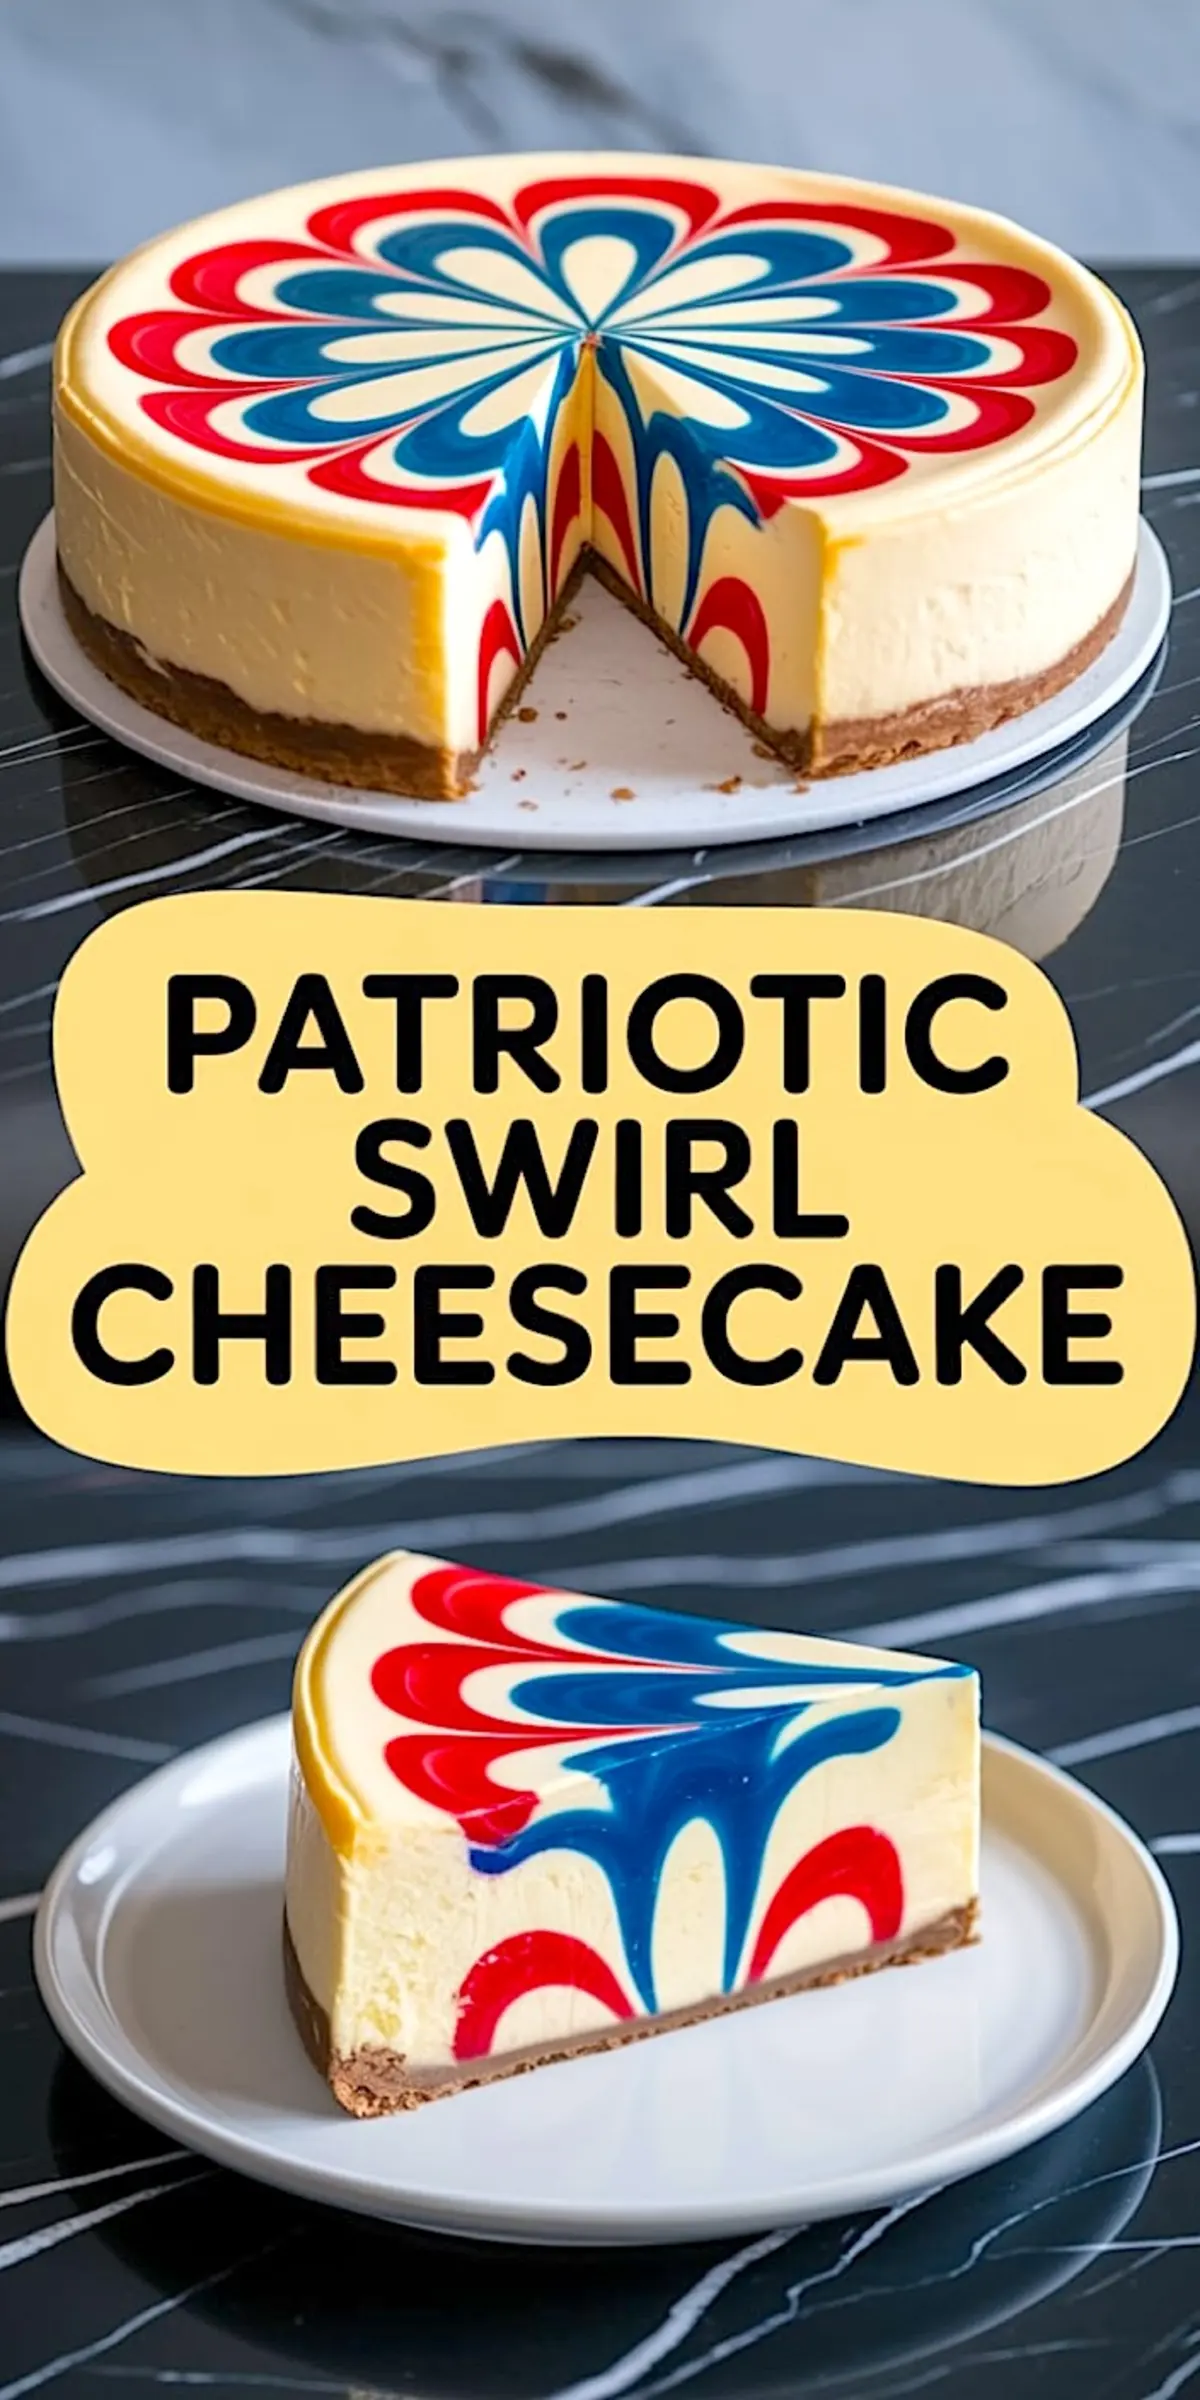
There’s cheesecake that stuns on the surface, and then there’s this one. Each slice of this Patriotic Swirl Cheesecake carries its stripes like a flag, rippling red, white, and blue not just on top but straight through to the base. You’ll learn exactly how to get that deep swirl without muddying the layers.
You’ll also get clarity about texture, timing, and why some cheesecake slices look better in photos than on plates. I want you to feel confident taking this one to your Fourth of July table or bringing it out chilled on a warm summer night.
It’s cool, bold, and steady as it bakes — but the real twist happens inside. There’s a subtle step that most recipes skip. I’ll show you how one move changes the interior.
Let’s start with the crust.
Graham Cracker Crust for Cheesecake That Holds Its Slice
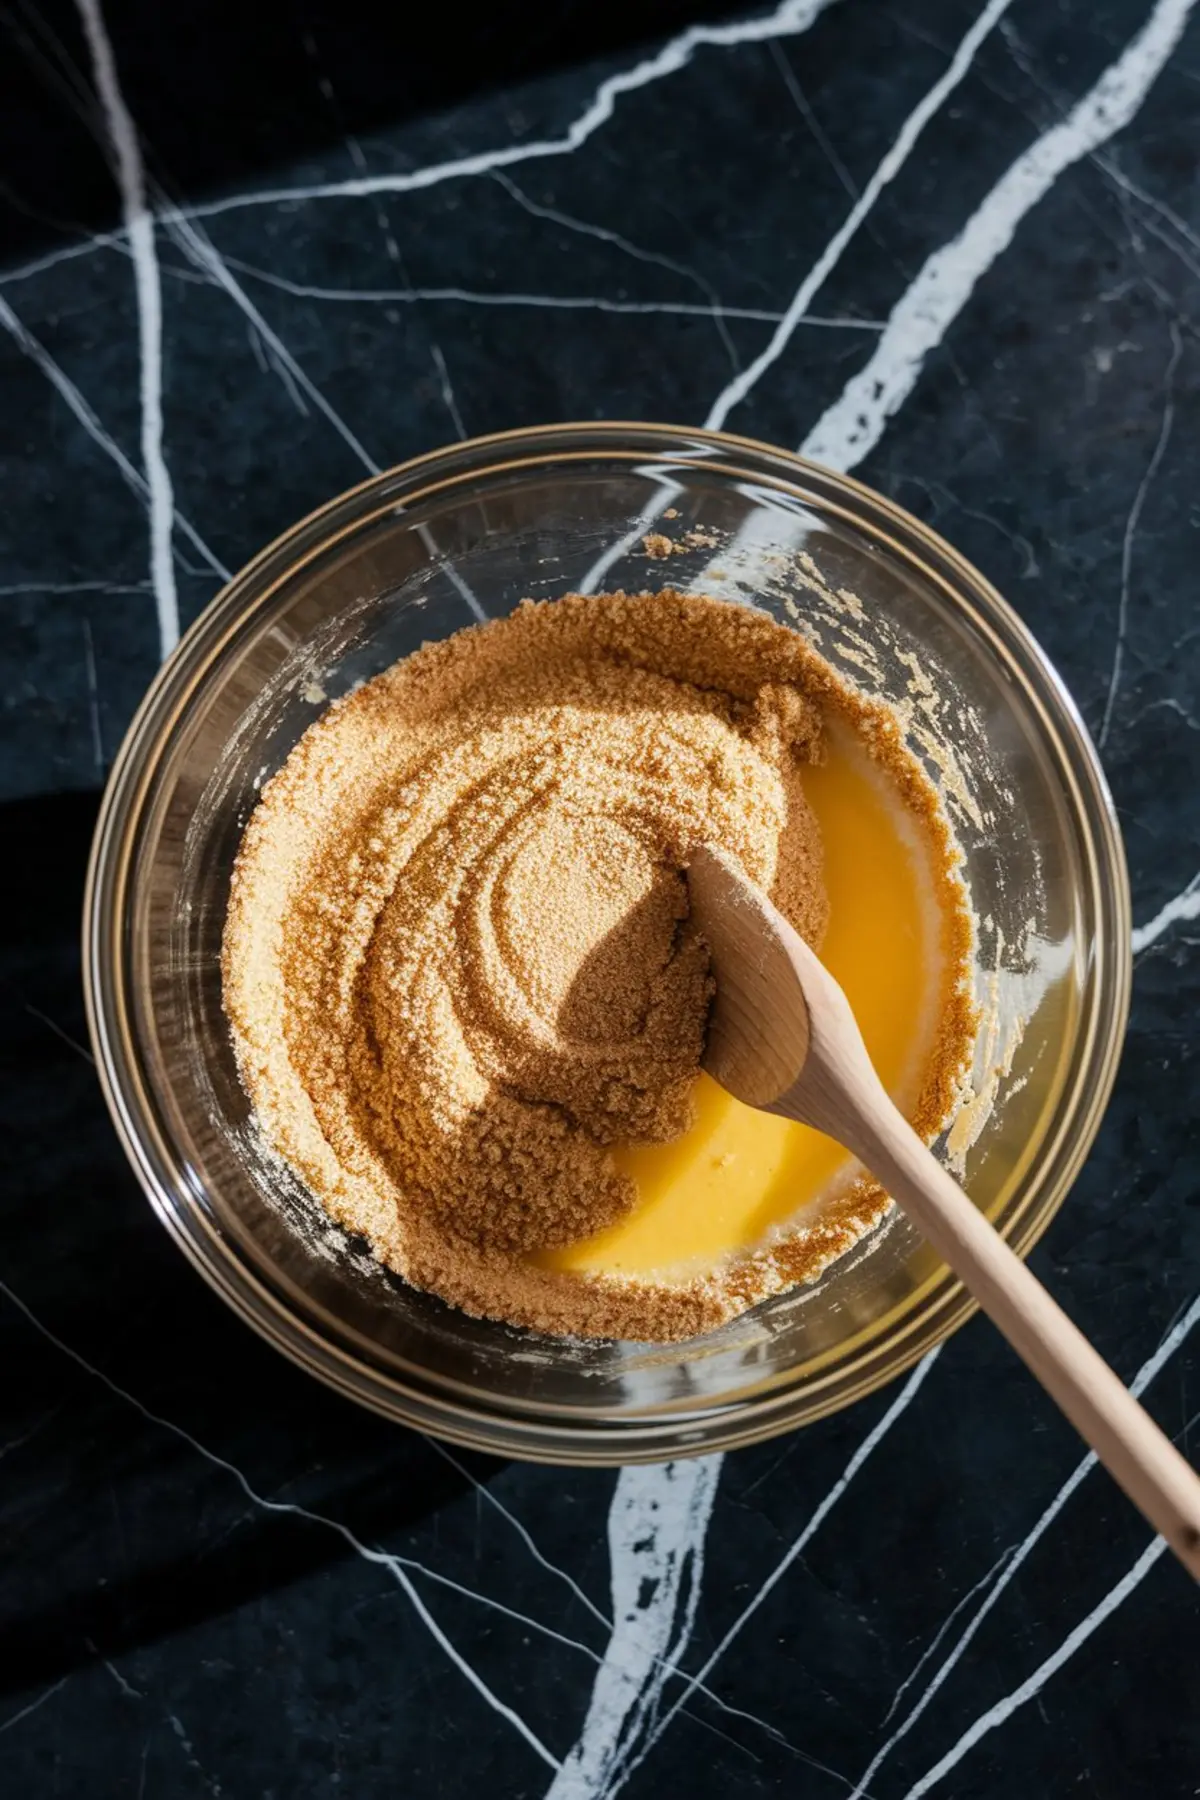
You need the right balance of crumbs, sugar, and butter. I’ve tried cutting the sugar or adjusting the butter to save steps. It didn’t pay off. Two cups of crumbs to half a cup of melted butter and a quarter cup of sugar gives you the firm, clean base that holds up under a thick cheesecake like this.
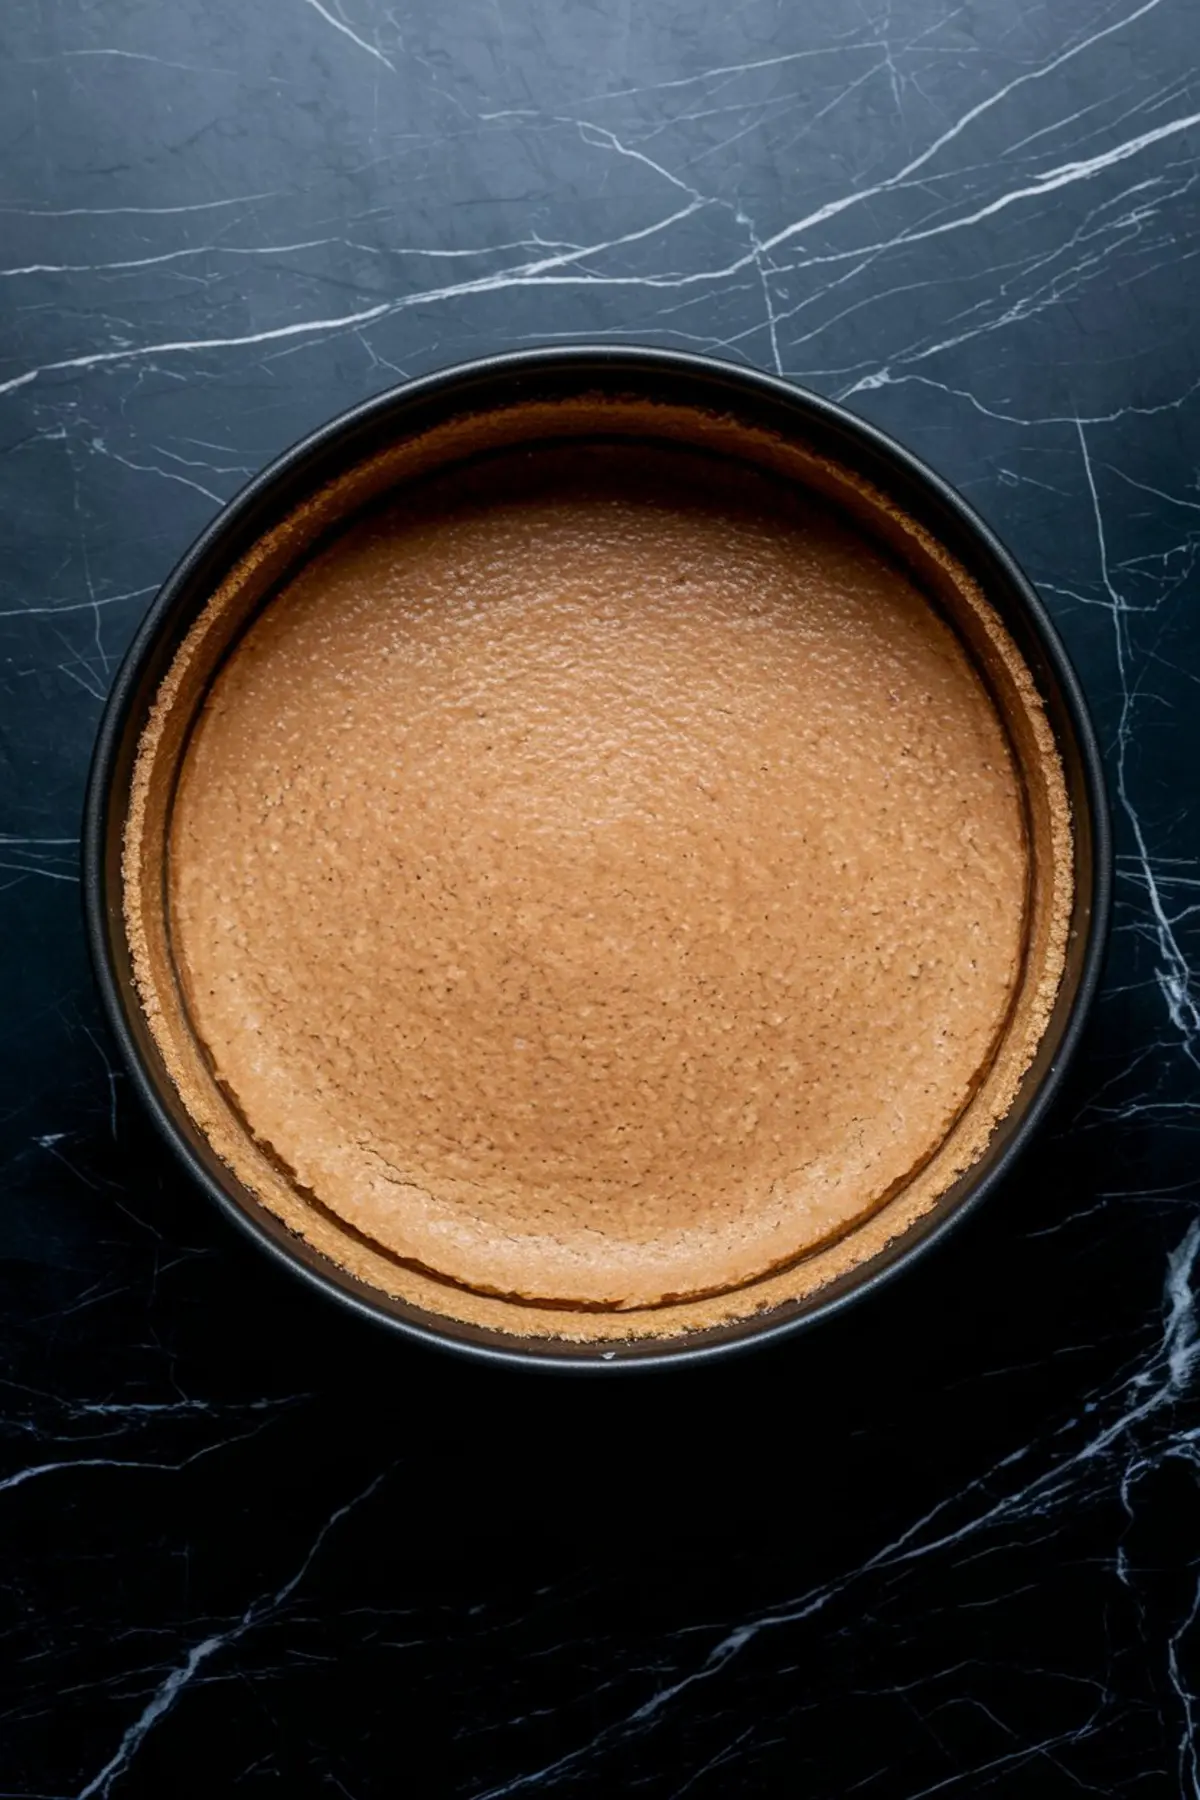
Press it in with a flat-bottomed glass and bake it just long enough to set. I cool mine on a rack while working the filling.
Whiskers likes to park beside the oven when I bake this. I think it’s the smell of warm graham.
Cream Cheese Base That’s Smooth, Not Airy
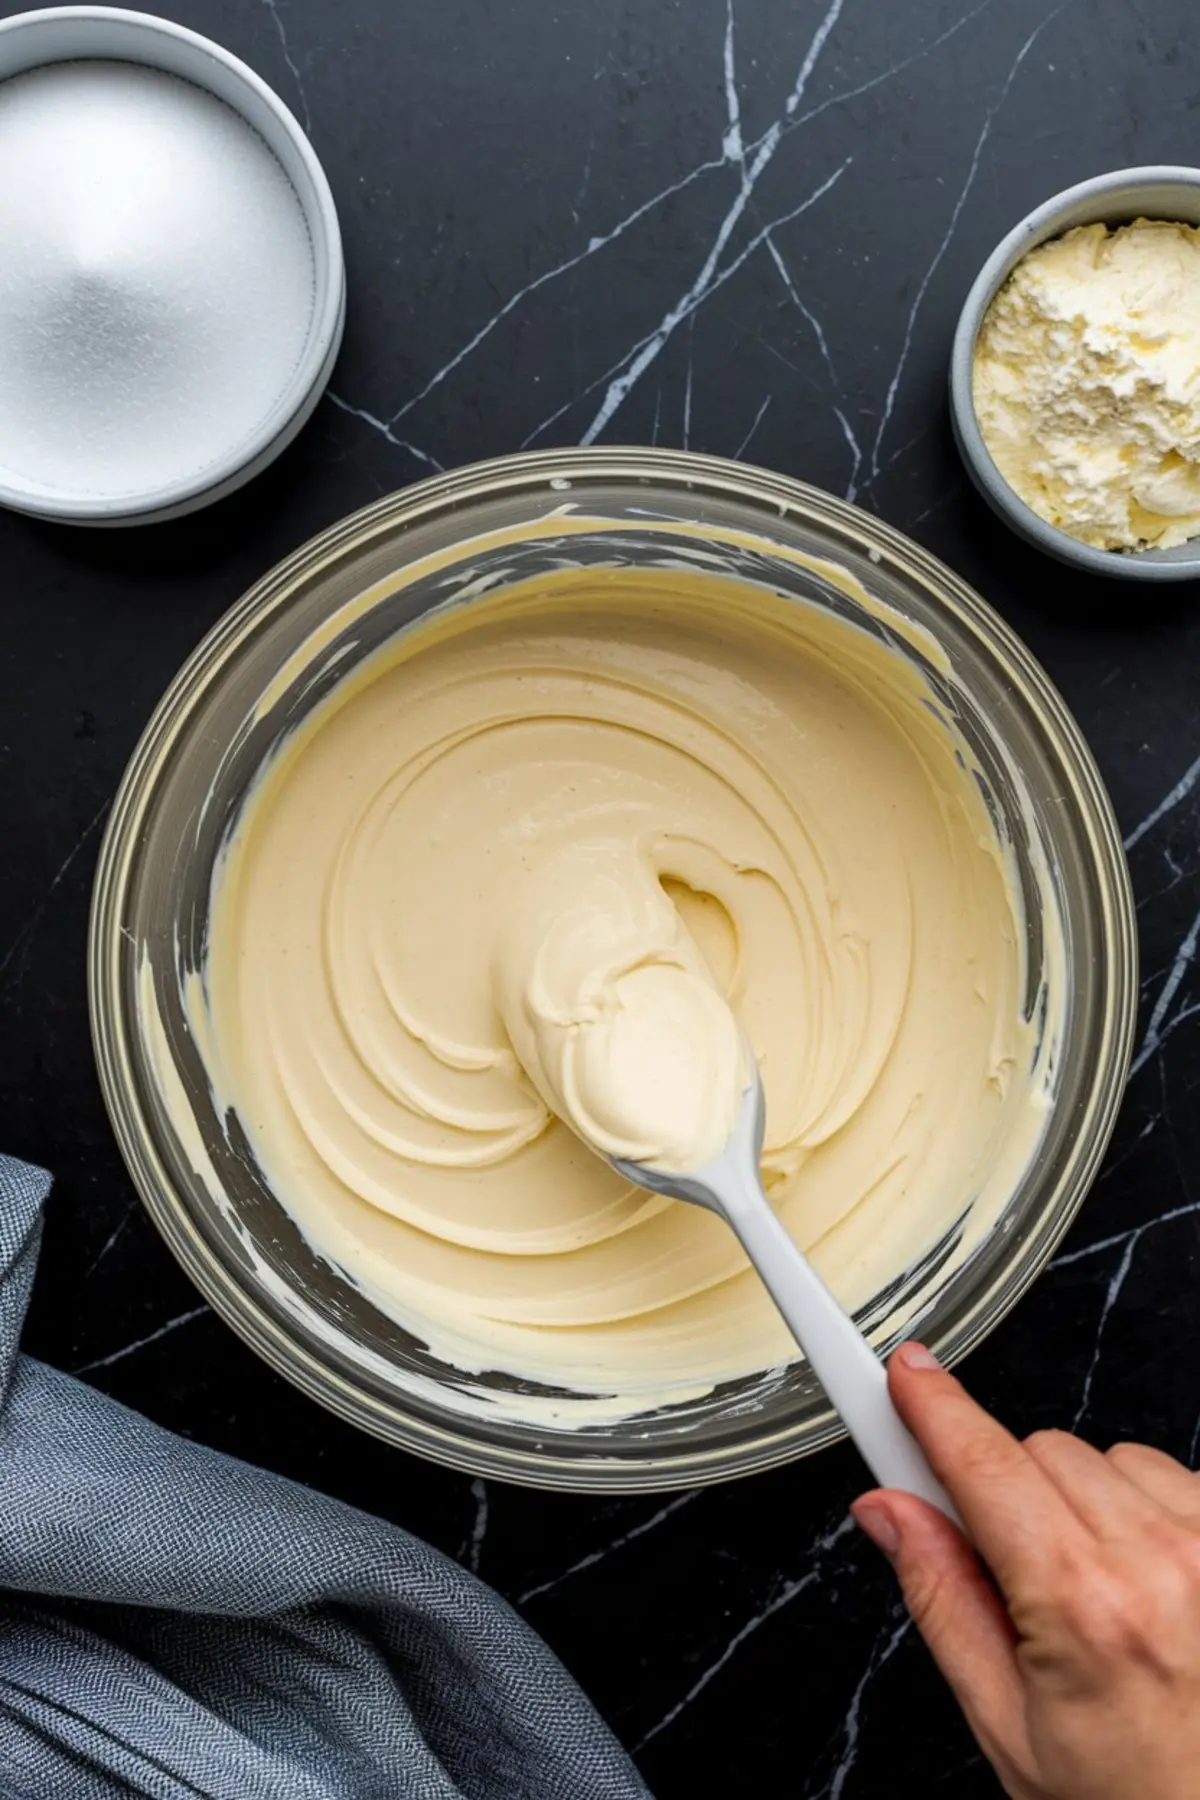
Start with full-fat cream cheese at room temperature. Beat it alone first. This gets you that initial smooth base. Add sugar second. Cream it together until it looks like frosting.
Then bring in the sour cream and vanilla. It should look glossy and smell faintly of tang and sweetness.
Now eggs. One at a time, low speed. No rushing. Overmixing here leads to puffed edges and cracks. Keep the mixer lazy.
Red, White, and Blue Swirl Technique Without Muddy Colors
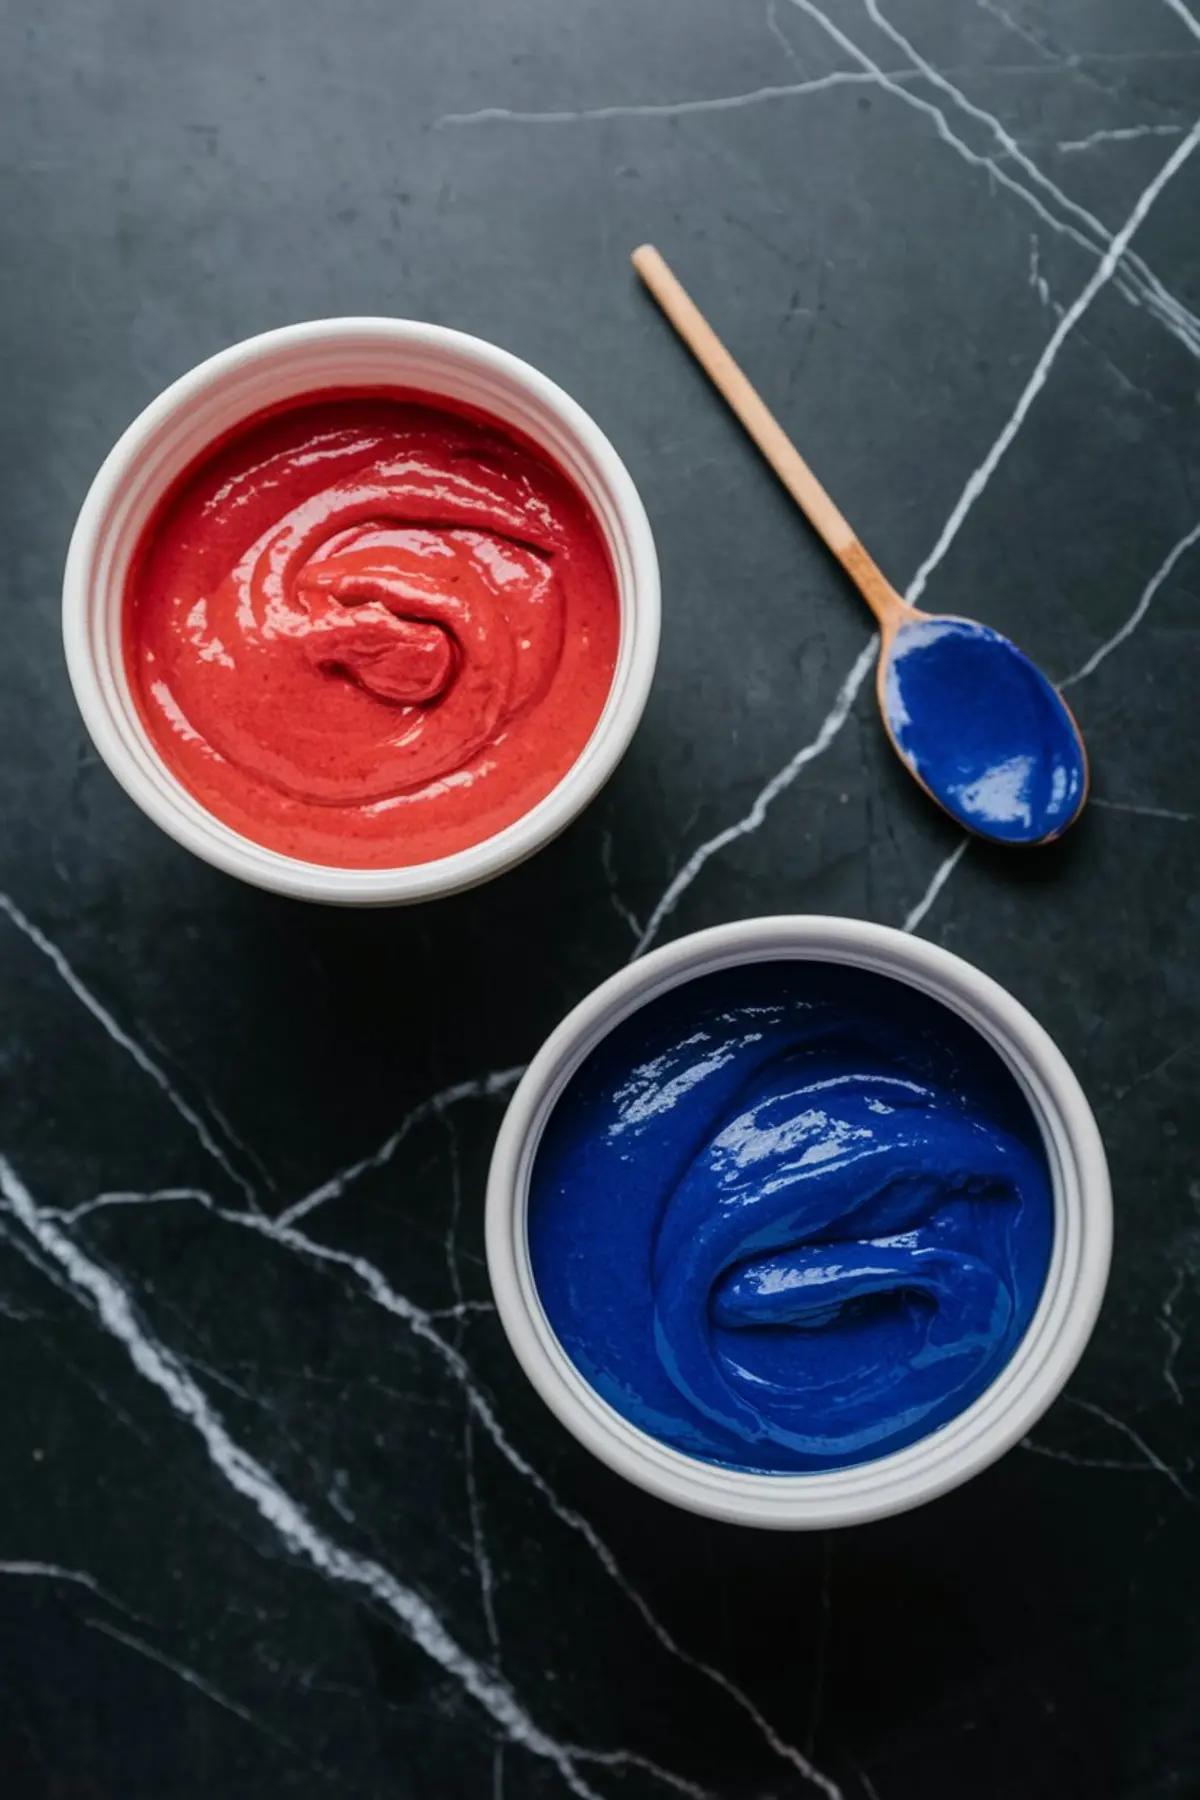
You’ll scoop out one cup of your finished batter and split it into two bowls. Red gel in one. Blue in the other. Stir them gently and watch them deepen.
The rest stays white and goes straight into your cooled crust. Smooth it flat, then drop spoonfuls of the colored batters in spirals.
I use a clean toothpick, dragging from center to edge like I’m slicing a pie. Wipe between swipes. This creates the burst pattern on top.
To carry that swirl down into the cheesecake, you’ll push just slightly into the batter in a few spots. Then swirl lightly with a skewer. Not too much. Stop when it looks like a marbled ribbon. Overdo it and the colors blend.
Baking Cheesecake in a Water Bath: Why It Matters
This cheesecake wants gentle heat. A water bath helps the center stay silky without puffing. Wrap the pan well in foil. Place it in a larger pan and pour hot water halfway up.
Bake at 325°F until the center jiggles slightly. Mine usually sets around 60 minutes. Then let it rest in the oven with the door cracked. That slow cool prevents surface cracks.
Refrigerate it overnight. I know the wait is hard, but the flavor sets just right after a rest.
Gel Food Coloring vs. Liquid: What You Should Know
In my notes, I once tried liquid food coloring when I ran out of gel. Big mistake. It thinned the batter and faded during baking. Gel holds up. It doesn’t water down your structure. Use it.
For red and blue to stay vivid through a full bake, the color has to be bold at the start.
A Cool Slice, a Clean Slice
Dip your knife in hot water and wipe between cuts. This helps you show off those interior swirls. Every slice should have a little red, a little blue, and a lot of creamy white.
Now here’s what I hinted at earlier — that quiet secret step. Most folks swirl just the top. But if you swirl down into the middle too, your slices show color all the way through. That’s the dash of magic.
It’s a little more work, but it’s the difference between surface-deep and deep-swirled.
Save This Patriotic Cheesecake for the Fourth or Any Summer Gathering
You can serve this chilled from the fridge or slightly cool from room temp. It holds its shape even on hot days.
Looking for more cheesecakes? Try Red Velvet Cheesecake, No Bake Strawberry Cheesecake, Matcha Cheesecake, or Tiramisu Cheesecake.
Or browse more patriotic dessert ideas like Red White Blue Bark, Frozen Independence Margarita, and Patriotic Strawberries.
If you make this, save it to your cheesecake or patriotic pins. I’d love to know how yours turns out. Drop your thoughts in the comments and let’s chat about it. Questions welcome too. Let’s bake and share.
Patriotic Swirl Cheesecake
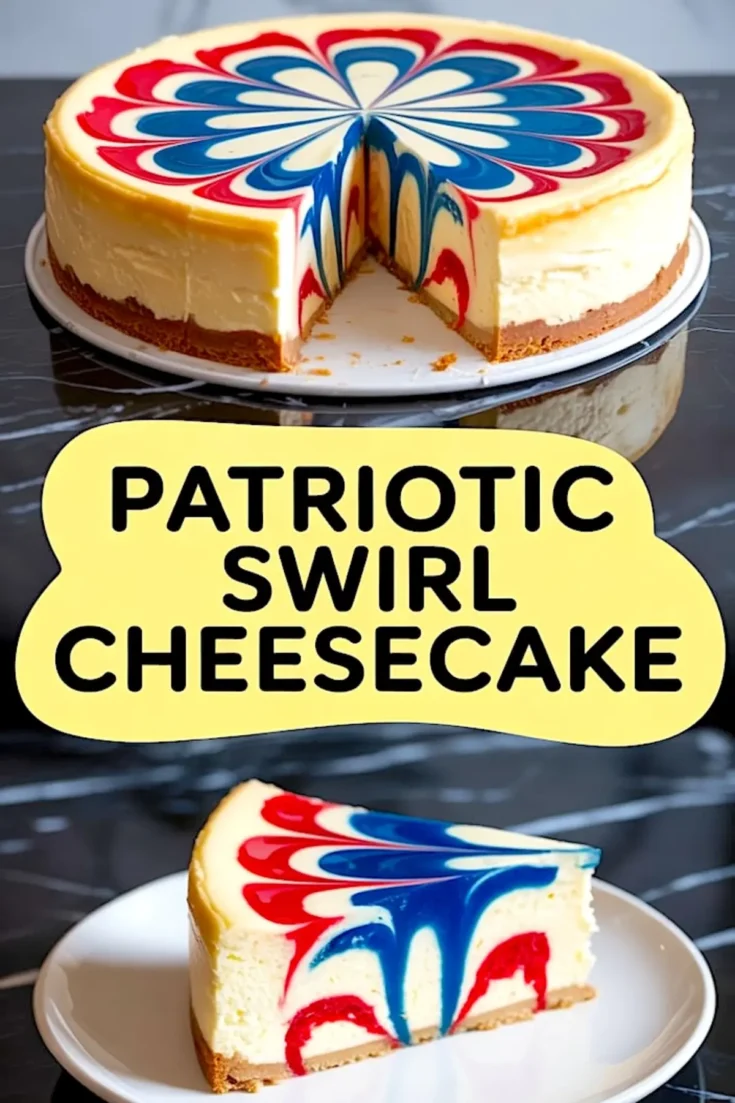
A cool and colorful cheesecake featuring bold red, white, and blue swirls that run through every slice. This recipe uses a rich New York-style base and gel food coloring to create a design that’s as striking on the inside as it is on top. The swirl technique adds visual appeal and depth without compromising the smooth, creamy texture of the filling.
Ingredients
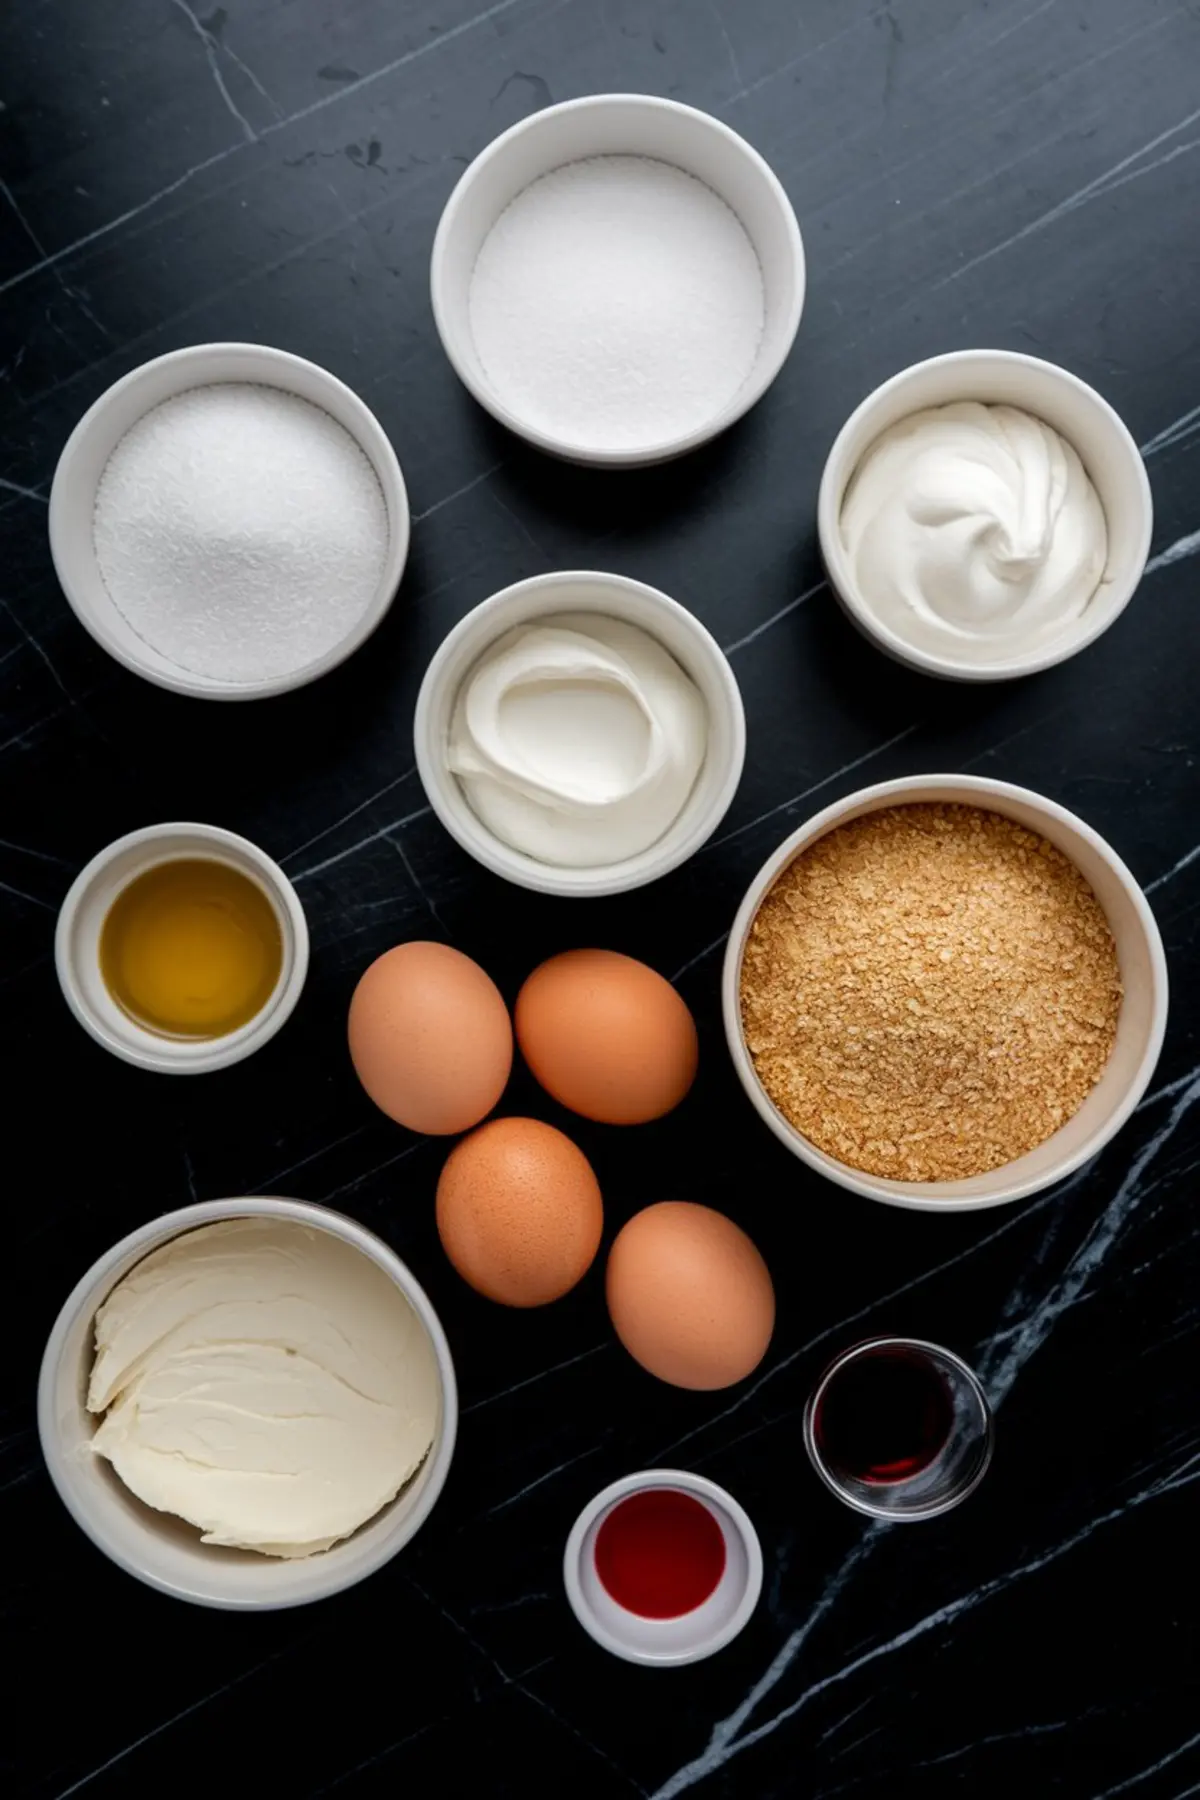
- FOR THE CRUST
- 2 cups graham cracker crumbs
- 1/2 cup melted unsalted butter
- 1/4 cup granulated sugar
- FOR THE FILLING
- 4 (8 oz) packages full-fat cream cheese, room temperature
- 1 cup granulated sugar
- 1 cup sour cream, room temperature
- 1 tablespoon pure vanilla extract
- 4 large eggs, room temperature
- Red gel food coloring
- Blue gel food coloring
- FOR THE SWIRL DESIGN
- 3 tablespoons of the main cheesecake batter
- Extra red and blue gel food coloring
Instructions
- PREP THE PAN: Preheat the oven to 325°F (163°C). Line the bottom of a 9-inch springform pan with parchment paper. Wrap the outside tightly with foil to prevent water from leaking in during the water bath.
- MAKE THE CRUST: Combine graham cracker crumbs, granulated sugar, and melted butter in a mixing bowl. Stir until the mixture resembles wet sand. Press it firmly and evenly into the bottom of the prepared springform pan. Bake for 10 minutes, then set aside to cool while you prepare the filling.
- BEAT THE CREAM CHEESE: In a stand mixer fitted with the paddle attachment, beat the cream cheese on medium speed until completely smooth, about 2 minutes. Scrape down the sides of the bowl as needed to eliminate lumps.
- ADD SUGAR AND MIX: Add the granulated sugar to the cream cheese and beat again until well combined and smooth. Scrape the bowl again to ensure an even texture.
- INCORPORATE SOUR CREAM AND VANILLA: Add the sour cream and vanilla extract to the mixture. Mix on medium speed until everything is fully incorporated and the batter is creamy and uniform.
- ADD EGGS: Add the eggs one at a time, mixing on low speed after each addition just until combined. Avoid overmixing to prevent excess air in the batter, which can lead to cracks during baking.
- COLOR A PORTION OF BATTER: Scoop out about 1 cup of the finished batter and divide it evenly between two small bowls. Tint one bowl with red gel food coloring and the other with blue gel food coloring. Mix each until the color is fully saturated and vibrant.
- ASSEMBLE THE LAYERS: Pour the remaining white batter into the cooled crust and smooth the top. Drop alternating spoonfuls of red and blue batter over the surface in a loose spiral pattern to prepare for swirling.
- CREATE SURFACE SWIRLS: Use a clean toothpick or skewer to drag lines from the center outward like pie slices, forming a starburst swirl pattern. Clean the toothpick occasionally for clean lines.
- SWIRL INTO THE FILLING: To carry the swirl design deeper into the cheesecake, gently insert the toothpick into the batter and push down slightly in several spots. Then, use the tip of a knife or skewer to lightly swirl within the filling without overmixing. This creates streaks of color inside the cheesecake without blending into muddy tones.
- BAKE IN WATER BATH: Place the springform pan inside a larger roasting pan. Pour hot water into the outer pan until it reaches halfway up the sides of the springform. Carefully transfer to the oven and bake for 55–70 minutes, or until the center is mostly set but still slightly wobbly when gently shaken.
- COOL AND CHILL: Turn off the oven and crack the door open. Let the cheesecake rest inside for 1 hour to cool gradually. Remove it from the water bath, unwrap the foil, and refrigerate for at least 4–6 hours, preferably overnight, before slicing and serving.
Notes
Use only gel food coloring for vibrant color that doesn’t thin the batter. For cleaner slices, dip your knife in hot water and wipe between cuts. Cheesecake can be made up to two days in advance and stored tightly covered in the refrigerator.

Do you happen to have a video of creating the swirls on top and inside of the cheesecake? Thank you
Hi Tracy! At the moment, I don’t have a full video for the swirling process, but I can definitely walk you through how I do it. For the top, I pipe small circles of colored batter, starting from the center and working outward. Then I drag a toothpick through the circles, alternating from center out and outside in, to create the petal effect. To get the swirls inside, I gently dip the toothpick into the batter and lightly swirl just a bit deeper, like I mentioned in the notes. This helps pull some of that design down into the cheesecake without overmixing.
A video would definitely help. There is red near the crust that isn’t at the top – how!?!
Hi Tanya, great eye on that detail. That red near the crust comes from lightly swirling some of the tinted batter into the cheesecake—not just on top. After piping the surface swirl, I gently dip the toothpick down a bit in a few spots and give a tiny twist to pull the color just below the surface. It’s subtle but gives that streaky effect near the base without muddying the design. I’ll try to film a quick demo next time I make it 🍰