
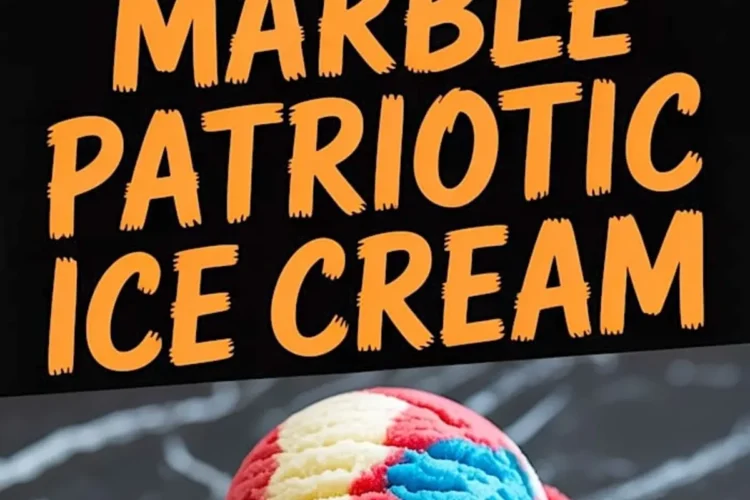
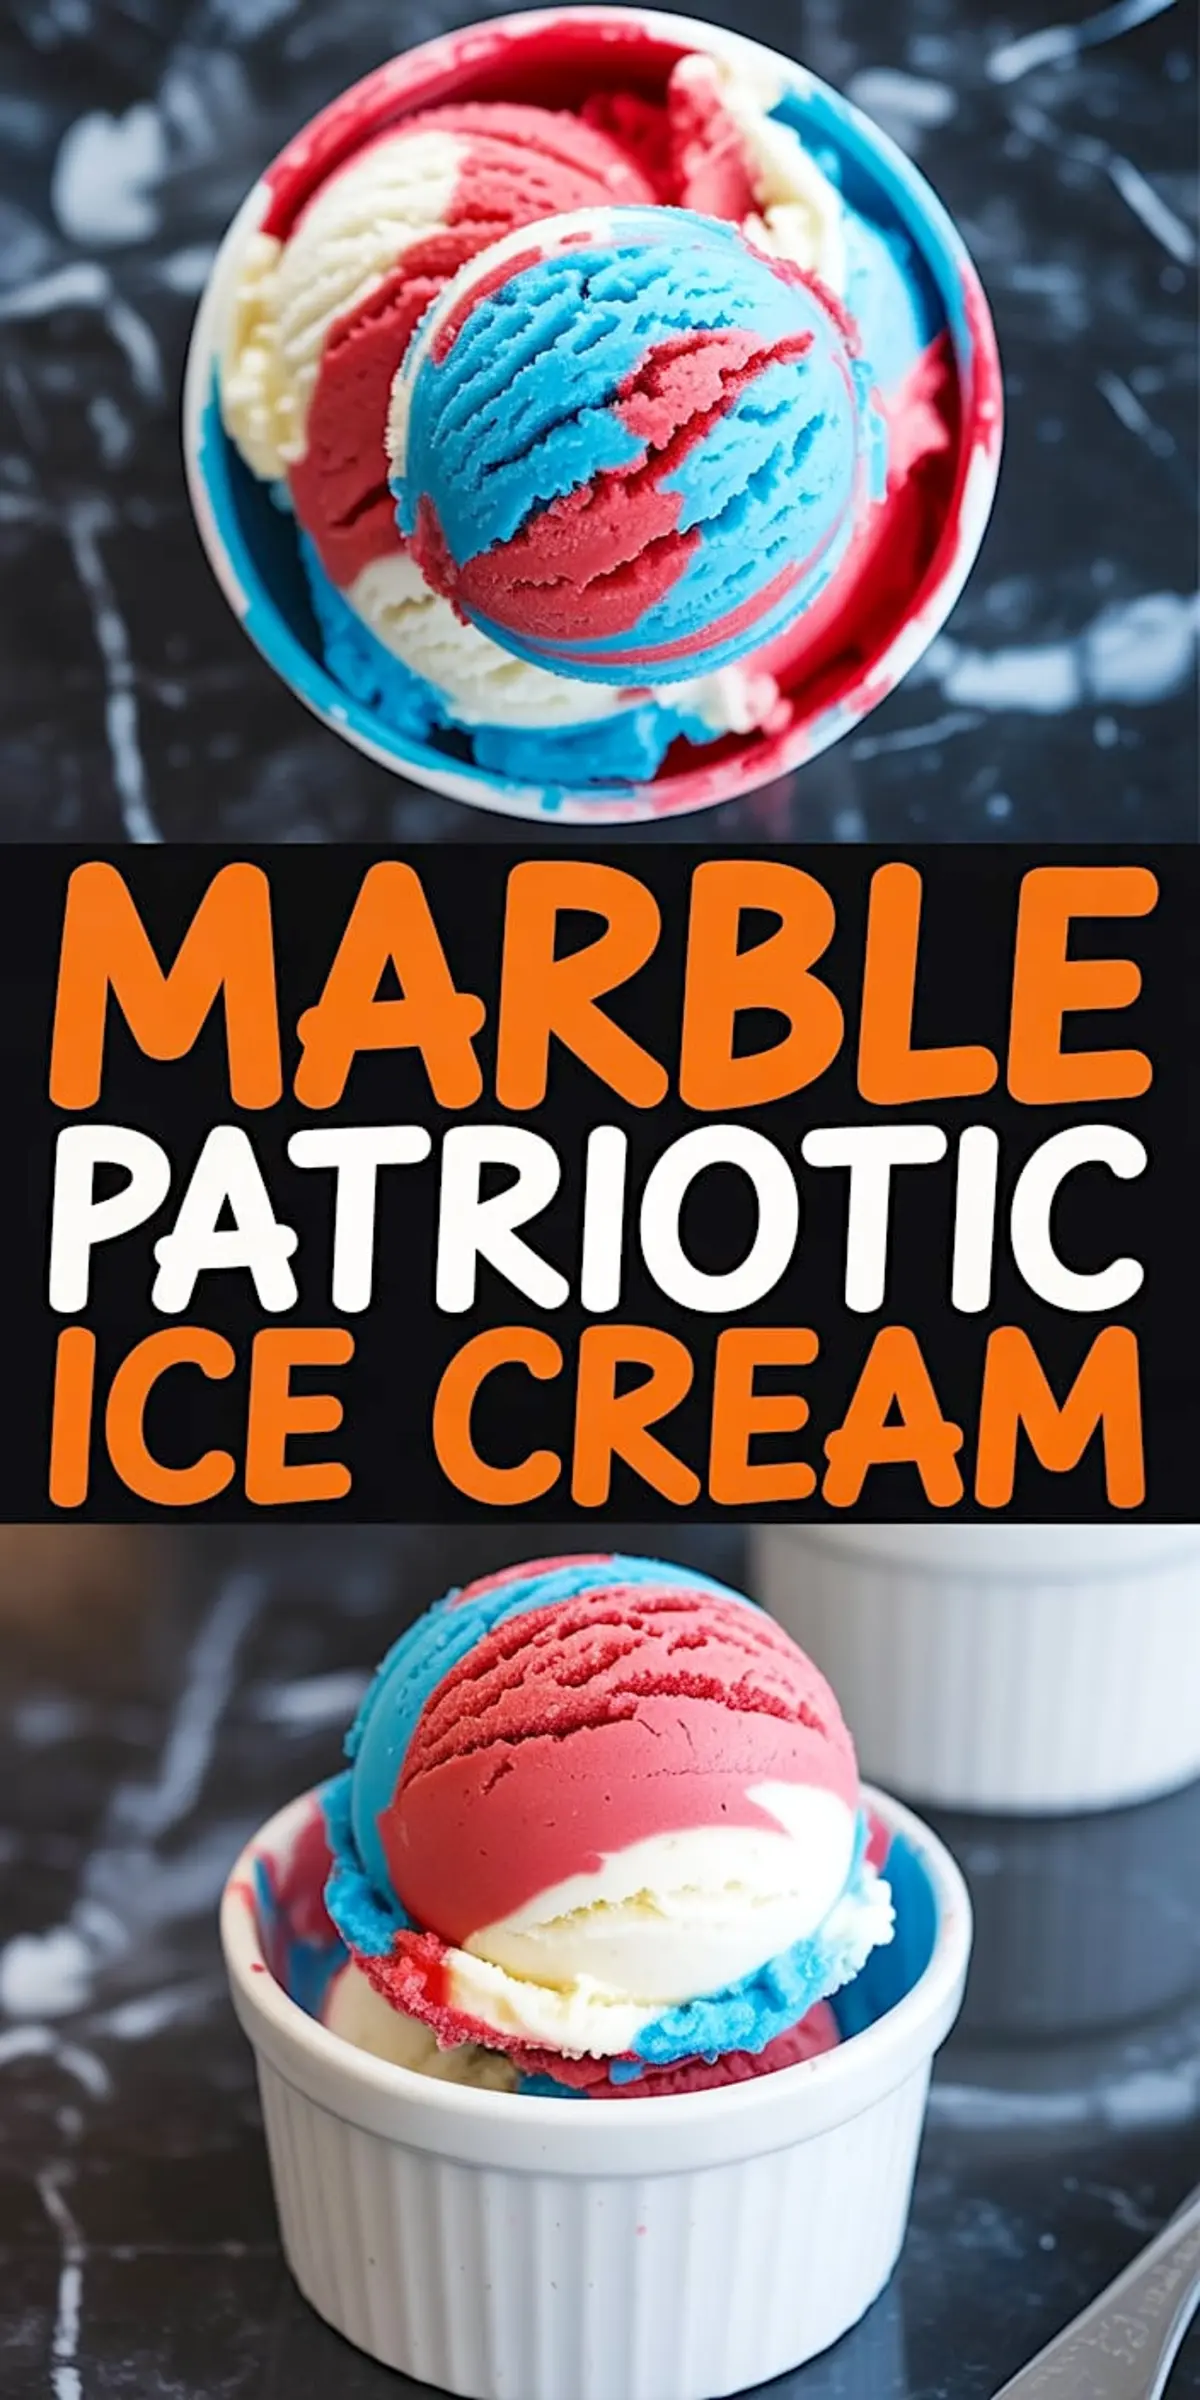
This Marble Patriotic Ice Cream isn’t just a red, white, and blue dessert. It’s a freezer trick that delivers scoop-shop texture without any machine, eggs, or fancy steps.
You’ll learn how to fold, layer, and swirl a no-churn ice cream that holds shape like it’s got something to prove.
And you’ll walk away knowing exactly why the vanilla base is more than just a background note. This dessert isn’t built on bells and whistles. It’s built on one simple thing done right.
But there’s one dash of something that shifts the whole thing from “oh, cute” to “wait, this is good.” It’s not what you’d expect in a summer freezer treat. I’ll reveal it after the steps.
The Foundation of a Scoopable No-Churn Ice Cream
Cold cream is everything. If your kitchen runs warm like mine in July, chill your bowl and beaters ahead of time.

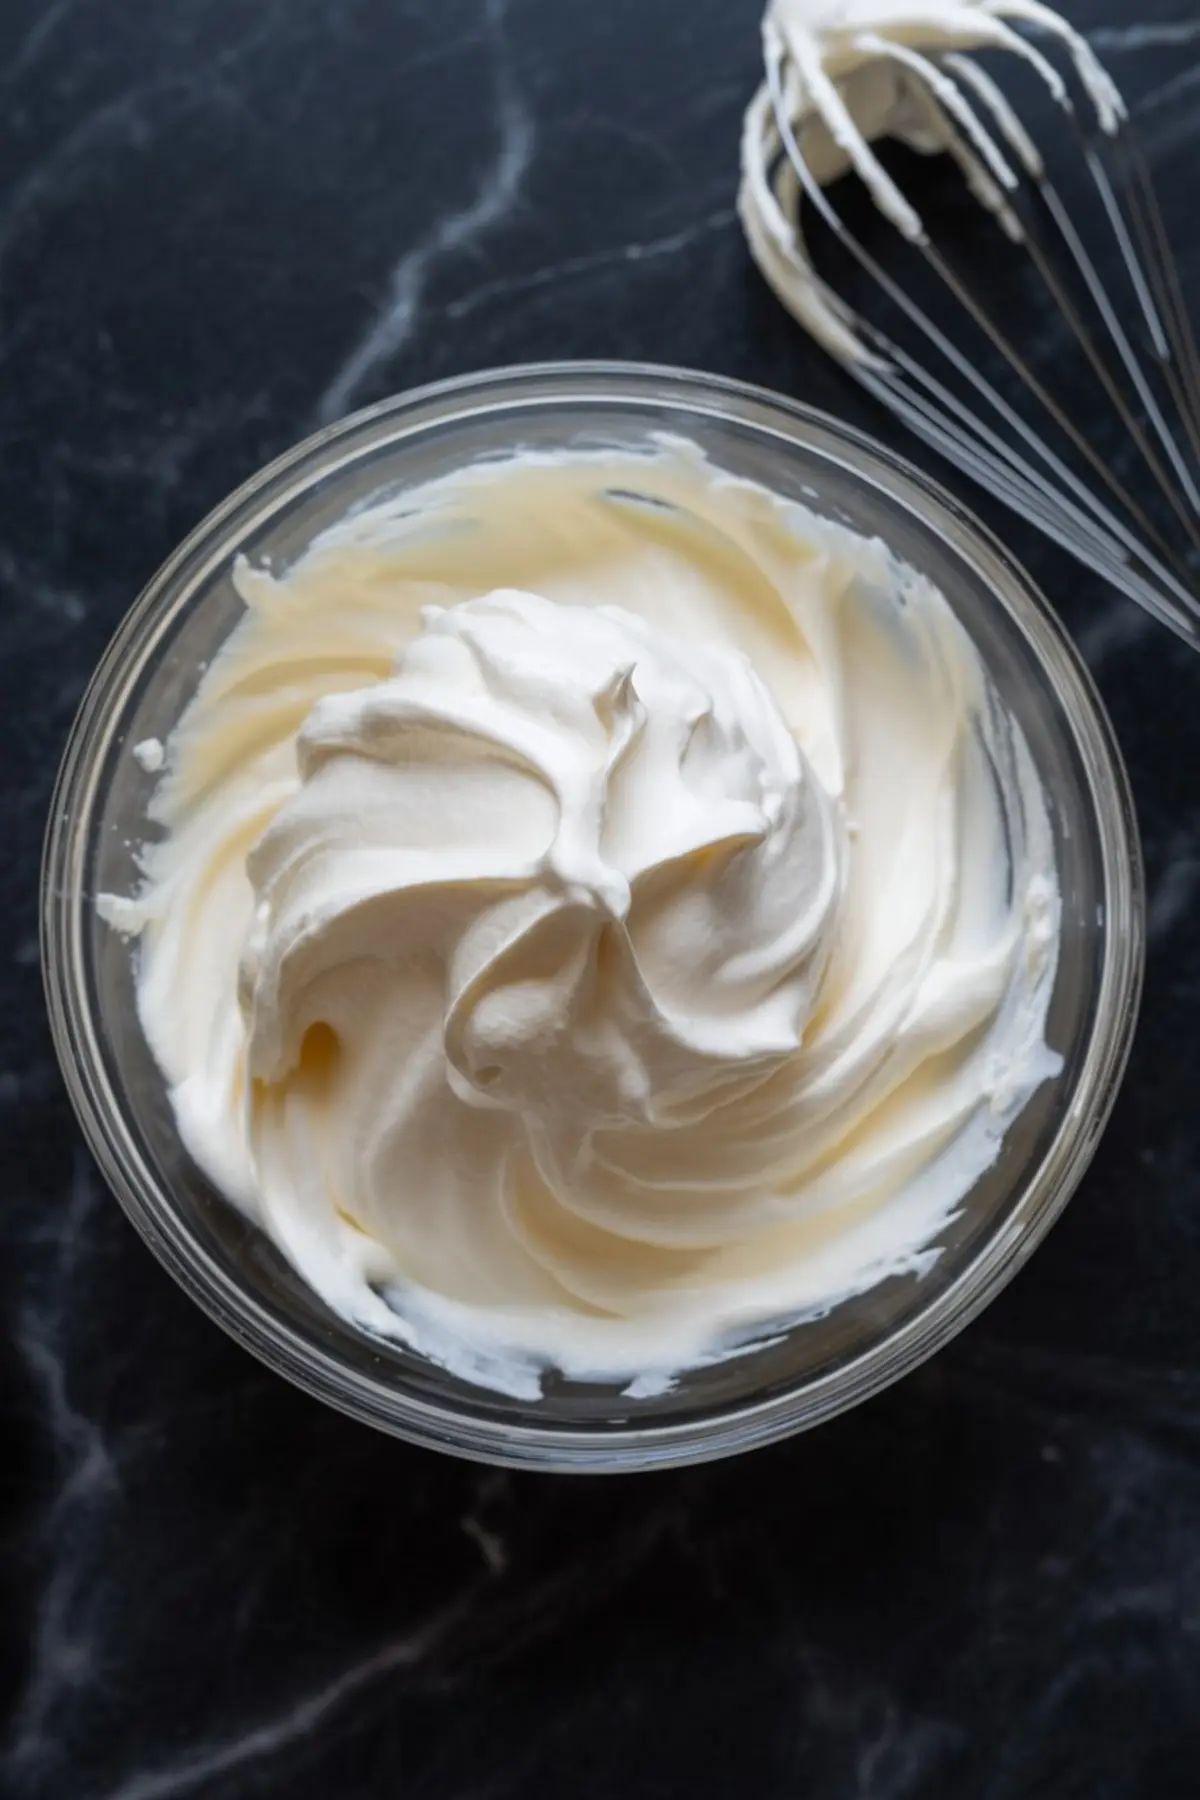
Pour in the heavy cream and whip until stiff peaks form. Once it holds shape, you stop.
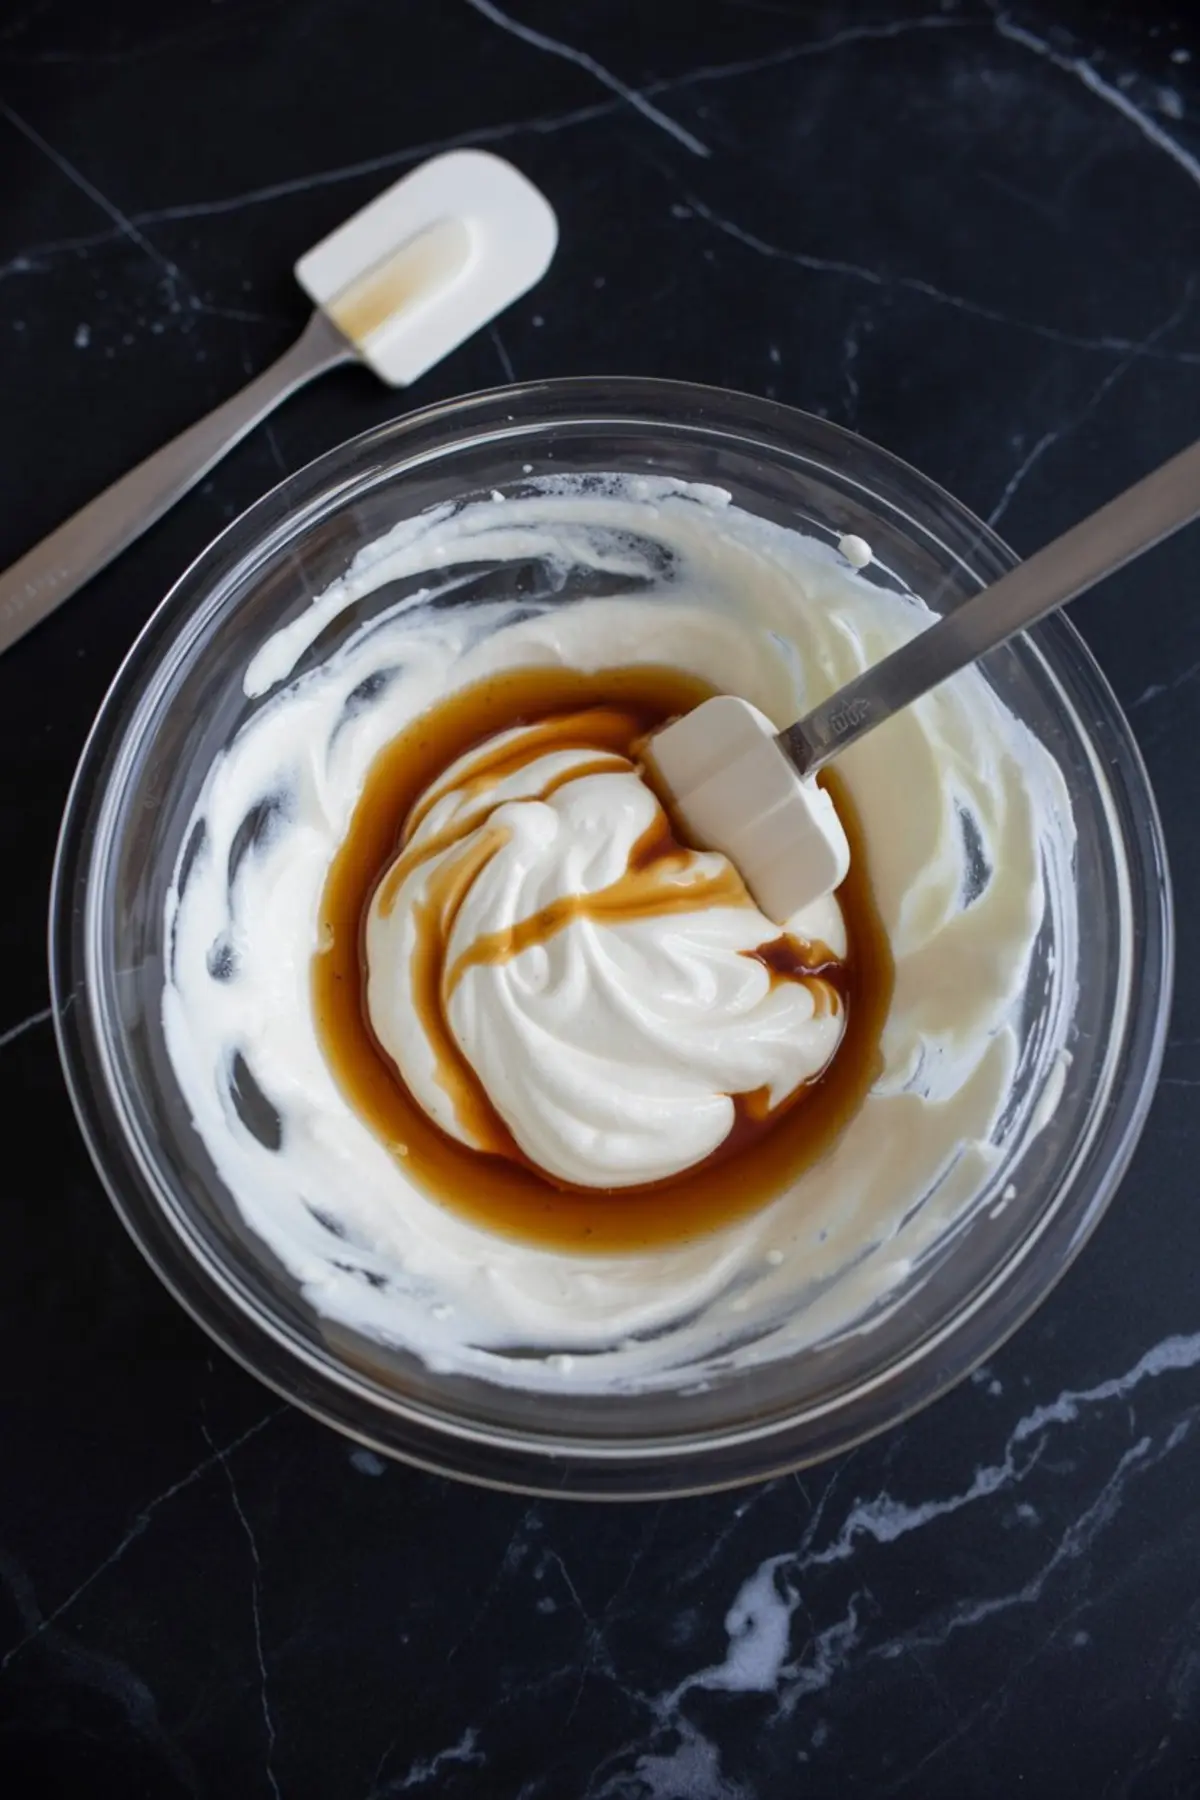
Now comes the fold. Add in the sweetened condensed milk and vanilla. Wide, sweeping motions keep the air in. You’re not stirring. You’re lifting. It makes all the difference when you’re scooping later.
In my Pin Notebook, I’ve written a note from last summer: “Don’t rush the fold. Soft hands = smooth texture.” That still holds.
The Trick to Bright, Bold Colors Without the Slush
Divide the mixture into three bowls. One stays its natural cream color. The other two get tinted with red and blue gel food coloring.
Use gel. Liquid food coloring thins out the mix and dulls the impact.

Start with a toothpick tip of color. Stir slowly and stop the moment it looks vibrant. The goal is color that stands on its own, not something that bleeds into gray.
This part always gets my cat, Whiskers, interested. He sits on the counter like he’s about to take over the recipe. He once swatted at the red bowl and walked away with a pink paw. Took two days to fade.
Swirling for the Signature Marble Effect
Grab your loaf pan and start layering in spoonfuls—white, red, blue, repeat. Don’t smooth the top. The unevenness creates the marble.
Take a butter knife and swirl with care. Just two or three passes in figure-eights. Too much, and it turns to mush.
This is where my Golden Spoon makes its appearance. Aunt Marian gave it to me, and I use it in every recipe. It’s not fancy, but it’s steady in the hand.
Once the swirls are done, cover the pan with plastic wrap and freeze for at least 6 hours. I prefer overnight. Gives the texture time to firm up fully.
The Secret Ingredient That Gives This Ice Cream Depth
Now, here’s what changes everything: double-strength pure vanilla extract.
Not imitation. Not generic. The real kind you open and immediately recognize from your childhood kitchen.
I once used a budget bottle during a grocery emergency. The color popped, but the flavor was flat. There’s no place to hide in a three-ingredient base. The vanilla is the flavor.
Don’t skimp. Your future scoops will thank you.
Real Comparison: Vanilla Bean Paste vs. Extract
I’ve tested both. Vanilla bean paste gives those little black specks and a richer look. But it’s thicker and sometimes clumps in this airy base.
Unless you’re used to working with it, I recommend extract for this recipe.
In my Pin Notebook, next to this recipe, I’ve scribbled: “Bean paste = risky swirl. Use on a low-humidity day only.” It wasn’t a great batch. Extract wins for consistency.
How to Keep It Scoop-Ready at Outdoor Parties

This red white and blue dessert looks like a party—and it travels like one, too.
I’ve brought it to three backyard barbecues. If you use a metal loaf pan and keep it in a cooler with ice packs, it scoops perfectly after sitting out for just a few minutes.
Want to add flair? Sprinkle crushed graham crackers over the top, or drizzle chocolate syrup just before serving. I’ve done both, and people ask where I bought it. No one believes it came from my freezer.
Save This Marble Patriotic Ice Cream for Your Summer Board
This no-churn Marble Patriotic Ice Cream is easy to prep, bright to serve, and always gets attention.
Pin it to your Fourth of July recipes, no-churn dessert ideas, or summer celebration treats board.
And if you make it, I’d love to hear how it turned out. Did you swirl more than three times? Did your cat try to help? Drop a comment—I’m always curious how these things play out in other kitchens.
Let’s swap notes in the comments like old recipe pen pals.
Marble Patriotic Ice Cream

A no-churn ice cream that layers creamy vanilla with bold swirls of red and blue. This festive treat brings summer color to the table and requires no special equipment—just a few bowls, a loaf pan, and a bit of care.
Ingredients
- 2 cups cold heavy cream
- 1 can (14 ounces) sweetened condensed milk
- 2 teaspoons pure vanilla extract
- Red gel food coloring
- Blue gel food coloring
Instructions
- WHIP THE CREAM: Pour the cold heavy cream into a chilled mixing bowl and whip with a hand or stand mixer until stiff peaks form. The cream should hold its shape when the beaters are lifted.
- ADD THE BASE INGREDIENTS: Gently fold the sweetened condensed milk and vanilla extract into the whipped cream using a spatula. Mix in broad, slow strokes to maintain volume and smoothness.
- DIVIDE AND COLOR: Separate the mixture evenly into three bowls. Leave one bowl plain. In the second bowl, add red gel coloring and stir until fully blended. In the third bowl, repeat with blue gel coloring. Adjust the tones as needed to achieve vibrant colors.
- LAYER INTO PAN: Spoon alternating dollops of red, white, and blue mixtures into a loaf pan or similar freezer-safe container. Continue layering until all the mixture is used. Do not smooth the top; the uneven layers help create the marble effect.
- SWIRL THE COLORS: Use a butter knife to swirl the mixture gently in figure-eight motions. Pass through the mixture only a few times to preserve distinct color ribbons and prevent muddiness.
- FREEZE UNTIL FIRM: Cover the pan tightly with plastic wrap or a lid and freeze for at least 6 hours, or overnight, until the ice cream is firm and scoopable.
Notes
For best results, use gel food coloring instead of liquid. Chilling the mixing bowl and beaters helps the cream whip faster and hold better structure. Use a metal pan for quicker freezing.
Nutrition Information:
Yield:
8Serving Size:
1Amount Per Serving: Calories: 221Total Fat: 22gSaturated Fat: 14gTrans Fat: 1gUnsaturated Fat: 6gCholesterol: 69mgSodium: 22mgCarbohydrates: 4gFiber: 0gSugar: 4gProtein: 2g
