
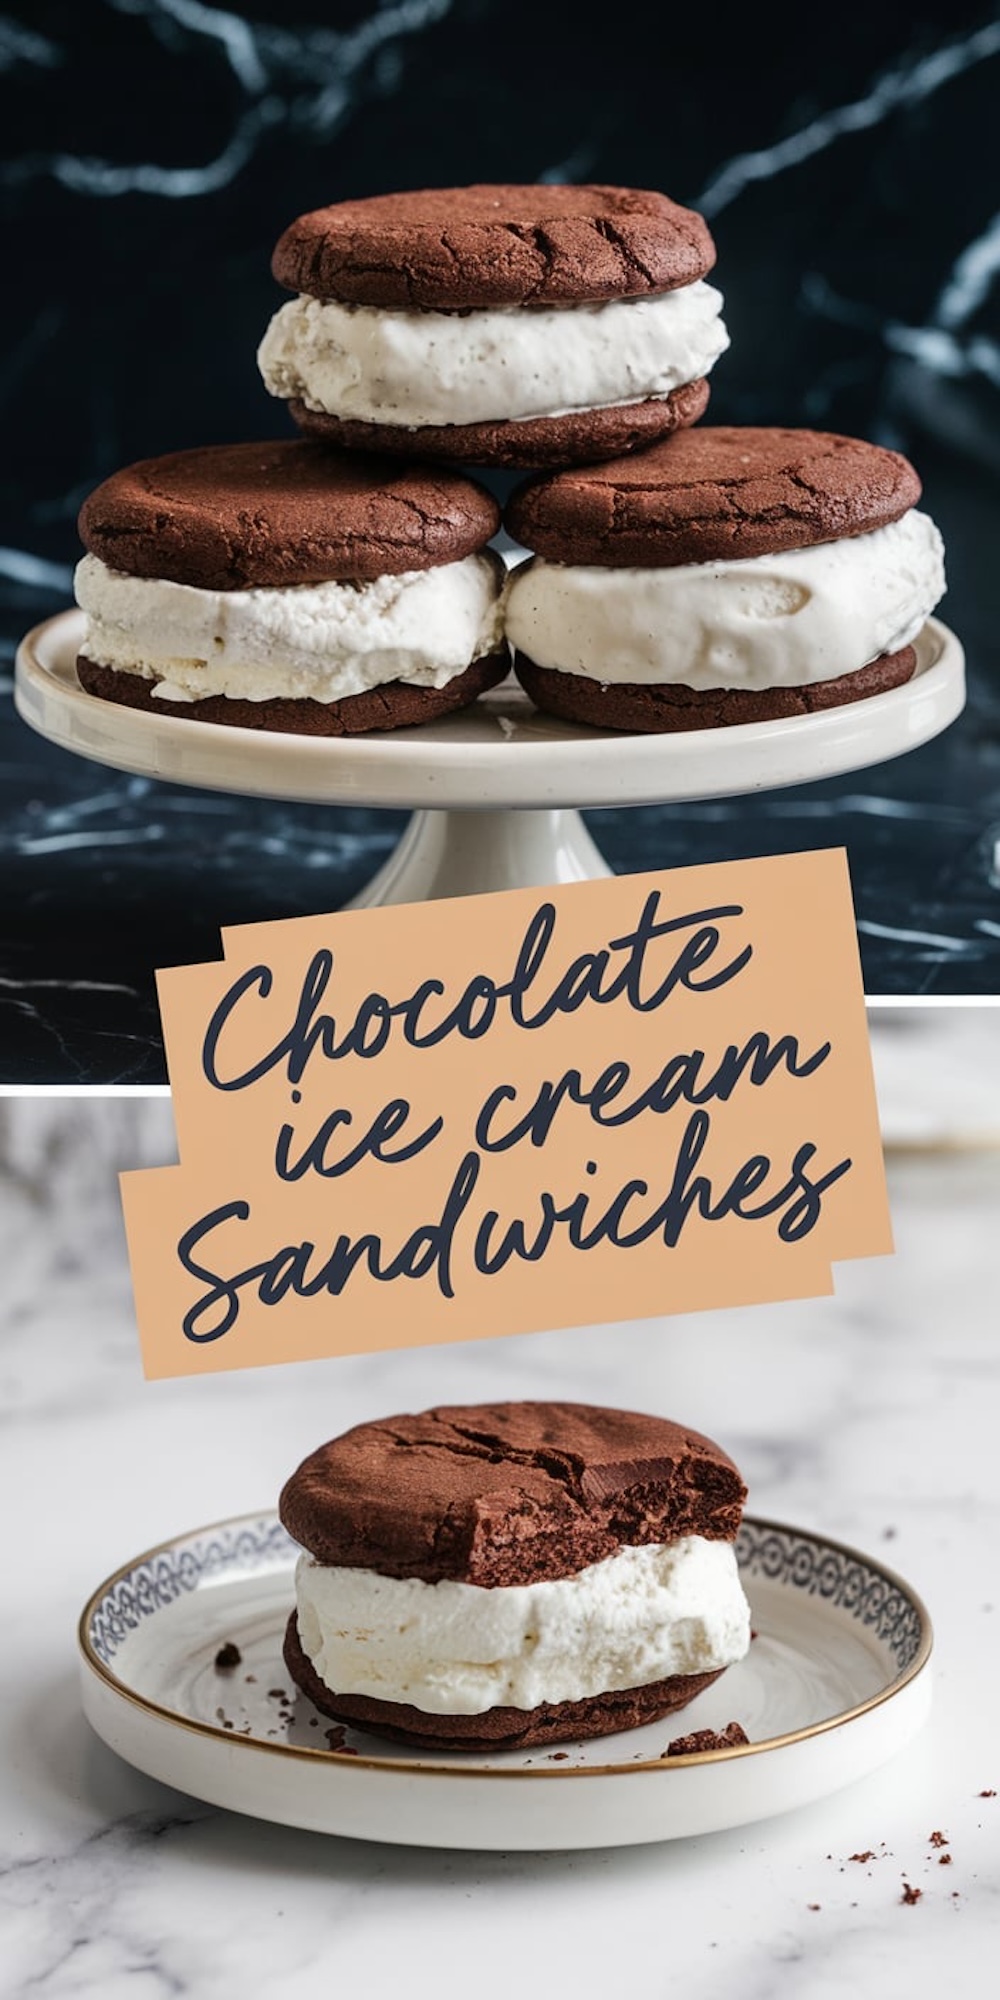
Chocolate cookie sandwiches with vanilla ice cream always stir my memories of summer afternoons. I remember that moment when I first tried pairing crisp cookies with a fluffy ice cream center, and my taste buds demanded a repeat. You might already know the classic childhood joy of homemade ice cream sandwiches, but there’s a hidden detail in this recipe that adds flair. A small hint: it involves a simple extra step that remains mysterious for now.
My cat, Whiskers, once poked his nose at the scent of fresh cocoa dough and seemed convinced something special was happening in my kitchen.
That day, I realized I had stumbled on a game-changer.
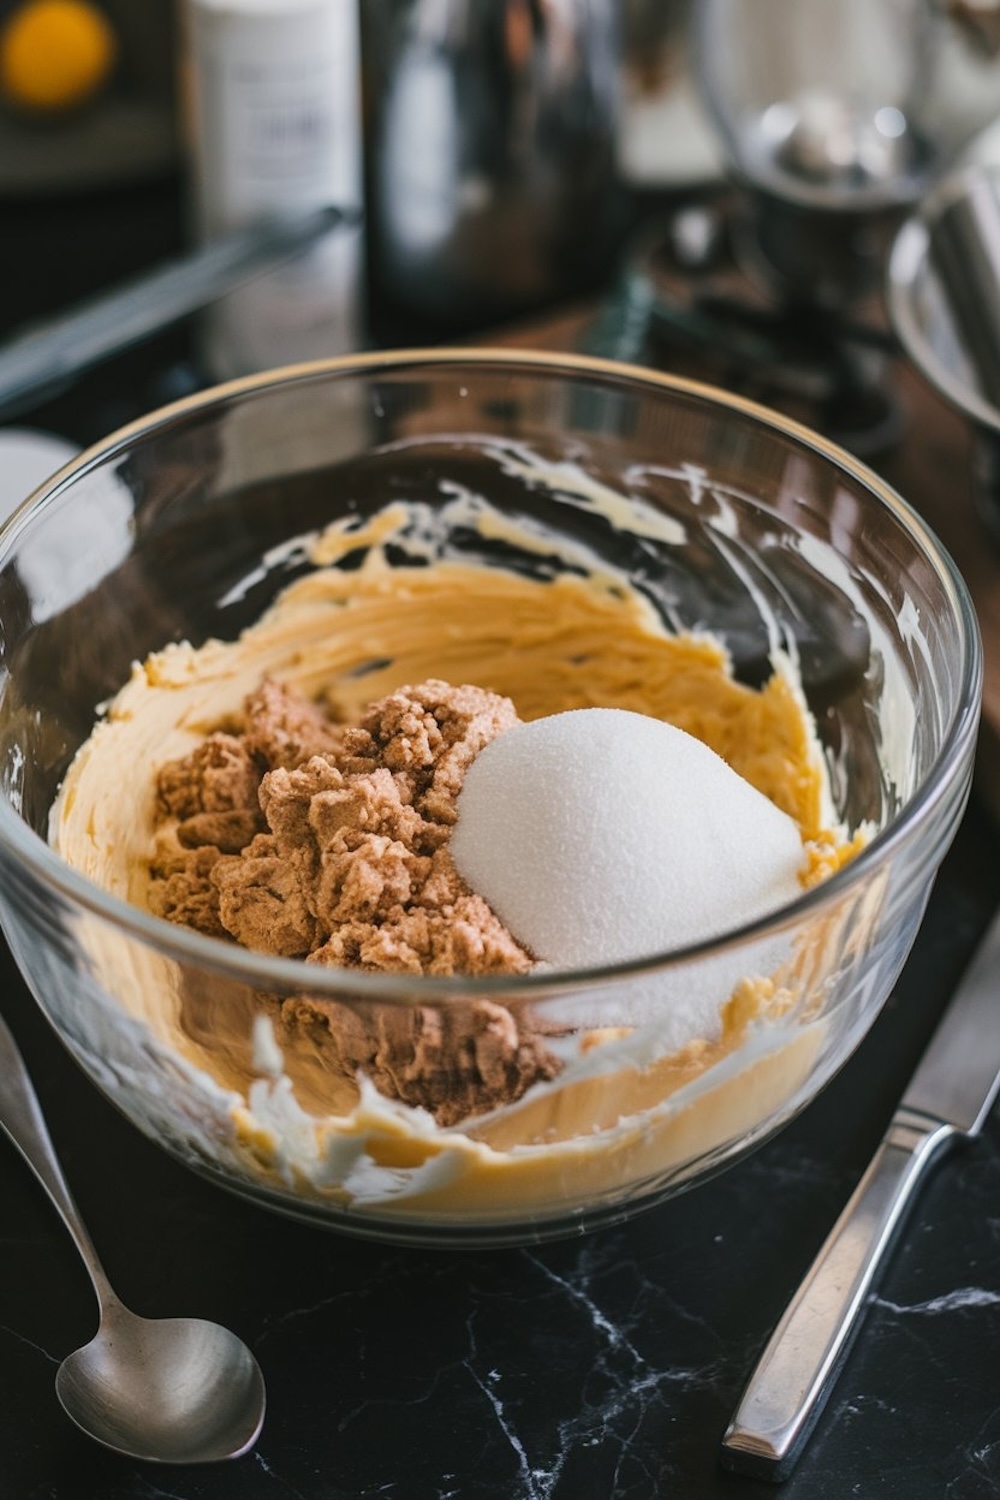
I give each cookie base extra care by blending soft butter, white sugar, and brown sugar for a balanced sweetness. I tested different cocoa ratios in my Pin Notebook, scribbling measurements and adjustments whenever I felt a shift in flavor. I introduced a dash of extra cocoa at first, then lowered it on a second trial, always sampling a bit of the raw dough to ensure the end result would stand out. Whiskers often perched on the counter to watch me scoot around, but I made sure he kept a safe distance from the ingredients. My tradition requires me to taste the dough, frosting, or the final dessert for that sense of personal connection to each creation. This approach never fails, and I keep that Golden Spoon within arm’s reach as a reminder of my ritual.
The Chocolate Cookie Foundation
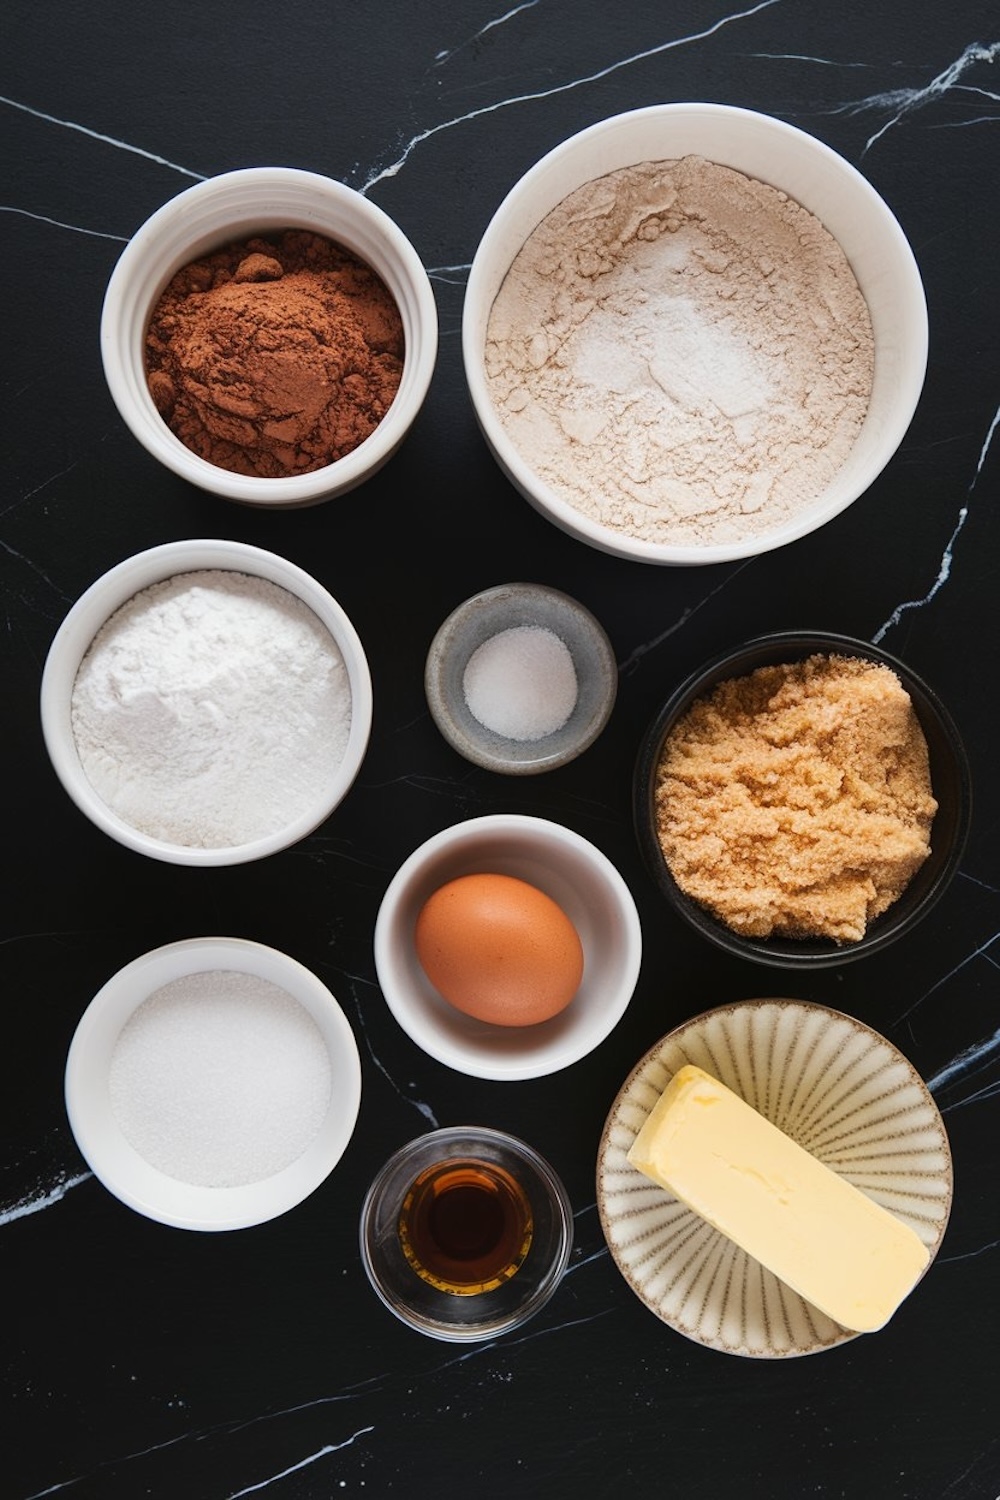
You might begin by gathering flour, cocoa powder, baking soda, and salt. I like to sift them together in a bowl because lumps in cocoa can sneak into the dough. I warm my oven to 350°F (175°C) and line a baking sheet with parchment. I grab a separate bowl and cream softened butter with granulated sugar and brown sugar until light. An egg meets this sweet base, along with a quick splash of vanilla extract. A gradual incorporation of dry ingredients wraps up the dough, which should feel soft but not sticky.
A moment arises when you shape the dough into small discs. I use about a tablespoon of dough for each cookie. The back of a spoon works well for flattening, and then they head into the oven. My oven takes about eight minutes, sometimes ten if I want a crisp edge. I rest the cookies on the sheet for a short while, then move them to a rack. They must cool fully because warm cookies and ice cream do not play well together. This entire step might feel basic, but it lays the groundwork for your ice cream cookie sandwiches. A well-baked cookie cradles the ice cream later.
The Icy Middle
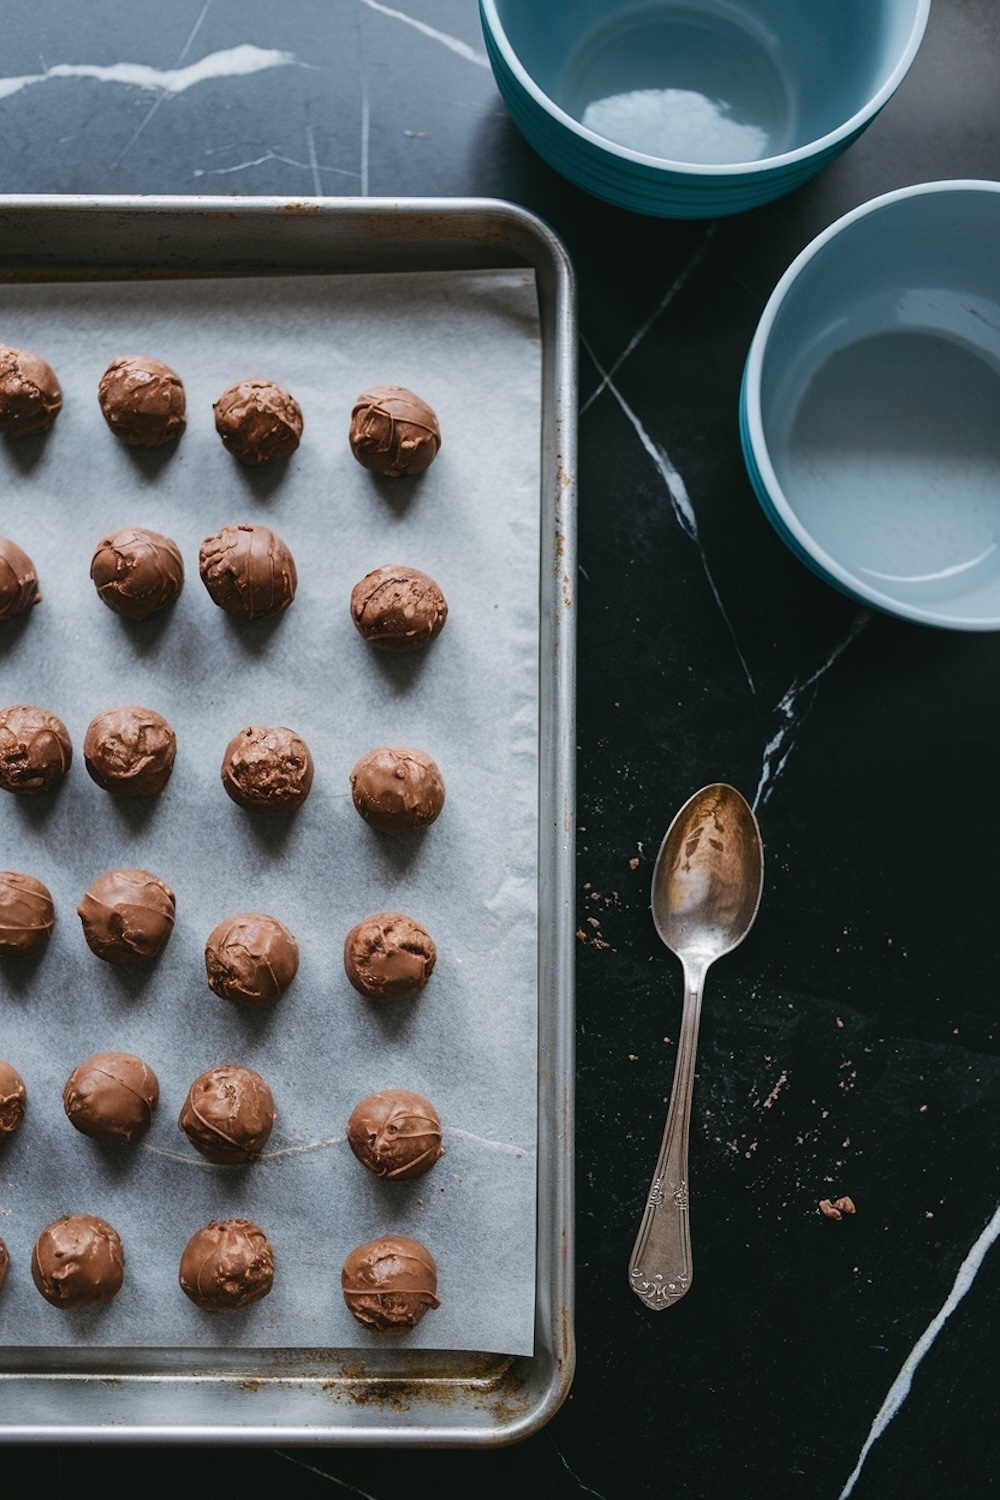
The freezer does half the work here. A pint of vanilla ice cream waits on the counter just long enough to soften. You could experiment with different flavors, but I like to focus on rich chocolate cookies with classic vanilla. A sheet of parchment or plastic wrap lets me spread the softened ice cream into a uniform layer, around an inch thick. I suggest using a cookie cutter that matches the cookie diameter, though I’ve improvised with a drinking glass in the past. Rounds of ice cream go back into the freezer so they hold their shape. If your kitchen runs warm or you notice the ice cream starting to droop, return it to the freezer sooner than later.
Firmness is the key. I discovered that ice cream can become too soft, leading to sandwich assembly problems. I have scribbles in my Pin Notebook about accidental gooey messes before a final fix. A half hour is usually enough, though you can extend it if you prefer a rock-solid texture. The thickness depends on preference, but an inch often brings a satisfying ratio of cookie to ice cream.
Creating the Sandwich
The real fun arrives once your cookies feel cool and your ice cream rounds are firm. I pick up a cookie, place the ice cream round on its flat side, then crown it with another cookie (flat side down). A gentle press locks them together. This step might leave you with a bit of ice cream peeking out around the edges. Sometimes I like to roll that edge in crushed nuts, mini chocolate chips, or rainbow sprinkles. I do a quick nibble of the leftover edges for quality assurance. A taste test holds huge importance for me, and I keep my Golden Spoon on standby just in case I need a quick sample.
I keep the assembled sandwiches on a tray and slide them back into the freezer. An hour or so firms everything up, making them hold shape and giving you time to prepare your serving plates. My cat, Whiskers, usually circles around the kitchen at this point, hoping for a sniff. He has a keen nose for cocoa, but I place the sandwiches high to avoid any kitty mischief.
The Dash Magic: A Short Reveal
Now for that detail I hinted at in the beginning. A pinch of cinnamon sneaks its way into the cookie dough. This dash might sound minor, yet it brings a gentle warmth that intensifies the chocolate flavor. I discovered this trick while flipping through my Pin Notebook. My initial attempts seemed bland, so I introduced a tiny amount of spice. I found that a quarter teaspoon of cinnamon adds depth but stays subtle. This step can be optional if you dislike hints of spice in your sweets, but my taste buds vote for its inclusion.
That same day, Whiskers hopped onto the window ledge and let out a purr of approval when I added that spice. My Golden Spoon felt extra proud as I tasted a bit of the dough. I made a note to repeat the move next time, and I’ve done so ever since. The trick remains an understated but effective addition for many chocolate-based recipes.
Pin Notebook Traditions and a Few Friends
I rely heavily on my Pin Notebook for all sorts of scribbles and ideas. It’s filled with references to other chocolate marvels. I once compared my ice cream cookie dough texture to a batch from my Fudgy Chocolate Brownies with Nuts recipe. If you have a soft spot for brownies, I suggest checking that reference in my notes. You might appreciate those gooey squares, which you can find here: Fudgy Chocolate Brownies with Nuts. The texture and flavor vary, yet they share that same comforting chocolate presence.
A related favorite includes a deep, rich cheesecake that starts with a brownie base, found at Chocolate Cheesecake with Brownie Base. The thicker crust and creamy top earn rave reviews from my neighbors whenever I deliver a slice.
Another stop on the chocolate adventure leads me to my Gooey Turtle Brownies with Walnuts and Pecans, which rank high for those who crave a blend of chocolate, nuts, and caramel sauce. Some say they eat them too fast to remember details, which makes sense after your first bite.
I keep all these recipes jotted down, labeled, and dated in my Pin Notebook for future referencing. I tweak something new each time, tasting with my Golden Spoon and adjusting the technique in small increments. Tiny changes often carry big impact, so I always encourage others to record their adventures. Our personal notes help us refine each recipe.
Serve and Enjoy
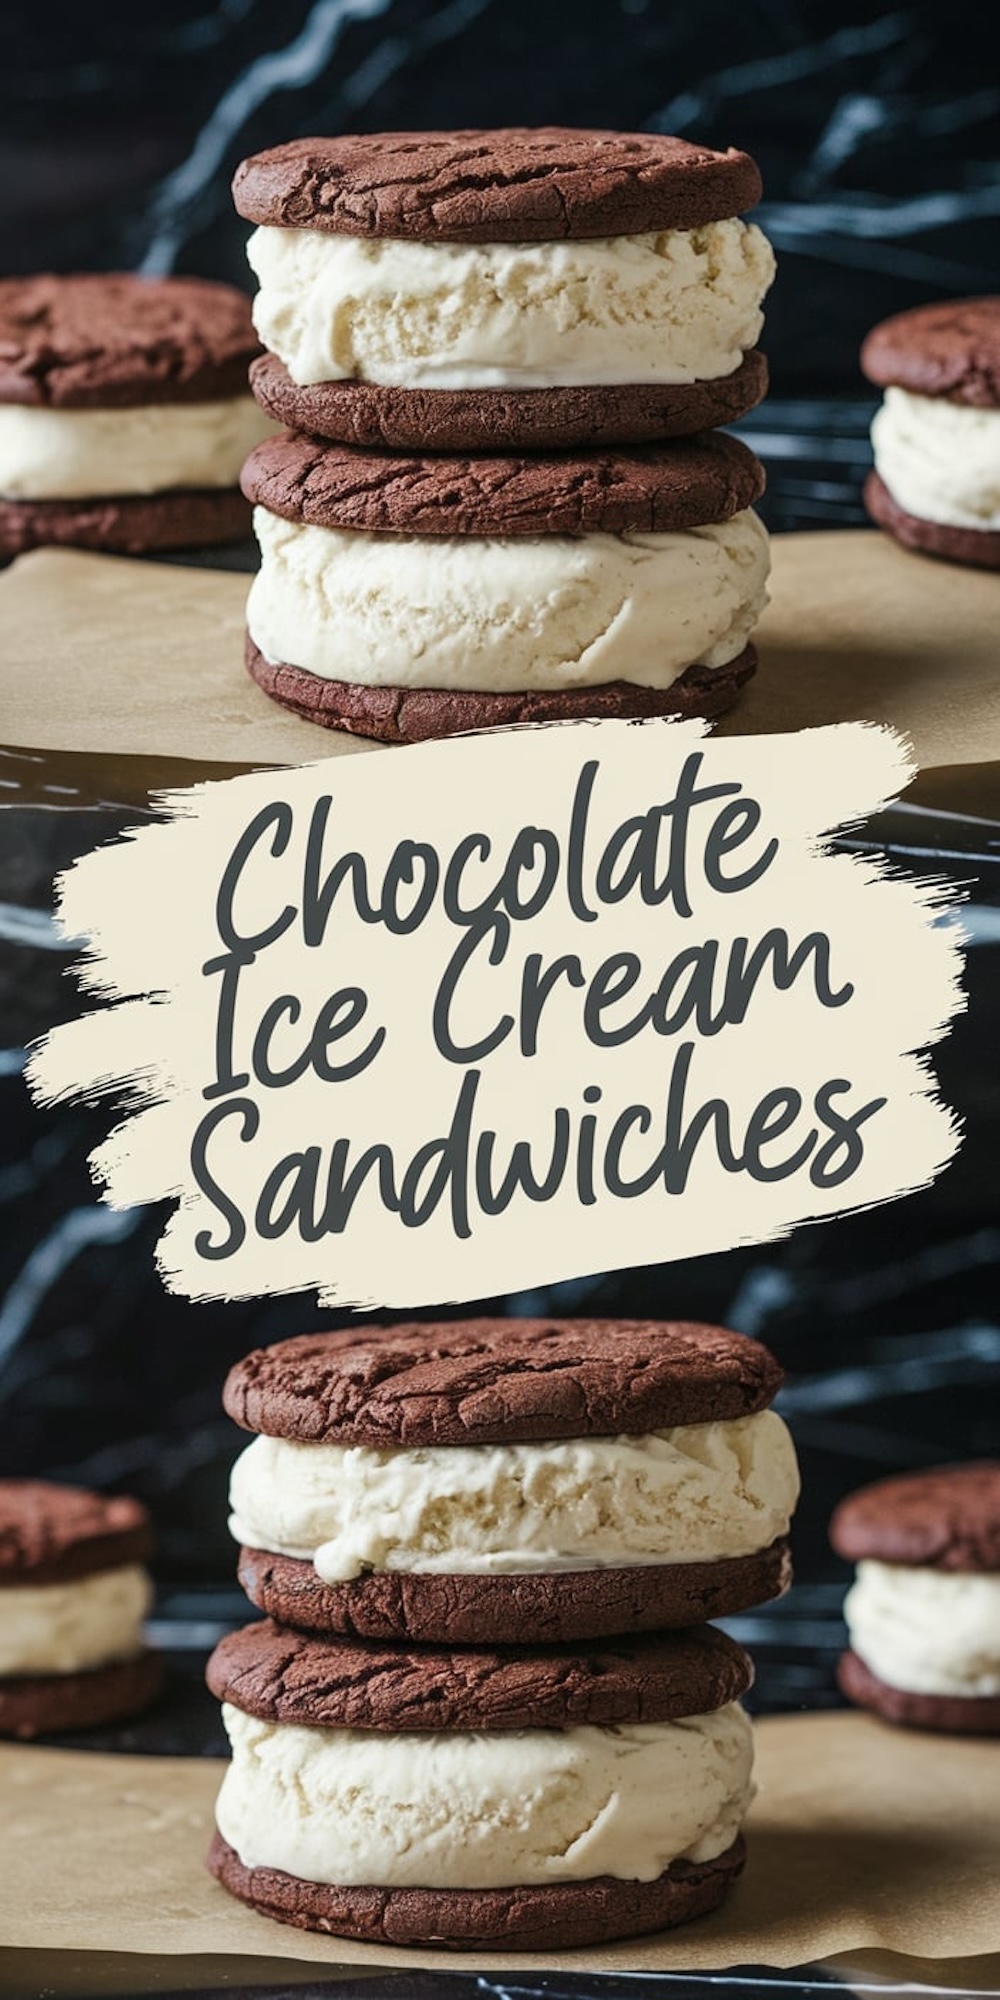
Finished chocolate ice cream sandwiches exit the freezer with a cool, firm shape. The cookie exterior breaks softly, letting your teeth pass through the crisp edge and into the creamy interior. You might notice the faint hint of cinnamon if you included it in your dough. I love that moment of biting through two layers of cookie hugging sweet ice cream. My mother sometimes tops them with whipped cream or drizzle, but I prefer them in their simple, direct form.
Whiskers usually becomes extra playful when I unbox these sandwiches, though he must settle for a cat treat instead. I invite friends or family over and watch their eyes light up at the sight of homemade ice cream sandwiches. The memory of me sampling the cookie dough earlier reminds me how far this project has come from its raw beginnings. The final assembly makes the extra steps and time worthwhile.
Pin This Recipe and Join the Discussion
I like to pin my new finds for later, so I invite you to share these chocolate ice cream sandwiches on your Pinterest boards. You could write a note about the dash of cinnamon in the cookie dough or mention your own tweak. Feel free to share your thoughts in the comments here as well, since I enjoy hearing how these sandwiches turn out in other kitchens.
Let me know if you tested the spice trick or found your own secret twist. A supportive exchange helps us learn from one another, and I enjoy seeing how each home cook explores fresh possibilities.
Chocolate Ice Cream Sandwiches Recipe
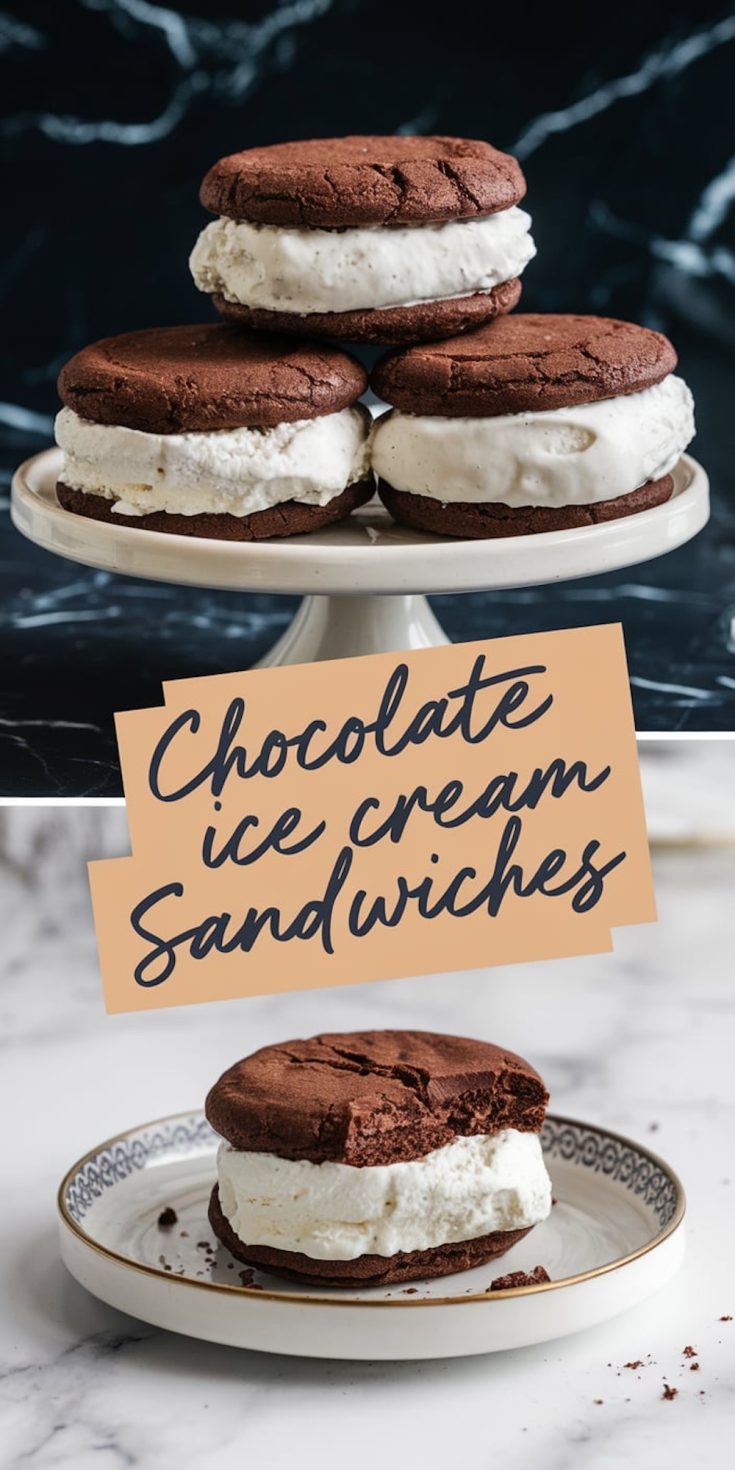
A classic treat combining rich chocolate cookies and creamy vanilla ice cream, these homemade ice cream sandwiches are easy to make and sure to please.
Ingredients
- FOR THE CHOCOLATE COOKIES:
- 1 ½ cups all-purpose flour
- ½ cup cocoa powder
- 1 teaspoon baking soda
- ½ teaspoon salt
- ½ cup unsalted butter, softened
- ½ cup granulated sugar
- ½ cup brown sugar
- 1 large egg
- 1 teaspoon vanilla extract
- FOR THE ICE CREAM FILLING:
- 1 pint vanilla ice cream (softened slightly for easy handling)
Instructions
Notes
For best results, assemble the sandwiches quickly to prevent the ice cream from melting.
Store the finished sandwiches in an airtight container in the freezer for up to 1 week.
Nutrition Information:
Yield:
10Serving Size:
1Amount Per Serving: Calories: 334Total Fat: 15gSaturated Fat: 9gTrans Fat: 0gUnsaturated Fat: 5gCholesterol: 61mgSodium: 275mgCarbohydrates: 46gFiber: 2gSugar: 28gProtein: 5g
