
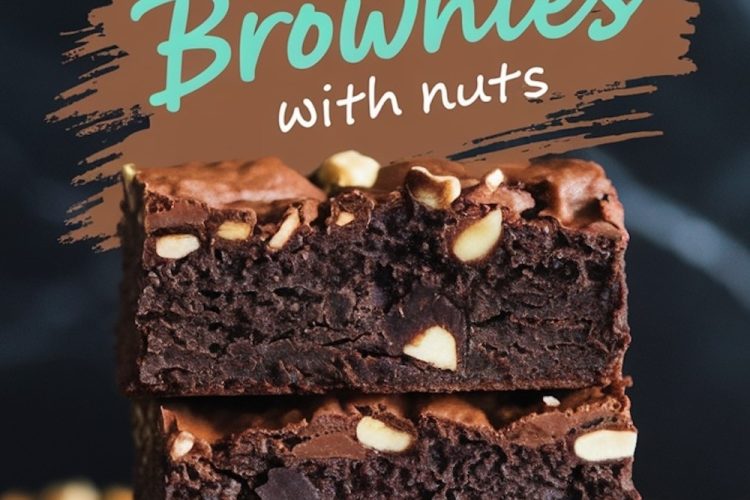
There is a small addition in these fudgy brownies that sparks curiosity. The recipe begins with tried-and-true ingredients, yet a bit of mystery hides beneath that cocoa surface. I learned a lot about the importance of this secret boost after a few experiments, and I’ll share the details later. This small detail changed how my family and friends react every time these brownies make an appearance on the table.
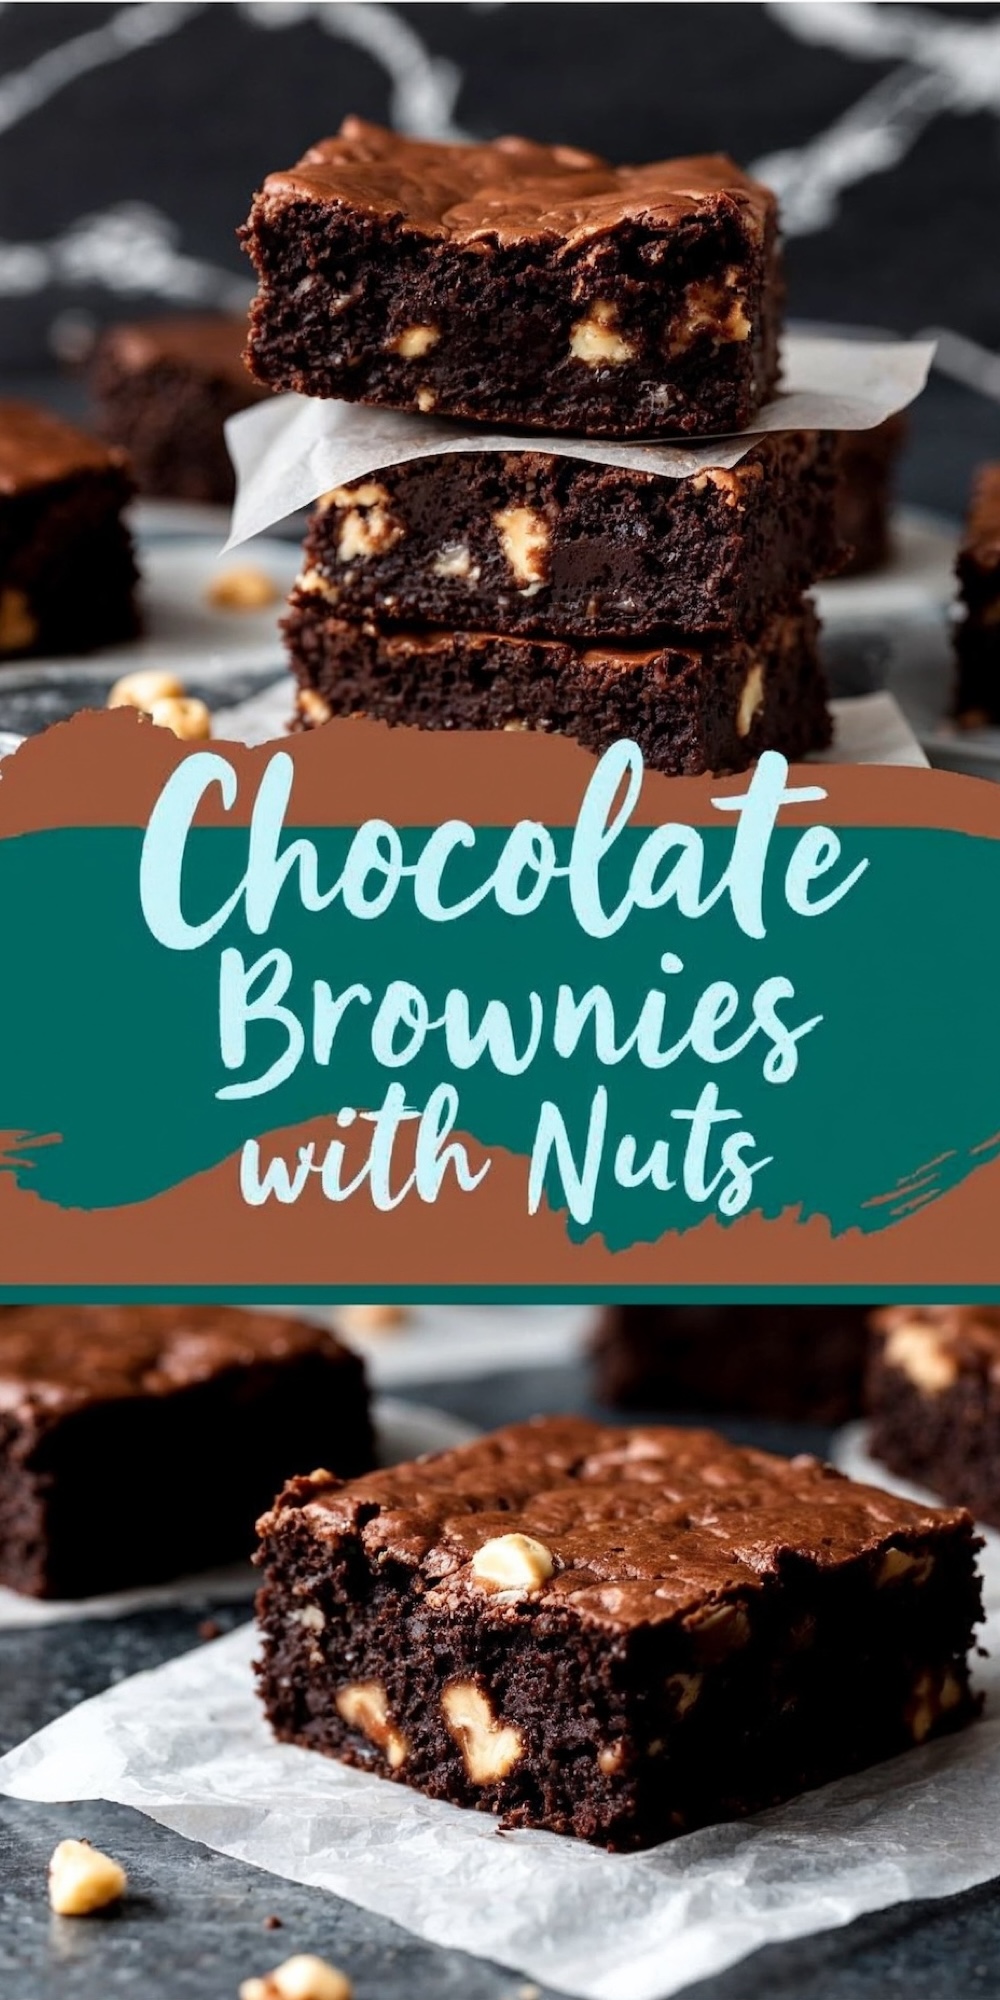
These squares taste rich and chocolaty, and they look enticing in any kitchen setting. You won’t see the trick in the beginning. You will catch on once you discover how it elevates the entire experience.
Collecting the Essential Ingredients
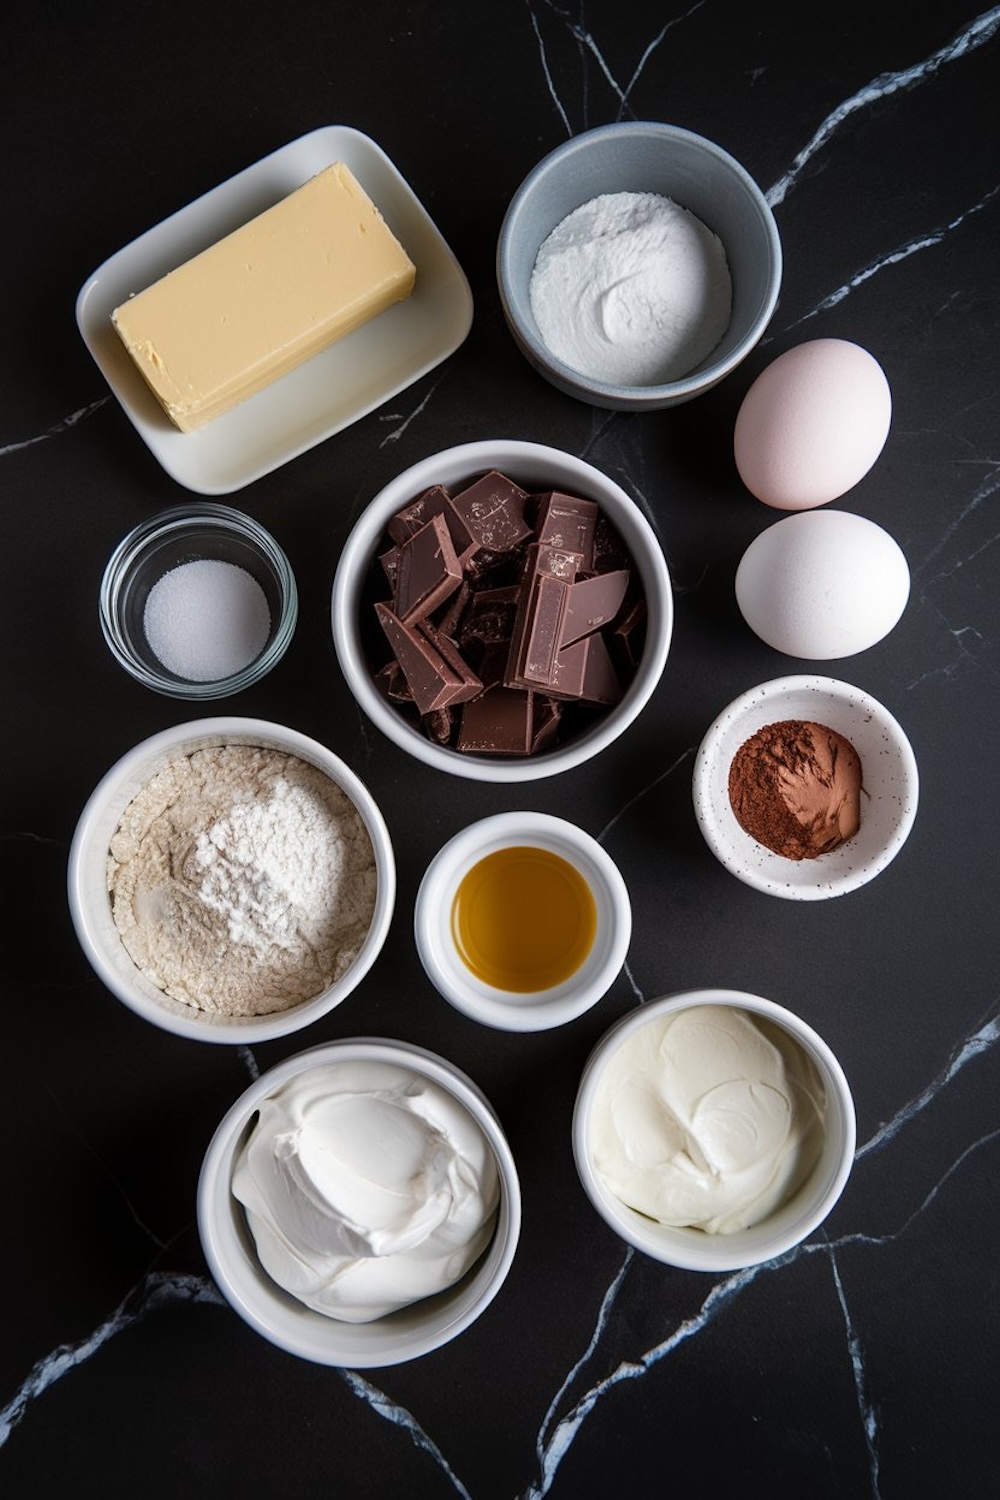
I rely on a balance of unsalted butter, both types of sugar, and a good cocoa powder. These brownies call for granulated sugar and brown sugar, plus a bit of salt and baking powder. That mixture ensures a dense, chewy crumb. My favorite brand of cocoa powder leans more intense and unsweetened, which balances the sweetness. The presence of flour binds everything into a smooth mixture.
A high-quality vanilla extract lifts the flavor. The additions of chopped nuts and optional chocolate chips round out the taste and add texture. The quantity of each component remains steady in my own rotation, so I know the result will be consistent.
Heating and Blending the Base
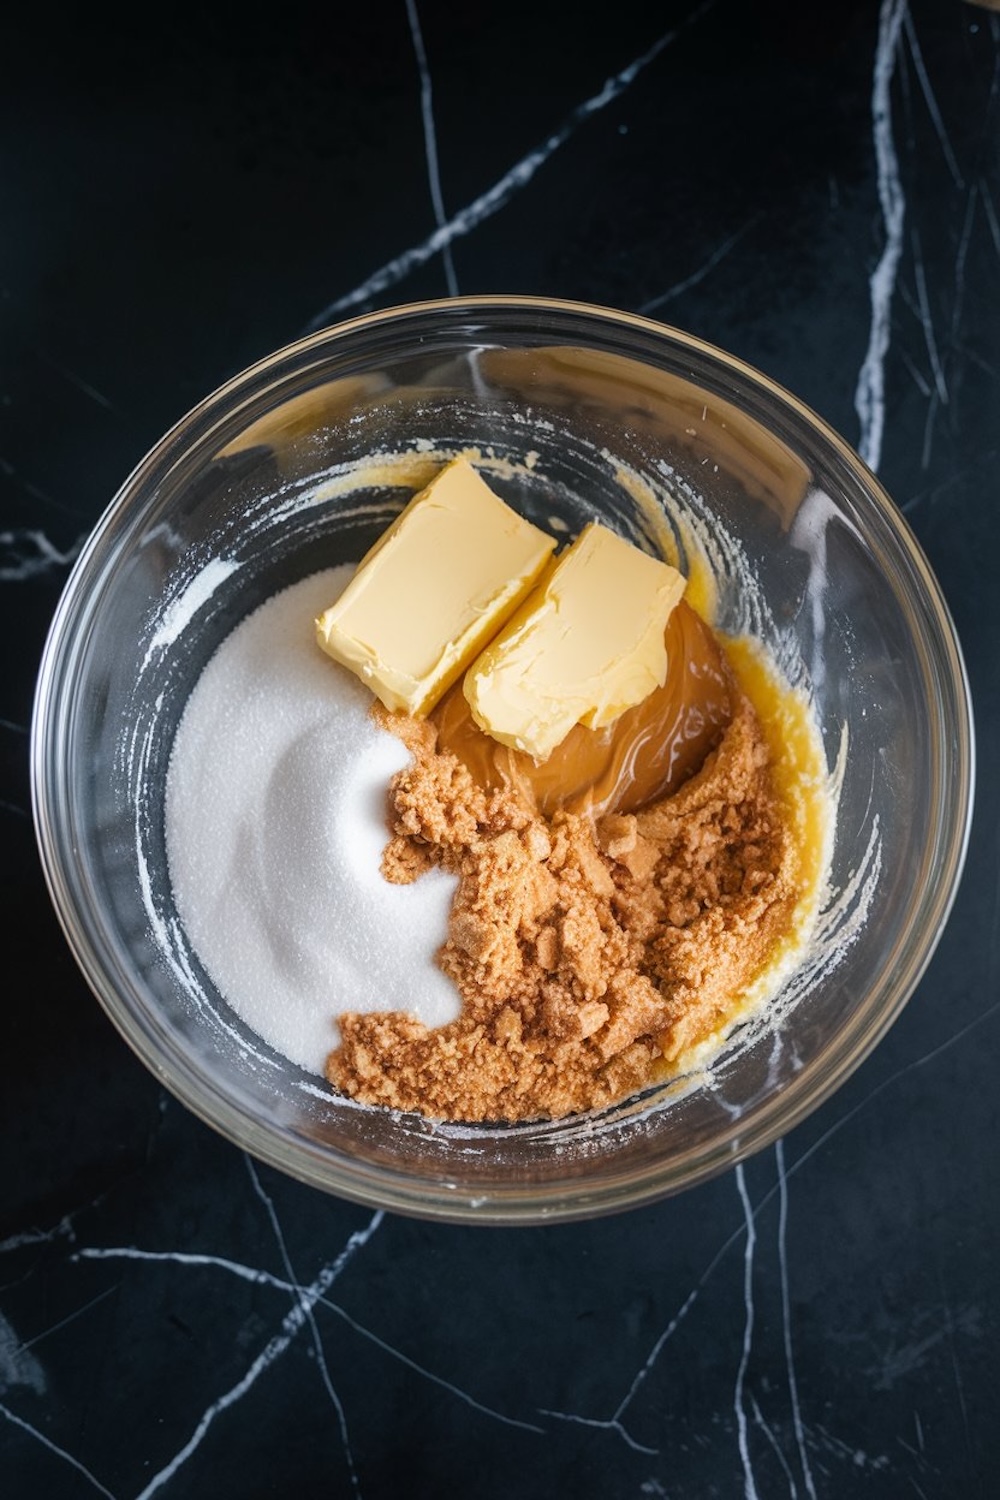
I follow a straightforward method to start. I melt the butter in a medium saucepan over low heat, then stir in granulated sugar and brown sugar until that silky shine appears. Cooling the mixture for a few minutes avoids cooking the eggs too soon. Stirring in eggs individually helps the batter hold that glossy sheen. A vanilla note emerges as soon as the extract hits the warm mixture, and it brings an inviting aroma to the kitchen.
Whiskers, usually parks himself by the stove whenever he smells anything sweet, as if expecting a treat. That adorable hope in his eyes always keeps me smiling.
Folding in the Dry Ingredients
I grab my spatula to bring the dry ingredients and wet mixture together. This helps me avoid overmixing. A separate bowl holds the flour, cocoa powder, salt, and baking powder. A quick whisk distributes everything evenly. I fold these dry ingredients in small increments, watching the batter thicken. The transformation can happen fast, so gentle motion keeps the consistency ideal for fudgy brownies.
Adding the nuts and chocolate chips near the end ensures the chunks remain intact. My personal twist includes toasted walnuts, although pecans or hazelnuts add a different crunch. Chocolate chips, when included, melt into small puddles, boosting that indulgent bite.

Step into the Oven
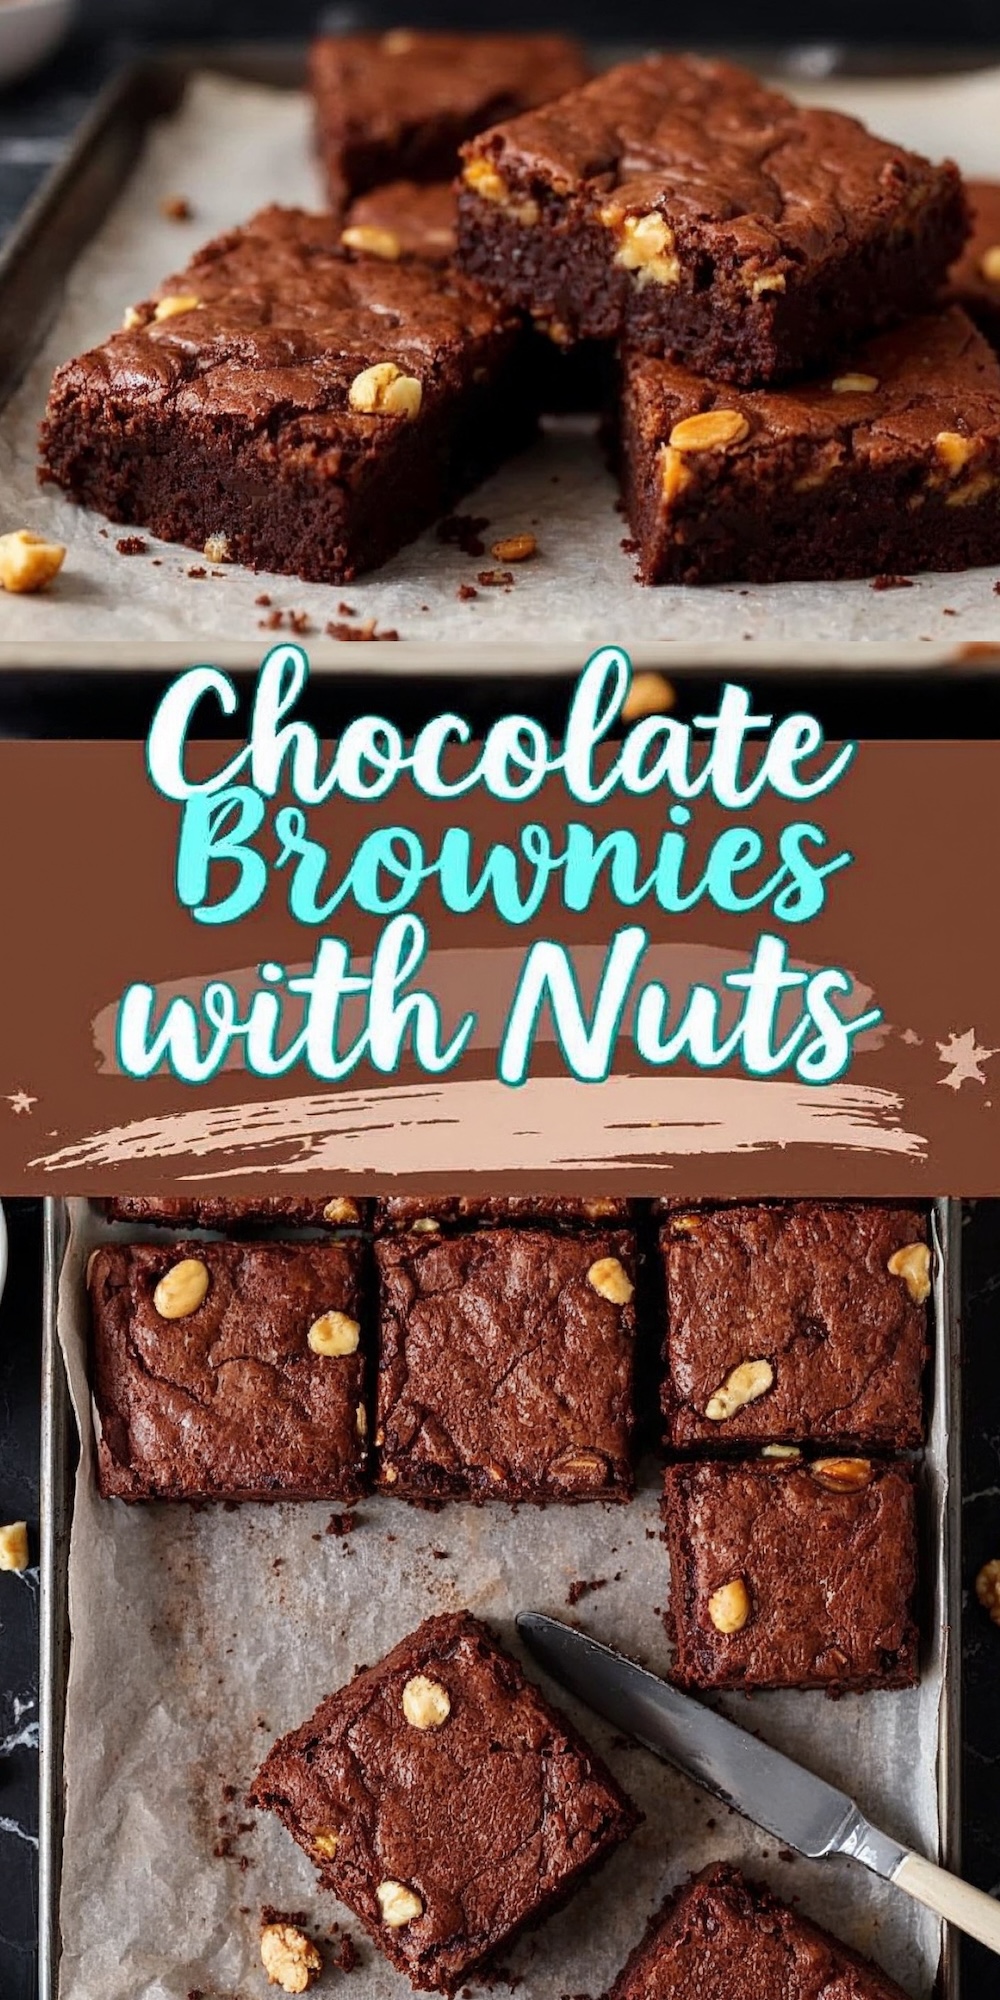
I pour the batter into a greased or parchment-lined pan. A 9×13-inch pan offers an even thickness that suits this style of brownie. The oven sits at 350°F (175°C). About 30 to 35 minutes usually gets the result I need, though I keep an eye on the brownies near the final stretch. A toothpick test can show a few moist crumbs, signaling that fudgy texture remains.
I prefer to let them cool in the pan, though it’s tempting to slice a corner while they’re still warm. Patience benefits the finished squares, but a short wait is enough if you plan on enjoying them right away.
My Personal Taste Test Tradition
I always sample my batter, frosting, or finished dessert. It’s a signature move that my friends tease me about. My Golden Spoon never leaves my side whenever I bake. I keep it on the counter just so I can scoop a tiny portion before the brownies go into the oven. That small taste test reveals if I’ve balanced the flavors. It also satisfies that sweet tooth craving before the final bake is complete.
My companions joke that I never lose track of the Golden Spoon. I can’t deny that it has become part of my baking personality. My cat tries to sneak a whiff, but I make sure he doesn’t get any chocolate.
The Dash of Magic You’ve Been Wondering About
I first realized that these brownies could use a little something extra after several tests. I turned to my Pin Notebook, where I keep all my culinary secrets and tweaks. The solution was unexpected. A dash of ground cinnamon was exactly what was needed. This subtle addition deepens the chocolate flavor, adding a hint of warmth that complements the rich cocoa. The effect is subtle but distinct, enriching the overall flavor without overwhelming the senses.
Practical Tips and Flavor Combinations
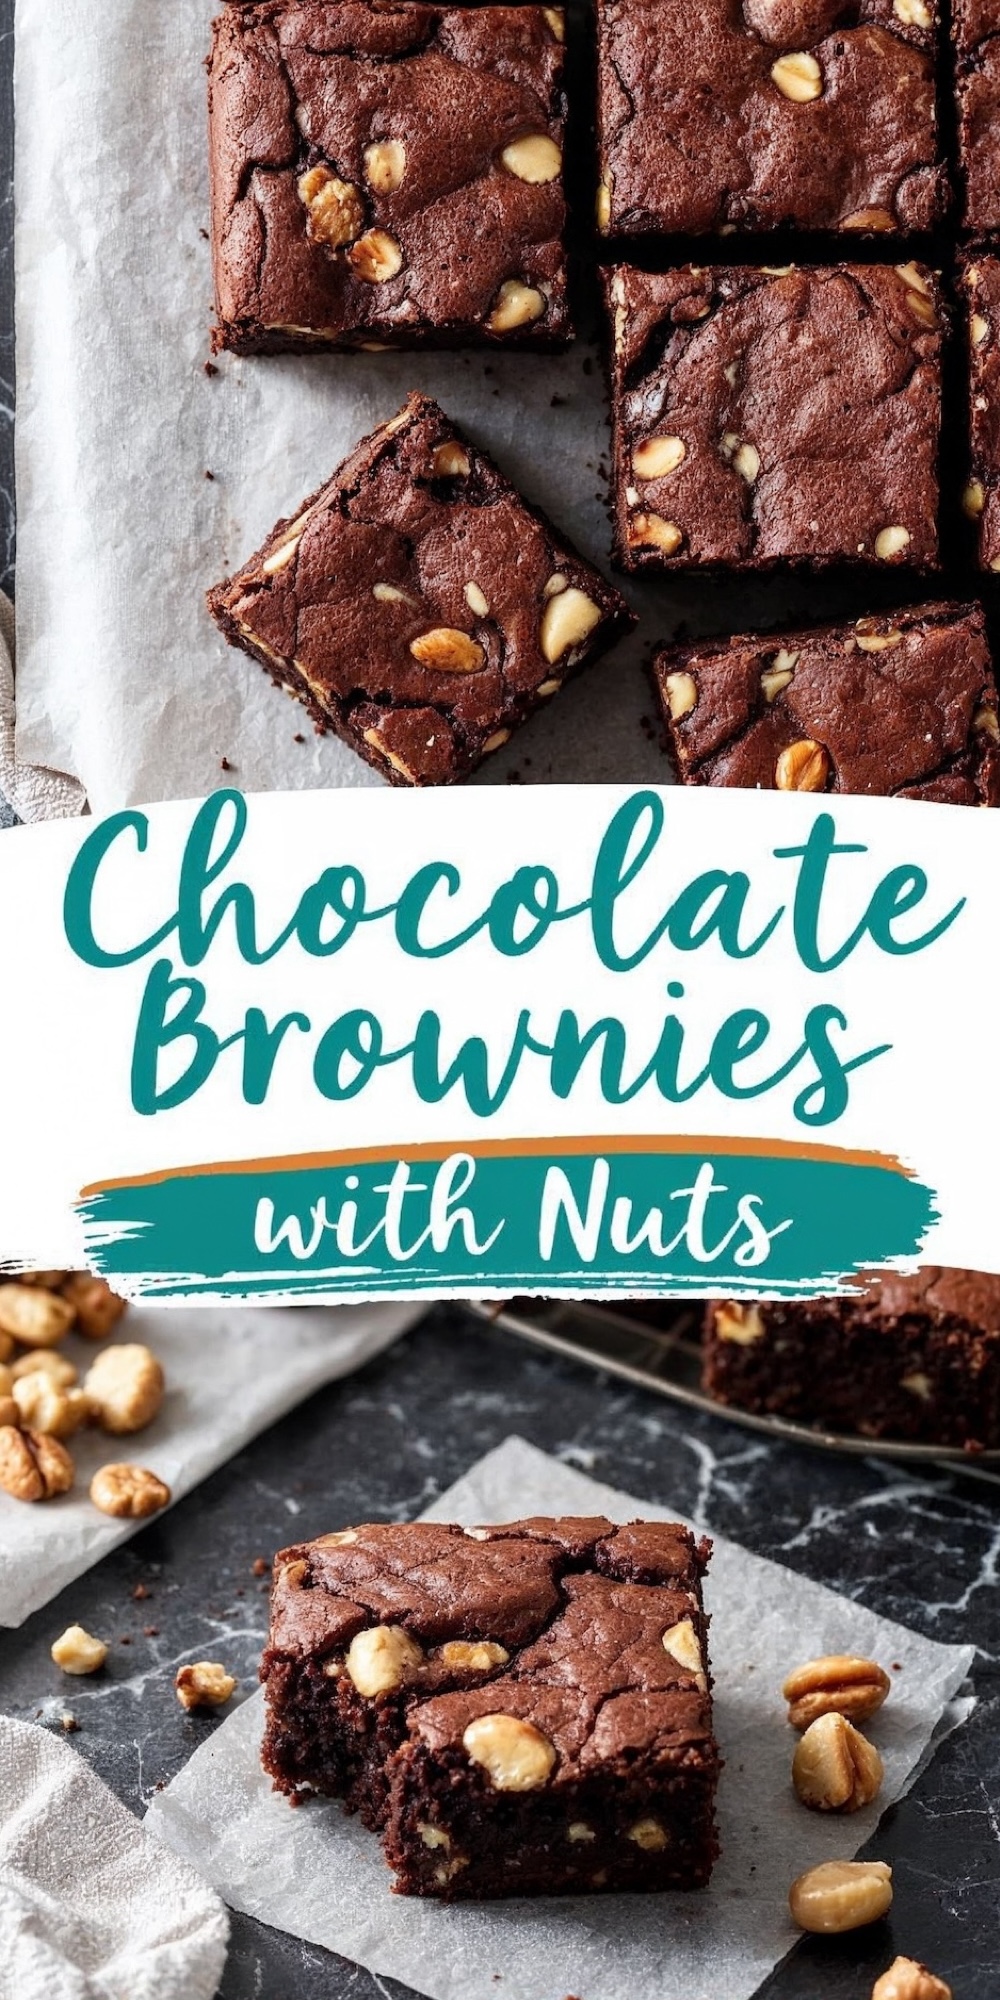
I appreciate how these brownies work with different nuts. Walnuts bring a classic taste, though pecans add a mellow sweetness, and hazelnuts bring a bit of crunch. Chocolate chips are optional, yet they elevate each bite if you crave more richness. The final texture remains soft and thick. The nuts hold that crunchy element that pairs well with the dense crumb.
My biggest caution lies in avoiding overbaking. A few extra minutes can turn the brownies cakey instead of fudgy. That moist interior is part of their charm, so I’d rather pull them out early than wait too long.
Why I Love Connecting This Brownie Recipe with Other Chocolate Treats
I’m a longtime fan of chocolate desserts. My friends know I rarely miss a chance to talk about brownies or other decadent baked goods.
This recipe complements my other chocolate favorites, including my Chocolate Fudge Brownies or Chocolate Cheesecake Brownie Bars with Ganache Topping. Both links provide more options if you enjoy exploring desserts with extra chocolate layers or toppings.
You may find that once you master this fudgy approach, you’ll crave new variations. You can also try my Chocolate Cheesecake with Brownie Base for a cheesecake spin. These brownies here remain a flexible choice for potlucks, holiday gatherings, and casual afternoons.
Sharing the Finished Product
I feel great satisfaction when these brownies come out of the oven looking dark and glossy. That aroma sends a clear signal to anyone in the house that dessert is near. I usually let them rest for at least 20 minutes, although a quick slice can happen if the crowd grows impatient. The secret pinch of espresso powder leaves guests guessing why the chocolate tastes so full-bodied.
There is something fun about that mysterious element. I make sure to let them guess for a bit before I reveal what I added. It reminds me of my earliest baking attempts, when I learned that the tiniest details can make a huge difference.
Pin, Save, and Share Your Experience
I enjoy hearing your experiences after trying this brownie recipe. Pin this idea on your favorite dessert boards so you can easily find it next time you need a rich chocolate fix. Share your thoughts and comments if you try a different nut or add a swirl of something creative. A baking community grows when people exchange ideas and learn from each other’s experiments.
Let me know if these brownies spark any fun stories, or if you have new tips to pass along. My Pin Notebook always has room for more discoveries, and I’d love to keep the conversation going.
Fudgy Chocolate Brownies with Nuts Recipe

A rich and chocolatey brownie recipe with a delightful crunch from nuts and optional pockets of melted chocolate. These brownies are soft, dense, and incredibly satisfying.
Ingredients
- 1 cup (230g) unsalted butter
- 1 cup (200g) granulated sugar
- 1 cup (200g) packed brown sugar
- 4 large eggs
- 2 teaspoons pure vanilla extract
- 1 cup (120g) all-purpose flour
- 1 cup (120g) unsweetened cocoa powder
- 1 teaspoon salt
- 1/2 teaspoon baking powder
- 1 cup (150g) chopped nuts (walnuts, pecans, or hazelnuts)
- 1 cup (170g) semi-sweet chocolate chips (optional)
Instructions
- PREPARE YOUR BAKING PAN: Preheat the oven to 350°F (175°C). Grease a 9x13-inch baking pan with butter or line it with parchment paper, leaving a slight overhang to make brownie removal easier.
- MELT THE BUTTER AND COMBINE WITH SUGARS: In a medium saucepan over low heat, melt the butter. Remove from heat and whisk in the granulated sugar and brown sugar until smooth. Let the mixture cool for 5 minutes to prevent the eggs from cooking in the next step.
- ADD EGGS AND VANILLA: Add the eggs, one at a time, to the butter-sugar mixture, whisking well after each addition. Stir in the vanilla extract. The batter should become glossy and smooth, forming the base for the brownies.
- COMBINE DRY INGREDIENTS: In a separate bowl, whisk together the flour, cocoa powder, salt, and baking powder. Gradually fold the dry ingredients into the wet ingredients with a spatula. Mix just until combined to maintain the fudgy texture.
- STIR IN NUTS AND CHOCOLATE CHIPS: Fold in the chopped nuts and chocolate chips, if using. The nuts add crunch, while the chocolate chips create pockets of melted sweetness.
- BAKE: Pour the batter into the prepared pan, spreading it evenly with a spatula. Bake for 30–35 minutes, or until a toothpick inserted into the center comes out with a few moist crumbs. Avoid overbaking, as the brownies will continue to firm up while cooling.
- COOL AND SLICE: Let the brownies cool in the pan for at least 20 minutes. Use the parchment paper overhang to lift them out of the pan. Slice into squares or rectangles and serve.
Notes
For extra flavor, lightly toast the nuts before folding them into the batter.
Store leftovers in an airtight container at room temperature for up to 3 days or refrigerate for up to a week.
Nutrition Information:
Yield:
12Serving Size:
1Amount Per Serving: Calories: 108Total Fat: 5gSaturated Fat: 2gTrans Fat: 0gUnsaturated Fat: 3gCholesterol: 65mgSodium: 235mgCarbohydrates: 12gFiber: 1gSugar: 3gProtein: 4g
