
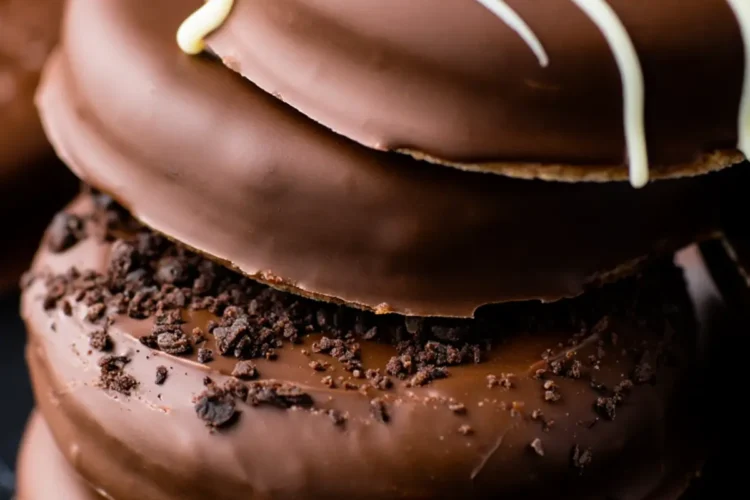
If you’ve ever wanted to make something that feels handmade but doesn’t require a mixing bowl or oven timer, this is it.
You’re going to learn how to make chocolate covered Oreos with a clean finish, smooth shell, and crisp snap—without breaking a sweat. This recipe gets requested every holiday at my house, and there’s a reason why it lives permanently in my Pin Notebook. I’ll show you how I do it, what to watch for, and the one twist that takes it from store-bought copy to something you’ll want to put on every dessert board.
I use my Golden Spoon for this recipe too—the same one Aunt Marian passed down to me. It may sound silly, but I swear it adds a kind of magic.
Here’s the fun part. There’s a secret ingredient I add to the chocolate when I’m not using melting wafers. It gives the chocolate a softer snap and makes the cookies easier to bite. But I’ll tell you about that once we get through the steps.

How to Melt Chocolate Chips for Oreo Dipping – Microwave Method
Start with either chocolate wafers or chocolate chips. I’ve used both, and they work just fine.

Place them in a microwave-safe bowl and heat in 30-second bursts. Stir each time so the heat distributes evenly. Don’t rush it. Chocolate burns faster than it melts if you aren’t careful. Aim for smooth and glossy, not thick or scorched.
I usually melt white chocolate in a second bowl so I can drizzle it later. I write down the exact timing that works for my microwave in the Pin Notebook—every microwave is different.
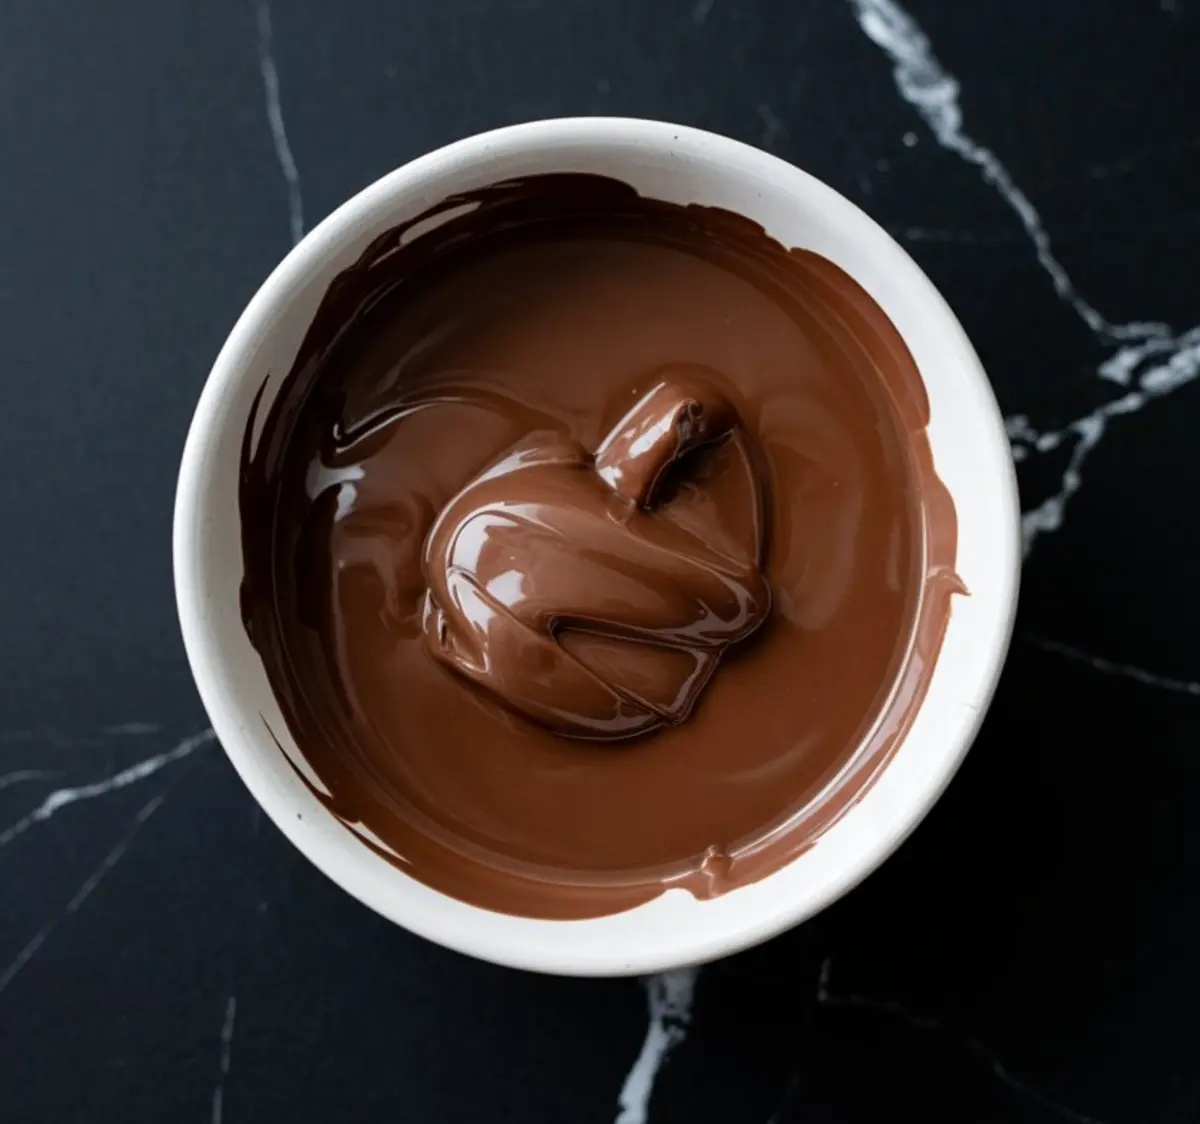
How to Dip Oreos in Chocolate Without Making a Mess
Line a baking tray with parchment paper and make some room in your fridge.
Drop one Oreo into the melted chocolate and use a fork to flip it around. Lift it out gently, then tap the fork against the edge of the bowl so extra chocolate falls off.
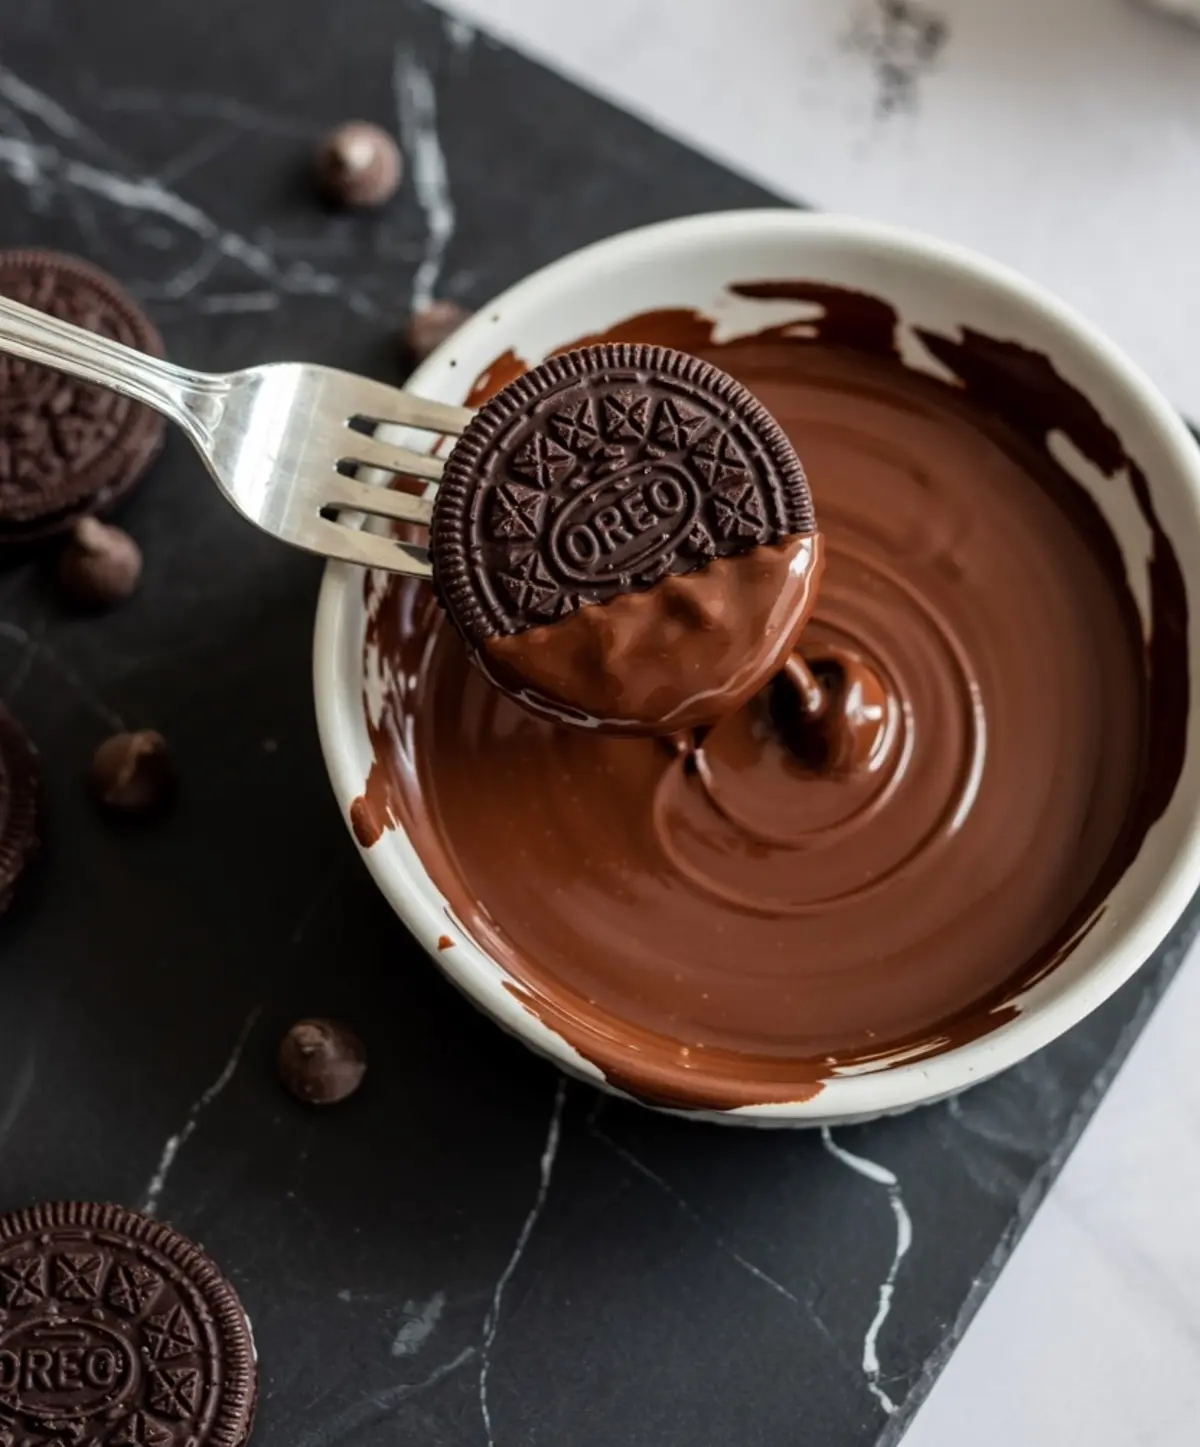
Slide it onto the tray. Repeat this with each cookie until the tray is full.
It helps to keep a light hand. Too much chocolate, and the shell overwhelms the cookie. Too little, and it doesn’t cover right.
Best Toppings for Chocolate Covered Oreos – Simple and Creative Ideas
This is where you can go wild or stay simple.
Before the chocolate sets, sprinkle on crushed Oreos or cookie crumbs. You can also drizzle with melted white chocolate, toss on some peppermint bits, mini chips, or sprinkles.
I once used crushed freeze-dried raspberries. That batch didn’t last the night.
Use whatever you have on hand. Kids love doing this part, and adults sneak more than they admit. If you’re making these for a party, mix up the toppings so the tray looks fun and inviting.

Chill and Store the Chocolate Dipped Oreos Properly
Once you decorate, place the tray in the fridge. Fifteen minutes should be enough.
Touch the top of one gently. If it’s firm and dry, they’re done. If not, give them a few more minutes.

Store them in an airtight container. At room temp, they last about a week. Fridge gives you two weeks if you’re lucky to have any left by then.
The Secret Ingredient That Softens the Snap
I promised you a twist. Here it is.
When I use chocolate chips instead of melting wafers, I always add a spoonful of refined coconut oil once the chocolate is fully melted. Just a bit—about one teaspoon per cup of chips. This single move transforms the texture.
The coconut oil smooths out the chocolate, helps it coat more evenly, and gives the shell a softer bite. No waxy finish. No crumbling. Just a cleaner, slightly more luxurious snap—like something you’d expect from a boutique bakery, not your own kitchen.
I learned this trick from someone who used to work the back counter at a dessert shop. She swore by it, and after testing it myself, I added it to my Pin Notebook immediately.
Now it’s just how I do things.
Variations You Might Want to Try Next
You don’t have to stick with regular dipped Oreos.
Try double-stuffed, mint, or even golden Oreos for a change. I’ve also tried them with holiday editions—those red creme ones at Christmas are eye-catching.
And if you’re in the mood for more chocolate, I’ve got a few ideas for you. These Chocolate Covered Strawberriesmake a great match on dessert trays. Or you can pair them with Chocolate Ice Cream Sandwiches if you’re planning a summer treat table.
Feeling cookie-inspired? You might like my Oatmeal Chocolate Chip Cookies or the deep, nutty flavor in these Brown Butter Chocolate Chip Cookies.
Save and Share This No-Bake Oreo Dessert Idea

These chocolate covered Oreos always disappear faster than I expect. Every time someone asks for the recipe, I send them here.
So save it to your dessert board or screenshot it before you forget. And if you try them, let me know in the comments how they turned out. Did you try the coconut oil trick? Which topping did you pick?
I’d love to hear what you did differently or what worked for you.
We’ve all got our own version, and that’s what makes sharing it even sweeter.
Chocolate Covered Oreos Recipe
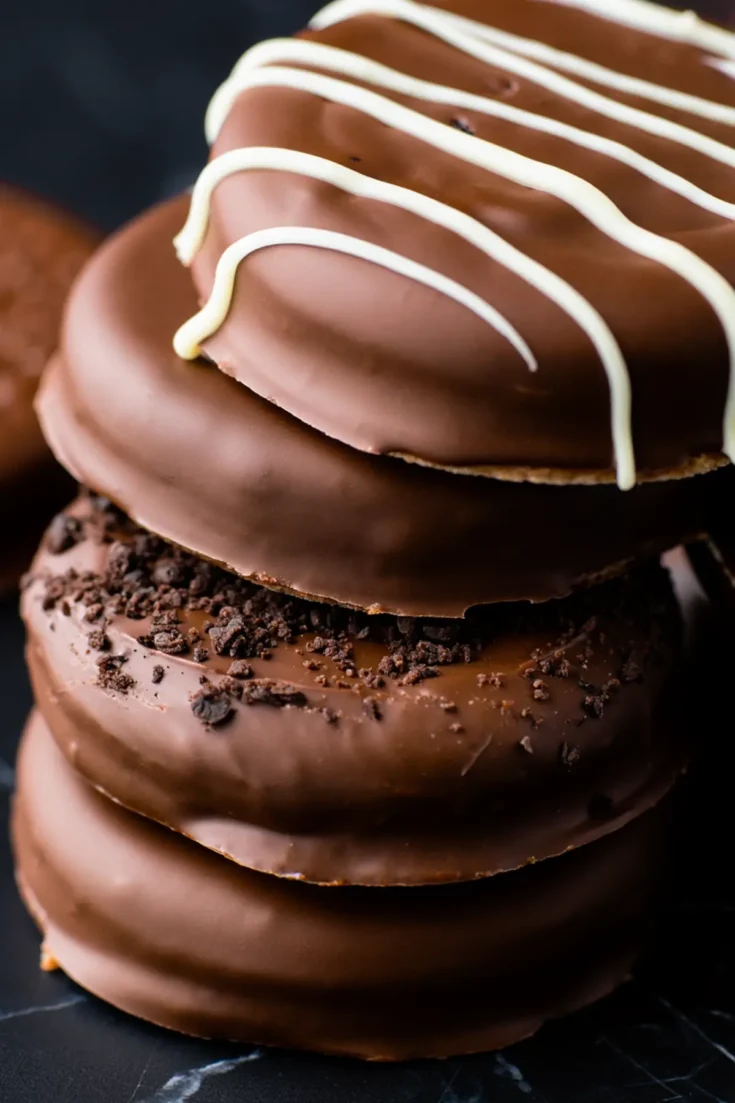
These chocolate-covered Oreos are quick to make and always popular. They use just a few ingredients and can be decorated in many creative ways. No oven required, and cleanup is simple.
Ingredients
- 36 Oreo cookies (classic, double-stuffed, or flavored)
- 12 ounces melting chocolate (milk or semi-sweet chocolate wafers recommended; chocolate chips with coconut oil can be used as a substitute)
- Optional toppings:
- Crushed Oreo cookies
- Melted white chocolate (for drizzle)
- Chocolate cookie crumbs
- Colorful sprinkles
- Crushed peppermint or toffee bits
- Mini chocolate chips
Instructions
- PREPARE BAKING SHEET: Line a large baking sheet with parchment paper and clear space in the refrigerator to chill the cookies once dipped.
- MELT THE CHOCOLATE: Place melting chocolate in a microwave-safe bowl and heat in 30-second intervals, stirring after each round, until fully melted and smooth. Do not overheat. If using white chocolate for drizzling, melt it in a separate bowl using the same method.
- DIP THE OREOS: Drop one Oreo into the melted chocolate, use a fork to flip and fully coat it, then lift it out and gently tap the fork on the side of the bowl to remove excess chocolate. Slide the coated cookie onto the prepared tray. Repeat with remaining Oreos.
- DECORATE: While the chocolate is still wet, decorate each cookie with your desired toppings. Sprinkle crushed cookies, drizzle melted chocolate, or add sprinkles and other textures. Combine different decorations for visual variety.
- CHILL TO SET: Place the tray in the refrigerator for about 15 minutes, or until the chocolate is fully set and firm to the touch.
Notes
Store the finished cookies in an airtight container at room temperature for up to 1 week. For longer storage, refrigerate for up to 2 weeks.
Nutrition Information:
Yield:
30Serving Size:
1Amount Per Serving: Calories: 189Total Fat: 10gSaturated Fat: 5gTrans Fat: 0gUnsaturated Fat: 4gCholesterol: 4mgSodium: 81mgCarbohydrates: 25gFiber: 1gSugar: 18gProtein: 2g
