
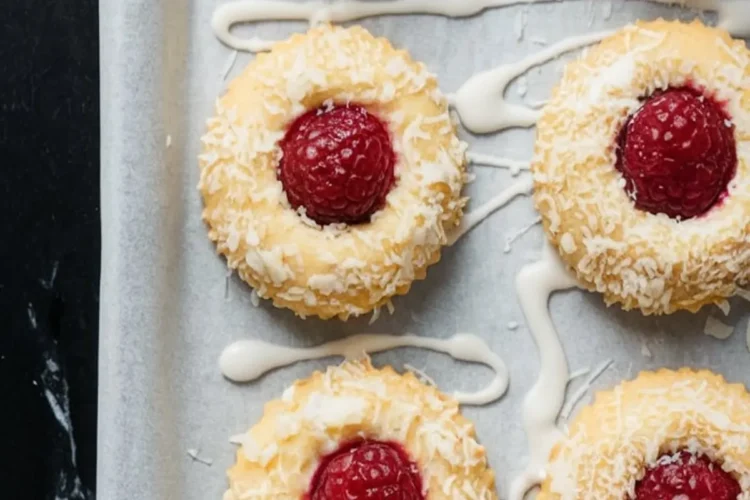
You don’t need a reason to bake cookies, but some recipes ask for more than a passing glance. This one holds your attention. It’s not just the contrast of a golden coconut crust and a soft, buttery center. It’s the raspberry, both baked and fresh, that shifts the mood of each bite.
You’re here because you want something familiar. Shortbread, jam, a thumbprint—but with enough twist to make someone pause mid-bite.
That pause is what I chase in my kitchen. That’s what this cookie gives.
And if you’re wondering how this version stands apart from others—say, from these Peanut Butter Thumbprint Cookies with Caramel or my Chocolate Cherry Thumbprint Cookies—you’re about to see why raspberry and coconut are more than a spring fling.
There’s also one small addition that quietly changes everything. I’ll reveal that soon.
Let’s start with the cookie’s base.

Buttery Shortbread Dough That Holds Its Shape
This dough isn’t crumbly. It’s soft, pliable, and easy to work with. You’ll cream the butter and sugar until it’s light—about 2 to 3 minutes, just enough air to lift the dough but not so much that it spreads in the oven.
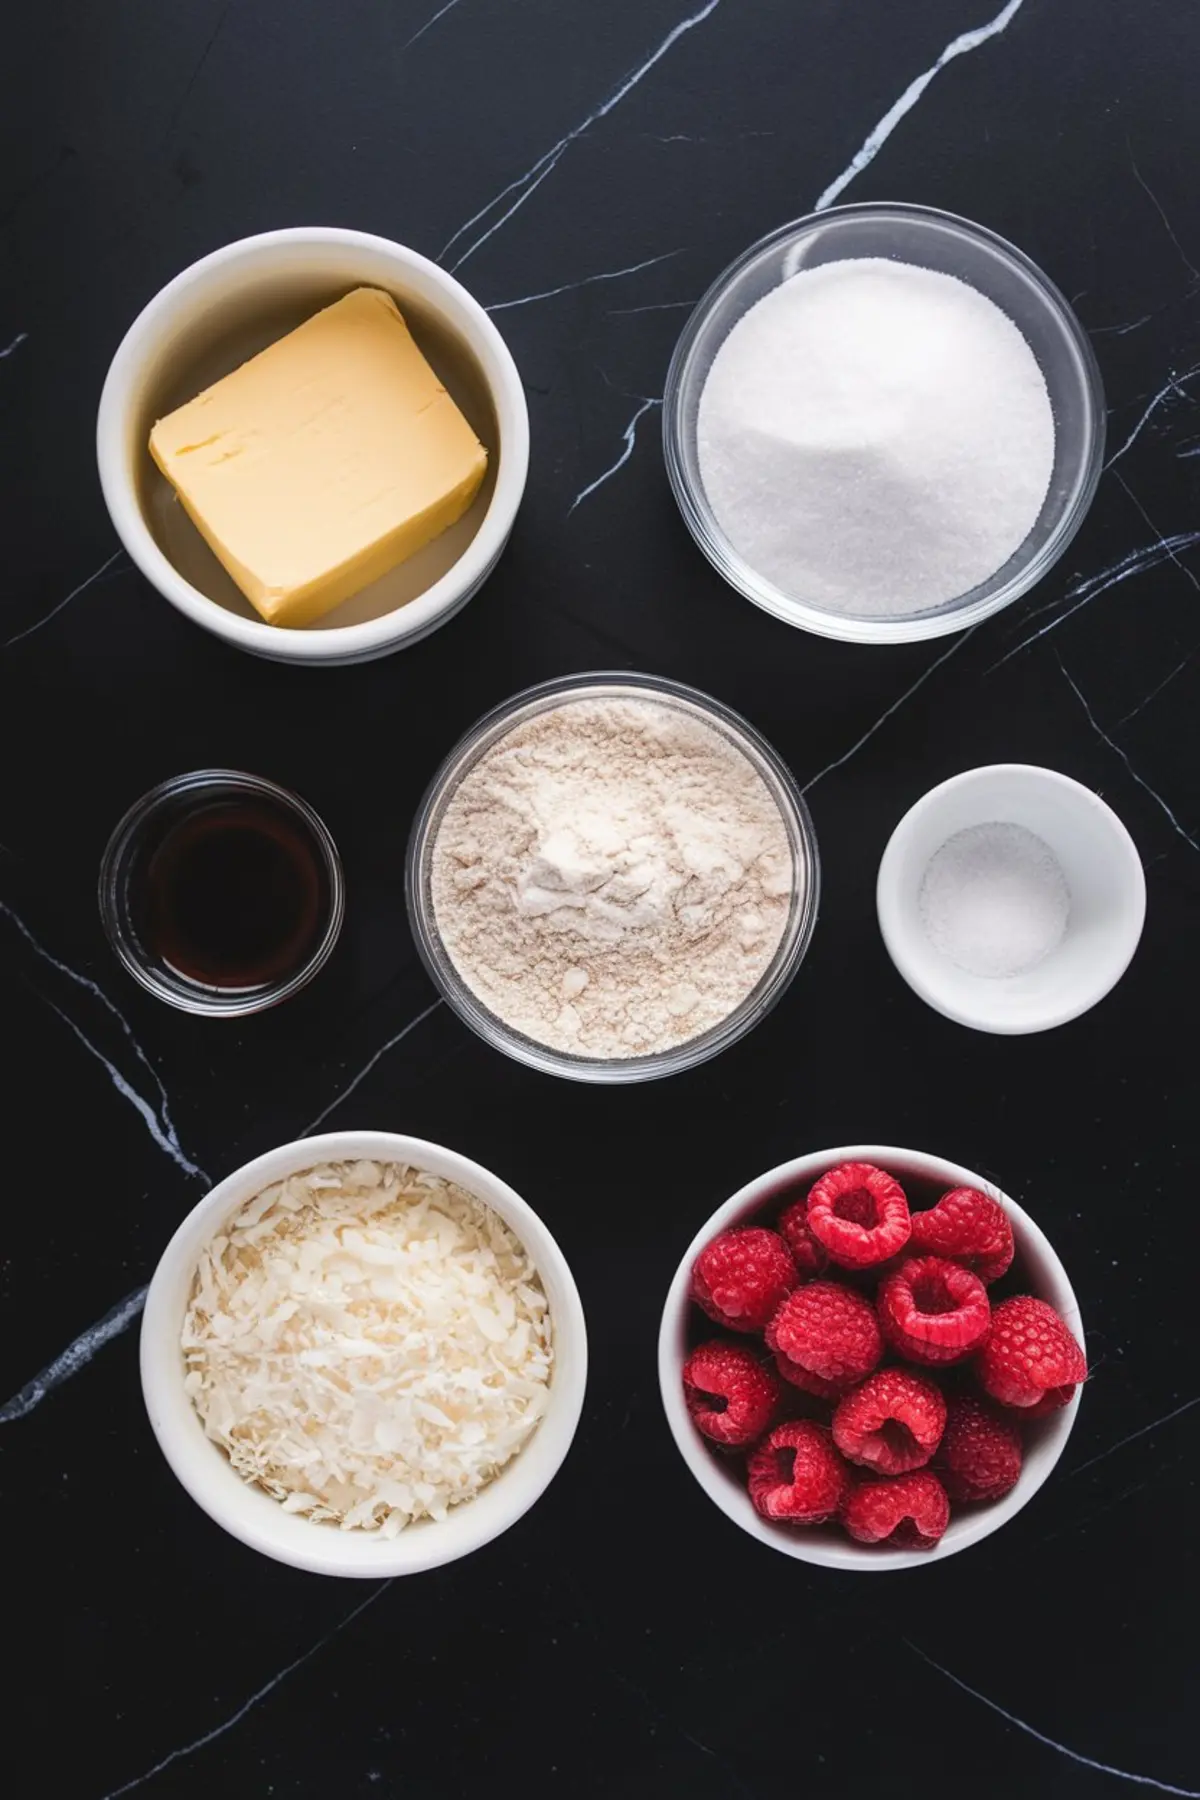
I’ve tested this with both cold and room-temperature butter. Use softened butter. Cold butter creates uneven mixing, which leaves streaks and patches of toughness. In my Pin Notebook, I wrote:
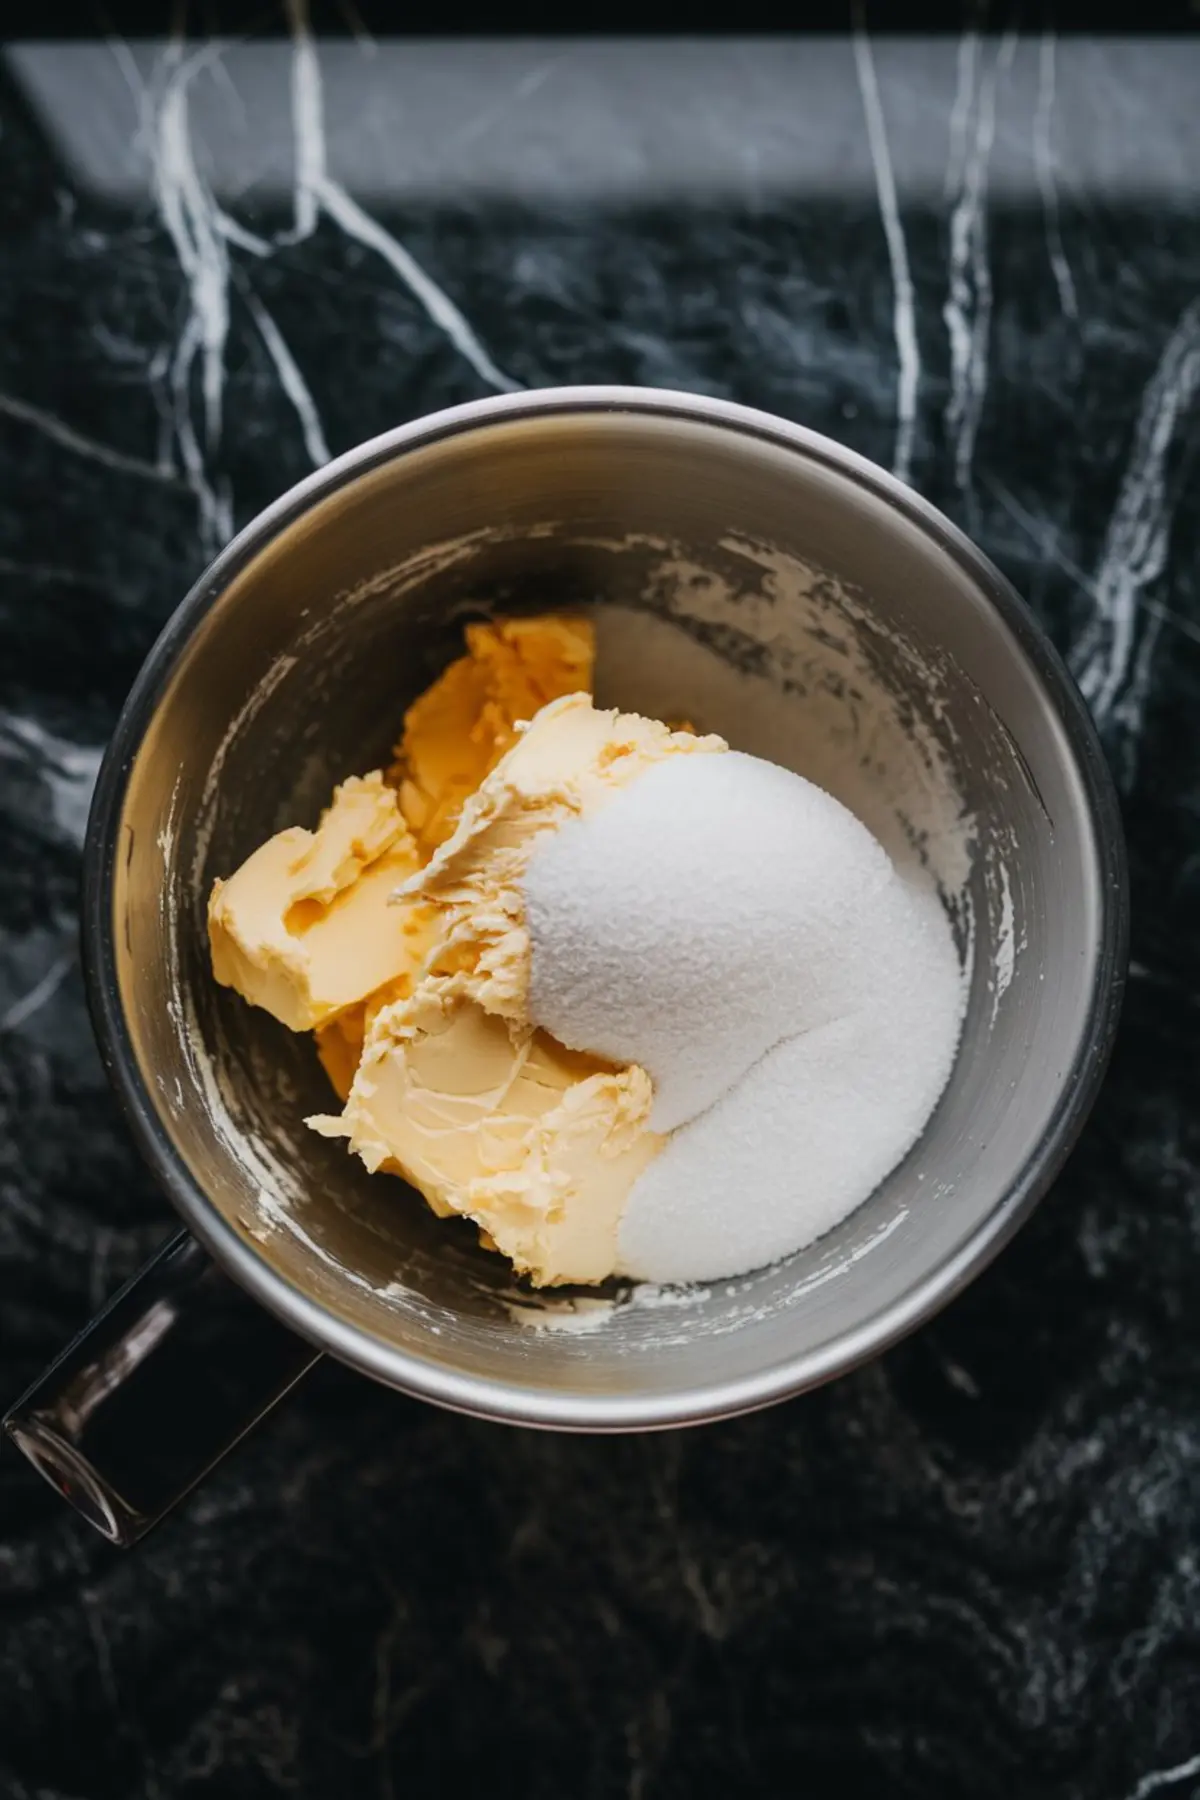
Chilled butter = patchy centers.
Keep the vanilla simple and pure. Don’t sub with imitation. This cookie needs a clean flavor because it’s carrying fruit and coconut already.
How to Get the Dough Texture Right Every Time
Once you mix in the flour and salt, the dough should come together without sticking to your hands.
If it’s crumbly, the butter might have been too cold or the flour packed too tightly. Scoop and level your flour with a spoon—not directly from the bag. Trust me on this. I’ve ruined batches by being impatient here.

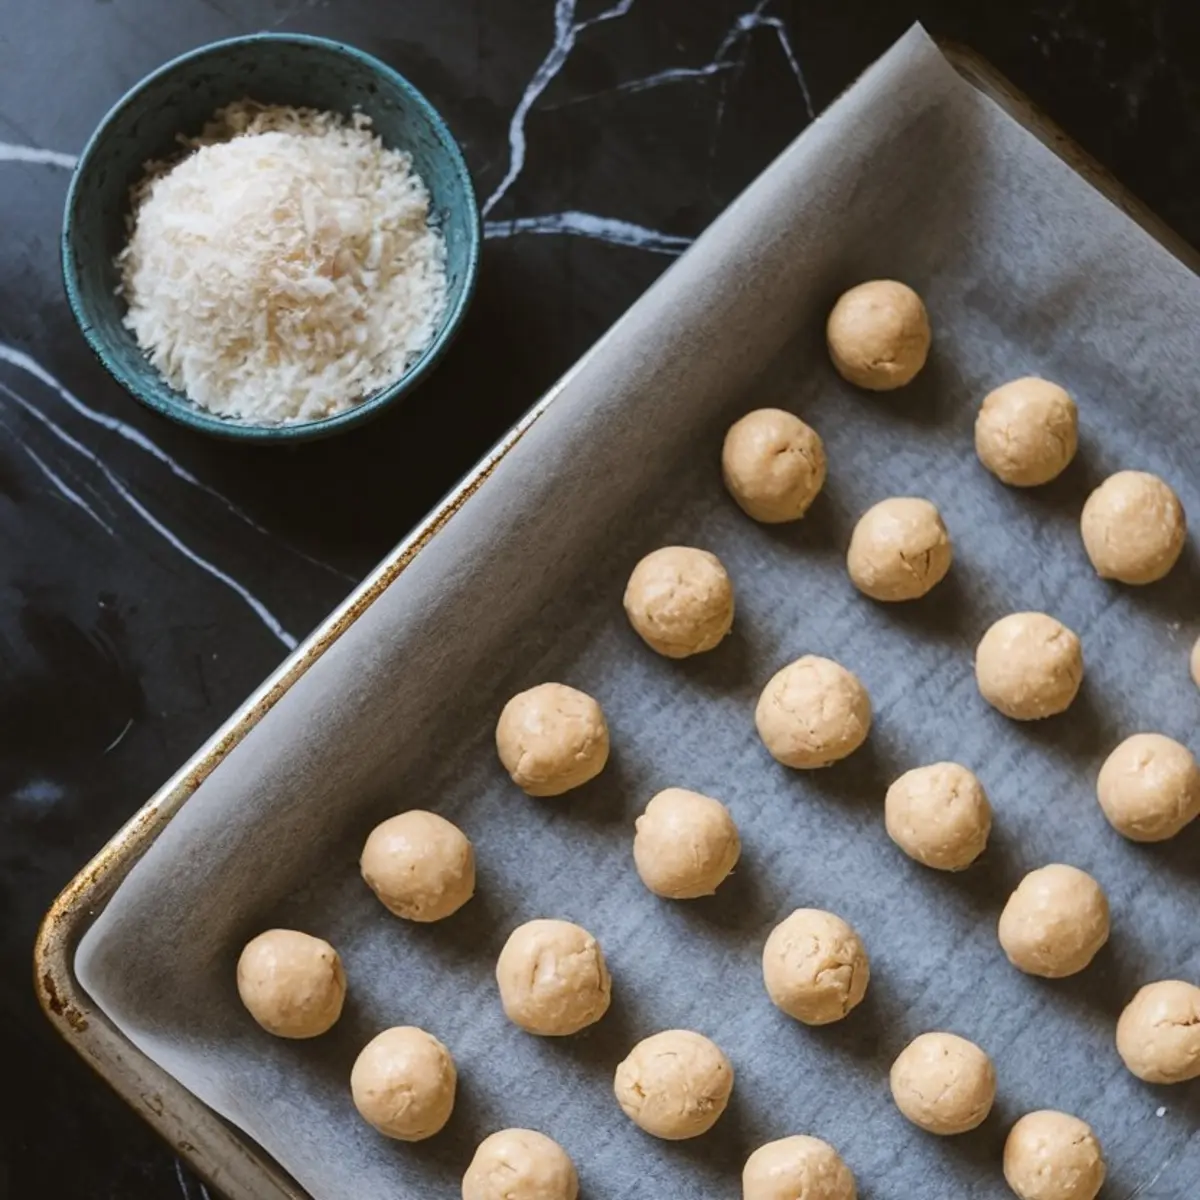
You’ll roll the dough into tablespoon-sized balls. Chill them. It helps the cookies bake up thick, not flat.
Chilling for 15 minutes is enough. Any longer, and the coconut won’t stick as well when coating.
Toasty Coconut Crust That Stays Crunchy
Roll the chilled dough balls in sweetened shredded coconut. Press gently so the flakes hold.
Here’s where I’ve compared two versions: sweetened vs. unsweetened coconut.
Sweetened flakes brown faster and give you that golden, crunchy ring. Unsweetened burns quickly or stays pale. Sweetened coconut also softens slightly in the oven, blending into the cookie without chewing like straw.
That note’s starred in my Pin Notebook: “Always sweetened for this recipe. Unsweetened dries out the bite.”
Don’t skip the pressing step. Thumbprints need a proper pocket. Use your thumb, yes, but I prefer a rounded ½ tsp measure. It gives uniform wells that don’t collapse while baking.
Why You Add the Jam Before Baking
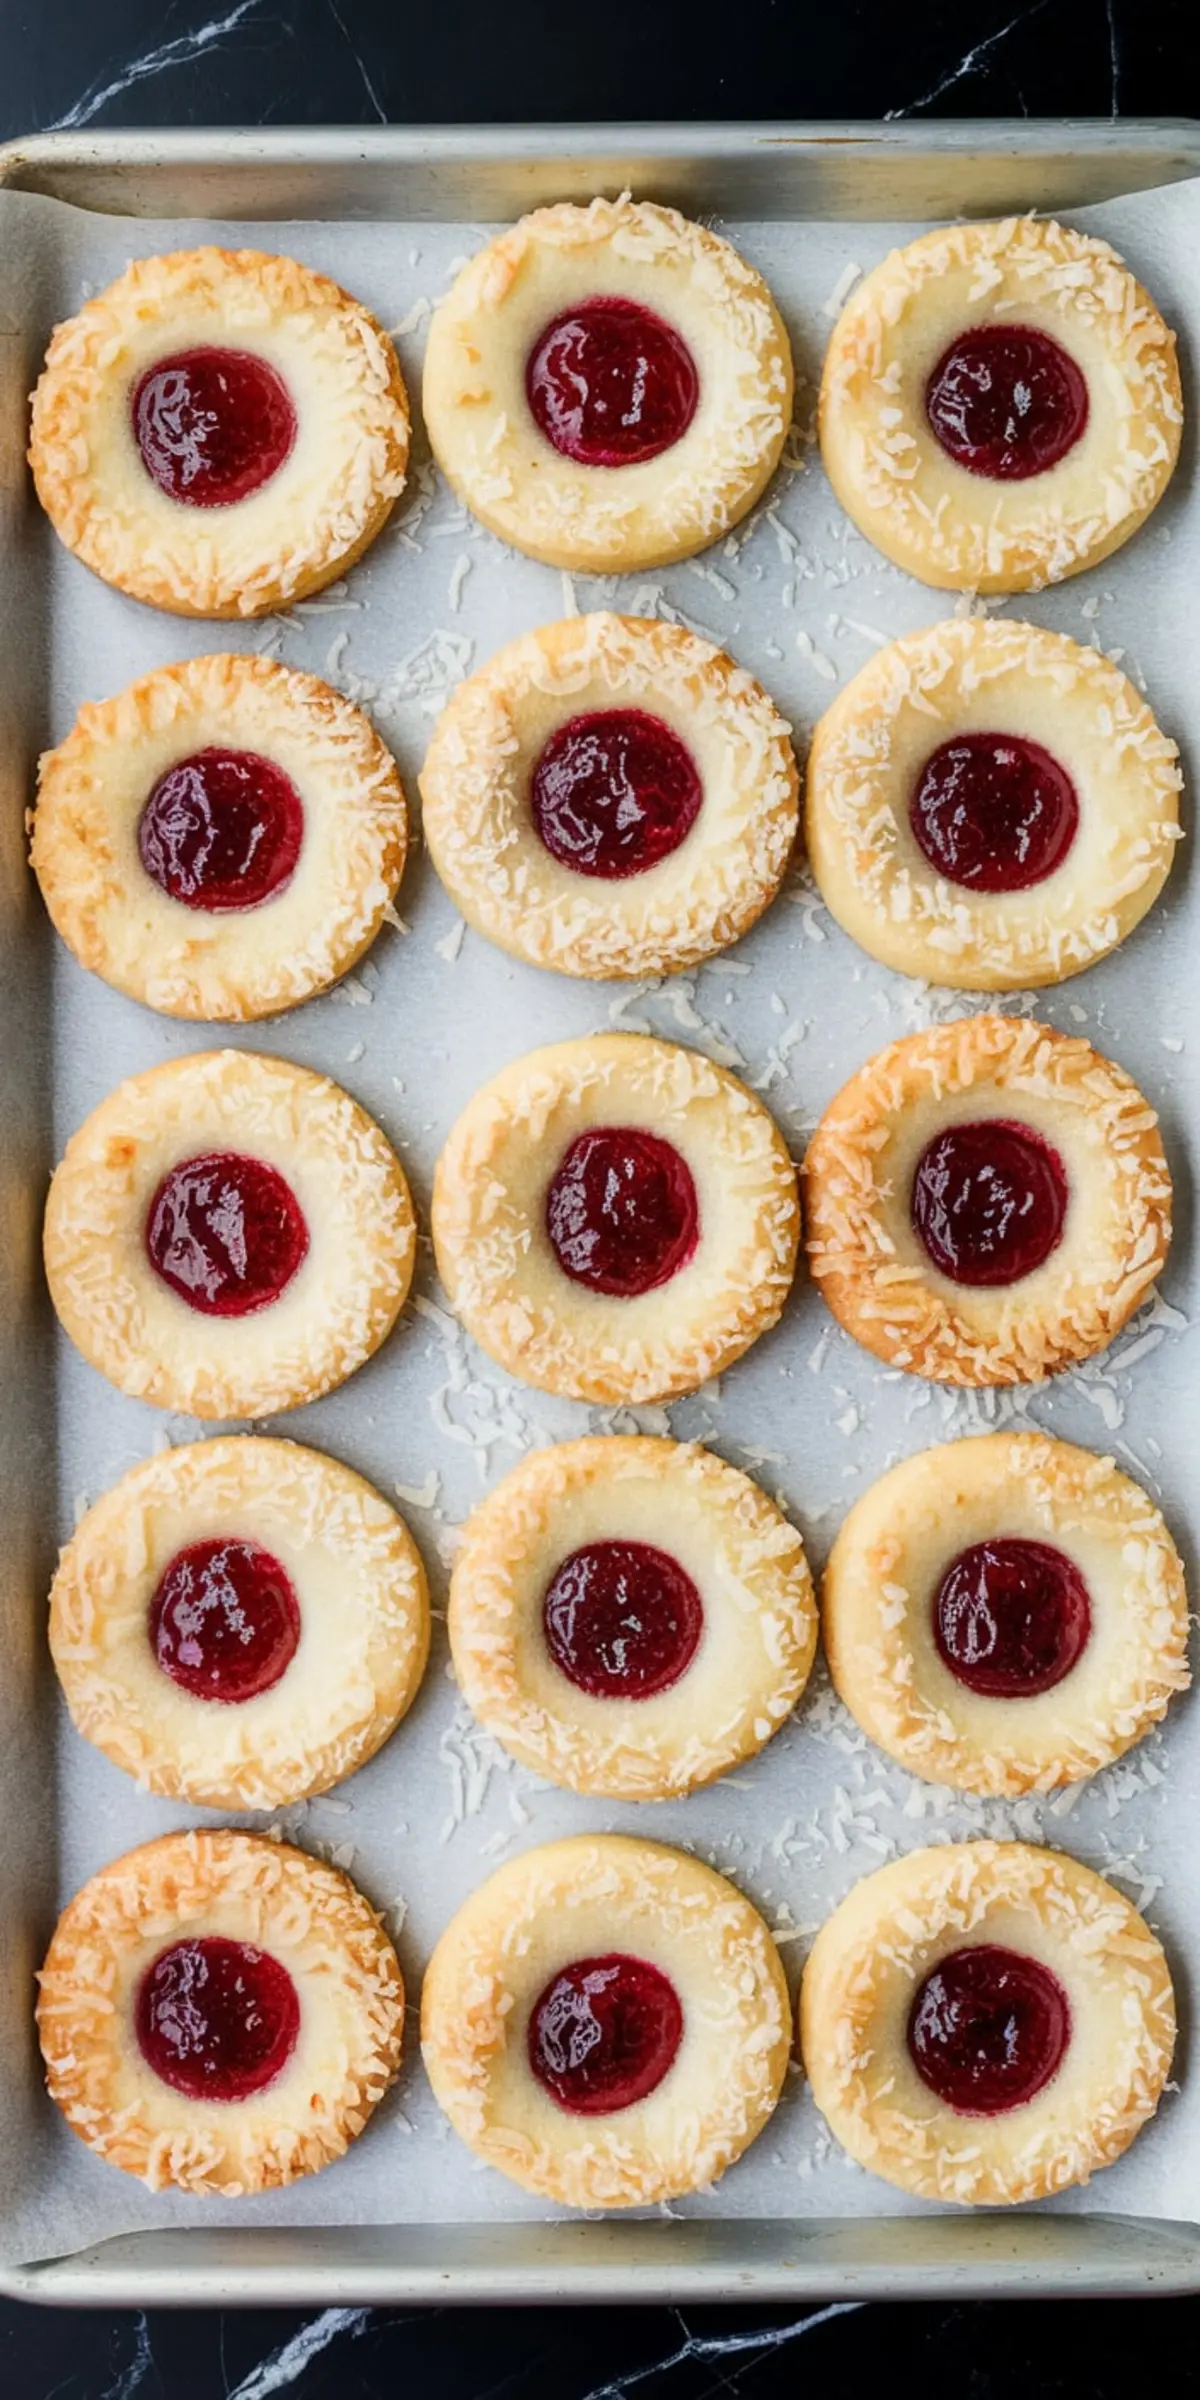
You might think jam goes in after baking. That’s how some recipes do it. But here, you fill the cookies before they go into the oven. The heat helps the jam set into the dough, creating a rich, slightly caramelized finish.
Use raspberry jam that’s slightly thick. If it’s too runny, refrigerate it for 10 minutes before using.
I’ve used seedless and seeded. Both work, but seedless gives a smoother center that doesn’t distract from the texture of the cookie.
Bake until the edges are golden and the coconut just starts to toast. This usually happens around the 14-minute mark, but don’t walk away after 12. These can turn quickly.
The Warm Finish That Changes Everything
Here’s that extra step I hinted at: adding a fresh raspberry while the cookie is still warm.
This isn’t just garnish. It brings a layer of bright acidity that plays against the sweetened coconut and buttery dough. The warmth of the cookie softens the berry just enough to meld it into the jam center.
I’ve tried placing the raspberries before baking. They shrivel. You lose both look and taste. Adding them afterward—while the cookie’s still warm but not hot—is the sweet spot.
You don’t press hard. You don’t want it sinking too deep. A gentle nudge, and the raspberry finds its place.
Glass vs. Metal Pans—Which One Works Better?
I’ve baked these cookies on both. Metal pans give better bottoms—golden, firm, evenly baked.
Glass pans take longer to heat and hold heat longer, which can make the coconut over-toast or the bottoms underbake. If glass is your only option, reduce oven temp by 5 degrees and add 1 to 2 minutes.
But if you have a choice, go with light-colored metal. Not dark—dark pans brown too fast.
That’s another one from the Pin Notebook: “Light metal = happy coconut.”
Other Thumbprint Recipes You’ll Love
If these catch your heart like they did mine, you might also enjoy:
- Sorrel Thumbprint Cookies: bright, floral, Caribbean-inspired
- Lemon Thumbprint Cookies: tangy and sunny with homemade lemon curd
- Chocolate Caramel Thumbprint Cookies: rich, deep, and gooey
Every one of those has a different story, but they all share that one magic element: contrast.
Final Thoughts + A Pin for Your Boards
You don’t need advanced skills to make these. You need patience, good butter, and the decision to press a raspberry into a warm cookie.
These Raspberry Coconut Thumbprint Cookies offer chewy, crispy, tart, and rich—together. If you’ve been stuck baking the same sugar cookie year after year, this is your sign to switch things up.
Pin it now so you don’t lose the recipe later.
And when you make them, come back and share. Did you tweak anything? Did your raspberry sink too deep or perch just right? I’d love to know.
Let’s make this a place where good cookies and better conversations meet.
Raspberry Coconut Thumbprint Cookies
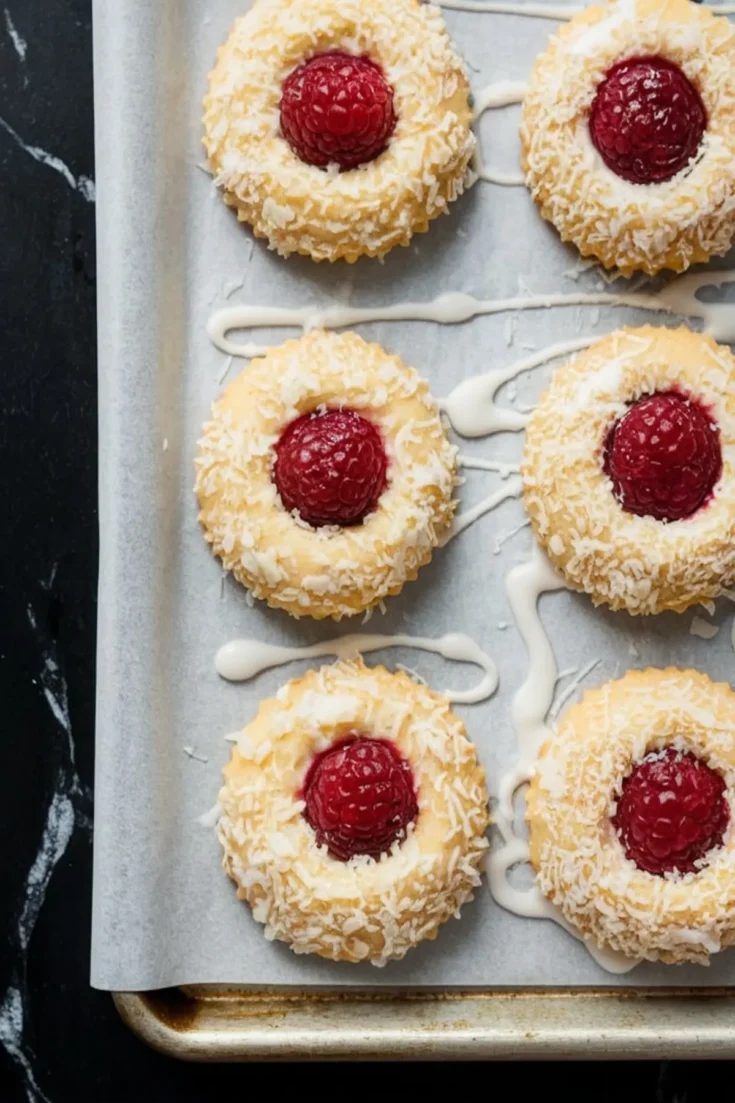
Raspberry Coconut Thumbprint Cookies balance texture and flavor with a buttery shortbread base, a crisp toasted coconut shell, and a soft raspberry center. Each cookie is filled with jam before baking, then finished with a fresh raspberry while still warm. The result is a tender, chewy cookie with a bright berry finish and a subtle crunch.
Ingredients
- FOR THE DOUGH
- 1 cup (226 g) unsalted butter, softened
- 2/3 cup (135 g) granulated sugar
- 1 teaspoon pure vanilla extract
- 2 cups (240 g) all-purpose flour
- 1/4 teaspoon salt
- FOR COATING AND FILLING
- 1 1/4 cups (100 g) sweetened shredded coconut
- 1/3 cup raspberry jam
- 24 fresh raspberries (ripe but firm)
Instructions
- CREAM THE BUTTER AND SUGAR: In a large bowl, use a hand mixer or stand mixer to beat the softened butter and granulated sugar together until light and fluffy, about 2 to 3 minutes. Mix in the vanilla extract until fully combined.
- ADD DRY INGREDIENTS: Gradually add the flour and salt to the butter mixture. Mix on low speed until the dough comes together and no dry flour remains. The dough should be soft and pliable, not sticky.
- FORM AND CHILL DOUGH BALLS: Scoop tablespoons of dough and roll into smooth balls using your hands. Place them on a tray or plate and refrigerate for 15 minutes to help them hold their shape during baking.
- COAT IN COCONUT: Roll each chilled dough ball in shredded coconut, pressing gently to ensure an even coating. Arrange the coated balls on a parchment-lined baking sheet, spacing them about 2 inches apart.
- MAKE INDENTATIONS: Use your thumb or the back of a round teaspoon to press a small indentation into the center of each dough ball. Be careful not to press all the way through the dough.
- FILL WITH JAM: Add about 1/2 teaspoon of raspberry jam into the center of each cookie, filling the indentation without overfilling.
- BAKE: Bake the cookies at 350°F (175°C) for 14 to 16 minutes, or until the edges are golden and the coconut looks lightly toasted. Remove from the oven and let the cookies cool on the baking sheet for 10 minutes.
- ADD FRESH RASPBERRIES: While the cookies are still warm but not hot, gently press a fresh raspberry into the center of each cookie on top of the jam. The raspberry will settle into the center as the cookie cools.
- COOL COMPLETELY: Let the cookies cool fully on a wire rack before transferring to an airtight container for storage.
Notes
Use ripe but firm raspberries so they hold their shape. If your jam is very thin, chill it briefly to thicken before filling the cookies. Store cookies in a single layer or with parchment between layers to protect the fresh berries.
