
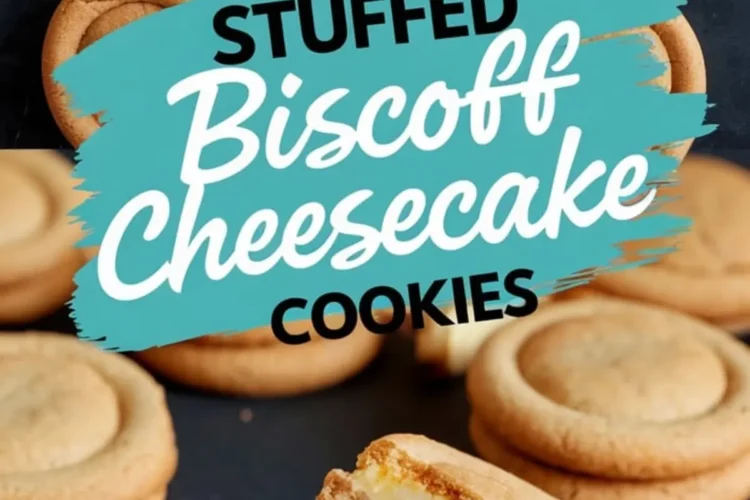
There’s something unexpectedly satisfying about biting into a cookie that hides a cool, creamy surprise.
If you’ve baked your fair share of filled cookies and felt underwhelmed by either a disappearing center or dough that goes flat in the oven—this recipe solves both.
You’ll learn how to create thick, bakery-style Biscoff cookies with a velvety cheesecake middle that doesn’t vanish during baking. You’ll also pick up tips to make the filling stand out in both flavor and texture, without fussing over dough chilling or special tools.
And yes—there’s one odd but effective trick I use to bring the dough and filling together just right. I’ll get to that.
But first, you’ll want to know how these came to life.
Cheesecake Meets Cookie: The Unexpected Texture That Works
Most stuffed cookies lean on a gooey center for drama.
These flip that idea.
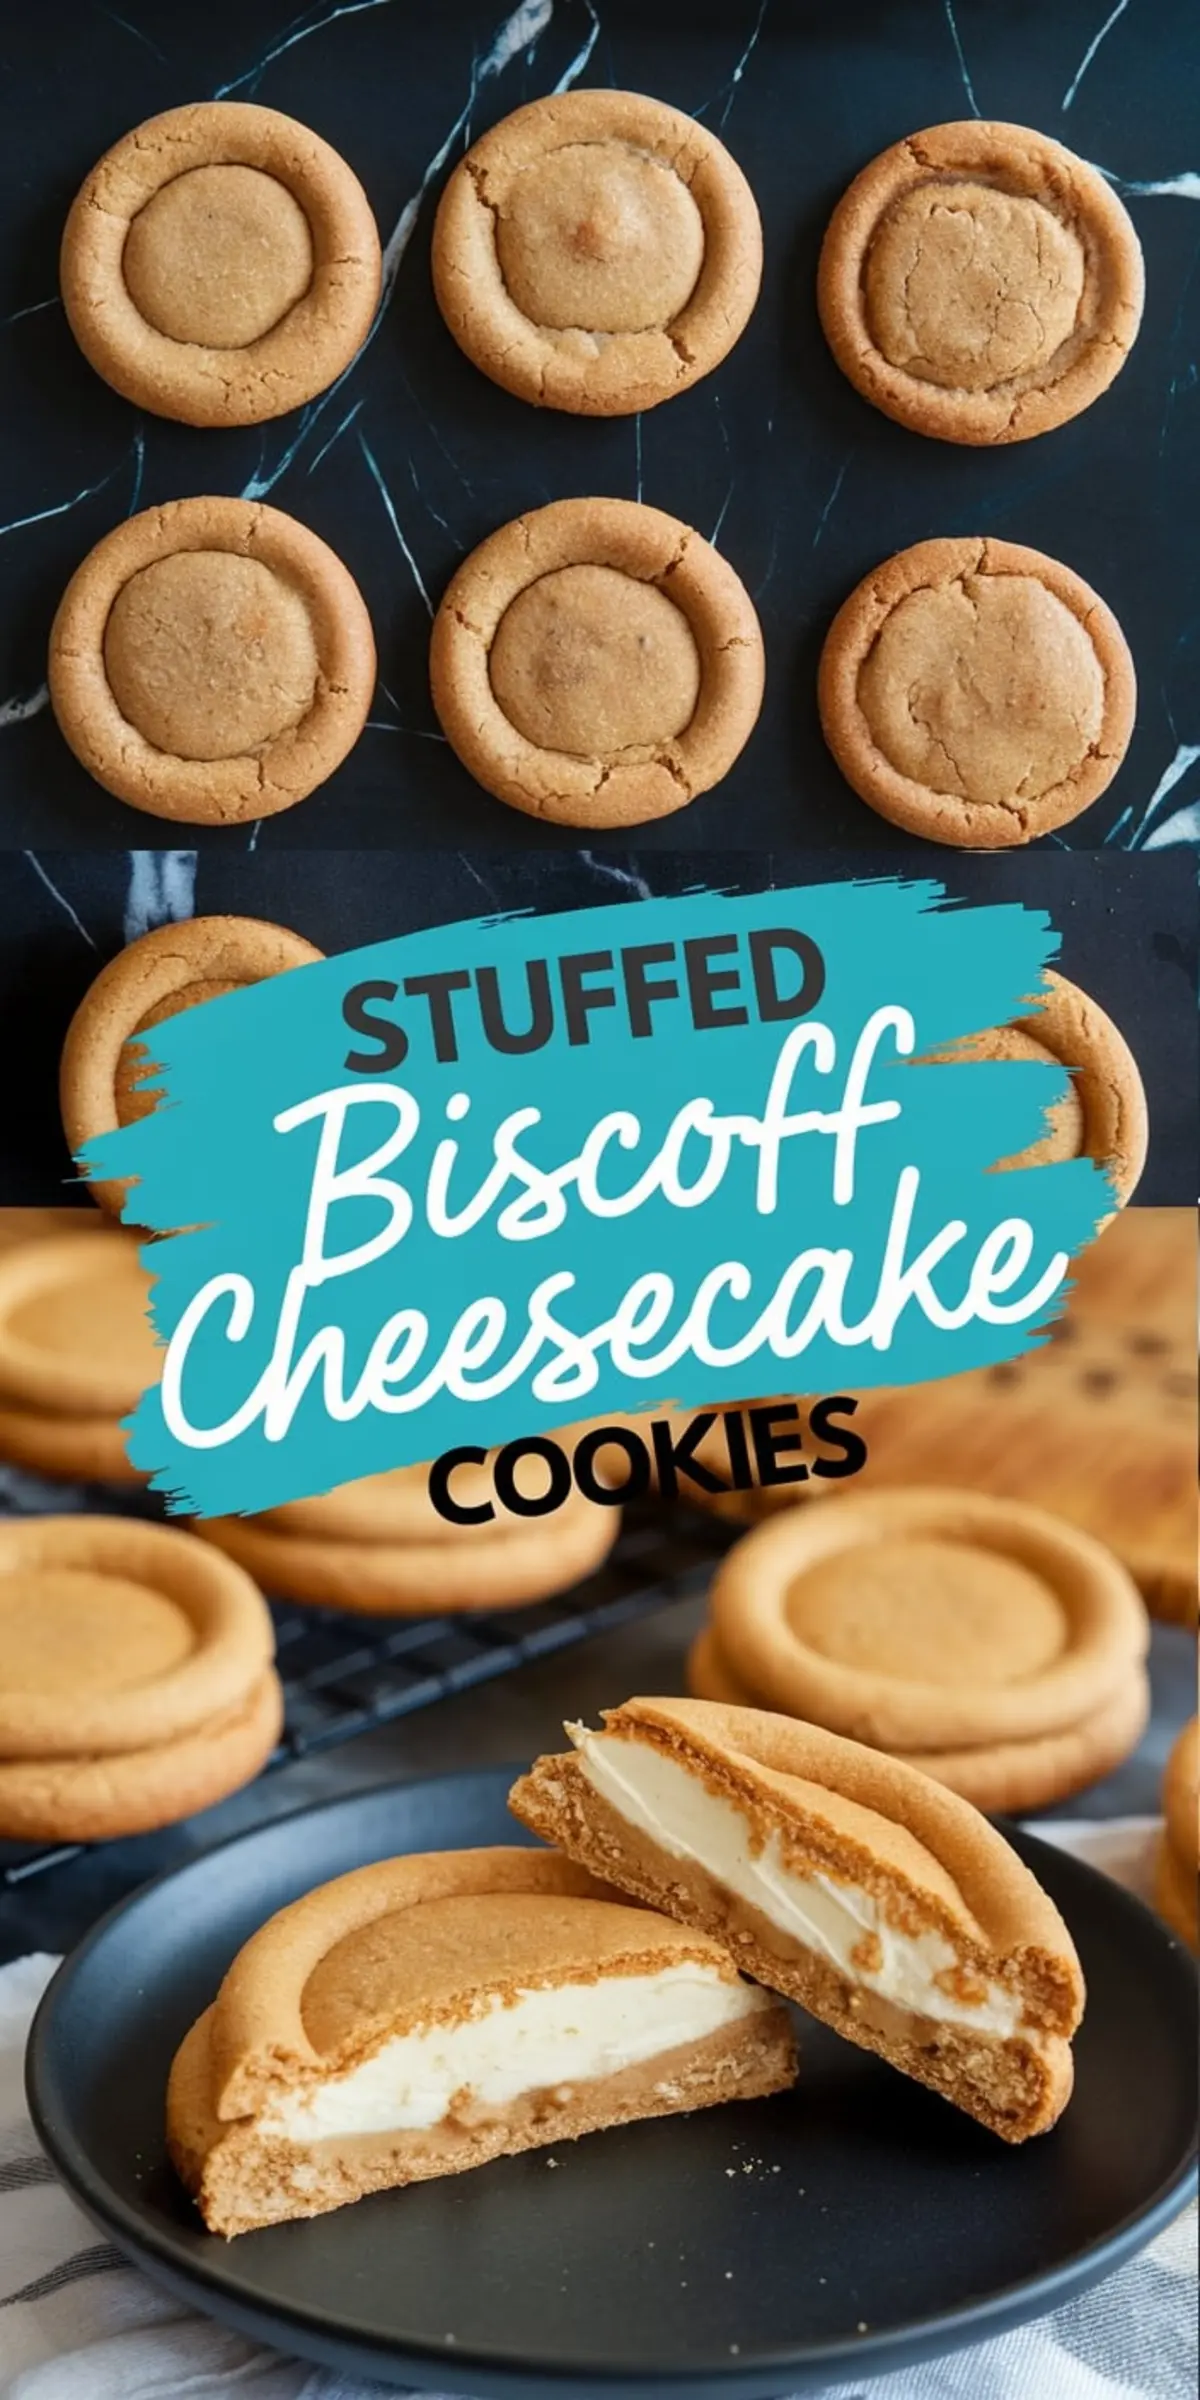
The contrast comes from the cookie dough—rich with Biscoff spread and brown sugar—hugging a cheesecake filling that stays slightly firm and tangy. The cookie edges have just enough crunch to balance it out.
I started playing with this texture after a failed batch of soft-baked cookies that collapsed on my tray like tired slippers. My Pin Notebook has the original note:
Good flavor, but center vanishes. Try freezing filling?
I did.
And suddenly everything held—shape, taste, texture.
Now it’s a go-to recipe anytime I want something more playful than a Cowboy Cookie but less fussy than a layered dessert bar.
Whiskers, my cat, knows the moment the Biscoff jar opens. He pads in and sits beside the oven until the first batch cools.
He may not eat cookies. But he knows a good thing when he smells it.
Ingredients for the Dough: Why This Combination Works
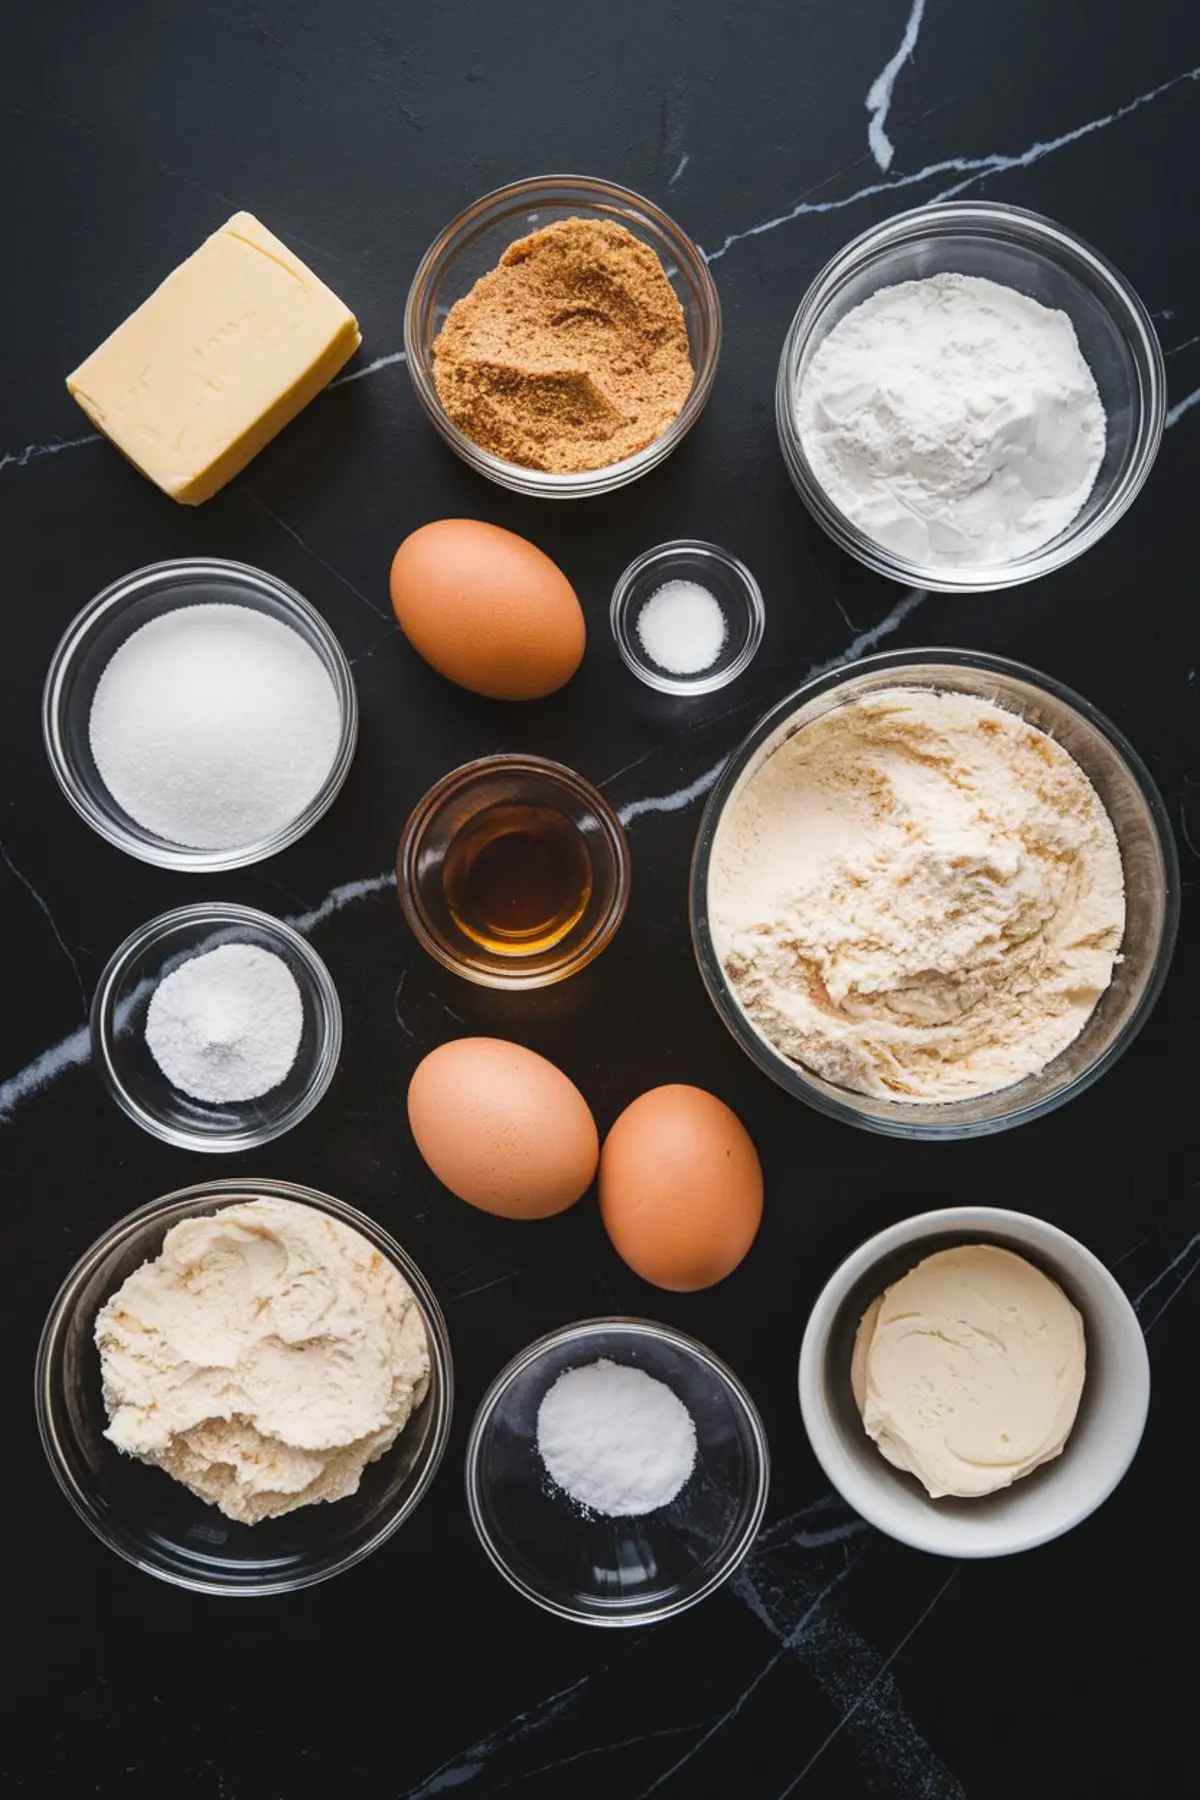
The dough begins with equal parts softened butter and Biscoff spread. That balance helps the cookies stay structured while still tasting deeply spiced and nutty.
Light brown sugar and a touch of granulated sugar help keep the centers soft while adding caramel depth.
One egg binds everything without thinning the dough. I’ve tested with two—too cakey. Stick to one.
Vanilla supports the cheesecake center and smooths the spice in the cookie.
Flour, baking soda, and salt round things out with a texture that’s soft but never sticky.
This dough needs no chilling. Just mix, scoop, and shape.
Filling Tips: Getting the Cheesecake Center Just Right
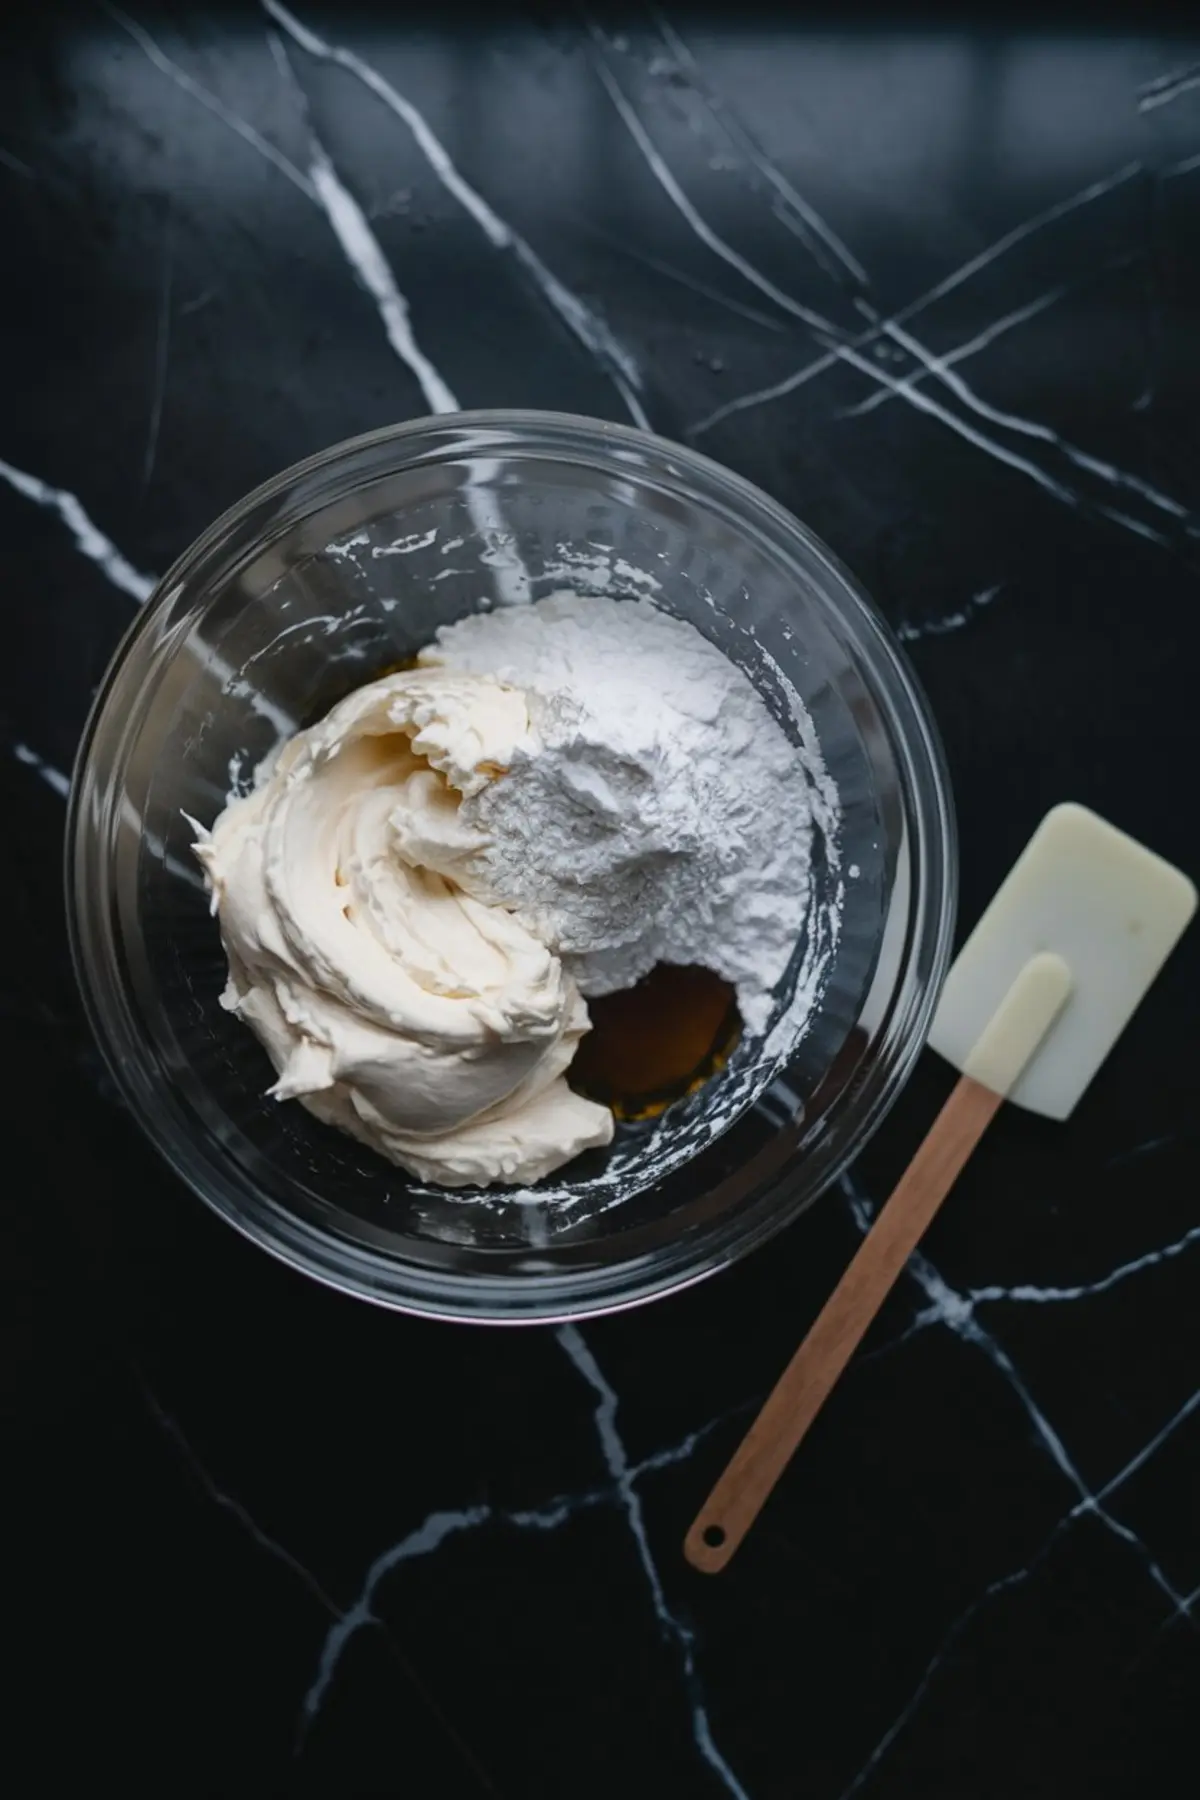
Cream cheese, powdered sugar, and vanilla give the filling body, sweetness, and that tangy pull.
Mix it until smooth, then freeze.
Freezing makes shaping easier and stops the filling from melting into the dough during baking. Without this step, it blends right in—and you lose the layered bite.
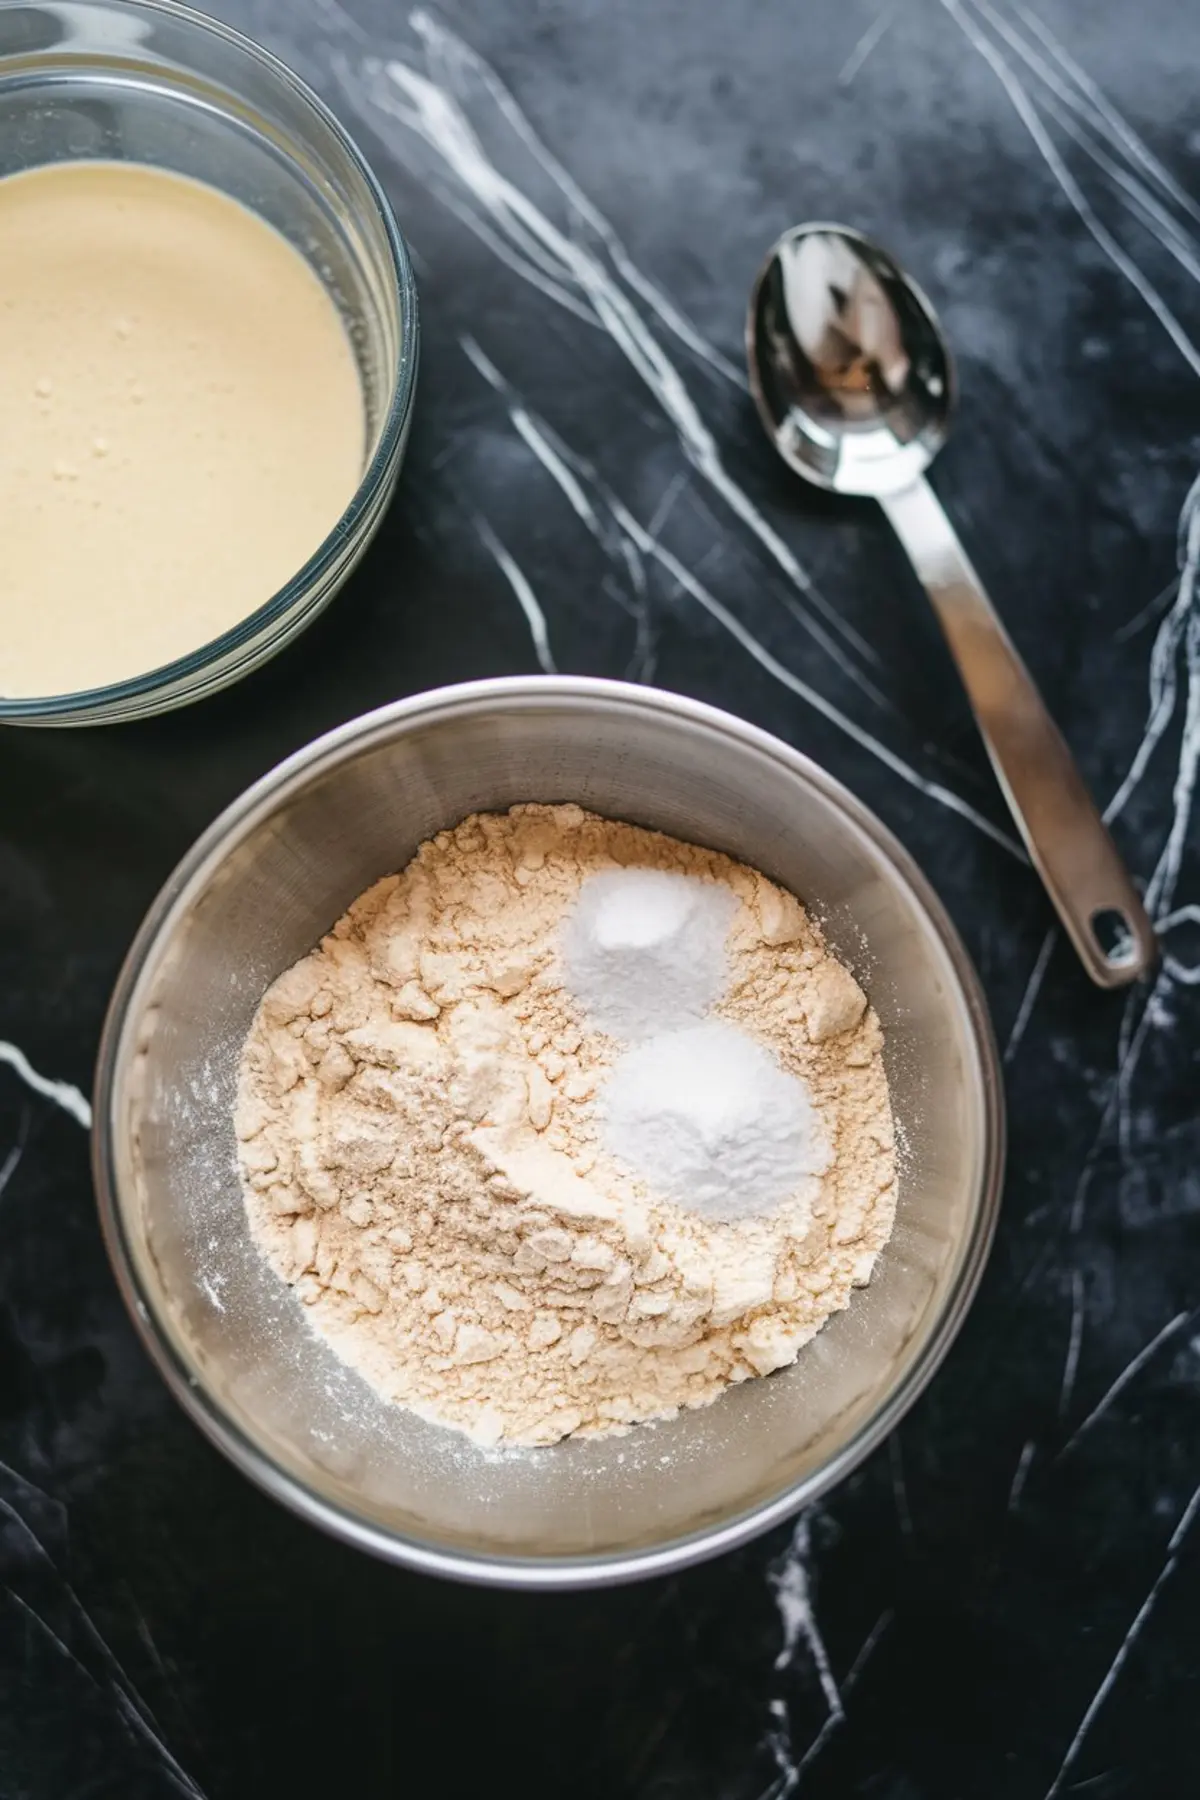
The frozen discs fit neatly into a thumbprint made in each dough ball. Press gently. If it peeks out, that’s fine.
I cover each filling with a small disc of dough and pinch the edges shut.
The final shape should look like a soft puck with a shallow center—like a crater. That slight dip keeps the top from cracking as it bakes.
Fresh vs. Block Cream Cheese: What I’ve Found Works Best
I’ve tried this with whipped cream cheese from a tub. It’s lighter, but it spreads too easily during baking.
Stick with block-style cream cheese.
It holds shape in the oven and gives that satisfying texture when you bite into the center. You want it creamy, not runny.
I’ve written this in the margin of my Pin Notebook in red ink:
Block > tub, always.
Baking the Cookies: Timing and Texture
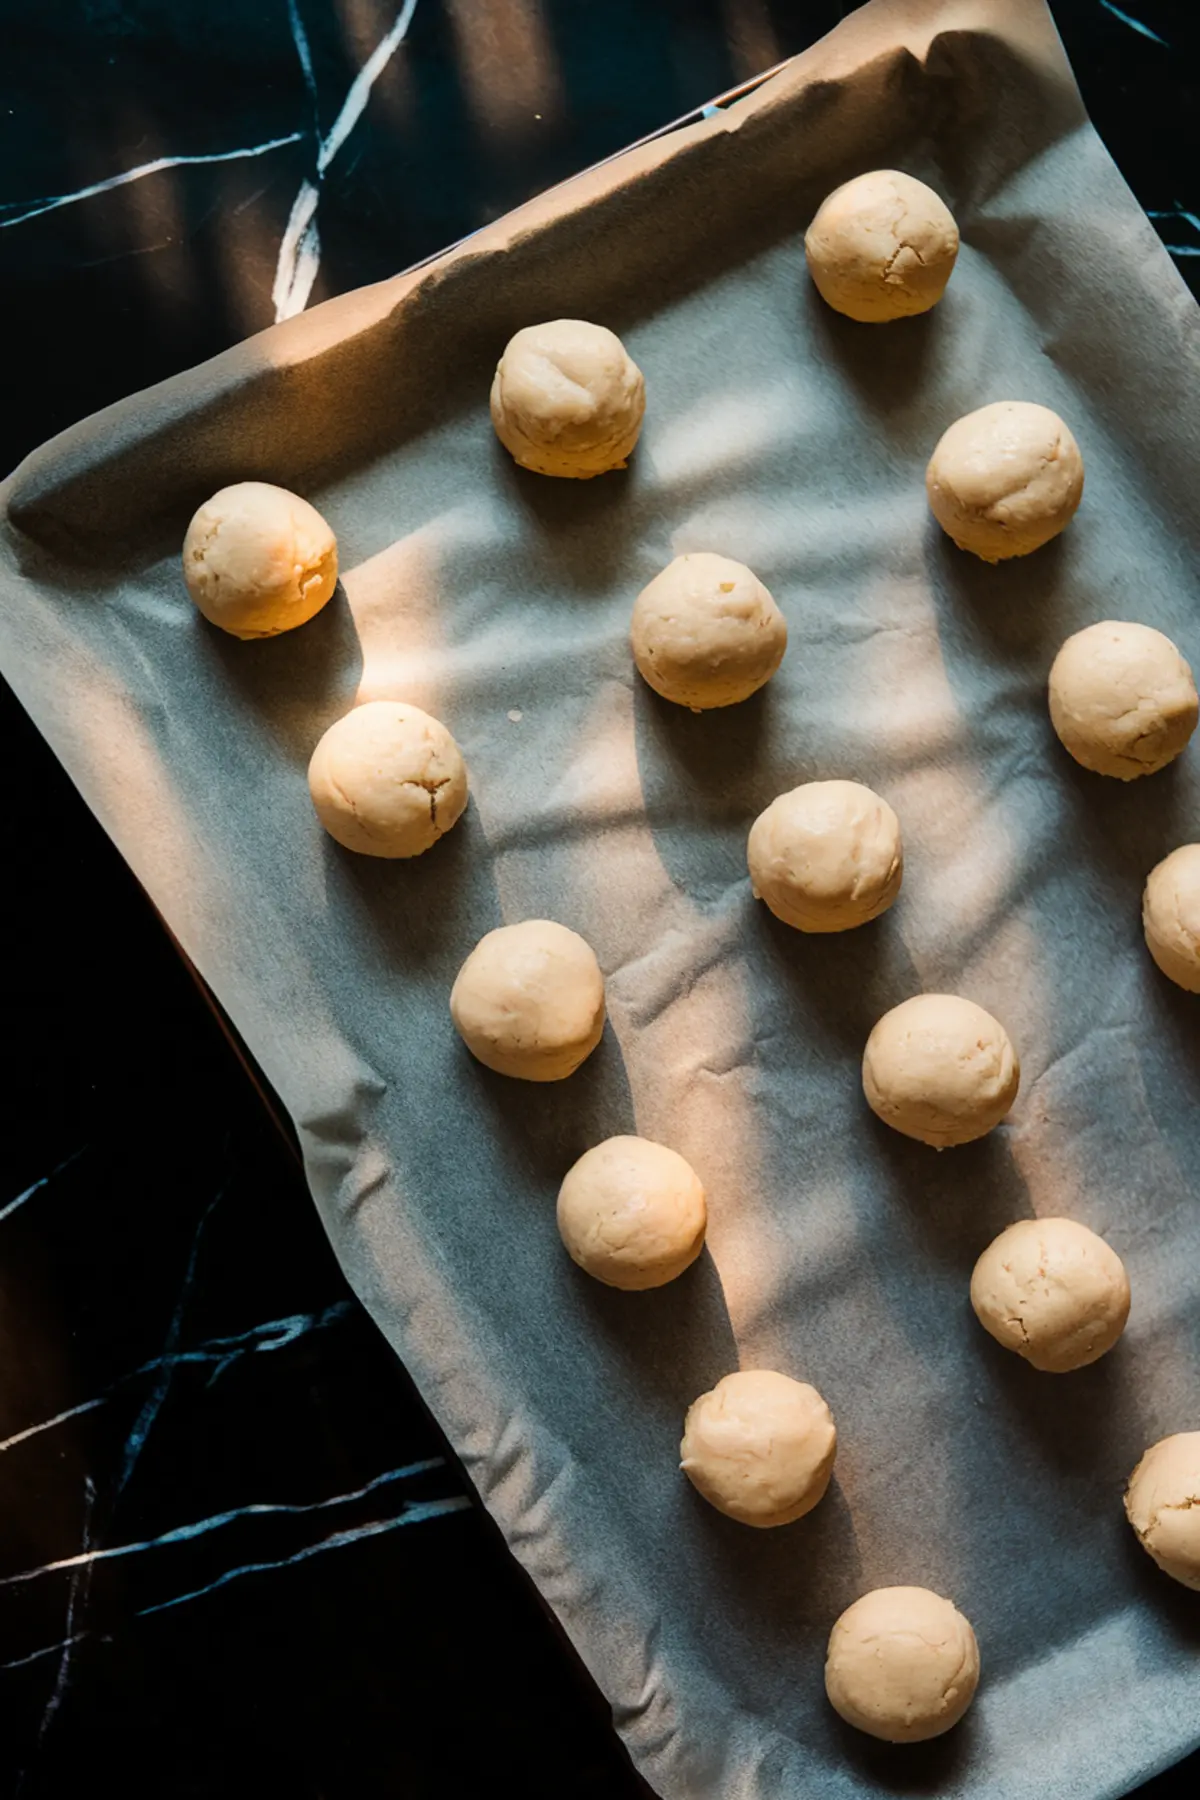
Once filled and shaped, bake the cookies at 350°F (175°C) for 11 to 13 minutes.
They’ll look barely done in the center—this is what you want. The edges should have a slight golden hue.
Let them rest on the sheet before moving. This pause lets the centers settle and the outer shell firm up.
Once cooled, the cookie keeps its chewy bite and creamy heart. That texture contrast is everything here.
I use my Golden Spoon—my aunt Marian’s—whenever I scoop out the first taste. It’s part habit, part ritual. Some things feel better that way.
Storage and Flavor the Next Day
The cookies stay soft for three days in a container on the counter. But I like to keep a few in the fridge.
The chilled version brings out the tang in the cheesecake center and makes the Biscoff even more intense.
That’s the hidden trick I hinted at earlier—cold helps the flavor snap. I learned this while testing a second batch late at night. One bite from the fridge, and the balance shifted from sweet to “Whoa, that’s good.”
Related Cookies to Try Next
If you enjoy flavor-packed cookies with interesting textures, you might also want to try these next:
→ Banana Bread Cookies for a soft, nostalgic bite.
→ Pistachio Crinkle Cookies if you’re craving something nutty and pretty.
→ Ube Coconut Crinkle Cookies for a more colorful cookie tray.
They all live in my Pin Notebook with notes and tweaks, just like today’s recipe.
Save and Share: These Cookies Always Surprise
Save this recipe on your Pinterest cookie board so you don’t forget the freeze-first trick.
And if you try them—especially with your own twist—I’d love to hear in the comments. Did your filling stay firm? Did you tweak the dough or use a flavored cream cheese? Let’s swap notes.
It’s how most of my best cookie ideas started anyway.
Stuffed Biscoff Cheesecake Cookies
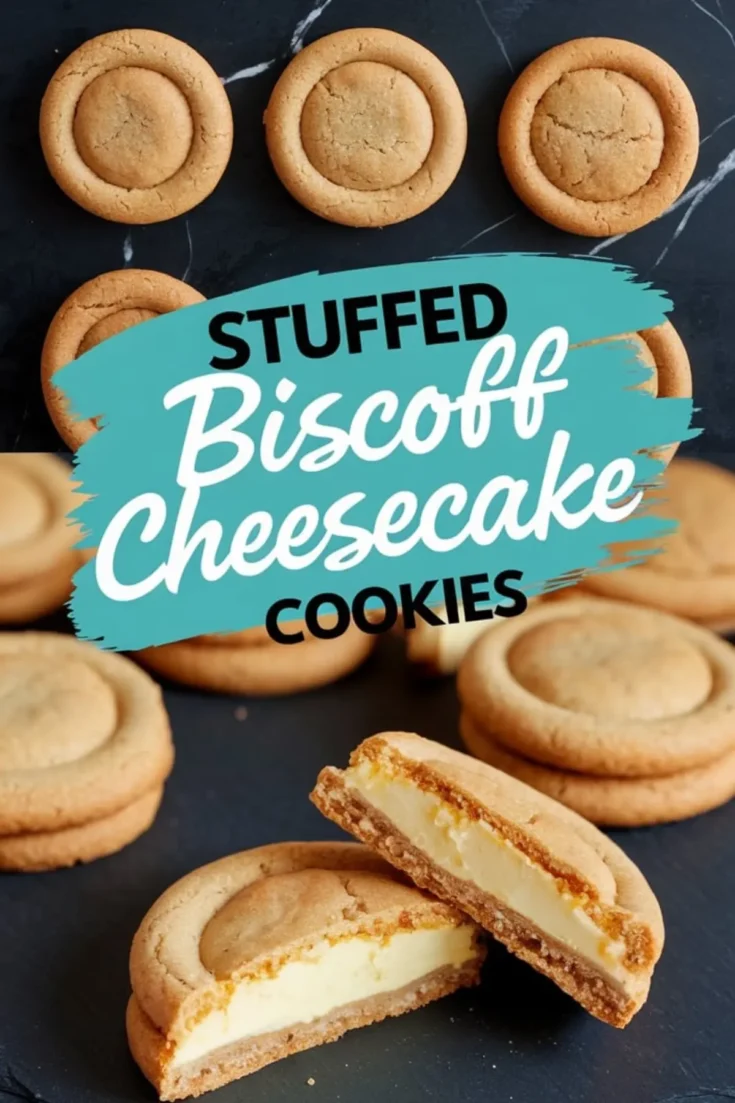
These cookies combine the warm, spiced flavor of Biscoff with a smooth and tangy cheesecake filling. The dough is soft and rich, with a center that stays creamy after baking. The shallow indentation on top helps keep the filling enclosed while giving each cookie a classic shape. No extended chilling is needed, and the steps are simple and straightforward.
Ingredients
- FOR THE COOKIE DOUGH
- 1/2 cup unsalted butter, softened
- 1/2 cup Biscoff spread (smooth)
- 1/2 cup packed light brown sugar
- 1/4 cup granulated sugar
- 1 large egg
- 1 teaspoon vanilla extract
- 1 1/4 cups all-purpose flour
- 1/2 teaspoon baking soda
- 1/4 teaspoon salt
- FOR THE CHEESECAKE FILLING
- 8 oz cream cheese, softened
- 1/3 cup powdered sugar
- 1 teaspoon vanilla extract
Instructions
- MAKE THE FILLING: In a medium bowl, combine softened cream cheese, powdered sugar, and vanilla extract. Mix until completely smooth using a hand mixer or sturdy spatula. Scoop out teaspoon-sized portions, flatten slightly with the back of a spoon, and place on a lined plate or tray. Freeze for at least 30 minutes, or until firm.
- MAKE THE COOKIE DOUGH: In a large bowl, beat the softened butter, Biscoff spread, brown sugar, and granulated sugar until creamy and well blended, about 2 minutes. Add the egg and vanilla extract, then mix again until the mixture is light and fluffy.
- COMBINE DRY INGREDIENTS: In a separate bowl, whisk together the flour, baking soda, and salt. Gradually add the dry mixture to the wet ingredients, stirring until a soft dough forms. The dough will be smooth, slightly sticky, and aromatic.
- SHAPE THE DOUGH: Scoop out 2-tablespoon portions of dough and roll each one gently into a ball. Place the dough balls on a parchment-lined baking sheet. Use your thumb or the back of a rounded teaspoon to press a deep well into the center of each dough ball without going all the way through.
- STUFF THE COOKIES: Take the frozen cheesecake filling discs and press one into the well of each cookie. Roll a small piece of dough into a flat disc and press it over the filling to seal. Pinch around the edges to smooth the surface. The top should have a slight indentation, like a ring.
- BAKE THE COOKIES: Preheat the oven to 350°F (175°C). Bake the cookies for 11–13 minutes, or until the edges are lightly golden and the centers look just set. Avoid overbaking to keep the centers soft.
- COOL AND SERVE: Allow cookies to rest on the baking sheet for 5 minutes after removing from the oven. Transfer to a wire rack to cool completely. The cookies will firm up slightly as they cool, maintaining a soft texture with a creamy center.
Notes
You can double the cheesecake filling if you prefer a more generously filled center. Store cookies in an airtight container at room temperature for up to 3 days, or refrigerate to keep the centers extra firm.
Nutrition Information:
Yield:
12Serving Size:
1Amount Per Serving: Calories: 292Total Fat: 18gSaturated Fat: 10gTrans Fat: 0gUnsaturated Fat: 6gCholesterol: 61mgSodium: 220mgCarbohydrates: 30gFiber: 0gSugar: 19gProtein: 4g
