

Sometimes my baking sessions start with a small hint of mystery. I plan everything, gather my usual ingredients, and still keep one stealthy element under wraps. This donut recipe holds a secret that adds a little spark, and that surprise lingers until the big reveal. My favorite part is the moment you sense that something extra is in there, yet you can’t pinpoint what it is. Friends often raise an eyebrow as they try to guess the tiny boost that takes these donuts to a whole new place. Patience pays off by the end, so hold on for that big revelation.

I love the smell of dough frying in the kitchen. The gentle sizzle starts my mind racing with sweet memories. My cat, Whiskers, perches on the counter, hoping that a stray crumb will fall soon. He’s convinced every crumb has his name on it. I keep a watchful eye to ensure he doesn’t get too close.
In my notes, I record small day-to-day changes in my Pin Notebook, where I list flour quantities or egg sizes. My mother taught me to keep track of each detail, so it grew into a habit. Every time I tweak something, that detail ends up in my notebook for future reference.
Key Ingredients And Basic Preparations
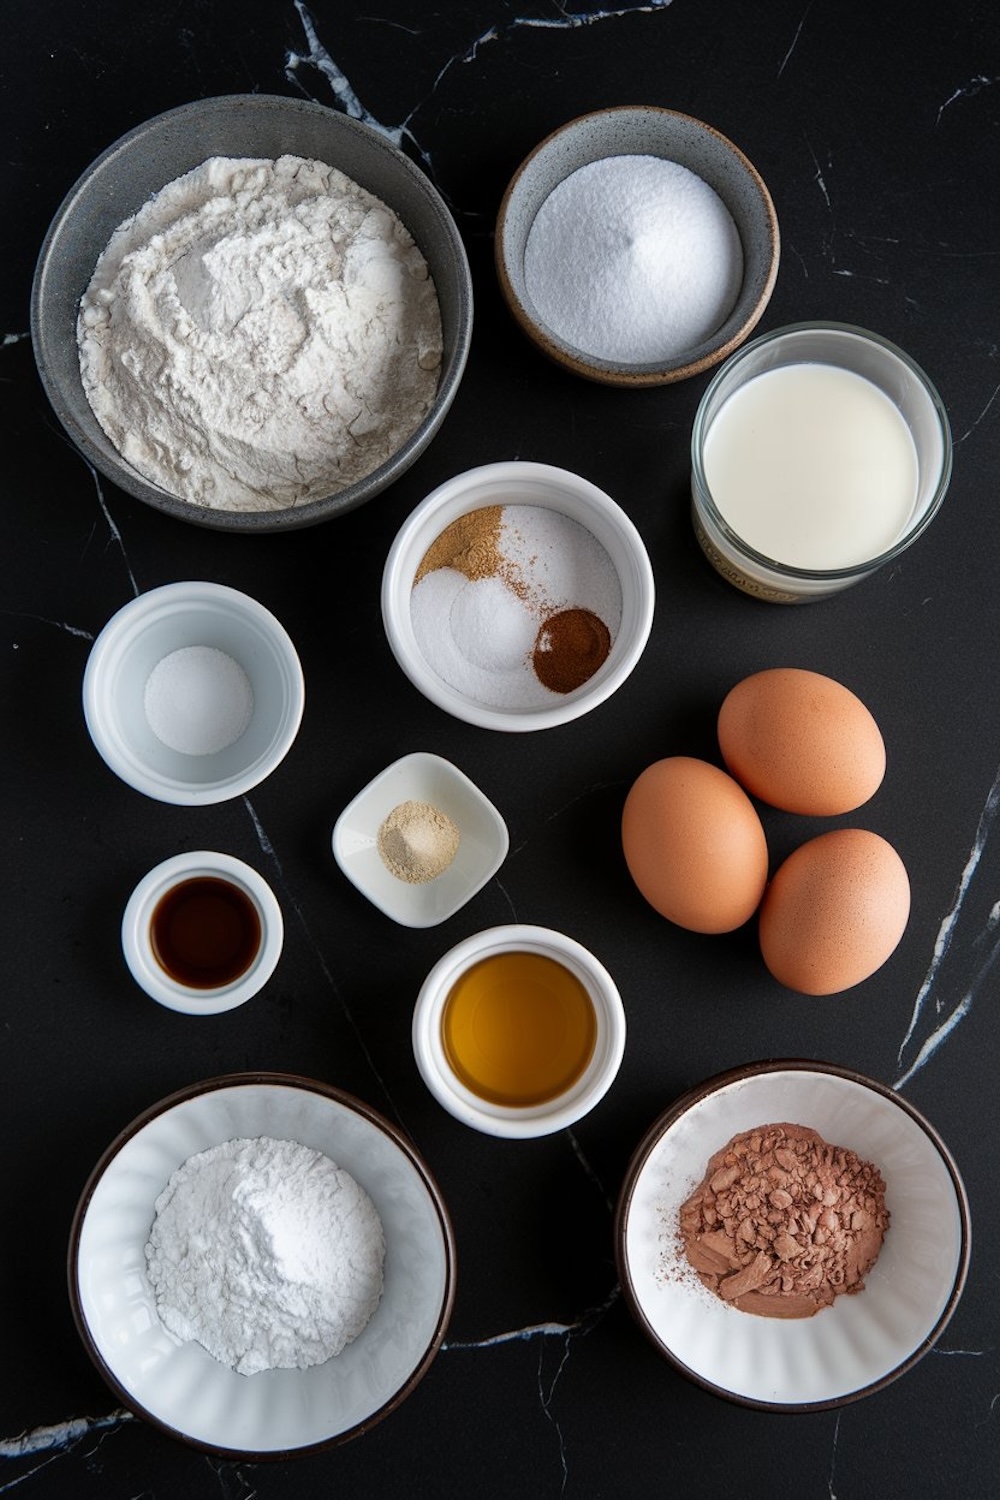
My pantry always has all-purpose flour, baking powder, baking soda, salt, and a bit of ground nutmeg. The nutmeg remains optional, but I like how it gives the dough a subtle aroma. I prefer regular granulated sugar and large eggs, usually stored at room temperature before use. Whole milk features in the mixture for a tender crumb, and unsalted butter offers a smooth finish. Vanilla extract completes the base for these fluffy donuts. A neutral oil like canola or vegetable oil fries them to golden perfection, and a quick check with a thermometer helps keep things steady. This approach gives that light interior and crispy crust.
I rely on my well-loved mixing bowl for the dough. My spatula has a few chocolate stains that never quite washed out from a previous baking adventure. Some folks use a stand mixer. I simply rely on arm strength, then knead gently on a lightly floured surface. A few kneads transform a shaggy mixture into a springy dough ball. That step sets the path for uniform donuts, so I keep an eye on texture. A smooth, elastic feel signals readiness.
Mixing And Kneading The Donut Dough
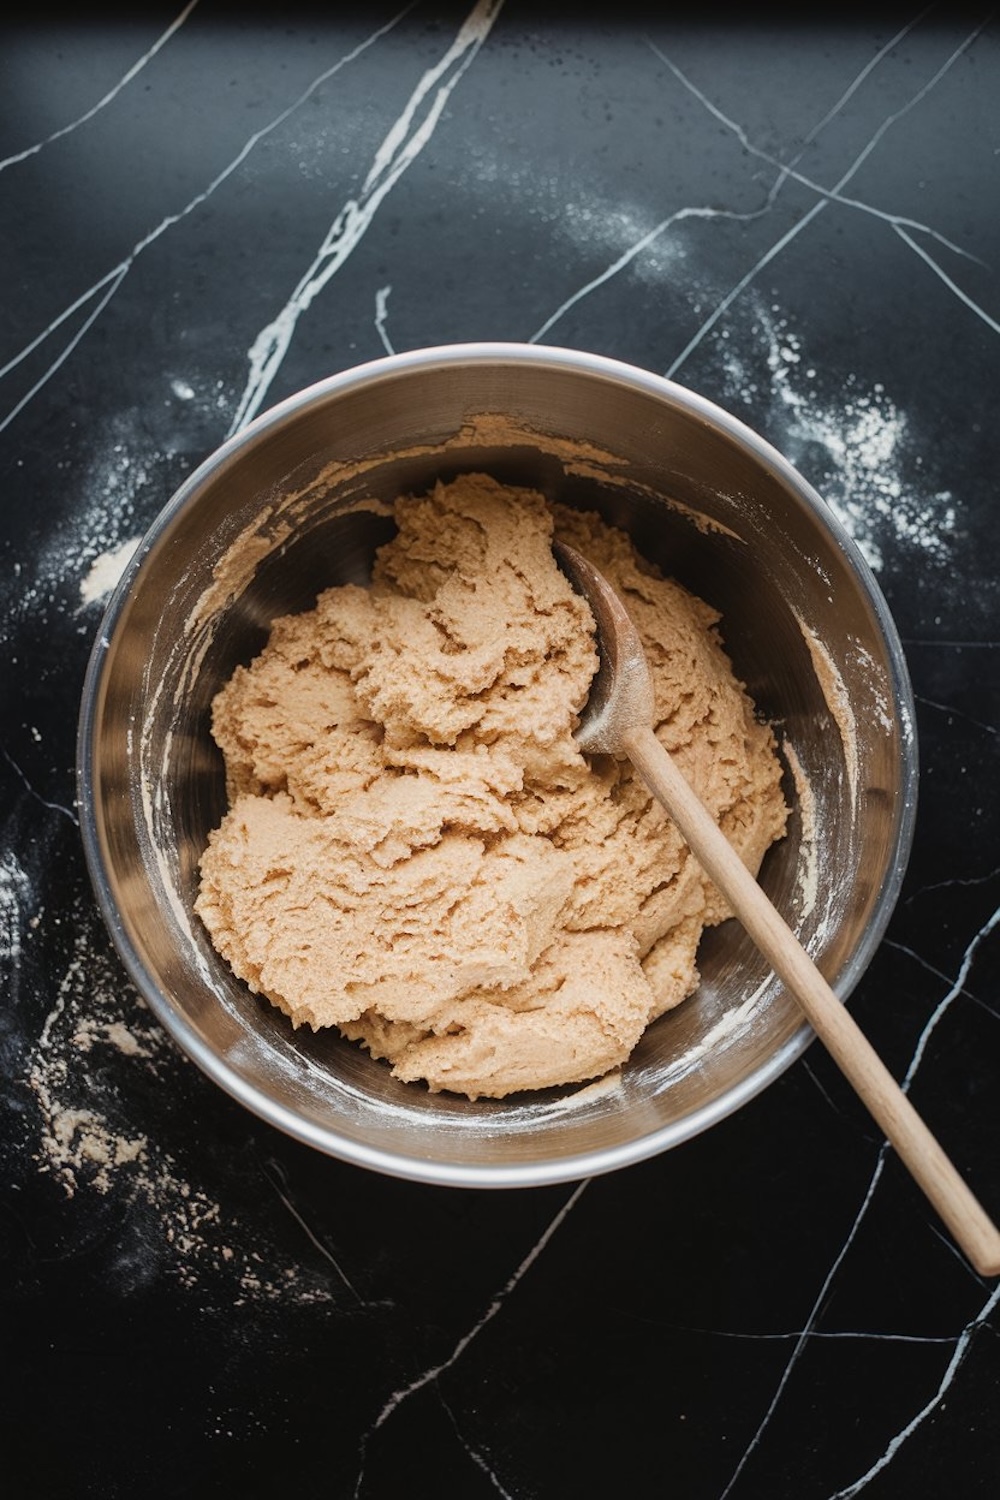
I combine the dry ingredients in one bowl. The flour, baking powder, baking soda, salt, sugar, and a sprinkle of nutmeg get whisked together. The separate bowl contains the wet ingredients: eggs, milk, melted butter, and vanilla extract. I pour the liquid mixture into the dry, then stir until a nice dough takes shape. Kneading for a short minute or so brings it all together. A gentle motion helps maintain tenderness. Hard kneading can toughen the dough, which nobody wants. My wrists have learned the right rhythm after multiple tries, and now I can feel that perfect dough consistency without second-guessing.

I embrace a fun tradition before shaping: I take a tiny taste of the raw dough. Many might raise eyebrows, but Chloe’s hallmark is a quick sample of the dough or batter. It started as childhood curiosity and became an unbreakable tradition. A small pinch of dough never hurt anyone, right? That hint of nutmeg is easy to spot in the raw form, so I decide if I need more or less next time. After that quick taste, I split the dough into portions and shape round discs. A thumb poke in the center forms the hole. My cat tilts his head as if he wants a bite, but that’s where I draw the line.
Frying For A Golden Finish

A deep pot with heated oil always feels a bit thrilling. I carefully measure the temperature at 350°F to get uniform frying. The donut puffs up and gains a warm hue on each side. Turning them with a slotted spoon requires attention. My Pin Jar on the kitchen shelf holds scribbled bits of dessert inspiration, and this donut project came from an old card that read, “Fry small circles for big smiles.” That simple line made me grin. A paper towel-lined plate receives each finished donut to soak up extra oil. Quick draining keeps them crisp rather than greasy.
Chocolate Glaze And Final Touch

Chocolate glaze is part of these donuts’ charm. I sift together powdered sugar and cocoa powder to remove any lumps. Then I stir in milk and vanilla extract until the mixture turns glossy. The glaze clings to each donut’s top in a silky blanket. I usually dip the donut halfway in. I admire the shine for a few seconds before placing it on a wire rack. A quick test bite confirms the flavors have come together. My new favorite tool, Chloe’s Golden Spoon, stirs any extra glaze and helps me drizzle any leftover chocolate over a second batch of donuts.
I always like to revisit older chocolate recipes for fresh ideas. My Pin Notebook has references to my favorite Chocolate Bread Pudding, where I first tried adding a dash of cocoa in unexpected places. That technique inspired me to see how chocolate glaze can change a standard donut. Another recipe that shaped my approach is this special Chocolate Mousse Cake. Smooth chocolate layers remind me that a donut glaze benefits from a similar velvety texture. These recipes often evolve in my kitchen, and each new version finds a line or two in my Pin Notebook.

The Dash Magic Ingredient Reveal
A few folks asked me about the subtle spark in these donuts. A small pinch of instant espresso powder is what I call the dash magic. I keep it hidden until the end because it accentuates chocolate flavors. That tiny addition isn’t enough to create a coffee taste. It simply deepens the overall flavor profile, and many can’t guess what changed. I realize some prefer to skip espresso powder, but I encourage a try before deciding. That final flourish keeps people wondering how you managed to get that deep chocolate presence in the glaze.
I think about Whiskers’ disappointed face as I wrap up another session without a single crumb dropped. He remains perched, and maybe he believes next time will be his chance. Baking remains my go-to therapy, so his quiet company helps me unwind. The day’s events find a place in my Pin Notebook. I jot down the final results: “Light and airy dough, subtle nutmeg, smooth chocolate glaze, hint of espresso.” This entry will help future me remember exactly what happened in the kitchen today.

Pin And Share For Fun
I hope you try these fluffy round chocolate-glazed donuts soon. Your boards might appreciate a fresh pin, so save this recipe and keep it handy. Let everyone know how it turned out by posting in the comments. That kind of feedback helps new bakers and sparks ideas. Feel free to ask questions or share your personal spin. I enjoy reading any thoughts you have.
Fluffy Round Chocolate-Glazed Donuts Recipe

Fluffy, tender donuts with a rich chocolate glaze are fried to golden perfection and topped for a delightful treat. This recipe provides step-by-step instructions for creating homemade donuts that are easy to make and delicious.
Ingredients
- FOR THE DONUTS:
- 2 1/2 cups all-purpose flour
- 2 tsp baking powder
- 1/4 tsp baking soda
- 1/2 tsp salt
- 1/2 tsp ground nutmeg (optional, for flavor)
- 1/2 cup granulated sugar
- 2 large eggs
- 1/2 cup whole milk
- 1/4 cup unsalted butter, melted
- 1 tsp vanilla extract
- Oil for frying (canola or vegetable oil works best)
- FOR THE CHOCOLATE GLAZE:
- 1 cup powdered sugar
- 2 tbsp unsweetened cocoa powder
- 3 tbsp whole milk (add more for consistency)
- 1/2 tsp vanilla extract
Notes
The nutmeg is optional but adds a classic flavor to the donuts.
For consistent frying, keep the oil temperature steady to avoid undercooked or greasy donuts.
Store leftover donuts in an airtight container at room temperature for up to 2 days.
Nutrition Information:
Yield:
12Serving Size:
1Amount Per Serving: Calories: 236Total Fat: 7gSaturated Fat: 3gTrans Fat: 0gUnsaturated Fat: 3gCholesterol: 43mgSodium: 224mgCarbohydrates: 39gFiber: 1gSugar: 18gProtein: 4g

I tried this and the dough was soggy and stuck to my hands. It didn’t seem like there were enough dry ingredients or there were too many wet ingredients.
Hey Margaret, thanks for trying the recipe and sharing what happened. If your dough felt too wet and sticky, it might’ve been a slight mismeasure — even a little extra milk or not leveling the flour can throw it off. I’ve had that happen too when I wasn’t using a scale.
Next time, try adding a tablespoon or two of flour gradually until the dough is soft but manageable. It should still be tacky but not gluey. Also, chilling the dough briefly can help it firm up before shaping. Let me know if you give it another go! 🍩