

Most cookie recipes follow a familiar script. You cream, you mix, you bake—and you end up with something sweet. But these Summer Crinkle Cookies? They don’t just settle for sweet.
They show up loud, vibrant, and unapologetically cheerful.
You’ll learn how to make them step by step today, with tips I’ve tucked away in my Pin Notebook after many test batches. I’ll walk you through everything from choosing the best coloring method to nailing the texture. You’ll also discover the little twist I use to give them that “wait… what’s in this?” spark.
And yes, that dash of magic is real. We’ll get there soon enough. But first—let’s start with the base.
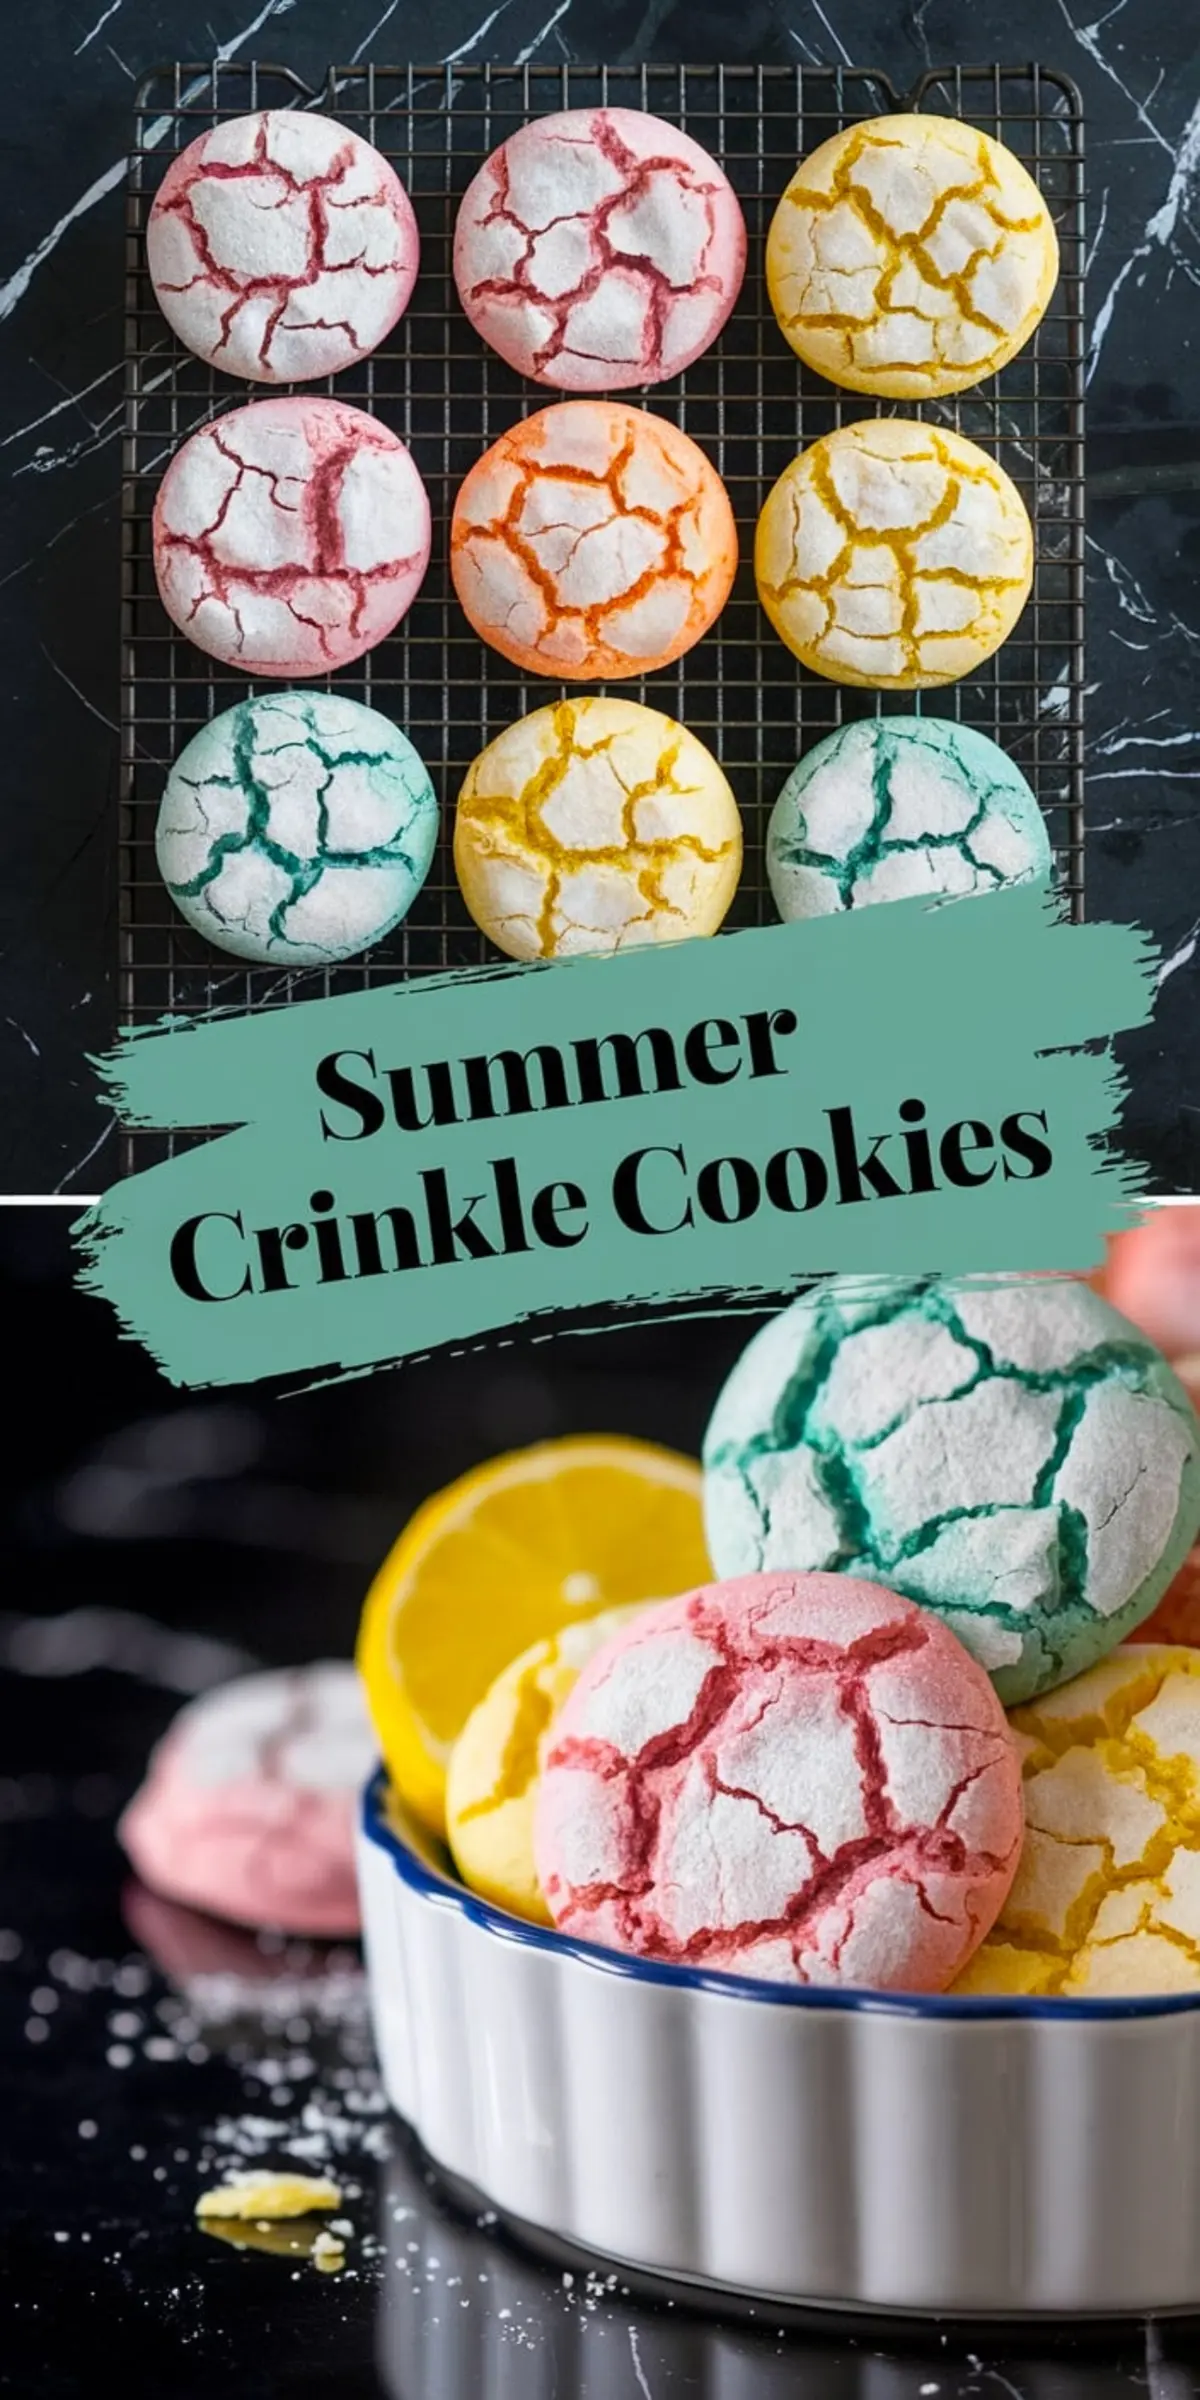
How to Make Colorful Crinkle Cookies for Summer Parties, Picnics or Just Because
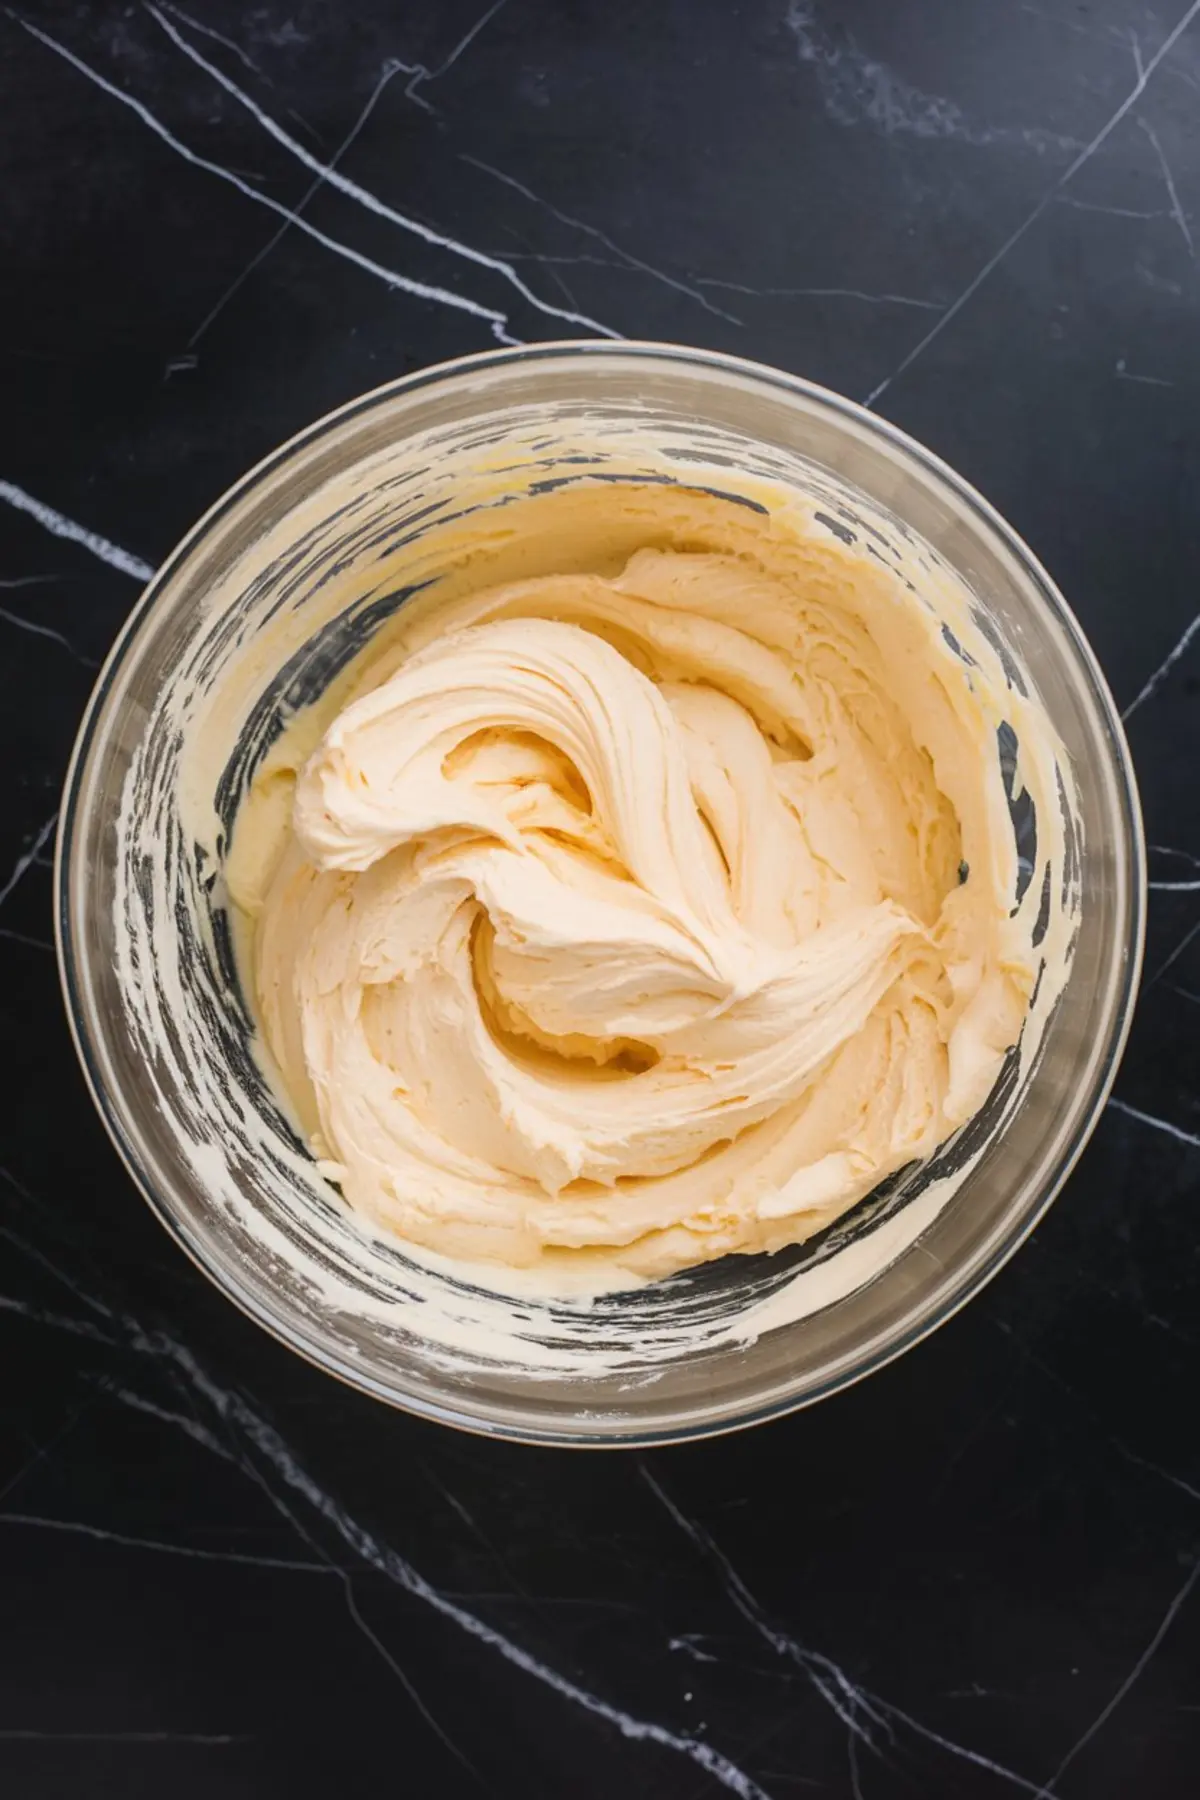
This dough begins with butter and sugar, as it should. Creaming them together creates air pockets that turn into light, soft centers once baked.
I always beat mine until the mixture looks like frosting, which takes a good three minutes. Don’t rush it. If your butter isn’t fully softened, it won’t fluff up enough and your crinkle might flatten more than it should.
Then come the eggs and vanilla. One egg at a time makes a difference here—it helps the dough stay smooth, not greasy.
Once the vanilla slides in, the bowl starts to smell like a bakery I once visited in Palermo. Sweet, warm, just enough to stop you mid-stir and sniff.
Add Dry Ingredients Without Overmixing the Cookie Dough
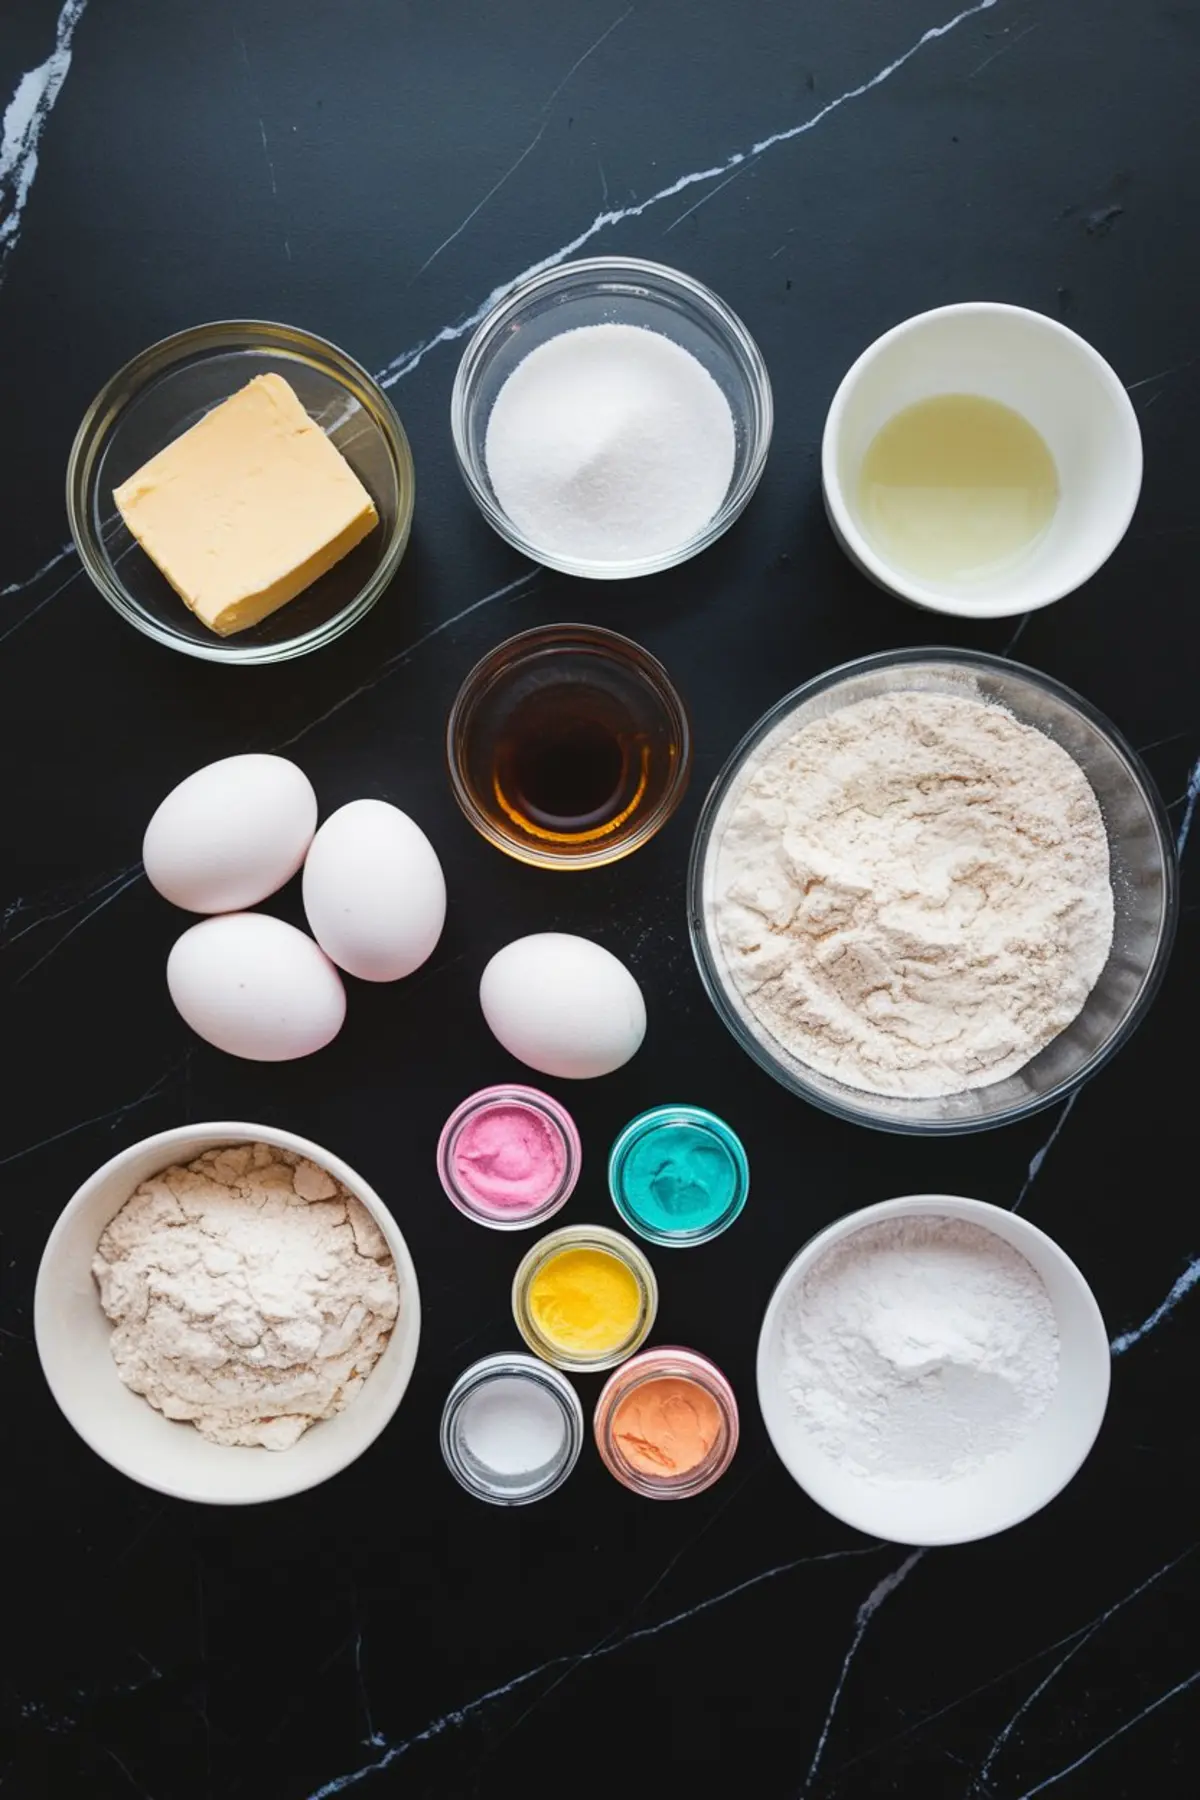
Now we move to the dry ingredients. All-purpose flour, baking powder, and salt form the structure.
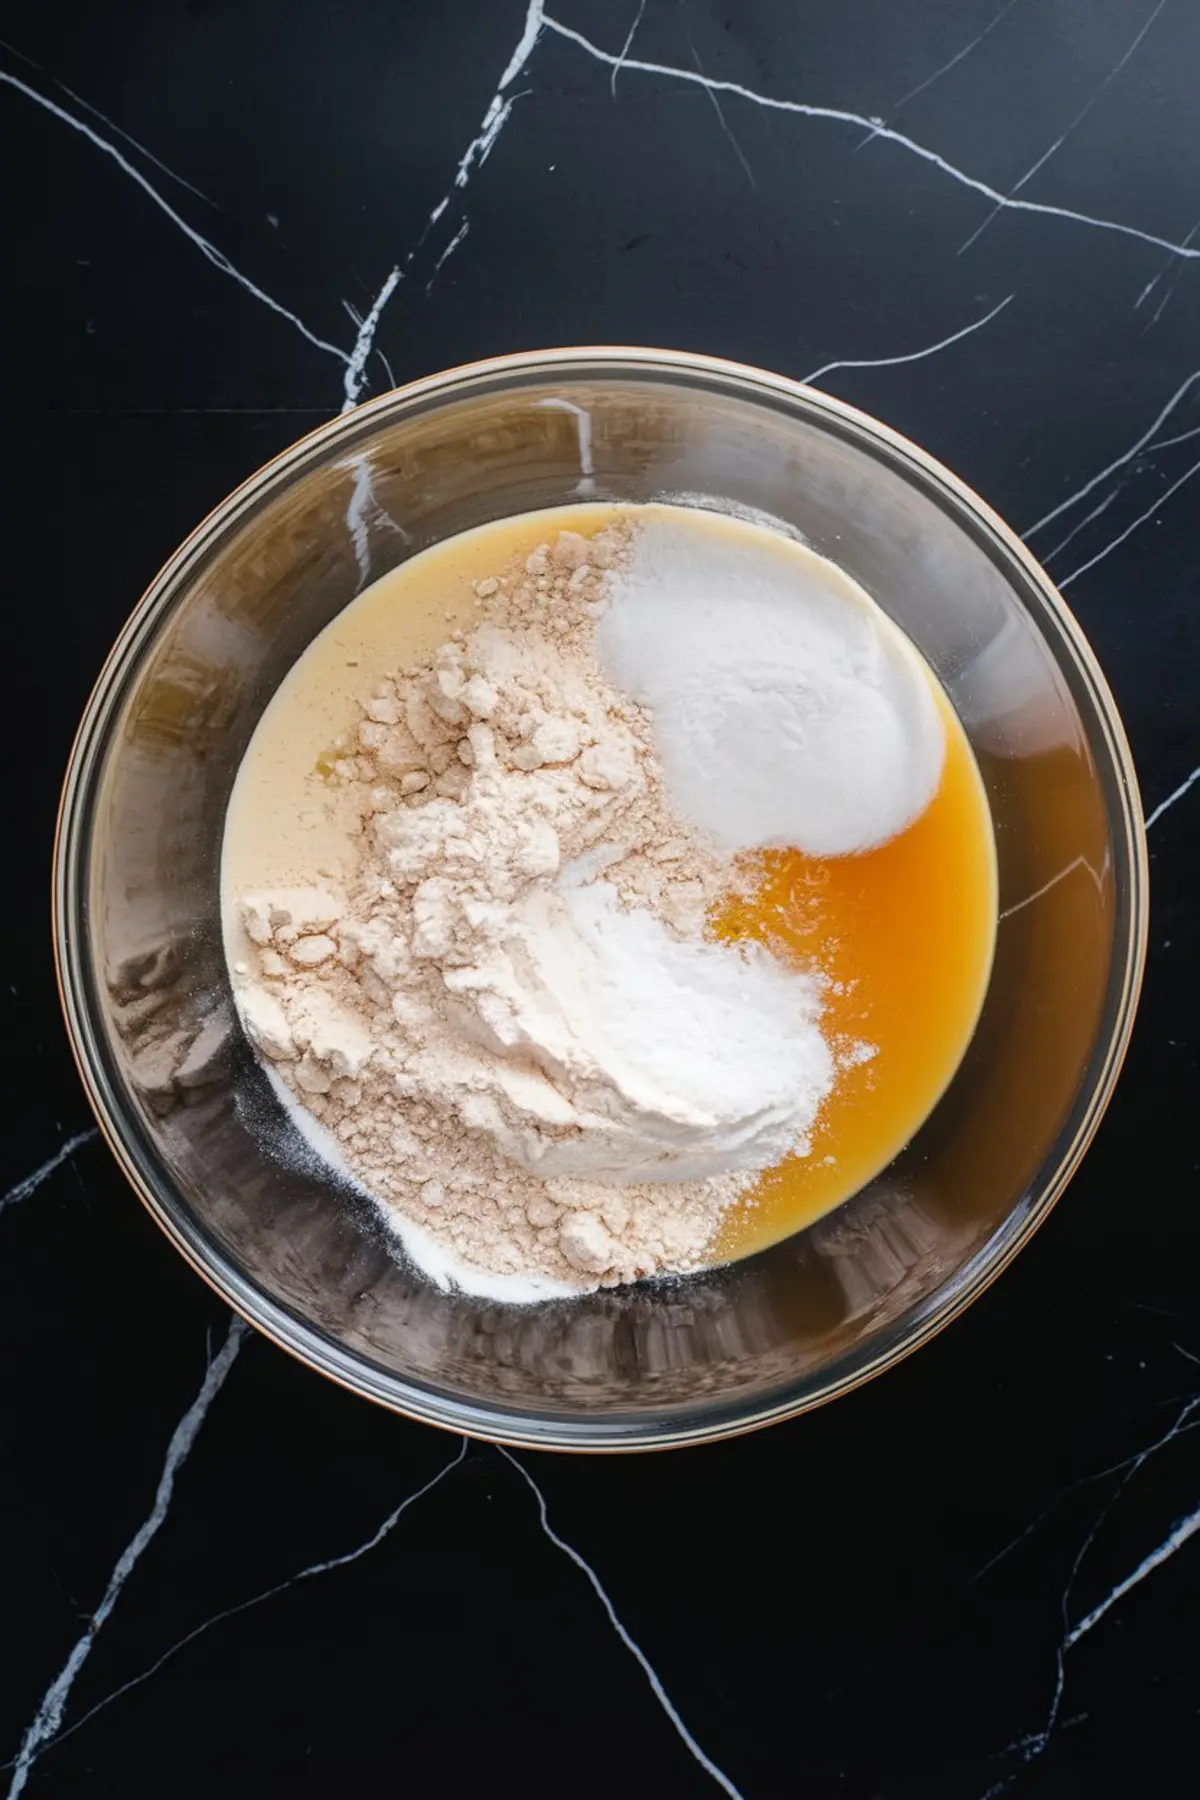
I whisk them in a separate bowl before adding to the wet mixture. Always add dry to wet in stages—this way the flour doesn’t clump, and the dough stays even.
Here’s where I’d normally say, “Don’t overmix.” But more importantly—stop the moment you don’t see dry streaks. The less you stir from this point, the better your cookie will crack on top and stay soft inside.
In my Pin Notebook, I’ve tried adding lemon zest at this stage. I’ve also used orange zest. Both work well. If you’re after something with a bit more zing, go for the lemon. For a softer citrus note, orange will do.
But the real fun starts now.
Divide and Color Your Cookie Dough with Gel-Based Food Coloring

This dough is meant to be joyful. Split it into 2, 3, or even 4 bowls. You decide how loud or calm your palette will be.
Use gel food coloring—not liquid. Liquid thins the dough and affects crinkle formation.
I keep a stash of gel pots in pink, turquoise, and golden yellow. These colors bake up brighter than you’d expect. Don’t worry if they look a bit too intense in the bowl—they soften slightly in the oven.
Once mixed, cover the bowls and refrigerate them for 30 minutes. This step is crucial. Cold dough holds shape better and delivers deeper crinkles.
Roll the Dough in Powdered Sugar Before Baking
Now scoop. I use a tablespoon-sized cookie scoop, but two spoons will do the job.
Roll each portion into a neat ball, then coat it heavily in powdered sugar. Really coat it. This isn’t the time to go light. The more sugar, the better the contrast between the cracks and the color beneath.
Set the sugar-coated balls on parchment-lined trays, spacing them well. They spread slightly but not dramatically.
Bake at 350°F for about 10 to 12 minutes. Look for puffed tops with visible cracks and soft centers. They’ll look a bit underdone in the middle—leave them that way. They’ll finish setting as they cool.
Let the Cookies Cool for a Soft, Chewy Texture

Let the cookies rest on the baking tray for a few minutes before moving them to a wire rack.
They need that short pause to set without drying out. The centers stay soft, almost melt-in-your-mouth, while the exterior offers a light crust from the powdered sugar.
Once cool, they keep well in an airtight container for up to four days. Though they rarely last that long around here.
Chloe’s Pick: Gel vs. Liquid Coloring—What Makes the Best Summer Cookie?
In my own tests—and there were many—gel coloring wins every time.
Liquid coloring not only waters down the dough but also fades in the oven. I’ve had cookies turn beige when they were meant to be coral pink. Gel colors bake brighter and keep their personality.
That’s the kind of thing I always write down in my Pin Notebook. It might seem small, but it makes a real difference.
Here’s the Twist: My Secret Ingredient for Extra Depth
Remember that little “what is that?” flavor I teased at the start?
It’s a drop of almond extract.
Just half a teaspoon, added with the vanilla, shifts everything slightly. It deepens the base note of the cookie without shouting over the vanilla.
More Bright Cookie Recipes to Try Next
These Summer Crinkle Cookies share something in spirit with my Blueberry Coconut Cheesecake Cookies—colorful, chewy, and flavor-forward.
For something nostalgic and playful, I love Lena’s Cathedral Window Cookies this time of year too. They bring out the same sparkle in people’s eyes.
And if you’re more of a classic texture person? These Easy Peanut Butter Cookies might be your go-to next bake.
Save These for Summer and Share Your Batch
If you’re planning a summer birthday, picnic, or just need something that feels like sunshine on a plate—these crinkle cookies are ready.
Save this recipe to your Pinterest board so it’s there when the craving hits. And if you do make them, I’d love to hear about it. Drop a comment below and tell me what colors you chose or how they turned out.
Was your dash of almond the moment people asked, “What is that?”
Let’s bake together and learn from each other.
Summer Crinkle Cookies Recipe

Bright cracks, bold bites, and soft centers meet a colorful finish in these easy summer cookies. The dough comes together quickly, with vibrant gel colors and a heavy powdered sugar coating that bakes into their signature crinkle. Customize the flavor and colors to match your mood or event.
Ingredients
- 1 cup unsalted butter, softened
- 1 ½ cups granulated sugar
- 2 large eggs
- 1 tablespoon vanilla extract
- 2 ½ cups all-purpose flour
- 2 teaspoons baking powder
- ½ teaspoon salt
- Gel food coloring (pink, yellow, turquoise, orange, or as desired)
- Powdered sugar, for coating
Instructions
- PREHEAT THE OVEN: Set your oven to 350°F (175°C) and line two or three baking sheets with parchment paper for easy release and even crinkle patterns.
- CREAM THE BUTTER AND SUGAR: In a large bowl, beat the softened butter and granulated sugar together until the mixture is pale and fluffy, resembling frosting. This step adds air to the dough and helps the cookies puff while baking.
- ADD THE EGGS AND VANILLA: Beat in the eggs one at a time, mixing well after each addition. Stir in the vanilla extract until evenly combined.
- COMBINE THE DRY INGREDIENTS: In a separate bowl, whisk together the flour, baking powder, and salt. Gradually add the dry mixture to the wet ingredients, stirring until just combined without overmixing.
- DIVIDE AND COLOR THE DOUGH: Separate the dough into 2 to 4 bowls, depending on how many colors you want. Add a few drops of gel food coloring to each and stir gently until the colors are evenly distributed.
- CHILL THE DOUGH: Cover and refrigerate the colored dough for at least 30 minutes. Chilling helps the cookies hold their shape and encourages better crinkles during baking.
- ROLL IN POWDERED SUGAR: Scoop tablespoon-sized portions of dough and roll them into smooth balls. Coat each ball generously in powdered sugar, making sure they’re fully covered.
- BAKE THE COOKIES: Place the dough balls about 2 inches apart on the prepared baking sheets. Bake for 10 to 12 minutes, or until the tops have cracked and the cookies are puffed but still soft in the center.
- COOL COMPLETELY: Let the cookies cool on the baking sheet for 3 to 5 minutes before transferring them to a wire rack to cool completely.
Notes
Use gel food coloring to avoid thinning the dough. For a citrus variation, add 1 teaspoon of lemon or orange zest to the dough. Store cookies in an airtight container for up to 4 days.
Nutrition Information:
Yield:
30Serving Size:
1Amount Per Serving: Calories: 153Total Fat: 7gSaturated Fat: 4gTrans Fat: 0gUnsaturated Fat: 2gCholesterol: 29mgSodium: 74mgCarbohydrates: 22gFiber: 0gSugar: 14gProtein: 2g
