
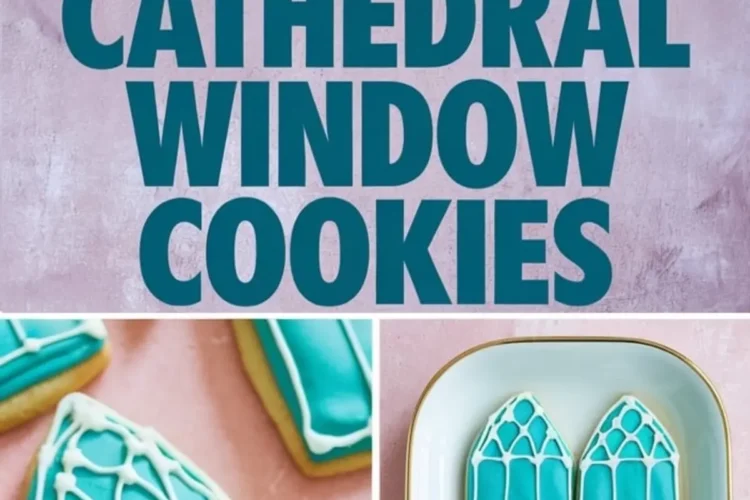
These cookies aren’t loud. They don’t call attention to themselves like glitter or candy. They shine differently through softened sugar edges, glassy blue icing, and the steady hand of someone who knows that beauty doesn’t need to rush.
The base is a dependable sugar cookie dough. It holds its shape well, especially if you chill it. The edges stay clean. The flavor is gentle, vanilla and butter, with just enough salt to keep things balanced. That’s what you need for cookies like this: a base that doesn’t demand attention, so the stained-glass designs can speak.
This isn’t a fast recipe. But it isn’t difficult, either. You work slowly. You wait for icing to dry. You pipe lines one by one. In this way, it reminds me of quilting. Or the careful stitching along a collar hem. Hands learn what the eye wants.

Make the Sugar Cookie Dough First
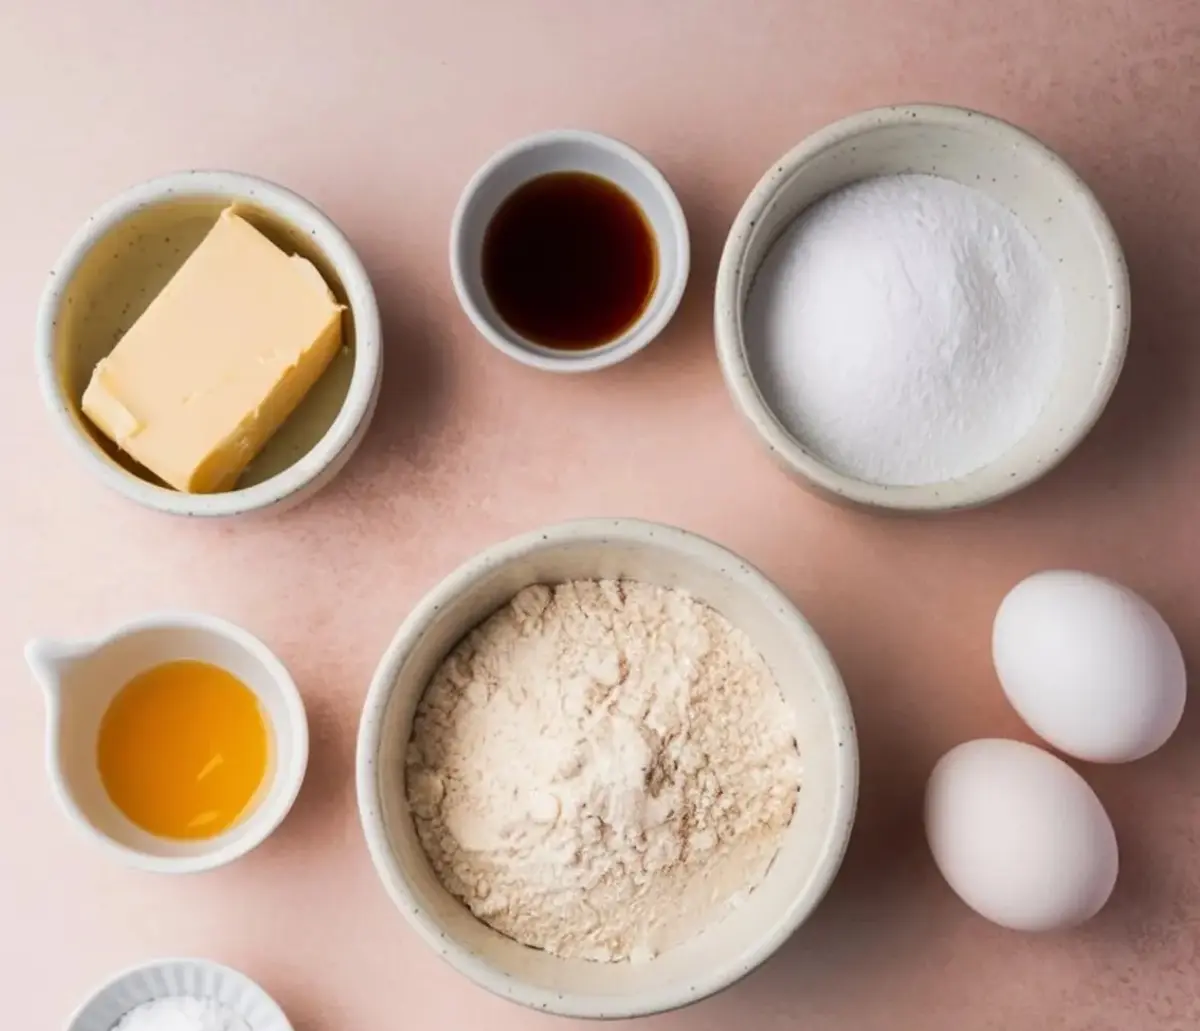
I always start with room temperature butter. Not melted. Not cold. Just soft enough that a finger leaves a mark without sinking through.
Creaming the butter and sugar properly makes a difference here. Three to five minutes is the right window. You want the mixture to go pale and fluffy. If your kitchen is quiet, you’ll hear the texture change in the mixer.
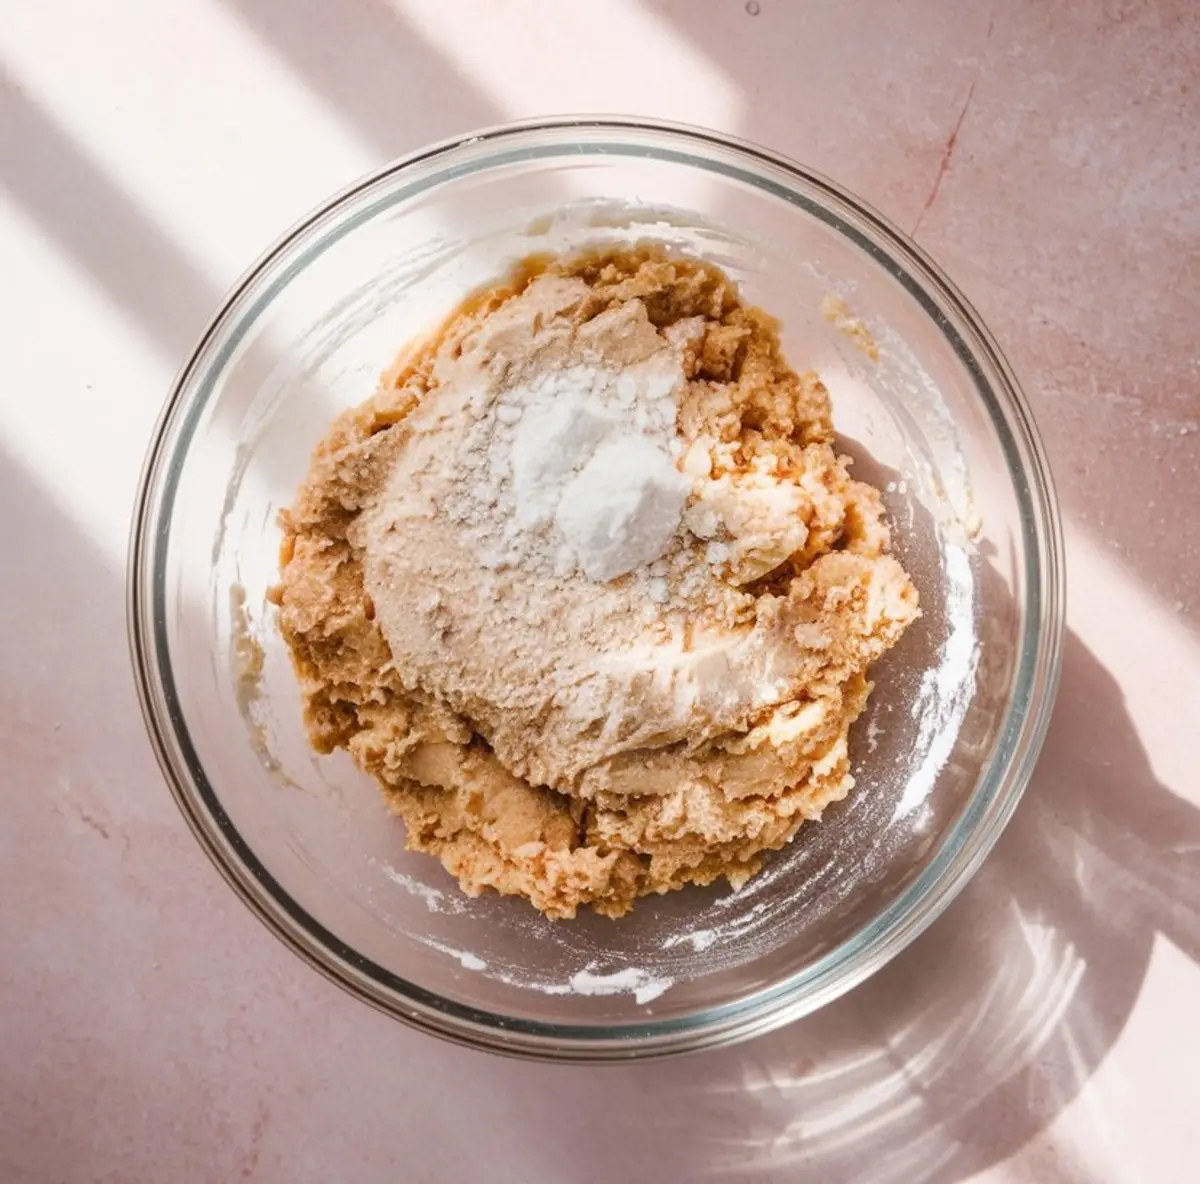
Once the egg and vanilla go in, the dough softens again. That’s normal. Add the dry ingredients slowly. Don’t rush this part. Use low speed, and watch the dough pull together.
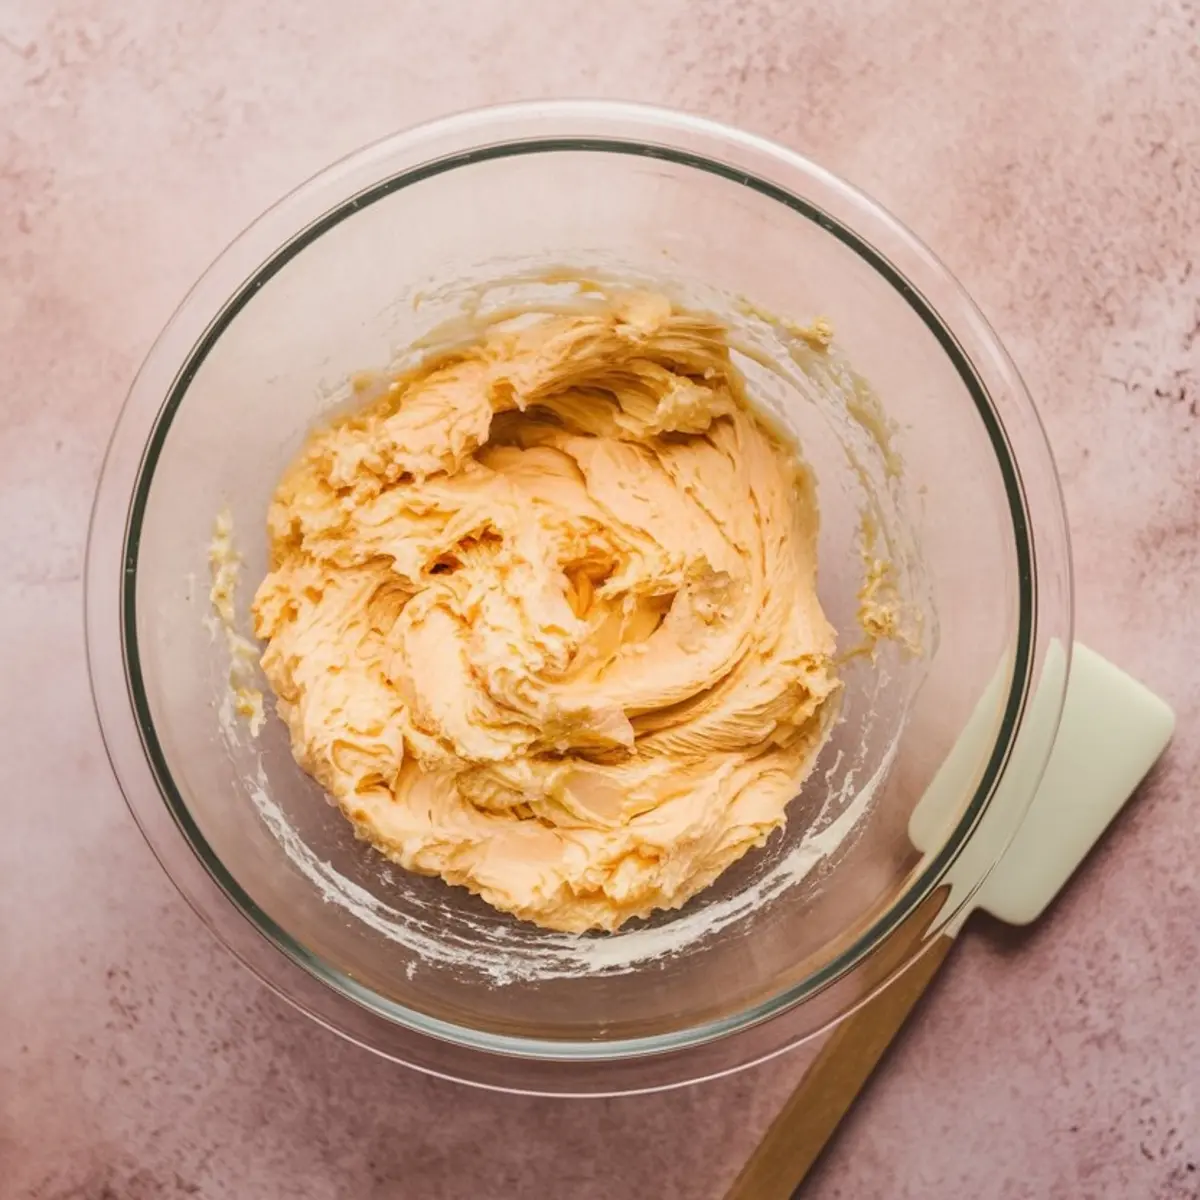
If it feels sticky, rest it in the fridge for twenty minutes. That’s often what I do, especially in warmer months or if I’ve let my butter get too soft. Cold dough cuts better and holds its shape in the oven.
Shaping and Baking Cathedral Cookies
Use a floured surface, and turn the dough often while you roll. I aim for a quarter inch thick. Thinner than that, and the cookies dry out. Too thick, and they lose their grace.
For the window shape, I use a knife. I’ve seen others use cutters, but I like the freedom of slicing the shape myself. My notes from last December say: “Tall. Narrow. Like the chapel at Saint Agnes.” That’s what I go for.
Bake them at 350°F. Watch for the edges to turn gold. That’s your sign. Not brown—just kissed by the oven. Let them cool fully before you think about icing.
Comparing Icing Consistencies: A Quiet Note
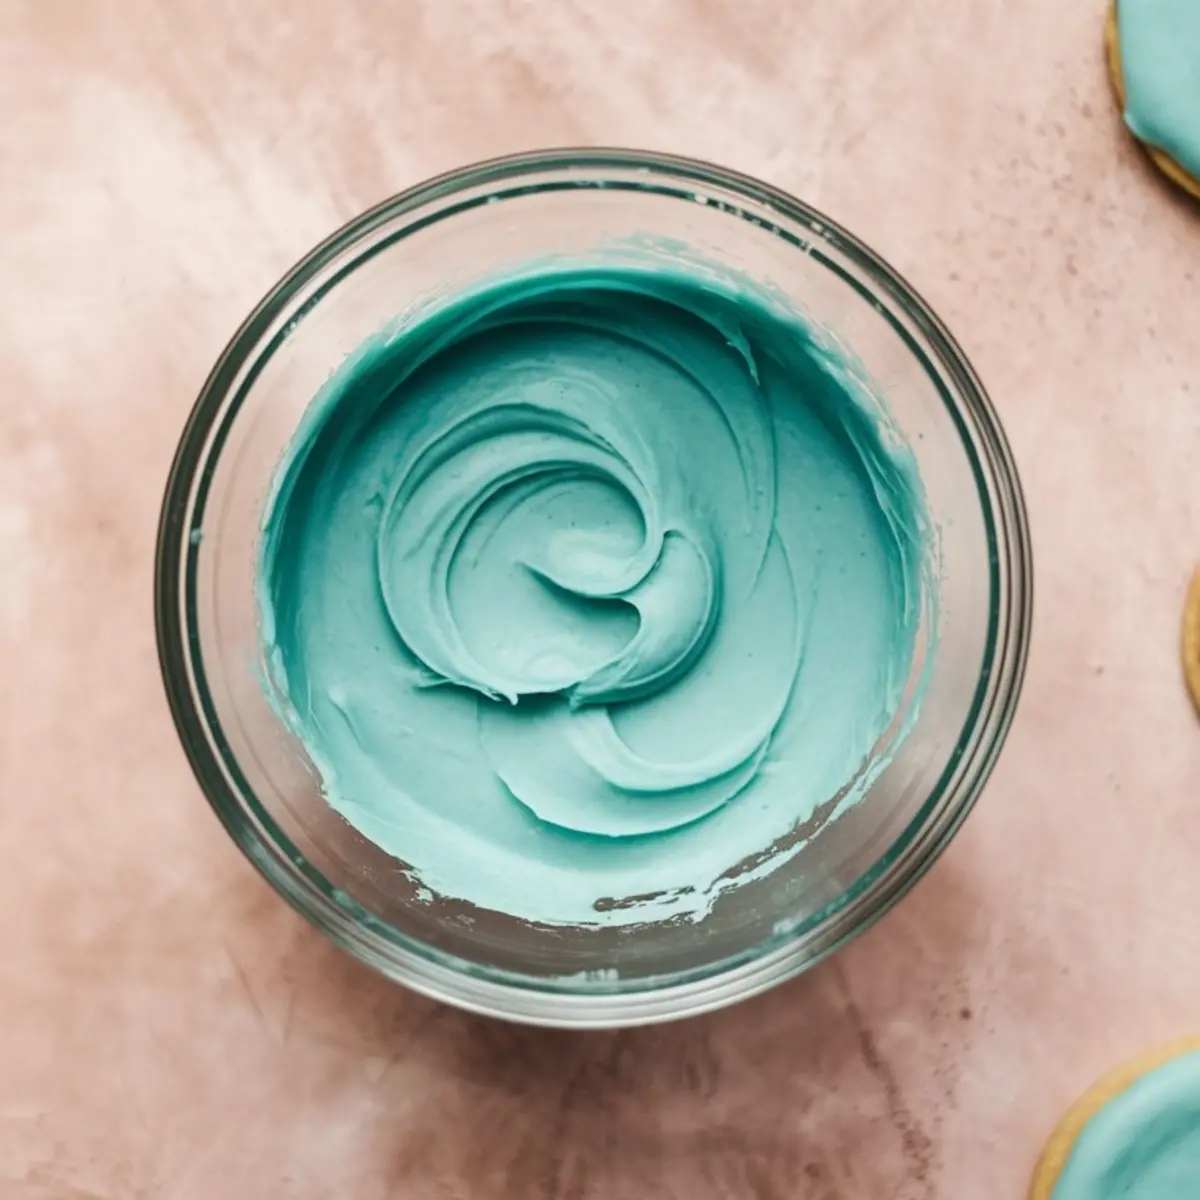
I’ve tested both thick and thin royal icing for these cookies. In my notebook, I’ve written: “Thinner spreads faster, but bleeds.” For the flood layer, soft peaks are ideal. They settle smooth, but don’t run over the edge.
For the white detail work, I thicken the icing slightly. The same sugar base, powdered sugar and meringue powder, but I use a little less water. That way, my piped arches stay where I place them.
And always, always test on a plate before committing. What looks right in the bowl may surprise you on the cookie.
Decorating the Windows with Patience

The blue or teal flood icing goes on first. Outline the shape. Then fill the inside. I use a toothpick to coax it into corners. Then I wait.
Give it at least an hour. Longer is better. If you try to pipe the white details too soon, they’ll sink into the base. The lines should sit gently above the color, like ironwork on stained glass.
For the white icing, I fit a piping bag with a small round tip. I rest my forearm on the table. That helps keep my hand steady.
And if a line wobbles, or a corner cracks, don’t worry. These cookies carry their meaning through quiet effort, not polish. No one remembers straight lines. They remember how it felt to be given something made slowly.
Let Them Dry Before Storing
Once you’ve finished decorating, leave the cookies uncovered overnight. I spread them across a clean baking sheet and leave them in the corner of my kitchen. Don’t cover them. Don’t rush them into a container. They need that rest.
The icing hardens enough by morning to stack them between sheets of parchment.
These hold well for several days, but I usually keep a few back for myself. I tuck them behind the sugar tin and eat them with tea.
A Quiet Link to Other Cookies
If you like this kind of cookie—quiet, with care in the details—you might also like these:
• Pistachio Crinkle Cookies — crackled edges, soft centers
• Ube Coconut Crinkle Cookies — with gentle color and chew
• Stuffed Biscoff Cheesecake Cookies — warm, rich, a surprise inside
• Raspberry Coconut Thumbprint Cookies — a little sweet, a little tart
• Blueberry Coconut Cheesecake Cookies — with a quiet zing
One More Note from My Notebook
Chloe made these once with green icing instead of blue. I remember her sending me a picture. The piping was shaky in parts, but she had tried. That’s what I care about most.
She’s doing well now. Writing and baking, just like she used to imagine during study hall.
So if your lines aren’t straight, or your icing pools in the wrong place – keep going. If it cracks, don’t worry. Some things shine best through flaws.
A Gentle Invitation
If you make these cookies, I’d love to hear about it. Leave a comment below, or save the pin to come back later. There’s no rush. Cookies and people often turn out best when they take their time.
Cathedral Window Cookies Recipe

Cathedral Window Cookies combine a classic sugar cookie base with stained-glass-inspired royal icing decoration. The dough is soft but sturdy, perfect for detailed shapes. The cookies are first flooded with vibrant color, then finished with delicate white piping that mimics the look of gothic cathedral windows. While the finished cookies may look intricate, the process is simple and rewarding.
Ingredients
- FOR THE COOKIES
- 1 cup (226 g) unsalted butter, softened
- 1 cup (200 g) granulated sugar
- 1 large egg
- 1 ½ teaspoons pure vanilla extract
- 2 ¾ cups (345 g) all-purpose flour
- ½ teaspoon salt
- FOR THE ROYAL ICING
- 4 cups (480 g) powdered sugar
- 3 tablespoons meringue powder
- 6 to 8 tablespoons warm water
- Gel food coloring (blue or teal recommended)
Instructions
- CREAM THE BUTTER AND SUGAR: In a large mixing bowl, use a hand mixer to beat the softened butter and granulated sugar together on medium speed until the mixture is light and fluffy, about 3 to 5 minutes.
- ADD EGG AND VANILLA: Add the egg and vanilla extract to the butter mixture and mix until fully incorporated and smooth.
- COMBINE DRY INGREDIENTS: In a separate bowl, whisk together the all-purpose flour and salt. Gradually add this to the wet mixture, mixing on low speed until a soft dough forms.
- CHILL IF NEEDED: If the dough feels sticky or soft, cover and chill it in the refrigerator for 20 minutes to make rolling easier.
- ROLL AND CUT DOUGH: On a lightly floured surface, roll the dough to about ¼ inch thickness. Use a sharp knife or custom cutter to shape tall, narrow windows. Transfer cutouts carefully to a baking sheet lined with parchment paper.
- BAKE THE COOKIES: Preheat the oven to 350°F (175°C). Bake the cookies for 9 to 11 minutes or until the edges are just turning golden. Allow them to cool completely on a wire rack before decorating.
- MAKE THE ROYAL ICING: In a bowl, whisk together the powdered sugar and meringue powder. Add warm water gradually, 1 tablespoon at a time, until the icing holds soft peaks. Divide and tint part of the icing with gel food coloring for the window base; leave the rest white for detailing.
- FLOOD THE COOKIES: Use a piping bag or squeeze bottle to outline and flood each cookie with the tinted icing. Allow the base layer to dry for at least 1 hour before adding details.
- PIPE THE DETAILS: Fill another piping bag fitted with a fine tip (or use a parchment cone) with the white icing. Pipe decorative arches, lines, and shapes to resemble stained glass windowpanes. Keep your hand relaxed to improve precision.
- DRY COMPLETELY: Let the decorated cookies dry uncovered at room temperature overnight before stacking or storing.
Notes
Test the icing consistency by piping a small amount onto a plate. It should spread slightly but hold its shape. Use gel food coloring for rich, vibrant tones without thinning the icing.
Nutrition Information:
Yield:
24Serving Size:
1Amount Per Serving: Calories: 81Total Fat: 1gSaturated Fat: 1gTrans Fat: 0gUnsaturated Fat: 1gCholesterol: 9mgSodium: 59mgCarbohydrates: 15gFiber: 0gSugar: 4gProtein: 2g
