
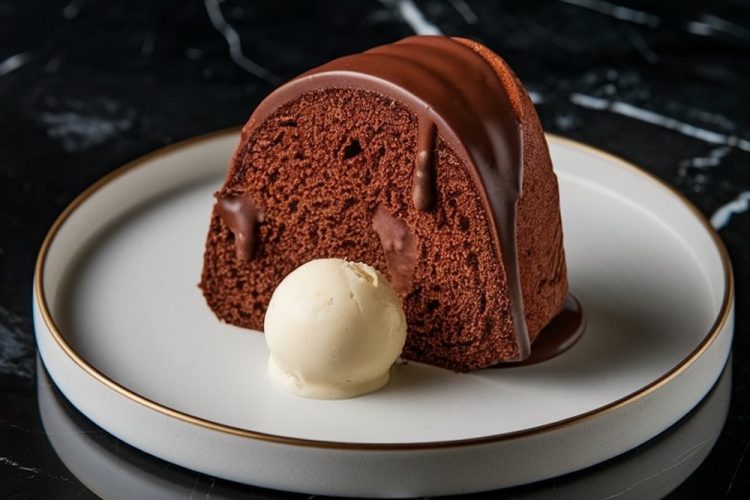
I remember the first time I baked this chocolate pound cake. A friend once shared a similar recipe with me, but I made a few tweaks to suit my taste. The result surprised me and filled my kitchen with a soothing cocoa scent. That moment made me realize how a cake can turn an ordinary day into something special.
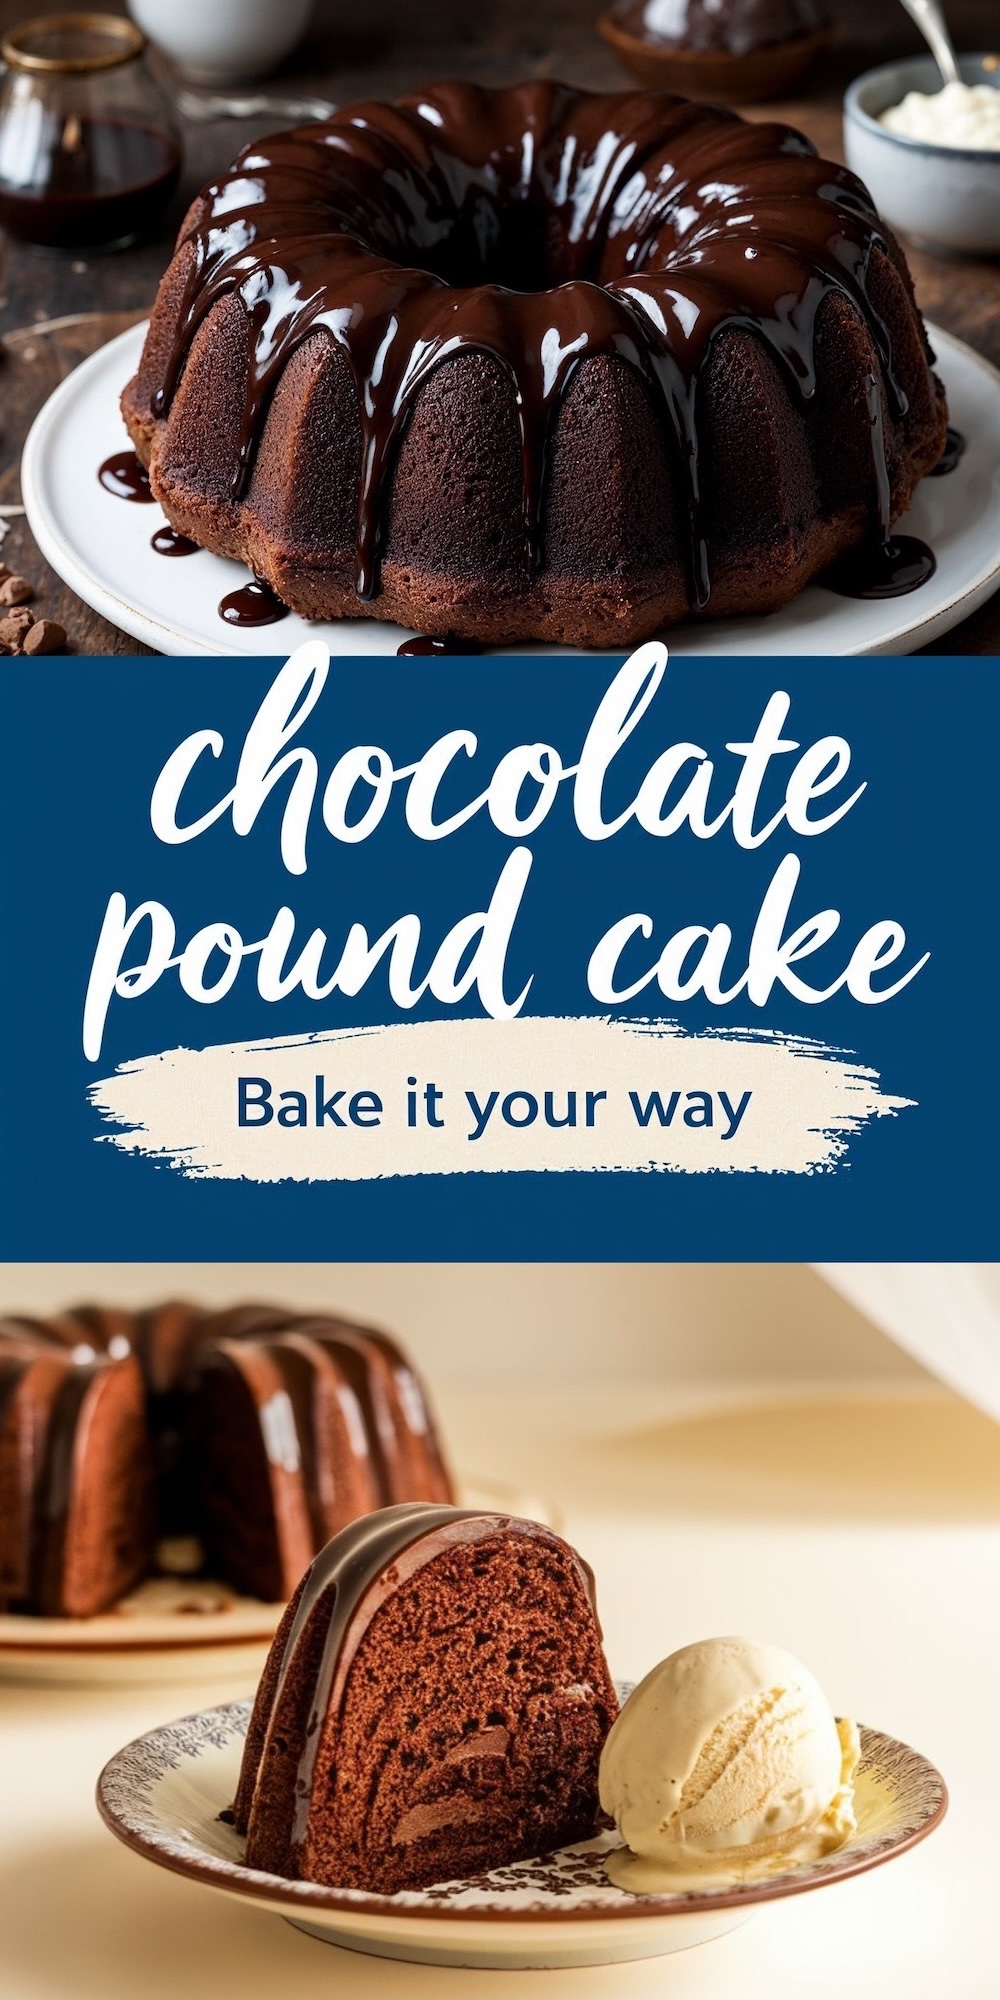
This dessert features a moist crumb, a deep chocolate flavor, and a glossy glaze that adds a sweet touch. I keep returning to it because it rewards me each time with soft slices and smiles from everyone who tastes it.
Key Ingredients That Shape a Rich Flavor
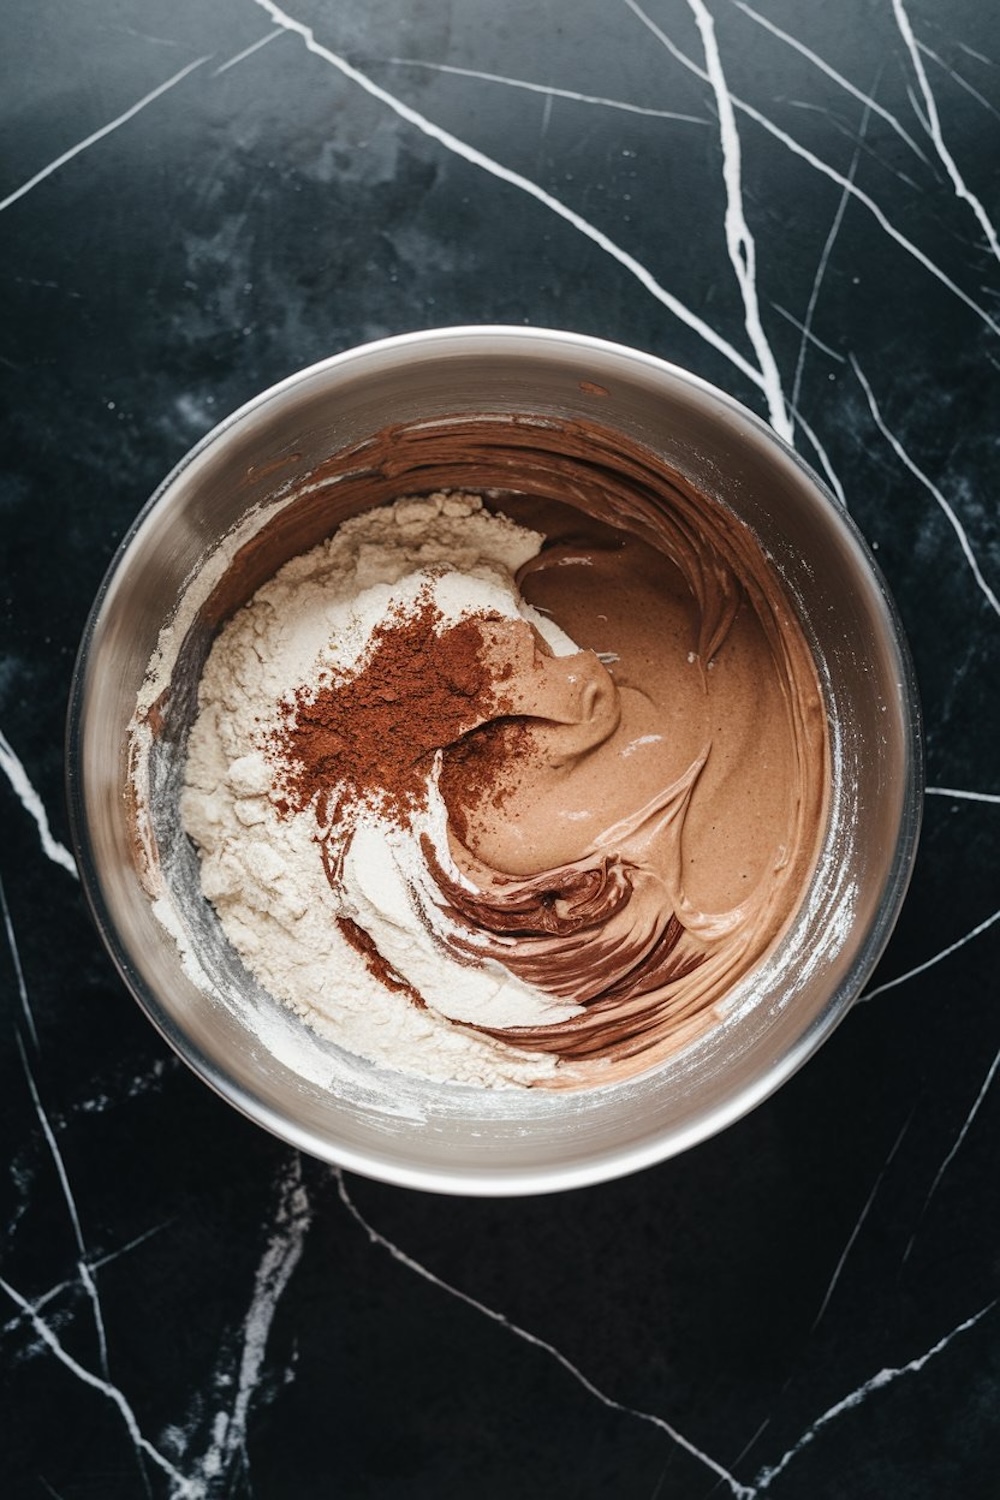
Chocolate drives this cake’s bold taste. I always pick unsweetened cocoa powder of good quality because it provides the depth I crave. Butter and sugar work together to create that classic pound cake structure.
Eggs help with binding, and flour builds the foundation for every slice. A bit of baking powder and baking soda promotes a gentle lift, so the cake feels airy instead of heavy.
Whole milk adds moisture, and vanilla extract gives a comforting fragrance. These items form a solid base for any chocolate cake, but I find they become something magical in this recipe.
I keep the glaze ingredients nearby once I start baking. Chocolate chips and heavy cream come together for a luscious topping. Butter contributes a silky consistency. Some people prefer dark chocolate chips, but I typically reach for semi-sweet morsels. This combination is straightforward and rarely causes trouble.
My friend once tried white chocolate chips in a pinch, and that version worked well too, though the flavor turned out sweeter.
Simple Steps That Lead to a Tasty Batter
I begin by heating my oven to 350°F (175°C). A Bundt pan sits ready, greased with butter and a dusting of flour. I treat the pan with care because I want the cake to slide out without tearing.
Next, I focus on creaming the butter and sugar. My stand mixer handles this part quickly, but a hand mixer delivers the same result if I give it enough time. After about three minutes, that mixture grows pale and airy. This is the step that influences the cake’s texture the most, so I never rush it.
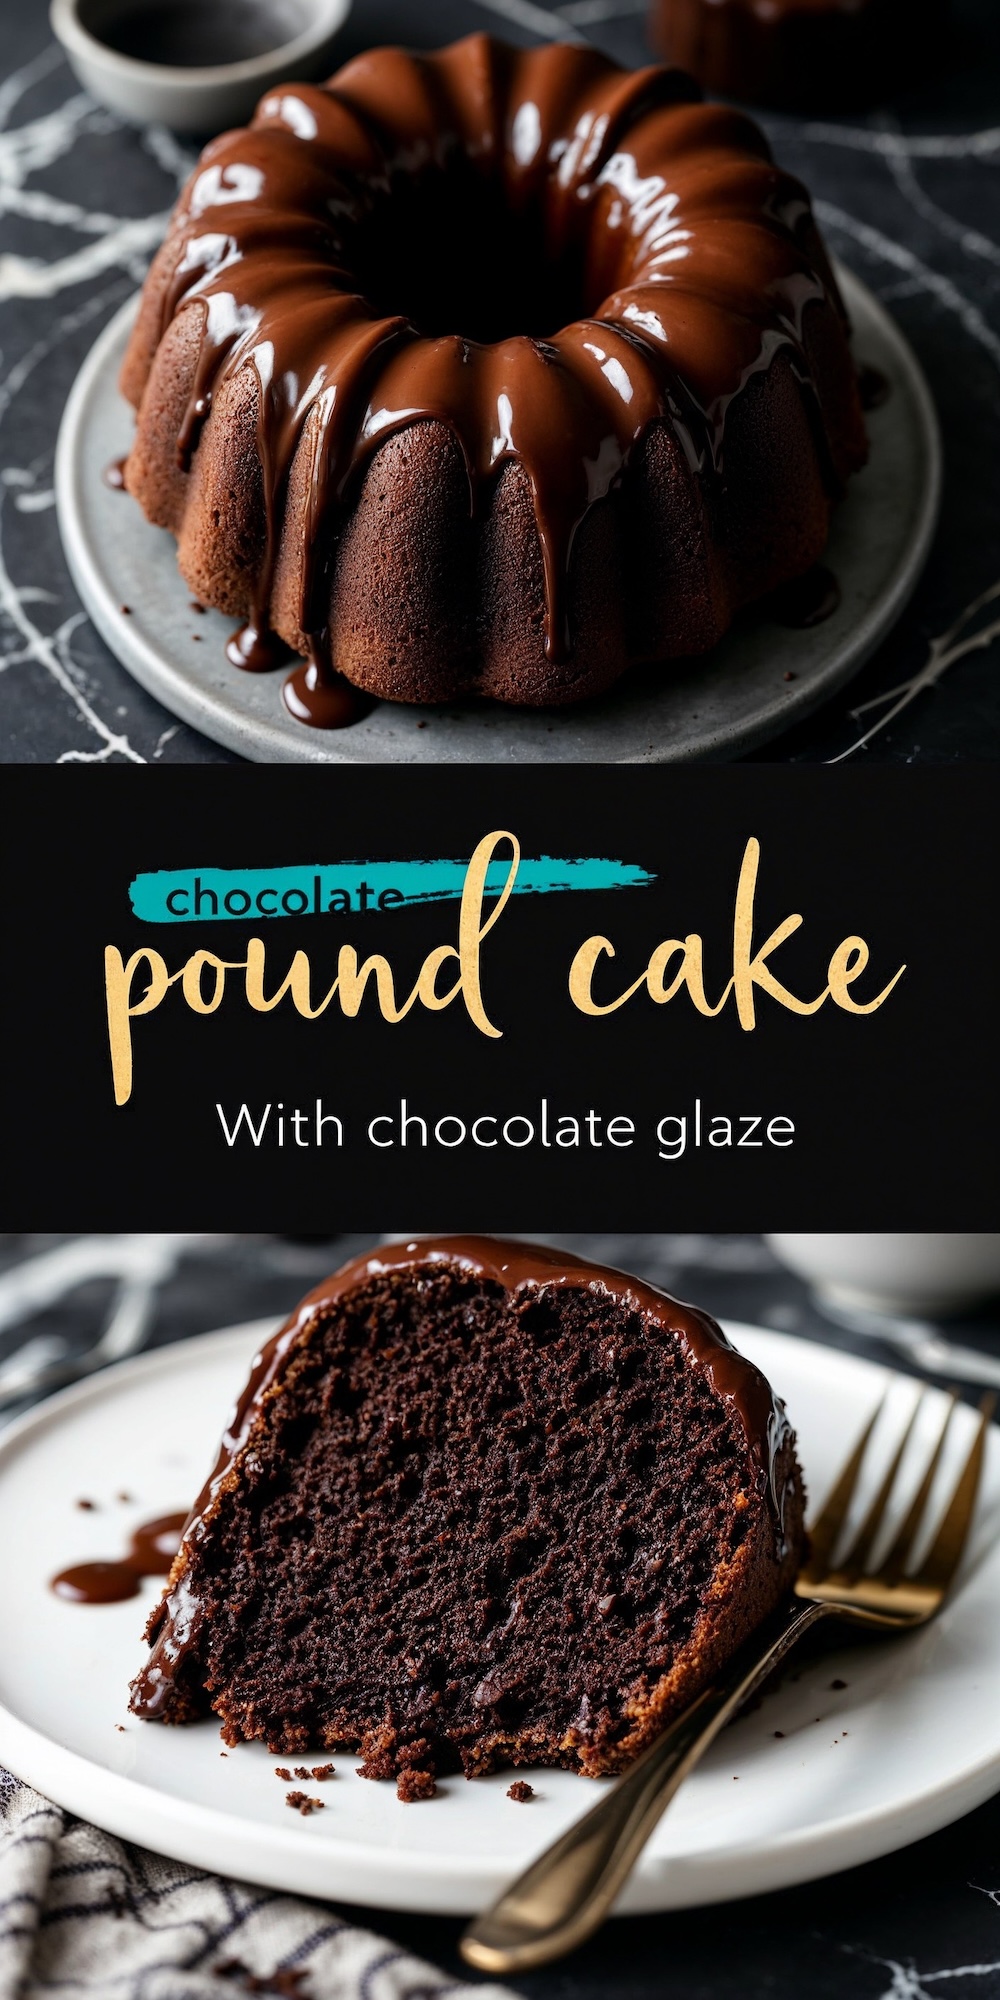
I then add eggs one at a time. Each egg mixes into the batter before the next joins in. I grab a rubber spatula to scrape the sides of the bowl, making sure no lumps hide beneath the surface. Meanwhile, I combine flour, cocoa powder, baking powder, baking soda, and salt in another bowl.
These powders shape the color and lift of the cake. I alternate adding these dry ingredients with splashes of milk, letting each addition blend before the next. This careful approach minimizes lumps. A tiny measure of vanilla extract brings everything together. My mother taught me to trust my nose here. If the batter smells rich and balanced, it’s ready.
Baking and Achieving the Right Texture
I pour the batter into the prepared pan, smoothing the top with the back of a spoon. Some folks tap the pan on the counter to remove air bubbles, though I only do that if I see large ones forming. The filled pan goes into the hot oven for about 50 to 60 minutes. My nose usually tells me when it’s close to done. A skewer test confirms the timing. If the skewer slides out clean, the cake can come out. That wait feels long, but I stay patient, remembering that a rushed pound cake can turn dense or dry.
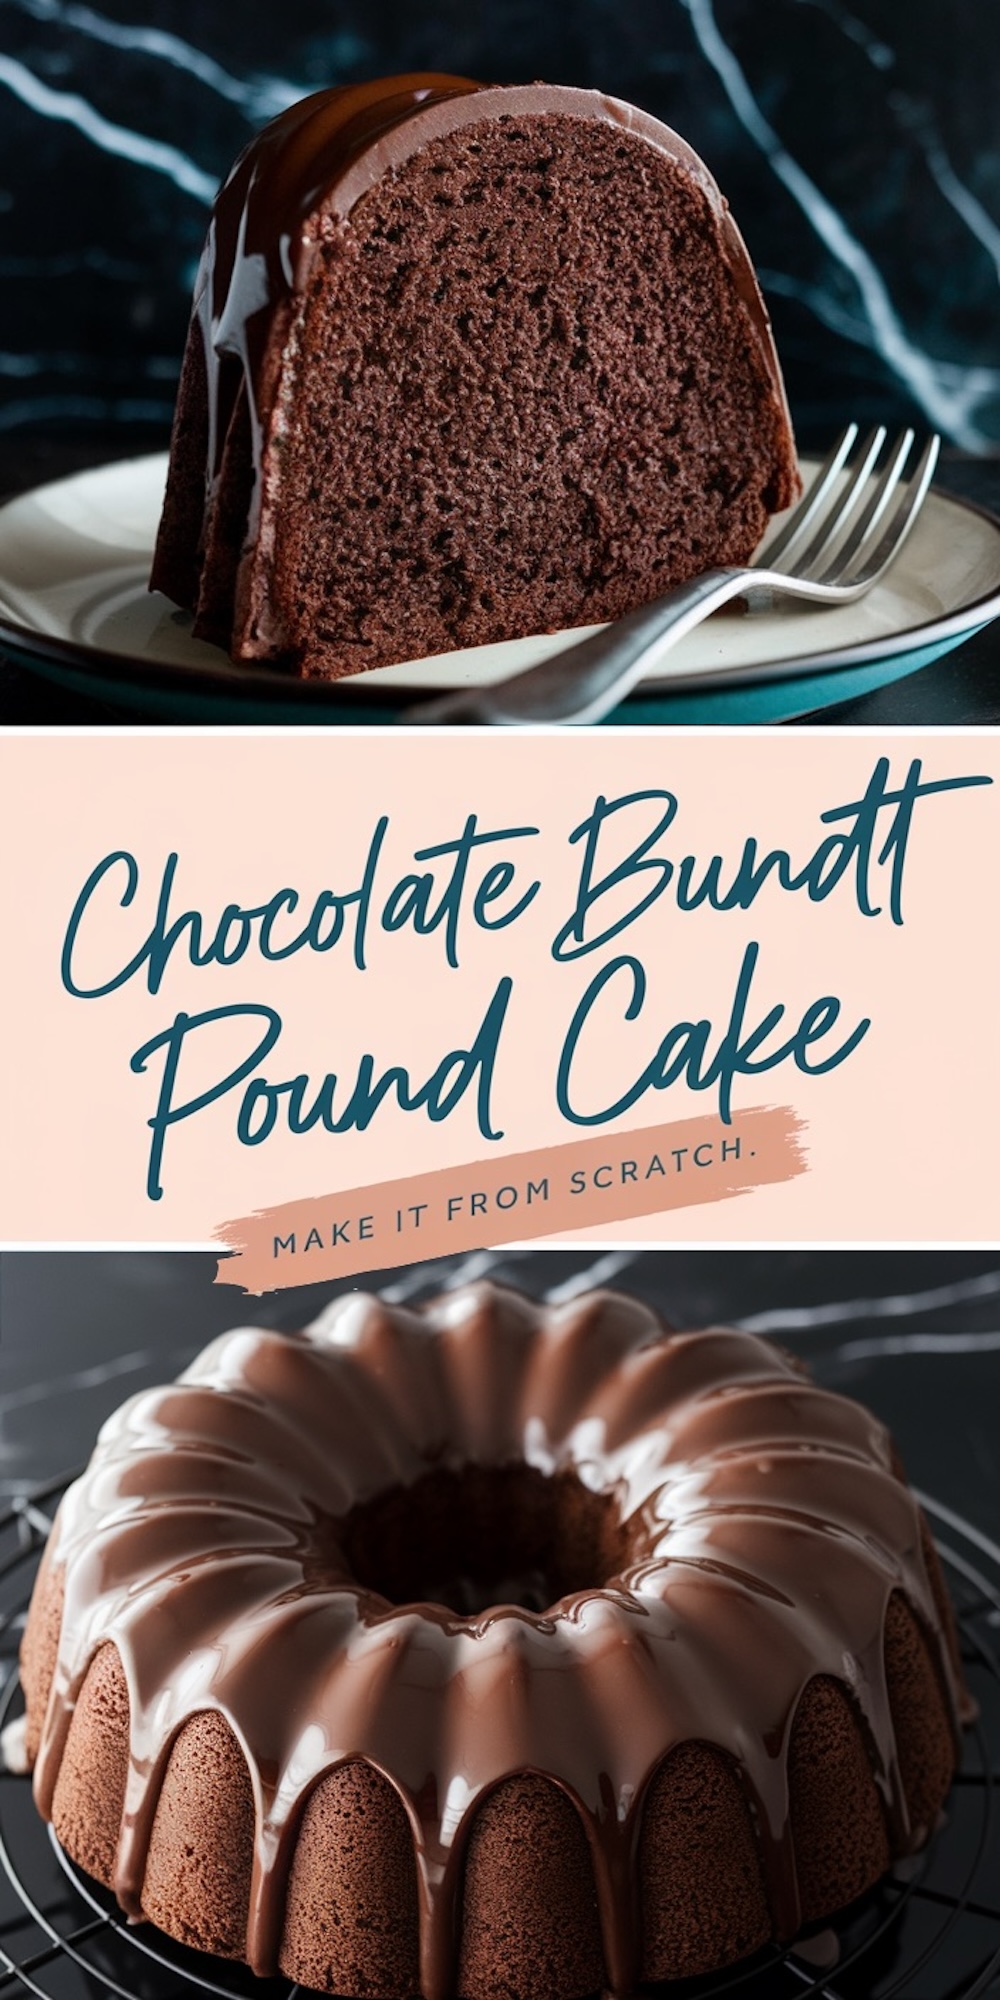
Rest the pan on a wire rack for around 10 to 15 minutes. A bit of patience helps it settle so it won’t collapse. Then flip the cake onto a wire rack to let it cool fully. No one in my house can resist peeking under the rack to catch a glimpse of that dark chocolate exterior. Each time I turn a cake out of a Bundt pan without a snag, I release a tiny sigh of relief.
Glaze Creation for a Smooth Finish
A glossy glaze boosts the beauty of this cake. My method involves a simple bowl, a microwave, and gentle stirring. I combine chocolate chips, heavy cream, and a tablespoon of butter. Short bursts of heat, around 20 seconds at a time, help the chips soften. I pause to stir in between, preventing scorching. Once the mixture looks smooth, I let it rest. A brief wait thickens it slightly, but it stays pourable.
I place the cooled cake on a rack over a baking sheet. This setup catches the extra drips. I pour the glaze carefully, watching it cascade over the ridges of the cake. A spatula comes in handy for even coverage. Any leftover glaze goes into a small bowl, and my family often dips strawberries or other fruit in it. After about 20 minutes, the glaze sets enough to slice the cake without messing up the coating.
Suggested Portions and Timing
I plan for about 12 slices with this recipe. Each slice offers around 350 calories, which feels just right for a sweet treat. Prep requires about 20 minutes, baking adds another hour, and cooling totals another hour. In total, I set aside close to two and a half hours from start to finish. That might sound like a chunk of the day, but I treat this activity like a form of relaxation. My kitchen feels calm, and the sweet aromas lift my mood. I often fit in other tasks while the cake bakes, like tidying up or reading a few pages of a book.
Storage Made Easy: Keep It Fresh and Moist
Store this cake in a sealed container at room temperature. It remains moist for about five days. If the weather feels warm, I sometimes chill it, but I remove it from the fridge a bit before serving. That helps the cake return to its soft state. I try not to keep it chilled for too long, though. Extended refrigeration can dry it out.
Freezing can extend the cake’s life if I skip the glaze. I wrap it in plastic wrap, add a layer of aluminum foil, and tuck it into the freezer for as long as three months. Thawing at room temperature restores most of that fresh-baked appeal. I usually prepare fresh glaze once it’s thawed because that adds a just-made feel to the cake.
Fun Touches and Flavor Variations
I love sprinkling cocoa powder on top for a rustic look. Sometimes I sift it over the glaze so it sticks lightly, or I add a small handful of fresh berries to each plate before serving. A scoop of vanilla ice cream turns a single slice into a diner-style dessert. I have a friend who swirls a drizzle of caramel sauce over the glaze. It complements the chocolate flavor and offers a sweet contrast.
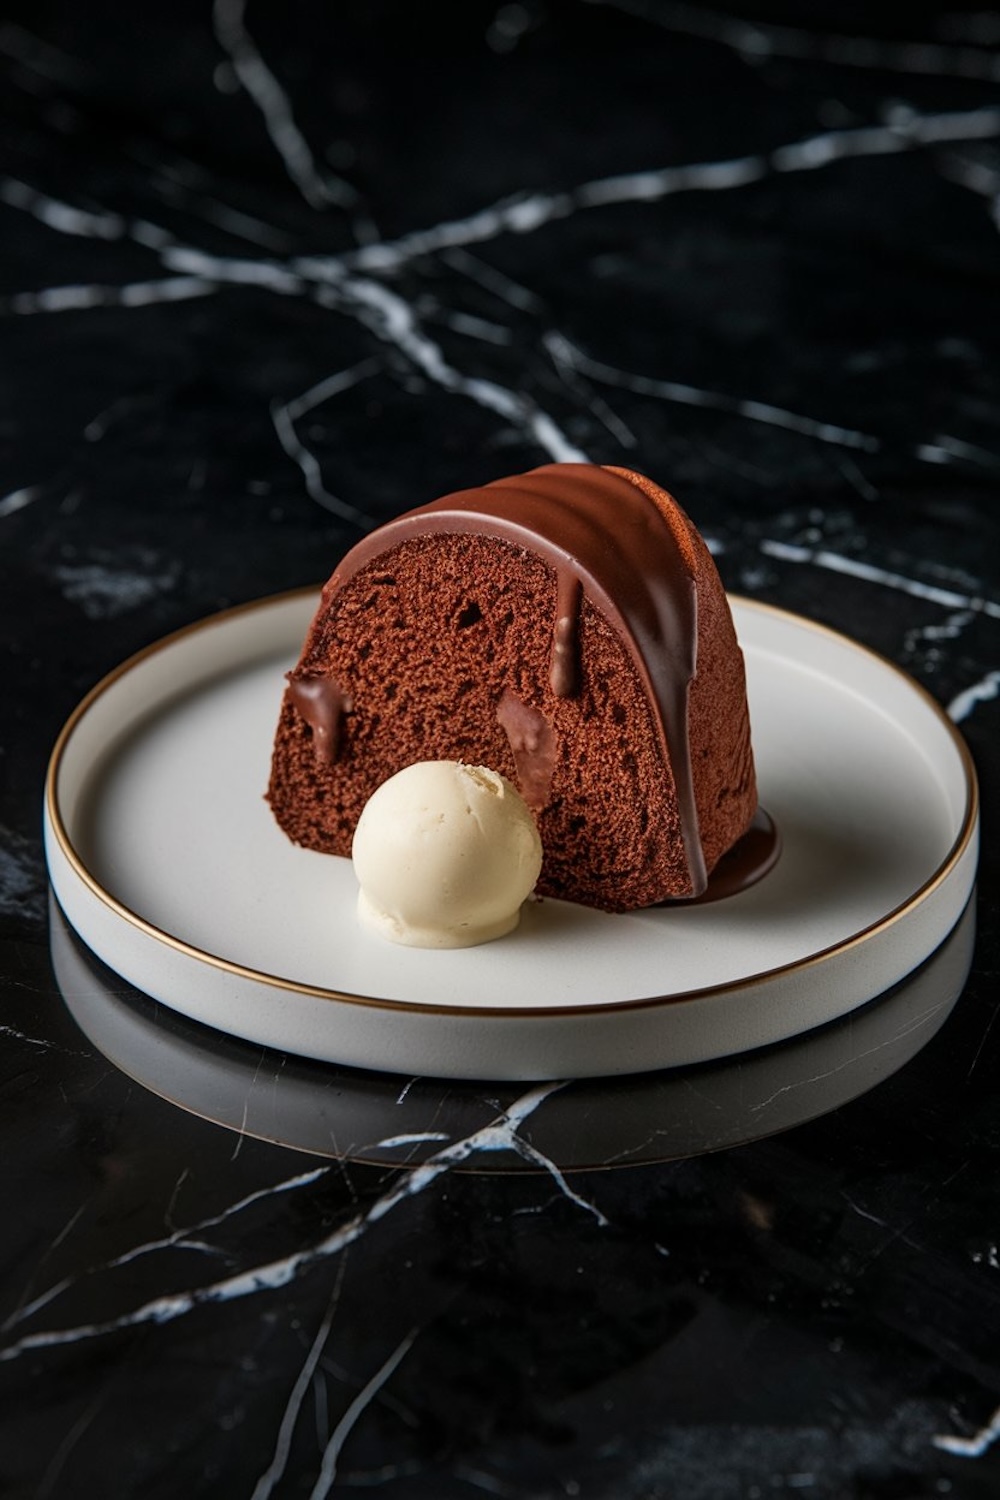
A hint of coffee in the glaze can bring a new dimension. One teaspoon of strong espresso or even a pinch of instant coffee powder can accent the richness. My sister once stirred in a drop of peppermint extract and declared it a holiday favorite. These small tweaks keep the cake exciting, and my family always enjoys finding new ways to savor chocolate.
Personal Reflections on Baking and Chocolate
Chocolate and I have shared a long history. My grandmother baked a chocolate fudge cake when I was ten, and that memory shaped my love of desserts. She joked that chocolate could calm the soul on a cloudy day. I follow that belief now. I have embraced the practice of offering sweet treats to friends or neighbors as a friendly gesture. A single slice can bridge differences and spark conversations.
This pound cake holds a spot on my top five list. It doesn’t demand complicated techniques or fancy equipment, which suits my busy lifestyle. I mix the batter after work, let it bake while I respond to emails, and then enjoy that sweet reward in the evening. I believe a home-cooked dessert stands out at any gathering. A slice of chocolate cake makes people smile, and those little moments matter.
Serving Suggestions for Every Occasion
Friends have asked me for new ideas to serve this cake. I sometimes present slices with a simple dusting of powdered sugar before I glaze. That extra contrast can look appealing in photos. A swirl of whipped cream on top tastes light against the deep cocoa flavor. Some folks place chocolate curls on the glaze, creating an elegant finishing touch. I keep a bag of mini chocolate chips in the pantry for a quick sprinkle on top if I’m short on time. If I invite guests for dinner, a pot of fresh coffee or black tea pairs well with the cake’s richness.
Casual gatherings call for a more playful approach. A drizzle of raspberry sauce or a pile of sliced strawberries next to each slice brings color to the plate. I once served it at a birthday party with tiny sparkler candles on each slice. The combination of flickering light and glossy chocolate put a smile on everyone’s face. My mother recommended topping it with a dollop of lightly sweetened mascarpone cheese. That contrast created a new layer of taste that felt fancy and satisfying.
Chocolate Pound Cake with Chocolate Glaze
This chocolate pound cake combines a dense, buttery crumb with deep cocoa flavor. The cake is rich and moist, perfect on its own or finished with a smooth chocolate glaze. Use a bundt pan for a classic look and let it cool completely before glazing for the cleanest finish.
Ingredients
- FOR THE CHOCOLATE POUND CAKE
- 1 cup (226g) unsalted butter, softened
- 1 ¾ cups (350g) granulated sugar
- 4 large eggs
- 1 teaspoon vanilla extract
- 1 ¾ cups (220g) all-purpose flour
- ½ cup (40g) unsweetened cocoa powder
- 1 teaspoon baking powder
- ½ teaspoon salt
- ½ cup (120ml) whole milk
- ½ cup (120ml) sour cream
- FOR THE CHOCOLATE GLAZE
- ½ cup (120ml) heavy cream
- 4 oz (113g) semi-sweet chocolate, chopped
- 1 tablespoon butter
- 1 teaspoon vanilla extract
Instructions
- PREPARE THE PAN: Preheat the oven to 325°F (163°C). Grease and flour a 10-cup bundt pan or coat it thoroughly with baking spray.
- CREAM THE BUTTER AND SUGAR: In a large mixing bowl, beat the softened butter and granulated sugar together until the mixture is light and fluffy, about 3 to 4 minutes using a hand or stand mixer on medium speed.
- ADD EGGS AND VANILLA: Add the eggs one at a time, mixing well after each addition to fully incorporate. Stir in the vanilla extract.
- COMBINE DRY INGREDIENTS: In a separate bowl, sift together the all-purpose flour, unsweetened cocoa powder, baking powder, and salt.
- MIX WET AND DRY INGREDIENTS: Add half of the dry mixture to the butter mixture and mix on low speed until just combined. Add the milk and sour cream, mixing briefly, then add the remaining dry ingredients. Stir until just combined. Avoid overmixing to maintain a tender crumb.
- BAKE THE CAKE: Pour the batter into the prepared bundt pan and smooth the top. Bake for 55 to 65 minutes, or until a toothpick inserted into the center comes out with a few moist crumbs.
- COOL THE CAKE: Let the cake cool in the pan for 15 minutes. Then carefully turn it out onto a wire rack and let it cool completely before glazing.
- MAKE THE GLAZE: In a small saucepan, heat the heavy cream over medium heat until it just begins to simmer. Remove from heat.
- ADD CHOCOLATE AND BUTTER: Add the chopped semi-sweet chocolate and butter to the hot cream. Let sit for 2 minutes, then stir gently until the mixture is smooth and fully combined.
- FINISH THE GLAZE: Stir in the vanilla extract. Let the glaze cool for several minutes so it thickens slightly, then pour over the cooled cake, allowing it to drip naturally down the sides.
Notes
For best results, bring all ingredients—especially the butter, eggs, milk, and sour cream—to room temperature before starting. Room temperature ingredients mix more evenly and create a smoother batter, which helps the cake rise properly and bake with a tender crumb.
When preparing the bundt pan, be thorough with greasing and flouring or use a baking spray that includes flour. Bundt cakes are more prone to sticking due to their shape, so take extra care to coat all the crevices. Letting the cake cool in the pan for 15 minutes after baking helps it firm up slightly, making it easier to release cleanly.
Use high-quality unsweetened cocoa powder for the richest chocolate flavor. Natural cocoa powder works well in this recipe and balances beautifully with the sugar and butter. If you only have Dutch-processed cocoa on hand, it can be used, but the cake’s rise and texture may vary slightly due to differences in acidity.
Avoid overmixing once you combine the dry ingredients with the wet. Overmixing can lead to a dense or tough cake by developing too much gluten in the flour. Mix just until no dry streaks remain for the best texture.
To check for doneness, insert a toothpick or thin skewer into the center of the cake. It should come out with a few moist crumbs, not wet batter. All ovens bake differently, so begin checking around the 55-minute mark to avoid overbaking.
When making the glaze, allow the cream to just reach a simmer—not a full boil—before removing from heat. Letting the chocolate and butter sit in the hot cream for a couple of minutes before stirring ensures they melt evenly. Stir gently to avoid incorporating air bubbles into the glaze.
Let the glaze cool slightly before pouring so it thickens just enough to coat the cake without running off too quickly. For a cleaner look, place the cooled cake on a wire rack set over parchment paper or a baking sheet before glazing. This catches drips and makes cleanup easier.
Final Thoughts and Shared Joy
I have grown very fond of this recipe because it mixes comfort with simplicity. It reminds me that a dependable dessert can enrich small moments as well as grand celebrations. My hope is that you find the same joy in your kitchen. Baking might test your patience on busy days, but I suggest taking a deep breath and letting the process unfold. I gain a sense of peace when the cake’s aroma reaches every corner of my home.
If you decide to try this chocolate pound cake, I welcome your personal stories. I enjoy reading about flavor twists and presentation choices. Pin this recipe if you keep a virtual board, or share it with a fellow dessert enthusiast. A little bit of chocolate can build friendships, and a simple slice can speak volumes about love and comfort.
I appreciate the opportunity to share this cake with you. My hope is that it rewards you with contentment, whether that arrives in the form of a quiet breakfast or a lively gathering. A warm kitchen and a sweet treat often bring cheer, and I believe this chocolate pound cake can do that with ease. Enjoy each crumb, savor the glaze, and remember that baking is more than a task. It’s a way to create lasting memories—one delicious bite at a time.

I didnot see a recipe. All I saw was ads.
Hi Linda,
Thanks for catching that! The recipe is now attached to the article and you can use it right away 🙂