
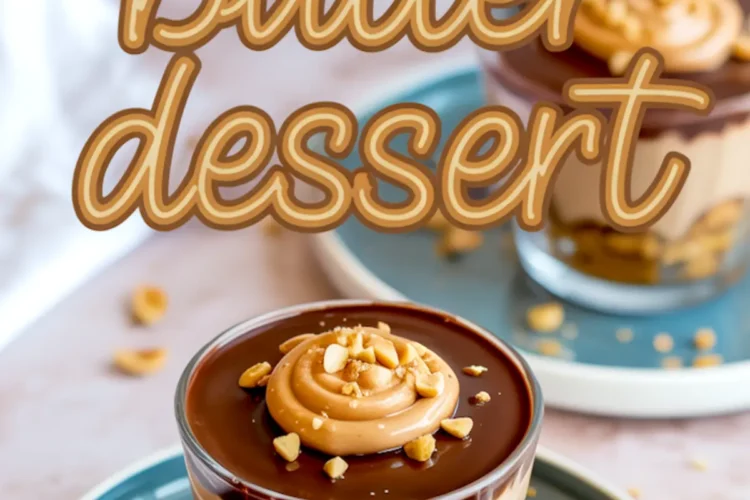
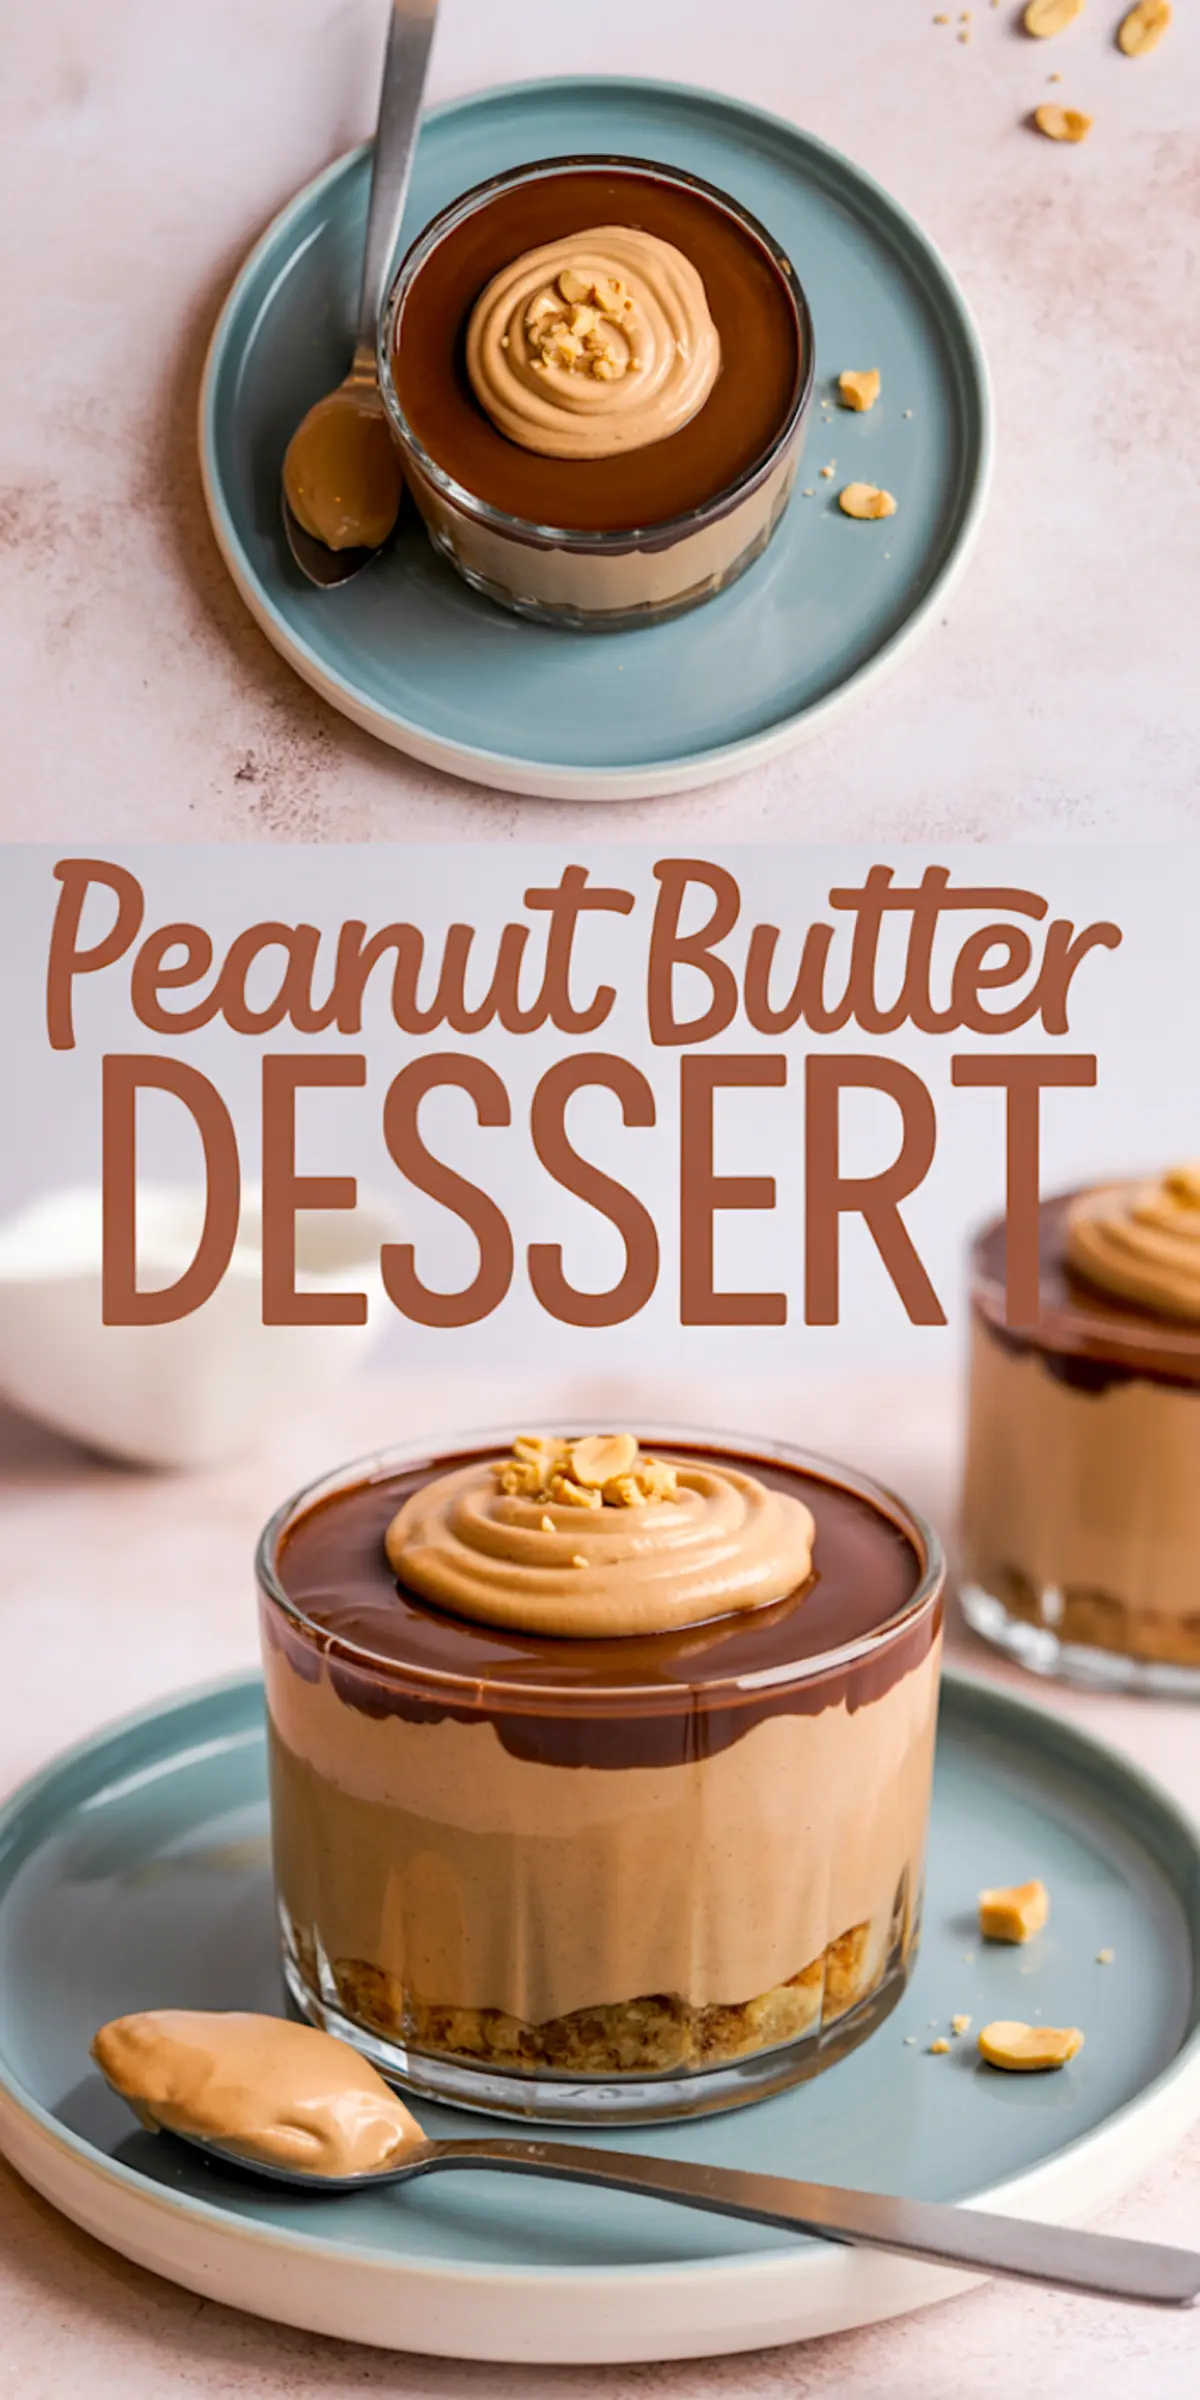
There’s a kind of dessert that doesn’t ask for an oven, only a little patience and a steady hand. These peanut butter mousse cups have lived in the corner of my recipe notebook for years quietly reliable and always appreciated. They’re cool, creamy, and gently sweet, with a dark chocolate topping that settles soft and glossy on top.
If your hands know how to fold and stir, that’s all you’ll need.
The texture rests somewhere between pudding and candy. I like that. It gives just enough structure to hold its shape, but melts easily once you spoon into it. For those keeping a folder of Simple Dessert Recipes, this belongs in it.
Each layer carries its own weight. The buttery crumb base anchors the mousse, giving each bite a bit of grit and salt to balance the cream. You’ll taste the shortbread first, then the peanut butter, and finally the thin chocolate layer, cool from the fridge.
This kind of no-bake dessert comes together quietly. You’ll want to give it space to rest. Don’t rush it.

Why This Peanut Butter Dessert Cup Works
Peanut butter plays well with cream cheese, especially when you keep the ratio soft and generous. I always start with a clean bowl and let both ingredients sit at room temperature while I prepare the crust. This helps everything blend more gently.
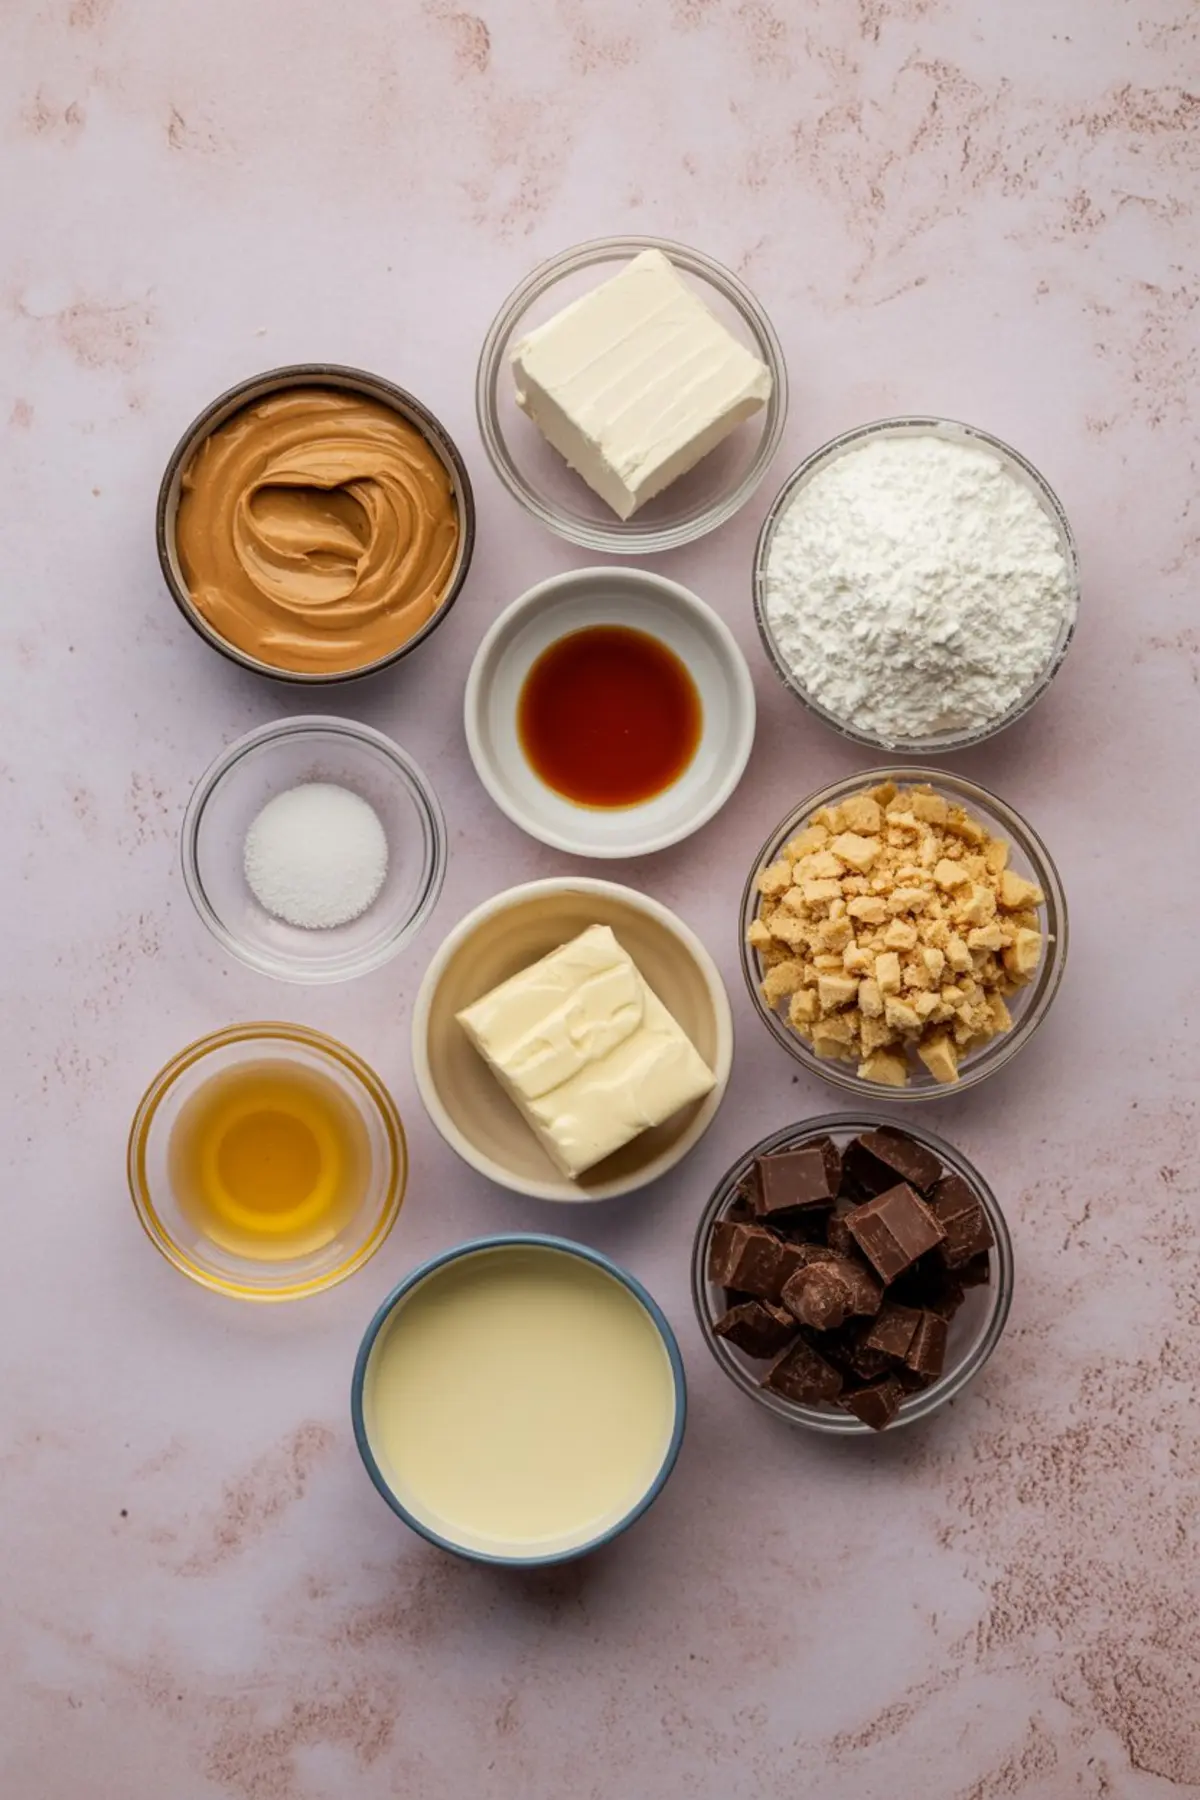
The crust doesn’t need much—just melted butter and crushed cookies. I’ve used graham crackers before, but shortbread holds its shape better under the mousse. The texture stays firm even after a full day in the refrigerator.
If you like making 9×13 desserts, you can double this recipe and layer it in a pan instead of individual cups. But I still reach for the small glasses. It feels quieter that way.
You’ll find more ideas like this in our list of Easy Desserts with Few Ingredients. This one only calls for seven pantry basics.
A Practical Comparison: Natural vs. Processed Peanut Butter
Over the years, I’ve tried this with both natural and shelf-stable peanut butter. My notes always land in the same place. Natural peanut butter brings oil to the surface. It separates. It changes the mousse.

I understand the draw of simpler ingredients, but in this case, processed peanut butter holds better. The texture stays smooth. The mousse doesn’t turn grainy after a few hours. If you’re making this ahead for a gathering or just saving a few cups for later, stick to the classic jar.
If you’re looking for more inspiration using creamy peanut spreads, try this Peanut Butter Cookie Recipe. It’s been bookmarked in my kitchen since Chloe first showed it to me.
How to Build the Layers With Care
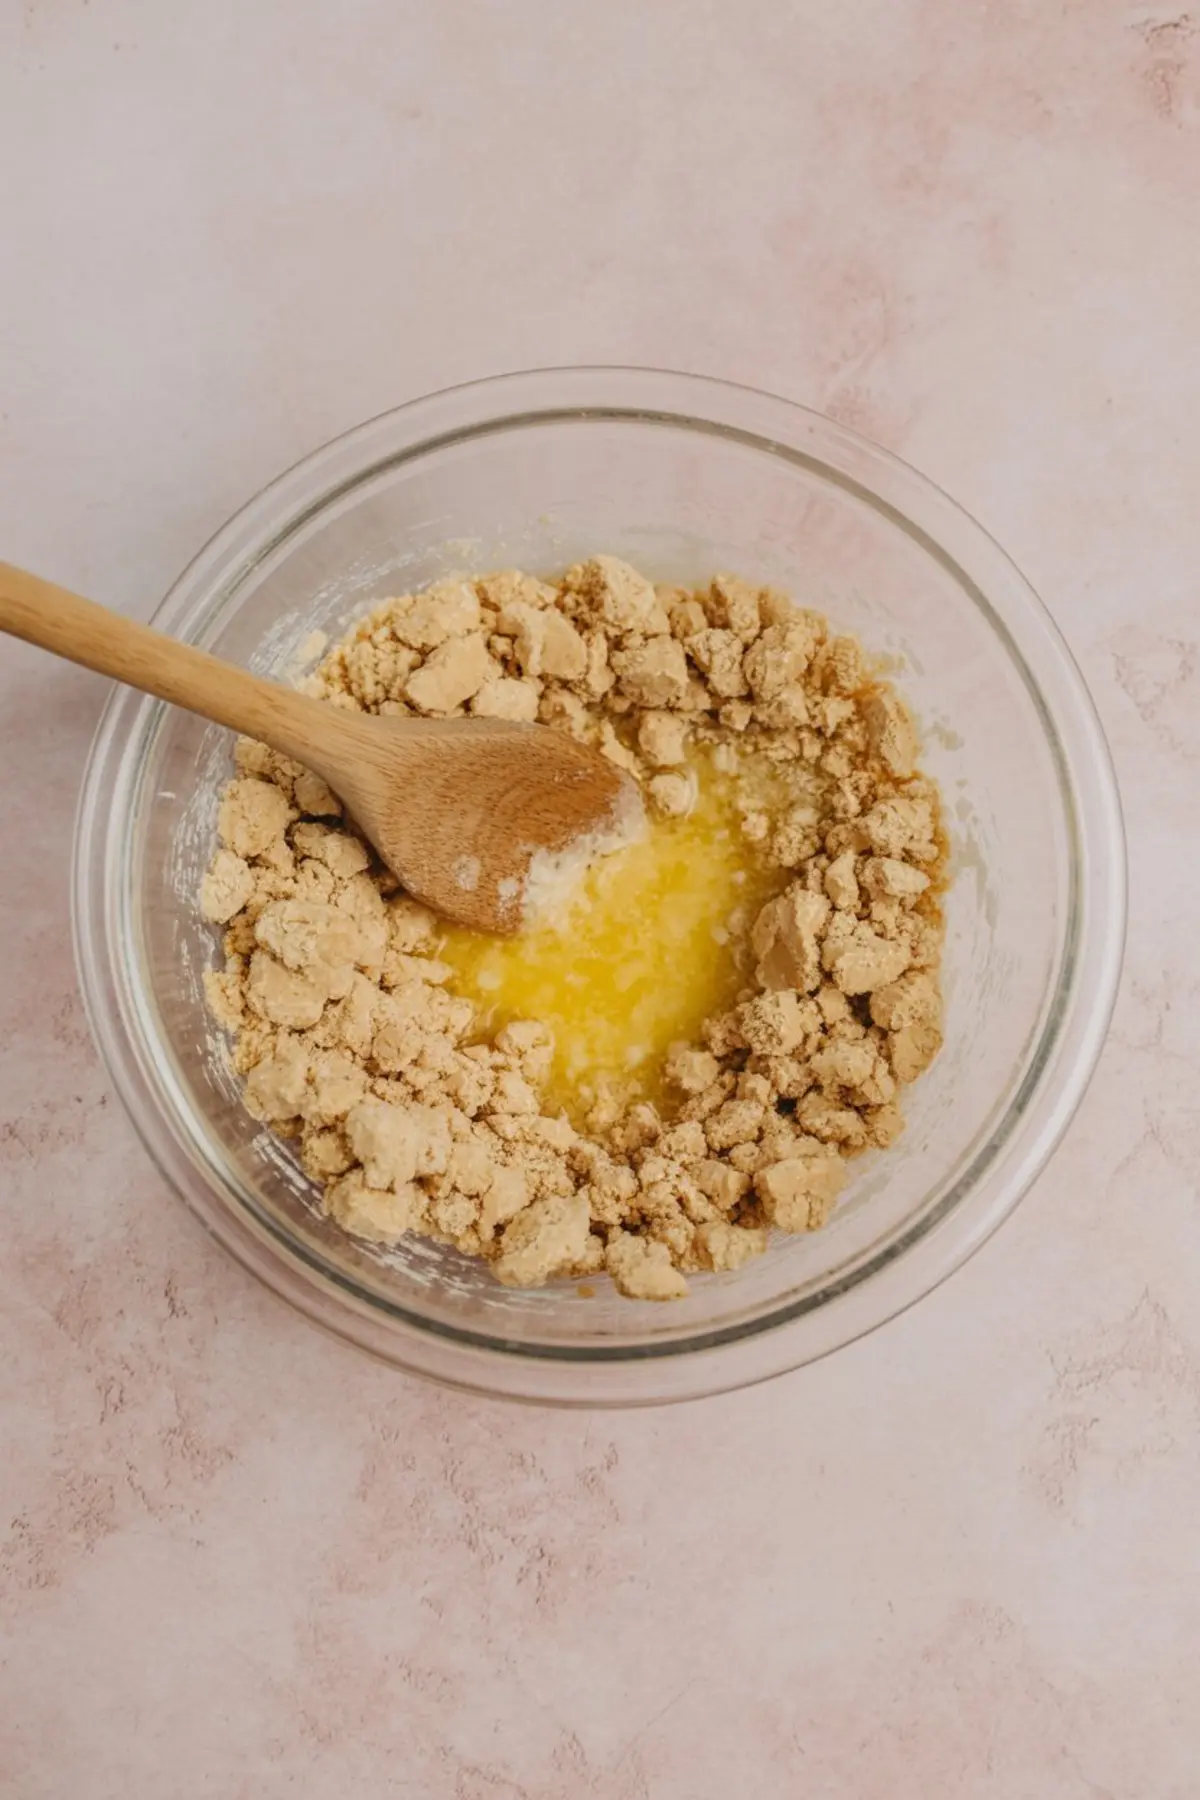
I always begin by pressing the crust gently into the cups. Use the back of a spoon and let the weight of your hand do most of the work. The crumbs should feel damp, like wet sand, but never soggy.
Once you’ve folded the mousse—slowly and without overmixing—spoon it carefully over the crust. I tap each cup lightly on the counter to level the top. This isn’t fussy work. You’re just helping the mousse settle where it wants to go.
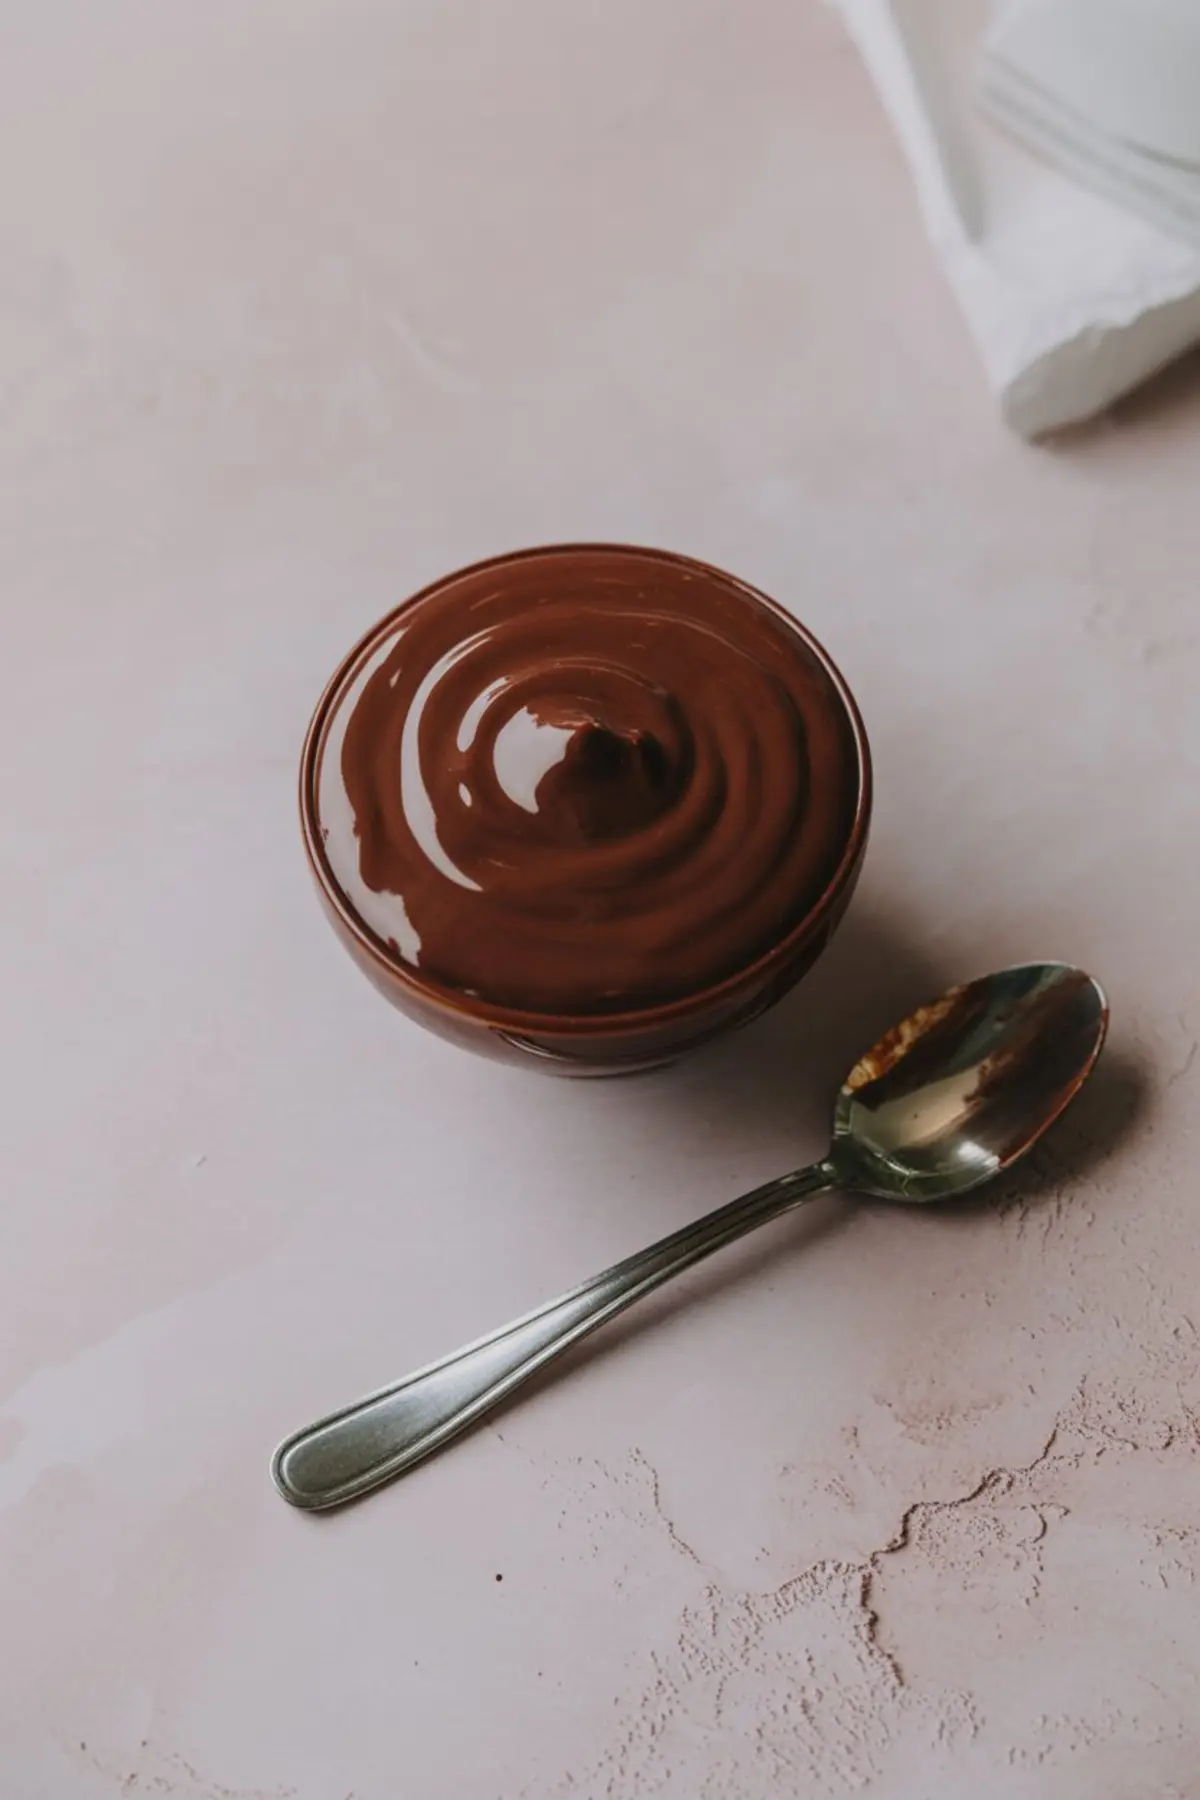
As for the ganache, let it cool a few minutes before adding it. Hot ganache can melt the mousse and sink through it. That happened to me once years ago, and I still have the note in the margin of my card: “Let it cool, Lena. Let it wait.”
You’ll find many gentle, make-ahead ideas like this in our No Bake Desserts collection. Some use ganache, some don’t. But they all wait quietly in the fridge for their moment.
What If the Ganache Spreads Unevenly?
It happens. Sometimes the mousse shifts slightly under the weight. Sometimes the ganache pools at the edge. That’s all right. If it spreads more to one side or forms a little dip, don’t worry.
These cups weren’t made to impress a table full of strangers. They were made for family hands and familiar spoons.
The last time I made these with Chloe, she used a butter knife to nudge the chocolate into place. I didn’t. I let it be. Both were fine.
For more treats that require little effort but always deliver comfort, you might enjoy these Peanut Butter Treats. There’s something reassuring about the simplicity of peanut butter and sugar.
Optional Topping, Optional Moment
I’ve written down a whipped topping for those who like a little flourish. Just peanut butter, cream, and powdered sugar mixed until soft enough to pipe. Sometimes I add a sprinkle of crushed peanuts on top. Other times I leave them bare.
The topping isn’t necessary, but it does bring a little softness to the chocolate layer. If you have time, give it a try.
Chloe once added a few pinches of sea salt on top. I wouldn’t have thought to do that. It worked better than I expected.
Storage Notes and Quiet Advice
These mousse cups store well for three days in the fridge. I cover each one loosely with a small square of parchment. Plastic wrap can press too tightly on the ganache and leave a mark.
If you have extra mousse, tuck it into a smaller dish and eat it chilled with a spoon. No one minds an extra portion.
More than once, I’ve handed these out in old jam jars at church picnics or holiday potlucks. Folks always return the jars with a smile.
For anyone looking for reliable, no-bake peanut butter snacks, this mousse cup belongs near the top.
Save and Share the Tradition
If this Peanut Butter Bars Recipe reminds you of something your grandmother made, or if you’re just now adding it to your recipe box, I’d love to hear. Leave a comment below or share how you made it your own. I still keep notes on everything.
And if you’d like to return to it later, save this to your Pinterest board. That way it’s always nearby when you want something calm and cool and made by hand.
Peanut Butter Dessert
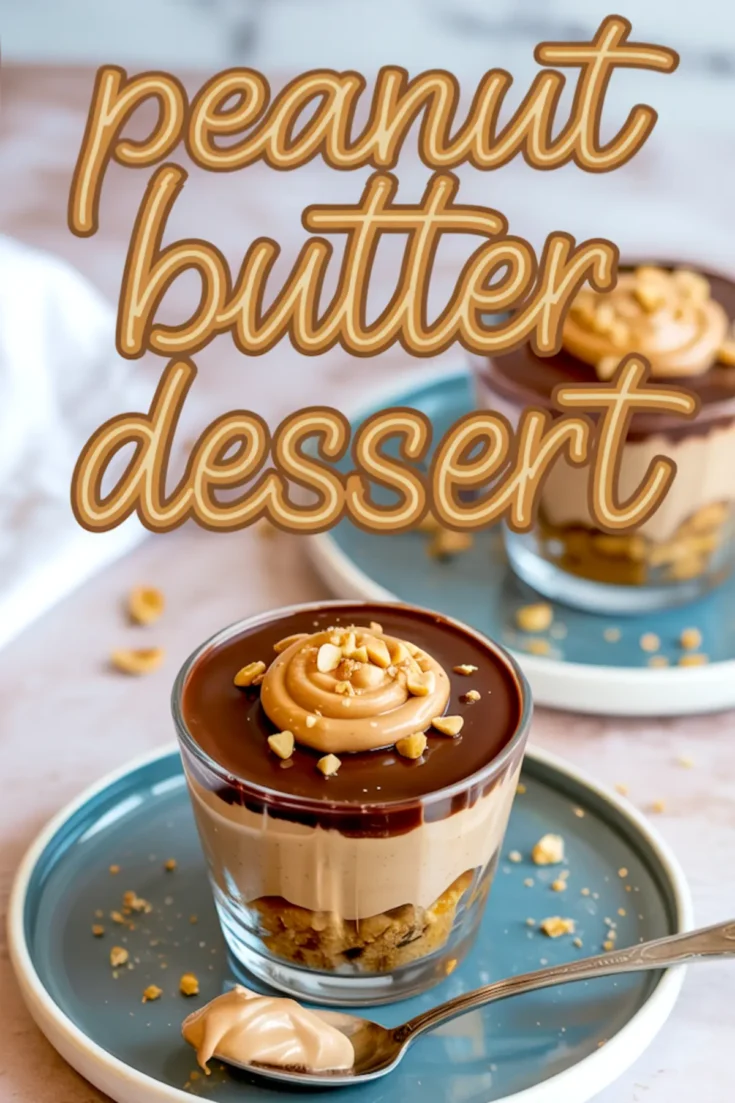
A creamy peanut butter mousse sits atop a buttery cookie crumb crust, finished with a smooth dark chocolate ganache. These individual dessert cups require no baking and are easy to assemble. Each layer adds texture and balance—from the salty-sweet cookie base to the rich topping. Serve chilled for the best texture and flavor.
Ingredients
- FOR THE CRUST
- 1 ½ cups crushed shortbread cookies
- 4 tablespoons unsalted butter, melted
- FOR THE PEANUT BUTTER MOUSSE
- ¾ cup creamy peanut butter
- 4 ounces cream cheese, softened
- ½ cup powdered sugar
- ¾ cup heavy cream, whipped
- FOR THE CHOCOLATE GANACHE
- 4 ounces dark chocolate, chopped
- ½ cup heavy cream
- FOR OPTIONAL TOPPING
- 2 tablespoons creamy peanut butter
- 2 tablespoons powdered sugar
- 1 to 2 tablespoons heavy cream
- 1 tablespoon crushed peanuts
Notes
For a firmer mousse, chill for an extra hour before serving. Avoid using natural peanut butter, as the oil separation can affect the mousse texture. Store the assembled dessert cups in the refrigerator for up to 3 days.
Nutrition Information:
Yield:
6Serving Size:
1Amount Per Serving: Calories: 1050Total Fat: 80gSaturated Fat: 36gTrans Fat: 1gUnsaturated Fat: 36gCholesterol: 114mgSodium: 495mgCarbohydrates: 73gFiber: 5gSugar: 39gProtein: 17g
