
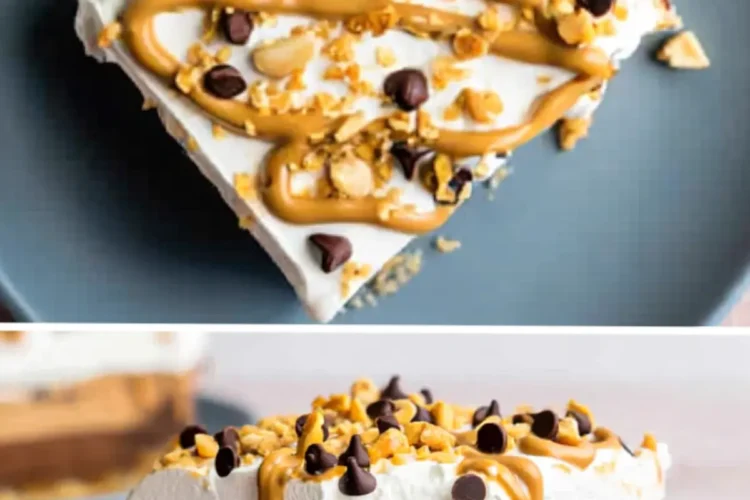
There’s a reason I reach for this recipe on quiet weekends and birthdays alike. It doesn’t need baking. It doesn’t need decorating. It just needs patience and a steady hand. This Peanut Butter Lasagna sits in my old blue notebook, nestled between a peanut butter sheet cake and a pudding pie I haven’t made since the late ’90s.
If you’re looking for dessert recipes that bring ease without rushing flavor, this one might be a good place to start. You’ll find it under many names—Nutter Butter Dessert, peanut butter pudding lasagna, no bake lasagna—but I always call it what it is: soft, cold, creamy layers that hold together just enough to slice.
It’s the kind of dessert that gets passed down not because it’s flashy, but because it works.
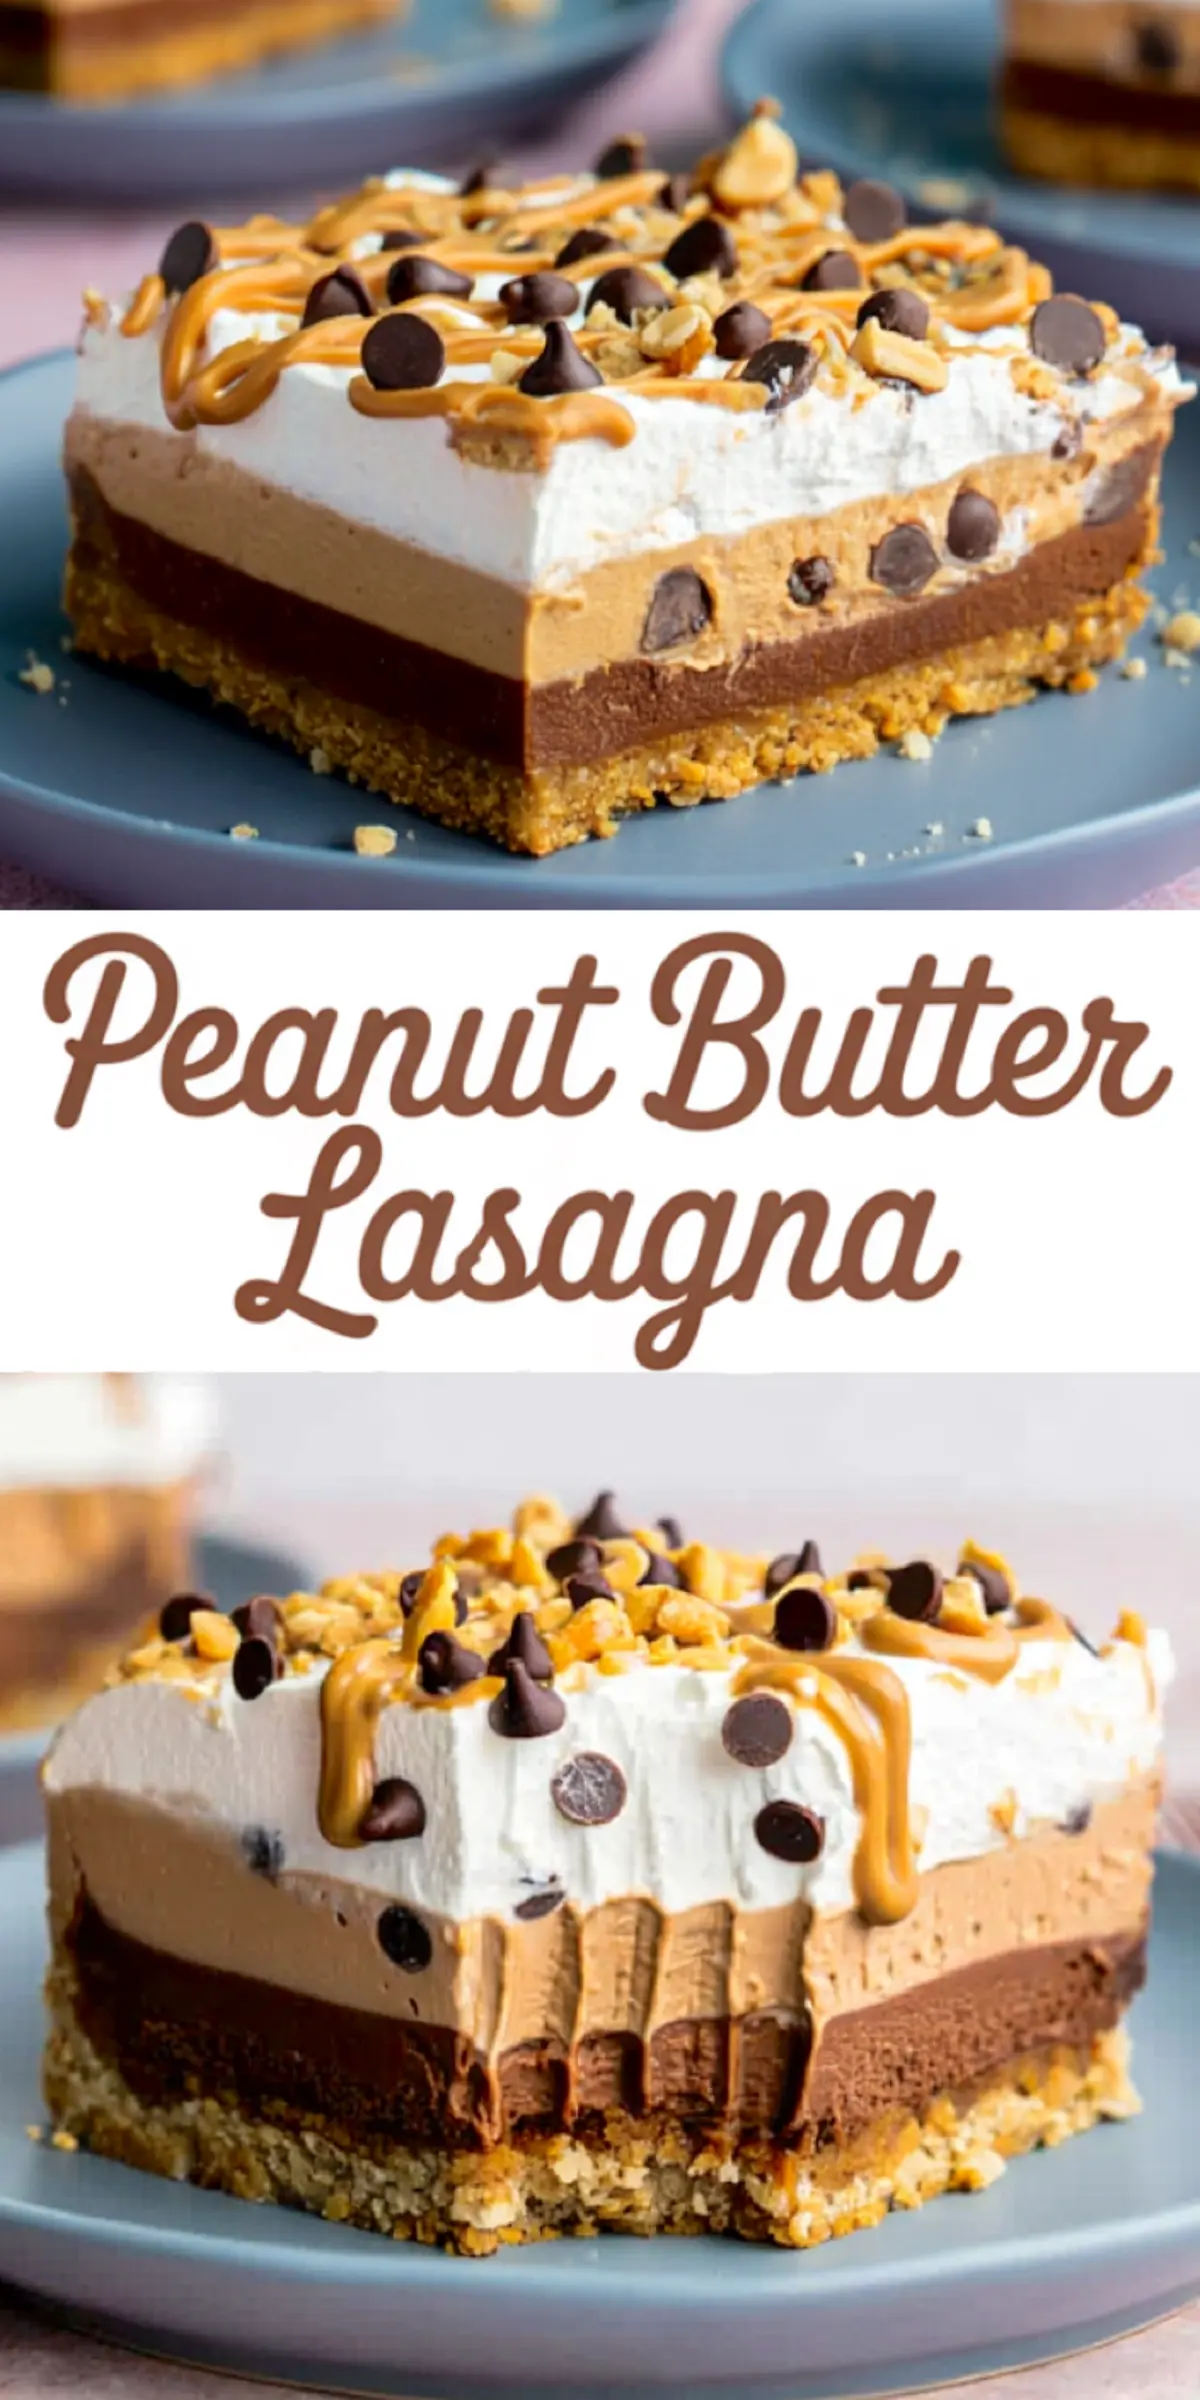
A Nutter Butter Base That Holds
The crust is simple. Nutter Butter cookies crushed and stirred with melted butter. That’s all. Some like to pulse them in a food processor. I still use a zip bag and my old wooden rolling pin. I like the crumbs uneven, though the younger ones say smooth holds together better.
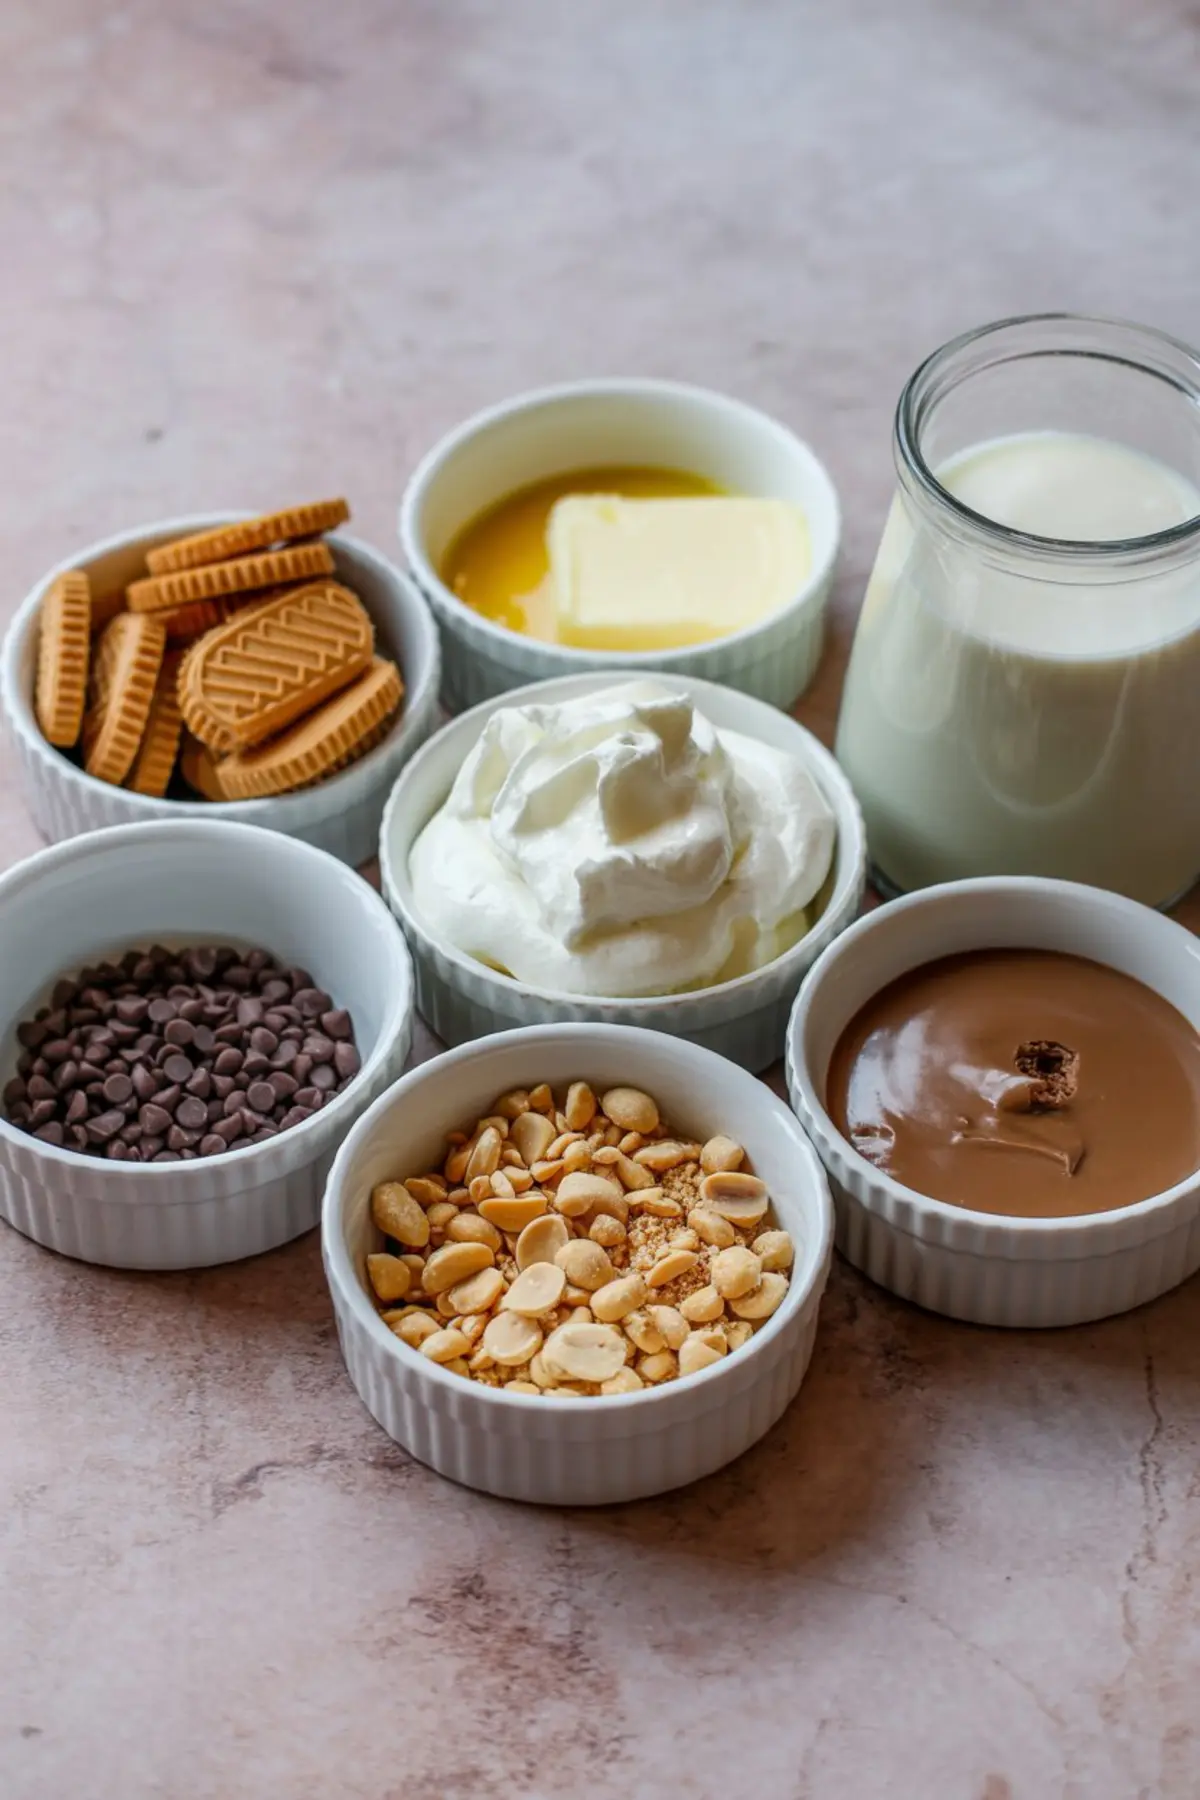
Once the crumbs and butter come together, I press them into a 9×13 dish and let the refrigerator do the rest. It sets while I make the layers, and by the time everything stacks, it’s firm enough to support them.
If you’re curious about the difference between Nutter Butter cookies and homemade peanut butter cookies, I’ve tried both. The homemade ones crumble softer and taste warmer, but they don’t give that same firm crust. For this dessert, the packaged ones give a clean base without much fuss. I’ve written that in my notes, just under the ingredient list.
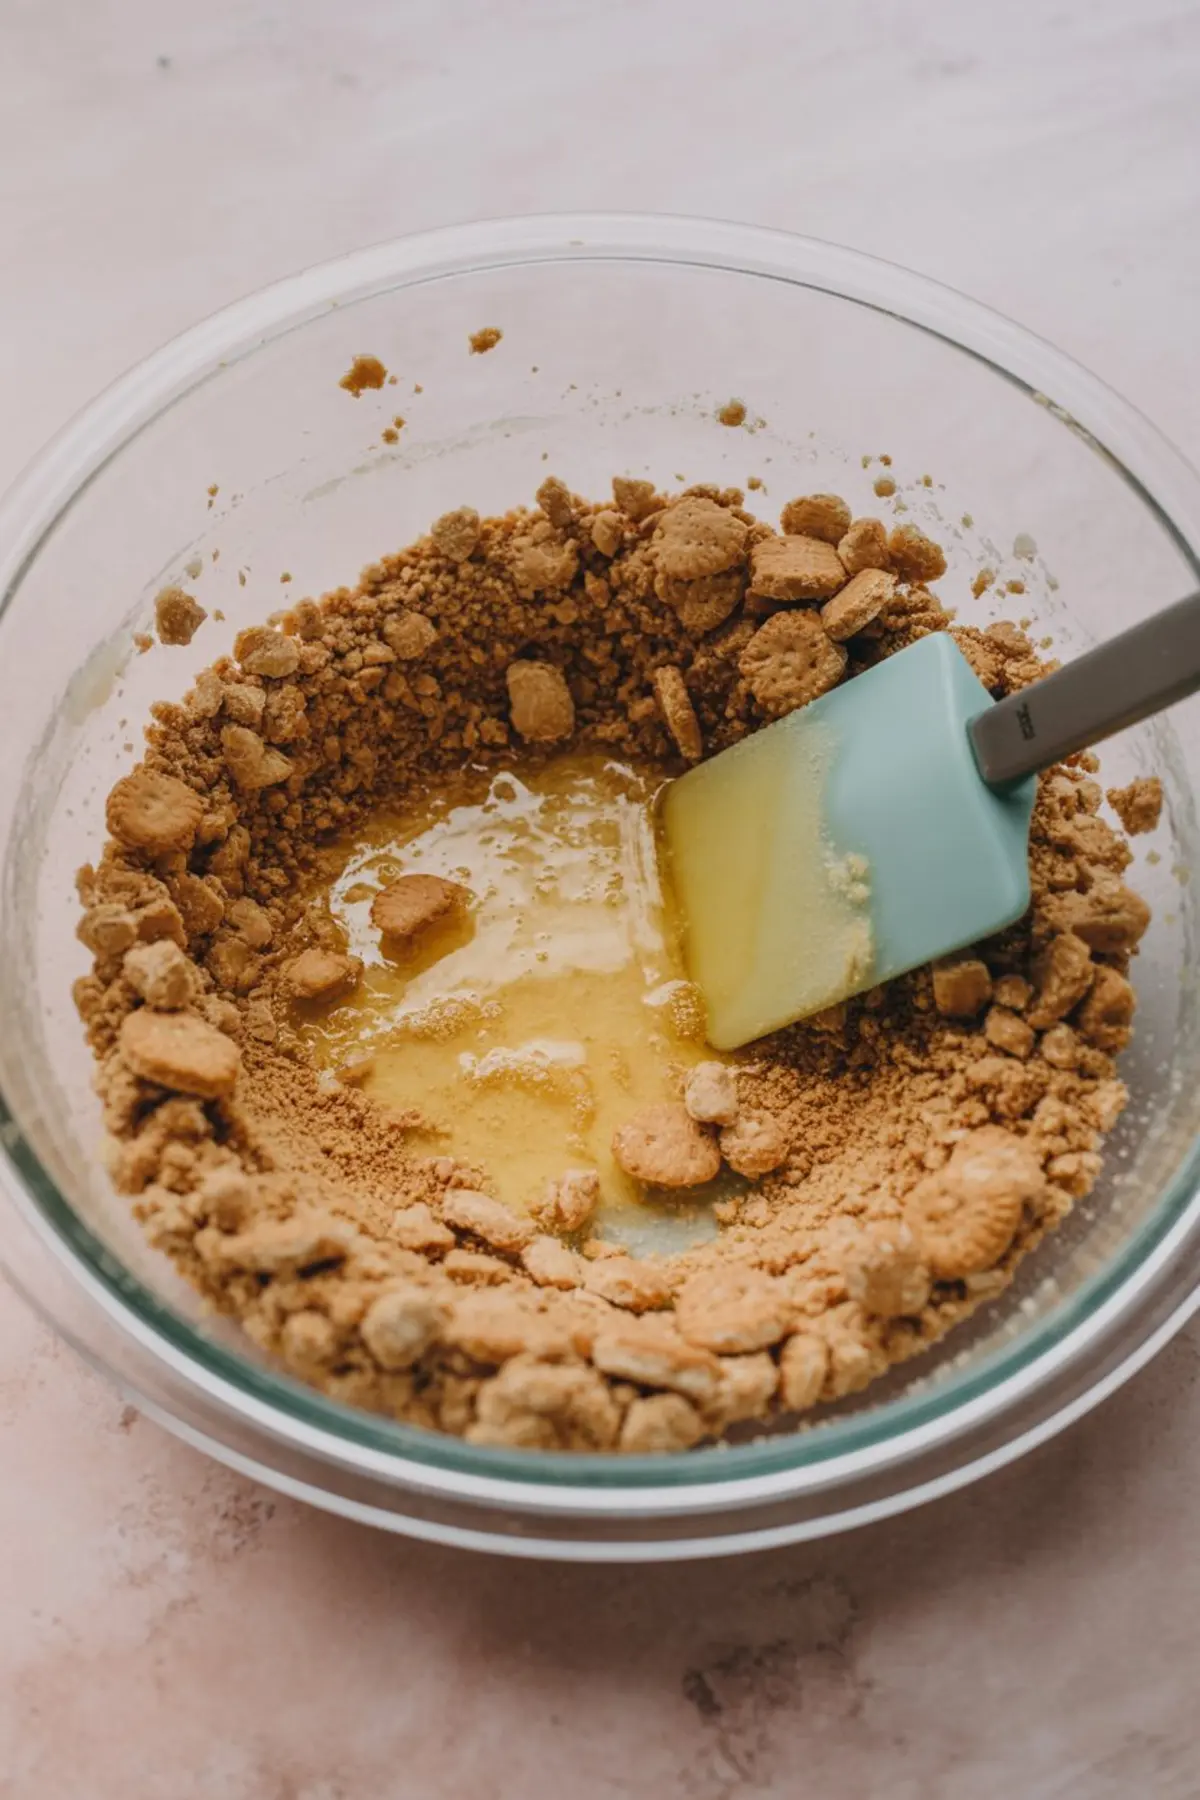
You can always try making your own peanut butter too. It changes the flavor—makes it nuttier, more rounded. Store-bought will still work, but if you’re in the mood to try, you might enjoy the texture difference.
Chocolate Layer First, Always
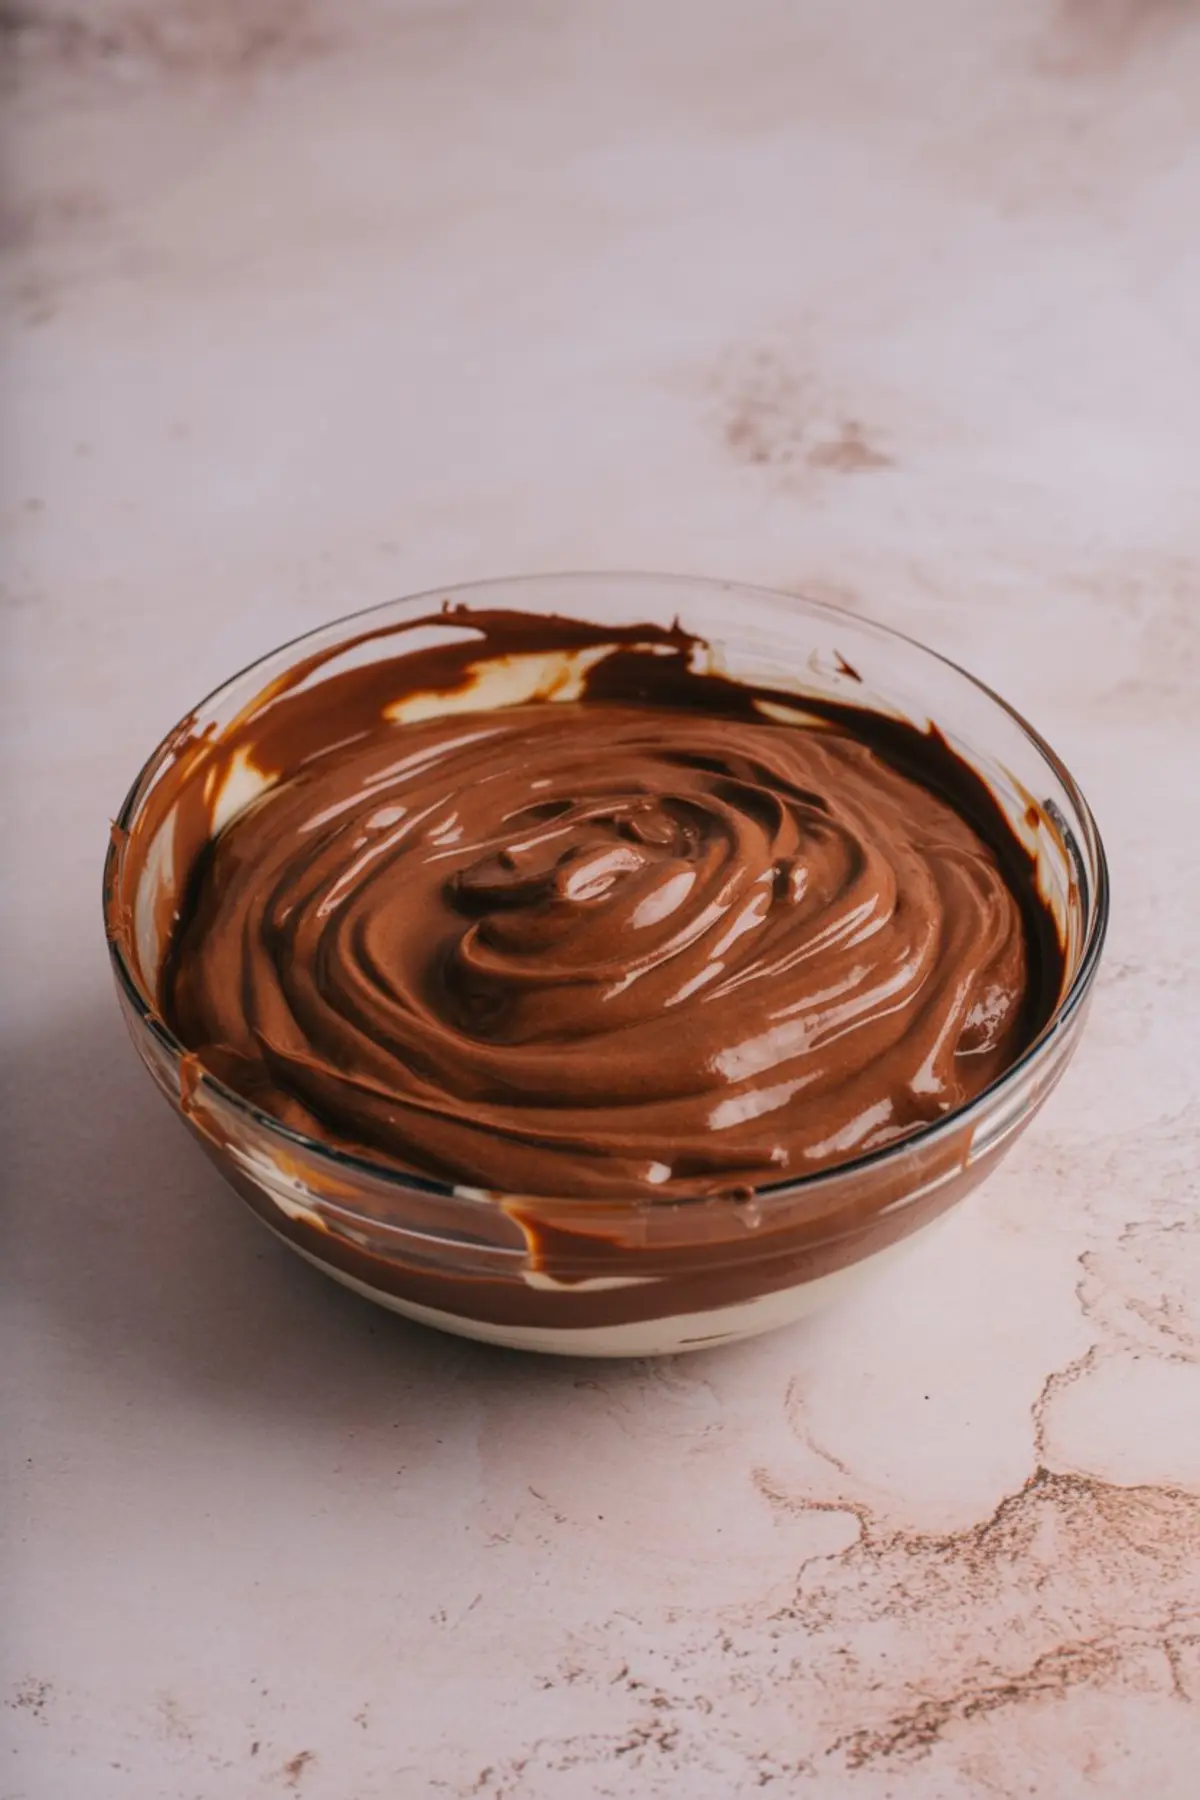
I start the layering with chocolate. It sets up quicker and gives the peanut butter layer something to sit on. Instant chocolate pudding works best here. I mix it with cold whole milk and let it thicken while I beat the softened cream cheese and powdered sugar in a separate bowl.
Then I fold the two together, slowly. I don’t rush this step. The smoother you get the mixture, the neater your layers will be. If it looks slightly marbled, don’t worry. It will taste fine, and the top layers will cover it.
I always tell Chloe—if the chocolate smudges the pan while spreading, just leave it. The whipped layer hides more than you think.
Cream Cheese and Peanut Butter Make the Heart of This Dish
The peanut butter layer feels different beneath your spatula. It’s softer than the chocolate but more stable once it chills. I use full-fat cream cheese, room temperature, and beat it with peanut butter and powdered sugar until there are no streaks left.
Then I fold in the whipped topping gently. I once wrote “don’t stir like you’re angry” in the margin of this recipe card. Folding keeps the air in, and you’ll see it puff slightly as you spread it.
This peanut butter layer is the same one I use in my Peanut Butter Rice Krispie Treats, though here it softens more in the cold. Let it chill thoroughly before slicing or it won’t hold its shape.
A Fluffy Top That Welcomes the Final Touches
Once the peanut butter cream is smoothed in, I add another layer of whipped topping. I try to cover every edge so the peanut butter doesn’t peek through. Then, while it’s still cold, I warm a spoonful of peanut butter in the microwave and drizzle it across the surface.
Some days I stop there. Other days, especially if company’s coming, I add mini chocolate chips and chopped salted peanuts. The sweet-salty balance does something good after a heavier meal.
This top layer reminds me of frosting a cold cake. You have to be gentle. Spread, don’t press. And if the whipped topping dips into the peanut butter layer, just smooth it once and let it be. I always remind myself—if it swirls or cracks, don’t worry.
Chill Before You Slice
This dessert needs time to set. At least four hours, but overnight is better. I cover it with foil and let the refrigerator firm each layer. When it’s time to serve, I use a thin knife dipped in warm water to cut clean slices.
Wipe the knife between cuts. It helps the layers stay defined. Chloe once served this at her book club and told me she forgot that step. The slices still disappeared. That’s how you know a recipe is worth keeping.
If you’re in the mood for something baked instead, I’d steer you to these easy peanut butter cookies. They take less chilling, more warmth. But this no-bake peanut butter lasagna gives you something else: a cool slice, soft layers, and a calm afternoon.

From My Kitchen to Yours
I’ve made this recipe more times than I can count. It stores well for days, travels neatly in its pan, and settles nicely after dinner. You won’t need many tools. Just a few bowls, a spoon, and enough time to let the cold do its work.
If you try it, I hope you’ll let me know. I’d love to hear if you use a different cookie, or if you add your own twist. Chloe says comments help others feel at home, and she’s right. She always had an eye for connection, even in my class years ago.
You can leave a note below, or save the recipe on Pinterest for the next time you need something sweet and steady.
Peanut Butter Lasagna
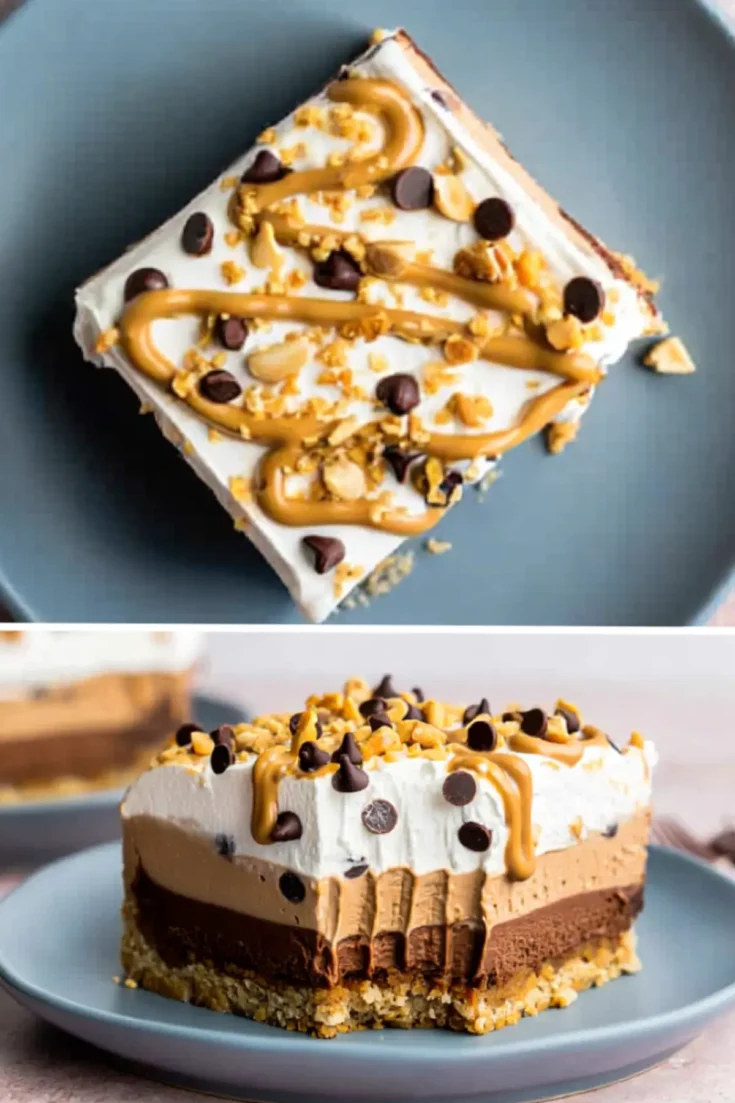
Creamy layered dessert with a cookie crust, chocolate filling, whipped peanut butter cream, and a fluffy topping
Ingredients
- FOR THE CRUST
- 24 peanut butter sandwich cookies (such as Nutter Butters), finely crushed
- 6 tablespoons unsalted butter, melted
- FOR THE CHOCOLATE LAYER
- 1 (3.9 oz) box instant chocolate pudding mix
- 1½ cups cold whole milk
- 8 oz cream cheese, softened
- ½ cup powdered sugar
- FOR THE PEANUT BUTTER LAYER
- 8 oz cream cheese, softened
- ¾ cup creamy peanut butter
- ½ cup powdered sugar
- 8 oz whipped topping (such as Cool Whip), thawed
- FOR THE TOPPING
- 8 oz whipped topping (such as Cool Whip), thawed
- ¼ cup creamy peanut butter
- ⅓ cup mini chocolate chips
- 2 tablespoons chopped salted peanuts (optional)
Notes
Use full-fat cream cheese for best texture. Whipped topping should be thawed in the refrigerator before using. Dessert stores well in the refrigerator for up to 4 days or can be frozen for longer storage.
Nutrition Information:
Yield:
15Serving Size:
1Amount Per Serving: Calories: 530Total Fat: 39gSaturated Fat: 20gTrans Fat: 0gUnsaturated Fat: 15gCholesterol: 46mgSodium: 296mgCarbohydrates: 39gFiber: 2gSugar: 26gProtein: 10g
