

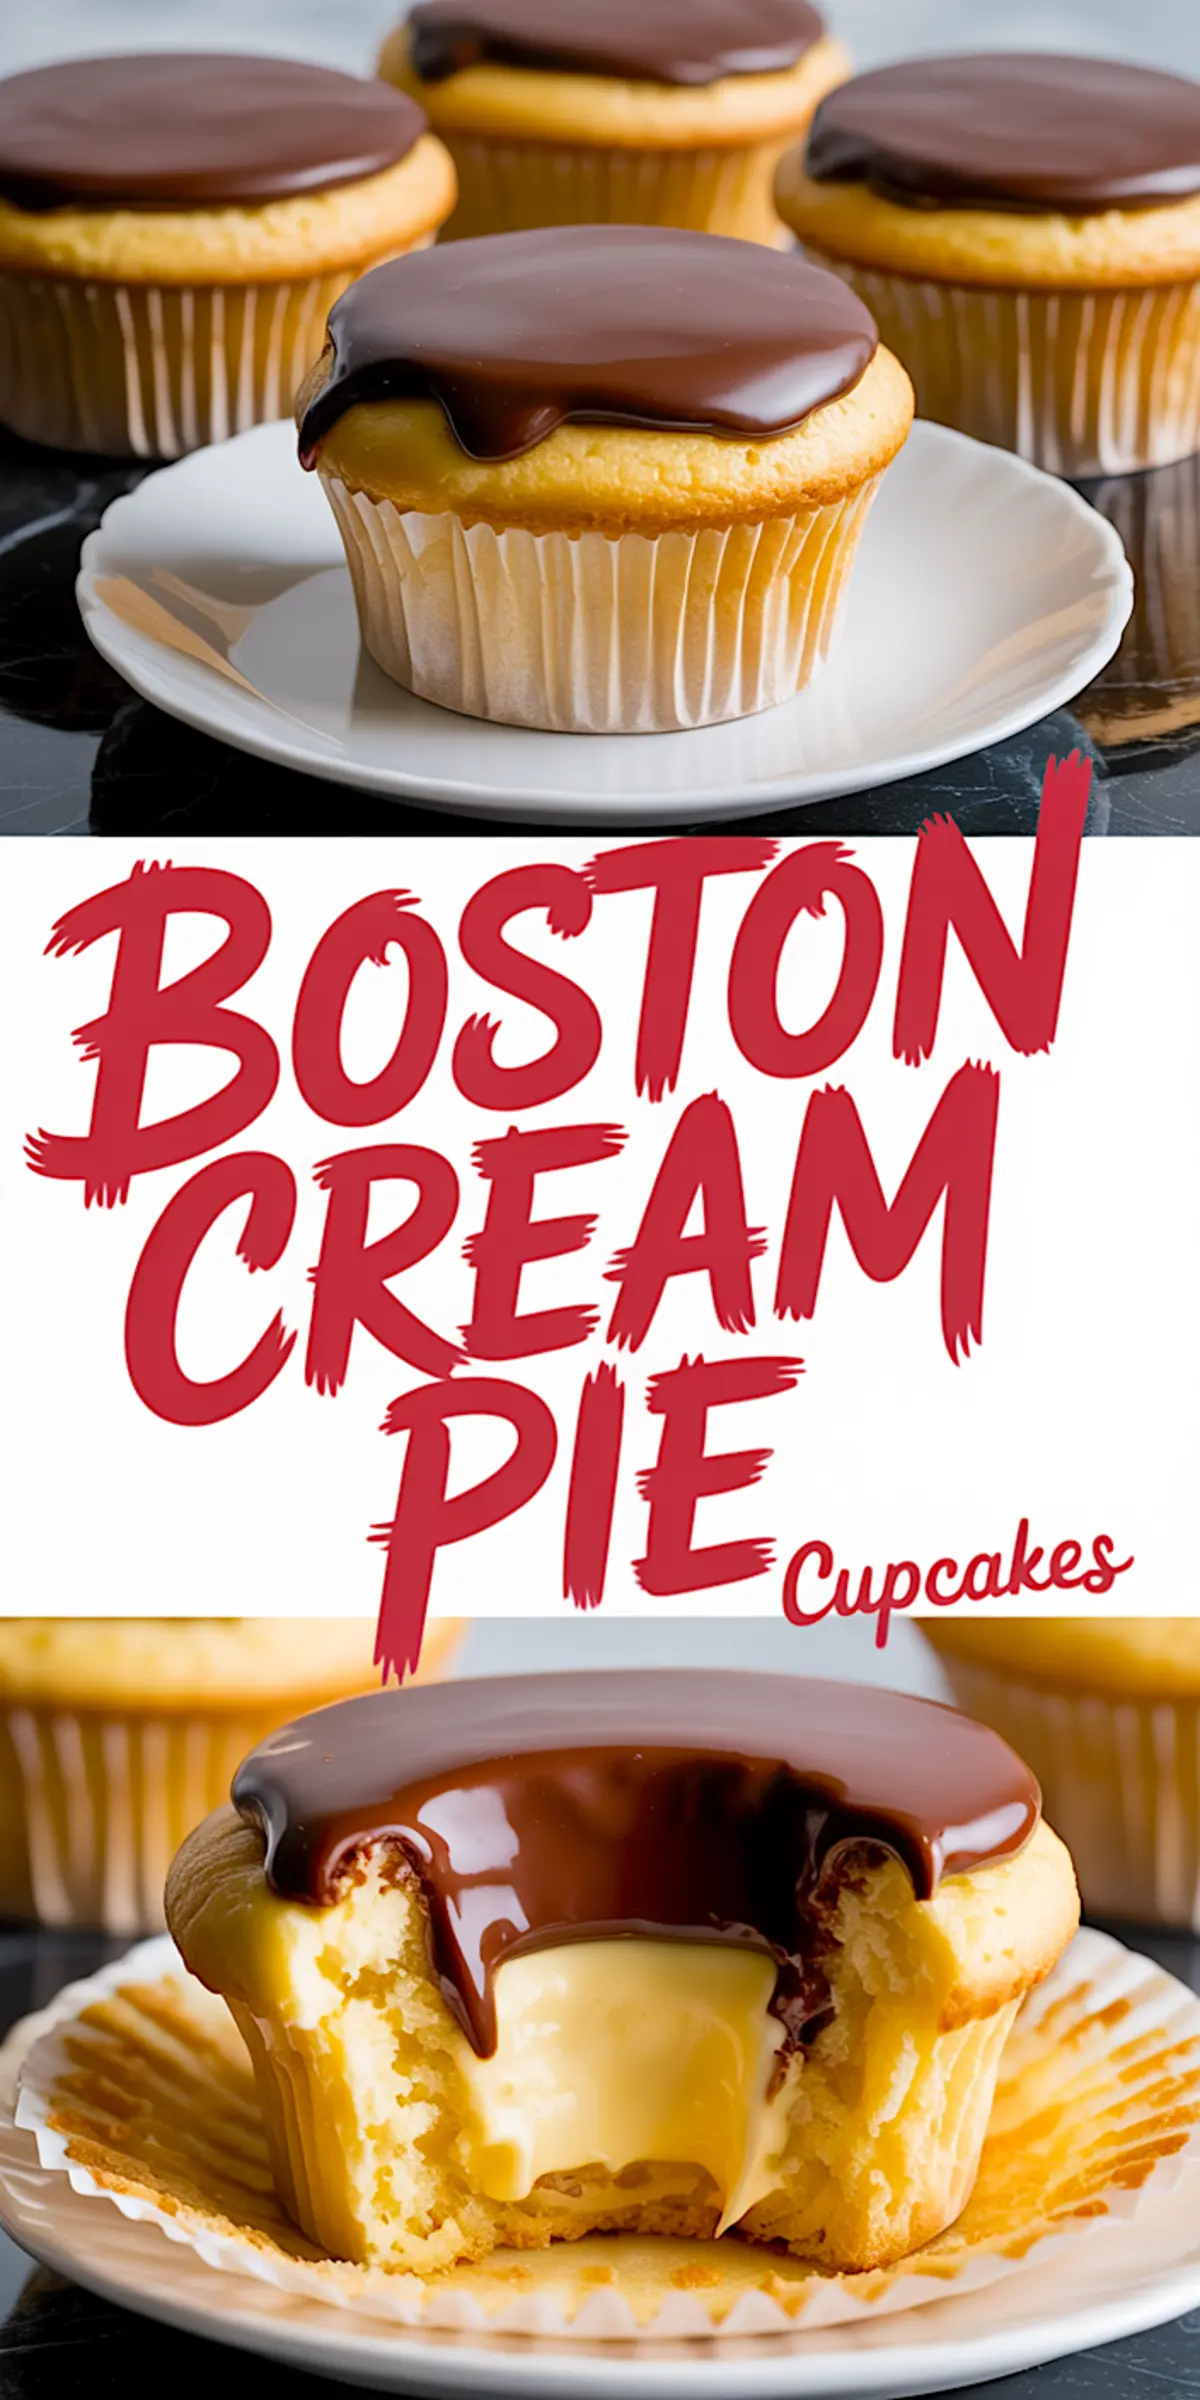
Boston Cream Pie Cupcakes have a way of speaking to people who love a layered experience. There’s something quietly impressive about biting into a soft sponge only to find a cool, silky filling tucked inside, then finishing with that glossy chocolate cap. It’s a dessert that doesn’t shout but lingers.
In this article, you’ll learn how to make a Boston Cream Pie Cupcakes that holds its structure, carries the right ratio of sponge to cream, and actually tastes like the original pie just in cupcake form. We’ll also look at a small but powerful choice in ingredients that changes everything. These aren’t just cupcakes with pudding and chocolate on top. They follow the original formula, with each part made from scratch.
And there’s one more thing. There’s a tiny ingredient in the ganache that helps the topping stay shiny and luscious without cracking. I’ll tell you about it after we walk through the recipe. You’ll probably guess it before then, but let’s see.
Start with the Cupcake Base: Classic Vanilla Sponge, Reimagined
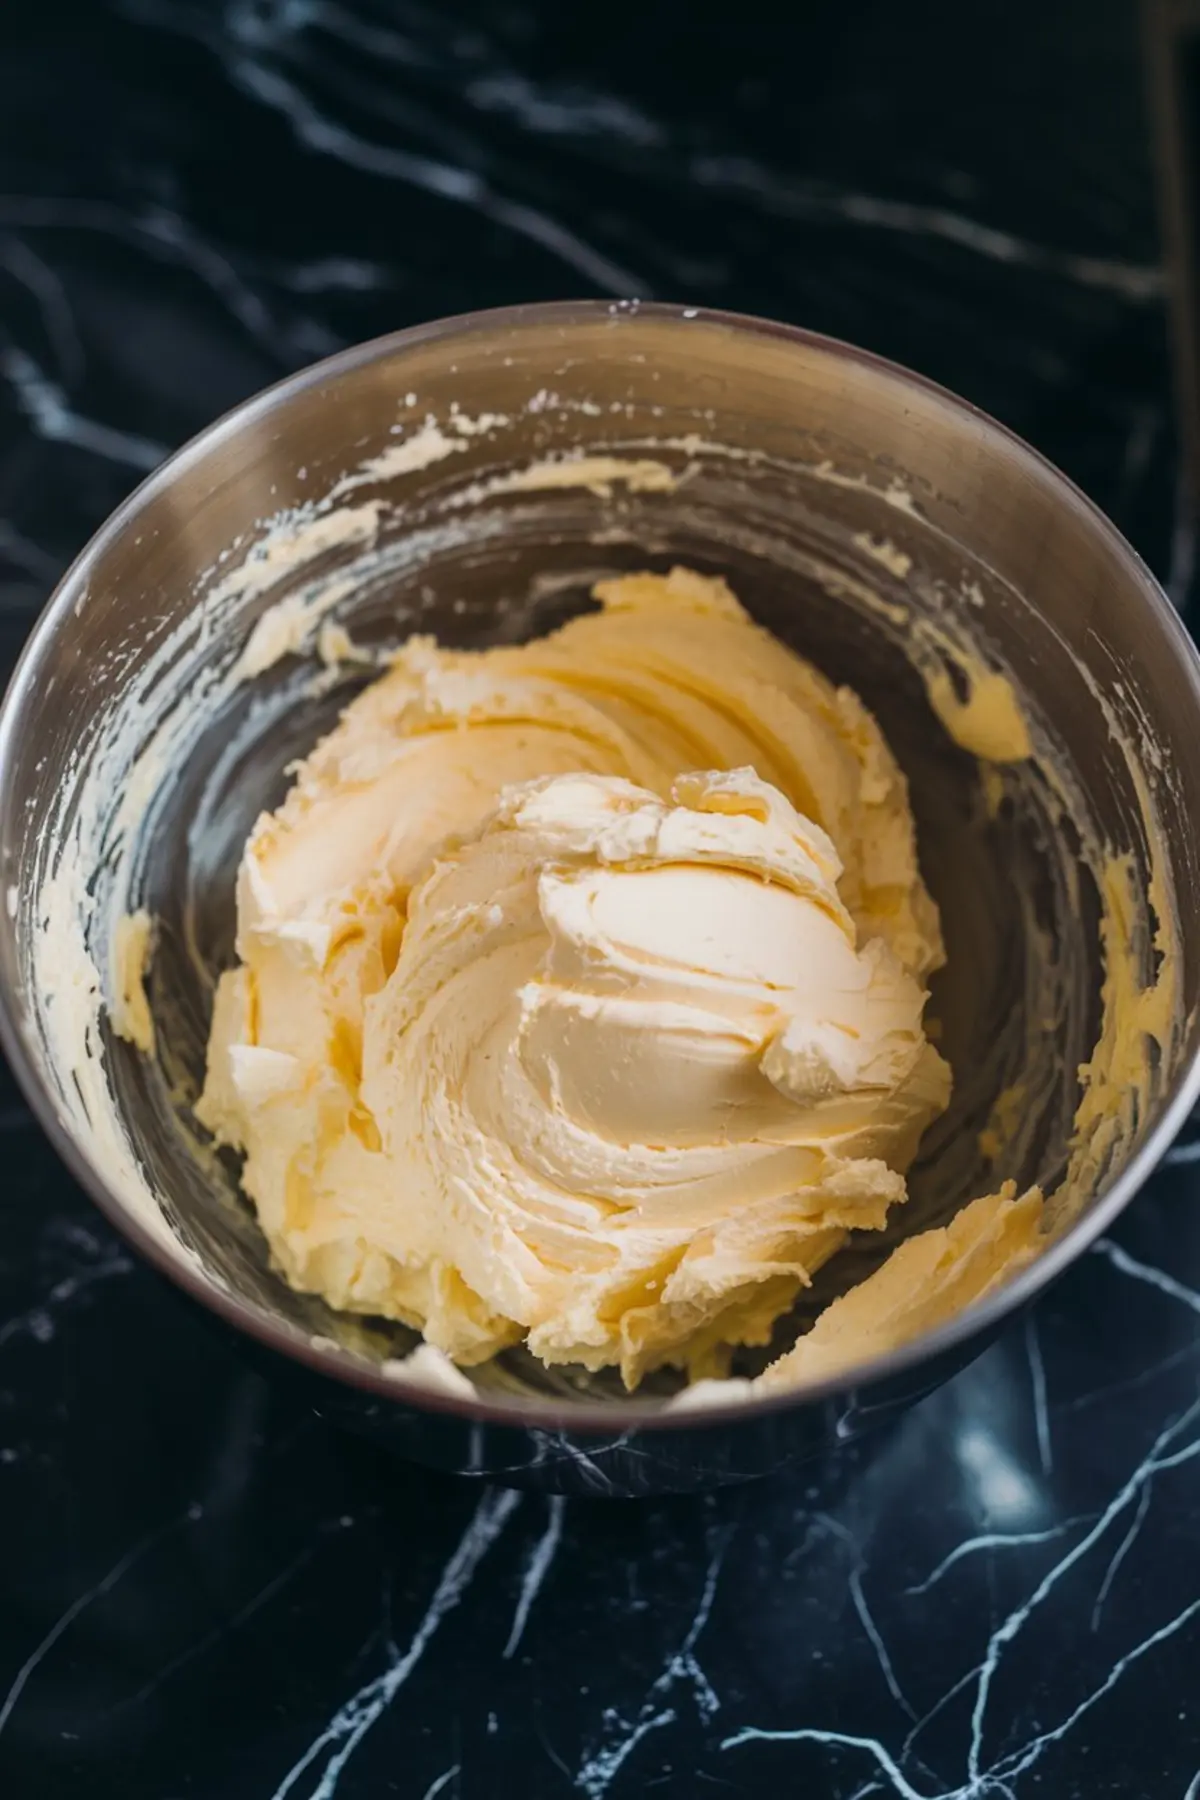
This sponge leans light, not dry. That texture comes from creaming the butter and sugar properly and keeping the eggs at room temperature. You’ll mix them one by one into the fluffy base, followed by vanilla for depth and a bit of milk to loosen the batter without thinning the flavor.
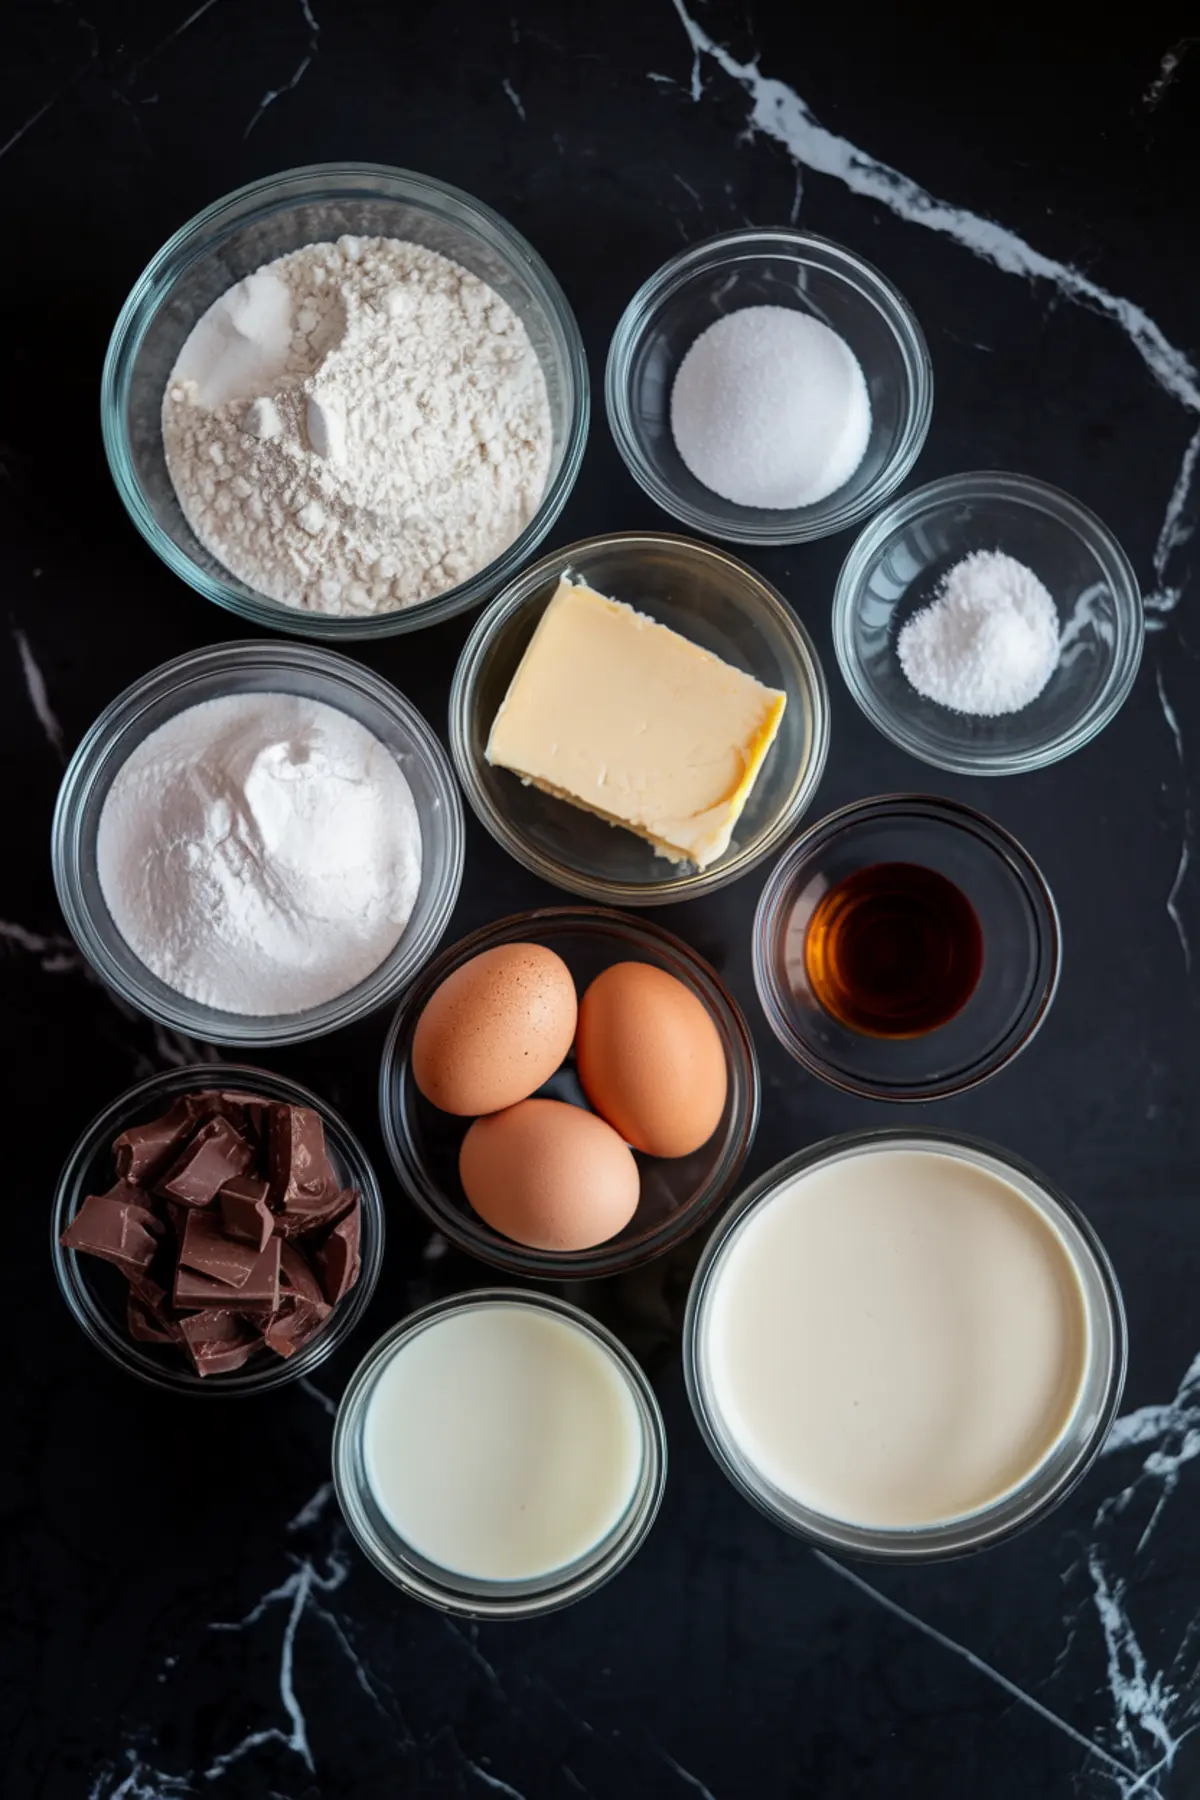
In my notes, I’ve tried using cake flour for these. It works if you want a slightly finer crumb, but I always return to all-purpose. It holds up better once filled, especially after chilling. The pastry cream needs that support or it sinks into the sponge.
The flour, baking powder, and salt should be whisked separately before folding in. This avoids pockets of uneven rise, which you don’t want in a cupcake with filling. You’ll add the dry mixture in thirds, alternating with milk, starting and ending with flour. This step matters more than it seems—cupcakes that are overmixed at this stage turn tough.
If you’re already thinking about how this batter compares to a chocolate base, you’ll find my Easy Chocolate Cupcakesguide helpful for that variation.
Pastry Cream Filling: The True Centerpiece
This filling isn’t custard from a box. It’s a proper pastry cream with structure, cooked gently on the stovetop until it thickens into a spoonable, pipeable cream. Milk, sugar, cornstarch, and yolks form the base. Vanilla and butter come in at the end once the heat is off.
Whisk the yolks with sugar and cornstarch until they’re lightened and smooth. Then temper slowly with warm milk—no shortcuts here, or the yolks will scramble. Return to heat and whisk until the mixture bubbles thickly.
Once it’s off the stove, stir in the butter and vanilla. Then transfer to a shallow dish, cover with plastic wrap touching the surface, and chill until cold and set. I chill it for a full hour, sometimes longer if I make it ahead. The longer rest improves texture.
This filling also appears in my Banana Cupcakes recipe, but there I fold in whipped cream for a lighter finish. For Boston Cream, I leave it firm and dense to hold inside the cake.
Baking the Cupcakes: Keep the Rise Gentle
Preheat the oven fully before filling the liners. I use a standard 12-cup muffin pan and fill each liner about two-thirds full.
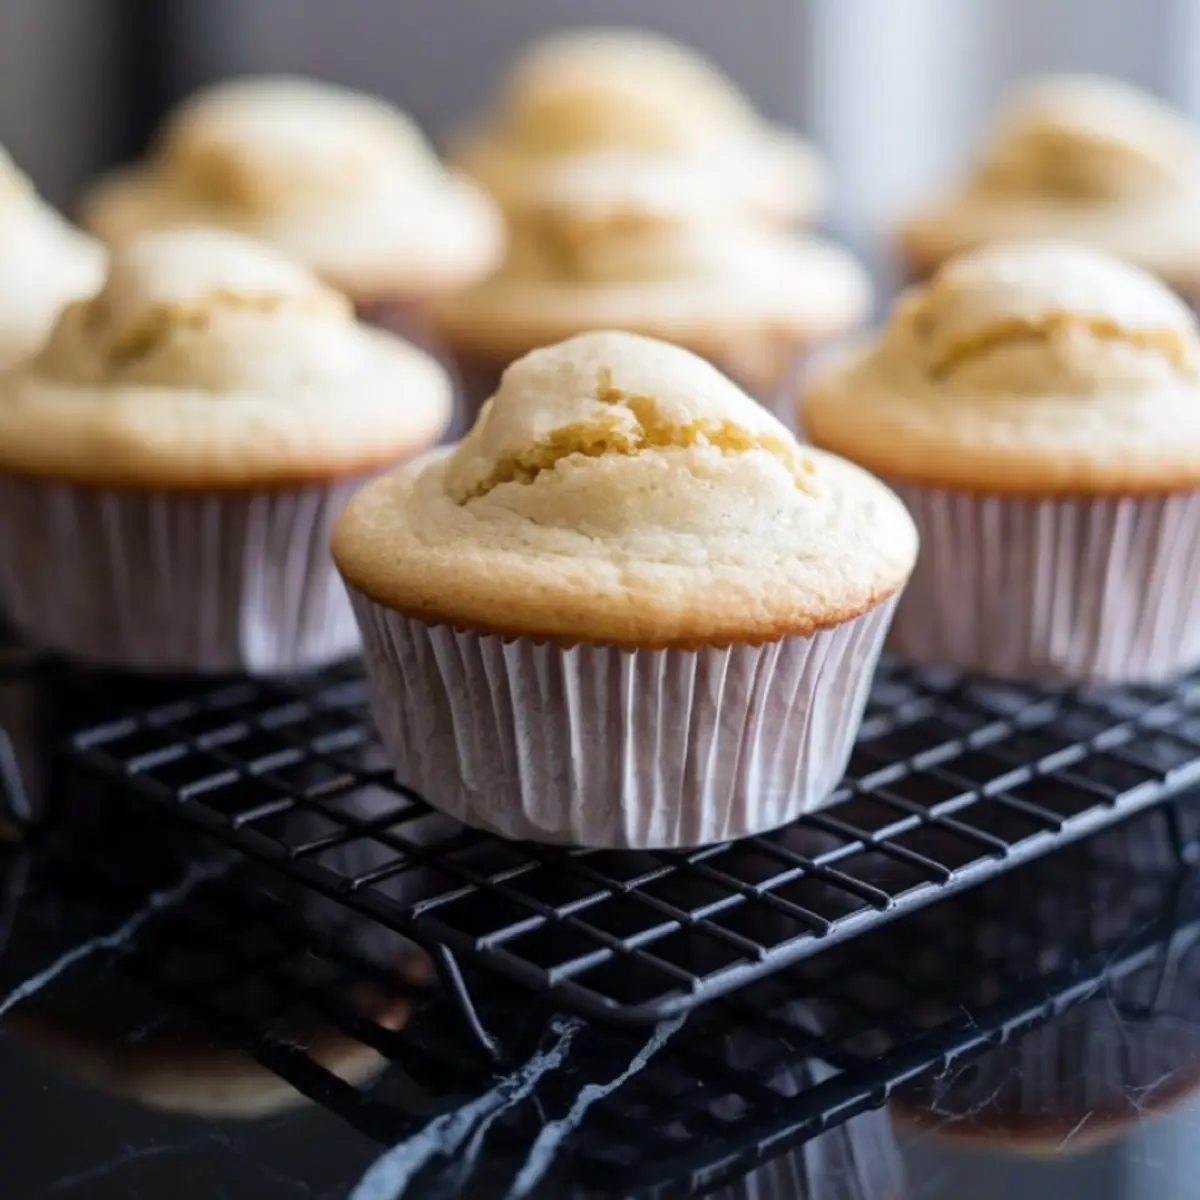
The batter should rise slightly above the liner once baked, but without doming too high. A flat top gives the ganache a place to settle. Bake for 16 to 18 minutes, or until a toothpick comes out clean. Let them cool completely in the pan.
I’ve tried chilling the cupcakes before coring and filling, but room temp works best. Cold sponge can crack when you carve out the center.
If you’re interested in a more decadent flavor pairing, try my German Chocolate Cupcakes next. They share a similar structure but take the filling in a totally different direction.
Ganache Topping: Smooth, Shiny, and Made to Set
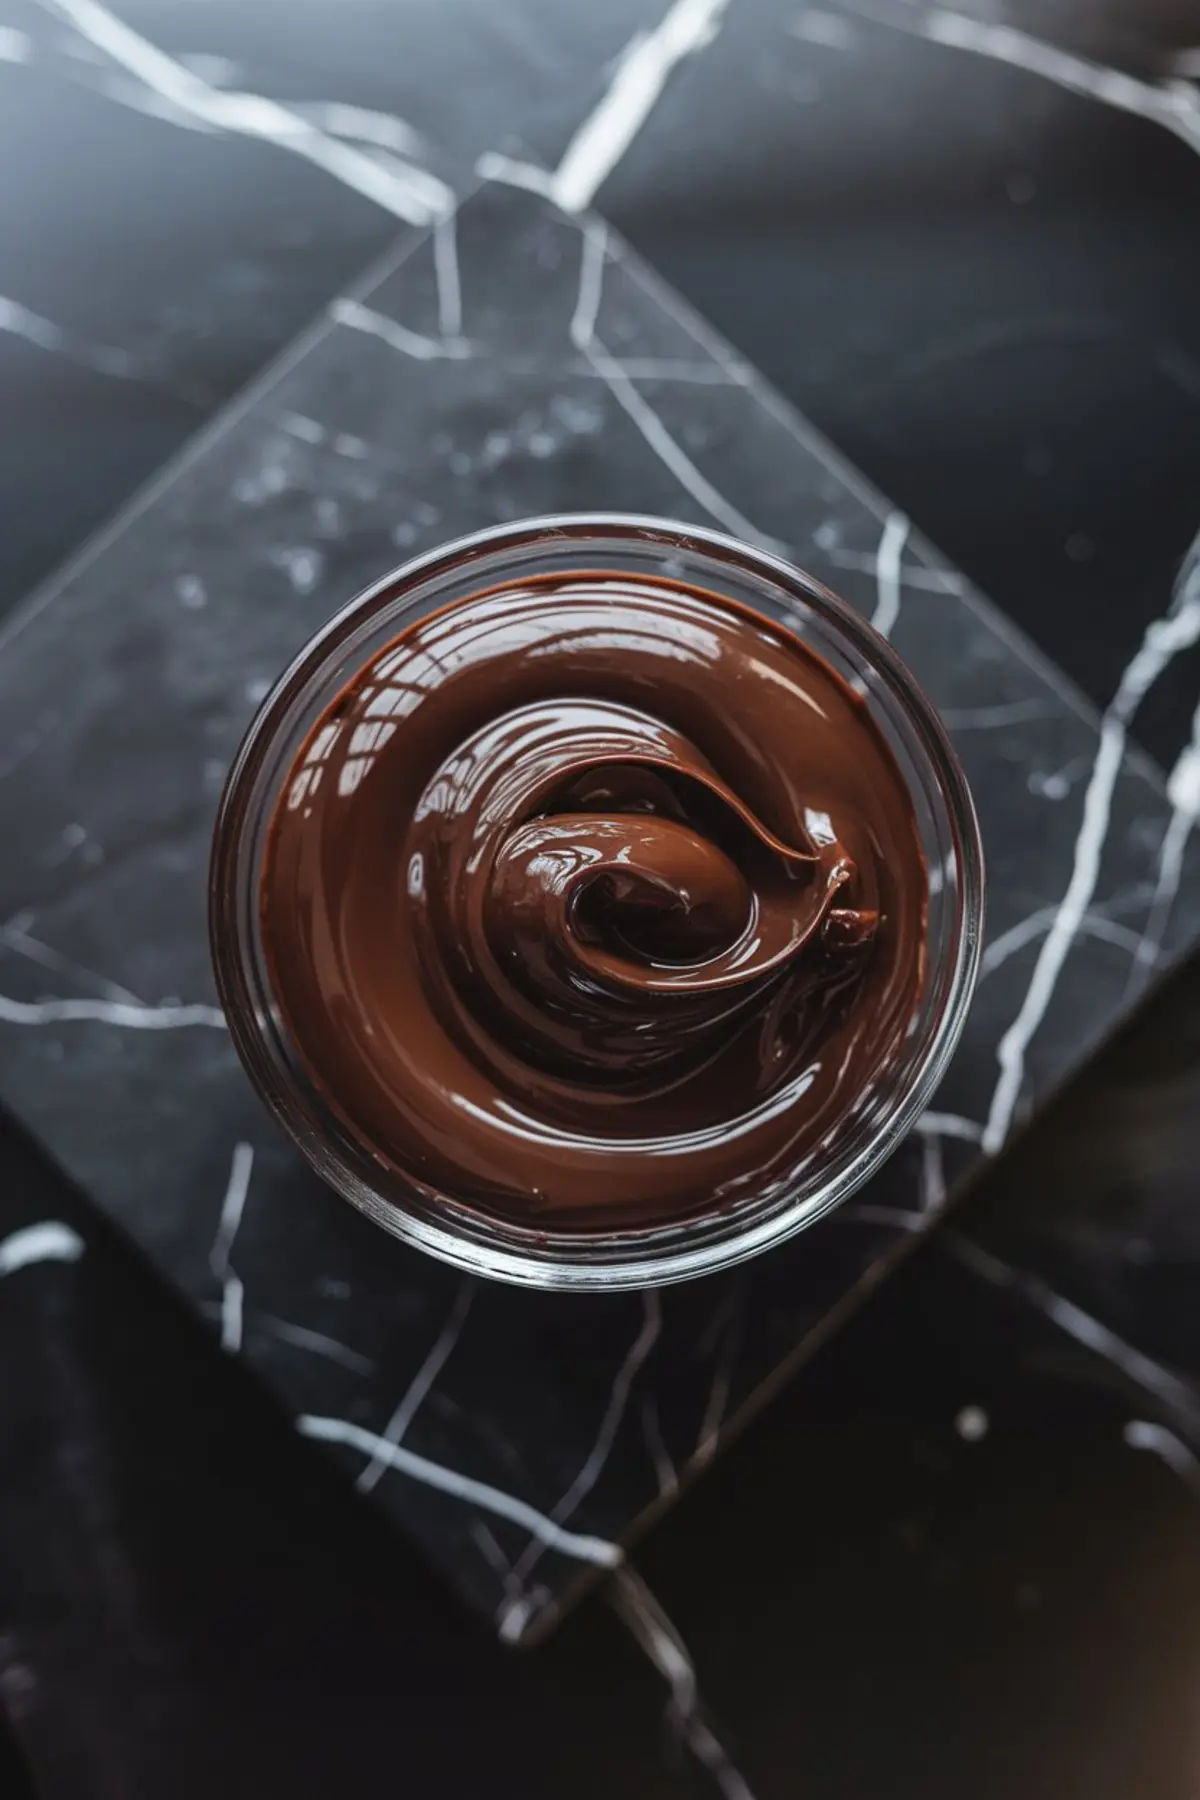
Ganache starts with hot cream poured over chopped chocolate. I prefer semi-sweet here, about 60 percent cacao, for balance. Let it sit a full minute before stirring. You want the heat to work first, then stir slowly until smooth.
Now, here comes the detail I hinted at earlier. Just a teaspoon of corn syrup added at the end keeps the ganache glossy even after it sets. It doesn’t affect flavor, but the sheen helps it look fresh longer, especially if you’re serving at room temperature.
Let the ganache thicken slightly before spooning over each cupcake. It should spread, not drip straight off. If it’s too warm, it’ll run. If it’s too cool, it won’t coat. This step takes a little patience, but once you get the consistency right, it’s oddly satisfying to spoon and swirl.
Filling and Assembling: Make Each Bite Count
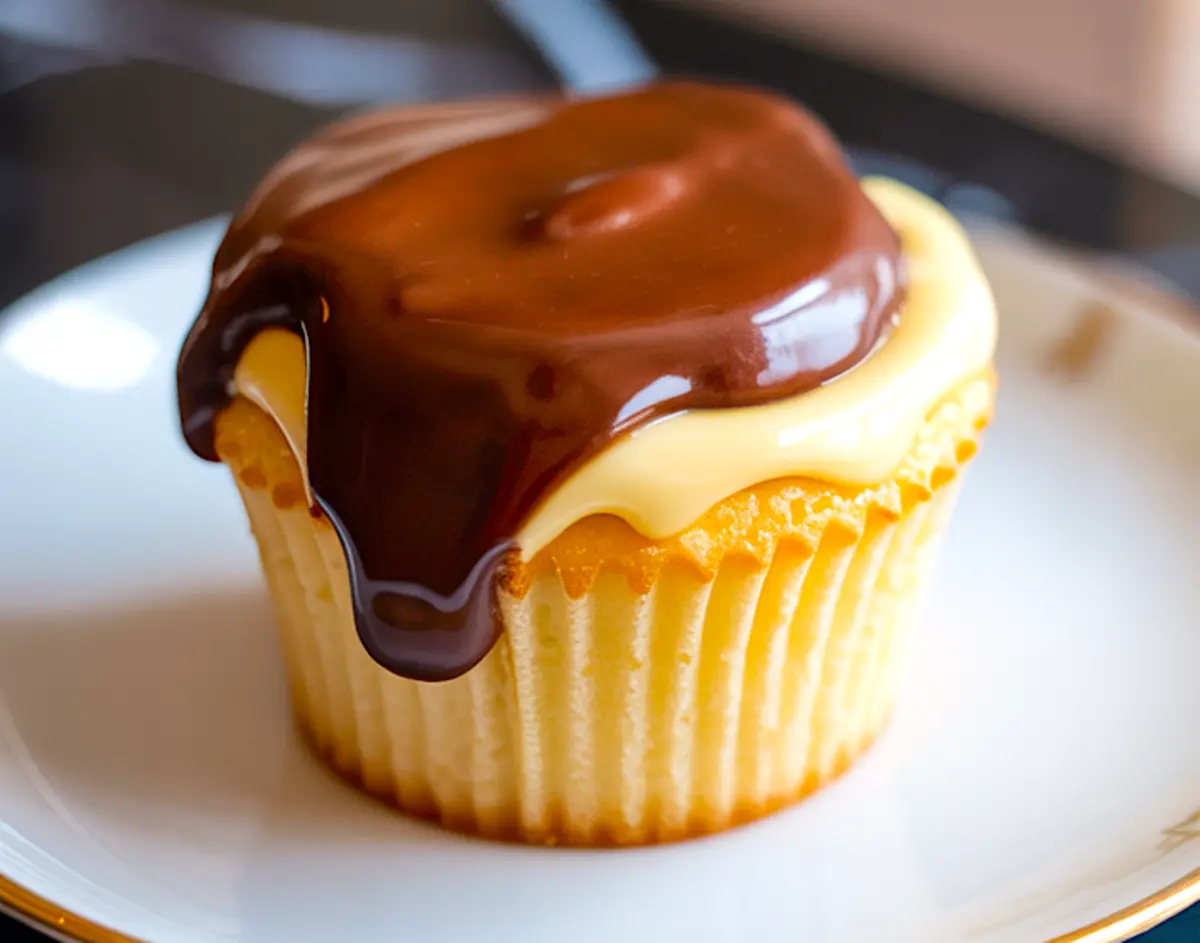
Use a sharp paring knife or an apple corer to remove the centers. Don’t go too deep—about halfway down is enough. Pipe or spoon chilled pastry cream into each cavity. The amount should fill the hole but not overflow.
Then top each with ganache, letting it gently edge over the sides. You want that signature drip, but keep it controlled. If the ganache is too thick to drip, warm it slightly over a hot water bath and stir. If it’s too thin, let it rest five more minutes.
There’s a rhythm to this process, and once you hit it, the steps fall into place. I usually line them up like little soldiers and work in rows—cut, fill, top, repeat.
The result is a trio of textures in every bite. Soft cake, cool cream, and rich chocolate. All neatly contained in cupcake form.
Comparison Note: Vanilla Extract vs Vanilla Bean
I’ve tested both in these cupcakes. Vanilla extract gives a clean, familiar flavor. But if you’re after something more fragrant, split a vanilla bean and scrape the seeds into the pastry cream just after removing it from heat.
The bean adds visual specks and a slightly floral scent that lifts the filling. Extract holds up better in the cake itself. I use extract in the sponge and bean in the cream when I want to make a standout batch for guests or celebrations.
Save This Recipe and Share Your Cupcakes
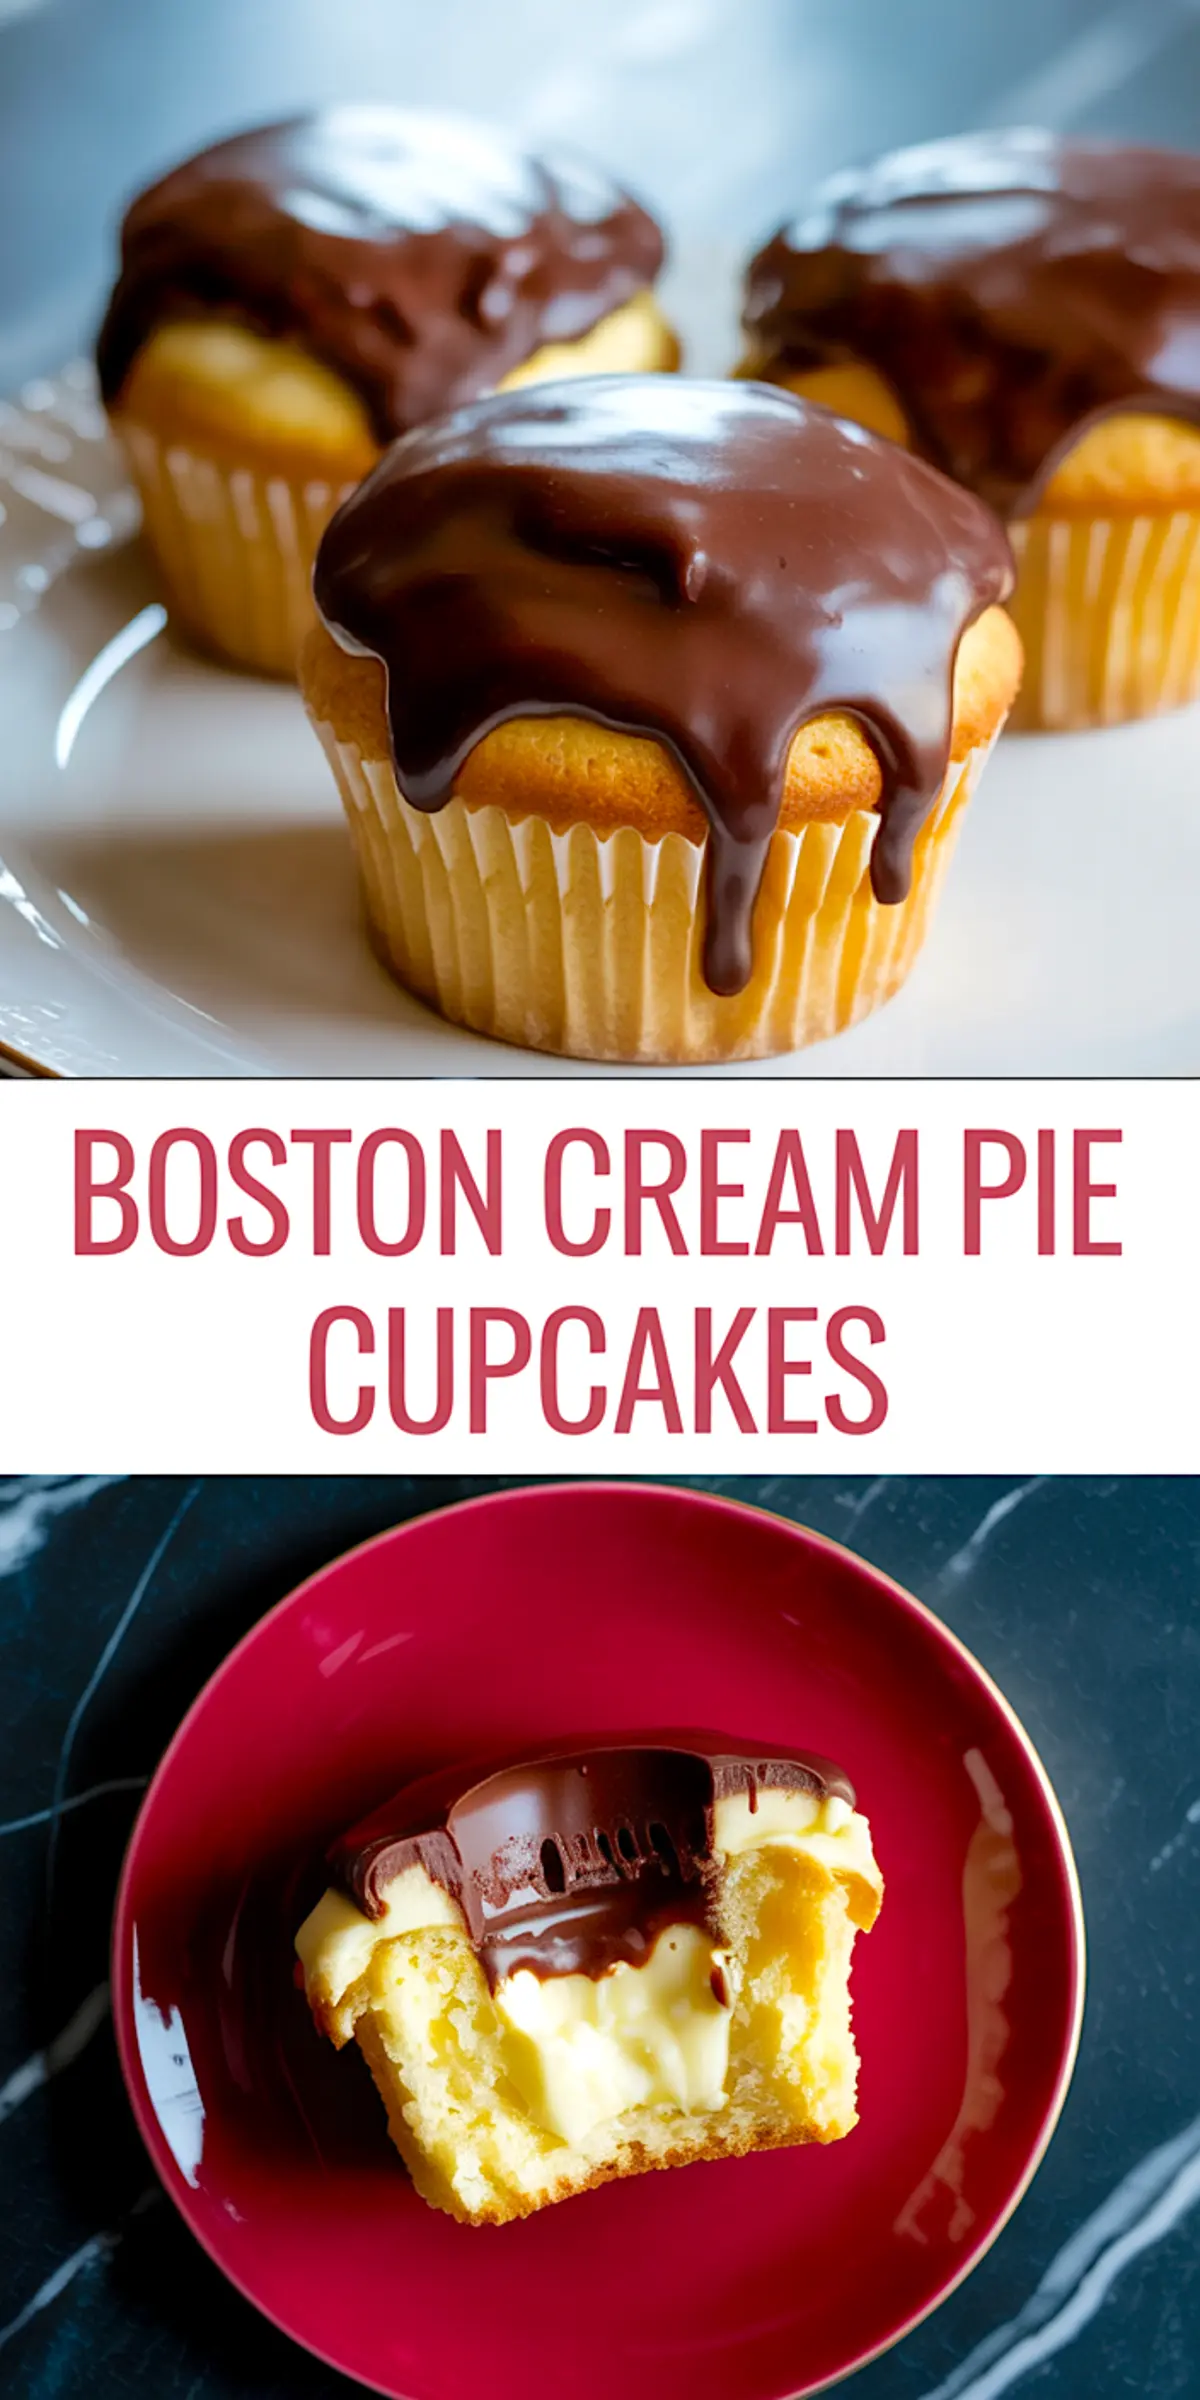
These Boston Cream Pie Cupcakes are best eaten the day they’re made. They keep for up to two days in the fridge, but the ganache texture and sponge are at their best the first day.
You can freeze the cupcakes without filling or ganache and assemble later if needed. Just let them thaw fully before coring and finishing.
Pin this recipe to your cupcake board so you can find it again. Whether you love mini Boston Cream Pie bites, or want something more satisfying than a Boston Cream donut, this version keeps all the good parts intact. It’s layered comfort, done right.
I’d love to hear how yours turned out. Leave a comment below with your version, your tweaks, or any questions you have. Let’s turn this into a conversation. That’s where the best ideas always begin.
Boston Cream Pie Cupcakes Recipe
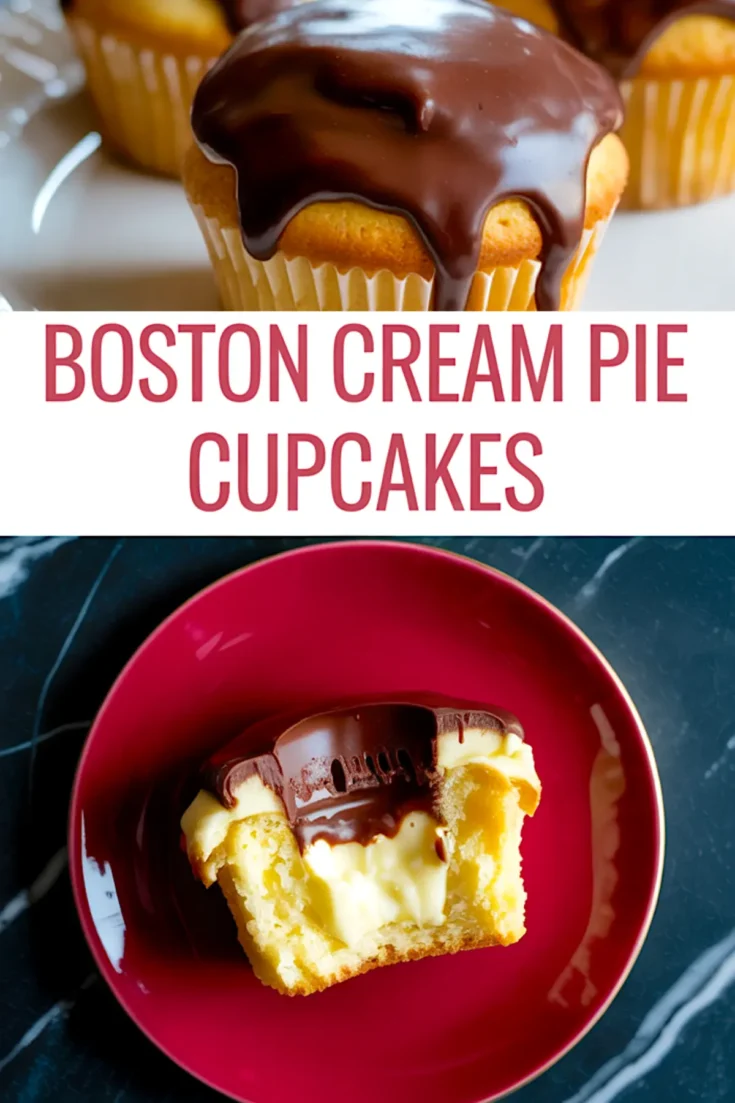
Boston Cream Pie Cupcakes combine the classic flavors of the traditional dessert in a handheld version. Each cupcake features a light vanilla sponge, a creamy pastry filling, and a glossy chocolate ganache topping. The components are made from scratch and layered with care to create a balanced, satisfying bite.
Ingredients
- FOR THE CUPCAKES
- 1 ¼ cups all-purpose flour
- 1 tsp baking powder
- ½ tsp salt
- ½ cup unsalted butter, softened
- ¾ cup granulated sugar
- 2 large eggs
- 2 tsp vanilla extract
- ½ cup whole milk
- FOR THE PASTRY CREAM FILLING
- 1 cup whole milk
- ¼ cup granulated sugar
- 2 tbsp cornstarch
- 2 large egg yolks
- 1 tsp vanilla extract
- 1 tbsp unsalted butter
- FOR THE CHOCOLATE GANACHE
- ½ cup heavy cream
- 4 oz semi-sweet chocolate, chopped
- 1 tsp corn syrup (optional, for shine
Instructions
- MAKE THE PASTRY CREAM: Warm the milk in a small saucepan over medium heat until steaming but not boiling. In a separate bowl, whisk together the sugar, cornstarch, and egg yolks until the mixture is pale and smooth.
- TEMPER THE EGGS: Slowly pour the hot milk into the egg yolk mixture while whisking constantly to prevent curdling. Once combined, return the mixture to the saucepan.
- THICKEN THE CREAM: Cook over medium heat, whisking constantly, until the mixture thickens and starts to bubble, about 2–3 minutes. Remove from heat and stir in the vanilla extract and butter.
- CHILL THE CREAM: Transfer the pastry cream to a bowl. Press plastic wrap directly onto the surface to prevent a skin from forming. Refrigerate until fully chilled and set, about 1 hour.
- PREPARE THE CUPCAKE BATTER: Preheat the oven to 350°F (175°C). Line a muffin tin with 12 cupcake liners. In a bowl, whisk together the flour, baking powder, and salt. In a separate bowl, beat the butter and sugar together until light and fluffy.
- ADD EGGS AND VANILLA: Add the eggs one at a time to the butter-sugar mixture, mixing well after each addition. Stir in the vanilla extract until combined.
- FINISH THE BATTER: Add the dry ingredients in three additions, alternating with the milk. Begin and end with the dry ingredients. Mix just until combined to avoid overmixing.
- BAKE THE CUPCAKES: Divide the batter evenly among the liners, filling each about two-thirds full. Bake for 16–18 minutes, or until a toothpick inserted in the center comes out clean. Let cool completely in the pan.
- MAKE THE GANACHE: Heat the heavy cream in a small saucepan until it just begins to simmer. Pour it over the chopped chocolate in a heatproof bowl. Let sit for 1 minute, then stir until smooth. Add corn syrup, if using, and stir to combine. Let cool until thickened but still pourable.
- FILL THE CUPCAKES: Use a small knife or apple corer to remove the center from each cupcake. Fill each cavity with chilled pastry cream using a piping bag or small spoon.
- TOP WITH GANACHE: Spoon ganache over the top of each filled cupcake, allowing it to gently drip over the edges. Let the ganache set slightly before serving.
Notes
For best results, prepare the pastry cream a day ahead to allow plenty of chill time. Use high-quality chocolate for the ganache to ensure a smooth texture and rich flavor. Cupcakes are best enjoyed the day they are assembled but can be stored in the refrigerator for up to 2 days.
