

I remember the first time I tasted a dessert like this. I sat in my grandmother’s kitchen, eyeing the ramekins she handled with care. I had no clue a molten center waited inside those innocent-looking treats.
I never forgot how that chocolate flowed from the first spoonful. I teased my cousin that such velvety wonders belonged in a pastry wizard’s cookbook. I discovered later that anyone could make them with a good plan and a bit of courage.
My memory still triggers the scent of warm batter. It reminds me of family gatherings where laughter blended with sugar in the air. You might share a similar warmth when you crack open these Mini Easter Egg Lava Cakes in your own space.

Why These Easter Egg Lava Cakes Deliver Chocolate Bliss
These cakes balance a firm outer shell with a soft, molten interior. This contrast brings a drama to every bite. Warm chocolate oozes the moment the fork dips inside.

My cat, Whiskers, tends to linger around the kitchen when I prepare these. He once pawed at a stray chocolate egg wrapper and looked quite smug. I had to gently pick him up, so he wouldn’t end up nibbling the real thing.
Your dinner guests might expect a typical cupcake. They will be delighted when a molten flow of chocolate appears instead. This dessert provides a neat, single-serving size that feels fancy but remains easy to prepare.
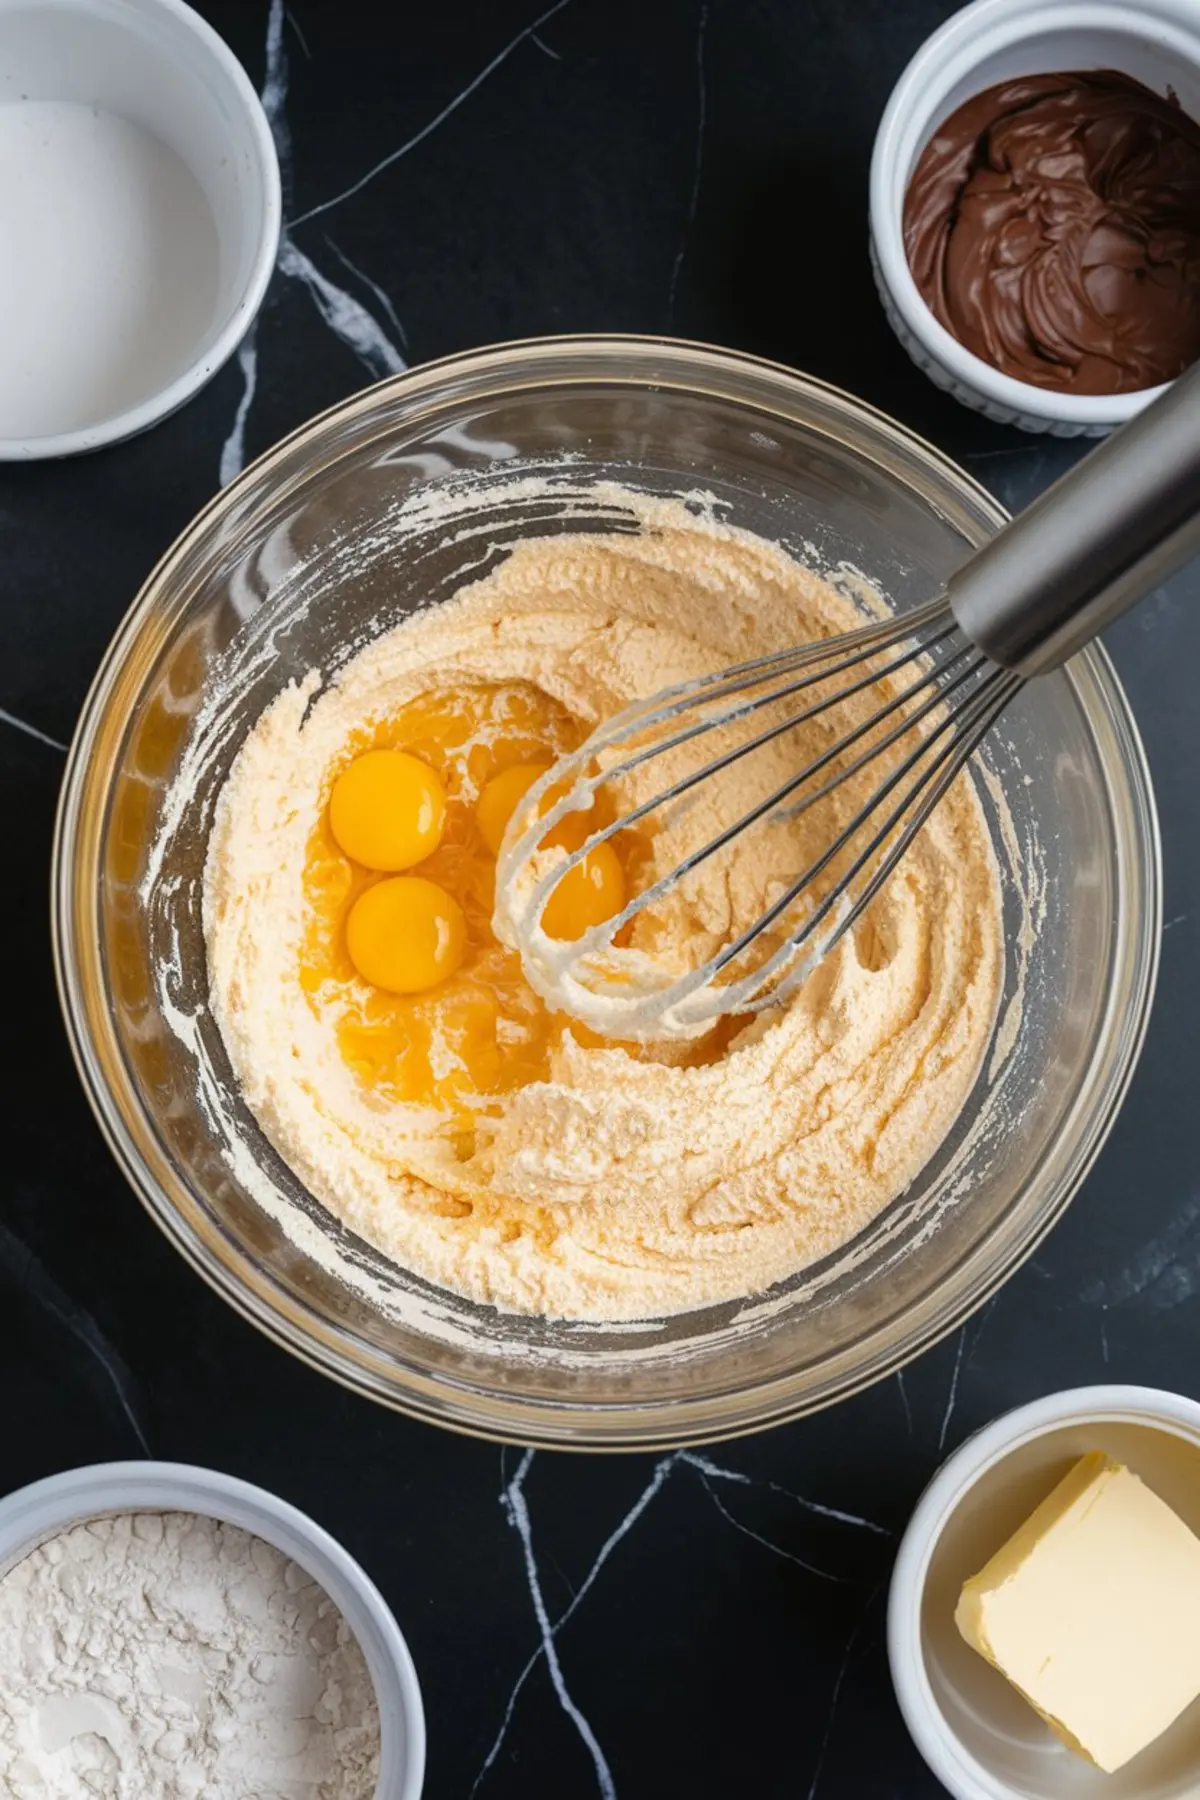
Steps for That Molten Chocolate Center
Rich chocolate deserves a gentle melting process in a heatproof bowl. Eggs whisked with sugar create the needed volume for a soft center. A quick fold of flour ensures the batter stays airy.
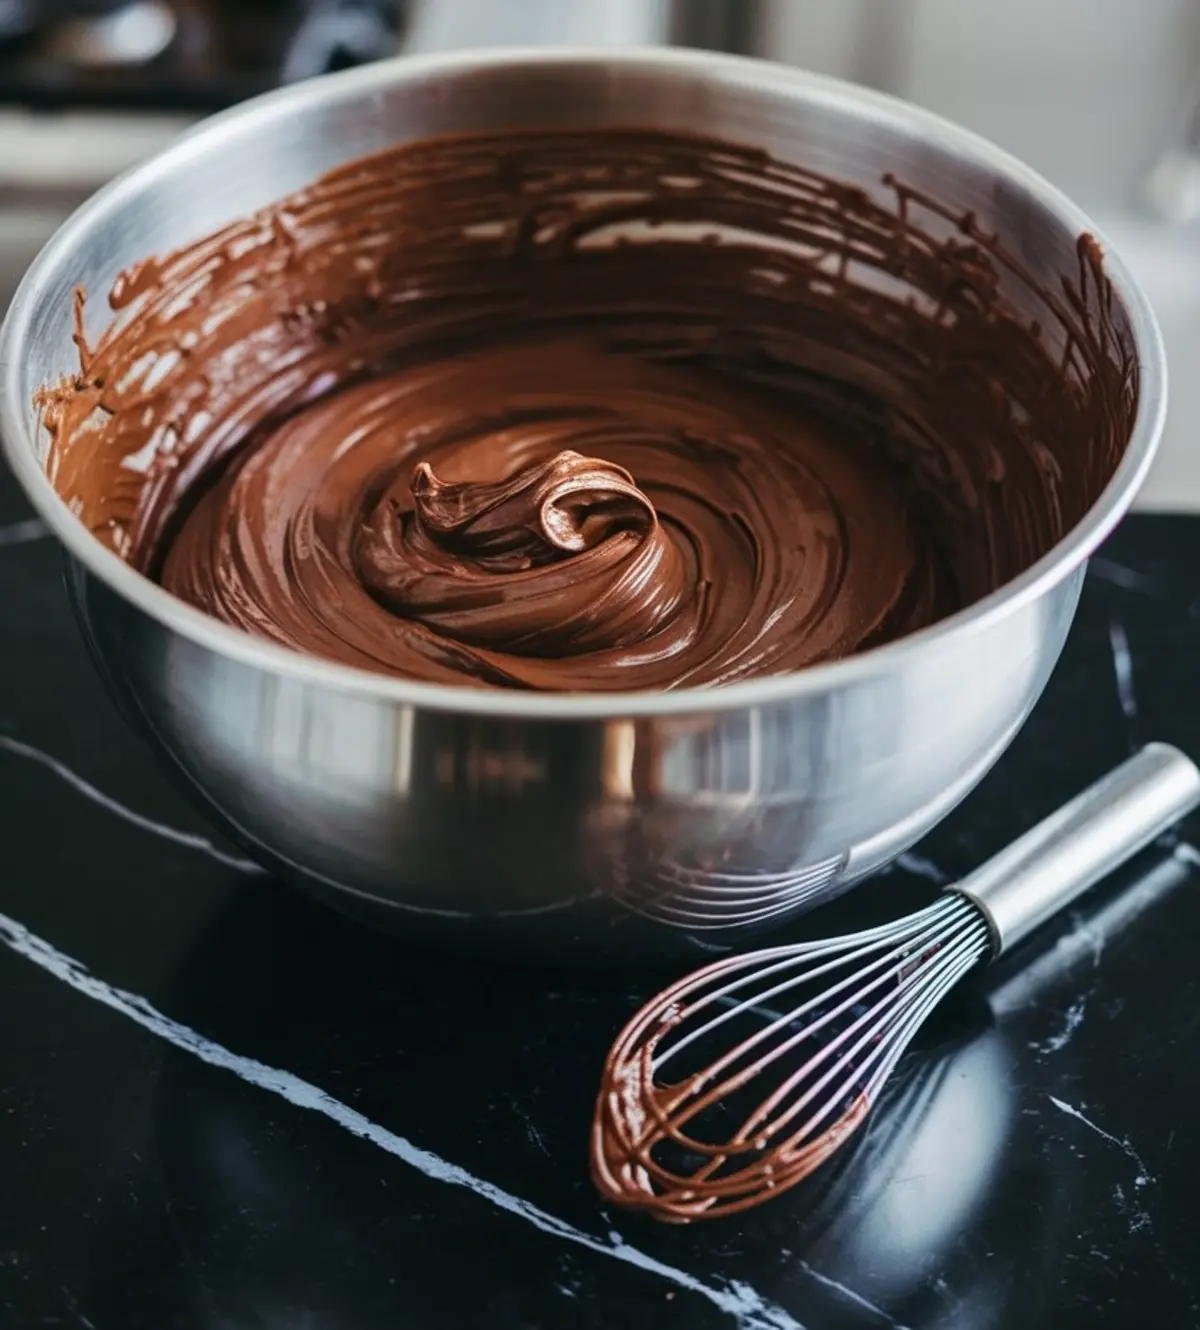
I still remember the day I started jotting notes in my Pin Notebook. I kept track of mixing ratios and oven times. That record helped me avoid mistakes once I experimented with different chocolate brands.
My aunt Marian’s golden spoon plays a key role in my kitchen adventures. I stir the melted chocolate with it, almost like an old tradition passed down through generations. It feels comforting to continue a legacy while creating something sweet.
Easter Inspiration: Chocolate Eggs and Festive Flair
Colorful little eggs on top make these lava cakes look ready for spring. A gentle dust of powdered sugar can add contrast. Bright pastel shells on those mini eggs add a cheerful vibe on any dessert table.
I always giggle when I place those eggs on the still-warm cakes. Some of them sink slightly into that molten top. The result blends flavors and textures in a playful way.
Readers often ask if leftover batter can rest overnight. It can, as long as you bring it back to room temperature before baking. That tip comes straight from my Pin Notebook, where I keep track of such details to save time.
Recipe Secrets and an Unexpected Twist
Each step in the recipe card sets the base for success. Butter and chocolate must melt smoothly together. Eggs, sugar, and vanilla give the batter a creamy body.
Flour and salt join in, but there’s a hidden flourish that makes these cakes stand out. I slip a pinch of instant espresso powder into the melted butter and chocolate. That subtle spark intensifies the chocolate taste without turning the cakes into a coffee dessert.
Yes, that is my dash of magic. Some people guess I add cinnamon or nutmeg, but the truth is simpler. Espresso works like a best friend to chocolate and amplifies the richness.
Enjoy More Easter Desserts
I like to switch menus during Easter season, so these mini cakes often share the spotlight. My Easter Bunny Brownies (link) present a fun activity for kids. They can decorate paw prints with candy bits and sprinkles.
Carrot Patch Dirt Cups (link) offer a quirky take on pudding and cookie crumbles. I sometimes pair these with my lava cakes for a contrast in textures. Guests get to enjoy a playful lineup of chocolate and creamy layers.
I also keep an eye on festive colors, so an Ube Halaya Easter Trifle (link) rounds out my dessert table. Purple tones and tropical flair make me grin every time. Experimenting with various treats can spark new family traditions.
Serving and Storing These Molten Desserts
Timing is crucial for an ideal molten center. I keep an eye on the oven because a minute too long can dry out the center. The magic rests in pulling them out at that sweet spot where the edges are set but the middle still wiggles.
Let the cakes cool for a tiny moment before carefully inverting them onto plates. Steam still rises while you dust powdered sugar on top. Warmth encourages that mini chocolate egg to settle nicely.
I often watch Whiskers peek around the corner, probably hoping something falls on the floor. He never gets a taste, and I keep reminding him that chocolate belongs nowhere near a cat’s dish. He seems happy just to observe like a furry sous-chef.
Final Thoughts and a Warm Invitation

Good desserts have a way of connecting people. These Mini Easter Egg Lava Cakes bring a surprise center that charms taste buds. Simple steps lead to an impressive result that can dress up any family gathering.
I love finishing a meal with them because it transforms an ordinary moment into a small celebration. Are you ready to bring them to your table? I suspect your friends and relatives will thank you, and you might find yourself repeating this recipe each year.
Feel free to save this on your board for a later try. Pinning the recipe helps you recall it quickly and keeps the Easter spirit alive. Let me know in the comments how your lava cakes turned out or if you have any questions, so we can keep the fun going together.
Mini Easter Egg Lava Cakes Recipe
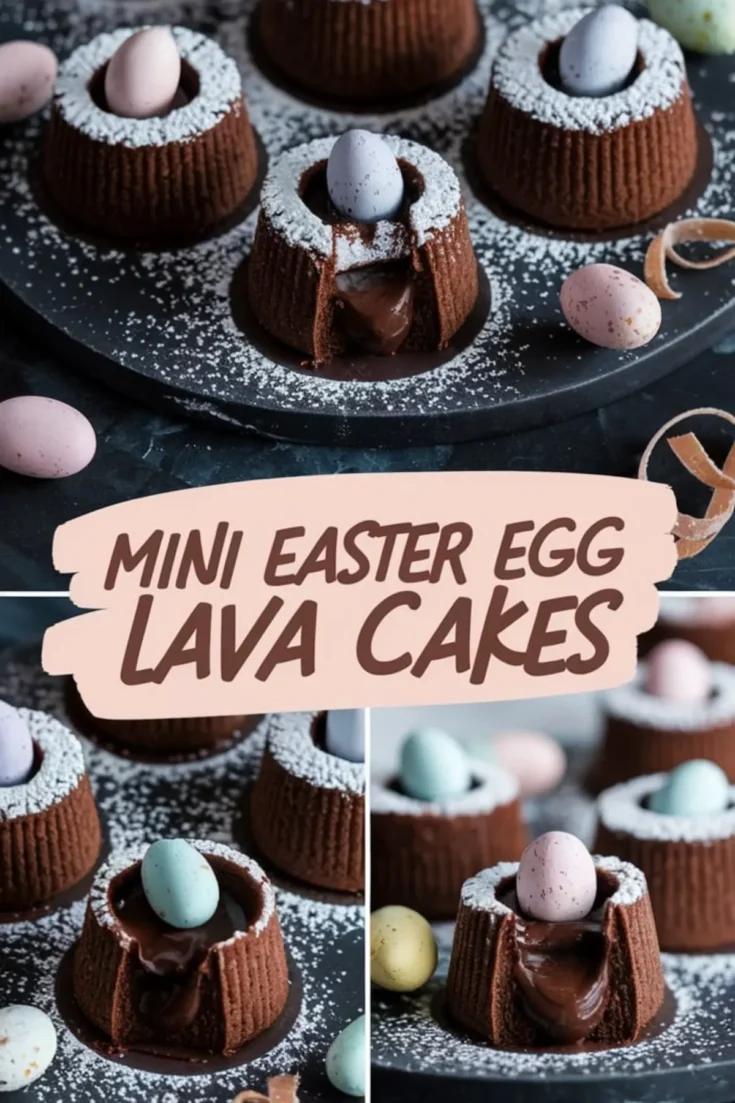
Rich, chocolatey lava cakes with a molten center, topped with festive mini chocolate eggs. These individual desserts are baked until just set on the outside while remaining soft in the middle.
Ingredients
- ½ cup (1 stick) unsalted butter, plus extra for greasing
- 4 oz semisweet or dark chocolate, chopped
- 2 large eggs
- 2 large egg yolks
- ¼ cup granulated sugar
- 1 tsp vanilla extract
- ¼ cup all-purpose flour
- Pinch of salt
- Powdered sugar, for dusting (optional)
- Mini chocolate eggs or candy-coated eggs, for decorating
Instructions
- PREPARE THE RAMEKINS: Preheat the oven to 425°F (220°C). Lightly grease six small ramekins or muffin tins with butter and dust with cocoa powder to help the cakes release easily after baking.
- MELT THE CHOCOLATE AND BUTTER: Place the butter and chopped chocolate in a heatproof bowl over a pot of simmering water, stirring until smooth. Alternatively, microwave in 20-second intervals, stirring between each, until fully melted. Let cool slightly.
- WHISK THE EGGS AND SUGAR: In a separate bowl, whisk the eggs, egg yolks, granulated sugar, and vanilla extract until thick and pale. This step helps create the structure needed to hold the molten center.
- COMBINE THE MIXTURES: Gently fold the melted chocolate mixture into the whisked eggs and sugar, stirring just until combined.
- ADD THE DRY INGREDIENTS: Sift in the flour and salt, then fold gently until just incorporated. Avoid overmixing to maintain a light texture.
- FILL AND BAKE: Divide the batter evenly among the prepared ramekins. Bake for 10–12 minutes, or until the edges are set but the centers remain soft. The tops should look firm but still feel delicate when pressed lightly.
- COOL AND SERVE: Let the cakes sit for one minute before running a knife around the edges to loosen them. Carefully invert onto serving plates.
- DECORATE: Dust with powdered sugar if desired, then place a mini chocolate egg on top of each cake. The warmth from the cake will slightly melt the bottom of the egg, helping it stick. Serve immediately.
Notes
To ensure the cakes release easily, dusting the greased ramekins with cocoa powder instead of flour prevents a white residue on the finished cakes.
Baking time may vary slightly depending on your oven and ramekin size. Check for edges that are set while keeping the centers soft.
If using muffin tins instead of ramekins, let the cakes cool for 1–2 minutes before carefully inverting them onto a plate.
Serve immediately for the best molten texture, as the centers will continue to set as they cool.
Leftover batter can be refrigerated for up to 24 hours before baking. Allow it to come to room temperature before baking for even results.
Nutrition Information:
Yield:
6Serving Size:
1Amount Per Serving: Calories: 318Total Fat: 12gSaturated Fat: 6gTrans Fat: 0gUnsaturated Fat: 5gCholesterol: 190mgSodium: 96mgCarbohydrates: 46gFiber: 1gSugar: 38gProtein: 7g
