

I recall my grandmother’s secret stash of chocolates hidden near her floral apron hooks. She introduced me to sweet moments in the kitchen, especially during spring gatherings. I carried that tradition forward and always cherished the sight of bright pastel candies on baked chocolate treats.
That memory sparked my obsession with Easter brownies. I wanted to create something dense and fudgy with playful colors on top. Curiosity guided me to include a surprising element that adds a dash of magic, and that surprise will appear later.
Curious about this extra touch? A hint: it involves a simple pantry staple that few bakers consider essential for brownies. This ingredient often stays on the sidelines, yet it adds wonderful depth. Keep reading to discover that secret as part of the final flourish.
Essential Ingredients for Easter Brownies
Chocolate brownies thrive on the creamy blend of melted butter, granulated sugar, and brown sugar. A harmonious mix of eggs and vanilla extract gives the batter its thick texture and sweet aroma. Flour, cocoa powder, and salt provide the structure, while chocolate chips elevate each bite with pockets of smooth indulgence.
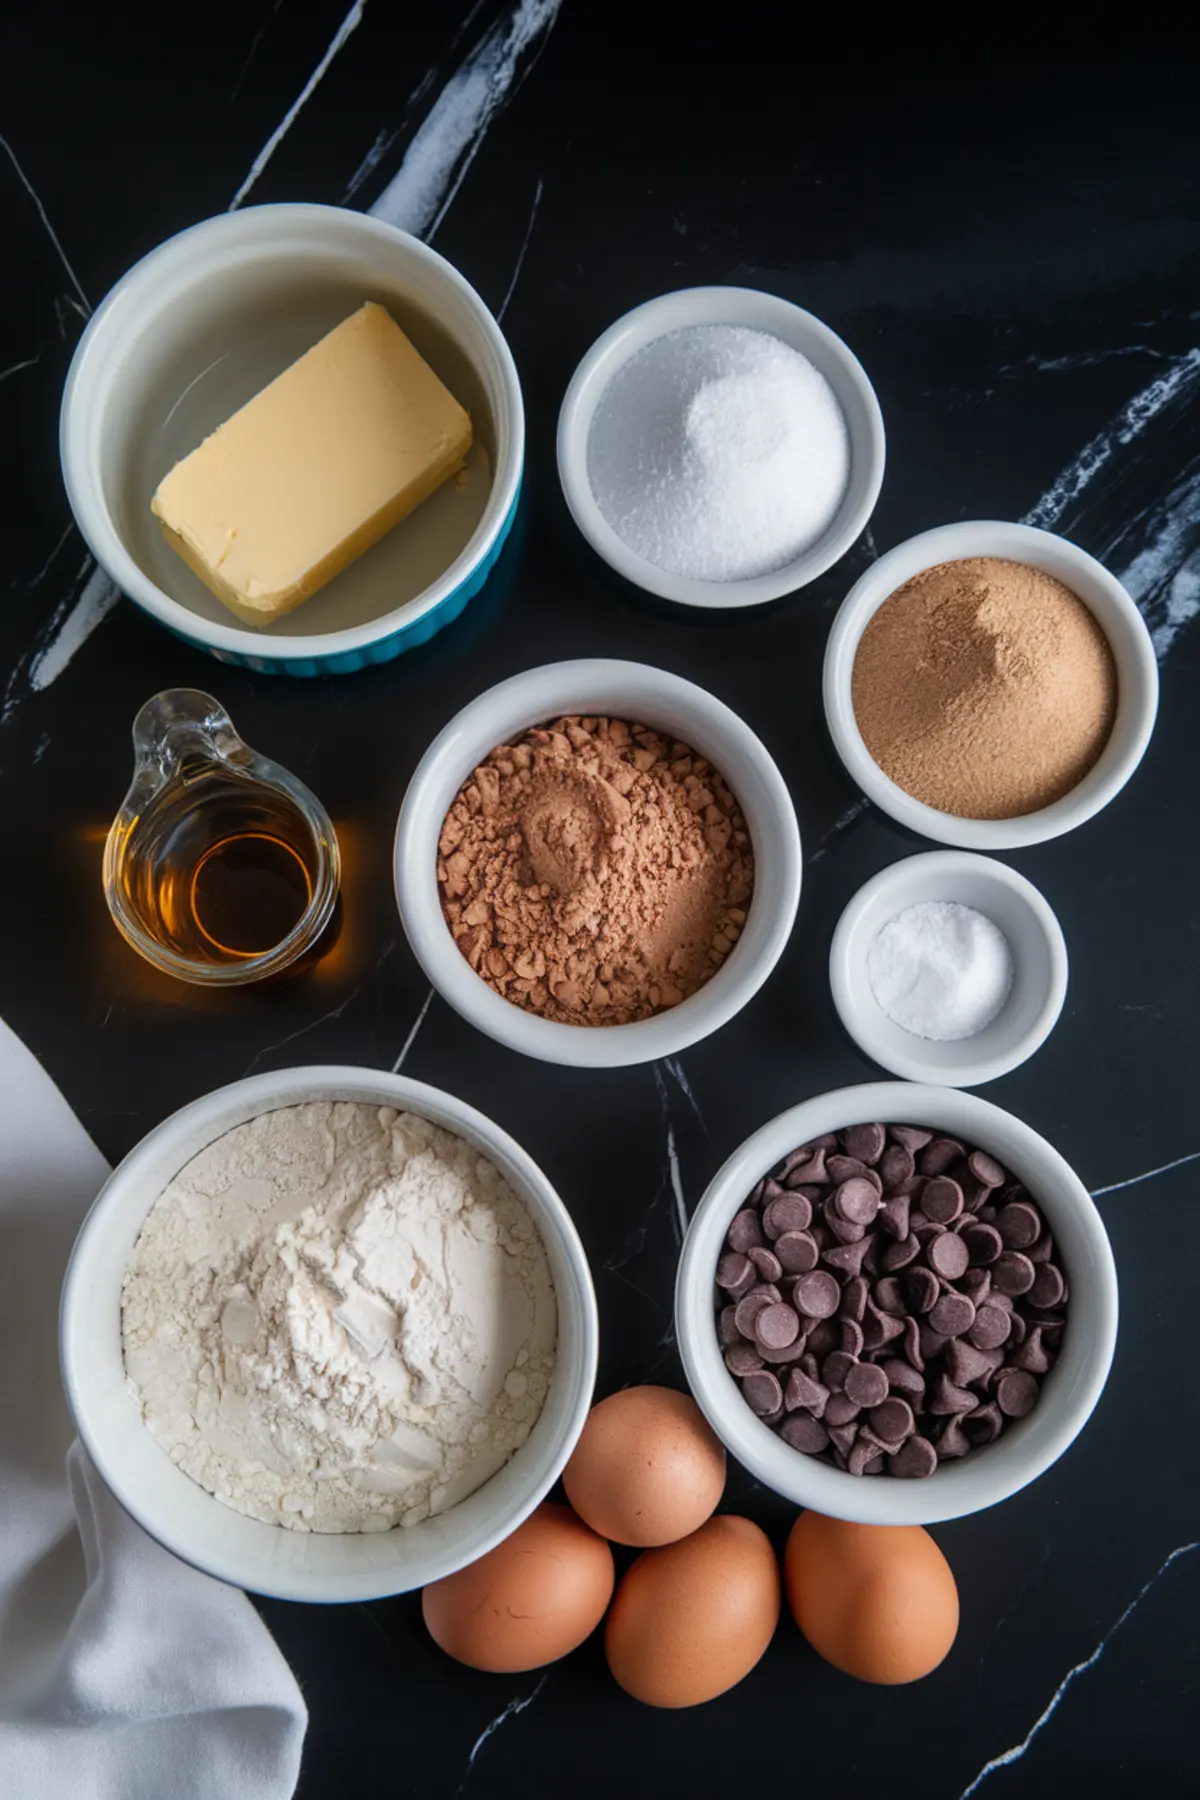
Granulated sugar brings a crisp top layer, and brown sugar offers moisture that supports a chewy center. Butter enriches the entire treat from the first whiff to the final crumb. Chocolate chips scattered throughout the batter create that decadent spark many crave, especially when celebrating special moments.
Cocoa powder stands at the core of these brownies. It balances sweet and bitter flavors, delivering a deep chocolate taste. Careful attention to measurements matters here, and I always note these details in my Pin Notebook for quick reference on future bakes.
Simple Steps to Bake These Chocolate Treats
My cat, Whiskers, often perches on the counter, watching every move with an almost judgmental gaze. I once caught him sniffing the cocoa bag as if trying to claim it for himself. That scene reminds me to double-check every step before sliding the pan into the oven.
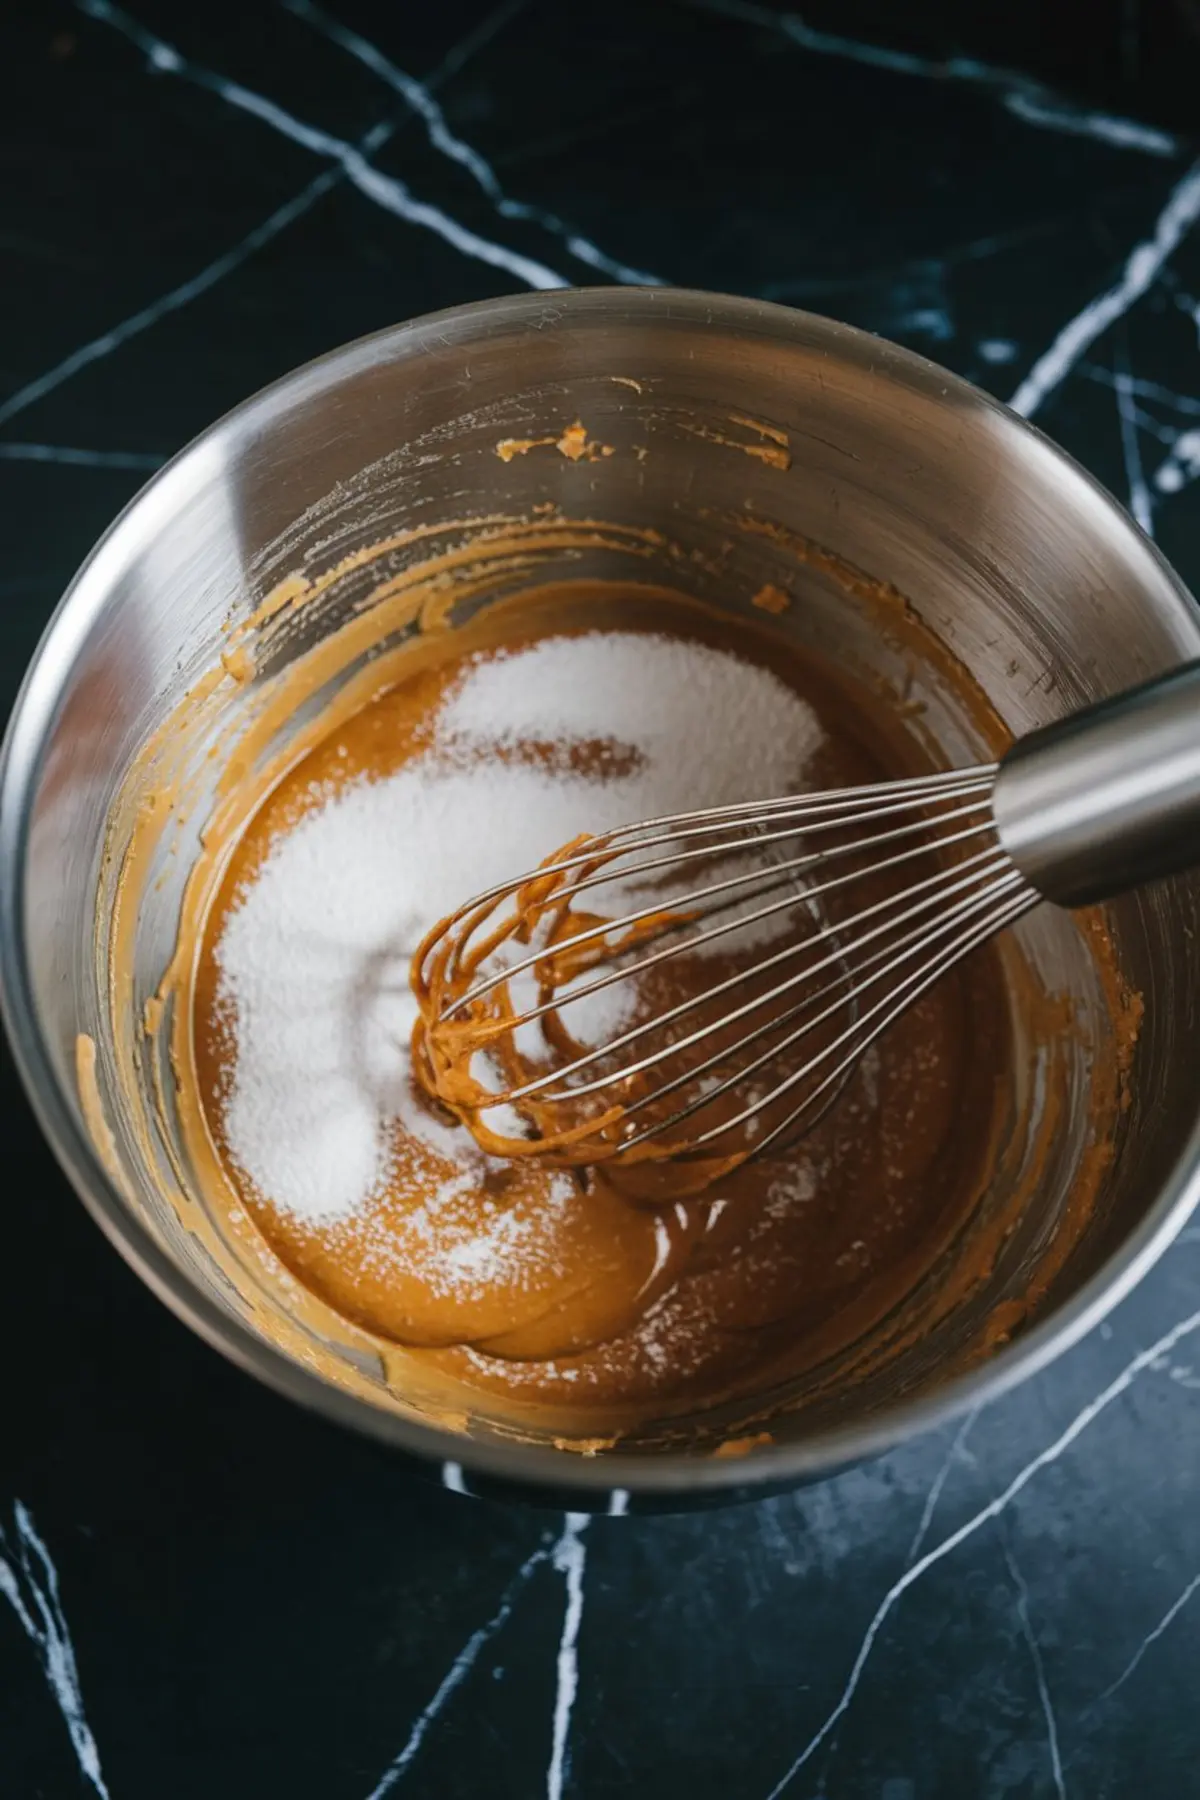
Melting the butter first paves the way for smooth incorporation with the sugar. Eggs slip in, one at a time, to ensure they blend fully, followed by vanilla extract. Gradual sifting of the flour, cocoa powder, and salt keeps the batter free from lumps, then a gentle stir brings everything together without forming excess air bubbles.
Chocolate chips join last. The entire batter flows into a lined baking pan, which rests in a 350°F (175°C) oven for 30–35 minutes. I rely on a toothpick test to judge doneness. A few moist crumbs on the tip signal that the brownies are ready, giving me a clear sign that the crumbly-yet-fudgy texture will be waiting inside.
Finishing with a Chocolate Topping

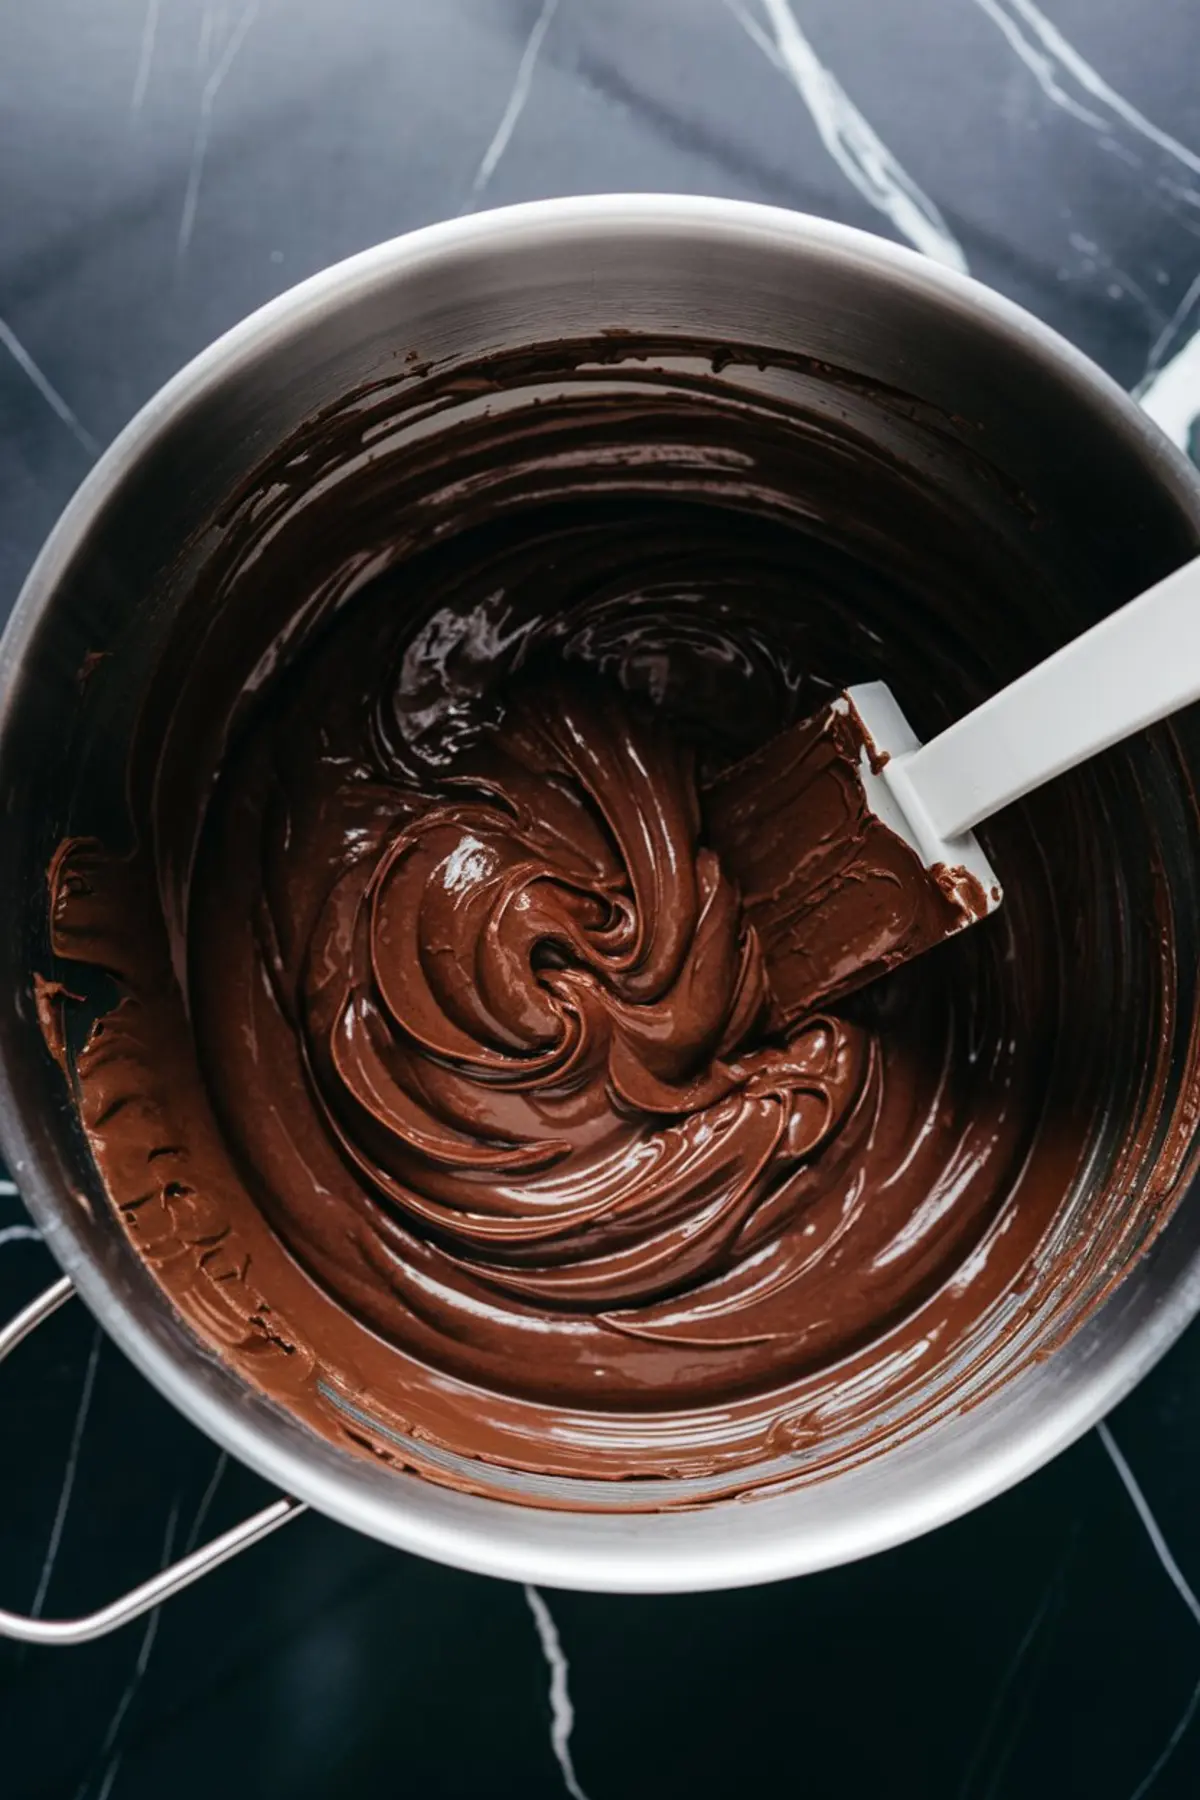
A rich chocolate layer crowns this recipe. Warm chocolate chips with a bit of coconut oil in short bursts to preserve the flavor. Stir between intervals for a glossy finish.
Patience matters as the baked brownies must cool before receiving any topping. A quick chill lets the surface harden enough to hold decorations in place. My Golden Spoon, passed down from my Aunt Marian, never fails to spread this topping smoothly.
Thicker chocolate coverage leads to a sweeter profile, so personal preference rules here. Some prefer a light drizzle, though I go full coverage for maximum effect. Have you tried swirling different chocolate types on a brownie before?
Adding the Festive Easter Decorations
Melted white chocolate tinted in pastel hues lends that spring cheer. A simple swirl or drizzle pattern makes the base visually interesting. Food coloring in pink, blue, and yellow keeps the look playful and bright.
Sprinkles and mini candy eggs complete the display. Each colorful piece hints at fun gatherings and holiday smiles. The finished brownies rest until the toppings firm, ensuring each slice holds its shape once cut.
My Pin Notebook once held a note saying, “Remember the swirl technique, the pink drizzle always sets better.” That prompt changed the way I approach final touches. Now I plan my color sequence with a bit more awareness, especially for special events.
If you’re looking for a fun twist, try these Easter Bunny Brownies featuring adorable bunny paw prints.
Revealing the Surprising Dash of Magic
Strong coffee is the little trick that I cherish. A modest splash of cooled coffee or espresso amplifies the chocolate profile without making the brownies taste like mocha. This added element merges seamlessly with cocoa powder.
Curiosity led me here after a friend served me a coffee-infused brownie. I experimented later and saw how that subtle addition transforms each bite into something richer. I sprinkle just a spoonful, or sometimes two, depending on my mood.
Whiskers once tried to paw at a discarded coffee pod, which made me laugh. That moment sticks in my memory as the day I decided to incorporate coffee in all my chocolate-focused desserts. Now I rarely skip this step, especially for my Easter brownies.
Flavor Inspiration and More Chocolate Ideas
A taste of something new often encourages extra exploration. Fans of these brownies might appreciate other chocolate sensations from my collection at Chocolate Bread Pudding or a luxurious Chocolate Mousse Cake. That path of discovery keeps dessert time interesting.
Each dessert offers distinct benefits for chocolate lovers. Bread pudding invites a comforting, cozy vibe with rich sauce. Mousse cake caters to those who enjoy airy, delicate bites layered with whipped ganache.
Brownies, however, remain an all-time favorite because they unify dense and smooth textures. The final product feels warm, nostalgic, and guaranteed to spark smiles during any holiday gathering. My circle of friends often claims that the brownies disappear faster than any other dish on the table.
Time to Serve and Enjoy
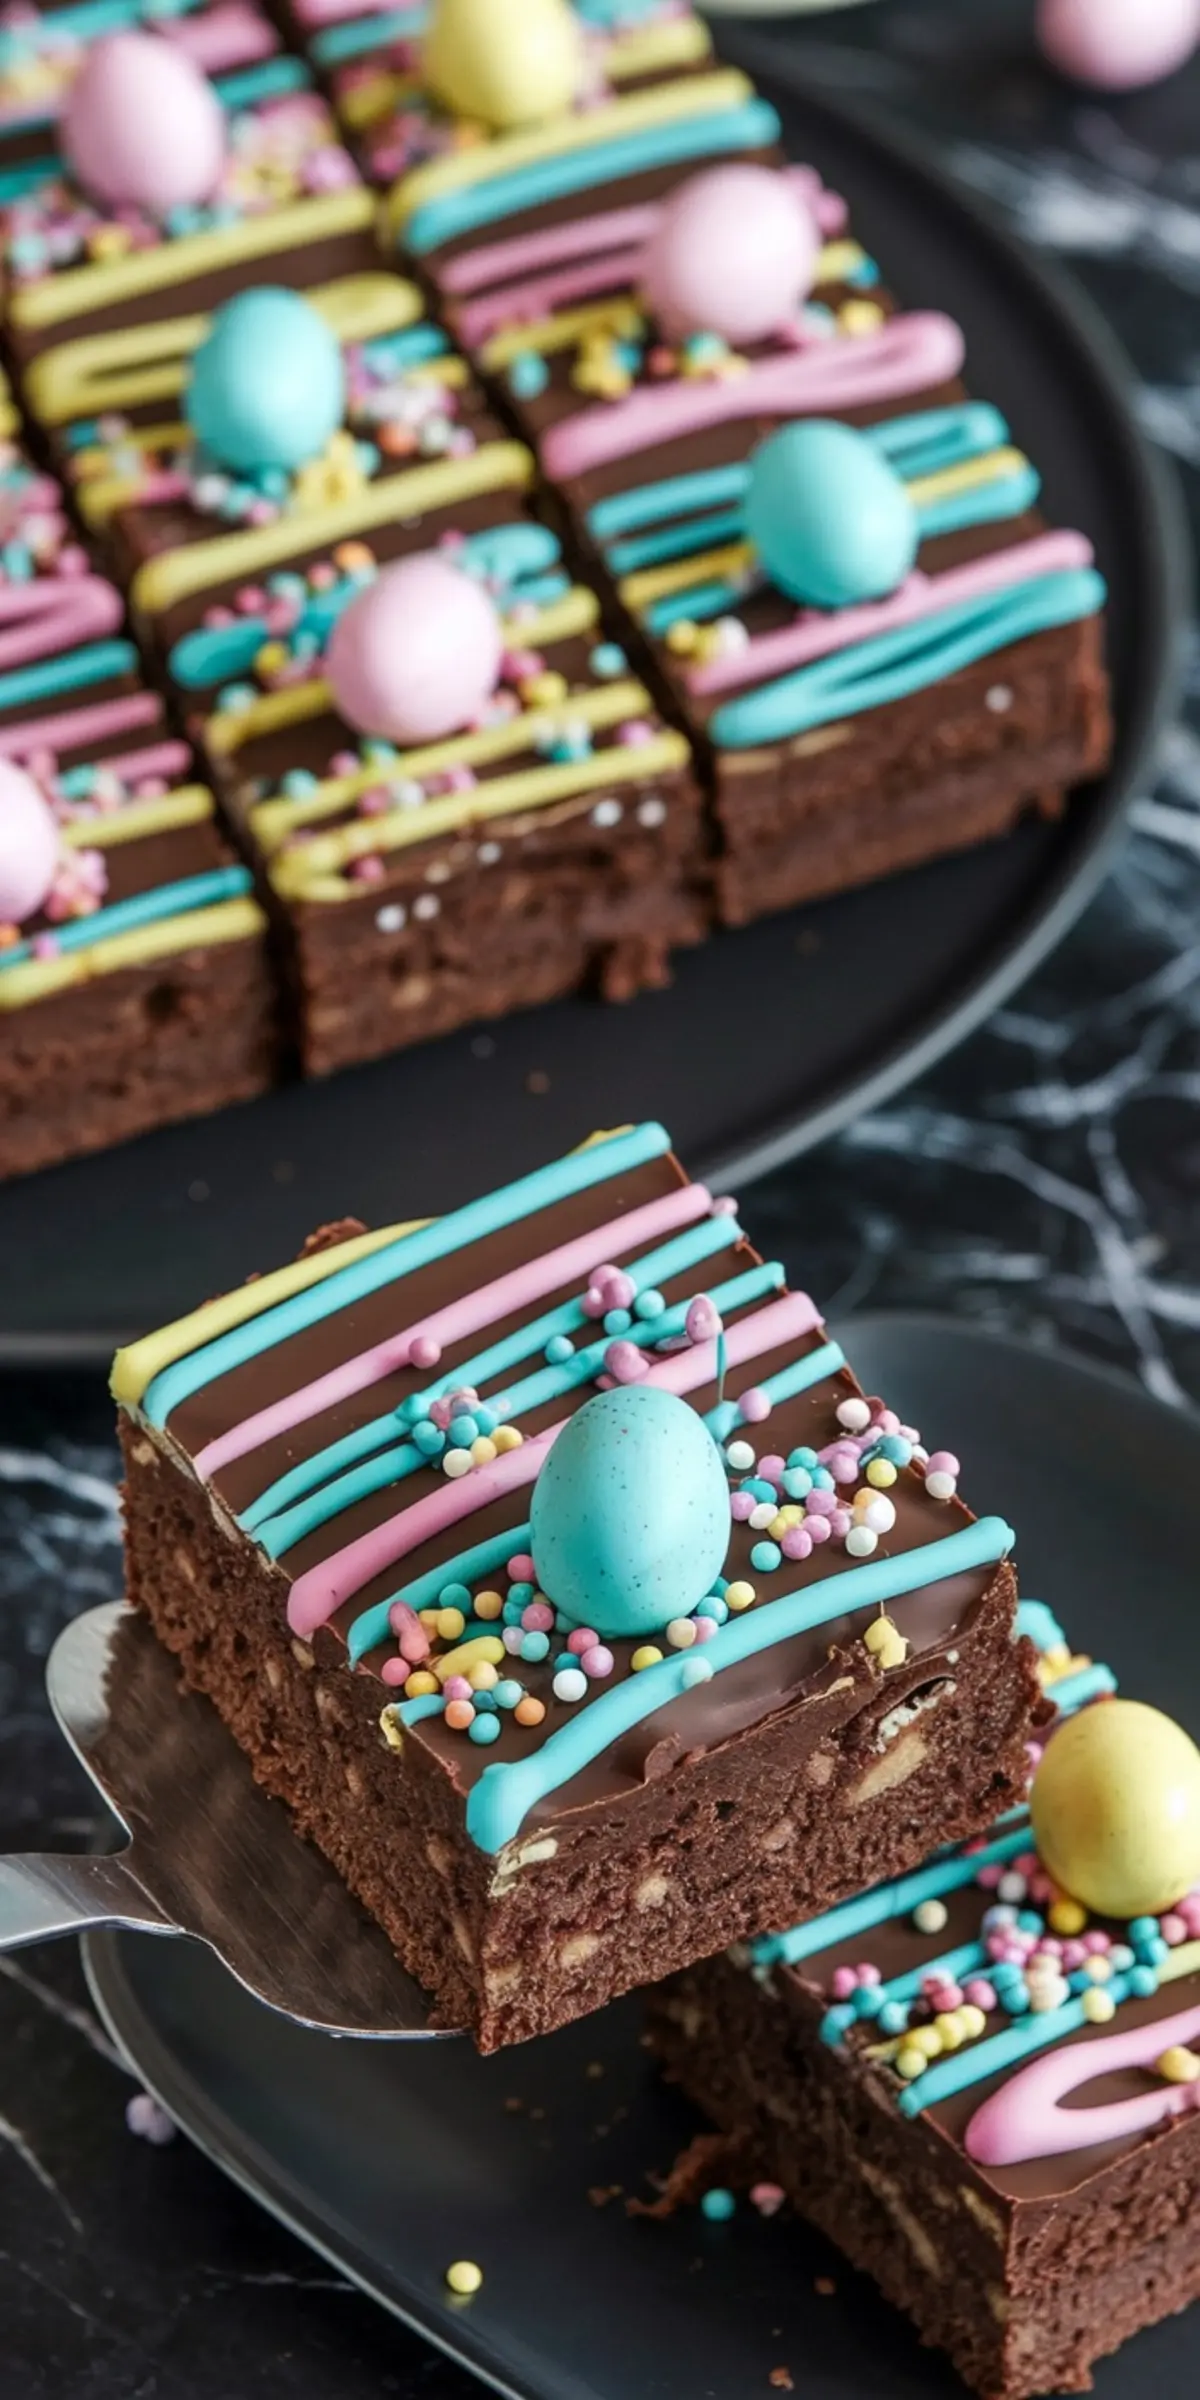
Friends and family usually gather around the counter, waiting for the first slice. The multi-layered chocolate top appeals to the eye, but the interior reveals that hidden coffee flavor. That contrast keeps people guessing, which I find delightful.
Slicing brownies doesn’t have to be a messy process. A quick trick involves warming a sharp knife under hot water and wiping it dry before each cut. Clean lines highlight the colorful decorations for picture-perfect presentation.
I once used a dull blade and realized how quickly the icing and toppings stick, ruining the swirl effect. That moment reminded me to keep a dependable cutter in my toolset. The experience also reaffirmed that the brownies deserve a bit of care from start to finish.
Save This Recipe and Share Your Experience

Feel free to save this Easter Brownies Recipe pin on your board for quick reference. A single glance at the chocolate layers will prompt you to bake another batch soon. Tell me how your brownies turned out, or drop a question below to join our growing community of dessert lovers.
I always love reading about your variations, from new toppings to different color swirls. Let’s chat and support one another’s sweet experiments. This dessert brings plenty of joy, and I’m thrilled to help you achieve a delicious outcome every time.
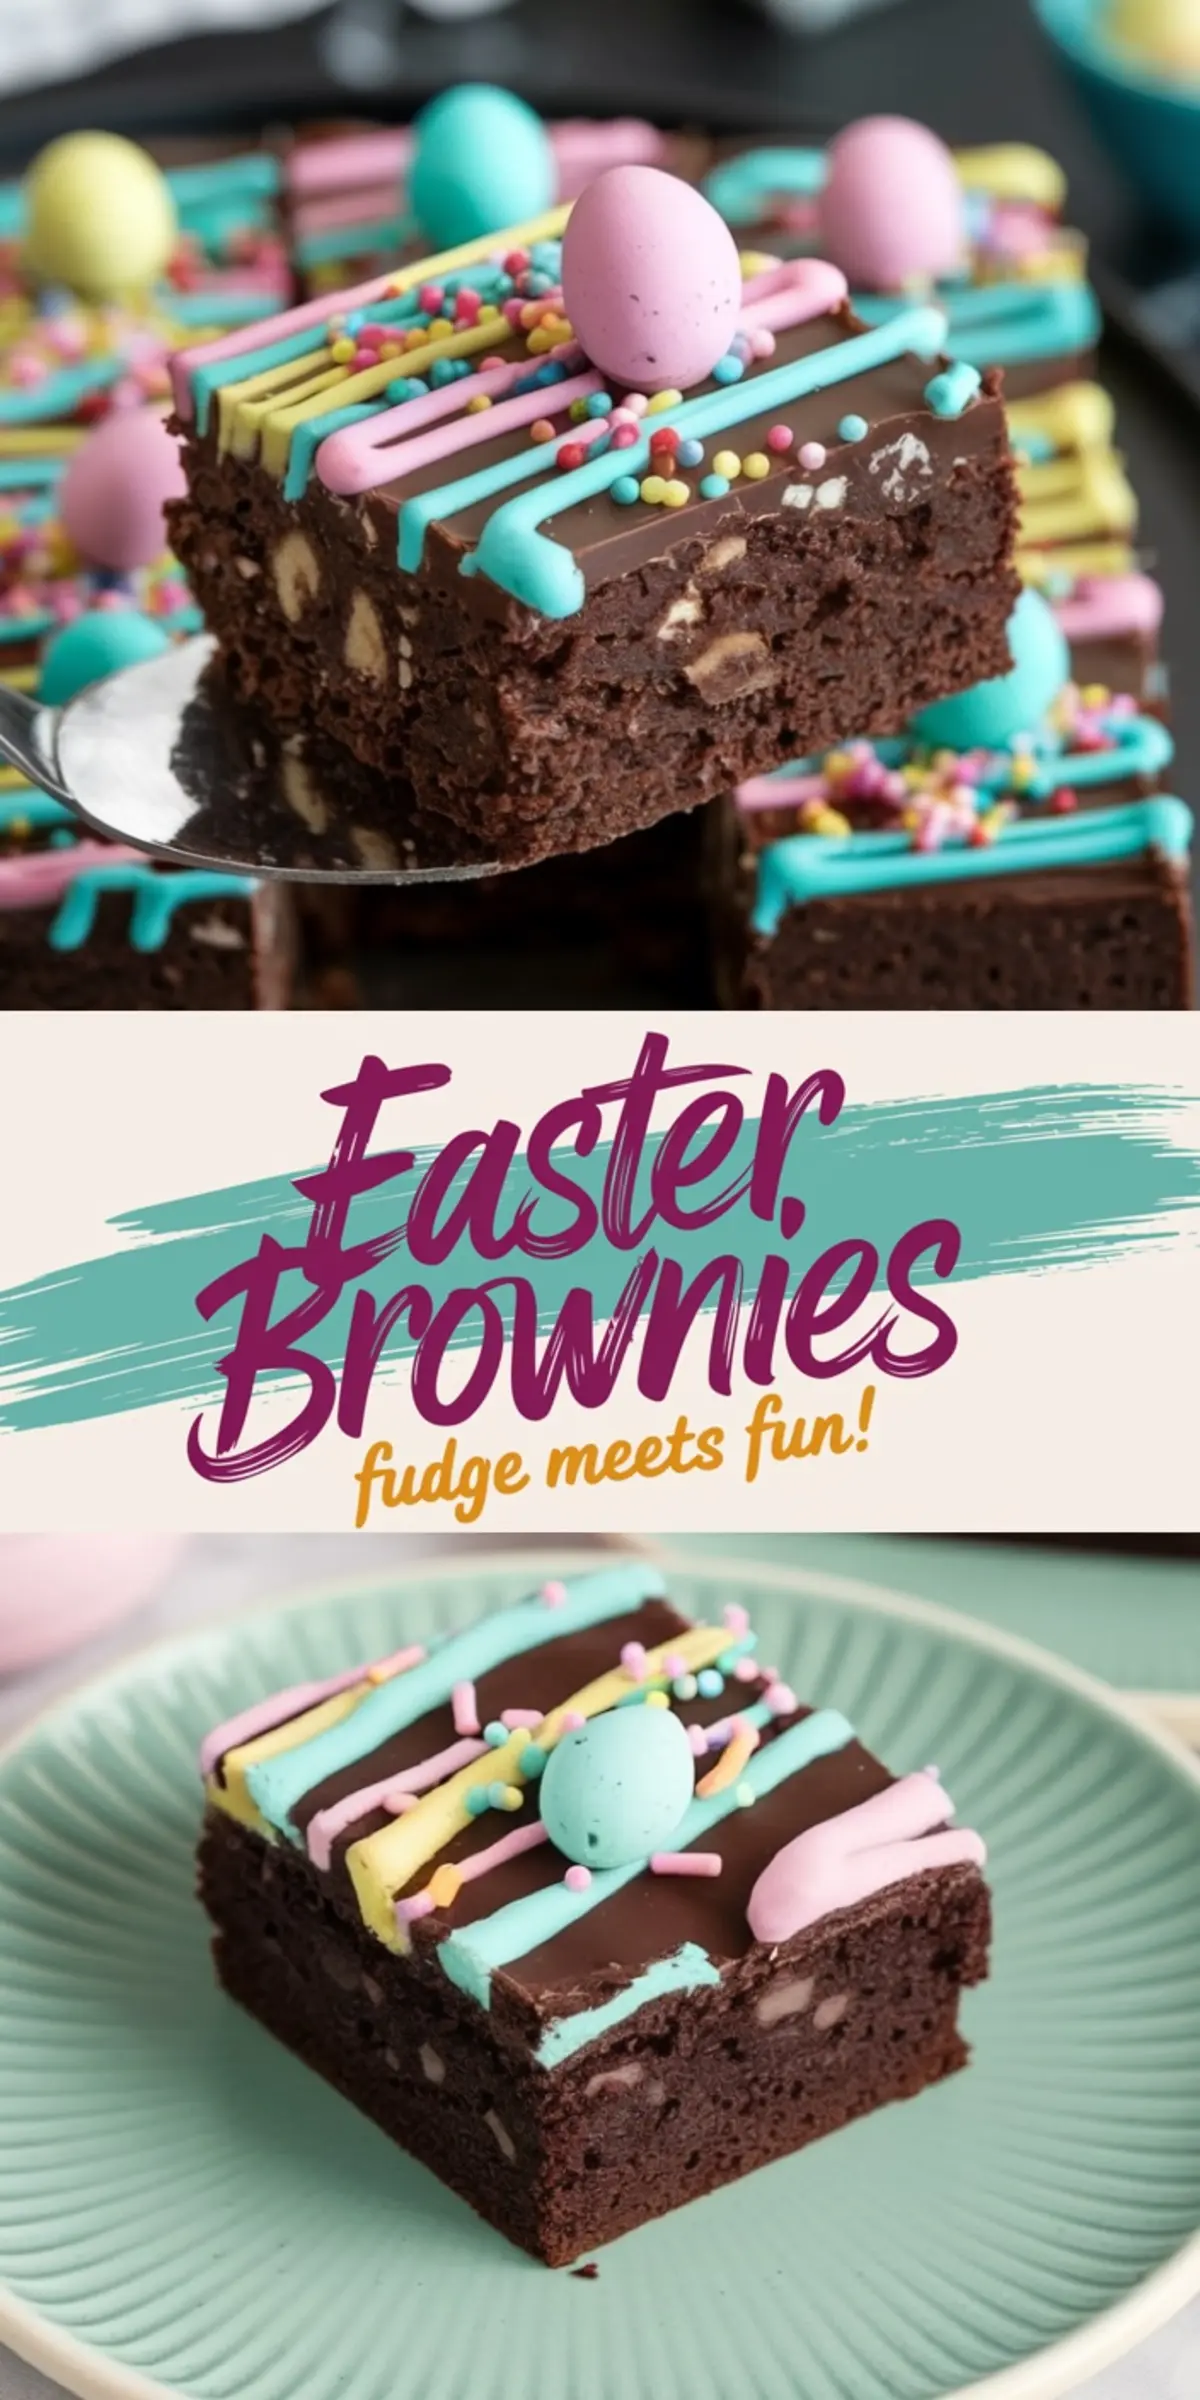
Easter Brownies Recipe
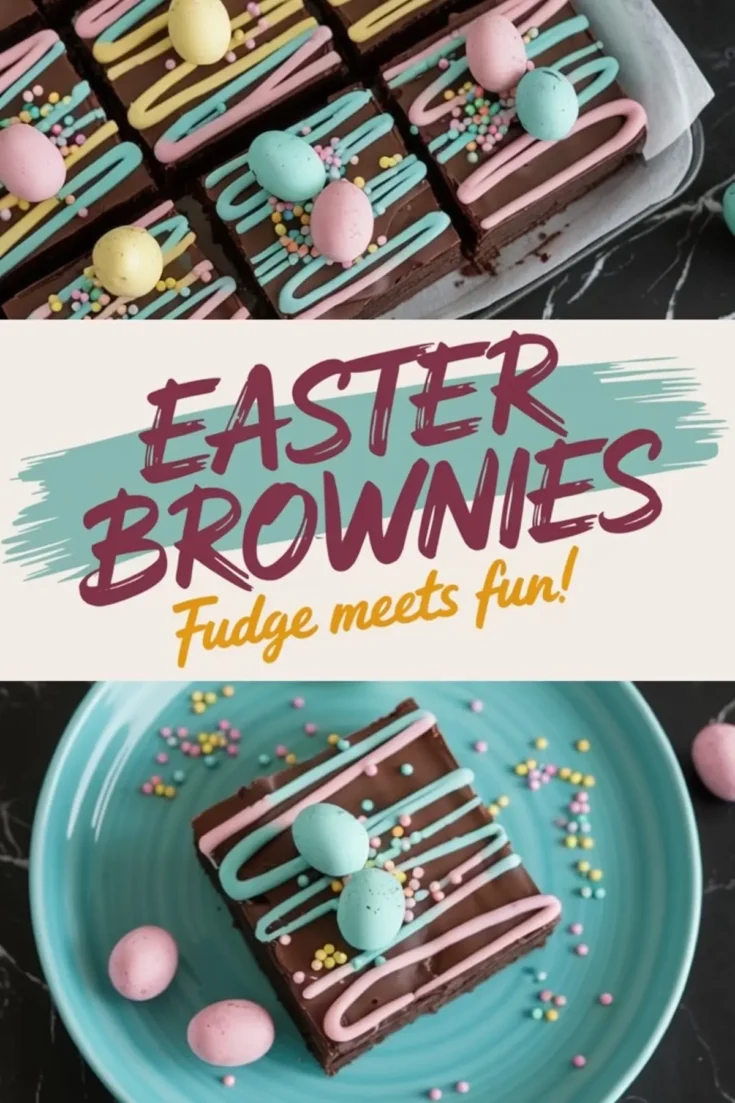
Rich chocolate brownies topped with a smooth chocolate layer and festive decorations. These brownies are dense and chewy with a colorful Easter-themed finish.
Ingredients
- FOR THE BROWNIES:
- 1 cup unsalted butter, melted
- 1 ½ cups granulated sugar
- 1 cup brown sugar
- 4 large eggs
- 1 tablespoon vanilla extract
- 1 cup all-purpose flour
- ¾ cup cocoa powder
- ½ teaspoon salt
- 1 cup chocolate chips
- FOR THE CHOCOLATE TOPPING:
- 1 ½ cups semisweet or milk chocolate chips
- 1 tablespoon coconut oil or butter
- FOR THE DECORATION:
- ½ cup white chocolate, melted
- Food coloring (pink, blue, yellow)
- Mini candy eggs
- Sprinkles
Instructions
- PREHEAT THE OVEN: Set the oven to 350°F (175°C). Line a 9x13-inch baking pan with parchment paper to prevent sticking and make removal easier.
- MIX THE WET INGREDIENTS: In a large bowl, whisk together the melted butter, granulated sugar, and brown sugar until smooth. Add the eggs one at a time, whisking well after each addition. Stir in the vanilla extract until the mixture is thick and glossy.
- COMBINE THE DRY INGREDIENTS: In a separate bowl, sift together the flour, cocoa powder, and salt. Gradually fold the dry ingredients into the wet mixture using a spatula, stirring gently until just combined. Avoid overmixing to keep the brownies dense and fudgy.
- ADD CHOCOLATE CHIPS AND BAKE: Fold in the chocolate chips, then pour the batter into the prepared pan, spreading it evenly. Bake for 30–35 minutes, or until a toothpick inserted into the center comes out with a few moist crumbs. Let the brownies cool completely before adding the topping.
- MAKE THE CHOCOLATE TOPPING: In a microwave-safe bowl, melt the chocolate chips with coconut oil, stirring every 20 seconds until smooth. Pour the melted chocolate over the cooled brownies and spread it evenly with a spatula.
- DECORATE THE BROWNIES: Melt the white chocolate and divide it into three small bowls. Tint each portion with a different pastel color using food coloring. Drizzle the colored chocolate over the chocolate layer. Add sprinkles and gently press mini candy eggs on top before the chocolate sets.
- SET AND SERVE: Allow the brownies to cool until the chocolate firms up. For faster setting, place the pan in the refrigerator for 20 minutes. Once set, slice into squares and serve.
Notes
Let the brownies cool completely before adding the chocolate topping to prevent it from melting into the base.
Use gel food coloring for more vibrant pastel shades without altering the white chocolate's consistency.
For clean slices, use a sharp knife warmed under hot water and wiped dry between cuts.
Store brownies in an airtight container at room temperature for up to 3 days or in the refrigerator for up to a week.
Nutrition Information:
Yield:
16Serving Size:
1Amount Per Serving: Calories: 470Total Fat: 25gSaturated Fat: 15gTrans Fat: 0gUnsaturated Fat: 8gCholesterol: 95mgSodium: 118mgCarbohydrates: 59gFiber: 2gSugar: 48gProtein: 6g

Hi there, looking really forward to trying these. What size pan do you recommend?
Hi Petra — use a 9×13-inch pan for this one. That gives the brownies the thickness shown here and helps them bake through evenly without drying out. If you use a smaller pan, they’ll be thicker and will need more time in the oven.