

My aunt used to serve a batch of sweet cookies on every spring holiday, filling the kitchen with bright anticipation. I remember her floral apron sprinkled with flour as she placed each baked circle onto a wooden board, smiling at the promise of something delicious. There is a special detail in this recipe that I like to call the dash of magic, and it still surprises guests every time.
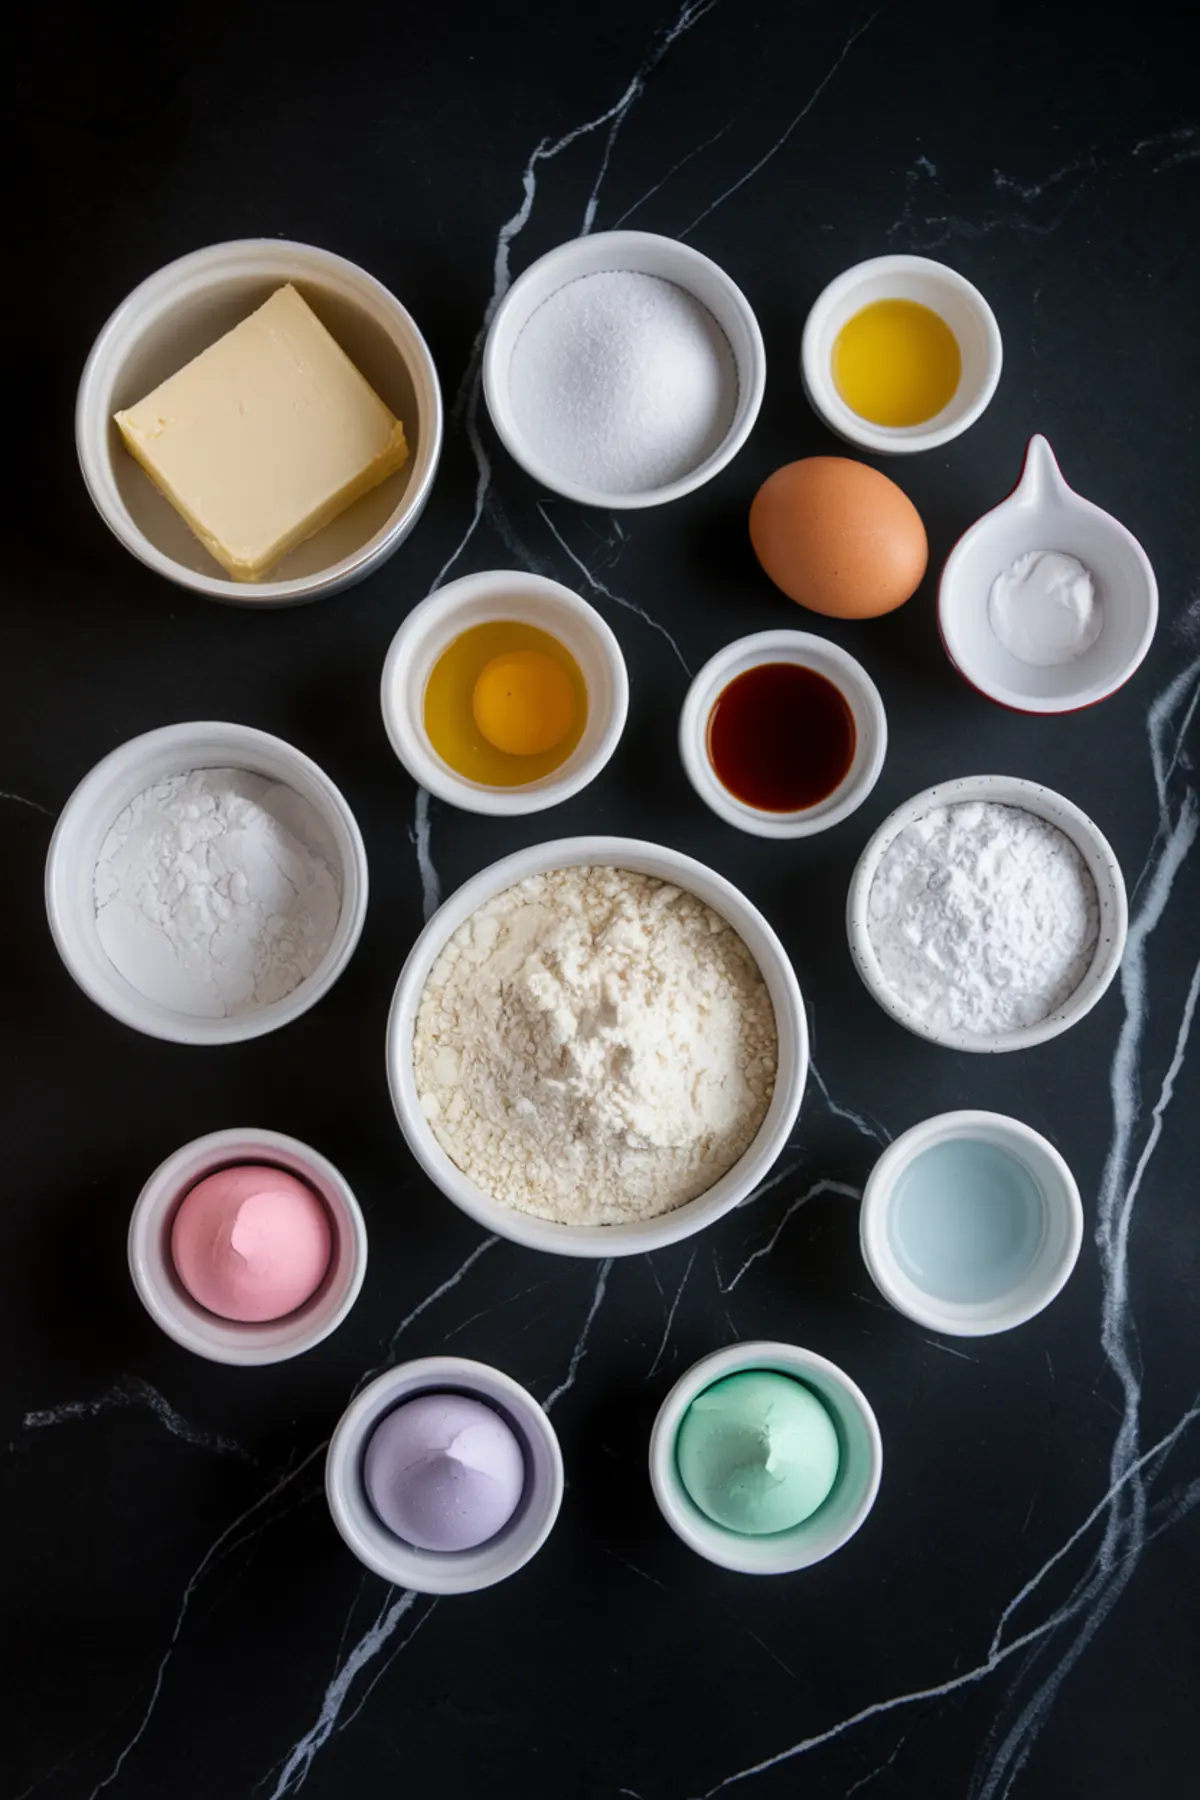
I rely on classic pantry items such as unsalted butter, granulated sugar, and a single egg for this dough. The blend of flour, baking powder, and salt holds everything together and gives each cookie a gentle bite. Friends often ask me how these Easter sugar cookies end up so soft, and I point to the right balance of moisture and gentle mixing.

Dough Preparation and Key Steps
I beat the softened butter and sugar until everything looks airy, then add the egg and standard flavor. A separate bowl with flour, baking powder, and salt waits for its turn, and it slips in gradually. This mix creates a dough that feels pliable but not sticky, making it easy to roll out later.
Baking the Easter Shapes
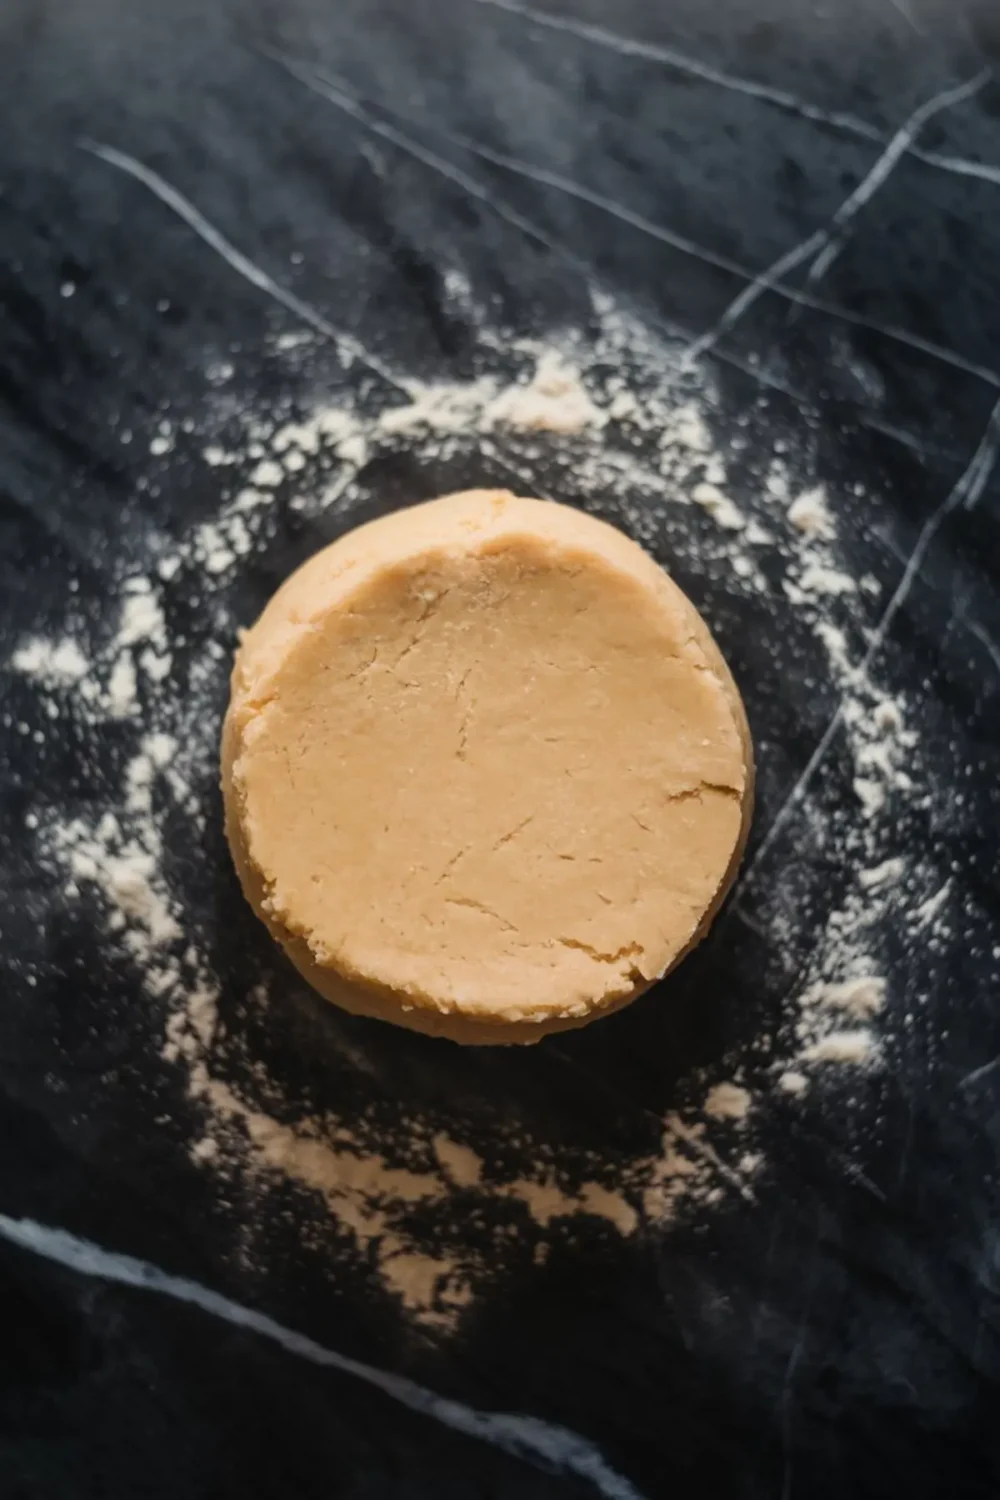
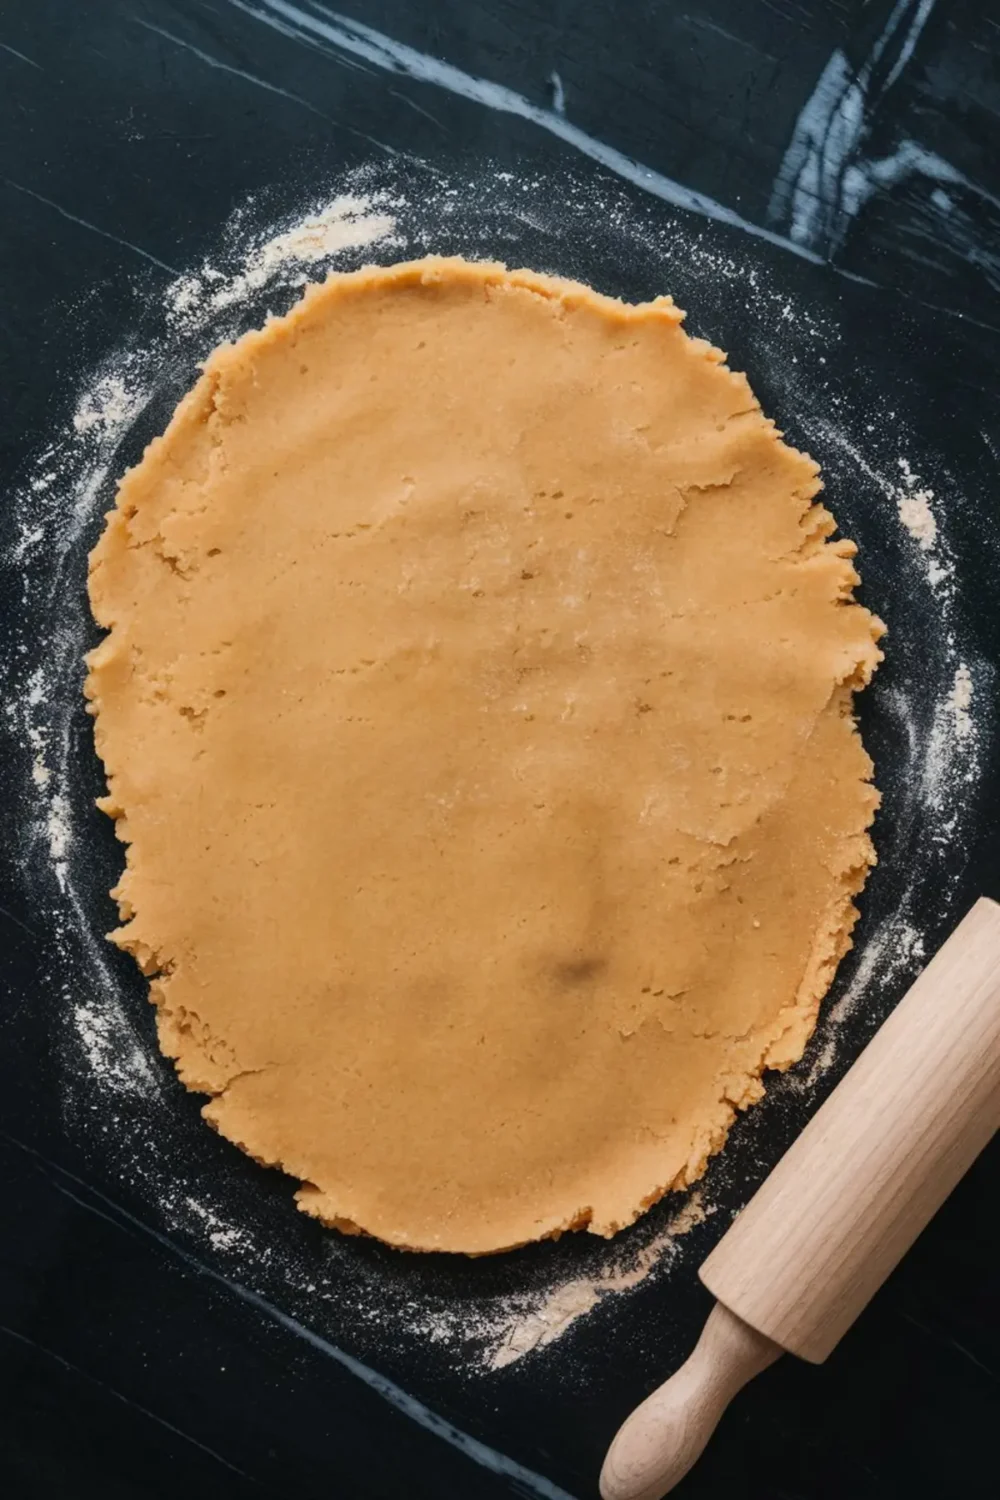
I chill the dough for at least an hour, which helps it become sturdy enough for cutting. A floured surface and a rolling pin keep things smooth as I flatten the dough to about a quarter inch. Egg and bunny cutters form the shapes, and they bake at 350°F until the edges barely turn golden.
Creating the Pastel Royal Icing
I whisk powdered sugar and meringue powder, then add water and a mild flavor. This combination forms a glossy icing that dries to a crisp finish on top of each cookie. My tips for success include adjusting the thickness with tiny splashes of water or more sugar, ensuring a silky flow that pipes neatly.
Decorating with Soft Hues
I divide the icing into small bowls for each pastel shade, usually pink, yellow, lavender, mint green, and white. A simple outline around each cookie shape forms a border, and then I fill the center with a slightly thinner icing. A toothpick or scribe tool smooths out any bumps, giving the cookies a neat surface to dry.
Adding Easter Details
I like to let the base dry before piping tiny dots or lines to create playful designs. Bunny faces, floral accents, and grass elements stand out with a second layer of contrasting color. Patience remains essential, because rushing leads to smudges and a less defined look.
My Cat Whiskers and the Baking Adventures
Whiskers, my curious and fluffy companion, often peers around the corner whenever I start baking. He seems to appreciate the comforting aroma, even though he sticks to his usual treats. I catch him sniffing the air and flicking his tail in approval, a fun reminder that our furry friends sense these baking rituals too.
The Golden Spoon from Aunt Marian
I still use the golden spoon that I inherited from my Aunt Marian, who believed that a sturdy spoon could last generations. The handle feels smooth, and it reminds me of the generations who stirred dough and sauces before me. Every swirl in the mixing bowl connects me to her, so I never forget the tradition behind each recipe.
I record my adjustments in a special Pin Notebook, which holds quick scribbles on measurements and flavor experiments. This small journal helps me remember the changes that worked or the ideas that need a fresh test. I consult it every time I try a new baking style or color technique.
Comparing with Other Easter Treats
I sometimes bake Italian Easter Cookies as well, which have a fluffy texture and a light glaze. Another option is the no-bake Easter Egg Cookie Dough Bites for those who want a quick treat. These alternatives sit nicely beside the sugar cookies, so a holiday spread can have multiple flavors.
Storage and Shelf Life
I let the icing set fully, which usually means letting the cookies rest overnight. That waiting period gives the decorations time to harden and maintain a bright finish. Proper sealing in an airtight container keeps them fresh for about a week.
The Dash of Magic
I hinted earlier that there is an unexpected element in this recipe. A drop of almond extract adds a gentle and sweet note that wakes up the senses. I started adding it after I tasted a friend’s homemade batch, and ever since then, it has become the highlight that everyone tries to guess.
Icing Consistency Tips
I prefer a thick outline to create a border. A bit of water thins out another portion of the icing for flooding the inside. That approach minimizes any overflow and simplifies cleanup, which saves time and preserves your artistic vision.
Royal Icing Drying Suggestions
I sometimes place a fan on a low setting near the decorated cookies. The gentle airflow speeds up the drying without disturbing the delicate designs. This step helps if you plan to pack or gift the cookies the same day.
Color Variation Ideas
I have fun exploring different pastel palettes to suit different moods. Pale blues or blush pinks can shift the style and give each holiday tray a new flair. This technique keeps every batch unique, even if the recipe stays consistent.
Inviting Social Interaction
Do you ever adapt recipes with your own twist? I believe recipe sharing and conversation keep cooking traditions strong. Everyone learns something from seeing new shapes, new icing effects, or new ingredients that spark curiosity.
Pin and Share Your Easter Sugar Cookies

Kids or friends who visit can pipe small flowers or polka dots on top of each cookie shape. They bring fresh ideas, and they often surprise me with bright color combinations. I usually hand them their own set of icing bags, and we share a few laughs around the kitchen island.
Feel free to save this Easter sugar cookie recipe to your Pinterest board and revisit it any time you crave a sweet spring dessert. Share your baking outcomes in the comments or let others know how your designs turned out. The home baking community grows stronger when people connect and inspire one another with creative tips and friendly support.
Easter Sugar Cookies Recipe

Easter sugar cookies have a soft texture and buttery flavor, making them perfect for decorating. These cookies hold their shape well and pair beautifully with pastel royal icing for a festive finish.
Ingredients
- FOR THE COOKIES
- 1 cup (226g) unsalted butter, softened
- 1 cup (200g) granulated sugar
- 1 large egg
- 1 ½ teaspoons vanilla extract
- ½ teaspoon almond extract (optional)
- 2 ¾ cups (343g) all-purpose flour
- ½ teaspoon baking powder
- ½ teaspoon salt
- FOR THE ROYAL ICING
- 4 cups (480g) powdered sugar
- 3 tablespoons meringue powder
- 6 tablespoons water
- ½ teaspoon vanilla extract
- Gel food coloring (pastel pink, yellow, lavender, mint green, and white)
Instructions
- PREPARE THE DOUGH: In a large mixing bowl, beat the softened butter and sugar together until light and fluffy, about 2 minutes. Add the egg, vanilla extract, and almond extract, then mix until fully combined. In a separate bowl, whisk together the flour, baking powder, and salt. Gradually add the dry ingredients to the wet ingredients, mixing until just combined. The dough will be soft but not sticky. Divide the dough in half, shape into discs, and wrap in plastic wrap. Chill in the refrigerator for at least 1 hour or up to overnight.
- CUT AND BAKE THE COOKIES: Preheat the oven to 350°F (175°C) and line baking sheets with parchment paper. On a lightly floured surface, roll out the chilled dough to about ¼-inch thickness. Use egg and bunny-shaped cookie cutters to cut out shapes, then place them on the prepared baking sheets. Bake for 8-10 minutes, or until the edges are just slightly golden. Allow cookies to cool on the baking sheet for 5 minutes before transferring to a wire rack to cool completely.
- MAKE THE ROYAL ICING: In a large bowl, whisk together the powdered sugar and meringue powder. Add water and vanilla extract, then beat on medium speed for about 2 minutes until smooth and glossy. If the icing is too thick, add a teaspoon of water at a time until it reaches a pipeable consistency. If it's too thin, add more powdered sugar.
- COLOR THE ICING: Divide the icing into separate bowls, one for each color. Use gel food coloring to create pastel shades: soft pink, pale yellow, lavender, mint green, and white. Transfer the icing into piping bags with fine round tips, such as a Wilton #2 or #3 tip for outlining and a larger tip for flooding.
- DECORATE WITH FLOOD ICING: Outline each cookie with royal icing in the desired color, then immediately fill the center with the same icing. Use a toothpick or scribe tool to spread the icing evenly and remove air bubbles. Let the base layer dry completely, about 6-8 hours or overnight for best results.
- ADD DETAILS: Once the base icing is dry, use a piping bag with a smaller tip to create details. Pipe small white dots and lines for floral designs, use green icing to create grass along the bottom of cookies, and add simple swirls or dots for decorative accents. For bunny faces, pipe small dots for eyes and delicate patterns for a cute finish.
- LET THE COOKIES DRY: Allow the decorated cookies to dry for several hours before stacking or packaging them.
Notes
For best results, chill the dough thoroughly before rolling to help the cookies hold their shape during baking. If the dough becomes too soft while rolling, place it back in the refrigerator for 15-20 minutes.
Royal icing consistency is key for decorating. For outlining, use a thicker consistency, similar to toothpaste. For flooding, thin the icing slightly with water until it reaches a smooth, honey-like texture.
Decorated cookies should dry completely before stacking or packaging. To speed up drying, place them in front of a fan or in a cool, dry area.
Cookies can be stored in an airtight container at room temperature for up to one week or frozen for up to three months. If freezing decorated cookies, layer them between sheets of parchment paper to prevent smudging.
Nutrition Information:
Yield:
24Serving Size:
1Amount Per Serving: Calories: 82Total Fat: 1gSaturated Fat: 1gTrans Fat: 0gUnsaturated Fat: 1gCholesterol: 9mgSodium: 69mgCarbohydrates: 15gFiber: 0gSugar: 4gProtein: 2g
