

There’s something oddly disappointing about spooning canned cherry filling into a fresh pie shell. The color leans too neon, the texture too slick, the flavor strangely one-note. You think you’re saving time, but what you’re skipping is the one part that can actually make your pie taste like it came from your grandmother’s table.
This homemade cherry pie filling takes thirty minutes and gives you control over flavor, sweetness, and texture. You’ll learn how to make it thick enough to hold its shape and fresh enough to brighten anything from pancakes to parfaits.
You’ll also find one small ingredient that changes everything. It’s barely noticeable at first, but once you taste the difference, you’ll never go back. That secret shows up near the end. Let’s not get ahead of ourselves.
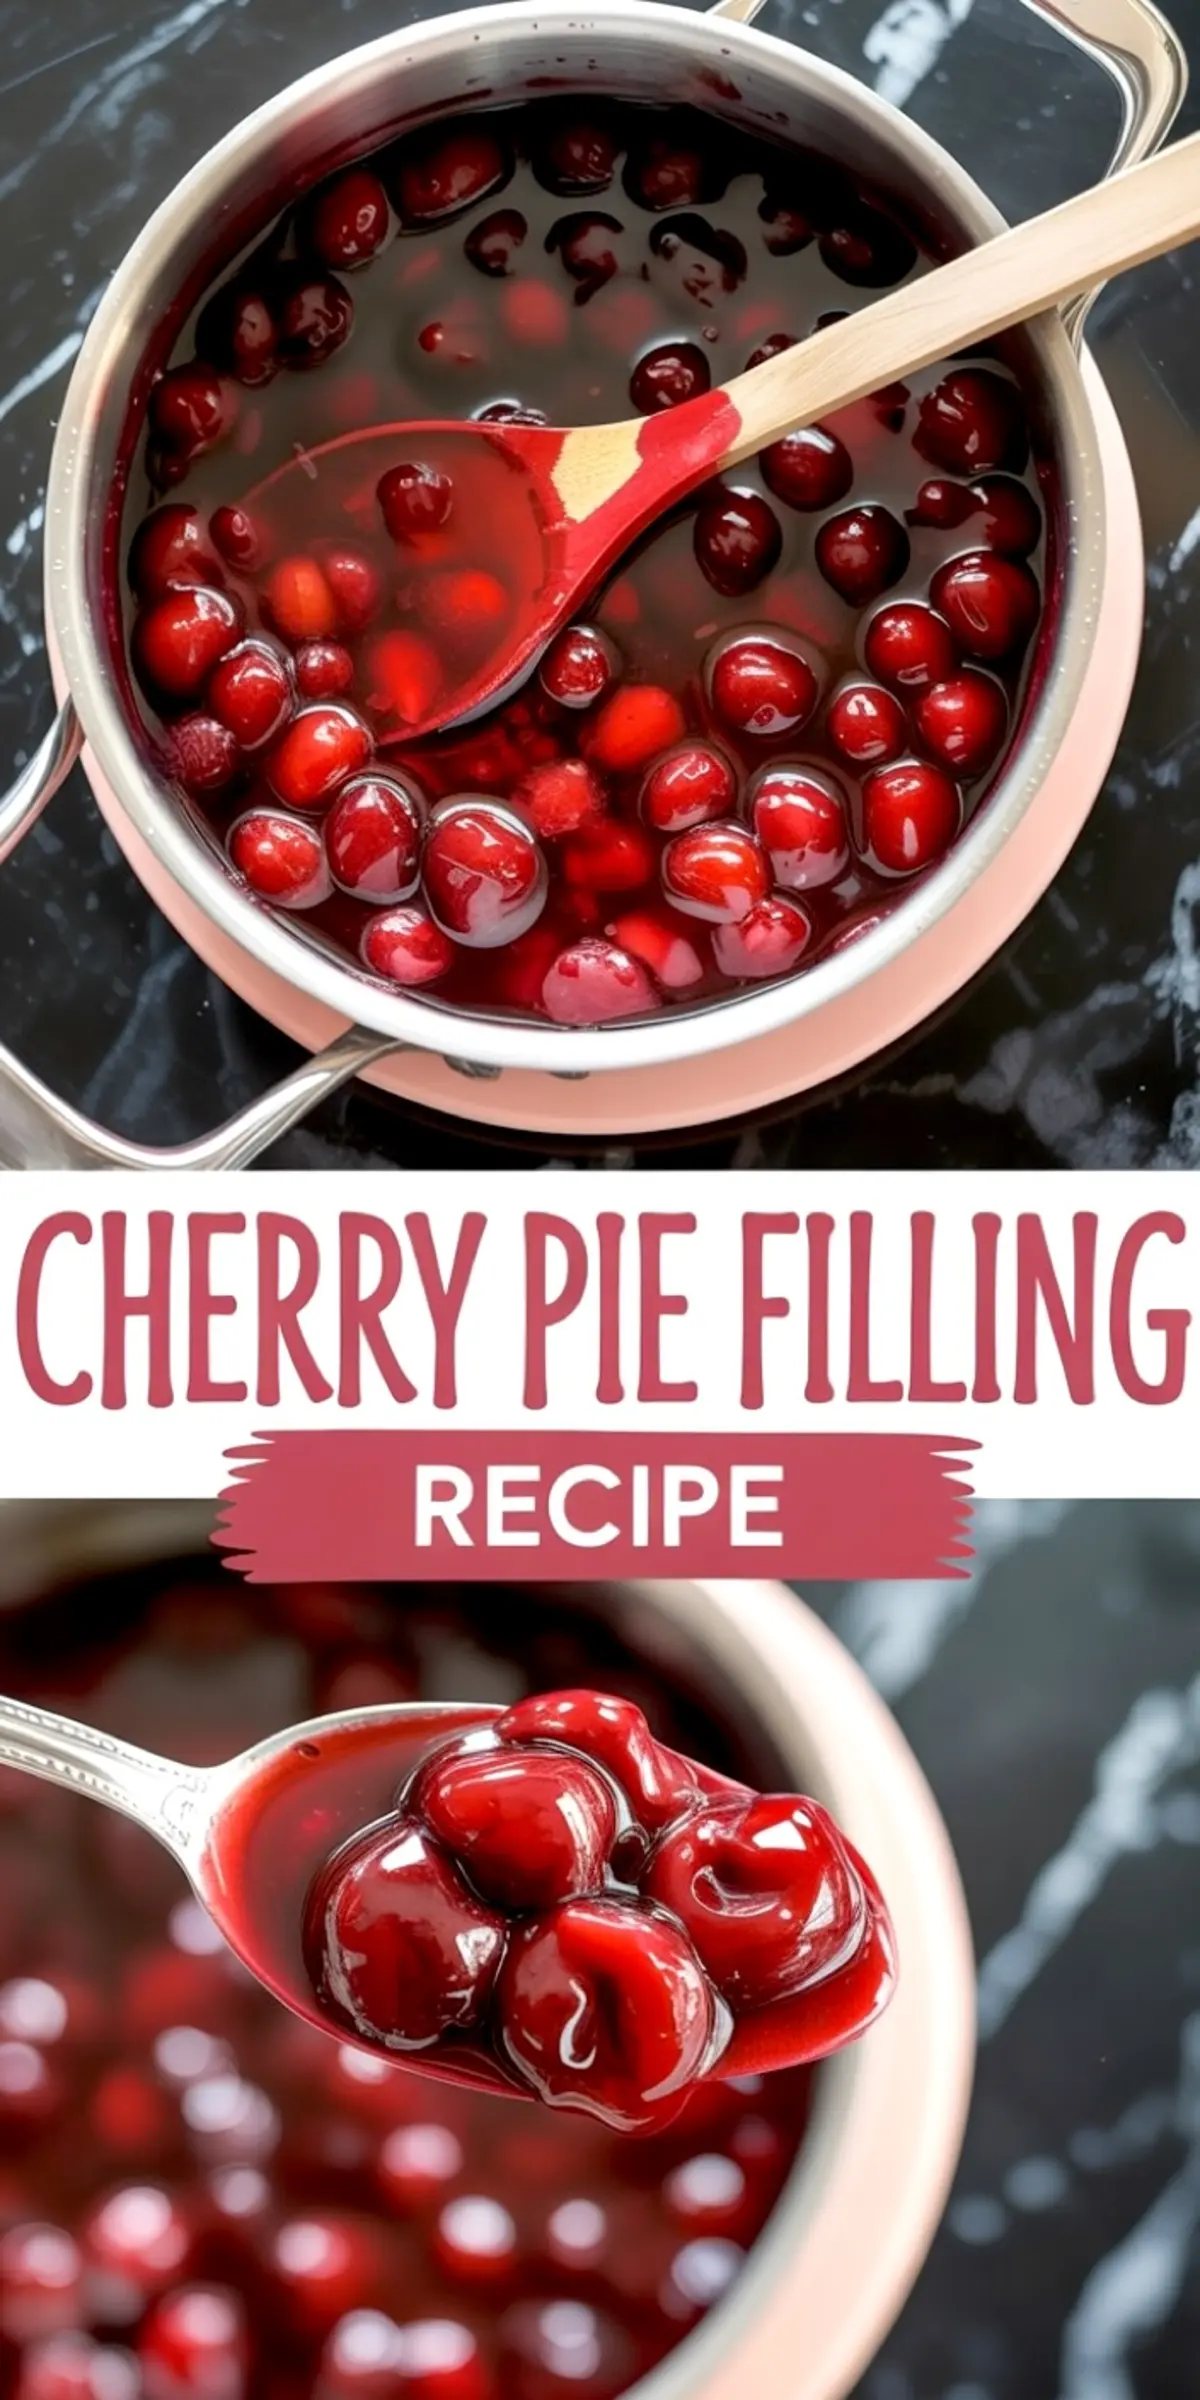
How to Make Fresh Cherry Pie Filling That Tastes Like Summer
Fresh or frozen cherries both work here, but they don’t behave the same. Frozen cherries tend to release more water. If you use them, make sure they’re fully thawed and drained. I’ve ruined more than one pie by skipping that step.
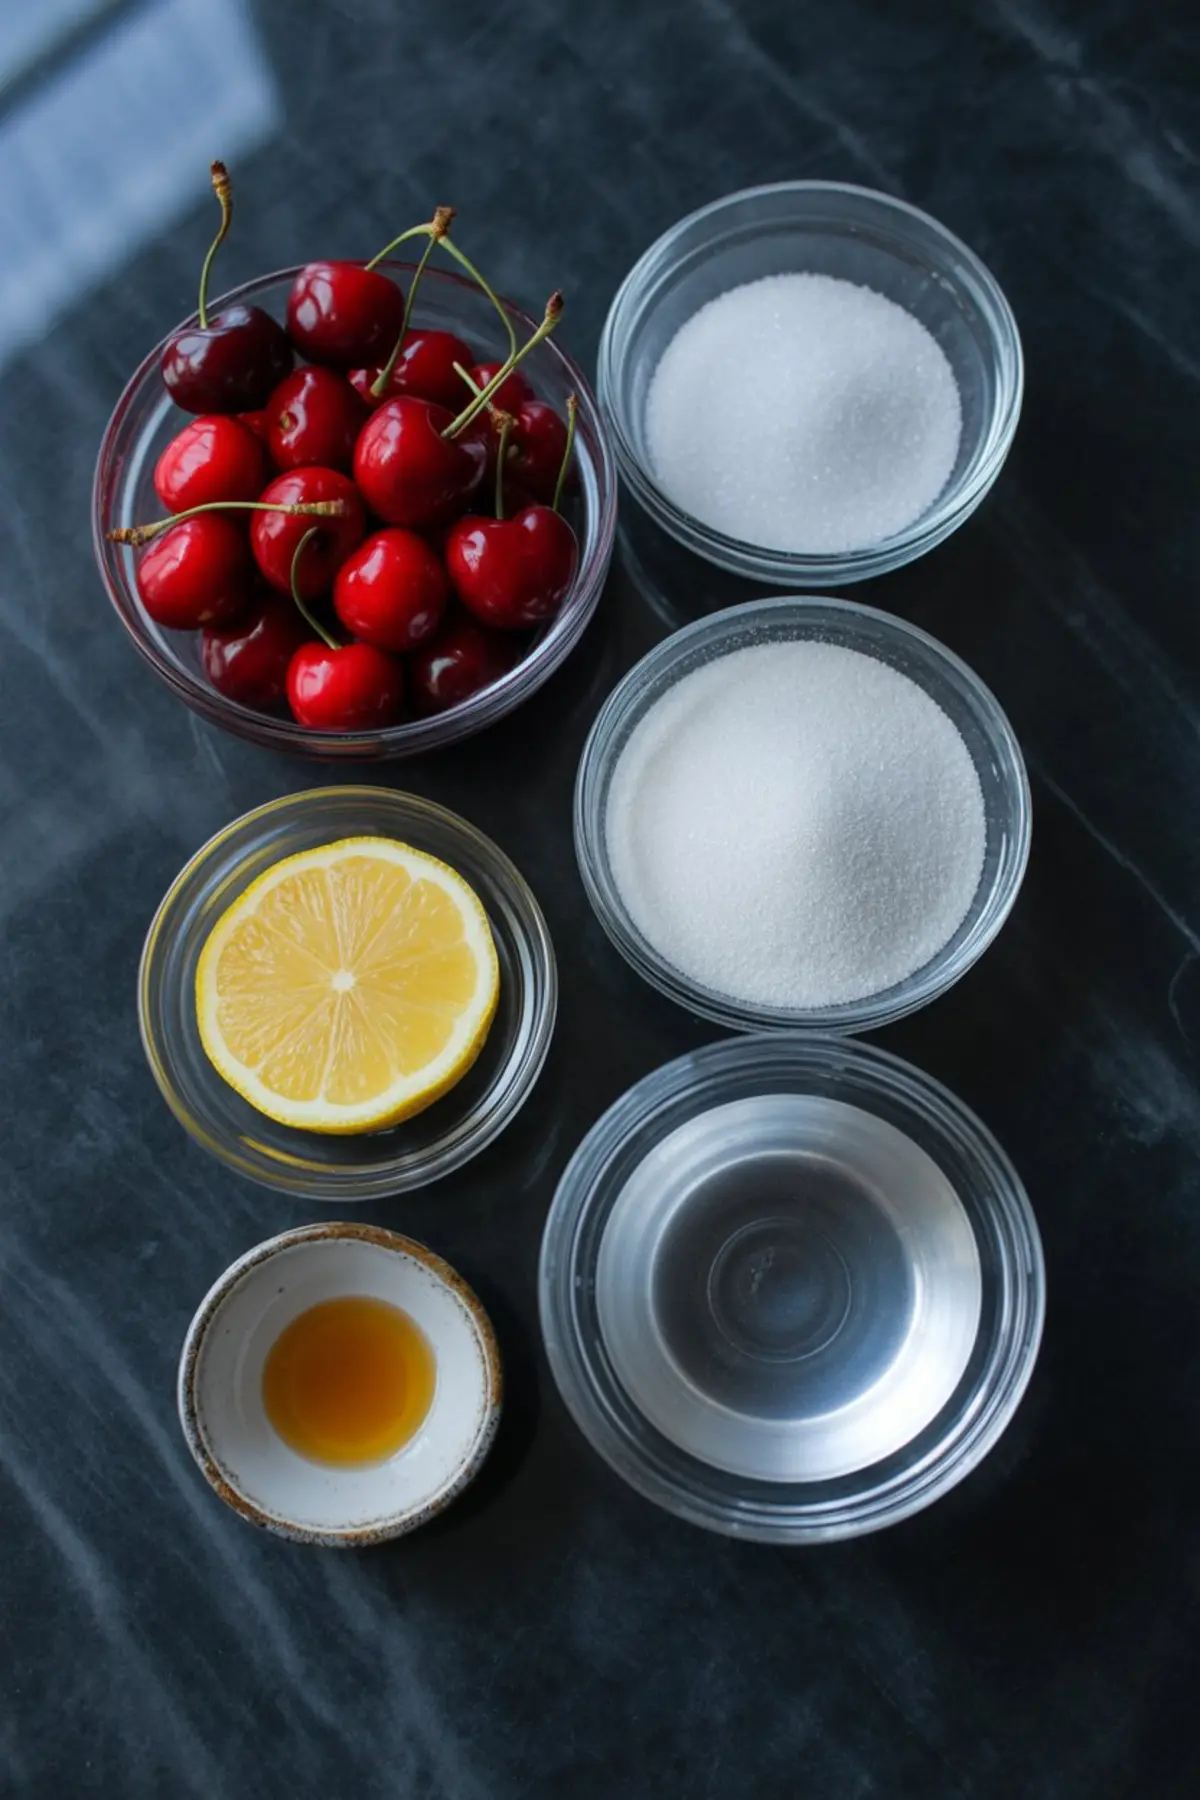
You start with four cups of cherries and simmer them with water, sugar, and a touch of lemon juice. That lemon is key. It doesn’t just brighten the flavor — it balances the sugar and pulls out the cherry’s natural tartness.
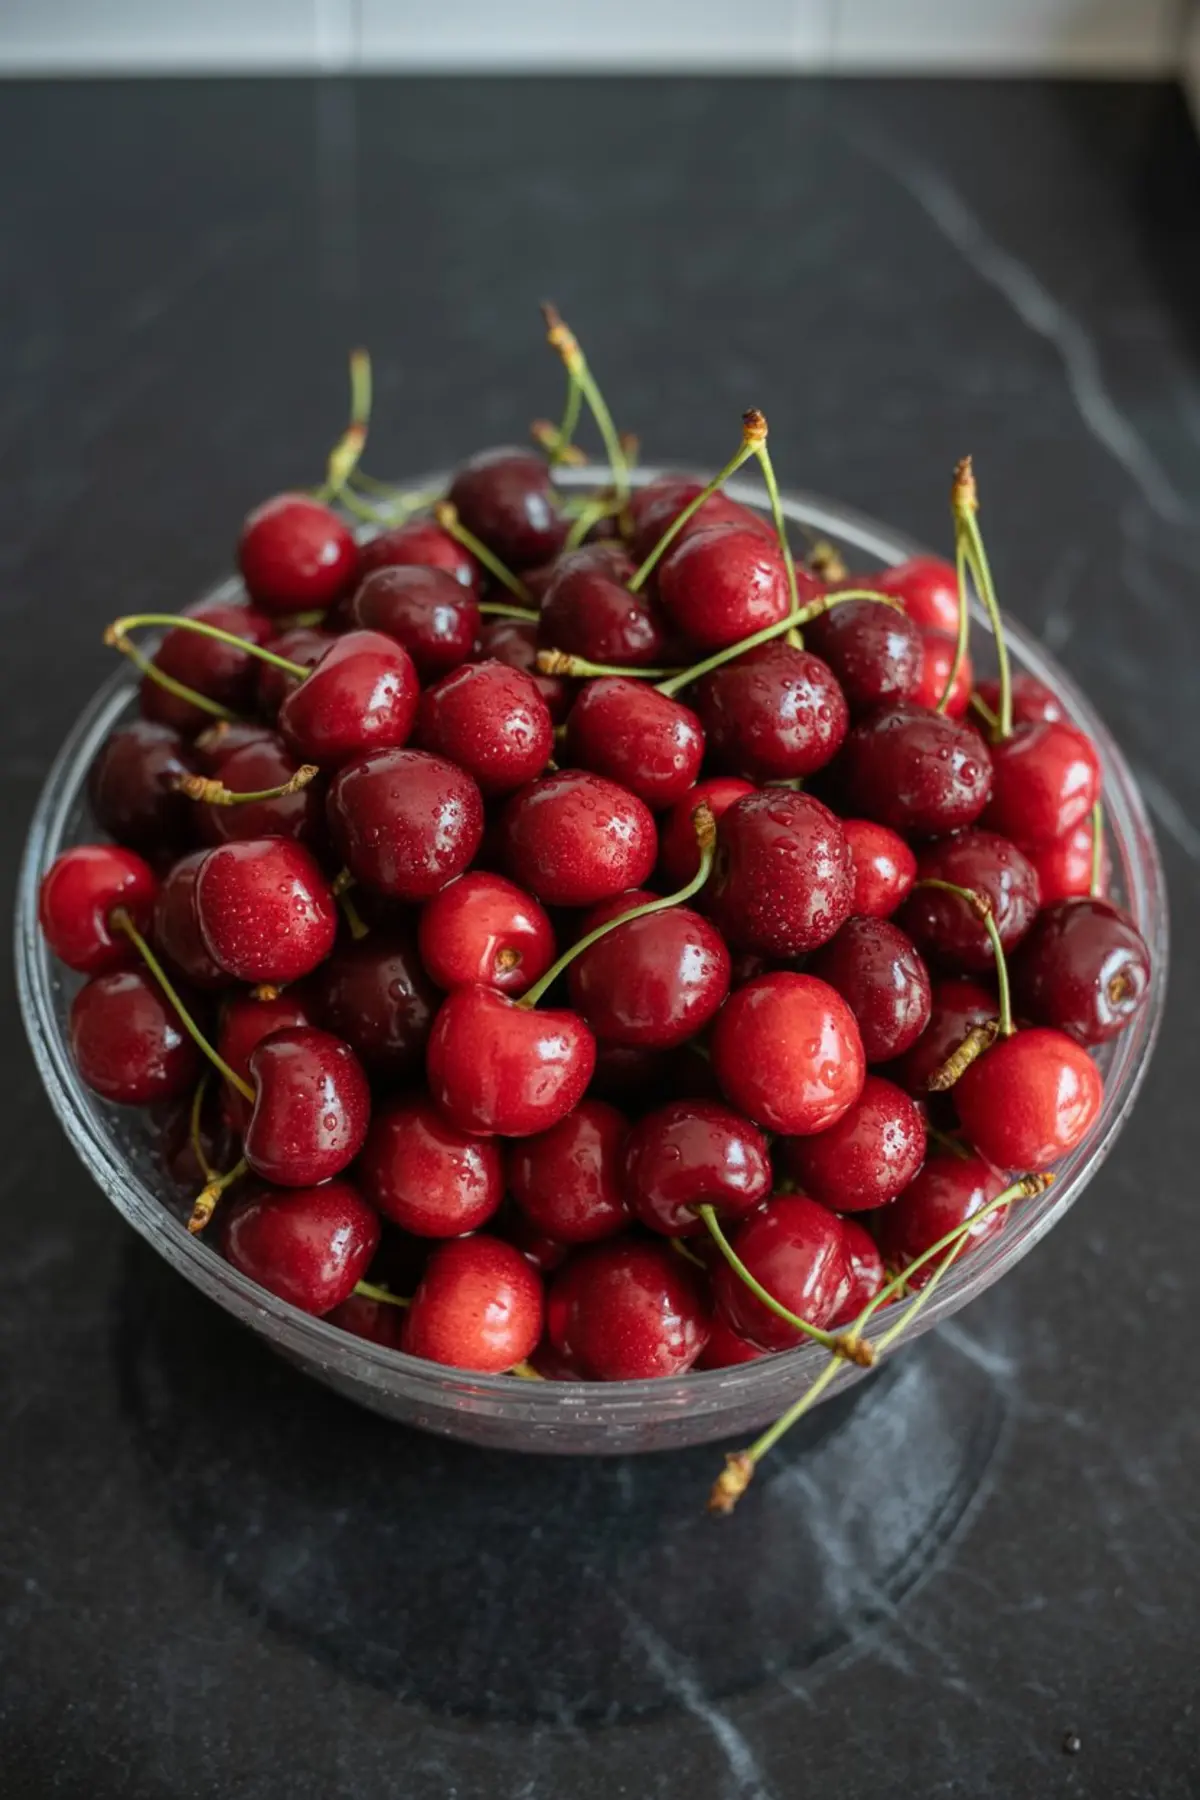
There’s a great classic cherry pie recipe you can follow after making this filling. But the beauty of it is how flexible it is. Use it for layering in trifles, swirling into yogurt, or folding into muffin batter for a quick cherry coffee cake. I’ve even spooned it over waffles on a slow Sunday morning.
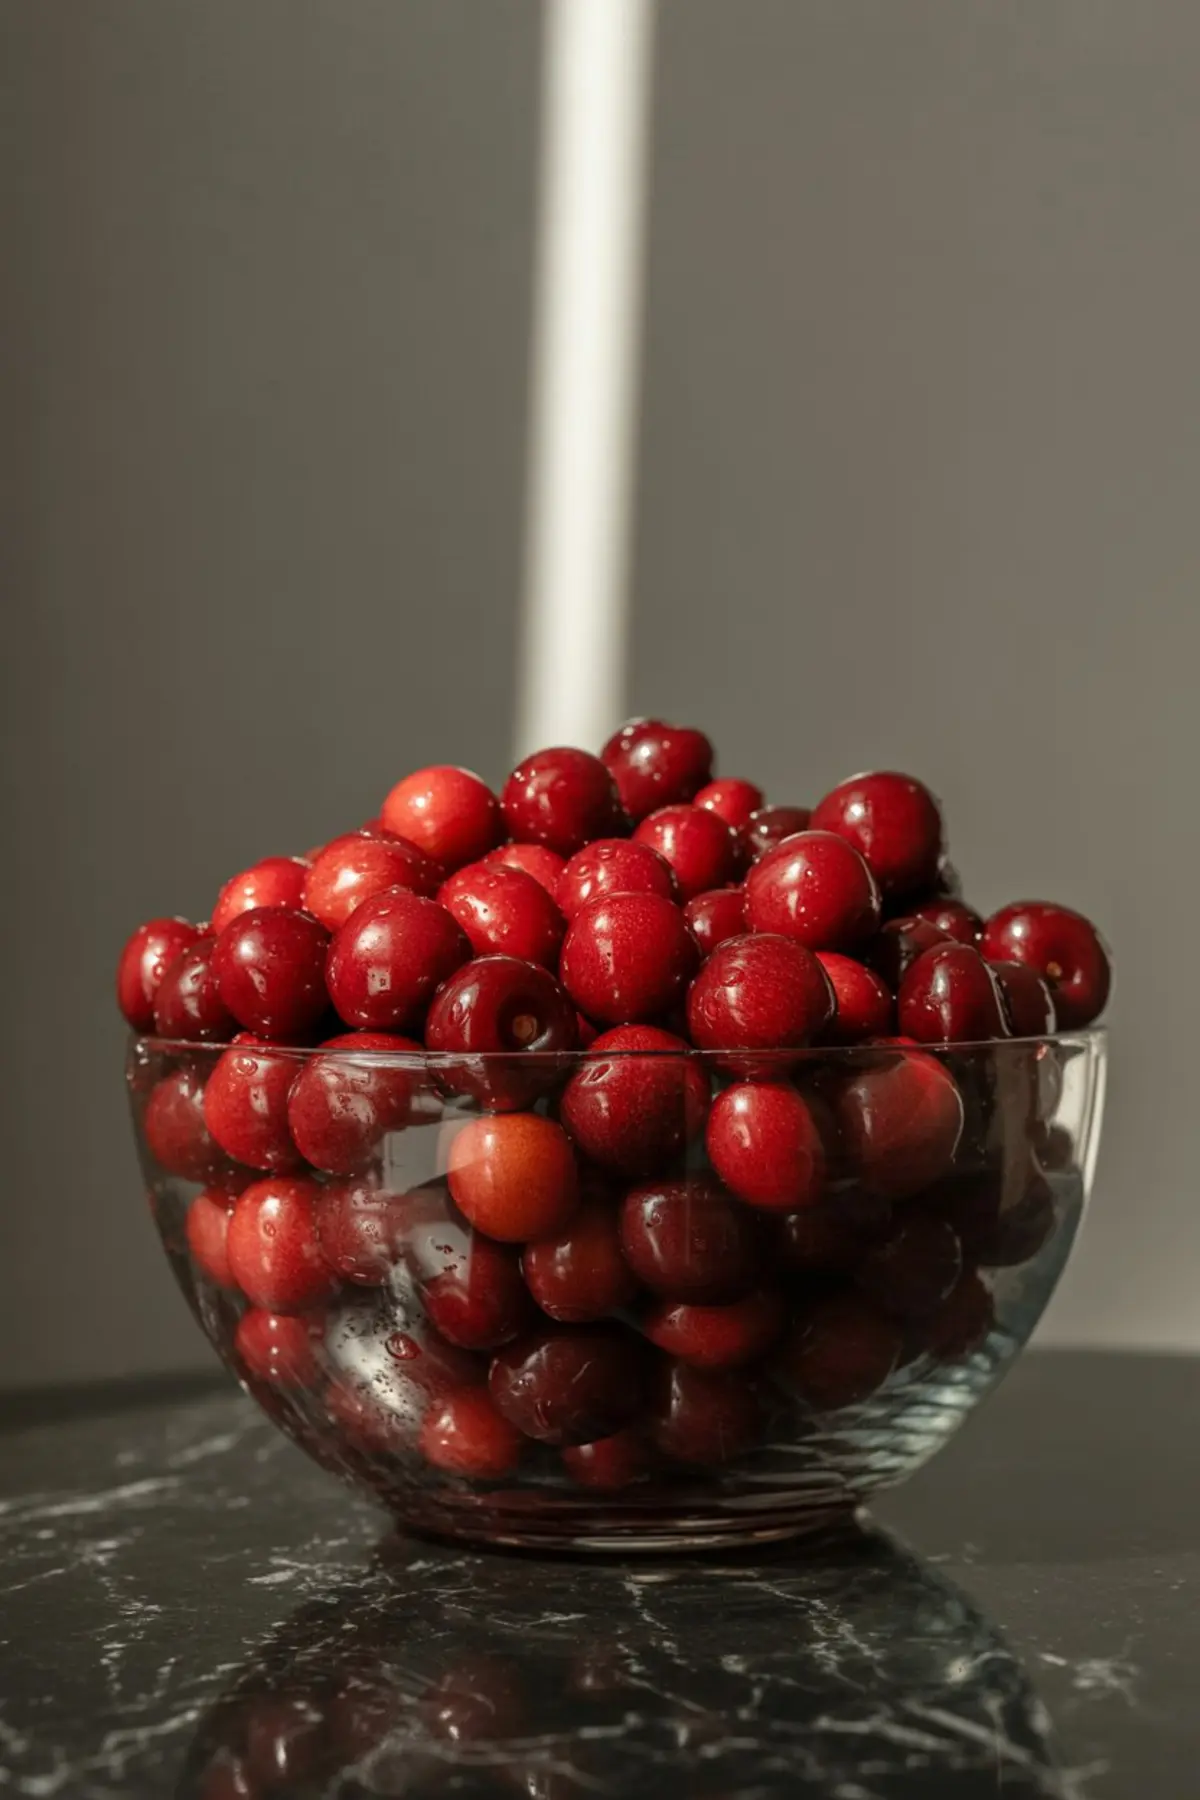
Why I Don’t Use Pre-Made Pie Fillings Anymore
Cherry pie with canned filling might feel convenient, but it always tastes like compromise. The texture turns gluey once baked, and the flavor lacks any depth. This version gives you something closer to a cherry compote — thick, glossy, and full of real fruit that holds its shape.
You control the sweetness here. That alone makes it a better option for desserts like cherry cream cheese pie or even simple cherry crisp with pie filling. If you want a slightly sharper flavor, reduce the sugar a bit or add another teaspoon of lemon juice. That small adjustment makes a big difference, especially if your cherries are extra ripe.
For flaky pie crust that holds up beautifully under this filling, this homemade pie crust recipe has never failed me.
A Quick Note on the Thickener That Works Best
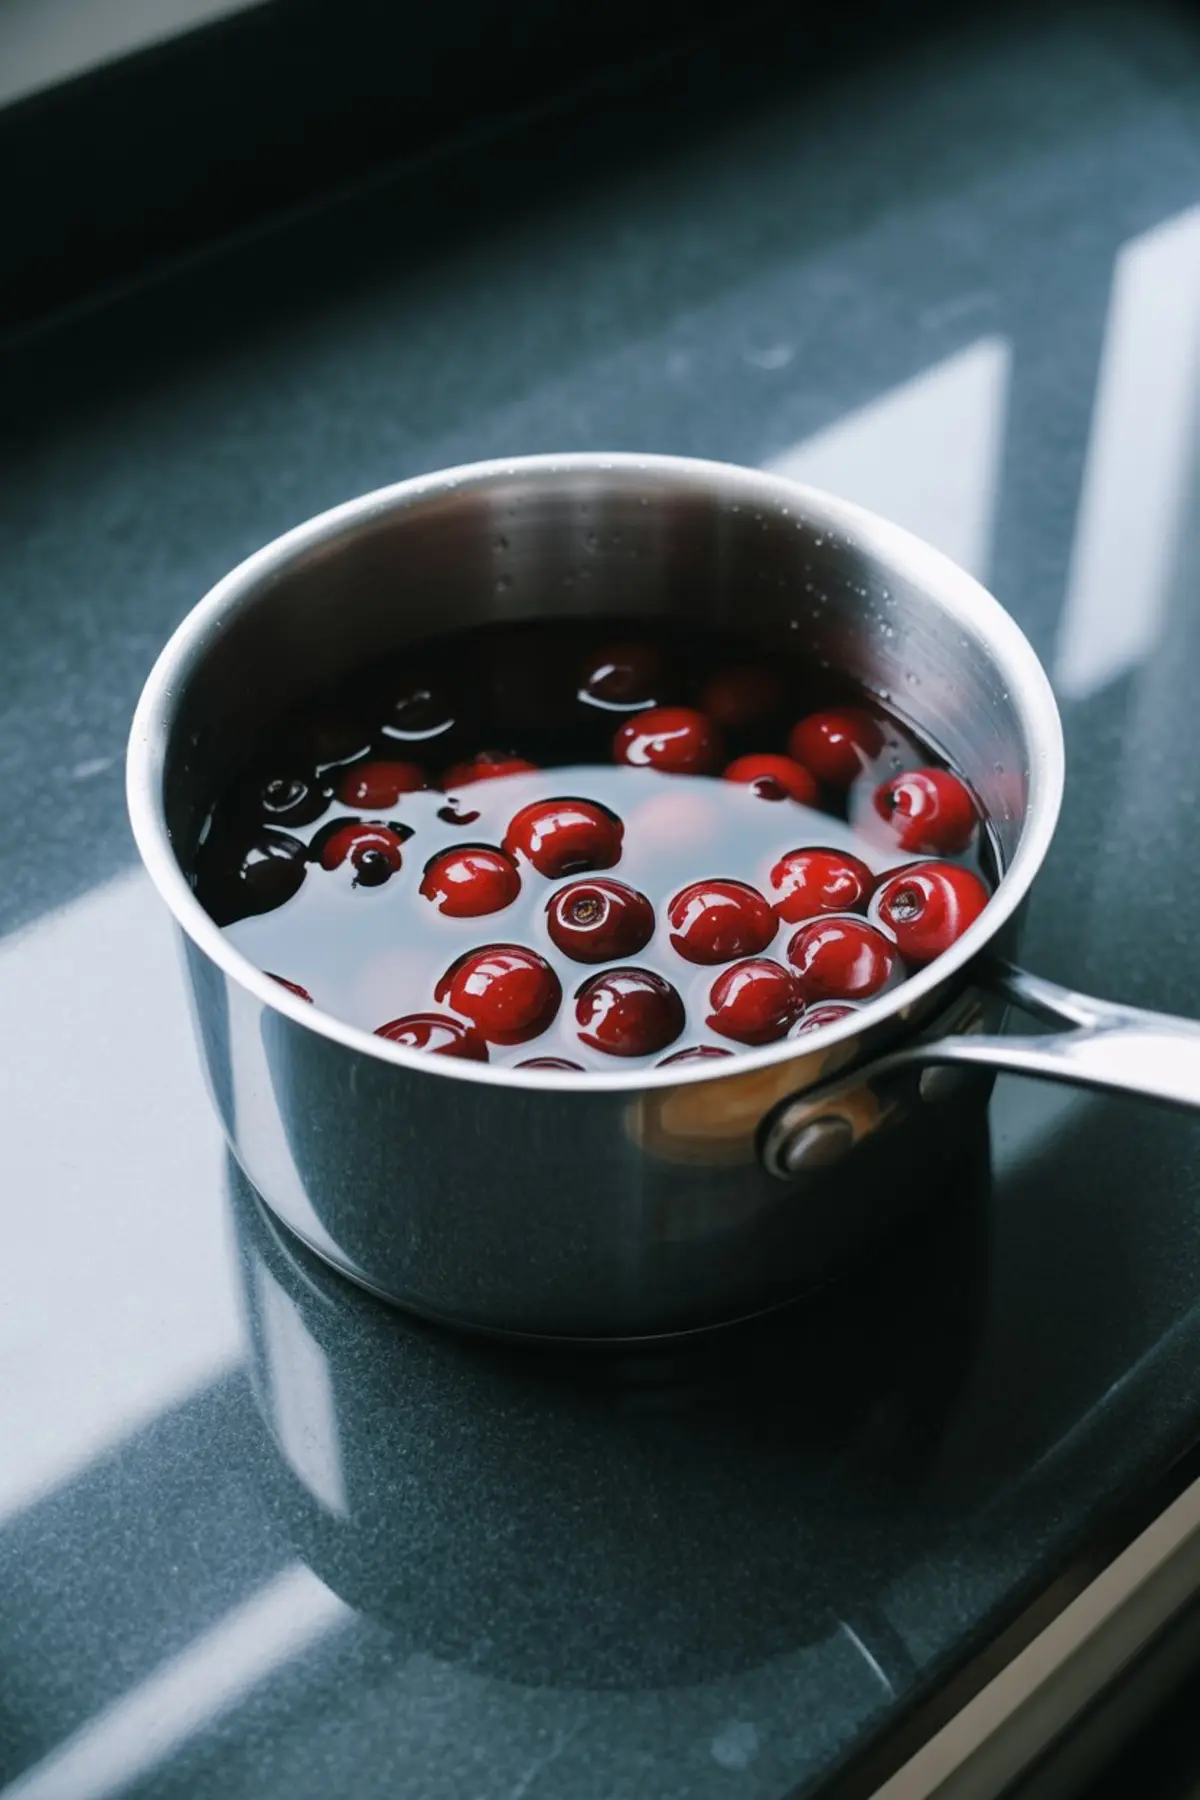
This filling uses cornstarch. And I’ve tested others. Arrowroot works, but the gloss is different. Flour leaves a dull finish and heavier texture. In my notes, I’ve found cornstarch consistently delivers the best result — a smooth, glossy sauce that holds together without clumping or tasting chalky.
The trick is in the slurry. Whisk cornstarch with cold water first. Don’t add it dry or to hot liquid. Then pour it in slowly while stirring the cherries. This small moment makes or breaks your filling.

You’ll know it’s ready when it coats the back of a spoon and glows with a deep red shine.
If you’re planning to bake it into a cobbler instead, consider this cherry cobbler with pie filling to get inspired. It’s one of my go-tos when I want something rustic and quick.
The Little Ingredient That Changes the Whole Thing
Once your filling thickens, take it off the heat. This is the part I wait for every time.
Stir in a touch of almond extract.
It’s optional, but don’t skip it. I’ve tried it with and without, and the difference is like black and white film compared to technicolor. That tiny bit of almond does something unexpected — it rounds out the fruit, softens the tartness, and makes the cherry flavor linger longer on the tongue.
Just half a teaspoon. That’s all it needs.
You might even find yourself spooning it into a bowl and eating it like pudding. I won’t judge. I’ve done it myself, more than once.
Storage, Texture, and Serving Tips
The filling thickens as it cools. So if it looks slightly loose when you turn off the heat, give it time. Once cooled, store it in jars and keep it in the fridge. It lasts five days, though mine rarely makes it past two.
Use it in summer pies, layer it into cherry parfaits, or top cheesecake bars with a generous spoonful. It also turns simple baked oats into something worth waking up early for.
For an easy cherry pie, fill a cooled shell with this homemade filling and bake just long enough to set the crust. Add a lattice if you’re feeling fancy.
If you’ve never made a fresh cherry pie recipe with your own filling, start with this one. It’ll surprise you how much better the final result tastes.
Pin It and Share Your Twist

Save this recipe to your dessert board so you can come back the next time you spot fresh cherries on sale.
Have you made this filling already? Or tried it in something unexpected like a cherry coffee cake or chocolate tart?
Drop a comment and let’s talk about it. I love seeing how other bakers spin the same foundation into something new.
Cherry Pie Filling Recipe
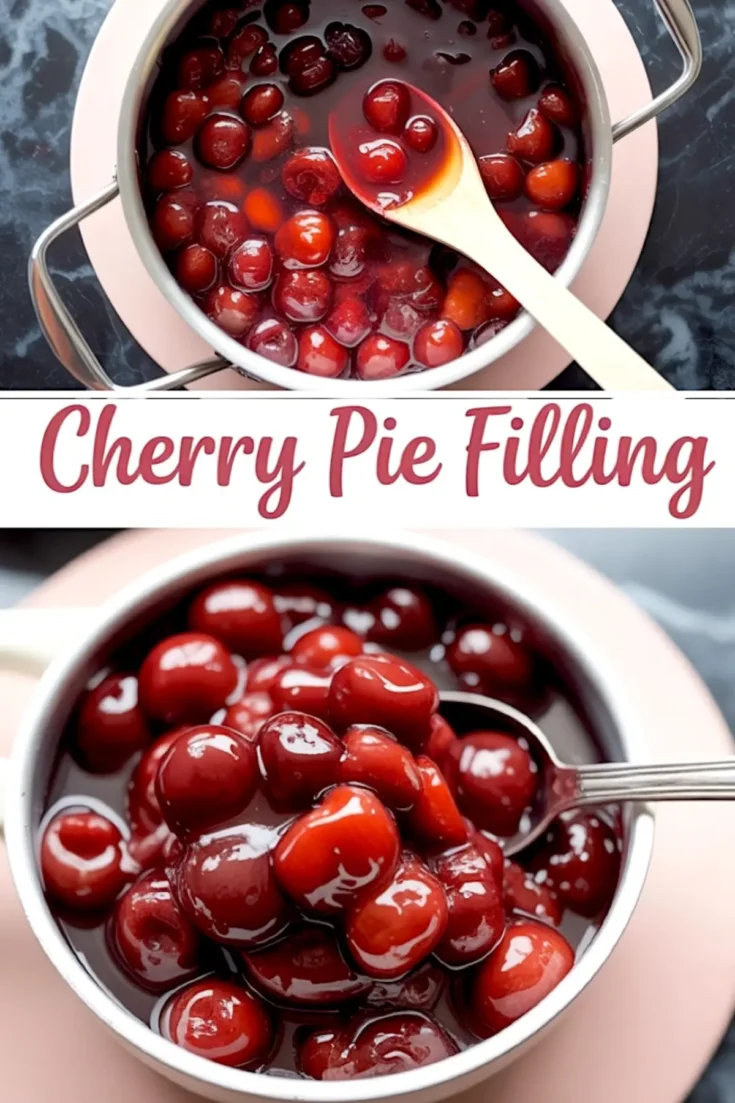
A homemade cherry pie filling brings fresh, bright flavor and a tender texture that holds its shape. Made with sweet cherries, sugar, lemon juice, and thickened with cornstarch, this filling is ideal for pies, spooning over pancakes, or layering into parfaits.
Ingredients
- 4 cups sweet cherries, fresh or frozen (thawed and drained if frozen)
- 1 cup water
- ¾ cup granulated sugar
- 1 tablespoon lemon juice
- 4 tablespoons cornstarch
- ¼ cup cold water
- ½ teaspoon almond extract (optional)
Instructions
- PREPARE THE CHERRIES: Wash and pit the cherries. If using frozen cherries, thaw them completely and drain off any excess liquid before measuring.
- SIMMER THE FRUIT: Combine the cherries and 1 cup of water in a medium saucepan. Bring to a simmer over medium heat. Stir in the sugar and lemon juice, then cook for 5 minutes, stirring occasionally, until the cherries begin to release their juices and the mixture deepens in color.
- MAKE THE SLURRY: In a small bowl, whisk the cornstarch with ¼ cup of cold water until smooth and no lumps remain.
- THICKEN THE FILLING: Slowly pour the cornstarch mixture into the saucepan while stirring the cherry mixture constantly. Continue to cook and stir for 2 to 3 minutes, until the sauce thickens and becomes glossy. The mixture should coat the back of a spoon.
- FINISH AND COOL: Remove the saucepan from heat. Stir in the almond extract, if using. Let the cherry filling cool for 10 minutes before transferring to jars or containers. Use immediately, or refrigerate for up to 5 days.
Notes
If you prefer a more tart filling, reduce the sugar slightly or add an extra teaspoon of lemon juice. The filling will thicken more as it cools.
Nutrition Information:
Yield:
3Serving Size:
1Amount Per Serving: Calories: 360Total Fat: 0gSaturated Fat: 0gTrans Fat: 0gUnsaturated Fat: 0gCholesterol: 0mgSodium: 7mgCarbohydrates: 91gFiber: 4gSugar: 75gProtein: 2g
