

I’ve always had a fondness for recipes that let the cherries shine without fuss. Cherry cobbler belongs to that group. It doesn’t ask for perfection. It asks for care. This cherry cobbler recipe uses canned cherry pie filling, a simple biscuit topping, and a few pantry staples. You won’t need special equipment or complicated steps. You only need steady hands, a warm oven, and a little patience.

Cherry Cobbler With Pie Filling: A Reliable Pantry Recipe
Canned cherry pie filling brings a certain comfort. It holds the sweetness steady, and it’s always ready on the shelf. Over the years, I’ve written in my notebook how convenient it becomes when fresh cherries are out of season. Of course, when summer brings its harvest, fresh cherries can make a lovely cobbler too. But this version keeps things simple and consistent year-round.
I’ve baked many cobblers using both. Fresh cherries bring a brighter tang and softer texture, but they also require pitting and adjusting the sugar. The canned filling delivers uniform sweetness, glossy color, and a reliable thickness that supports the biscuit topping well. For this recipe, I reached for the cans.
The Right Dish: Skillet or Baking Dish?
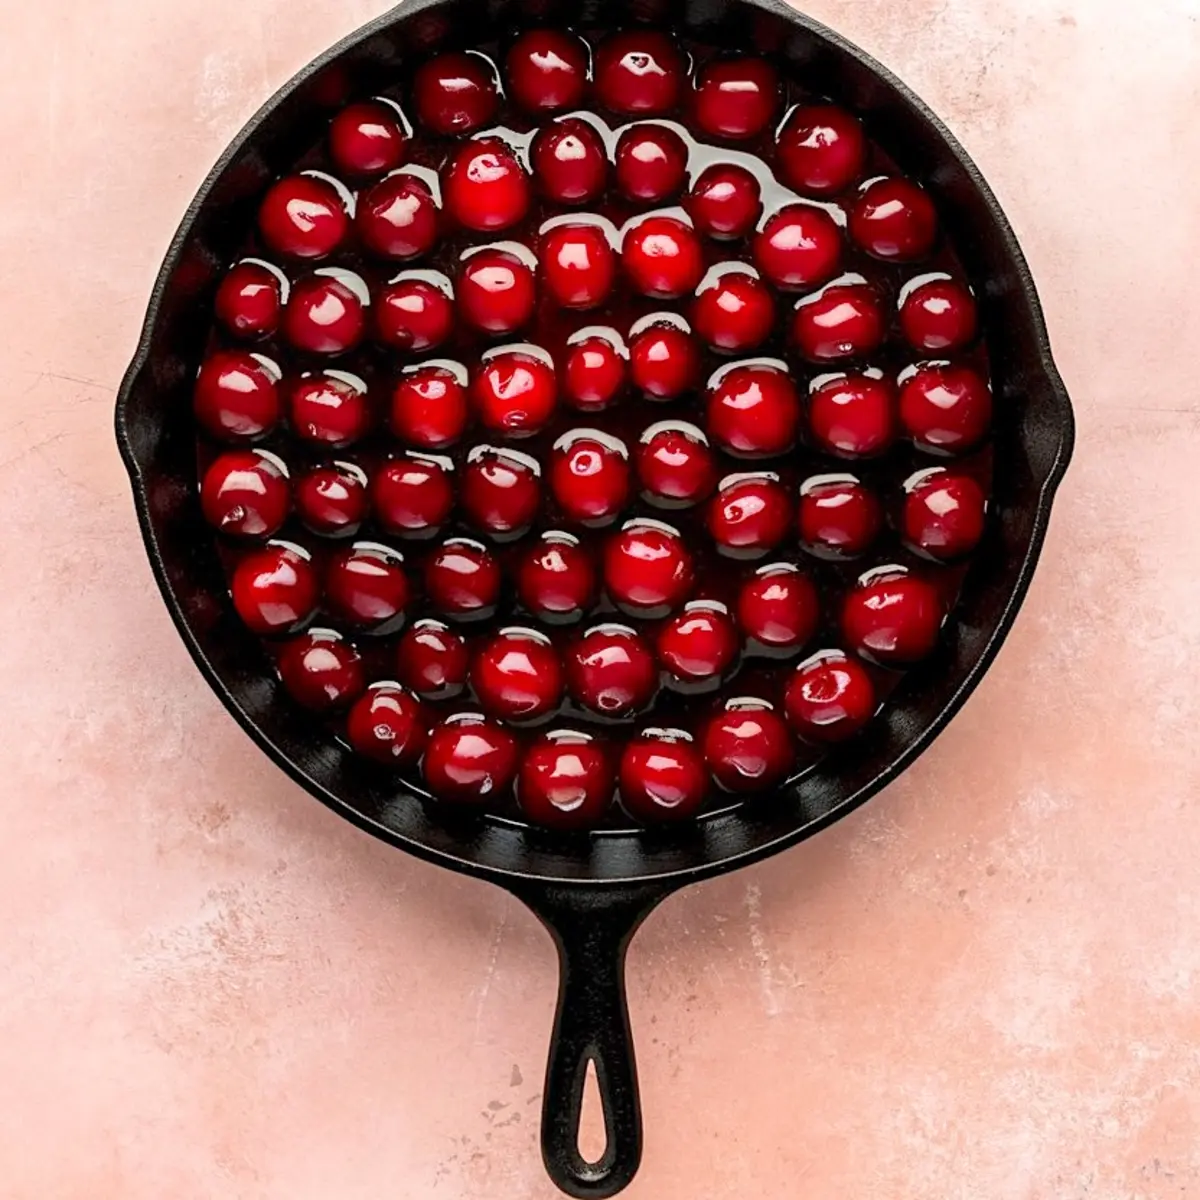
You can bake this cobbler in a cast iron skillet or an 8×8 baking dish. My skillet holds heat evenly, gives the edges a gentle crisp, and presents nicely straight from oven to table. The baking dish works just as well, especially if you plan to serve to a crowd.
Mixing The Dry Ingredients
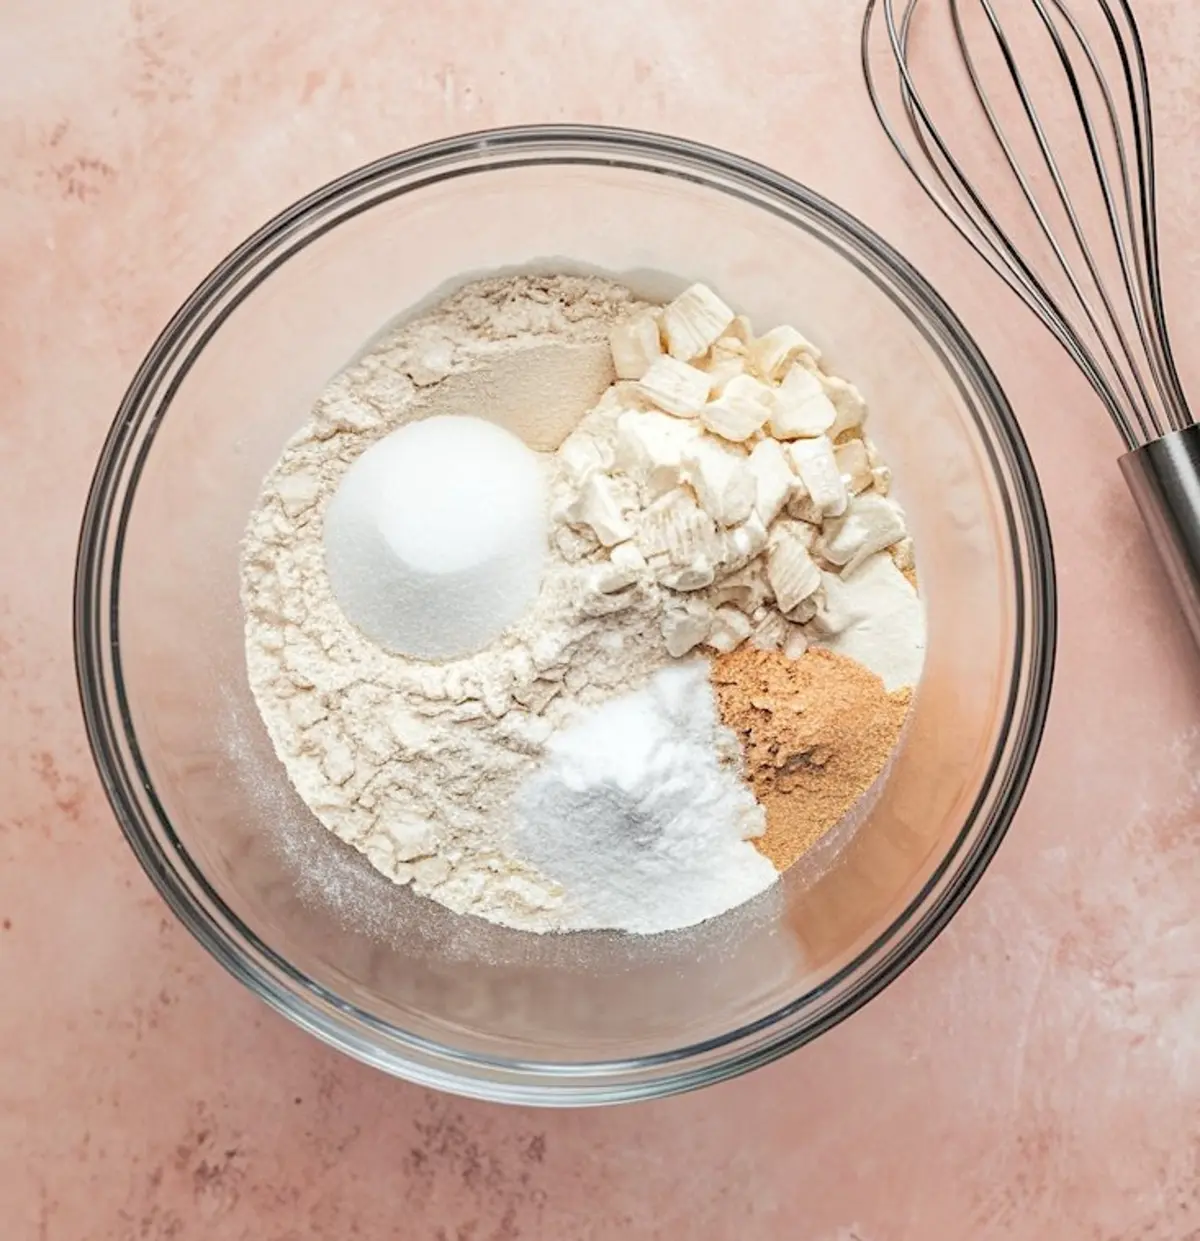
In my bowl, I whisk together the flour, sugar, baking powder, and salt. I’ve kept the sugar light because the filling already carries much of the sweetness. The baking powder gives lift to the biscuit topping, while the salt balances the flavors.
Cutting In The Butter
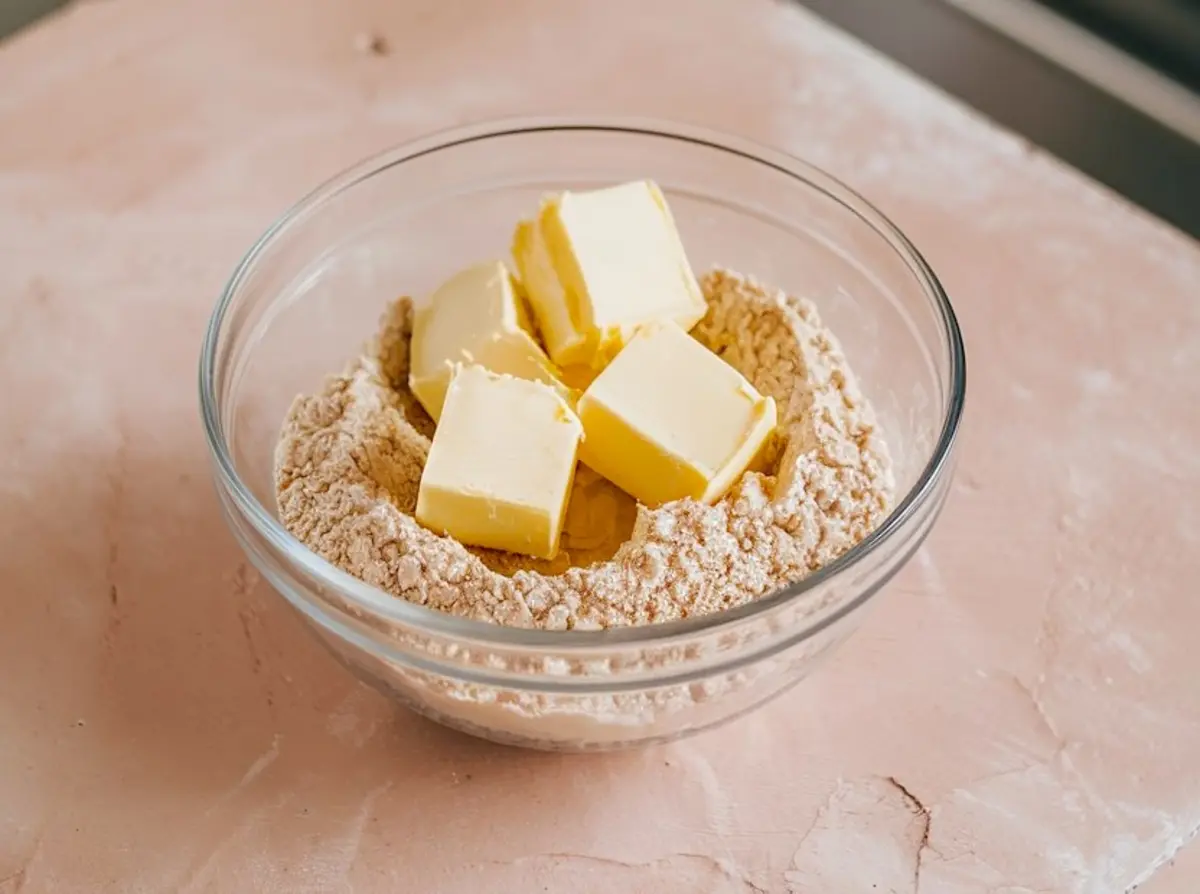
The butter must stay cold. I cut it into small cubes, then use my fingertips to work it into the flour until it forms coarse crumbs. Some days, I reach for my pastry cutter if my hands feel tired. The goal remains the same: visible specks of butter that melt during baking, creating tender pockets in the topping.
Adding The Milk
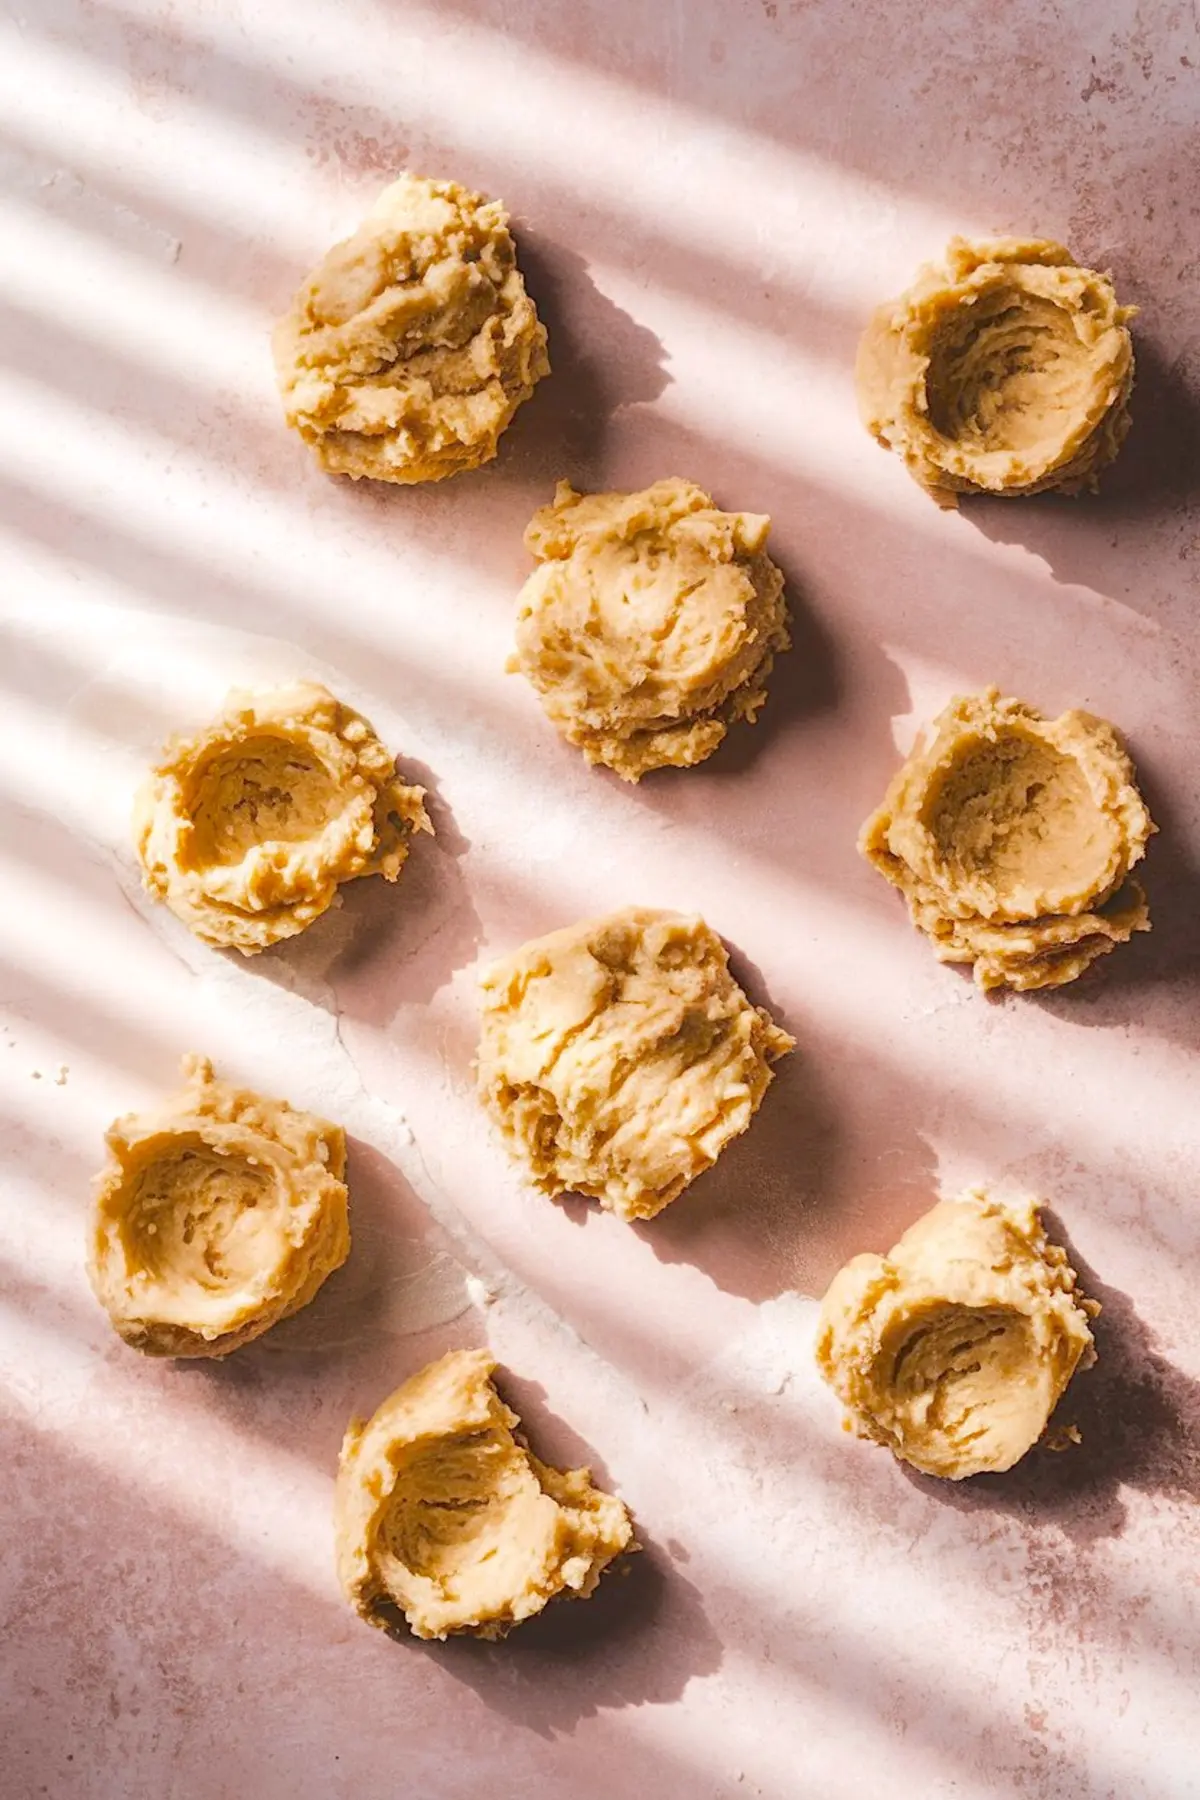
The milk brings the dough together. I stir gently, just until no dry streaks remain. Overmixing would make the biscuits heavy. The dough stays soft and slightly sticky, easy to drop by spoonfuls over the cherries.
Assembling The Cobbler
The cherry pie filling spreads smoothly across the bottom of the skillet. I place the dough mounds on top, leaving spaces between them. This allows the filling to bubble up and coat the biscuits’ sides, creating those lovely caramelized edges.
Brushing And Sprinkling
Before baking, I brush the biscuit tops with milk. This small step helps them brown evenly. Sometimes I sprinkle coarse sugar over the top, adding a faint crunch to each bite. It’s optional, but I’ve always liked the sparkle it brings.
Baking And Cooling
The cobbler bakes at 375 degrees Fahrenheit. I watch for the biscuits to turn golden and the cherry filling to bubble around the edges. In my oven, it takes about 35 minutes. After baking, I let it rest for at least 10 minutes. This waiting time allows the filling to settle and thicken slightly.
Serving Suggestions
A scoop of vanilla ice cream melts gently over the warm cobbler. The contrast of cold cream and warm fruit comforts in every spoonful. Sometimes I serve it alongside my Peach Cobbler Cinnamon Rolls when we have guests. The familiar flavors always bring quiet smiles.
A Few Notes From My Handwritten Cards
If you find a few cracks in the biscuit topping, don’t worry. The filling bubbles through, adding character to the dessert. My notes remind me that cobblers welcome imperfections. That’s part of their charm.
This recipe adapts well to other berries too. In summer, I sometimes substitute with blueberries or mix in blackberries. The method remains steady, only the fruit changes. You may enjoy my Cherry Dump Cake Recipe or the Cherry Clafoutis when you feel like exploring more cherry dessert recipes.
For a cool option during warmer months, the Black Cherry Sorbet offers a refreshing way to enjoy cherries differently.
Closing Thoughts
I hope you find comfort in this easy cherry cobbler with pie filling. My handwritten notes carry years of quiet practice, and I’m pleased to share them with you. Chloe often tells me how she shares these recipes with readers, and I smile knowing my old notes find new homes.
If you make this cherry cobbler, I invite you to leave a comment or share your own notes. You can also save this recipe to your Pinterest board to keep it close for your next gathering.
Cherry Cobbler Recipe

A warm cherry cobbler comes together quickly using canned pie filling and a simple biscuit-style topping. This version skips complicated steps and delivers satisfying results with pantry ingredients and one skillet.
Ingredients
- 2 cans (21 ounces each) cherry pie filling
- 1½ cups all-purpose flour
- 2 tablespoons granulated sugar
- 1 tablespoon baking powder
- Pinch of salt
- ½ cup cold unsalted butter, cut into small pieces
- ⅔ cup whole milk
- Milk or cream, for brushing
- Coarse sugar, for topping (optional)
Instructions
- PREHEAT THE OVEN: Set the oven to 375°F and prepare a 10-inch cast iron skillet or an 8x8-inch baking dish.
- ADD THE FILLING: Spoon the cherry pie filling into the bottom of the skillet or baking dish and spread it out evenly.
- MIX THE DRY INGREDIENTS: In a medium bowl, whisk together the flour, sugar, baking powder, and salt until combined.
- ADD THE BUTTER: Cut the cold butter into the flour mixture using a pastry cutter or your fingertips until the texture resembles coarse crumbs.
- ADD THE MILK: Pour in the milk and stir just until the dough forms. It should be sticky and soft; do not overmix.
- TOP THE FILLING: Drop spoonfuls of the dough over the cherry filling, leaving space between each mound to allow for spreading and bubbling.
- BRUSH AND SPRINKLE: Lightly brush the tops of the dough with milk or cream. Sprinkle coarse sugar over the top, if using.
- BAKE: Place the skillet or dish in the oven and bake for 30 to 35 minutes, or until the biscuits are golden brown and the cherry filling is bubbling around the edges.
- COOL BEFORE SERVING: Let the cobbler rest for at least 10 minutes before serving to allow the filling to cool and thicken slightly.
Notes
For the best texture, keep the butter cold and avoid overworking the dough. Use a high-quality cherry pie filling for the best flavor. The cobbler is excellent served warm with a scoop of vanilla ice cream.
Nutrition Information:
Yield:
6Serving Size:
1Amount Per Serving: Calories: 422Total Fat: 24gSaturated Fat: 13gTrans Fat: 0gUnsaturated Fat: 9gCholesterol: 52mgSodium: 385mgCarbohydrates: 47gFiber: 2gSugar: 15gProtein: 7g
