
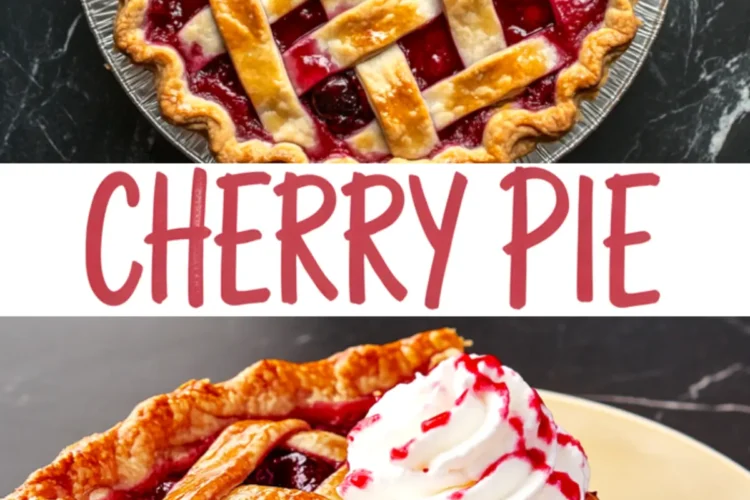
There’s something about cherry pie that stops the room. It’s the color first, deep red and glistening but then it’s the scent. That warm almond-cherry aroma curling up from the crust pulls people in before you’ve even sliced it.
This post will help you master a cherry pie that holds its shape and bursts with bold, bright fruit flavor. I’ll guide you through each part so you can feel confident from dough to serving.
What makes this recipe stand apart is balance. The filling doesn’t slump into soup, and the crust cracks with the right kind of flake. You’ll get clear steps and a flavor trick that adds unexpected depth, the kind guests taste but can’t quite name.
I’ll save that twist for later. Let’s make pie that stays with people.

Cherry Pie Filling That Actually Holds Its Shape
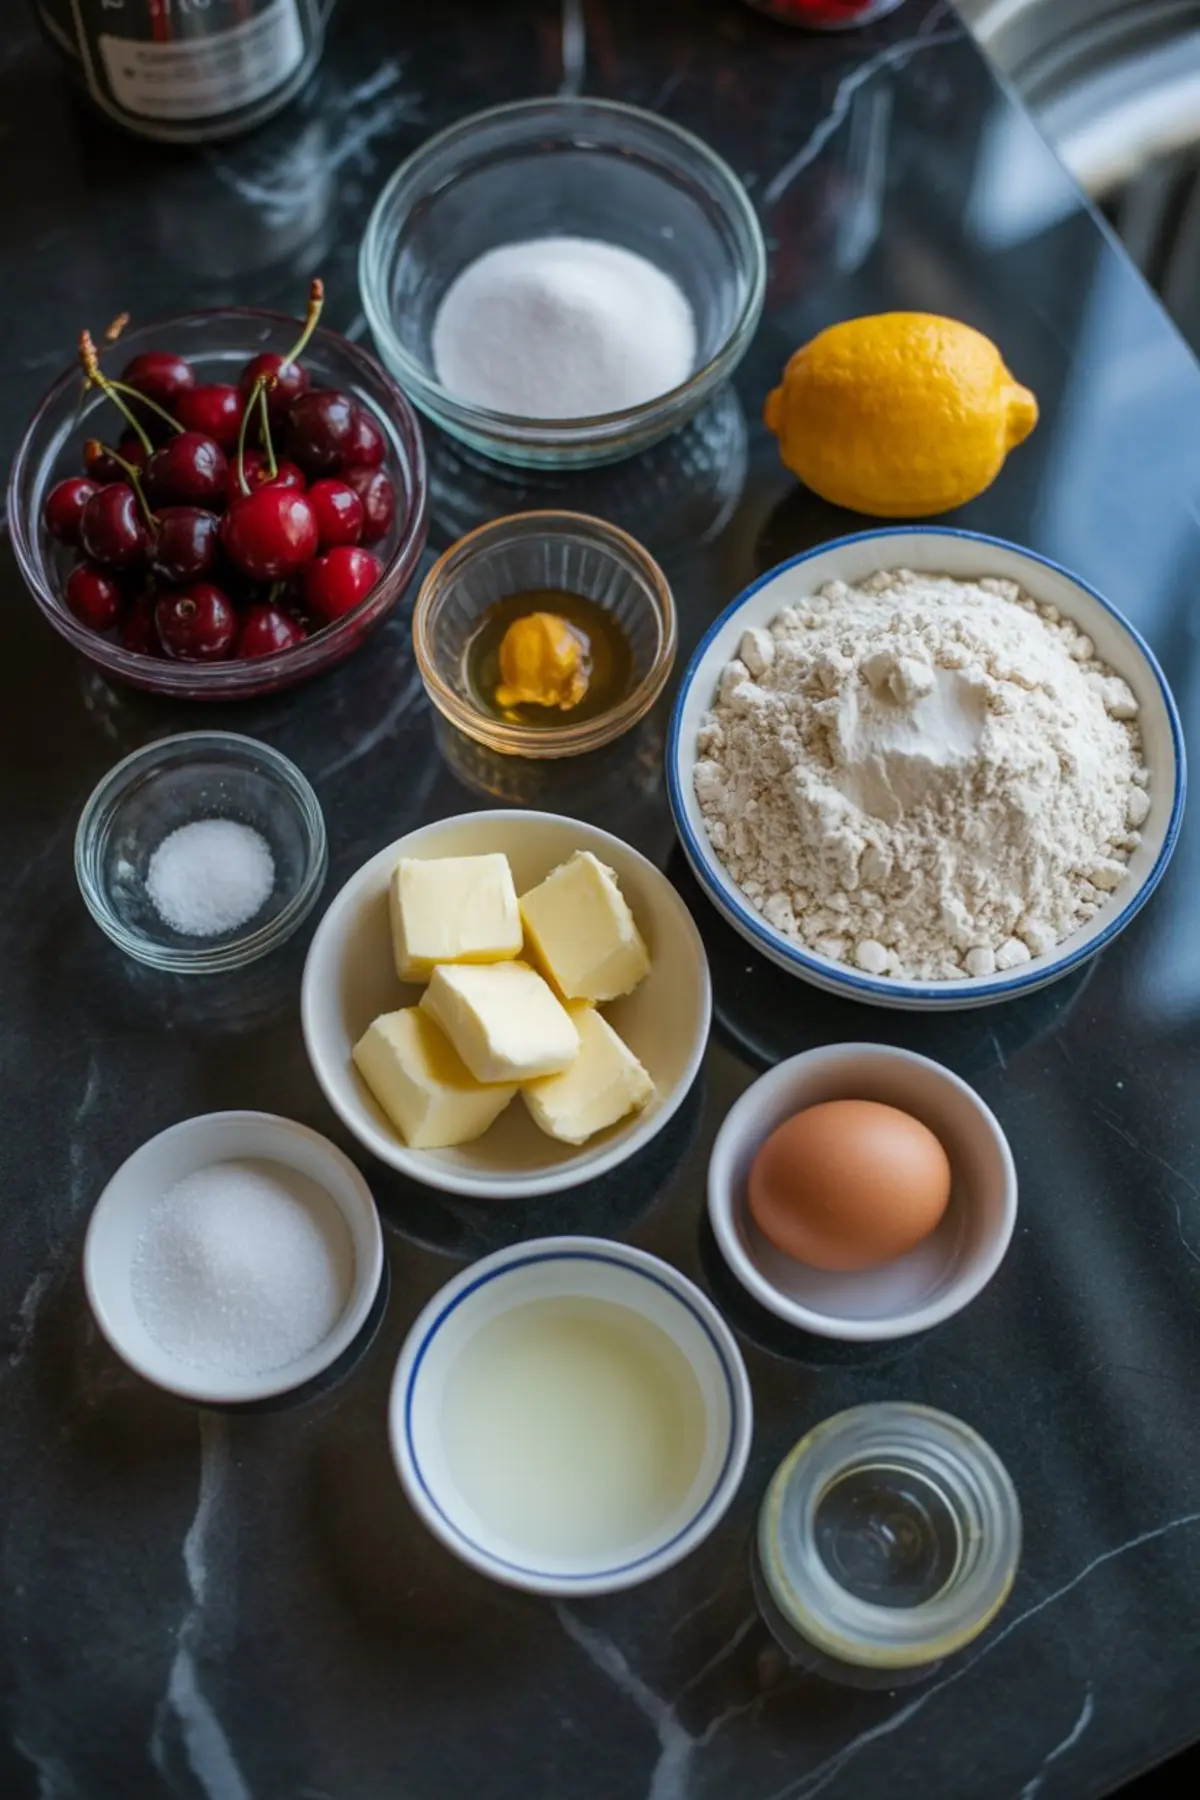
The filling uses tart cherries as its core. You can go fresh or frozen. If you use frozen, be sure they’re well-drained. That step matters more than you think. Five cups may look like too much in the bowl, but once baked, the volume relaxes.
I’ve made this with both sweet and sour cherries. If yours taste sugary before you add anything, shave off a few tablespoons of the granulated sugar. The filling should pop with sharp-sweet contrast, not syrupy heaviness.

I always add almond extract here. Just half a teaspoon, but it changes everything. You’ll notice the flavor deepens—less candy-like, more polished. It’s the same pairing that makes Cherry Cheesecake Dip such a standout on dessert tables.
In my Pin Notebook, I’ve written this: “No almond = bland cherry.” I stand by that.
How to Get the Crust Right Without Overthinking It
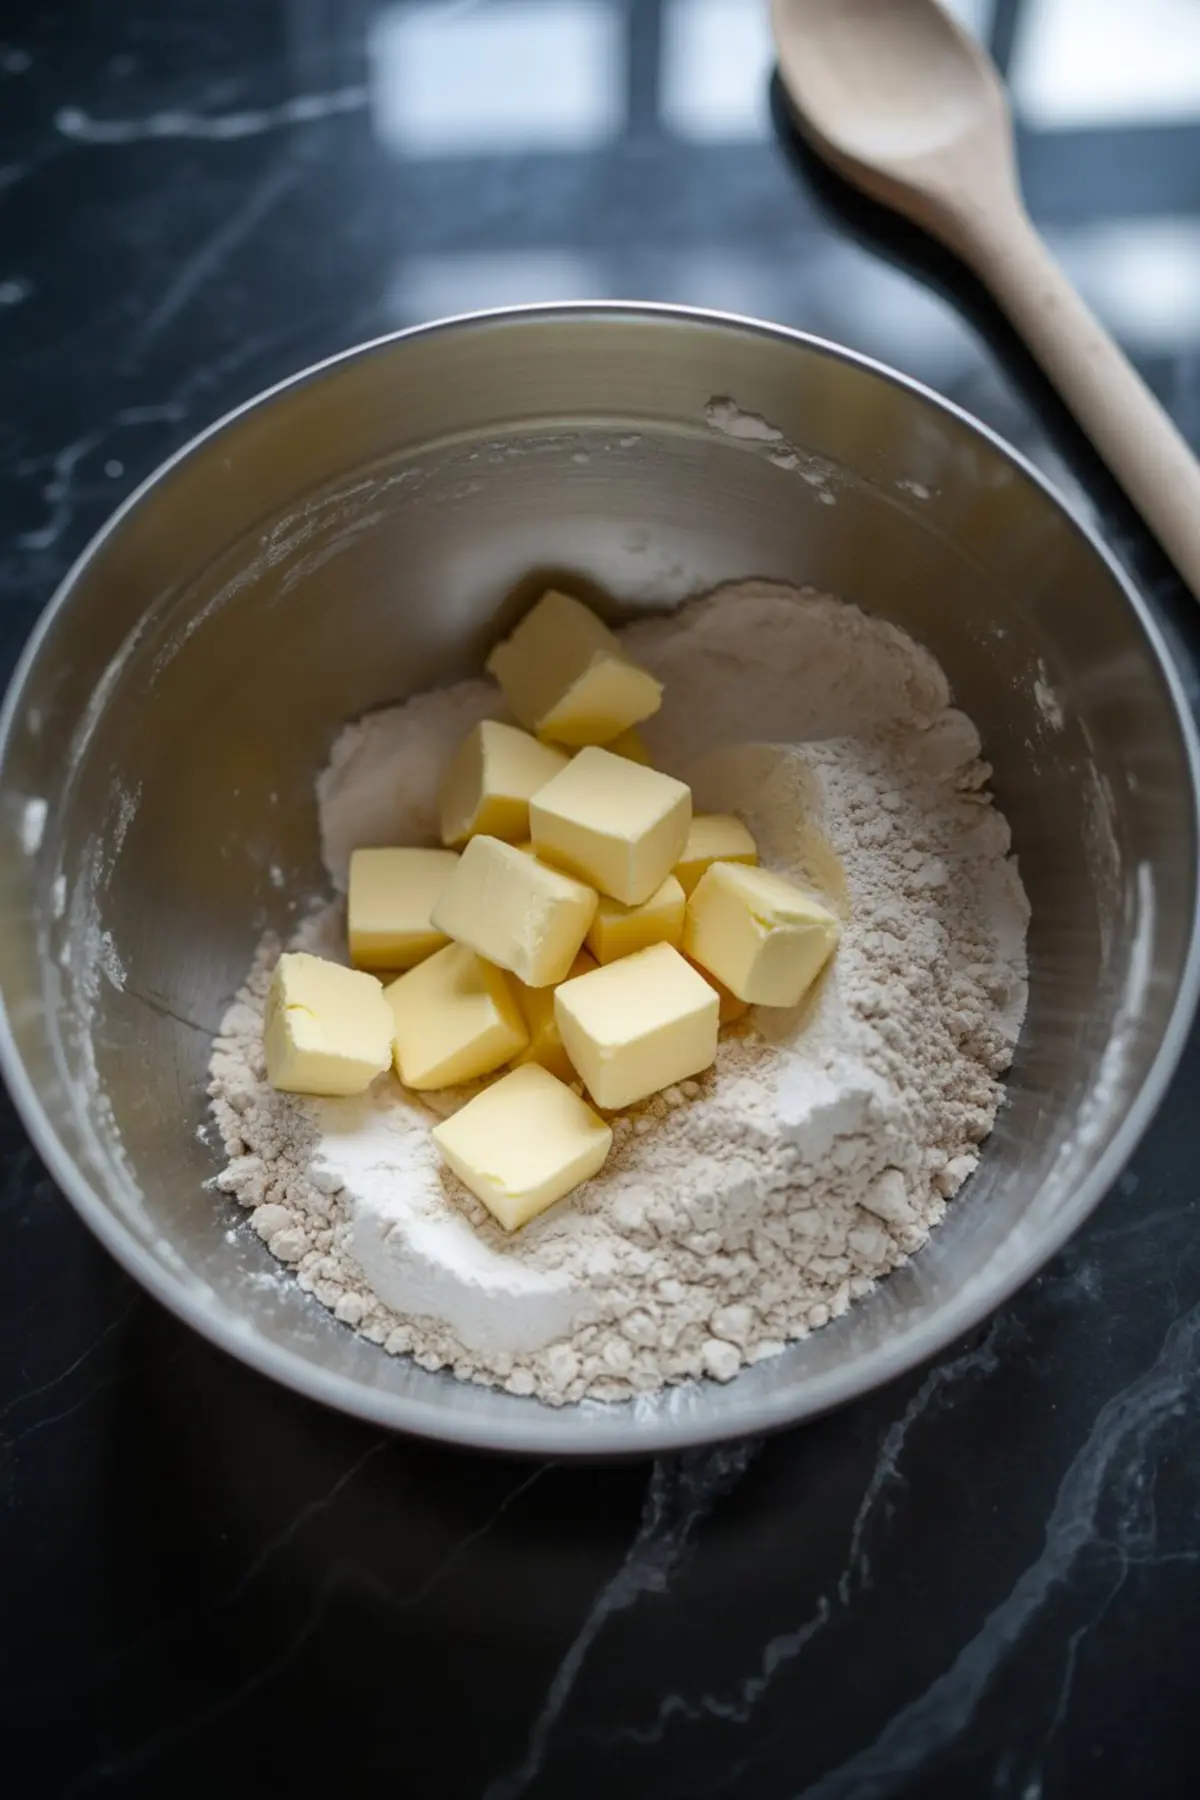
The key to pie dough isn’t some fancy technique. It’s cold butter and trusting your hands. I whisk together flour, salt, and sugar first. Then I use my fingers to rub in the butter until the texture looks like crumbly sand with a few pebble-sized bits.
This next step matters. Add ice water slowly—one tablespoon at a time. Mix with a fork, not your hands, until the dough just starts to hold. If it forms too fast or looks sticky, it’s overdone. I stop as soon as I can pinch a bit and it stays together.
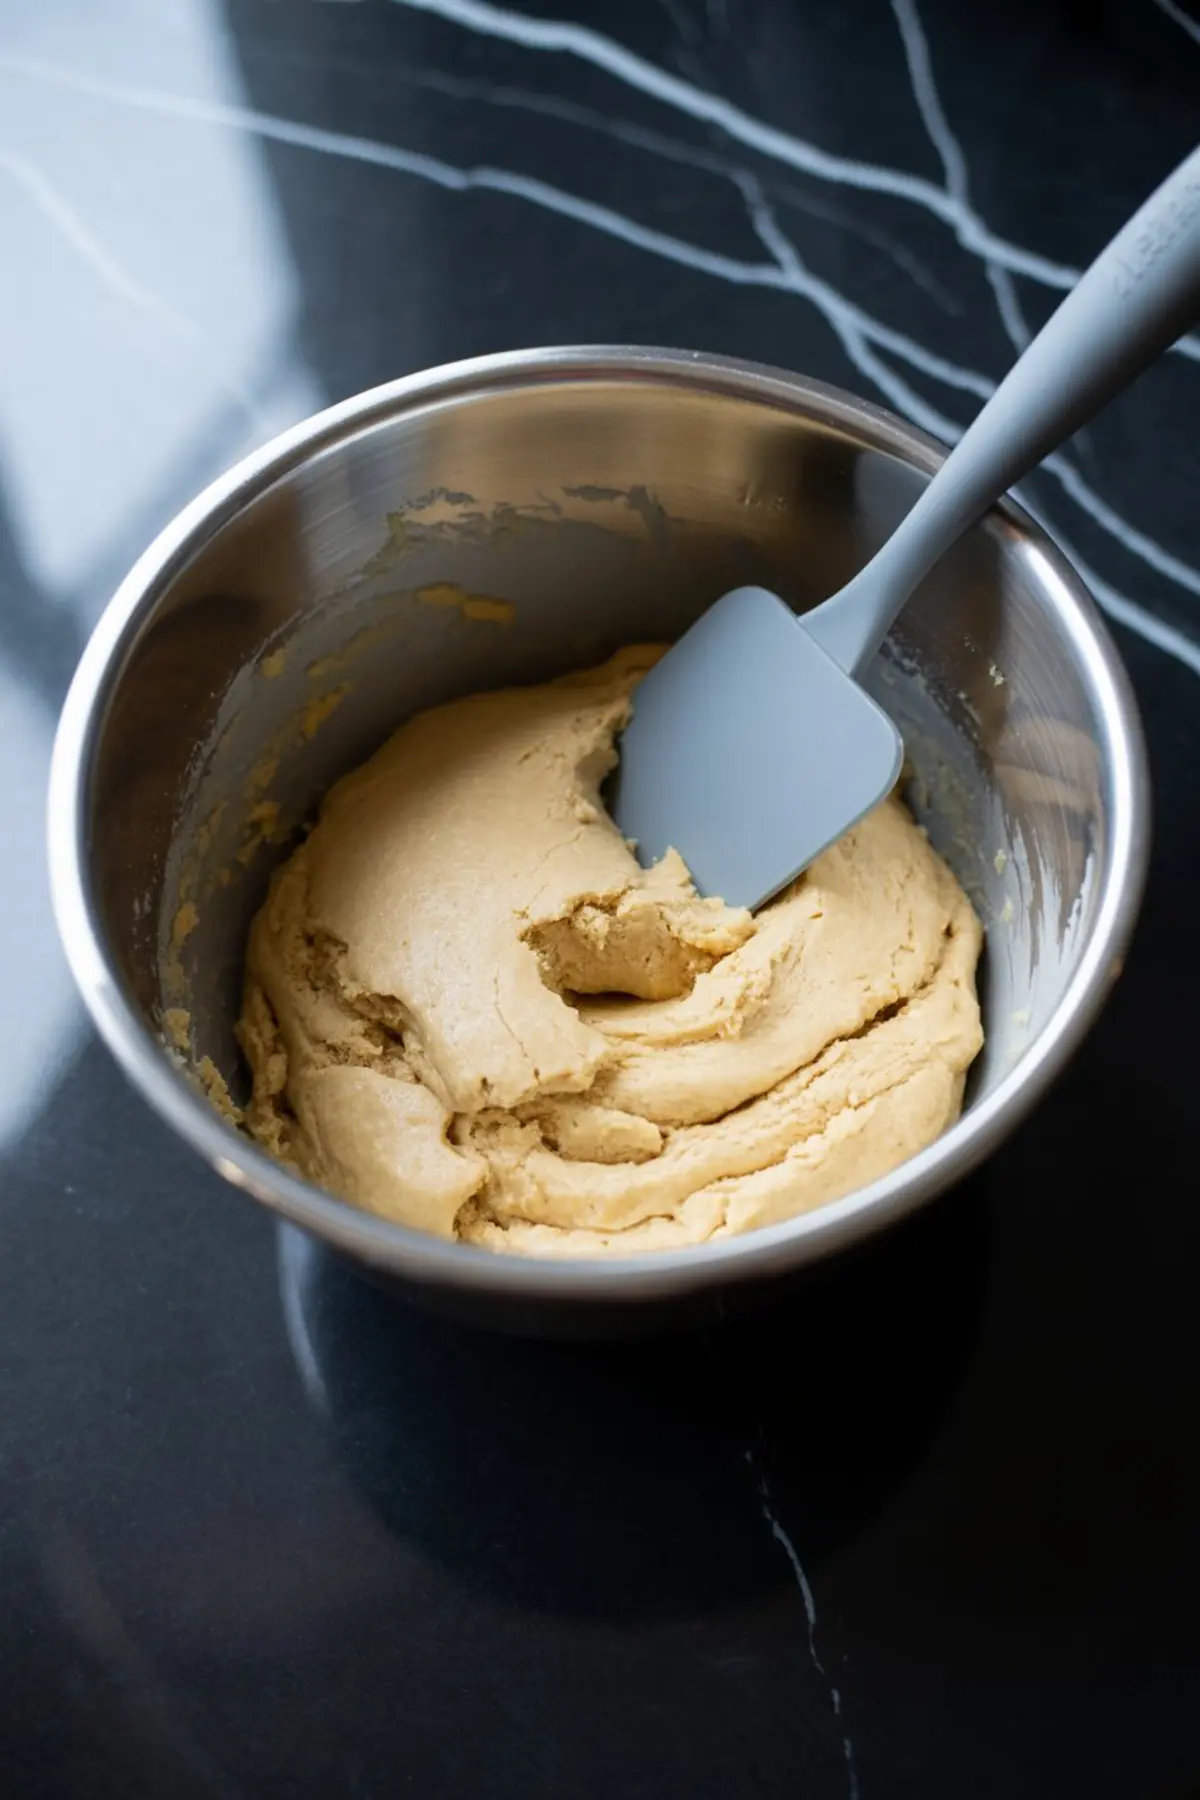
Divide into two disks, flatten them, and wrap in plastic wrap. Chill for at least an hour. That rest is what makes rolling smoother and keeps your crust from shrinking during baking.
I follow the same approach when I make rustic pies like Cherry Cobbler. Even a simple bake benefits from a careful hand with the dough.
Rolling, Filling, and Assembling the Pie
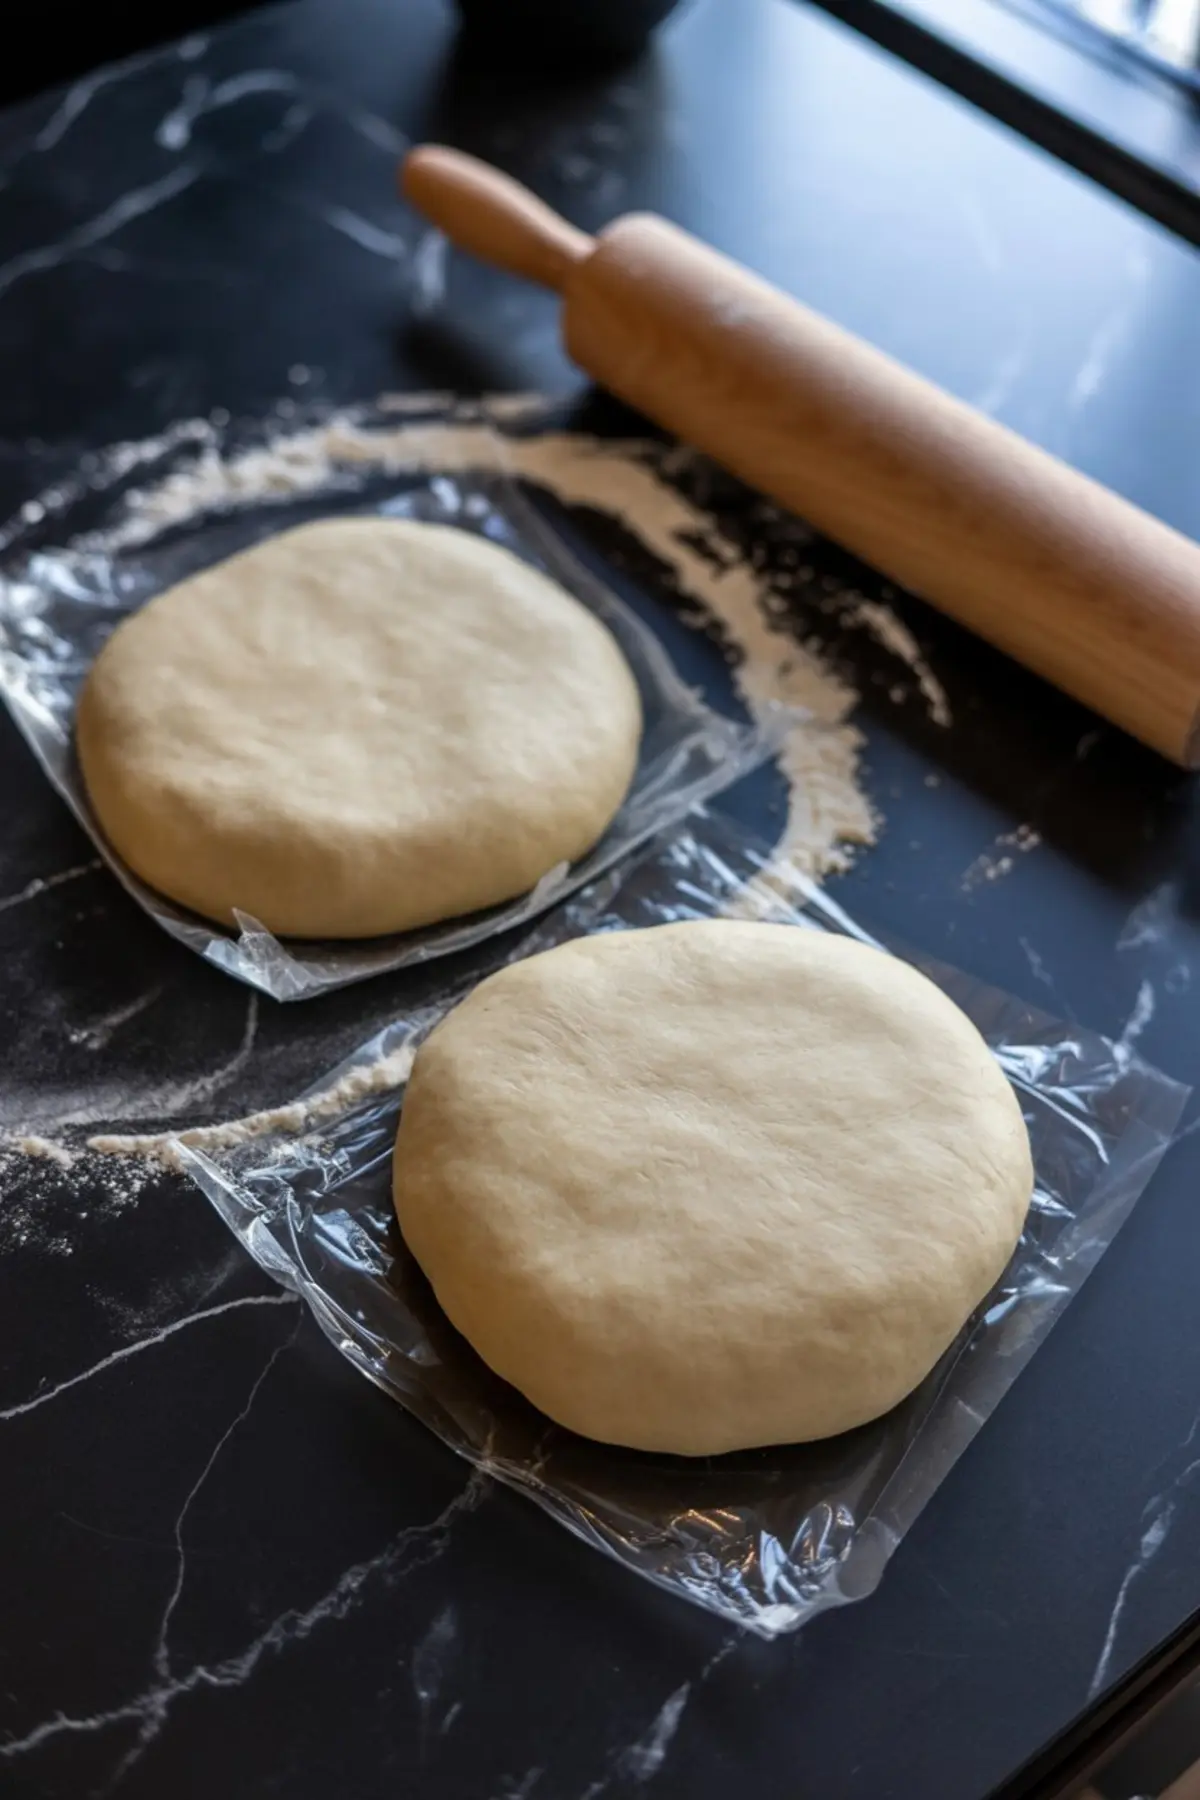
Once the dough has rested, roll the first disk out into a 12-inch circle. I keep the surface lightly floured and lift the dough every few rolls to keep it from sticking. Transfer it to a 9-inch pie plate and press it gently into the base. Let the extra hang over the edge.
Pour in the cherry filling evenly. Don’t press or pack it down—just guide it in and even it out. Leave a bit of space at the top to avoid spillover in the oven.
Now you can roll out the second disk. I like to cut strips and create a lattice, but a solid top works too. Whichever you choose, make sure to tuck and crimp the edges to seal.
Brush the top with an egg wash made from one egg and a bit of cream or milk. Sprinkle with sugar. It gives the crust a golden color and subtle crunch.
Why Cornstarch Always Wins Over Flour
I’ve tried thickening cherry filling with both cornstarch and flour. In my notes, the results aren’t close.
Cornstarch wins every time. It keeps the filling glossy and sharp. Flour tends to dull the flavor and give the pie a muted, cloudy look.
If you want a slice that holds and cuts cleanly, stick with cornstarch. It’s what gives the beautiful layers in No Bake Cherry Cheesecake that firm yet silky structure.
Bake at Two Temperatures for the Right Finish

Start the pie at 400°F. That blast of heat sets the crust. After 20 minutes, drop it to 350°F and finish baking for another 30 to 40 minutes.
Use a baking sheet underneath. Cherry pies love to bubble and drip. It saves you from scrubbing the oven later.
Once the crust is golden and the filling is bubbling through the vents, remove it and place on a wire rack.
This part takes patience. You need to let it cool for at least four hours. I know it smells amazing, but cutting too soon turns the filling into soup.
It’s the same reason I wait for Cherry Balsamic Goat Cheese Dip to set a little before serving. Time adds structure.
The Secret Ingredient Is Lemon—Just a Teaspoon

Now for the flavor trick I mentioned. It’s lemon juice. Only a teaspoon, but it matters.
That small splash sharpens the cherries, brightens the sugar, and brings balance. Without it, the pie tastes heavy. With it, each bite feels clean and lifted.
In my early notes, I once left it out by accident. I wrote, “Filling fell flat.” I never forgot again.
Other Ideas You Can Try with Cherry Pie
If you’re craving something smaller, turn this into mini hand pies. The crust works beautifully cut into circles and folded over a spoonful of filling.
Or swap in part cranberry during winter. A cherry-cranberry mix adds a tart kick and works especially well for holiday dinners.
You can even riff on the idea and create cherry pie cookies using the same dough and a thumbprint center.
If you’re short on time, canned filling does the job, but it won’t give you the same depth. Fresh or frozen tart cherries always bring better results.
Save This Recipe for Later and Join the Conversation
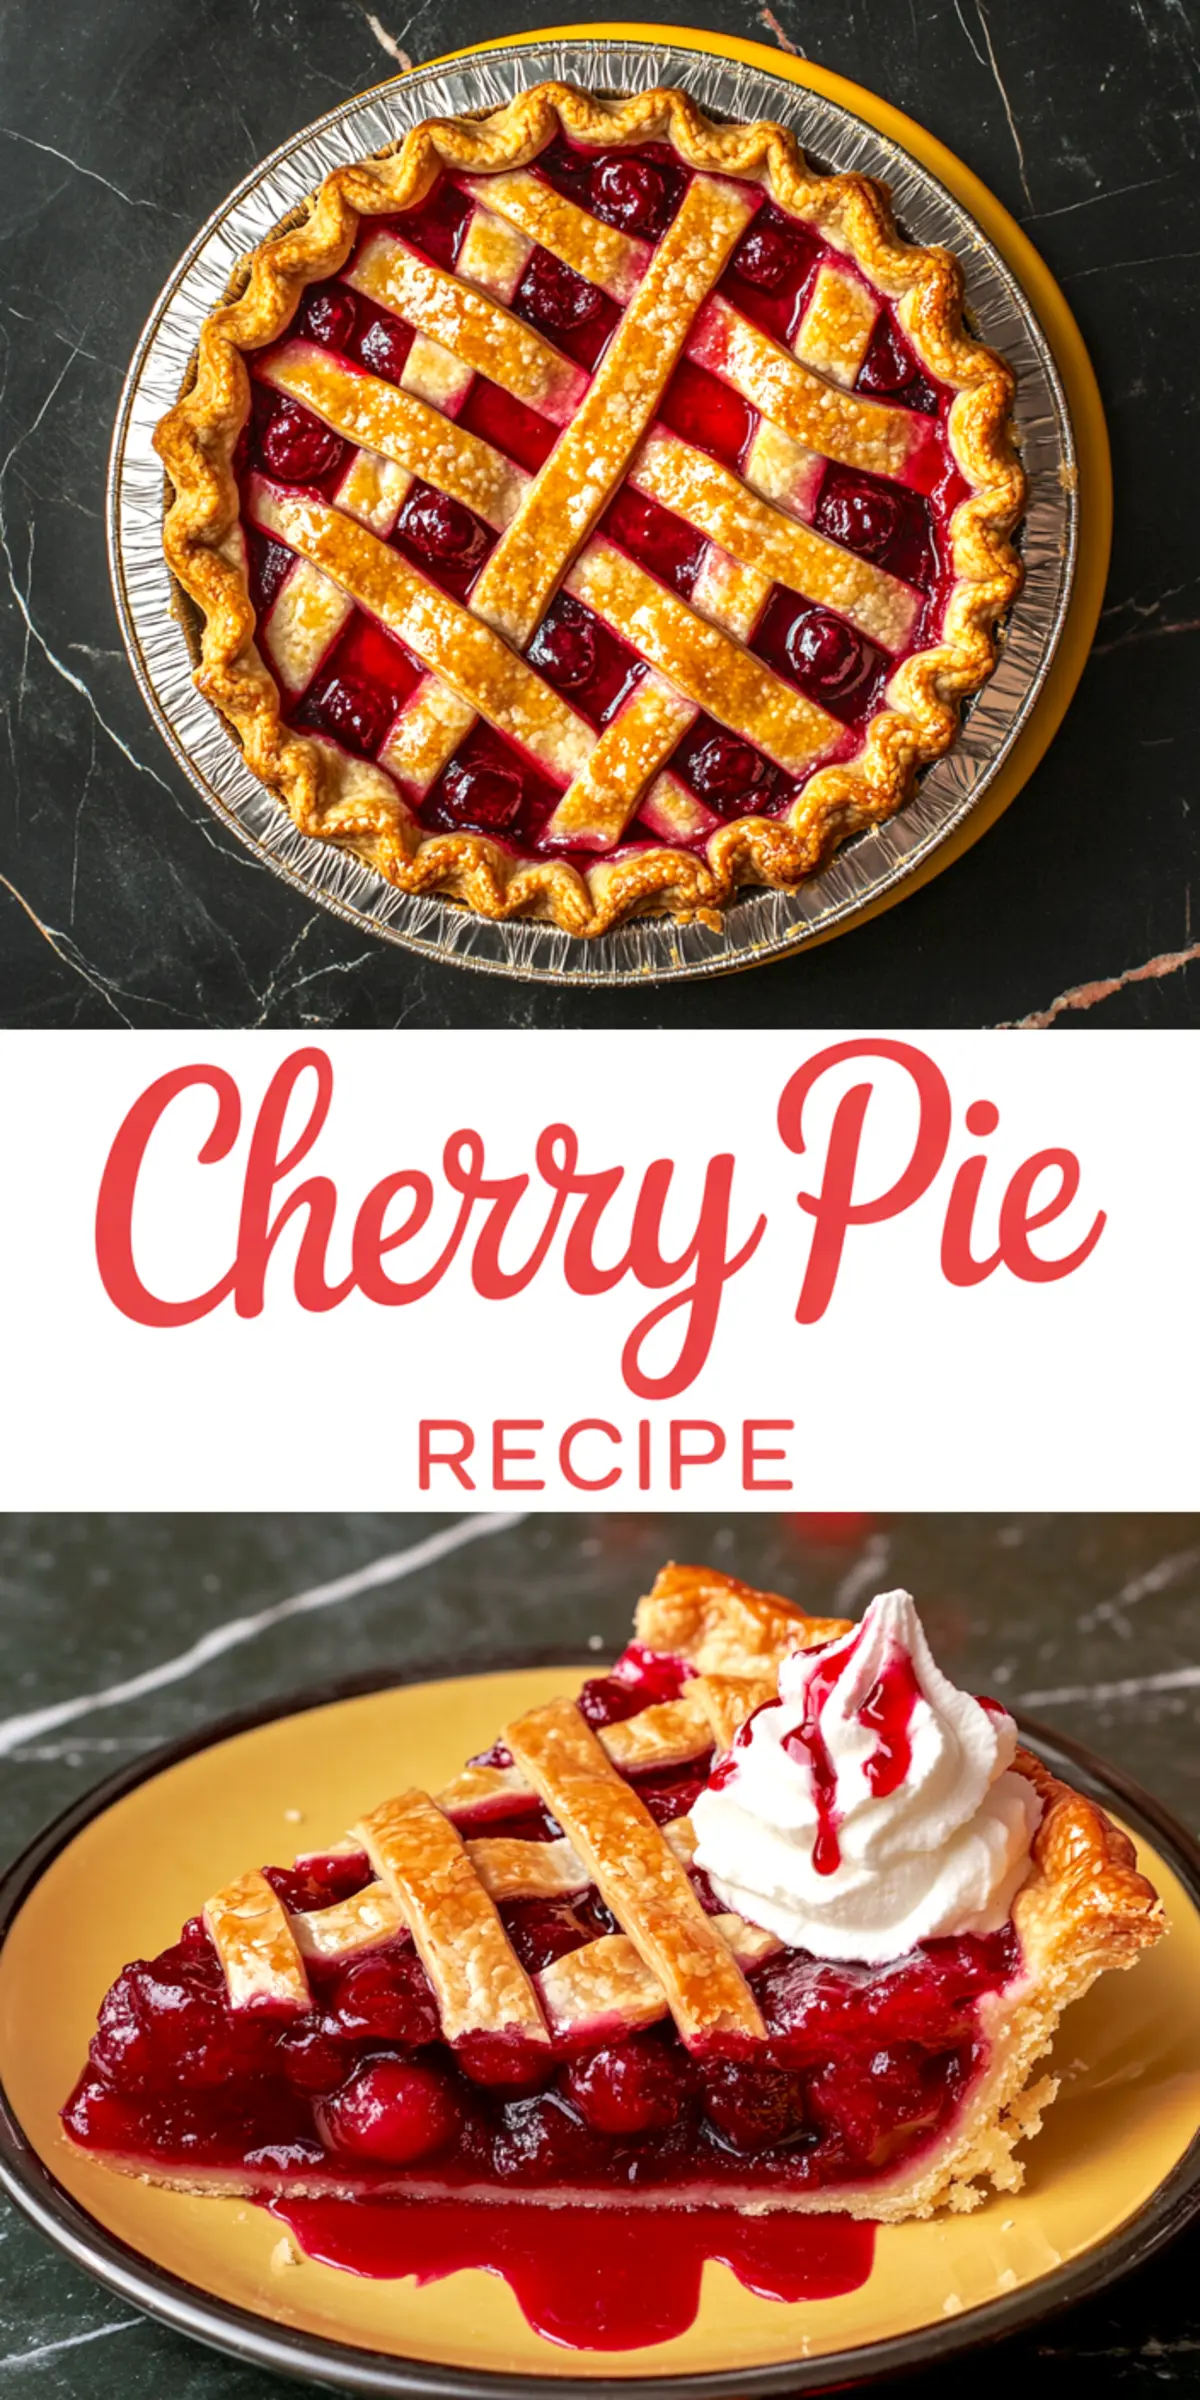
Go ahead and pin this to your favorite cherry or pie board so you don’t lose it. It’s one of those recipes that gets remembered after the first slice.
And I’d love to hear from you. Did you try fresh or frozen cherries? Did you go for a lattice or a full top crust?
Leave a comment below and share how it turned out—or ask a question. I check back often and enjoy hearing what you tried or changed. Let’s swap notes.
Cherry Pie Recipe
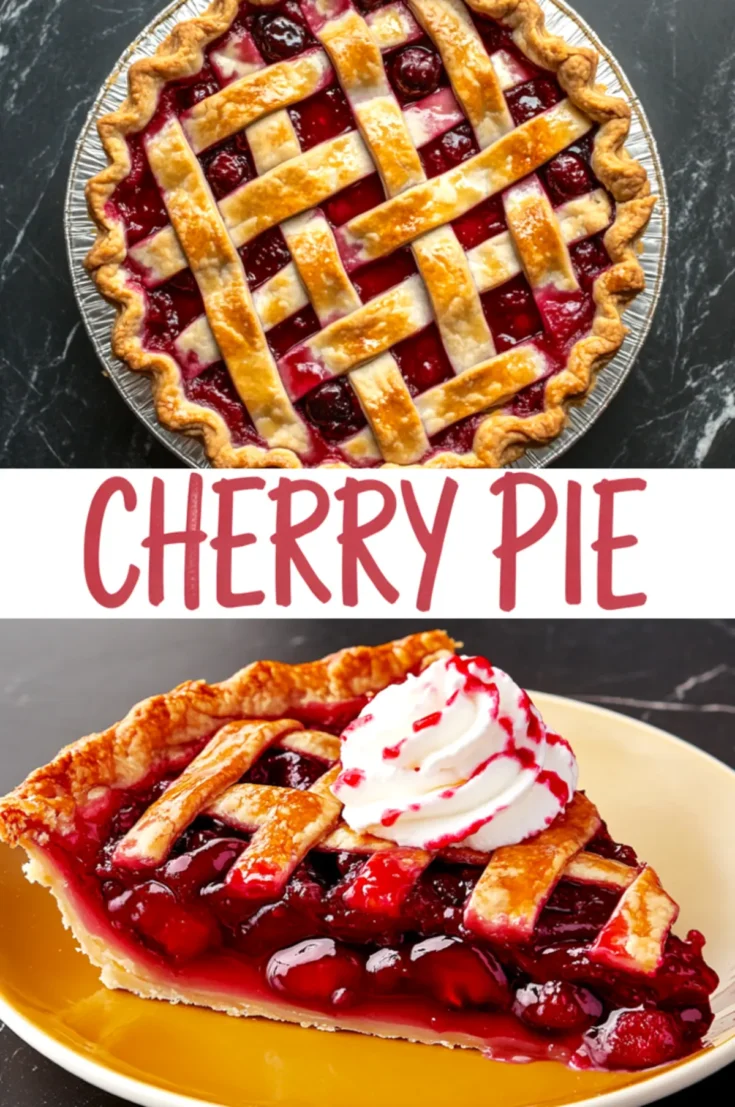
A balanced cherry pie with a crisp, flaky crust and a sharp-sweet filling made from tart cherries. The pie holds its shape well when sliced and showcases the classic almond-cherry flavor pairing. Best served fully cooled to allow the filling to set.
Ingredients
- FOR THE CHERRY FILLING
- 5 cups fresh or frozen tart cherries, thawed and drained if frozen
- 1 cup granulated sugar (adjust slightly if cherries are very sweet)
- ¼ cup cornstarch
- 1 teaspoon lemon juice
- ½ teaspoon pure almond extract
- FOR THE CRUST
- 2 ½ cups all-purpose flour
- 1 teaspoon salt
- 1 teaspoon granulated sugar
- 1 cup cold unsalted butter, cubed and chilled
- 6 to 8 tablespoons ice water
- FOR THE TOP
- 1 egg
- 1 tablespoon cream or milk
- 1 tablespoon coarse or granulated sugar, for sprinkling
Instructions
- MAKE THE DOUGH: In a large bowl, whisk together the flour, salt, and sugar. Add the cold, cubed butter and cut it into the flour using a pastry cutter or your fingers until the mixture resembles coarse crumbs with pea-sized pieces of butter.
- ADD WATER AND FORM DOUGH: Slowly drizzle in ice water, one tablespoon at a time, mixing gently with a fork until the dough just holds together. Divide the dough into two equal portions, press each into a flat disk, wrap tightly in plastic wrap, and chill for at least 1 hour.
- PREPARE THE FILLING: In a large bowl, combine the cherries, sugar, cornstarch, lemon juice, and almond extract. Stir until the cherries are evenly coated. Set aside while rolling the crust.
- ROLL OUT BOTTOM CRUST: On a lightly floured surface, roll out one disk of dough into a 12-inch circle. Transfer to a 9-inch pie dish, pressing it gently into the bottom and up the sides. Let the edges hang slightly over the rim.
- ADD FILLING: Pour the cherry filling into the prepared crust, spreading it evenly but not overfilling to avoid spillover during baking.
- MAKE THE TOP CRUST: Roll out the second disk of dough and cut into strips for a lattice top, or leave whole for a solid top crust. If using strips, weave them over the filling and trim and fold the edges under to seal. Crimp the edges as desired.
- APPLY EGG WASH: Beat the egg with cream or milk. Brush the top crust with the egg wash, then sprinkle with sugar to help the crust brown and add texture.
- BAKE: Place the pie on a baking sheet to catch drips. Bake at 400°F (200°C) for 20 minutes. Lower the oven temperature to 350°F (175°C) and continue baking for 30 to 40 minutes more, until the crust is golden brown and the filling is bubbling.
- COOL COMPLETELY: Let the pie cool on a wire rack for at least 4 hours before slicing. This allows the filling to fully set and hold its shape when served.
Notes
If using fresh cherries, pit them thoroughly before starting. A cherry pitter speeds up the process. The pie can be made a day ahead and stored at room temperature once fully cooled.
Nutrition Information:
Yield:
8Serving Size:
1Amount Per Serving: Calories: 538Total Fat: 25gSaturated Fat: 15gTrans Fat: 0gUnsaturated Fat: 9gCholesterol: 89mgSodium: 296mgCarbohydrates: 72gFiber: 2gSugar: 36gProtein: 7g
