
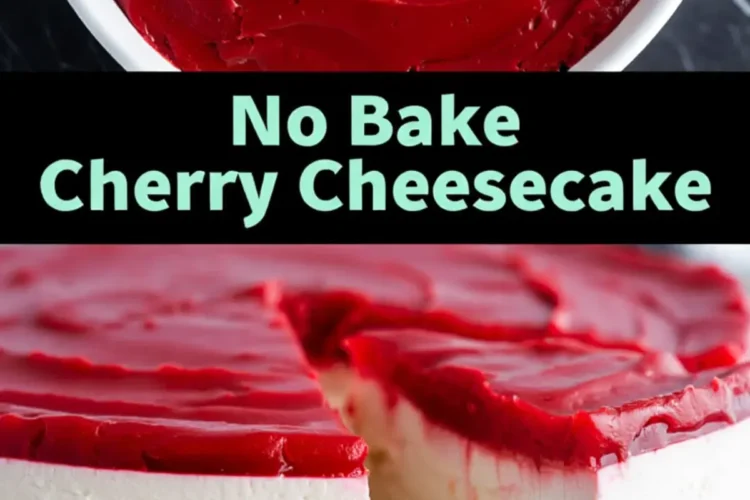
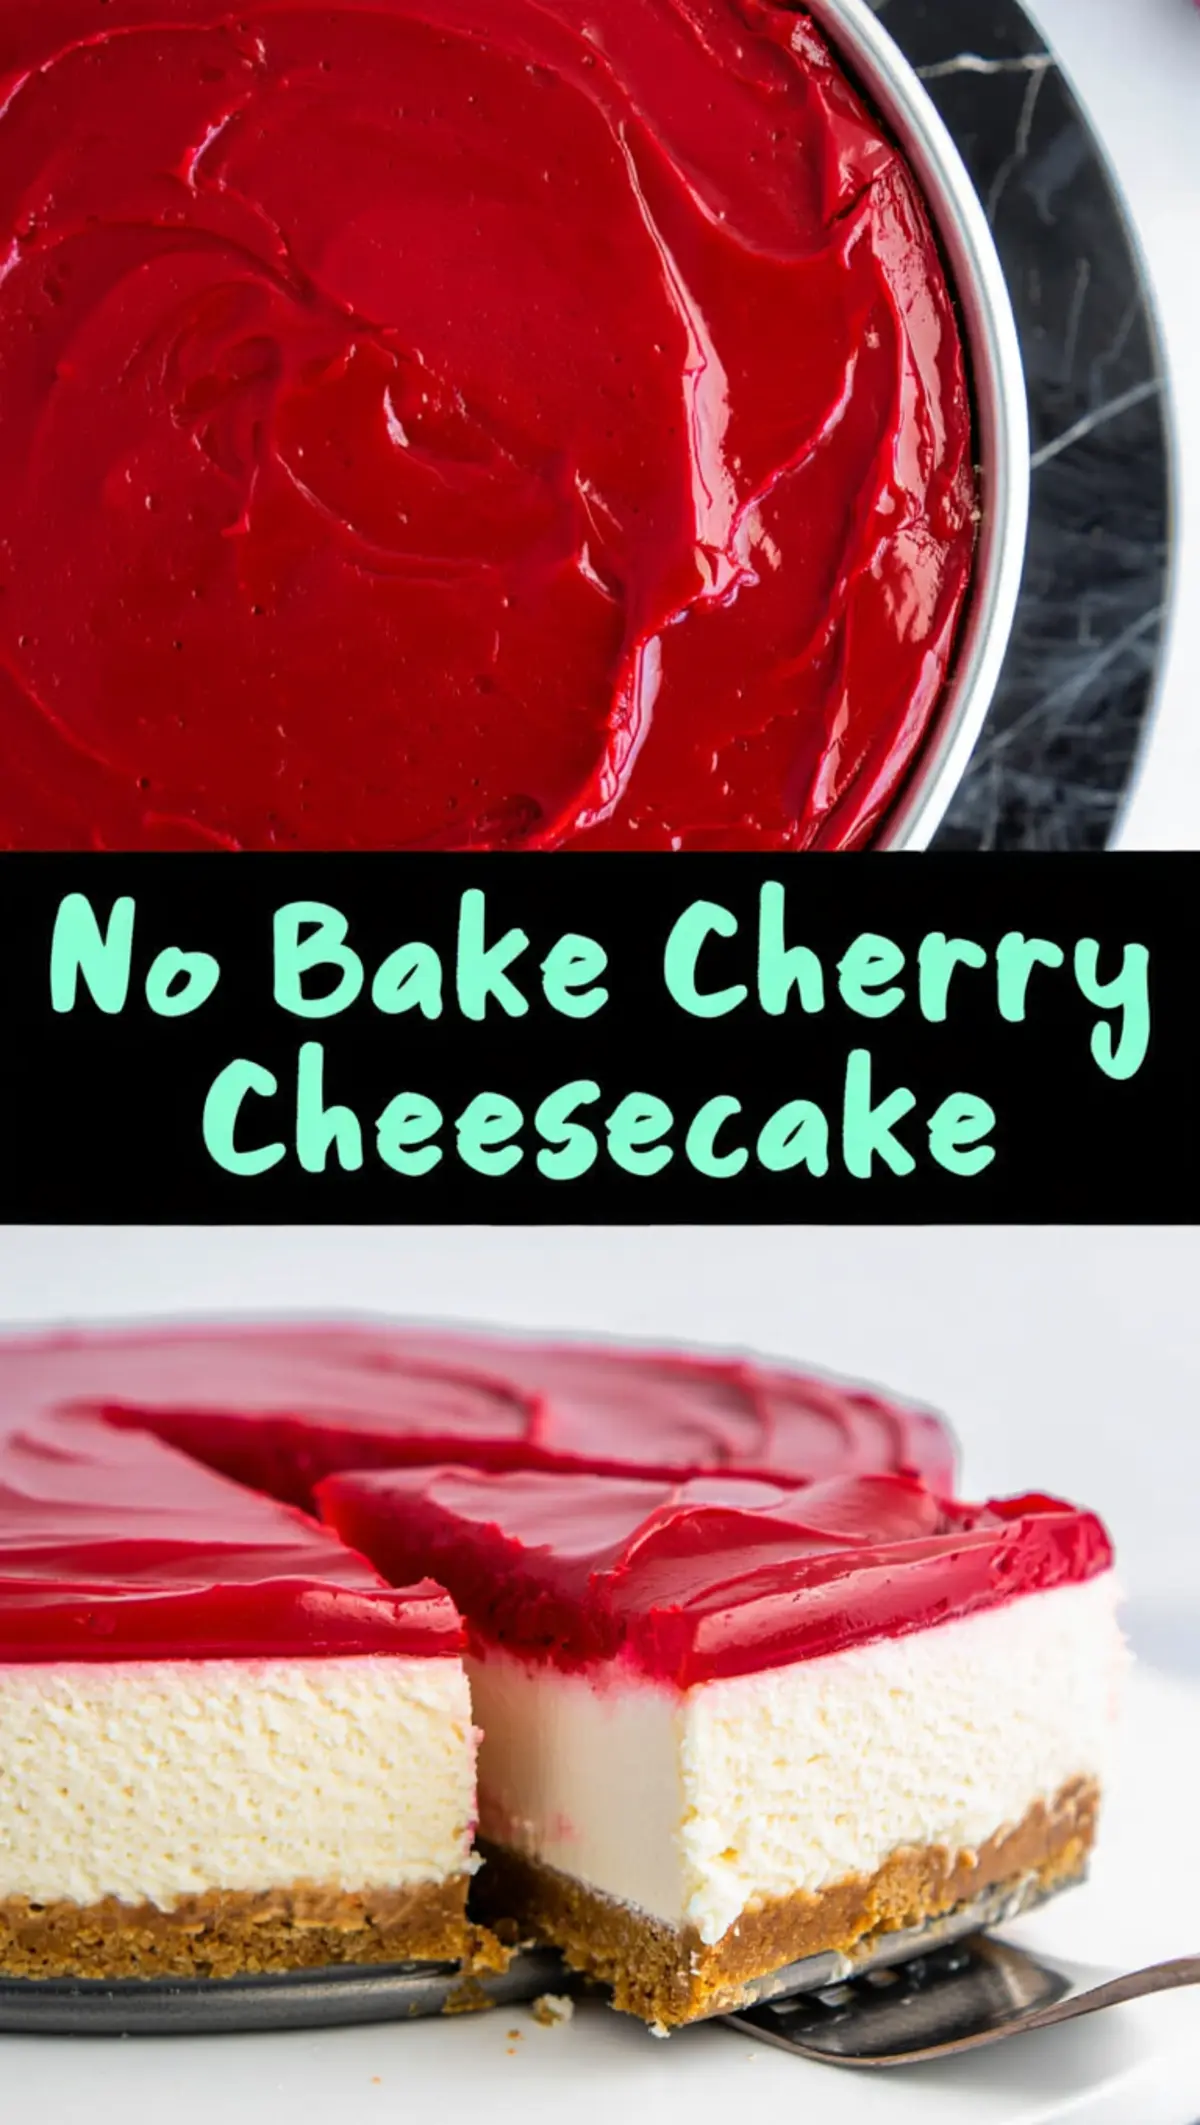
Some cherry cheesecakes look good only until you slice them. This one holds its shape.
In this post, you’ll learn exactly how to make a no bake cherry cheesecake that isn’t a gloopy mess or a melted mound. It sets clean. It slices beautifully. It lands on your plate in neat, white layers topped with that lacquered cherry red finish everyone remembers.
This is not the Cool Whip kind.
You’ll see how to stabilize the filling using real whipped cream. You’ll learn why the order of whipping matters. And I’ll show you the one little touch that makes the cherry topping shine like glass.
But before that, there’s something unusual hiding in this recipe. A quiet ingredient that changes everything. I’ll explain once we get through the steps.
Let’s get you set up to make a chilled dessert that people actually finish.
Ingredients You’ll Need for This Cherry Cheesecake
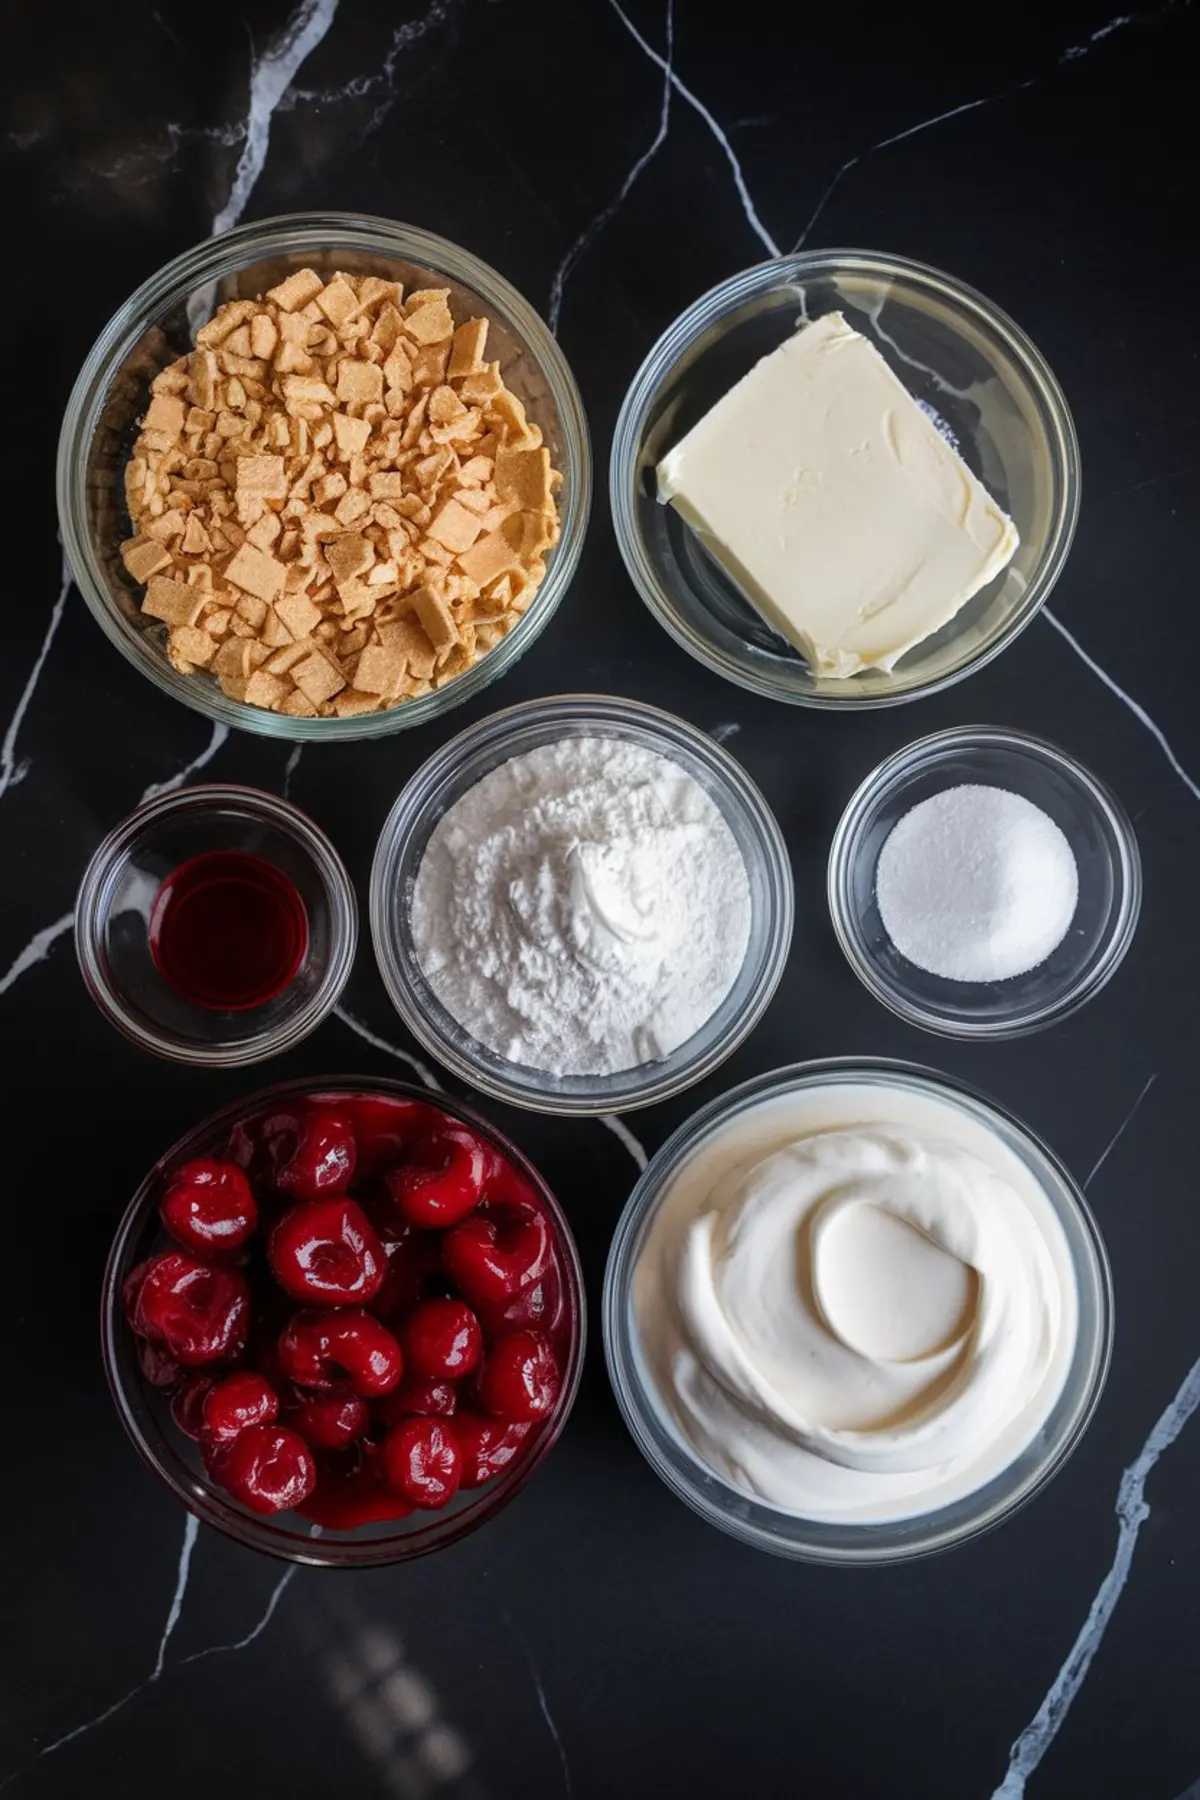
I keep it classic: graham cracker crust, whipped cream cheese layer, and bright red cherry topping. No gelatin. No shortcuts.
Use powdered sugar, not granulated. Granulated dulls the color and leaves grit. Powdered keeps the filling silky.
Red gel food coloring deepens the topping without watering it down. That tiny change turns an ordinary canned topping into something that gleams. I’ve tested liquid coloring too, and it makes the topping runny. Stick with gel.
And yes, use full-fat cream cheese. Every time I’ve tried low fat, the structure collapsed or the flavor fell flat. Full fat gives this dessert its clean body.
How to Build the No Bake Cheesecake Without It Falling Apart
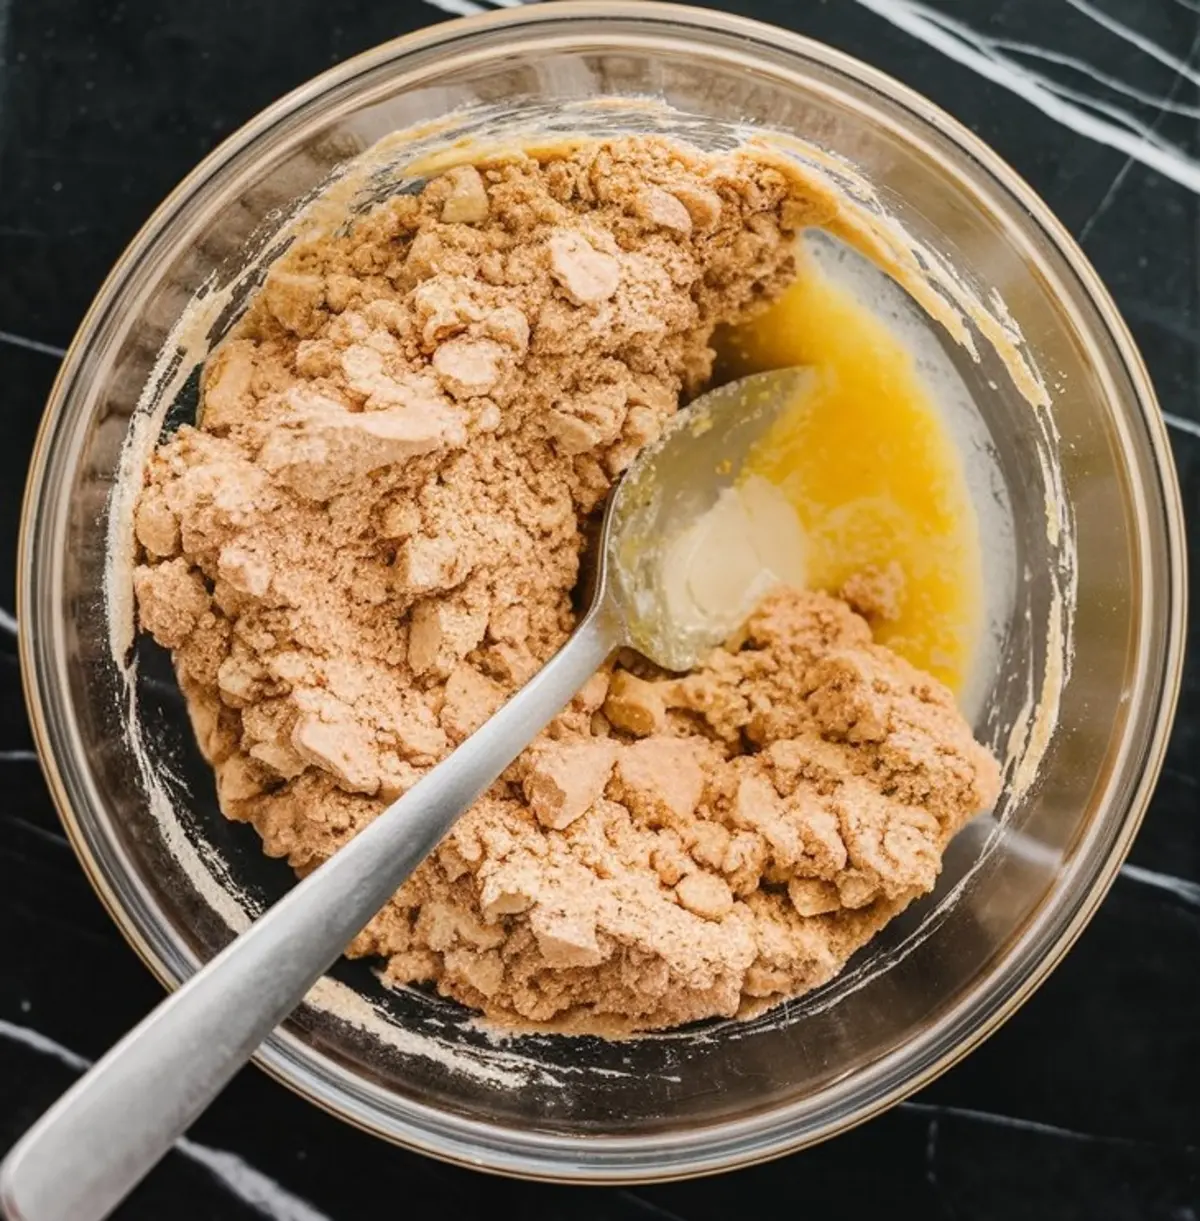
Start by mixing crushed graham crackers with melted unsalted butter. The mixture should feel like damp sand. Press it into your springform pan firmly, all the way to the edges. Use the bottom of a measuring cup to tamp it down evenly. Chill it for 20 to 30 minutes.
That crust sets the foundation. A loose crust means a soft base, and the filling won’t hold.
Next, whip your cold heavy cream until stiff peaks form. Cold cream gives volume. Warm cream deflates. Once whipped, refrigerate it until it’s time to fold.

How to Make the Snow White Cheesecake Layer Without Gelatin
Beat room temperature cream cheese until it’s completely smooth. No lumps. Add the powdered sugar and pure vanilla extract. Beat again until the mixture is bright white and smooth.
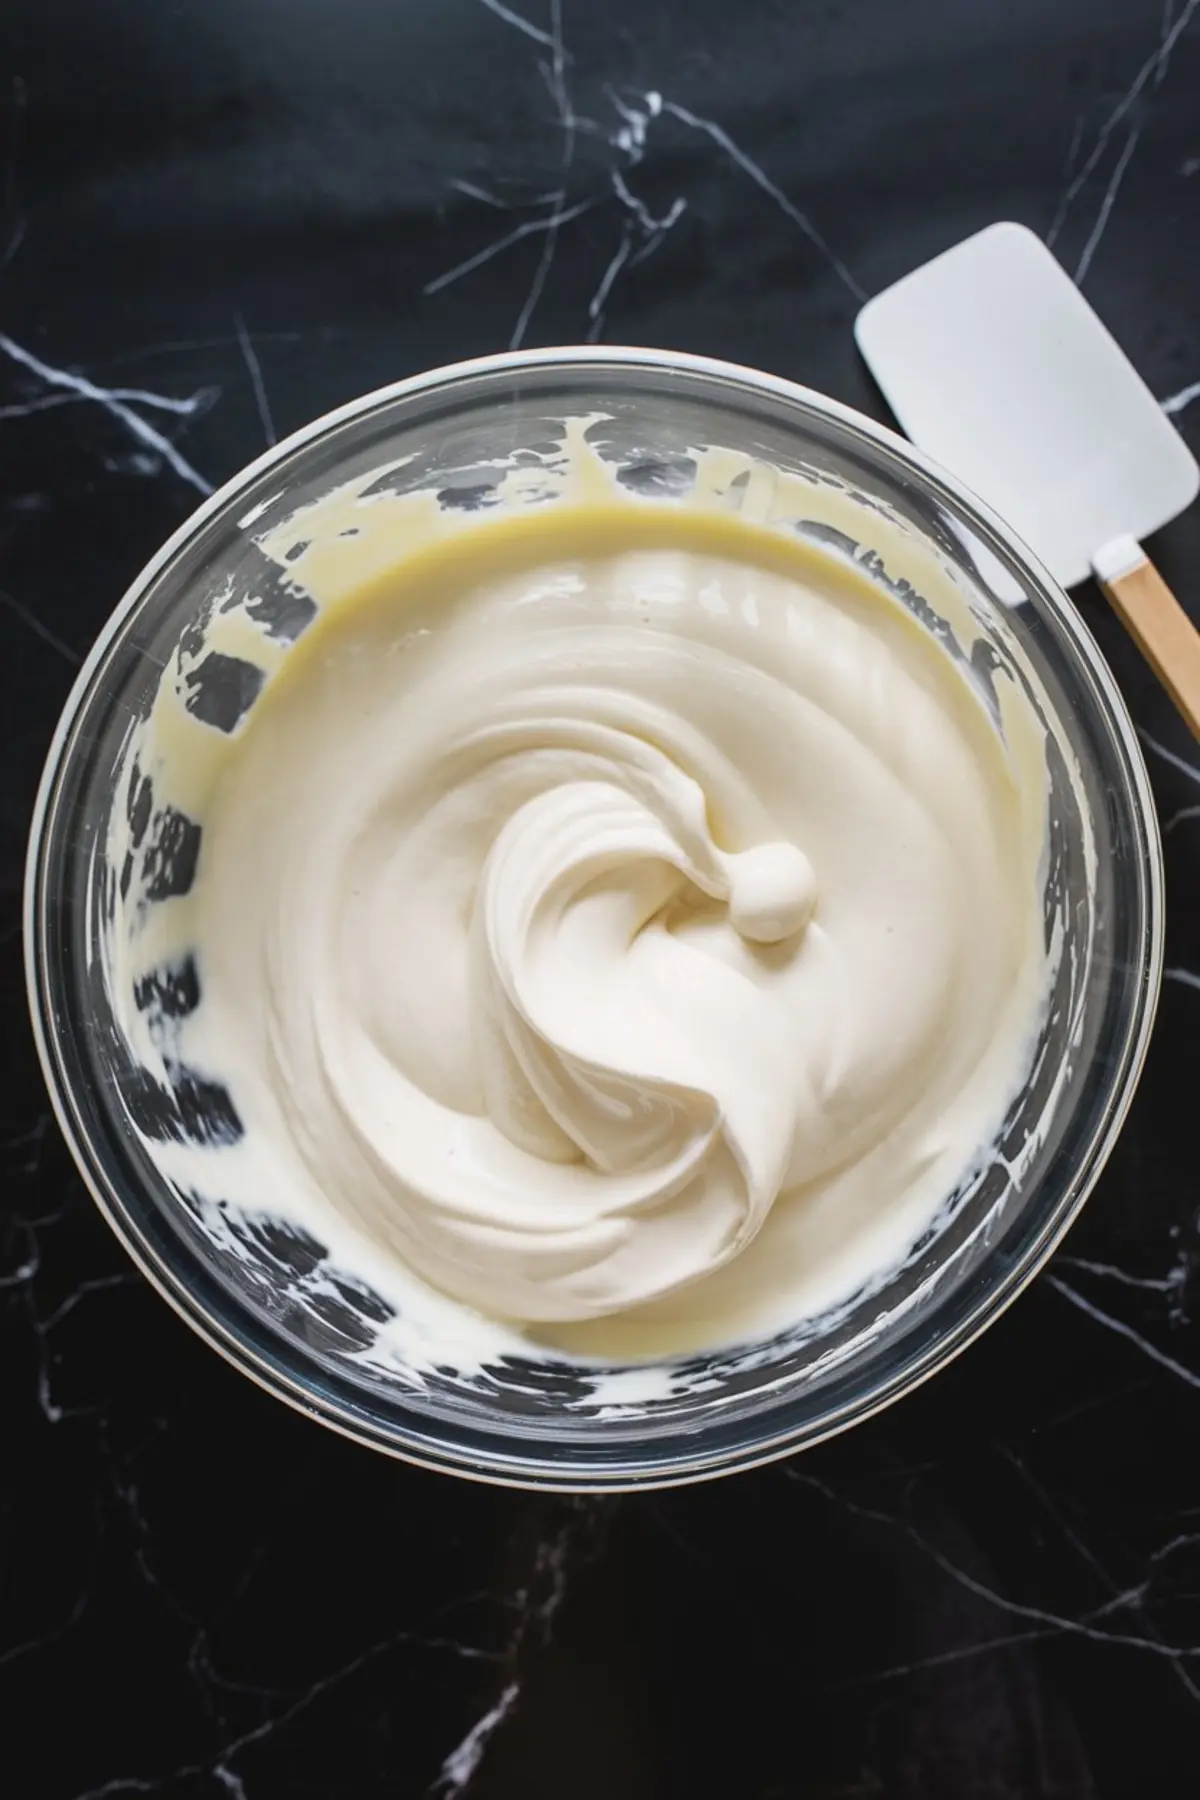
Now fold in the chilled whipped cream gently. Don’t stir hard. Fold just until the streaks disappear. That mousse-like texture will help it hold shape but still feel light.
Spread this over your chilled crust. Smooth the top and tap the pan gently to remove air pockets. Cover and chill at least six hours. I usually do it overnight. That extra time gives the filling more body.
Deep Red Cherry Topping That Doesn’t Bleed

Spoon the canned cherry pie filling into a bowl. Break up the larger cherries slightly with a spoon. Add one or two drops of red gel food coloring. Stir until it turns uniformly glossy and vibrant.
This step surprised me the first time. That tiny amount of color completely changed the visual. Instead of dull fruit, it turned into a glaze that looked polished.
When the cheesecake has fully set, spoon this topping gently across the top. Don’t press. Let it rest like a smooth layer of glaze.
Refrigerate again for another hour.
Comparison Note: Real Whipped Cream vs. Cool Whip in No Bake Cheesecake
I’ve made versions of this dessert both ways.
Cool Whip is convenient, but it melts fast and dulls the flavor. It also gives the filling a slightly spongy texture. Real whipped cream holds better and gives the filling a richer, fresher taste.
In my Pin Notebook, I wrote once: “Cool Whip gives speed, real cream gives dignity.”
This version? Dignity wins.
The Cherry Sheen Trick I Nearly Forgot
Let me tell you about the quiet little detail.
That red gel food coloring. It sounds like nothing. But the way it transforms a store-bought topping into something you’d expect on a pastry case dessert? That’s what keeps people coming back for seconds.
Without it, the topping looks flat. With it, it shines.
What Whiskers Did While I Chilled the Cheesecake
While I waited for the cheesecake to chill, my cat Whiskers took up post beside the fridge. I think he could smell the butter in the crust. He paced every time I opened the door. That’s usually a good sign the dessert’s worth making again.
He also tried to swipe a cherry. No luck, but good effort.
Save and Share: Make This No Bake Cheesecake Your Summer Favorite
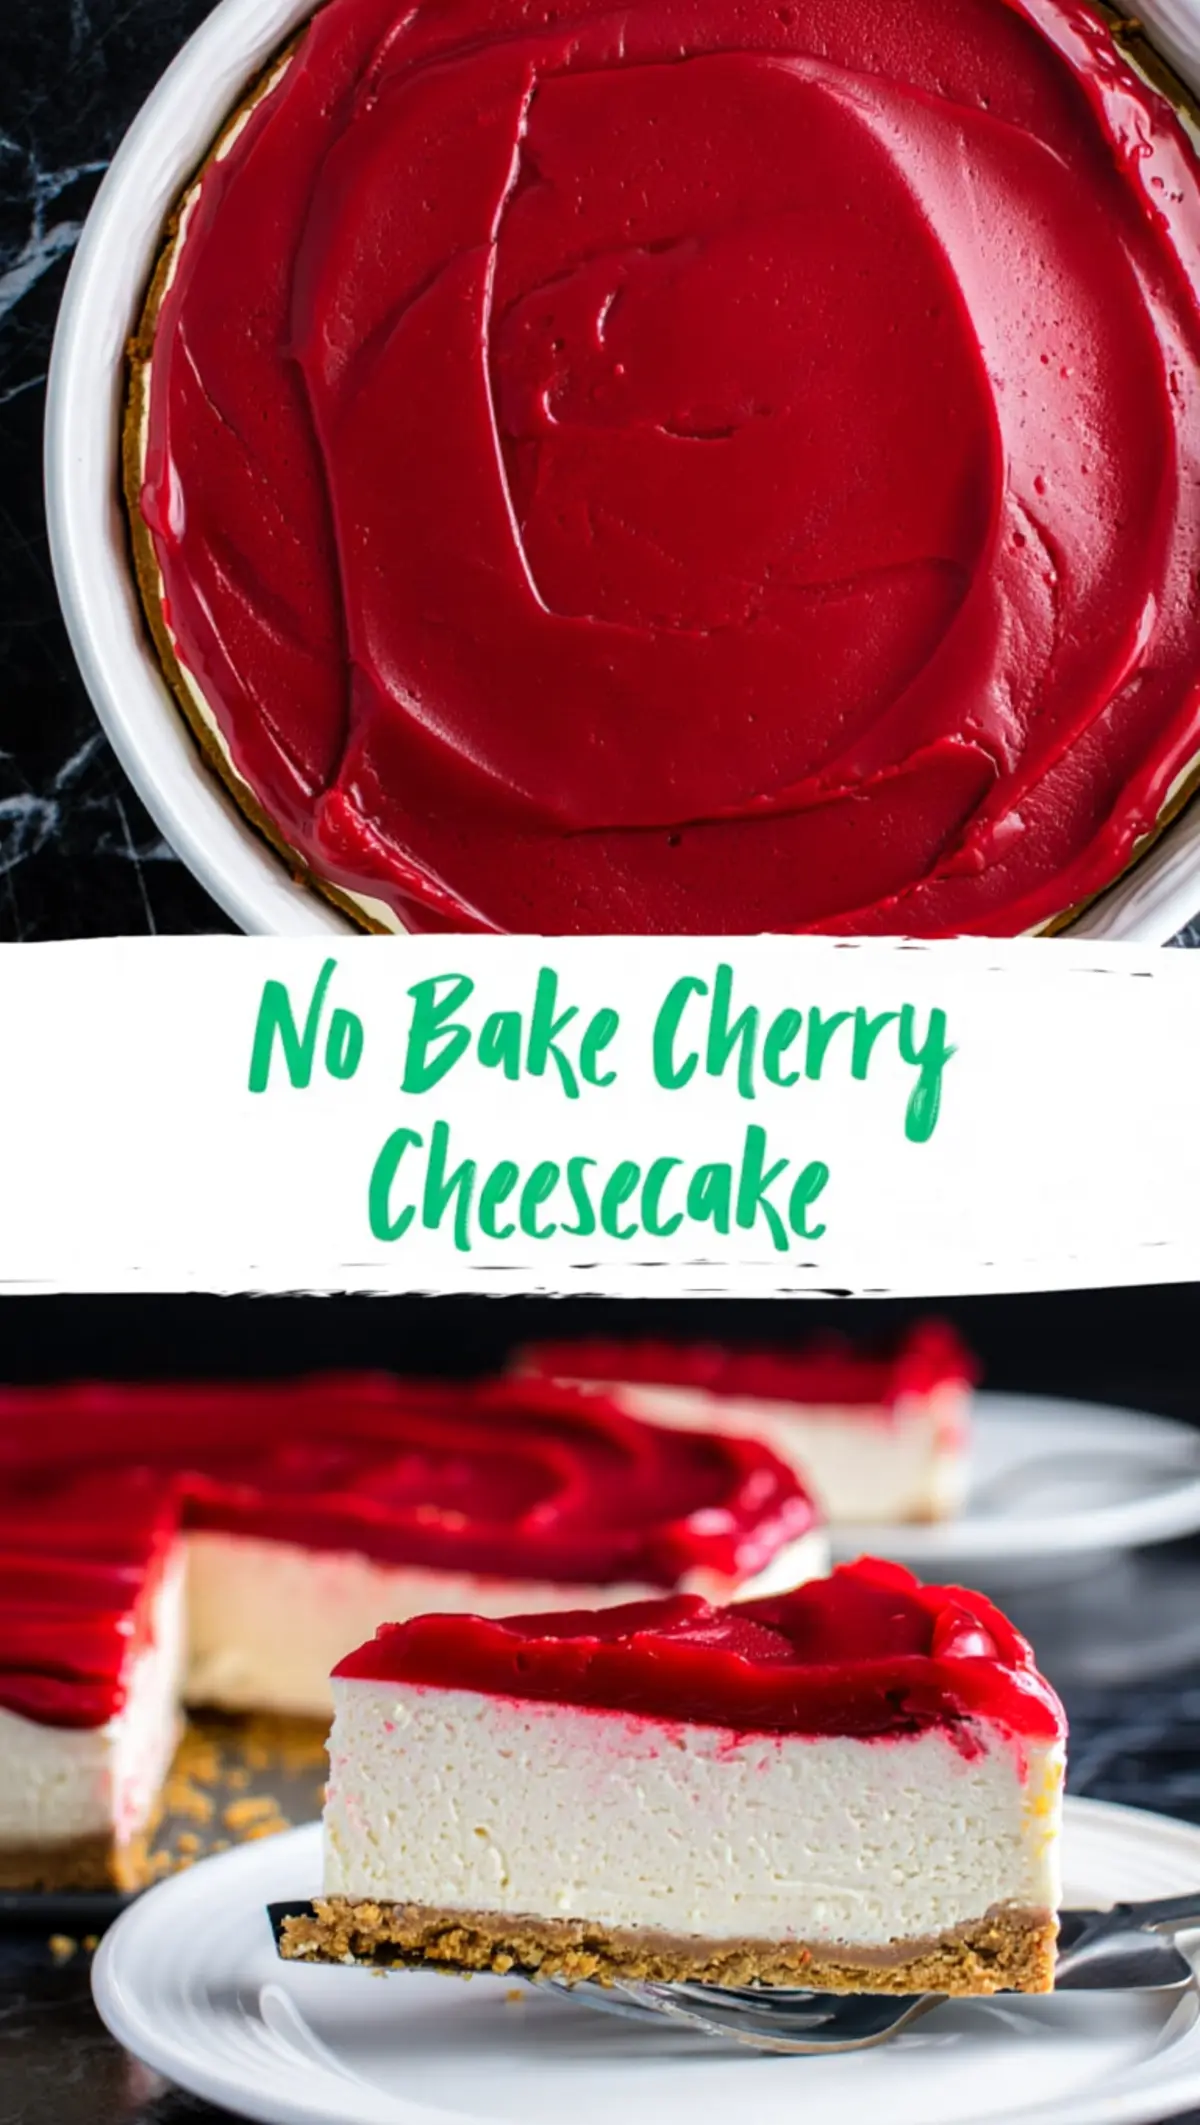
This no bake cherry cheesecake doesn’t just check a box. It makes a statement.
Slice it for a summer potluck, keep it cold for a dinner party, or let it sit pretty in the fridge until someone needs a sweet surprise.
If you try it, I’d love to hear how it turned out. Drop a comment. Did your cherry topping shine? Did you use Cool Whip or go with the real stuff?
And if you want more cheesecake ideas, check out some of my other favorites: Matcha Cheesecake, Tiramisu Cheesecake, Keto Cheesecake, Red White Blue Mini Cheesecakes, or Nutella Cheesecake.
Pin this post so you don’t lose it. You’ll want this one on your “Easy Cheesecake” or “Summer Dessert” board.
No Bake Cherry Cheesecake Recipe
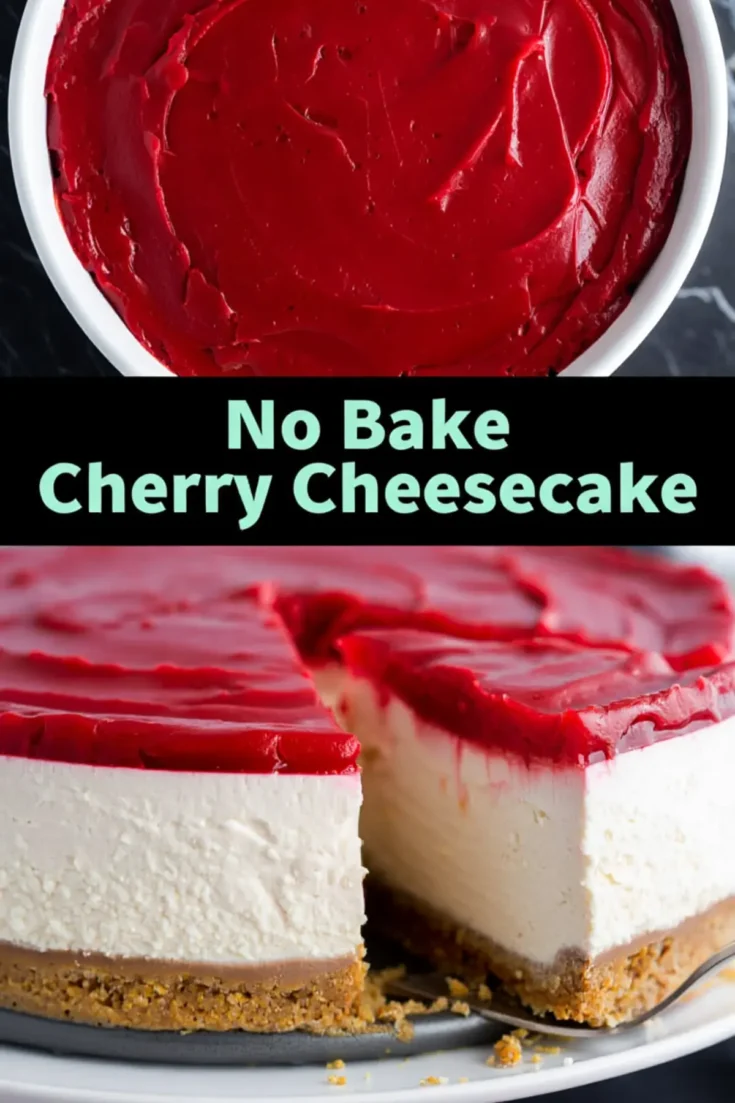
This no bake cherry cheesecake balances clean flavors and striking visuals. The crust is buttery and firm, the filling is smooth and bright white, and the cherry topping shines with a deep red finish. Powdered sugar ensures a silky texture in the cream cheese layer, while a touch of gel food coloring gives the topping its glassy sheen. The result is a chilled dessert that slices cleanly and looks polished on the plate.
Ingredients
- For the crust:
- Crushed graham crackers
- Melted unsalted butter
- For the filling:
- Full-fat cream cheese, room temperature
- Powdered sugar
- Pure vanilla extract
- Heavy whipping cream, cold
- For the topping:
- Canned cherry pie filling
- Red gel food coloring
Instructions
- MAKE THE CRUST: In a bowl, mix crushed graham crackers and melted butter until the texture resembles damp sand. Press the mixture firmly and evenly into the base of a springform pan using the bottom of a measuring cup. Refrigerate for 20 to 30 minutes to set.
- WHIP THE CREAM: In a clean mixing bowl, beat cold heavy whipping cream until stiff peaks form. This will help keep the filling airy. Place the whipped cream in the fridge until ready to use.
- PREPARE THE SNOW WHITE FILLING: In a separate bowl, beat room temperature cream cheese until completely smooth. Add powdered sugar and vanilla extract, then beat again until the mixture is silky and bright white. Gently fold in the whipped cream using a spatula, mixing just until no streaks remain. The filling should be thick and mousse-like.
- FILL THE CRUST: Spoon the white filling over the chilled crust. Use an offset spatula or the back of a spoon to smooth the top evenly. Tap the pan gently on the counter to release any air bubbles. Cover and refrigerate for at least 6 hours, or overnight for best results.
- MAKE THE CHERRY TOPPING: Transfer the canned cherry pie filling to a bowl and stir to slightly break up the fruit. Add 1 to 2 drops of red gel food coloring and mix until the color is uniform and glossy. The topping should have a deep, lacquered red appearance.
- TOP THE CHEESECAKE: Once the filling has fully set, spoon the cherry topping gently over the surface. Spread it carefully without pressing down, allowing it to rest on top like a glaze.
- FINAL CHILL: Return the cheesecake to the refrigerator for 1 more hour to allow the topping to firm slightly. Slice with a clean, sharp knife for best presentation.
Notes
Use powdered sugar instead of granulated to avoid graininess and discoloration. Gel food coloring produces a deeper, clearer red than liquid versions. Cold cream whips best and holds shape longer. For a cleaner slice, wipe the knife between cuts.
Nutrition Information:
Yield:
12Serving Size:
1Amount Per Serving: Calories: 83Total Fat: 3gSaturated Fat: 2gTrans Fat: 0gUnsaturated Fat: 1gCholesterol: 8mgSodium: 22mgCarbohydrates: 14gFiber: 0gSugar: 11gProtein: 0g
