

Sugar cookies shaped like leaves carry something more than just flavor. They hold the quiet patience of fall afternoons, the hum of the mixer in a warm kitchen, and the rhythm of careful hands tracing delicate edges. These cookies weren’t rushed, and they don’t ask you to be either. They offer a kind of pause.
I’ve made these Fall Sugar Cookies with royal icing through many seasons—sometimes with a room full of children swirling colors with toothpicks, sometimes alone with the radio low and a cup of tea growing cold beside me. The dough is familiar in my hands, lightly scented with vanilla and almond, and it holds its shape without fuss. That’s important when you’re working with cutters shaped like maple or oak leaves.
You don’t need perfection here. If the edges soften or the icing craters a little, let it be. The flavor, the warmth, the memory of making them—those last longer than a clean line ever will.

A Dough That Holds Its Shape
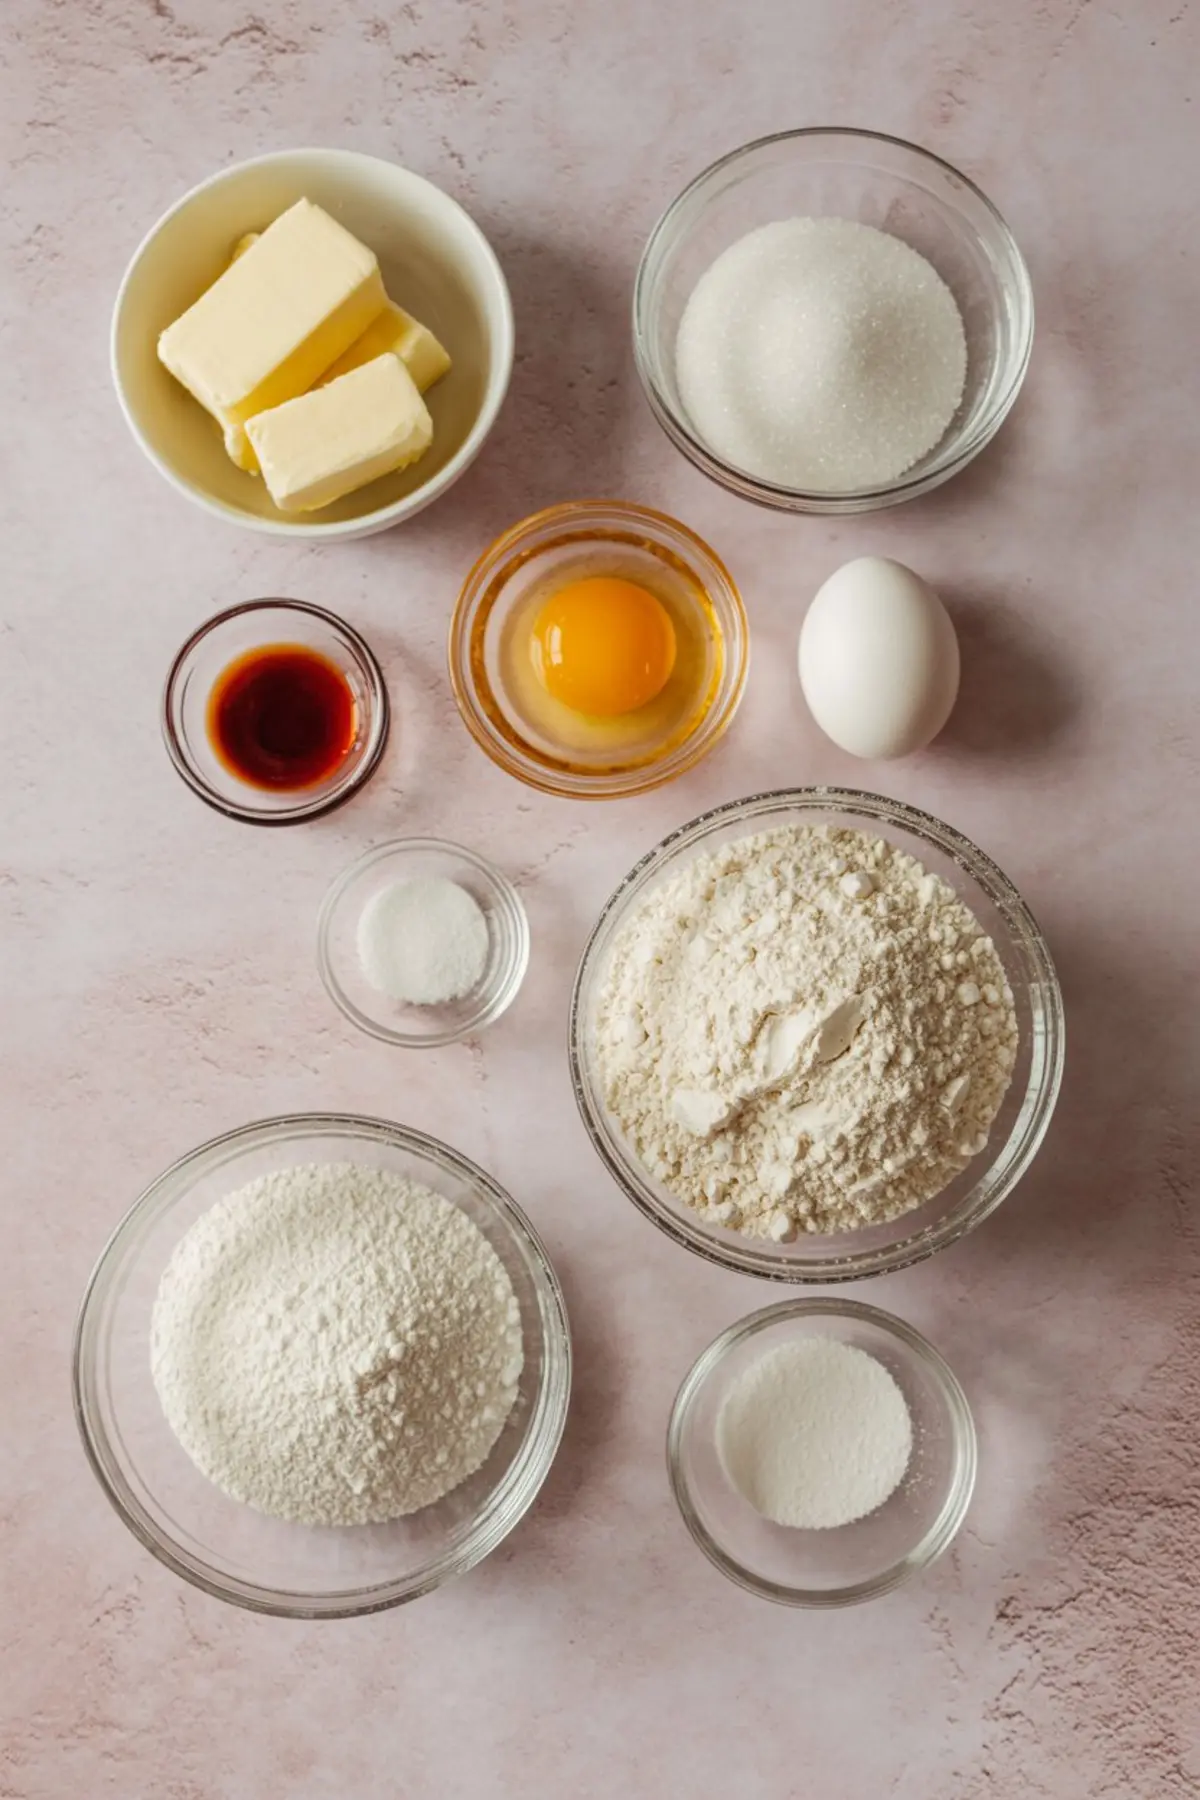
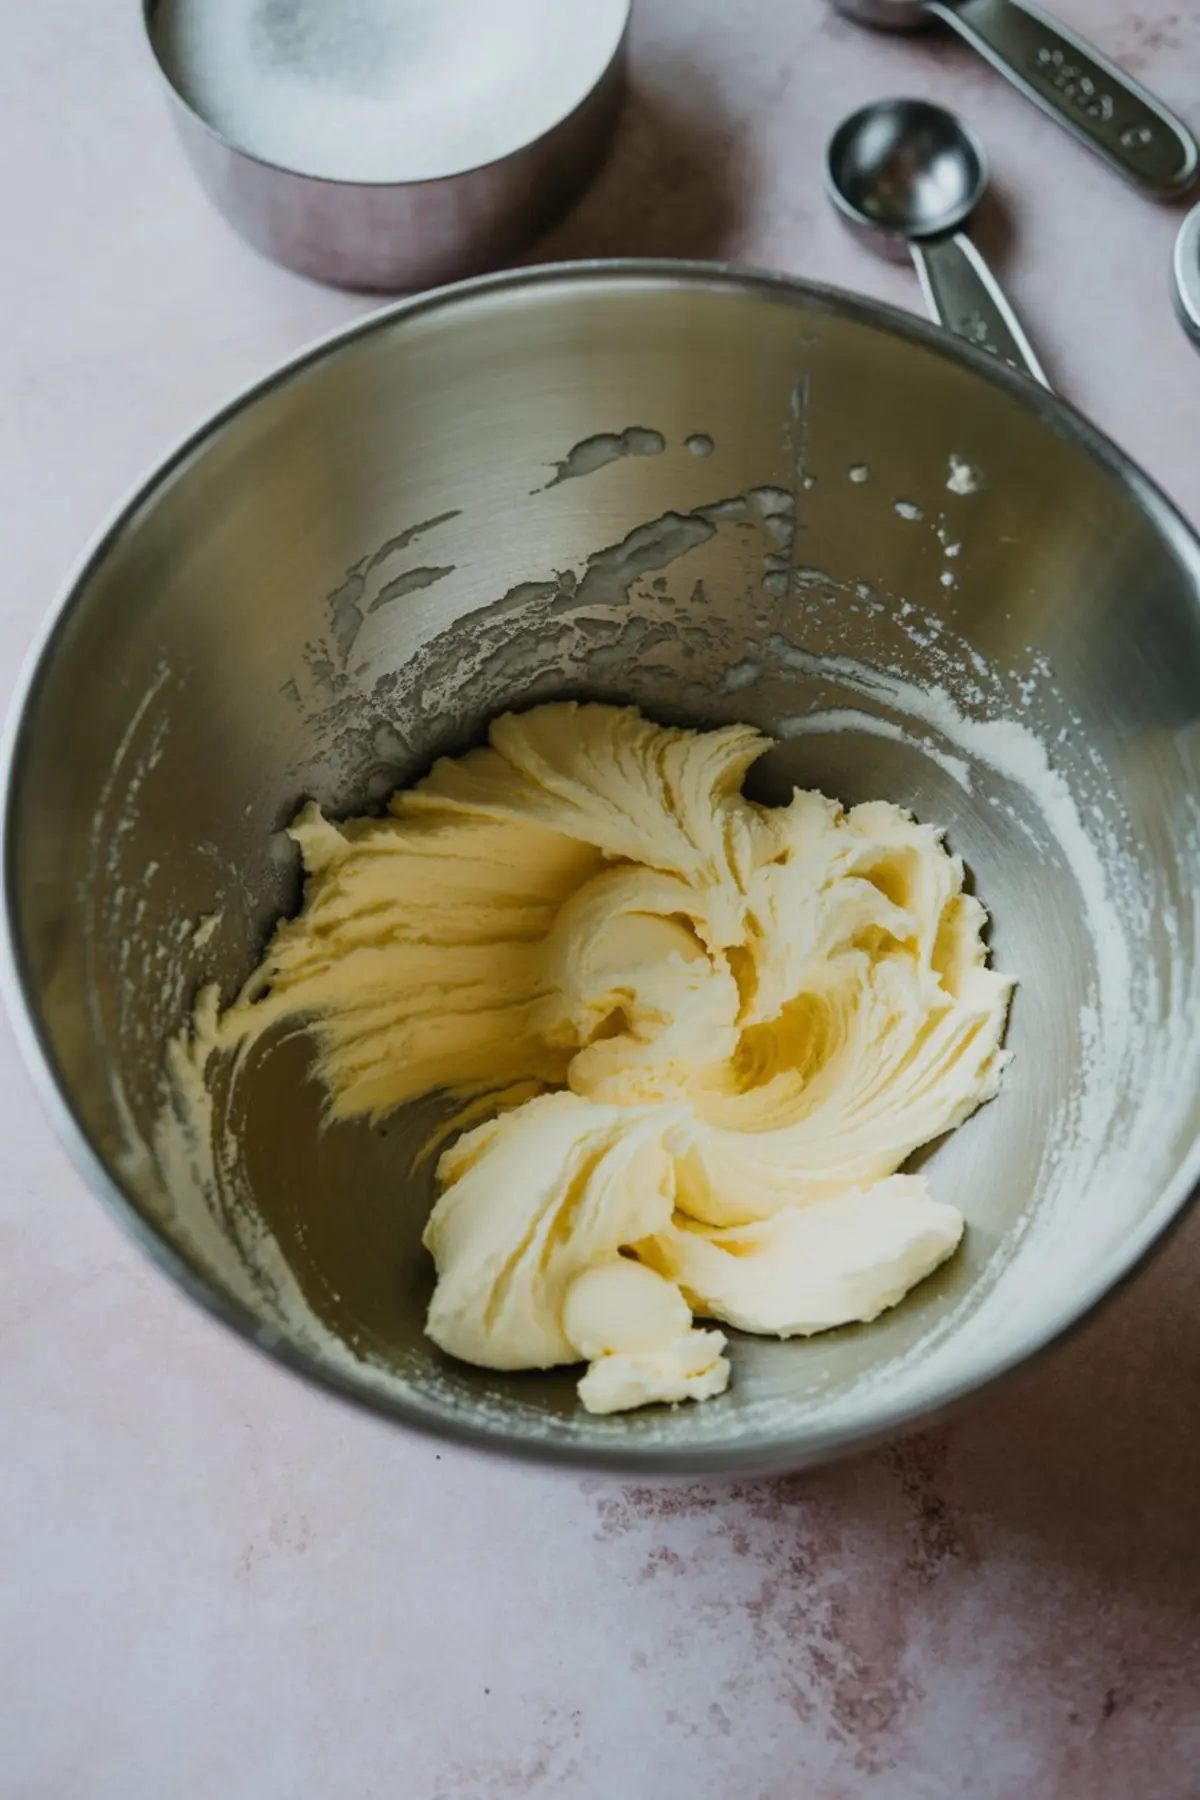
The base dough begins with butter and sugar, creamed until soft and light. I’ve found that room temperature butter—left out long enough that a finger leaves a soft dent, not a hole—makes all the difference in texture. Too cold and the dough stays stiff. Too warm and the cookies puff.
This recipe includes a whisper of almond extract. Some bakers leave it out, but I keep it. It brings a quiet warmth that reminds me of marzipan and late autumn pastries. The flour, salt, and baking powder come together slowly. Overmixing brings toughness. I mix just until the dough holds, then stop.
Once it’s formed, I press it into discs and chill it, often overnight. The chill helps the cookies keep their crisp edges once they’re cut. I’ve tried skipping this step when I was short on time, but the results always reminded me why I wait.
If you’re looking for more fall ideas that hold their shape in the oven, the Apple Brownies Recipe is one I’ve returned to often.
Fall Cookie Decorating and Choosing Your Icing Tools
Royal icing can be a patient teacher. It starts thick for outlines, then softens with a little water to flood the space inside. I keep my icing bowls covered with damp paper towels to prevent the surface from drying. A dry crust in the bowl can sneak into your piping tip and throw everything off.

Some bakers use squeeze bottles, others prefer piping bags. I’ve tried both, and I still come back to piping bags fitted with a small round tip. I feel more control that way, especially for outlining fall themed cookies like oak or elm shapes. In my notes, I once compared the two and wrote, “Bottles move fast. Bags make me slow down. Today, I need the slow.” I still feel that way.
For designs that feel festive but simple, I sometimes look to the Mini Pecan Pie Tart Cookies for inspiration in tone and color. The deep golds and caramels carry over beautifully to leaf shapes.
Creating Fall Royal Icing Cookies with Depth

Once the cookies are outlined and flooded, you can start layering in detail. For marbled leaves, I like to drop tiny dots of another color while the base is still wet. A toothpick run lightly through the icing gives that soft, windy blend—like swirling leaves caught mid-air.
If you’ve never decorated cookies this way before, give yourself room to learn. The first few may run or wrinkle. That’s alright. If the colors bleed a little, or the lines aren’t even, don’t worry. Let them dry. Then try again. This process is meant to feel like fall: a little messy, deeply lovely.
To keep the icing smooth and vivid, I always recommend gel food coloring over liquid. Liquid can thin the icing too quickly, while gel lets you control the shade. I store each color in a separate small bowl, covered with plastic wrap. These bowls often sit near my windowsill, where the afternoon light turns the reds and golds into something glowing.
If you’re gathering recipes for a cozy weekend bake, the Salted Caramel Apple Pie Bars pair beautifully with these cookies on any dessert table.
A Word on Shape and Simplicity
Leaf-shaped cookie cutters come in many forms. I have a few old ones with slightly bent edges from years of use. The key is rolling the dough evenly—about a quarter inch thick. Thinner cookies brown quickly and lose shape. Thicker ones can spread. I like to cut the dough while it’s still cool from the fridge, then chill the cut-outs again before baking. This small second chill helps the cookies hold their edges cleanly in the oven.
I often decorate my cookies with a mix of styles—some outlined and flooded, others left plain, just golden and soft. It helps create a balance. Sometimes I’ll leave a few undecorated on purpose, the way I might set aside a few Pecan Pie Thumbprint Cookies for guests who prefer something simple.
These sugar cookies make a gentle base for Thanksgiving decorated cookies or fall cookie ideas in general. You can adapt them easily to fit different occasions.
Let the Cookies Rest
Once decorated, the cookies need time. The icing will look set after an hour, but it needs several more to fully dry. I leave them out overnight on the counter, spaced apart on parchment. Rushing this part only leads to smudges.
If you’re making these for a gathering or for gifting, plan ahead. Make the dough the day before. Bake in the morning. Decorate in the afternoon. Let dry overnight. Stack with parchment between each layer.
These steps are written out in my old green notebook, the one with the cracked spine. Chloe once borrowed it when she was just beginning. I remember her careful handwriting beside mine. She added little notes about leaf colors and how she mixed a burnt orange with just a touch of brown.
A Quiet Craft for Fall Baking Days
There’s something grounding about making autumn cookies decorated with care. The process doesn’t ask for much, but it gives back a quiet joy. You can take your time. You can shape each leaf the way you remember them from childhood walks or windy porches.
I hope you’ll try these. I hope you’ll let yourself enjoy the process. And if the icing cracks or the lines wobble, remember what I always write in the margin of my recipe card: “Let it dry. It’s still lovely.”
If this recipe brings you joy, I’d be glad to hear it. Leave a note in the comments, or ask a question if anything feels unclear. And if you’d like to save it for later, you can pin it to your board of fall baking recipes or Thanksgiving sugar cookies decorated with care.
Fall Sugar Cookies

Fall Leaves Sugar Cookies are classic cut-out sugar cookies designed to hold their shape and support detailed icing work. The dough is lightly flavored with vanilla and almond, while the royal icing brings autumn colors to life with vibrant, clean edges and optional marbling techniques. This recipe is well-suited for beginners and experienced decorators alike, with clearly outlined steps for mixing, shaping, baking, and decorating.
Ingredients
- For the sugar cookies:
- 1 cup (226g) unsalted butter, softened
- 1 cup (200g) granulated sugar
- 1 large egg
- 1 ½ teaspoons vanilla extract
- ½ teaspoon almond extract (optional)
- 2 ¾ cups (345g) all-purpose flour
- 1 teaspoon baking powder
- ½ teaspoon salt
- For the royal icing:
- 4 cups (480g) powdered sugar
- 3 tablespoons meringue powder
- 6 tablespoons warm water (plus more as needed)
- Gel food coloring: red, orange, yellow, brown
Instructions
- CREAM THE BUTTER AND SUGAR: In a large bowl, beat the softened butter and granulated sugar together with a hand mixer on medium-high speed until the mixture becomes light and fluffy, about 3 minutes.
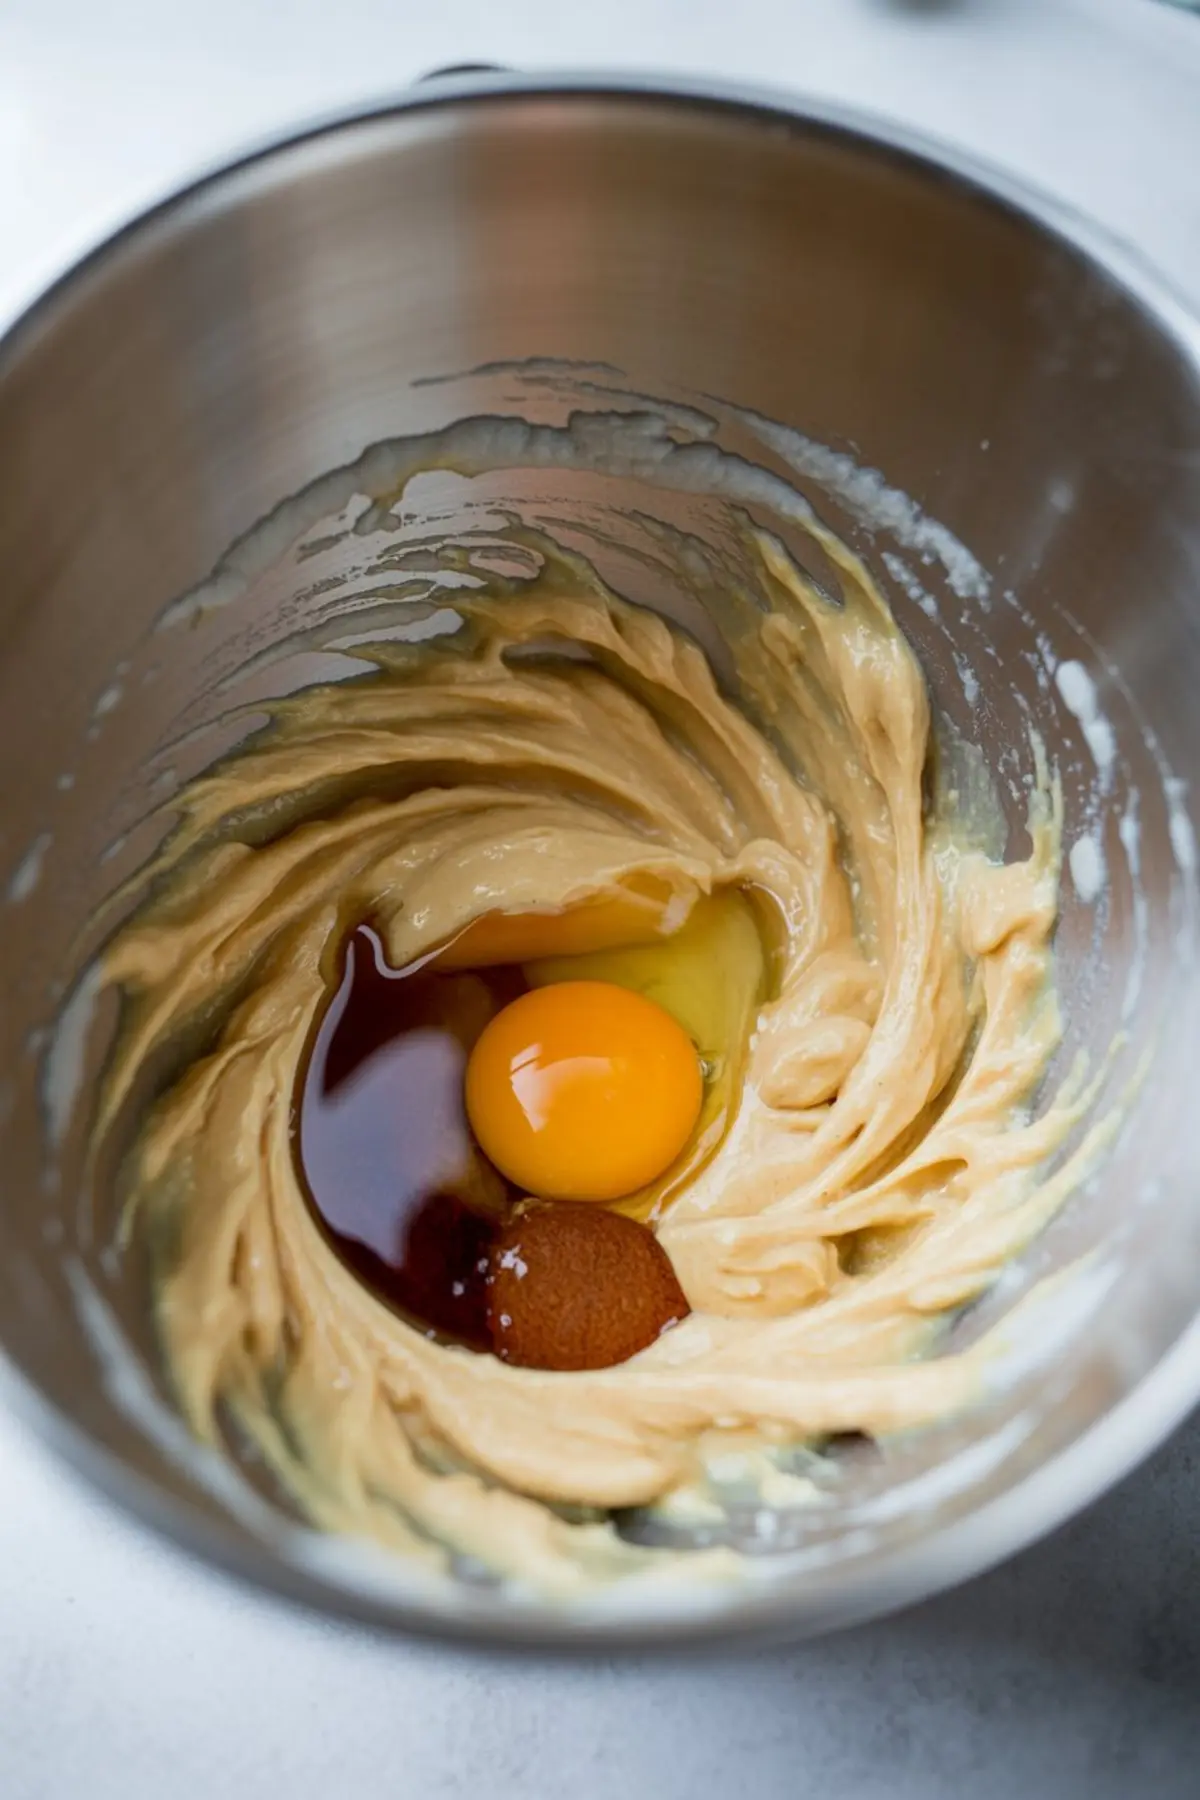
- ADD EGG AND EXTRACTS: Mix in the egg, vanilla extract, and almond extract (if using), and beat until fully combined and smooth.
- COMBINE DRY INGREDIENTS: In a separate bowl, whisk together the flour, baking powder, and salt. Gradually add the dry mixture to the wet mixture, mixing just until a dough forms. Do not overmix.
- CHILL THE DOUGH: Divide the dough into two equal discs, wrap each in plastic wrap, and refrigerate for at least 1 hour. Chilling helps the cookies maintain their shape during baking.
- ROLL AND CUT THE DOUGH: On a lightly floured surface, roll out one disc of dough at a time to about ¼ inch thickness. Use leaf-shaped cookie cutters to cut out shapes and place them on a parchment-lined baking sheet.
- CHILL CUT COOKIES: Transfer the baking sheet with cut cookies to the refrigerator and chill for 15 minutes while preheating the oven to 350°F (175°C). This second chill ensures clean edges when baked.
- BAKE THE COOKIES: Bake the cookies for 8–10 minutes until they are set and the edges are just beginning to turn golden. Let them cool completely on the baking sheet or a wire rack before icing.
- MAKE ROYAL ICING: In a large bowl, combine powdered sugar, meringue powder, and warm water. Beat on high speed for about 5 minutes until stiff peaks form. This thick mixture is your piping consistency.
- COLOR THE ICING: Divide the icing into separate bowls and color each portion using gel food coloring. Add a small amount at a time to control the shade. Keep the bowls covered with plastic wrap to prevent drying.
- THIN FOR FLOODING: To prepare flood consistency icing, add a few drops of water to each color and stir until the icing smooths out in about 10 seconds when a knife is dragged through it. Keep some of the original thick icing for outlining.
- OUTLINE THE COOKIES: Fill piping bags fitted with a small round tip (such as #2) with piping consistency icing. Carefully trace the outline of each leaf and any vein details. Let the outlines dry for about 10 minutes before flooding.
- FLOOD WITH COLOR: Use squeeze bottles, piping bags, or spoons to fill the outlined area with flood consistency icing. Use a toothpick to help the icing reach the corners and smooth the surface evenly.
- ADD MARBLED OR LAYERED EFFECTS: To create blended or marbled effects, add small dots of a second color to wet base icing and swirl gently with a toothpick. Allow base layers to dry fully (several hours or overnight) before piping additional details on top.
- LET ICING SET: Allow all decorated cookies to dry completely at room temperature until the icing is firm to the touch. This may take several hours or overnight depending on humidity.
Notes
Use gel food coloring for rich hues without thinning the icing. For best results, store iced cookies in a single layer until completely dry, then stack with parchment between layers. The dough can be made ahead and refrigerated for up to 2 days or frozen for up to 3 months.
Nutrition Information:
Yield:
30Serving Size:
1Amount Per Serving: Calories: 58Total Fat: 1gSaturated Fat: 0gTrans Fat: 0gUnsaturated Fat: 0gCholesterol: 7mgSodium: 58mgCarbohydrates: 11gFiber: 0gSugar: 2gProtein: 1g
