

Old-fashioned comfort in a 9×13 pan
Most pies ask you to fuss. They expect perfection from the crust, worry from the baker, and silence from the apples. This one doesn’t.
Apple slab pie welcomes extra hands, uneven lattice strips, and apples that don’t line up just so. It holds everything in a big, generous rectangle. You cut it with a butter knife. You serve it with your hands. It forgives you if the filling bubbles over or if the edges go darker than you meant. That’s why I’ve returned to this recipe again and again, especially when the kitchen feels busy or my hands are tired.

What Is a Slab Pie?
A practical pie that feeds more than a round dish ever could
A slab pie is baked in a 9×13-inch rimmed baking sheet. It’s wide and shallow, with plenty of surface for golden crust and bubbling fruit. Unlike a traditional round pie, it cuts into tidy squares. You can tuck slices into lunchboxes or carry them, still warm, to your neighbor’s table.
The crust holds its shape. The filling stays generous but not runny. And because it stretches farther, it makes a smart choice for gatherings, potlucks, or those quiet weekends when everyone seems to wander into the kitchen at once.
My Notes on the Crust
Butter cold, hands light, patience always
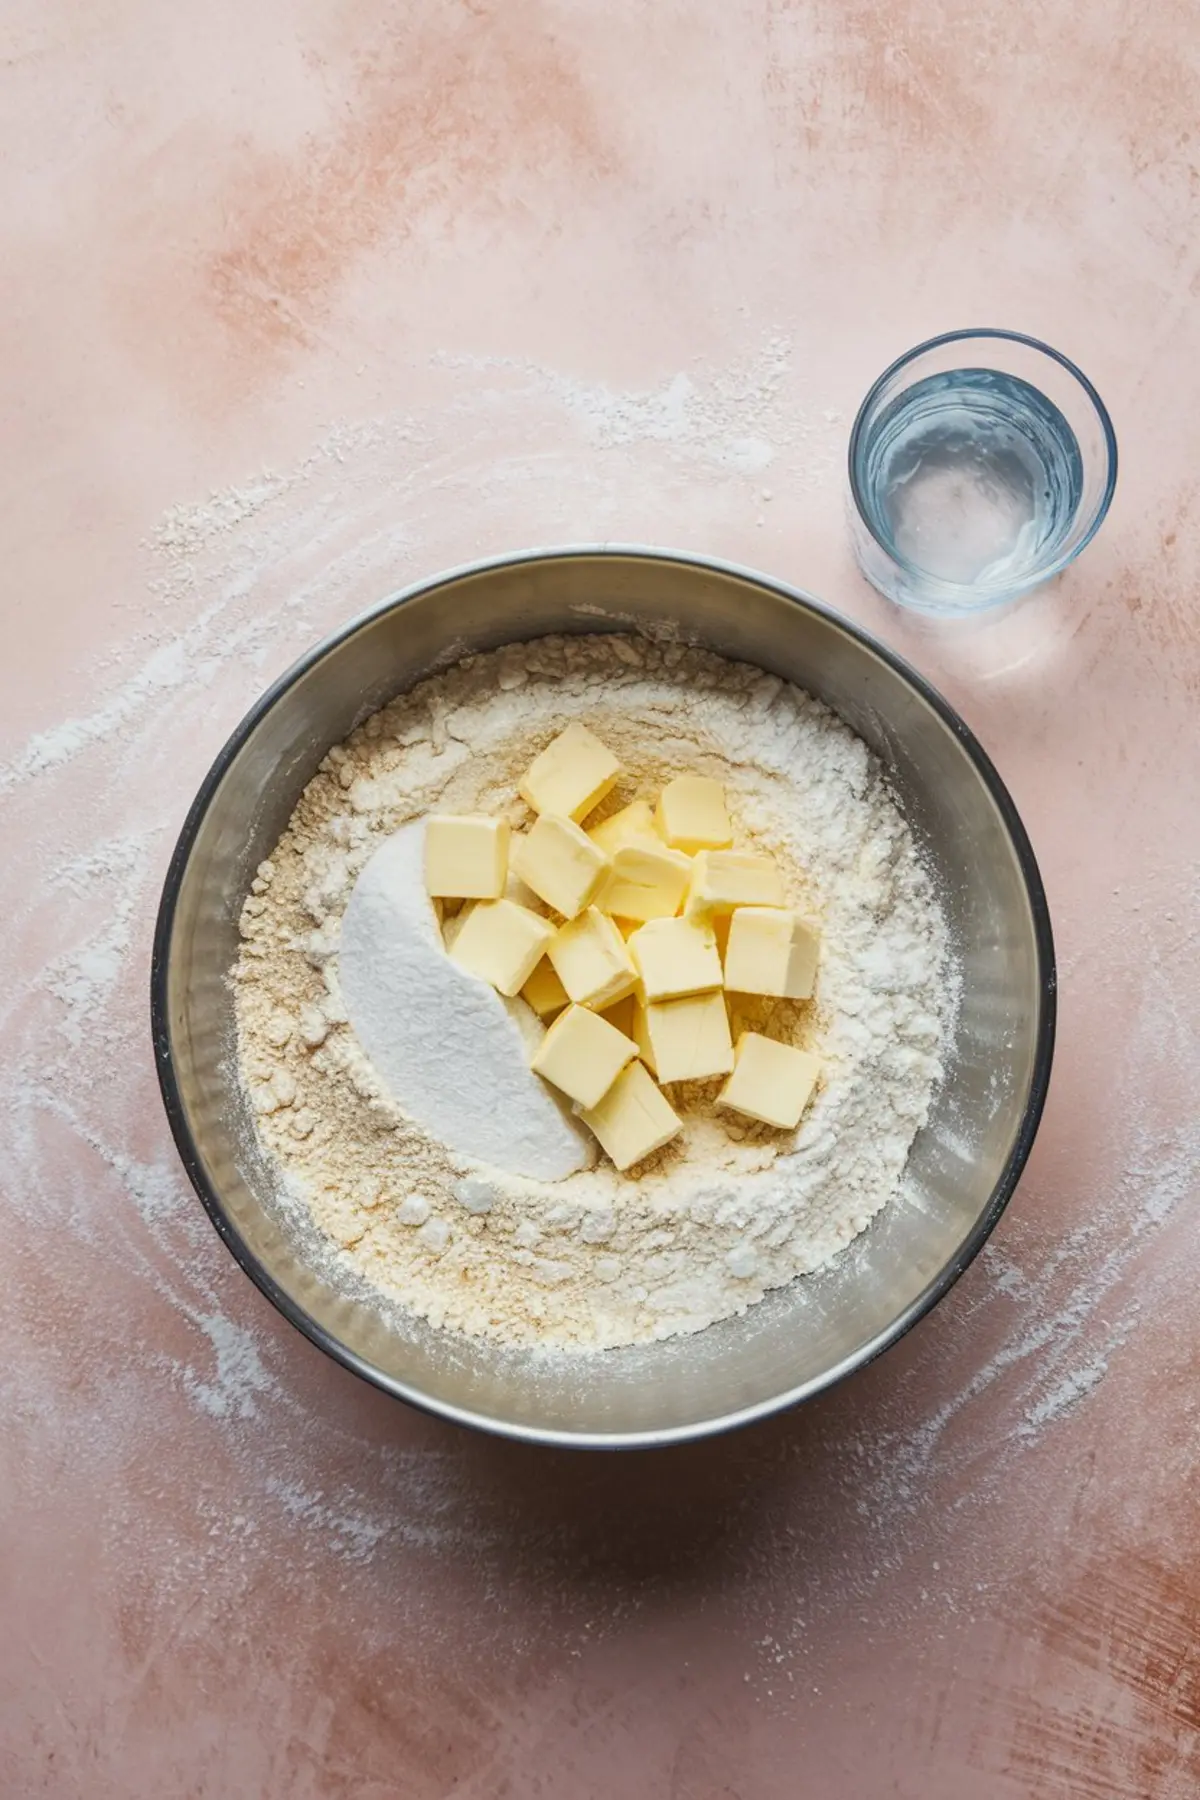
I’ve never owned a food processor. I cut my butter with two knives or with my fingers, always working quickly so the butter stays cold. When it looks like damp sand with a few soft pebbles, I stop. That’s when the dough listens. Ice water brings it together—slowly, a spoonful at a time—until it just holds. No more.
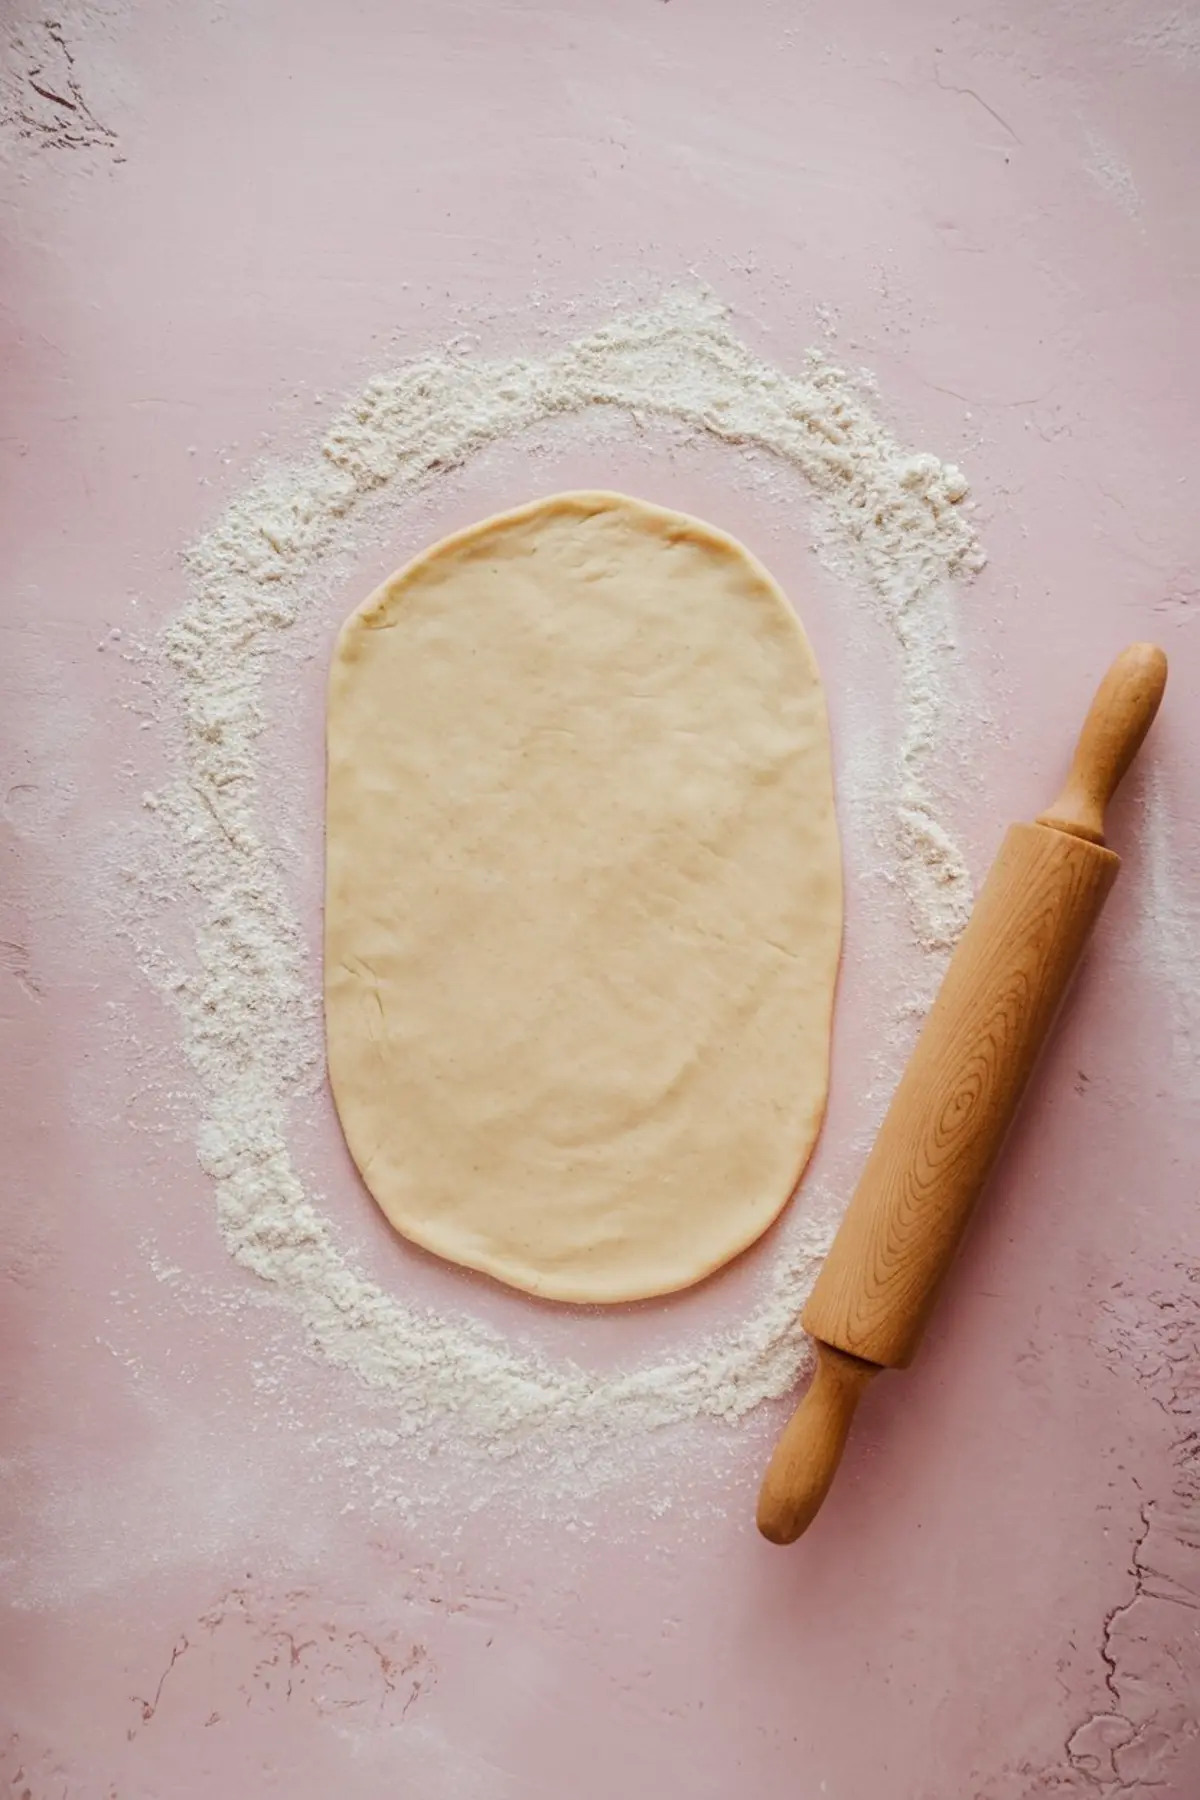
Wrap and rest the dough. That part matters. I’ve tried skipping it when I was in a rush, but the crust always shrinks or cracks in protest. Thirty minutes in the fridge helps the flour settle down and the butter hold its ground.
If your lattice strips tear or stretch, press them back into place gently. If it looks uneven, all the better. Pies should look like they came from real hands. If the top cracks, don’t worry. That only lets the apples speak through.
Choosing Apples for Filling
Mix sweet with tart, always fresh
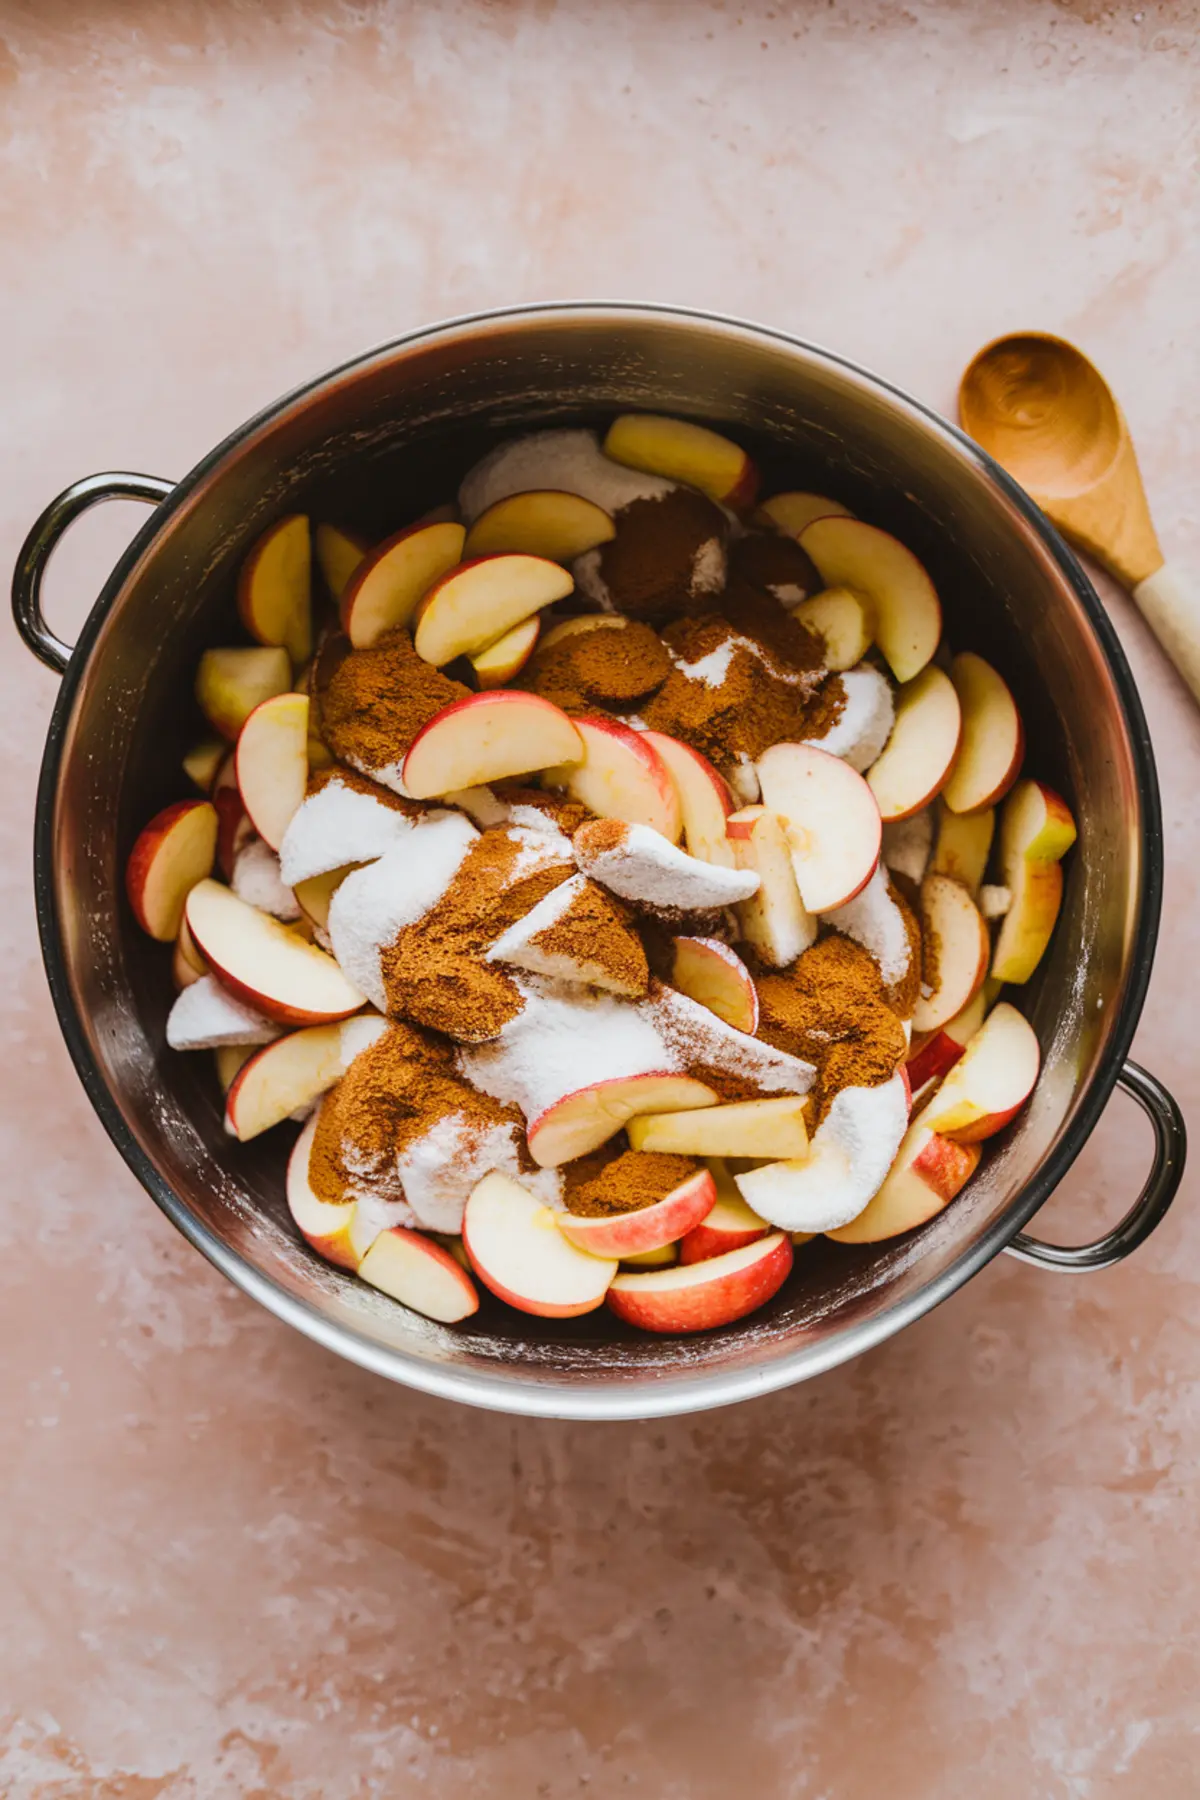
You’ll want about eight cups of sliced apples. I use a mix: one tart, like Granny Smith, and two or three sweeter ones—Honeycrisp, Pink Lady, sometimes Braeburn. That mix gives depth to the filling without overwhelming it.

Toss the slices with brown and white sugar, lemon juice, cornstarch, and warm spices. Cinnamon is essential. Nutmeg needs only a whisper. Let the bowl sit while you roll the top crust. The apples will soften slightly and release some of their juice. That’s good. It means they won’t drown the crust later.
A pinch of salt reminds the apples to taste like apples. Don’t skip it.
Lattice or Not?
Choose what your hands can do today

Some days, I weave a lattice. Other days, I lay the strips in one direction and call it done. Occasionally, I use a cookie cutter to make small windows for steam. There’s no rule here.
If Chloe were baking beside me—dear Chloe, always thoughtful and curious—I’d show her how to fold every other strip, how to place the next one, how the dough softens with touch. But even then, I’d remind her: the pie won’t care if it’s not exact.
Brush the top with beaten egg and sprinkle with raw sugar. That extra crunch at the edge of each bite reminds me of bakeries from my childhood, where nothing fancy ever tasted this good.
Let It Cool
Warm pies fall apart. Cool pies hold steady.
Once baked, this pie needs rest. Not long—just thirty minutes or so. That gives the filling time to settle and the crust time to firm. If you slice too soon, the apples will tumble and the juices will run. Still delicious, but a bit unruly.
Serve squares on their own, or add a scoop of vanilla ice cream if you like contrast. I often eat mine cold, standing in the kitchen with the back door open.
Other Summer Treats to Try
If your apples run low but your sweet tooth lingers, you might like my Apricot Clafoutis, Strawberry Shortcake Biscuits, or Watermelon Granita. When the sun feels strong and spirits light, you can even try Ice Cream Cookie Tacos—Chloe tells me they’re very popular these days.
A Quiet Reminder Before You Begin
If your crust doesn’t crimp neatly, that’s all right. If your apples peek through the lattice, that’s all right too. Slab pies make room for softness, both in the filling and in the baker.
I keep this recipe on a butter-smudged card, written in my own hand. I’ve crossed out “1 cup” and replaced it with “heaping.” I’ve added “save crust scraps for a small tart.” And every time I bake it, I think of all the hands that will pass it around and all the afternoons it will quietly sweeten.
You’ll know when it’s done—not just by color, but by smell. Trust your nose and your hands. They remember more than timers ever will.
If you try this recipe, let me know in the comments. Or leave a note for Chloe—she’ll pass it along. And if you’d like to save it for later, be sure to pin it.
Apple Slab Pie Recipe

A slab pie is a wide, shallow pie that’s perfect for sharing. This version is filled with tender, spiced apples and baked between two layers of buttery crust. It's easy to slice into squares, making it a great option for gatherings, lunchboxes, or simple comfort at home.
Ingredients
- FOR THE CRUST
- 2 ½ cups all-purpose flour
- 1 tsp salt
- 1 tbsp sugar
- 1 cup (2 sticks) unsalted butter, cold and cubed
- 6 to 8 tbsp ice water
- FOR THE FILLING
- 8 cups peeled and sliced apples (such as Honeycrisp, Braeburn, or Pink Lady)
- ⅔ cup brown sugar
- ¼ cup white sugar
- 2 tbsp lemon juice
- 3 tbsp cornstarch
- 1 tsp cinnamon
- ½ tsp nutmeg
- Pinch of salt
- 2 tbsp unsalted butter, cut into small pieces
- FOR THE TOP
- 1 egg, beaten
- Raw sugar for sprinkling
Instructions
- MAKE THE DOUGH: In a large mixing bowl, whisk together the flour, salt, and sugar. Cut in the cold, cubed butter using a pastry blender or your fingertips until the mixture resembles damp sand with a few pea-sized bits. Add ice water, one tablespoon at a time, mixing gently with a fork until the dough holds together when pressed. Divide into two disks, wrap tightly, and chill for at least 30 minutes.
- ROLL OUT THE BOTTOM CRUST: On a floured surface, roll out one disk of dough into a rectangle large enough to fit a 9x13-inch rimmed baking sheet with a slight overhang. Press it into the corners of the pan and refrigerate while preparing the filling.
- MAKE THE FILLING: In a large bowl, toss the sliced apples with brown sugar, white sugar, lemon juice, cornstarch, cinnamon, nutmeg, and a pinch of salt until the apples are evenly coated. Let the mixture sit for 10–15 minutes while you roll out the top crust.
- ROLL OUT AND ASSEMBLE THE TOP CRUST: Roll out the second disk of dough into a rectangle. Cut into wide strips, about 1½ inches each. To create a lattice top, lay half the strips horizontally over the filling, spaced evenly. Fold every other strip back halfway, lay a vertical strip across, and fold the horizontal strips back into place. Repeat the weaving pattern to cover the top. Alternatively, arrange strips in one direction or use cut-out shapes if preferred.
- FILL AND TOP THE PIE: Pour the apple filling into the chilled bottom crust, spreading it evenly. Dot the top with the 2 tablespoons of cubed butter. Place the prepared top crust over the filling, tucking in edges and pressing down gently with a fork to seal.
- BRUSH AND BAKE: Brush the entire top crust with the beaten egg and sprinkle generously with raw sugar. Bake in a preheated 375°F (190°C) oven for 45 to 50 minutes, or until the top is golden brown and the filling is bubbling at the edges.
- COOL AND SERVE: Allow the pie to cool in the pan for at least 30 minutes before slicing into squares. Serve plain or with a scoop of vanilla ice cream.
Notes
Use a mix of apple varieties for better flavor balance—combine tart and sweet types like Granny Smith and Honeycrisp.
Chilling the dough before rolling and again after fitting it into the pan helps prevent shrinkage during baking.
Letting the apple mixture sit before assembling allows the fruit to release some juices, which helps avoid a watery filling.
If the crust is browning too quickly, cover the top loosely with foil during the final 10–15 minutes of baking.
The pie can be stored at room temperature for up to 2 days or refrigerated for up to 4 days. Reheat individual slices in a low oven for best texture.
Nutrition Information:
Yield:
12Serving Size:
1Amount Per Serving: Calories: 236Total Fat: 4gSaturated Fat: 2gTrans Fat: 0gUnsaturated Fat: 1gCholesterol: 23mgSodium: 226mgCarbohydrates: 48gFiber: 3gSugar: 24gProtein: 3g
