
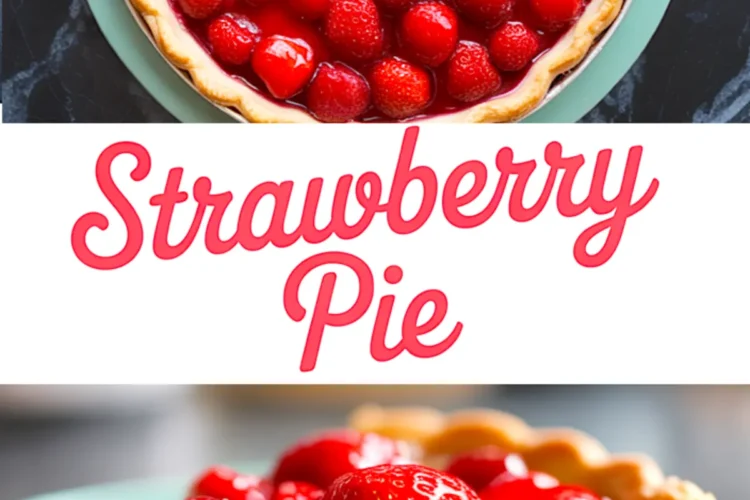
Some desserts sing softly. This one hums with summer. A chilled strawberry pie with a crisp crust and a glossy fruit topping doesn’t shout for attention, but it never lasts long on the table.
This recipe will show you how to make a no bake strawberry pie that holds its shape, glistens in the light, and cuts clean every time. You’ll learn the trick behind that clear red glaze and how to balance fresh fruit with structure—because nobody wants a soupy slice.
There’s a simple surprise tucked into this pie. It’s not in the crust. It’s not in the fruit. It’s in the glaze, and I’ll get to that in a minute. You’ll see why I call it “the dash magic.”
Let’s start where every good fruit pie starts: the crust.
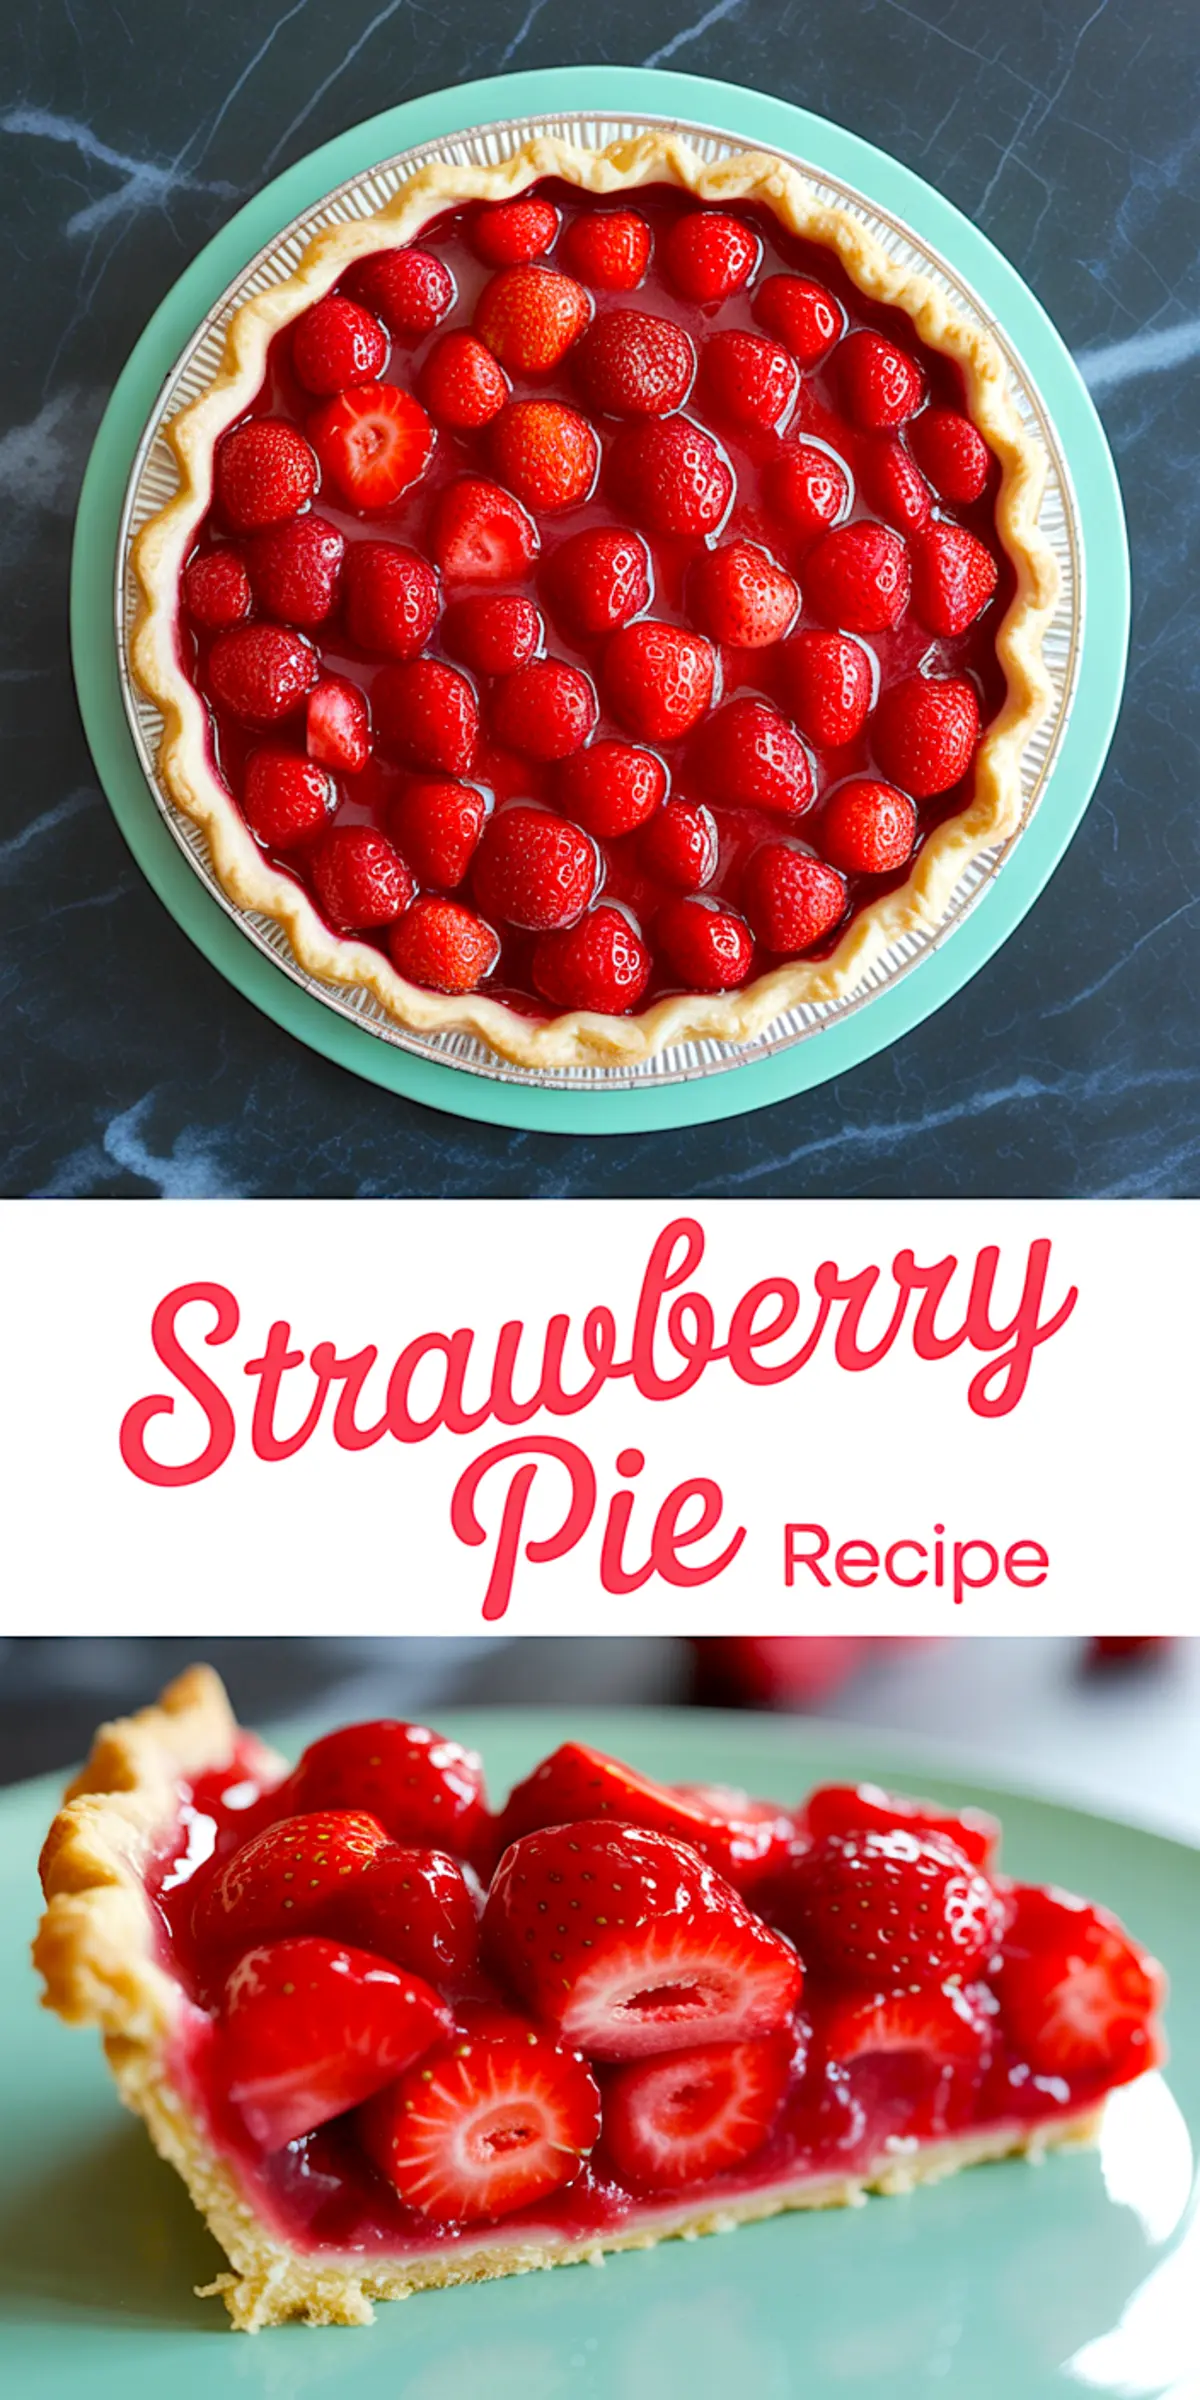
How to Prep the Pie Crust So It Stays Crisp
This strawberry pie sits in a blind-baked shell. I use my homemade pie crust recipe when I want that buttery bite, but a good store-bought crust will do just fine. What matters most is the bake.
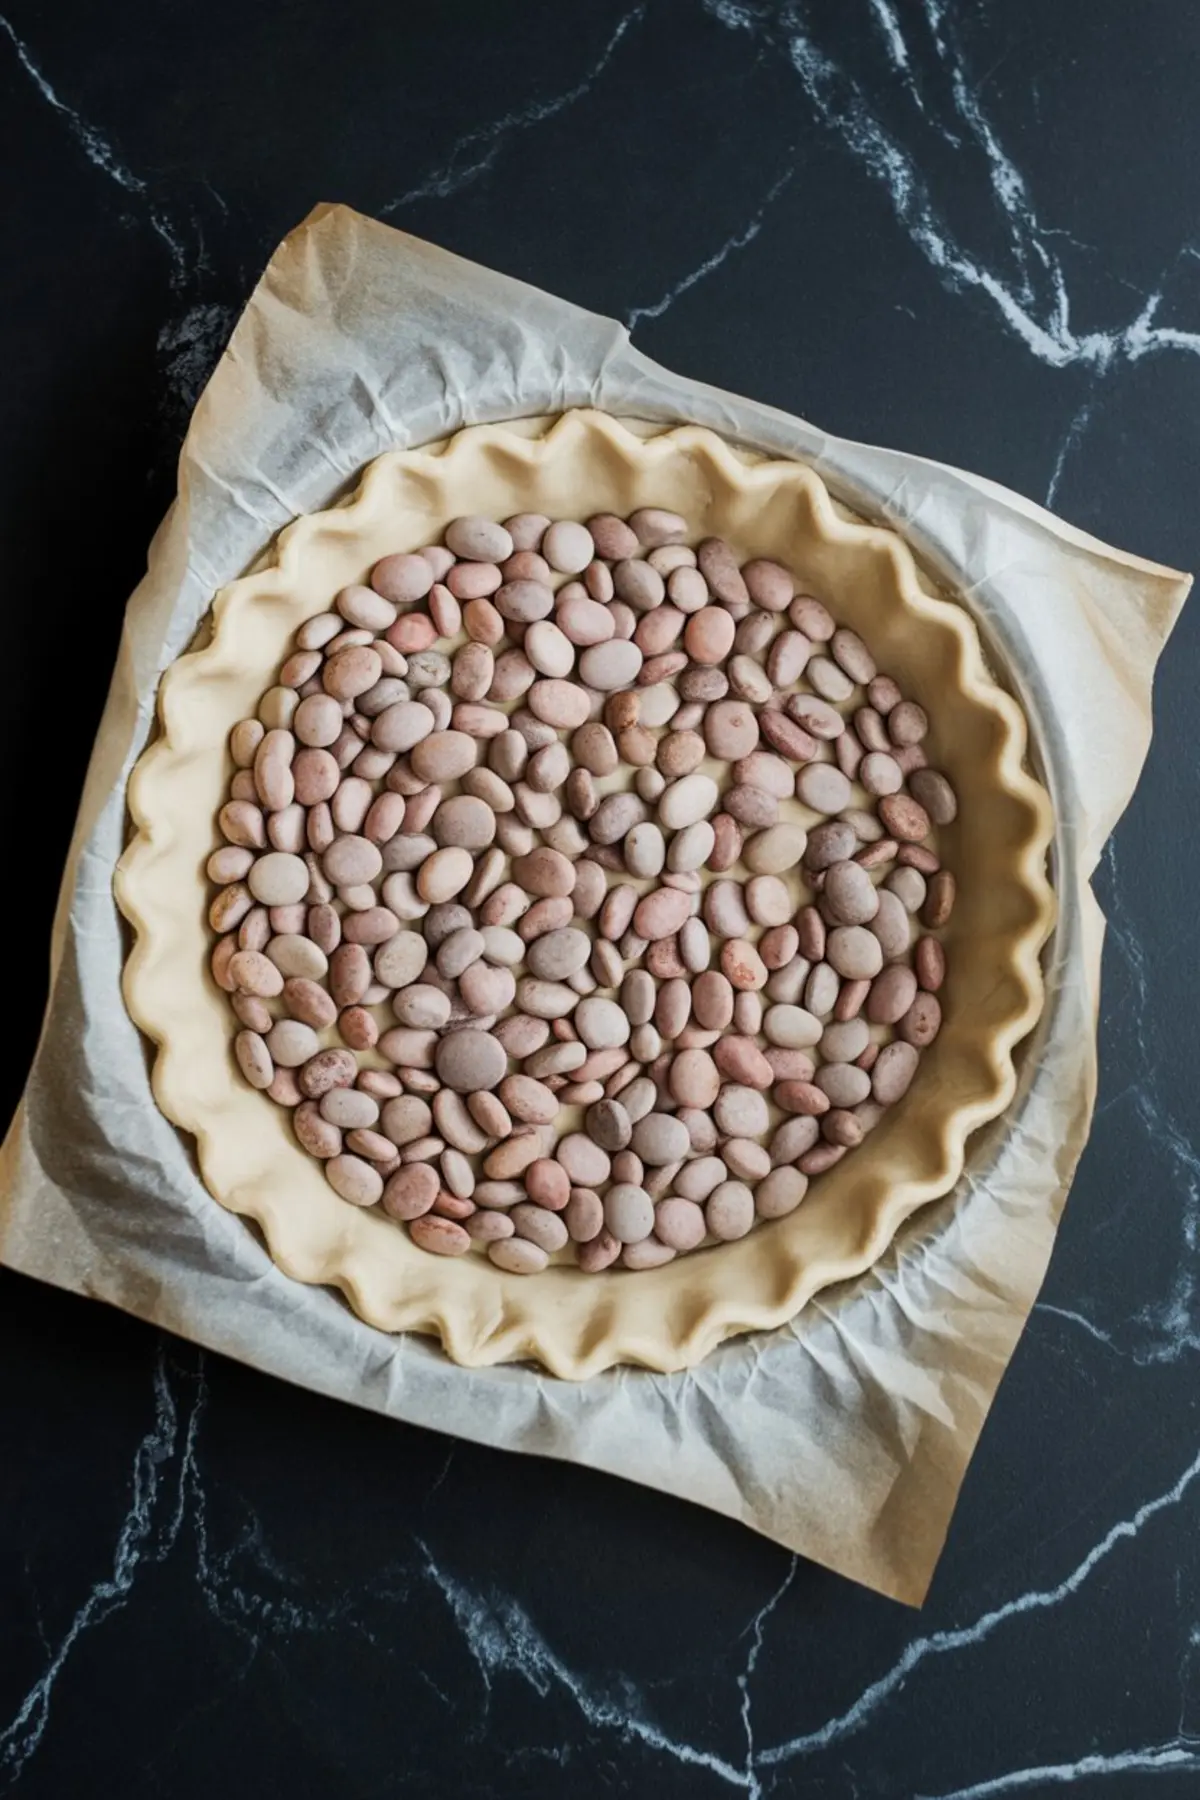
I dock the bottom with a fork, weigh it down with beans or pie weights, and bake until every edge goes golden. Then I return it to the oven for a few more minutes without the parchment. The base must be fully baked and cooled, or the glaze will soften it too much. That’s a mistake I made once on a hot afternoon, and I won’t forget it. The whole pie sliced like soup.
Even if you’re tempted to rush, don’t skip that second bake. A solid, dry bottom makes all the difference.
Choose and Prep Strawberries Like a Pie Maker
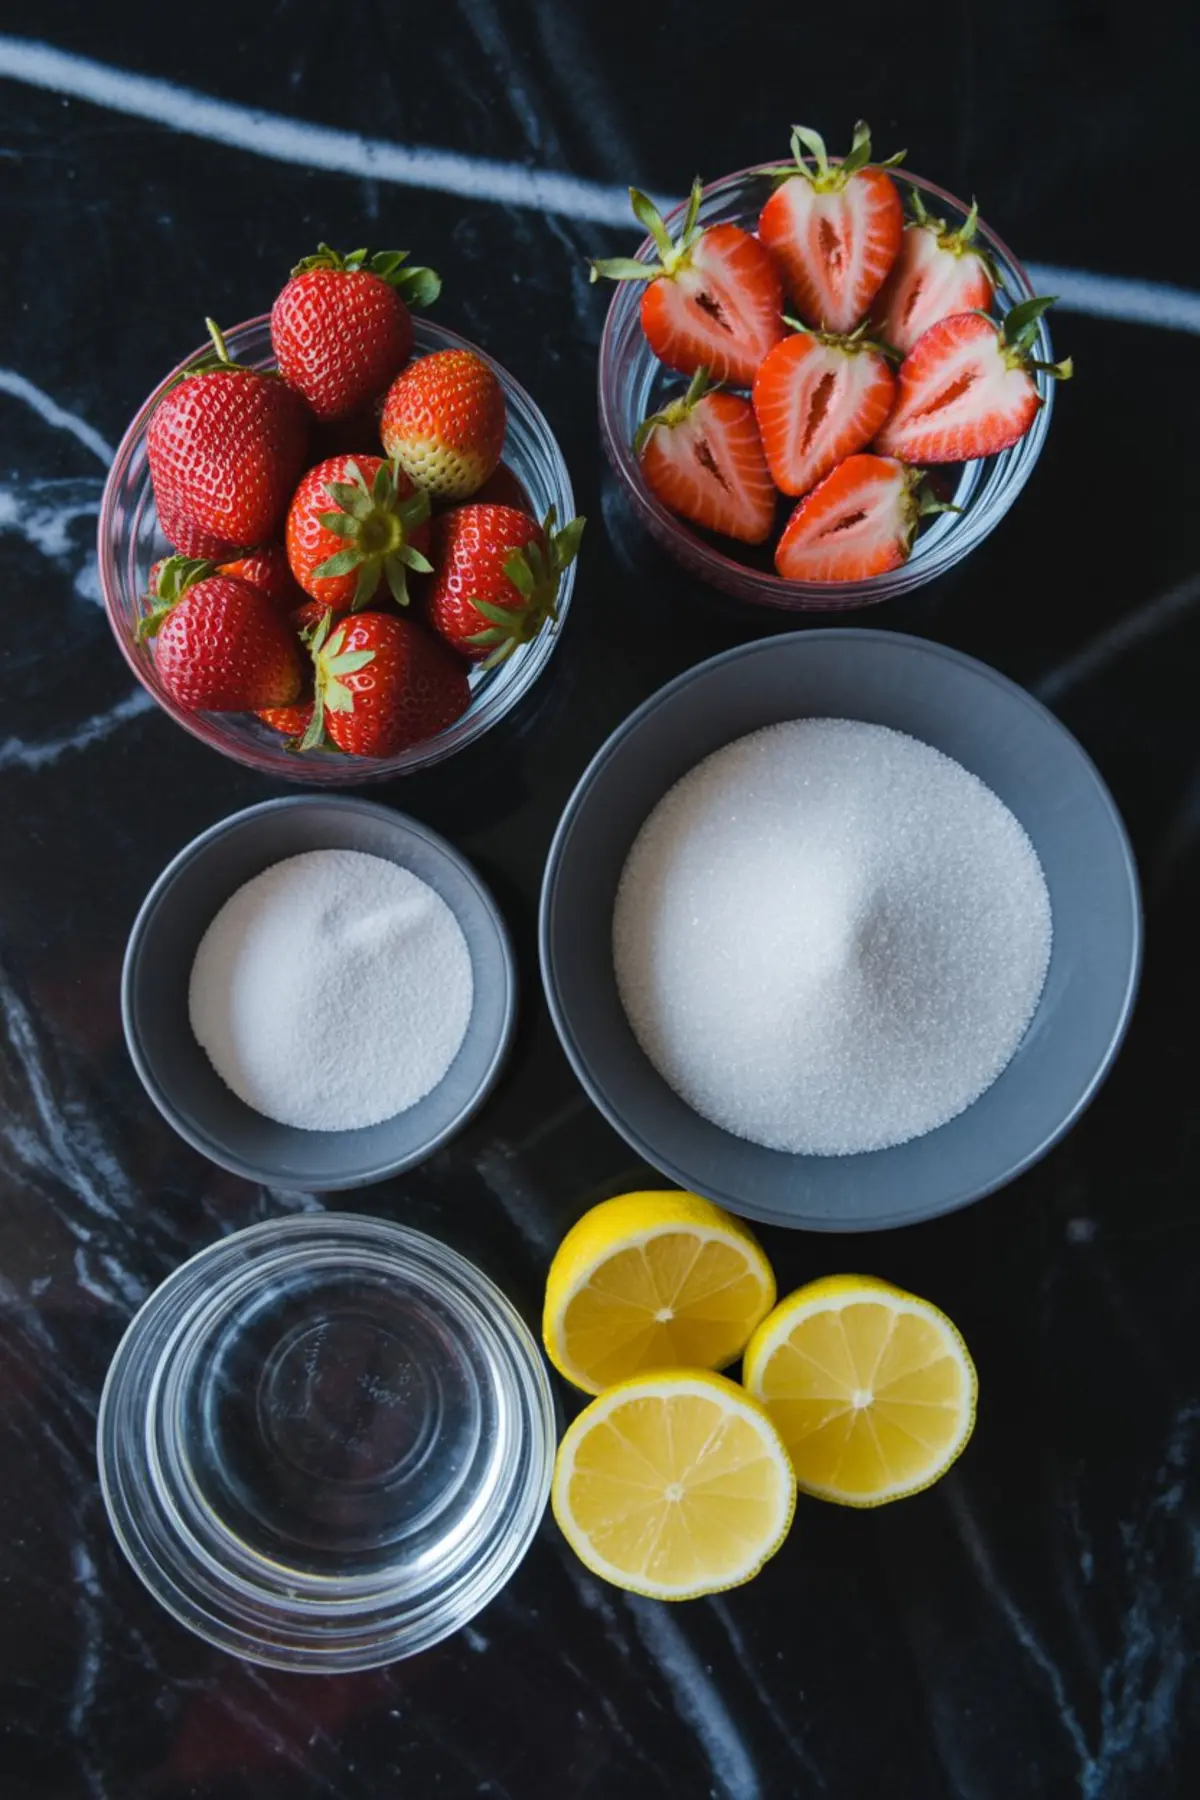
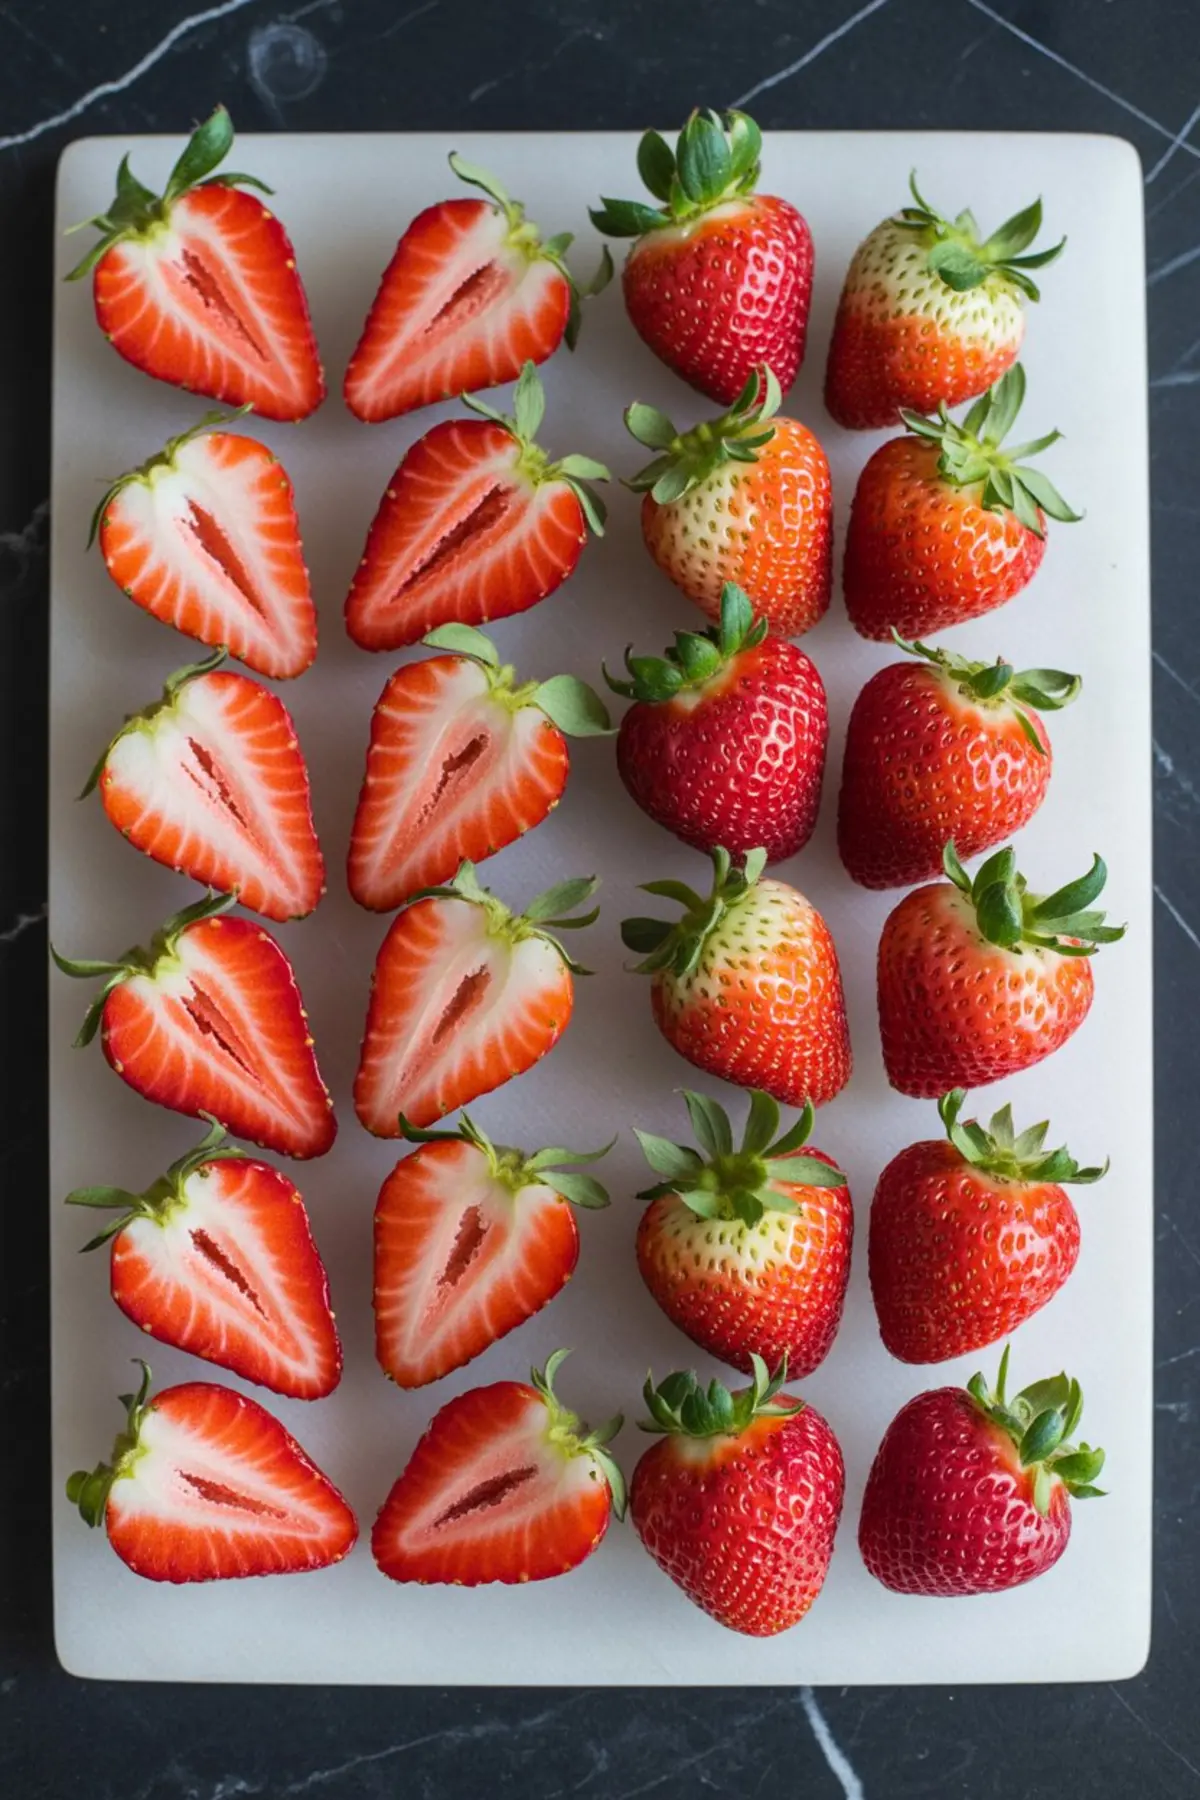
Fresh strawberry pie depends on fruit with good structure. Skip anything too ripe or soft. Look for berries that hold their shape when cut. I halve the large ones and leave the small ones whole, tucking them in to fill the gaps. That makes each slice easy to portion.
This is one of my favorite fresh strawberry recipes, and the fruit really does all the talking here. The goal is balance: not too few berries, not too many crowded into the shell. You want a tidy mosaic, not a fruit salad pile.
If you’ve ever made fruit pies before, you know this: the filling has to support itself. That’s where the glaze comes in.
Make the Glaze That Actually Sets
Here comes the secret. That glossy layer isn’t just sugar and cornstarch. It includes a dash of strawberry gelatin powder. Not too much—just enough to help it set into a clean, sliceable topping.
In my notebook, I’ve tested both flavored and unflavored gelatin. The flavored version gives a stronger red color and a gentle sweetness that blends right in with the berries. The unflavored kind needs lemon juice and food coloring to get the same brightness, and honestly, it’s more work for less payoff.
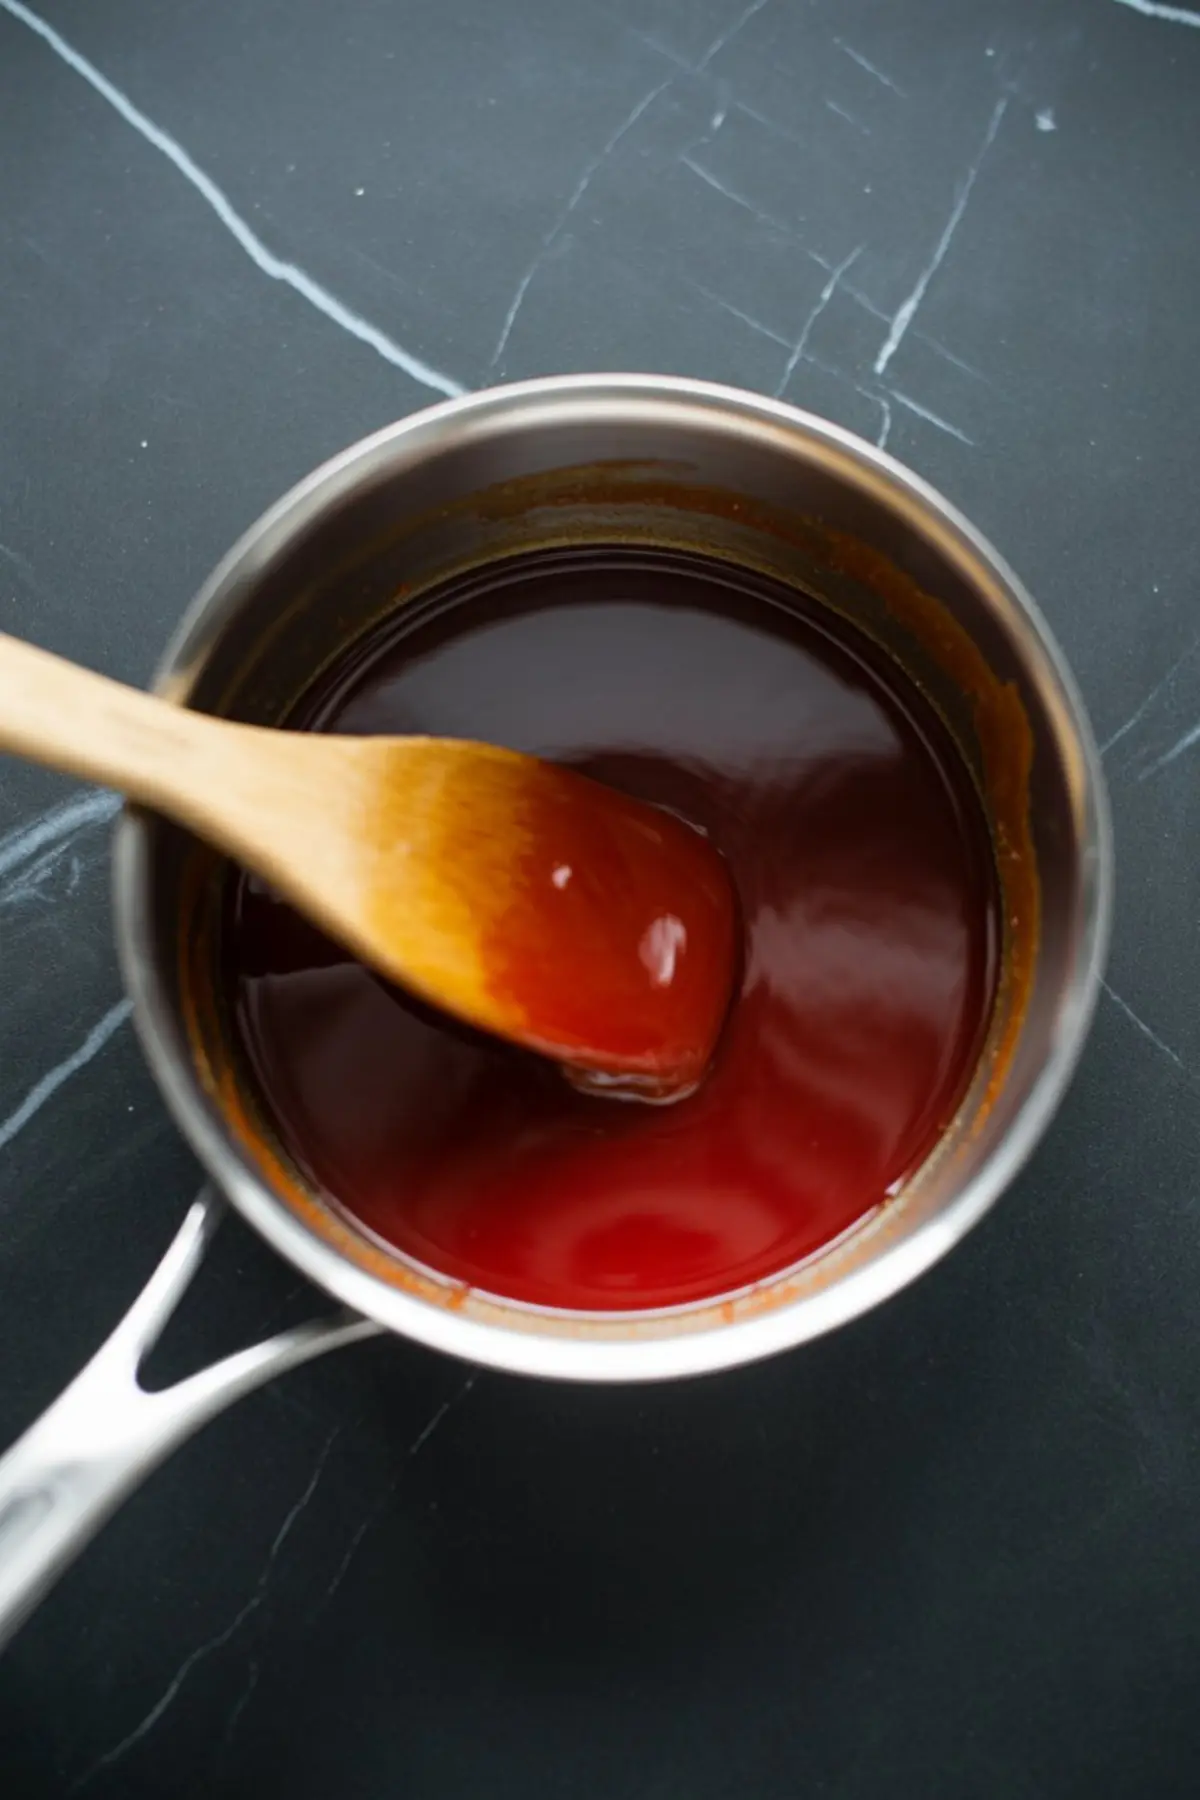
The glaze thickens on the stove first, then takes shape in the fridge. Let it cool for a few minutes before you spoon it over the fruit, or it’ll soften the berries. I learned that lesson the sticky way.
This same glaze method works beautifully across summer desserts, but it really shines here because it lets the strawberries take center stage.
Assembly Tips for a Clean Cut and Glossy Finish
Place each berry cut-side down, starting from the outer edge and working inward. I aim for even spacing, but I don’t fuss too much. This isn’t a mosaic contest. Just enough order so every piece feels balanced.
Then the glaze goes on. I pour slowly, spoon by spoon, so it seeps between the fruit. I use a pastry brush to coat the tops, which keeps everything shiny and fresh-looking.
Chill the whole pie for at least four hours. Overnight is better. The first time I made this for a family picnic, I served it after just two hours. The flavor was there, but the slices didn’t hold. Let it rest and you’ll get neat wedges with whole berries suspended in clear glaze.
Want something richer with a bolder flavor? Try chocolate cream pie next time and see how different the texture feels compared to this chilled fruit version.
My Gelatin Choice and Why It Matters
Here’s that ingredient comparison I promised. I’ve tested this pie both with strawberry gelatin and a mix of unflavored gelatin plus lemon juice and food coloring.
The strawberry gelatin wins. Every time. It gives the glaze its color and helps it cling to the berries without overpowering them. The unflavored version adds more steps, and the color ends up inconsistent. You also miss that hint of berry flavor that blends so well with fresh strawberries.
So if you’re asking yourself which way to go—use the flavored gelatin powder.
If you’re a fruit dessert fan, you might also like frozen blueberry pie. That one holds just as firm and makes a great freezer option for berry season.
How to Store and Serve This Homemade Strawberry Pie
Keep the pie cold until the moment you’re ready to serve. I cover it lightly with plastic wrap to avoid condensation. Once sliced, I return leftovers to the fridge and eat them within 48 hours.
This is one of those no bake strawberry pie recipes that holds up beautifully in hot weather. It’s cool, clean, and made for days when the oven needs a rest.
If you’re curious to explore more strawberry dessert recipes, take a look at something playful like samoas cookie pie, where the fruit takes a backseat to chocolate and coconut.
Save and Share Your Strawberry Pie Story
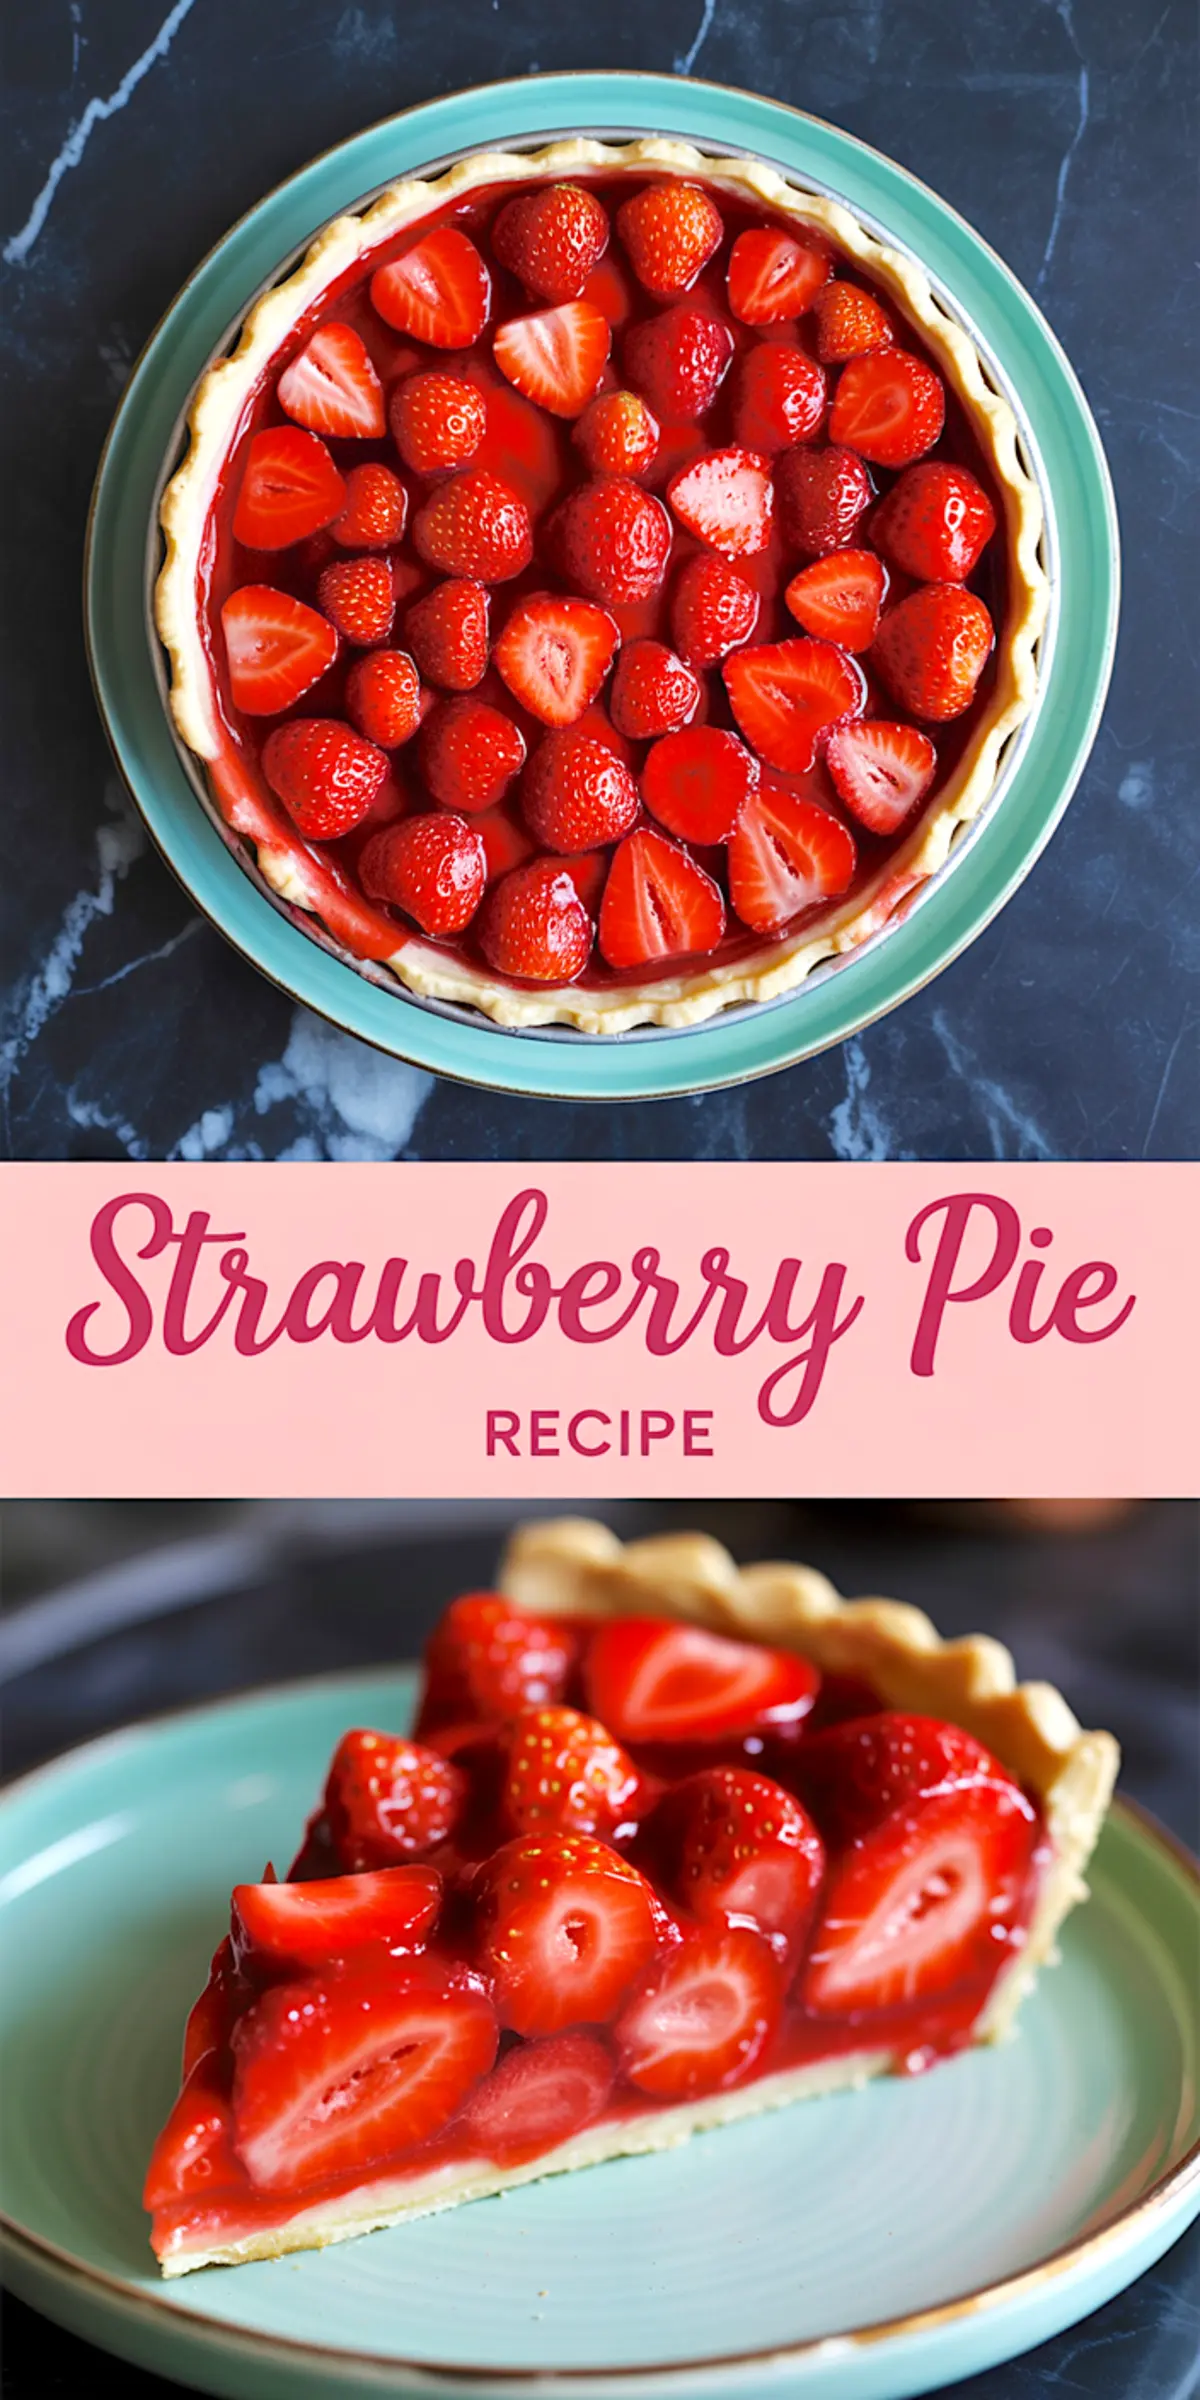
If this pie makes it to your fridge, let it make it to your Pinterest board, too. Save this recipe to your board for homemade strawberry pie, strawberry pie filling recipe, or even Shoney’s strawberry pie recipe ideas.
I’d love to hear how it turned out in your kitchen. Did your glaze set just right? Did you tweak the crust or sneak in another fruit? Drop a note in the comments and tell me what you tried.
Let’s swap pie stories, one slice at a time.
Strawberry Pie Recipe
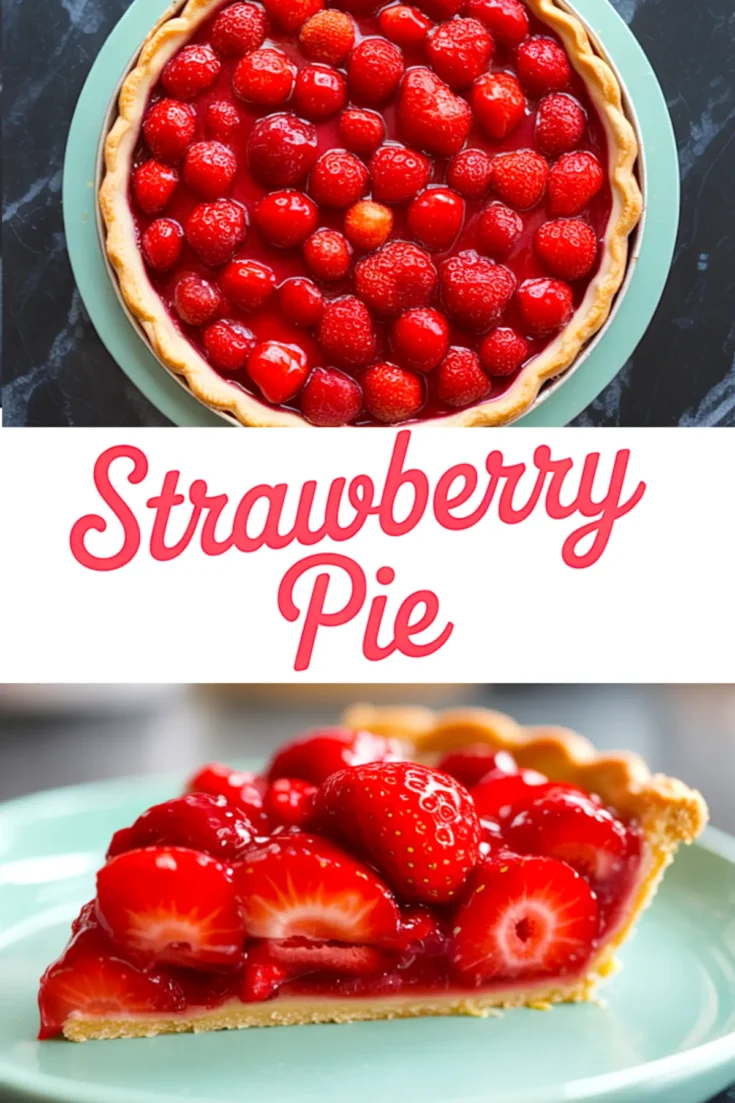
A crisp blind-baked crust holds fresh strawberries in a clear, glossy gelatin glaze. The strawberries stay firm and flavorful, while the glaze gently sets to create a sliceable, refreshing pie. Serve cold on a warm day for a straightforward and satisfying dessert.
Ingredients
- FOR THE CRUST
- 1 9-inch pie crust (homemade or store-bought), blind-baked and cooled
- FOR THE STRAWBERRIES
- 5 cups fresh strawberries, rinsed and thoroughly dried
- (halve larger berries and leave smaller ones whole)
- FOR THE GLAZE
- 1 cup water
- 1 cup granulated sugar
- 3 tablespoons cornstarch
- 3 tablespoons strawberry gelatin powder or 1 packet unflavored gelatin + 1 tablespoon lemon juice + a few drops red food coloring
Instructions
- BLIND-BAKE THE CRUST: Preheat the oven to 375°F (190°C). Prick the base of the pie crust with a fork, line it with parchment paper, and fill with pie weights or dried beans. Bake for 15 to 20 minutes until the edges are golden. Remove the weights and parchment, then continue baking for another 5 to 8 minutes until the base is golden and dry. Let the crust cool completely.
- PREPARE THE STRAWBERRIES: Rinse the strawberries gently and dry them thoroughly. Halve the larger ones for better coverage and visual balance, leaving smaller berries whole. Set aside while you prepare the glaze.
- MAKE THE GLAZE: In a medium saucepan, combine the water, sugar, and cornstarch. Cook over medium heat, stirring constantly, until the mixture thickens and turns glossy. Remove from heat and stir in the strawberry gelatin powder until fully dissolved. If using unflavored gelatin, dissolve it in the lemon juice and food coloring before stirring it into the glaze. Let the glaze cool slightly, about 5 to 10 minutes, so it does not cook the berries.
- ASSEMBLE THE PIE: Arrange the strawberries in the cooled crust, placing them cut side down and filling in gaps with whole berries. Slowly spoon the glaze over the strawberries, letting it settle between the fruit. Use a pastry brush to coat the tops of the berries to ensure full coverage.
- CHILL THE PIE: Transfer the pie to the refrigerator and chill for at least 4 hours or until the glaze is completely set and firm to the touch.
- OPTIONAL FINISH: Before serving, garnish the pie with piped whipped cream around the edges or a few fresh mint leaves for contrast.
Notes
For best results, use firm, ripe strawberries that are not overly soft or watery. Avoid overfilling the pie with too many whole berries, which can make slicing difficult. Keep the pie refrigerated until ready to serve.
Nutrition Information:
Yield:
8Serving Size:
1Amount Per Serving: Calories: 266Total Fat: 6gSaturated Fat: 2gTrans Fat: 0gUnsaturated Fat: 4gCholesterol: 0mgSodium: 97mgCarbohydrates: 52gFiber: 3gSugar: 35gProtein: 4g
