
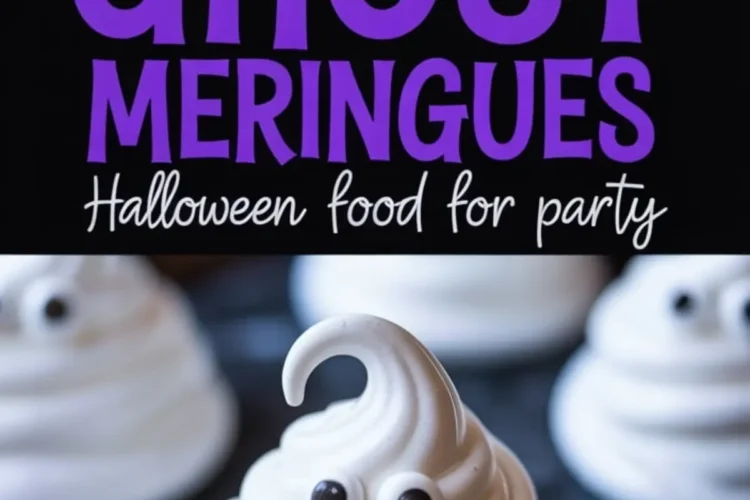
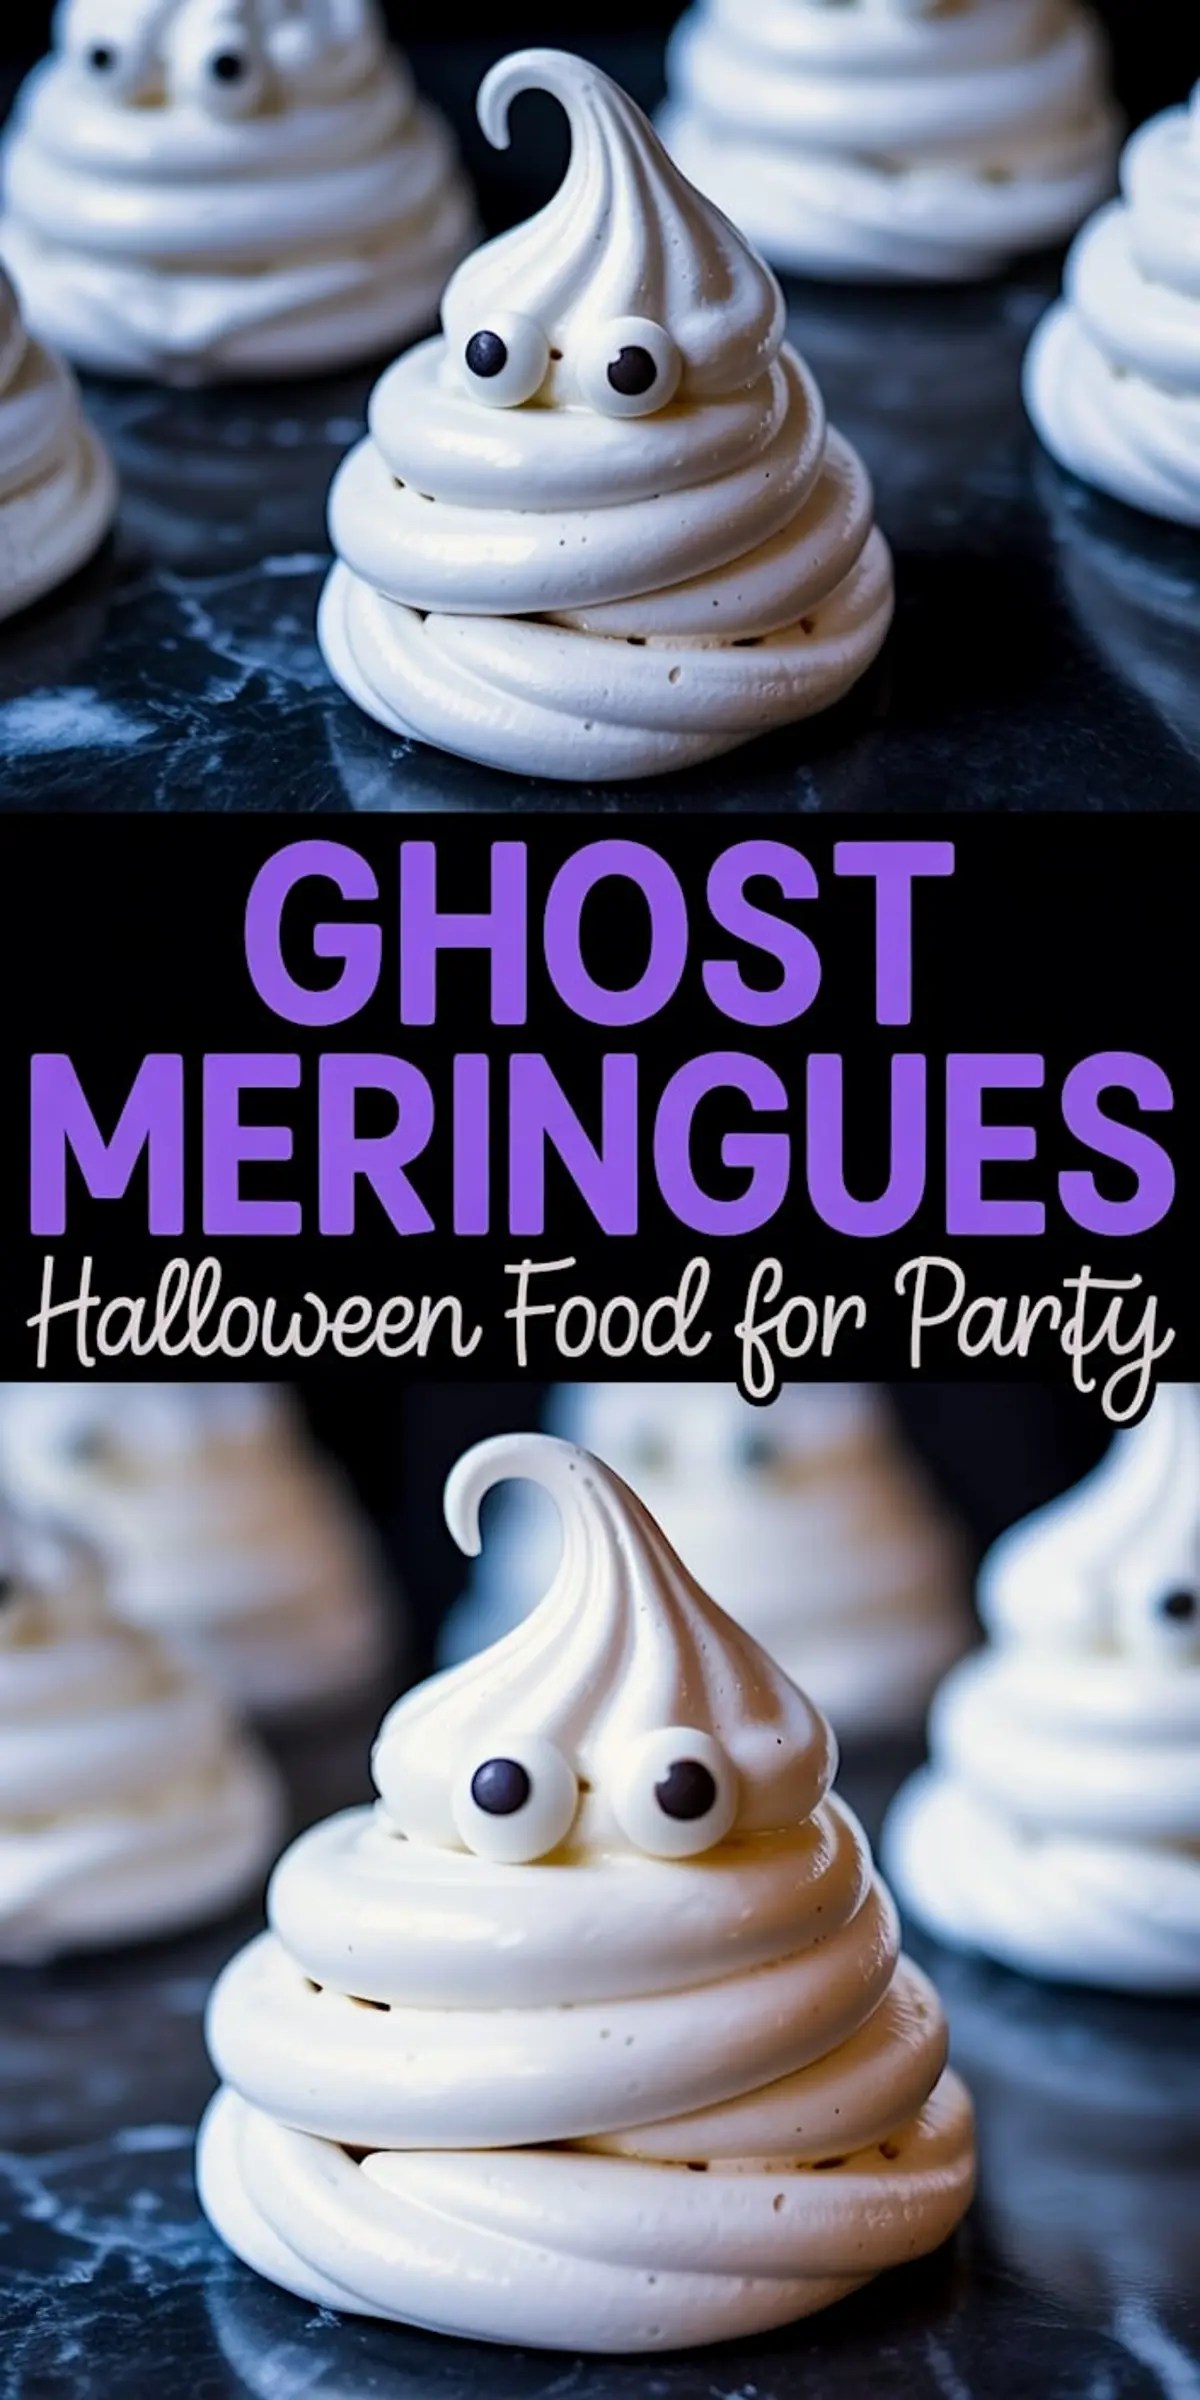
If you’ve scrolled through Halloween Meringue Cookies on Pinterest, you’ve probably seen the same tidy white swirls with dotted eyes. But these ghost meringues? They hold a curl at the top like a playful swoop of whipped cream, and they actually look like little spirits mid-boo.
You’ll learn how to make ghost meringues that hold their shape, stay crisp, and won’t collapse into sticky puddles. This guide shows you how to whip the egg whites just right, how to avoid weeping meringue, and how to create ghost shapes that stand tall through the entire bake.
This recipe builds confidence. Even if you’ve never piped meringue before, you’ll walk away with a tray of ghost meringue cookies that bring joy to the table. They look charming, feel weightless, and taste sweet without heaviness. You can set them on cupcakes, float them above a chocolate tart, or serve them as a standalone ghost dessert.
There’s a dash of magic tucked inside the method. I’ll share it after we walk through the steps.
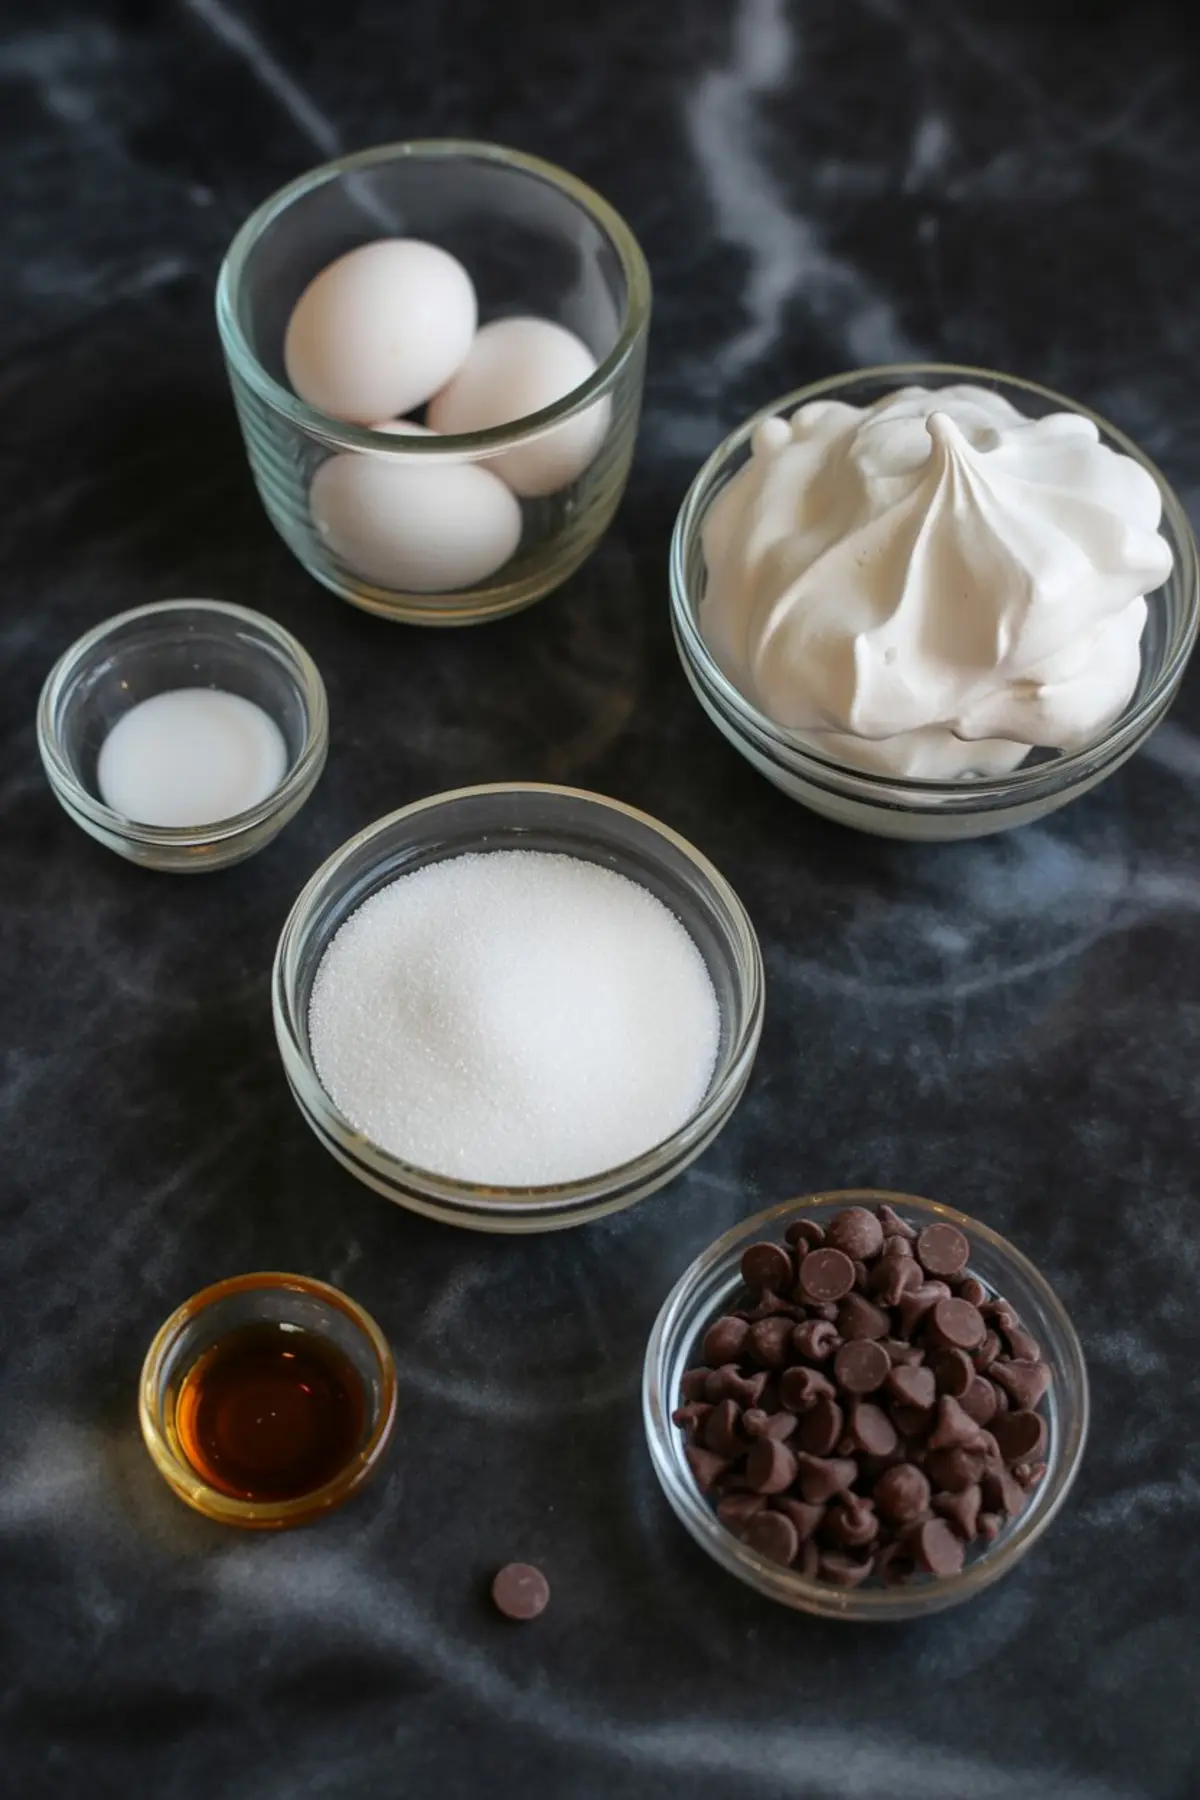
Ingredients That Build Structure in Halloween Meringues
Start with room temperature egg whites, not cold. Cold whites won’t reach full volume and tend to bead up rather than foam. I usually separate my eggs in the morning and let them sit on the counter in a glass bowl covered with a plate.
Use metal or glass for your mixing bowl. Plastic holds grease. Even the cleanest-looking bowl can keep oils trapped in tiny scratches, which prevents your whites from fluffing properly.
Cream of tartar is the anchor. It stabilizes the egg whites and keeps them from collapsing. Don’t skip it. And don’t swap it for lemon juice here. I’ve tested both, and cream of tartar always delivers the sturdiest ghosts.
Gradual sugar is the real trick. Add it slowly, one tablespoon at a time. This ensures it dissolves completely and gives you that glassy sheen. Rushing the sugar leads to grainy texture, which makes piping harder and ghosts less smooth.
How To Make Ghost Meringues That Keep Their Shape
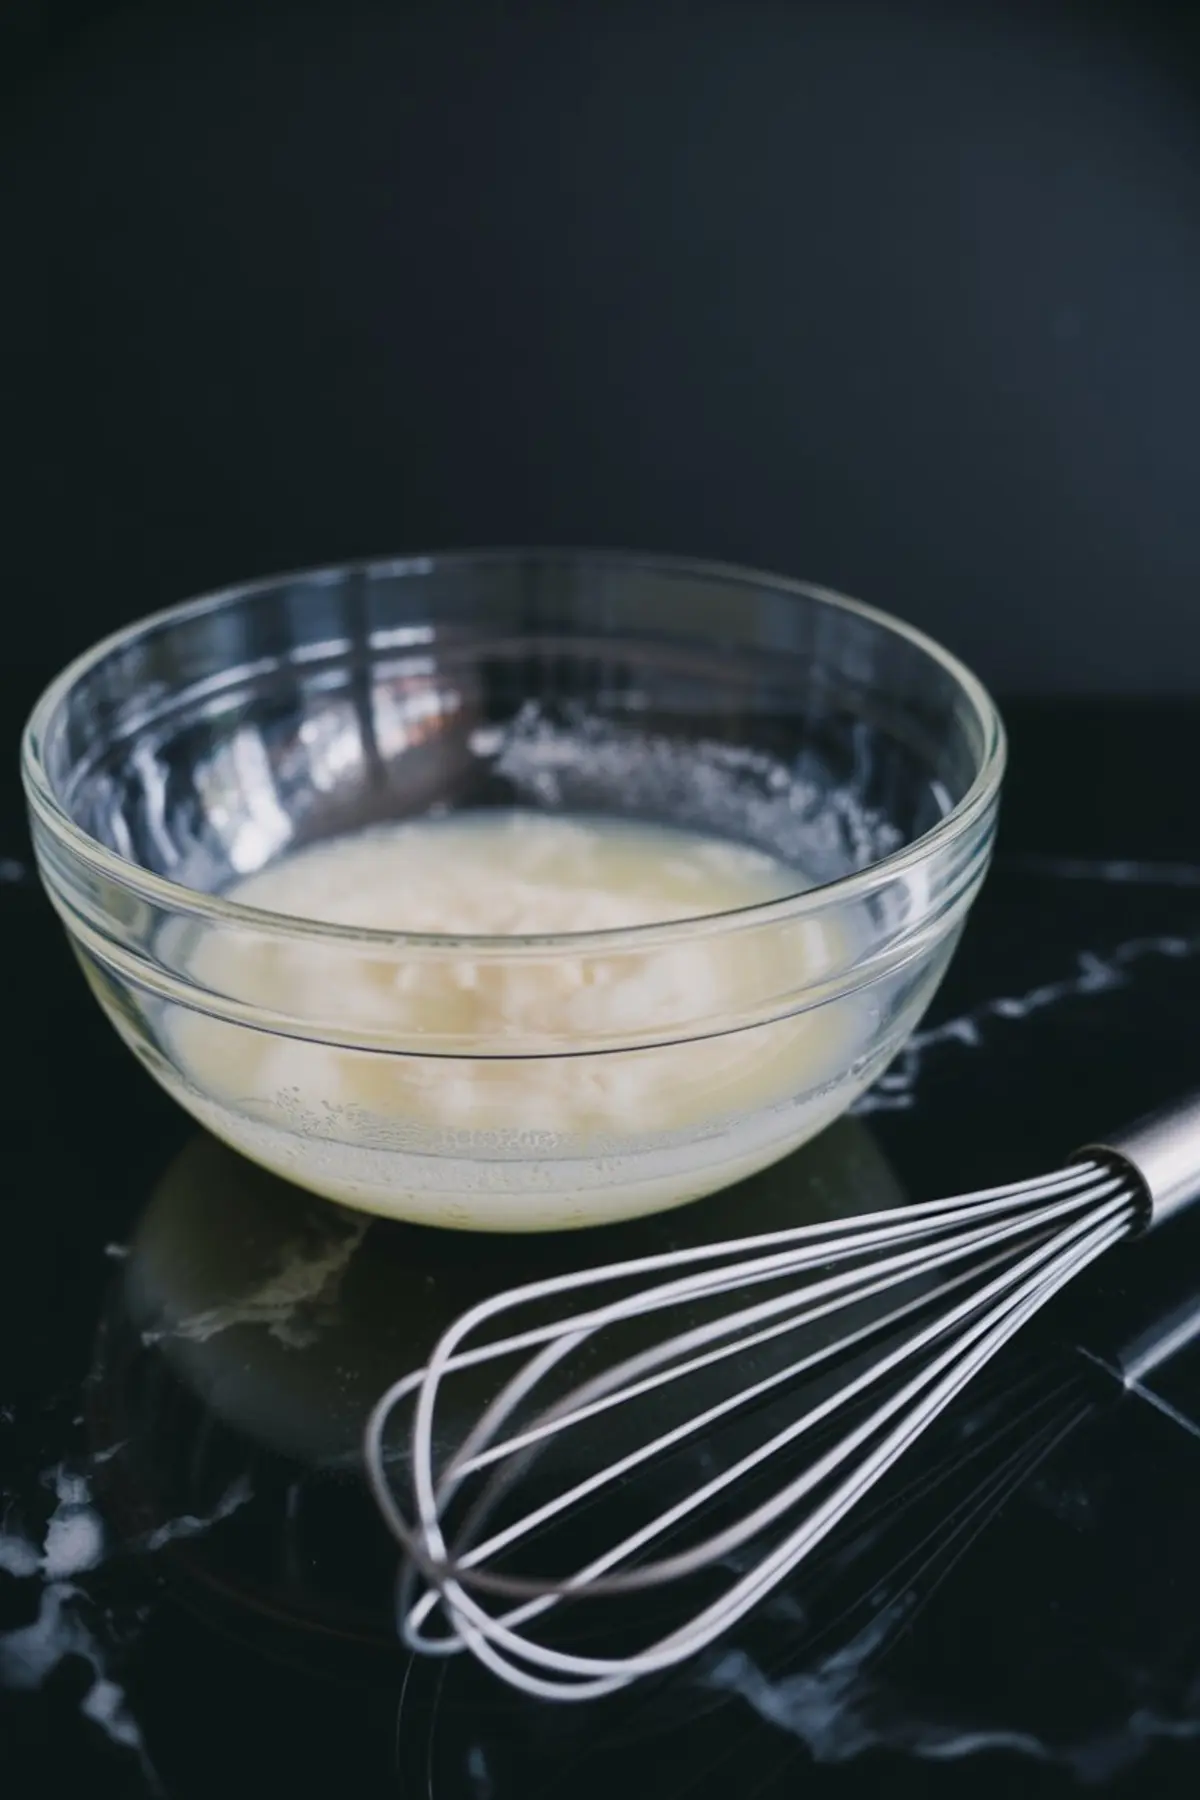
The foam stage matters. You’ll beat the egg whites until they look like sea foam before adding anything else. This takes about 1 to 2 minutes. If you move too soon, the cream of tartar won’t bind correctly.
Once the sugar is in, test the meringue between your fingers. If it feels gritty, keep going. It should feel like silk.
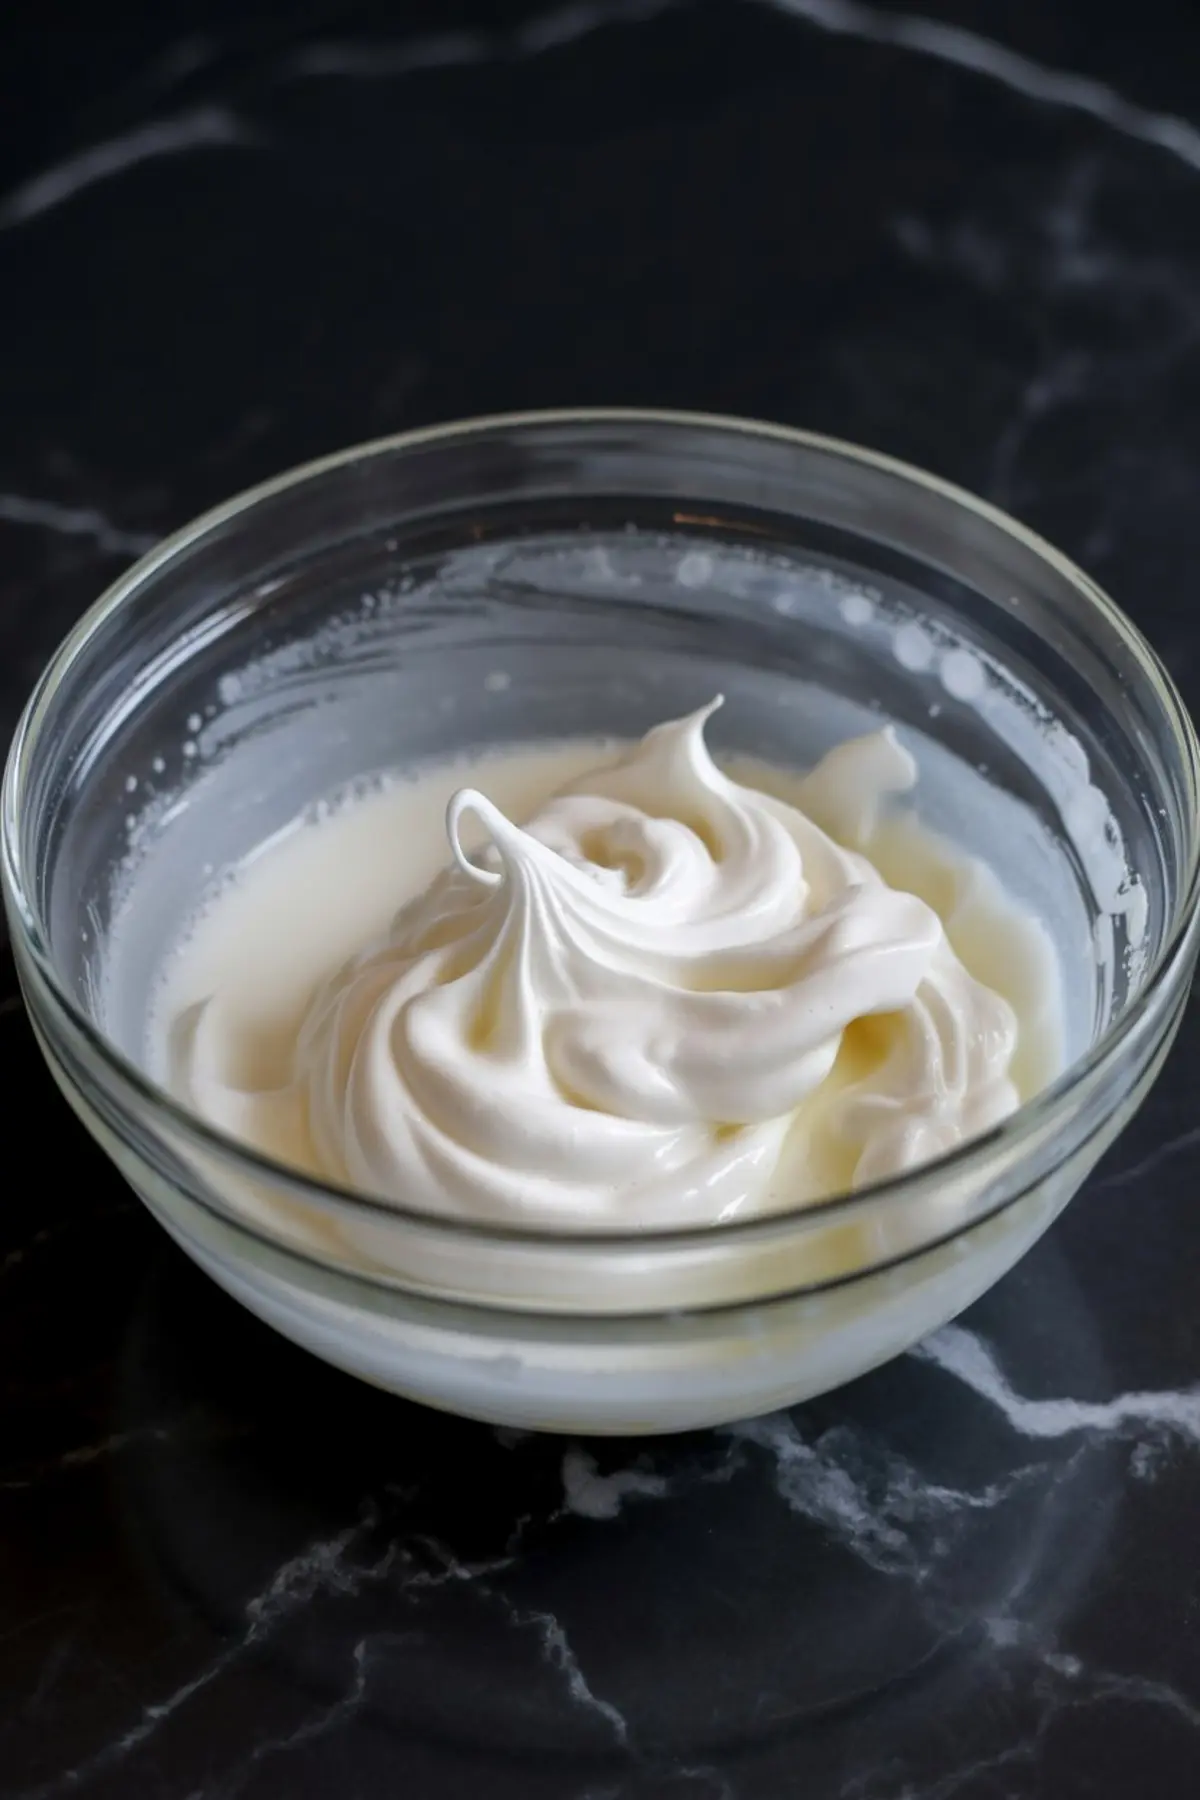
Add the vanilla right at the end. It gives the ghosts a hint of softness, but too much mixing after this point can deflate the structure. A quick fold is enough.
How To Pipe Ghost Meringue Cookies with Curl and Character
A large round piping tip helps. It creates that classic swirl, but the ghost shape comes from your motion. Pipe upward and pause slightly before pulling away to make that signature curl.
I like to place each ghost close, but not touching. They puff very slightly in the oven but shouldn’t spread. If they do, the meringue was too soft.
For the eyes, use mini chocolate chips or melted chocolate dotted on with a skewer. I once used black sesame seeds when I ran out. Whiskers, my cat, tried to swat one off the tray. He thought it was moving.
The Best Way To Bake and Dry Halloween Meringue Ghosts
Keep the oven at a low 200 degrees Fahrenheit. That’s warm enough to set the exterior and dry the centers without browning.
Once baked, let them sit in the oven after turning it off. This hour of quiet cooling prevents sudden temperature drops that cause cracks.
Check them after the second hour. If they lift cleanly and feel dry all the way through, they’re done. If they stick or feel soft, pop them back in for 20 more minutes with the oven warm.
I always let them cool on the parchment itself. Lifting them while warm can cause bending. Cool ghosts stay crisp.
Why Sugar Timing Affects Meringue Texture
In my Pin Notebook, I’ve recorded a side-by-side of sugar added all at once versus slowly. The batch with slow sugar formed stiff, glossy peaks in seven minutes flat. The fast-sugar batch looked foamy but collapsed during piping.
That side-by-side taught me patience. The spoonful-at-a-time rhythm works better every time.
Halloween Cookie Ideas to Pair With Ghost Meringues
These Halloween meringue cookies play well on a platter. I like placing them with Halloween Finger Cookies for contrast in texture and theme.
They also balance well beside Halloween Oreos, especially when dipped halfway in chocolate for extra shine.
If you want to stay within the ghost-themed baking ideas lane, try them with Halloween Macarons. The chewy and crisp combination makes a lovely dessert board.
Or serve them beside Easy Halloween Cookies to make a spooky party platter with bite-sized variety.
My Secret Ingredient That Holds It All Together
It’s not a powder. It’s not a spice. It’s patience.
Letting the egg whites reach true room temperature. Beating until there’s no grit. Letting the ghosts cool inside the oven. Patience gives you structure.
That’s what makes these ghosts stand up tall instead of slumping sideways.
Share These Ghost Meringues and Come Back With Your Story

If you’ve made these and loved how your ghosts turned out, save this to your Halloween board and pin it for next year. Share your version in the comments — I’d love to hear what you named your ghost meringues.
Have questions or need help troubleshooting? Ask away. We’ve all had a first batch that stuck to the parchment or turned beige. Let’s figure it out together.
Ghost Meringues Recipe
Ghost meringues are one of my favorite Halloween meringue cookies to bake because they’re light, sweet, and so fun to decorate. I pipe the batter into ghost-shaped meringue cookies, bake until crisp, and add little faces with melted chocolate. Some call them meringue ghosts recipe or ghost meringue cookies, but no matter the name they’re simple and festive. If you’ve ever wondered how to make ghost meringues, this recipe is easy enough for beginners but looks impressive on a Halloween dessert table. I’ve tried other Halloween meringues, but ghost-themed baking ideas like these always stand out. Among ghost desserts, these meringue ghosts are playful, airy, and perfect for spooky parties.
Ingredients
- 3 large egg whites, room temperature
- ¾ cup granulated sugar
- ¼ teaspoon cream of tartar
- ½ teaspoon vanilla extract
- Mini chocolate chips or melted chocolate (for eyes)
Instructions
- PREP THE BAKING SHEETS AND OVEN: Preheat the oven to 200°F (95°C). Line two baking sheets with parchment paper and set aside. Make sure your mixing bowl is clean, dry, and free of any grease. Use glass or metal, as plastic can retain fat and prevent proper whipping.
- BEAT THE EGG WHITES: Add the room temperature egg whites to the mixing bowl and begin beating on medium speed until the mixture becomes foamy, like sea foam. This takes about 1 to 2 minutes.
- ADD CREAM OF TARTAR AND SUGAR: Sprinkle in the cream of tartar and continue beating. Begin adding the granulated sugar one tablespoon at a time, allowing each addition to fully incorporate before adding more. This process should take 5 to 7 minutes. The goal is to fully dissolve the sugar so the meringue turns glossy and smooth.
- CHECK FOR STIFF PEAKS: Increase the mixer speed to high and beat until stiff, glossy peaks form. To test readiness, rub a small amount between your fingers—there should be no graininess. If the meringue feels gritty, continue beating.
- ADD VANILLA EXTRACT: Add the vanilla extract and beat just until combined. Do not overmix at this stage.
- PIPE THE GHOST SHAPES: Transfer the meringue to a piping bag fitted with a large round tip. Pipe tall ghost shapes onto the prepared baking sheets by squeezing in one spot and pulling up to form a swirl with a curled tip at the top.
- ADD THE EYES: Press two mini chocolate chips into each ghost to create eyes. Alternatively, use dots of melted chocolate or other edible decorations.
- BAKE THE MERINGUES: Place the baking sheets in the oven and bake for 1 hour. Do not open the oven during baking.
- LET COOL IN OVEN: After 1 hour, turn off the oven but leave the meringues inside for an additional hour to cool gradually. This prevents cracking and helps them finish drying out.
- CHECK FOR DONENESS: Remove the meringues from the oven. They should lift cleanly from the parchment and feel dry and crisp to the touch. Store in an airtight container at room temperature for up to 5 days.
Notes
Make sure no egg yolk is present in the whites. Any trace of fat will prevent the meringue from whipping properly. Room temperature egg whites provide better volume. Always add sugar gradually to avoid deflating the mixture.
Nutrition Information:
Yield:
20Serving Size:
1Amount Per Serving: Calories: 75Total Fat: 3gSaturated Fat: 2gTrans Fat: 0gUnsaturated Fat: 1gCholesterol: 0mgSodium: 10mgCarbohydrates: 13gFiber: 1gSugar: 12gProtein: 1g
