
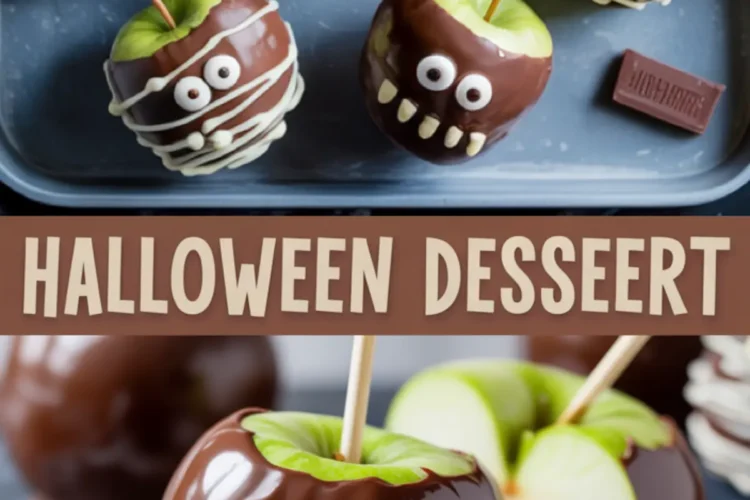
You don’t need advanced pastry skills to create Halloween-themed desserts that surprise everyone at the table. What you need is a solid idea, ingredients that cooperate, and a plan to have fun while doing it. That’s where these Halloween Chocolate Monster Apples come in.
You’ll learn how to make a spooky Halloween dessert that stands out among cookies and cupcakes. These monster apples bring something crisp, glossy, and charmingly weird to your Halloween party dessert table. They’re easy to prep, fun to decorate, and flexible enough for different themes and guests.
I always lean into edible decorations this time of year. This recipe gives you something interactive, unexpected, and—once you get the hang of the chocolate dip a total crowd-pleaser. There’s a secret I keep tucked into my Pin Notebook that takes them from good to great. We’ll get to that.
Preparing the Apples for Halloween Dessert Recipes
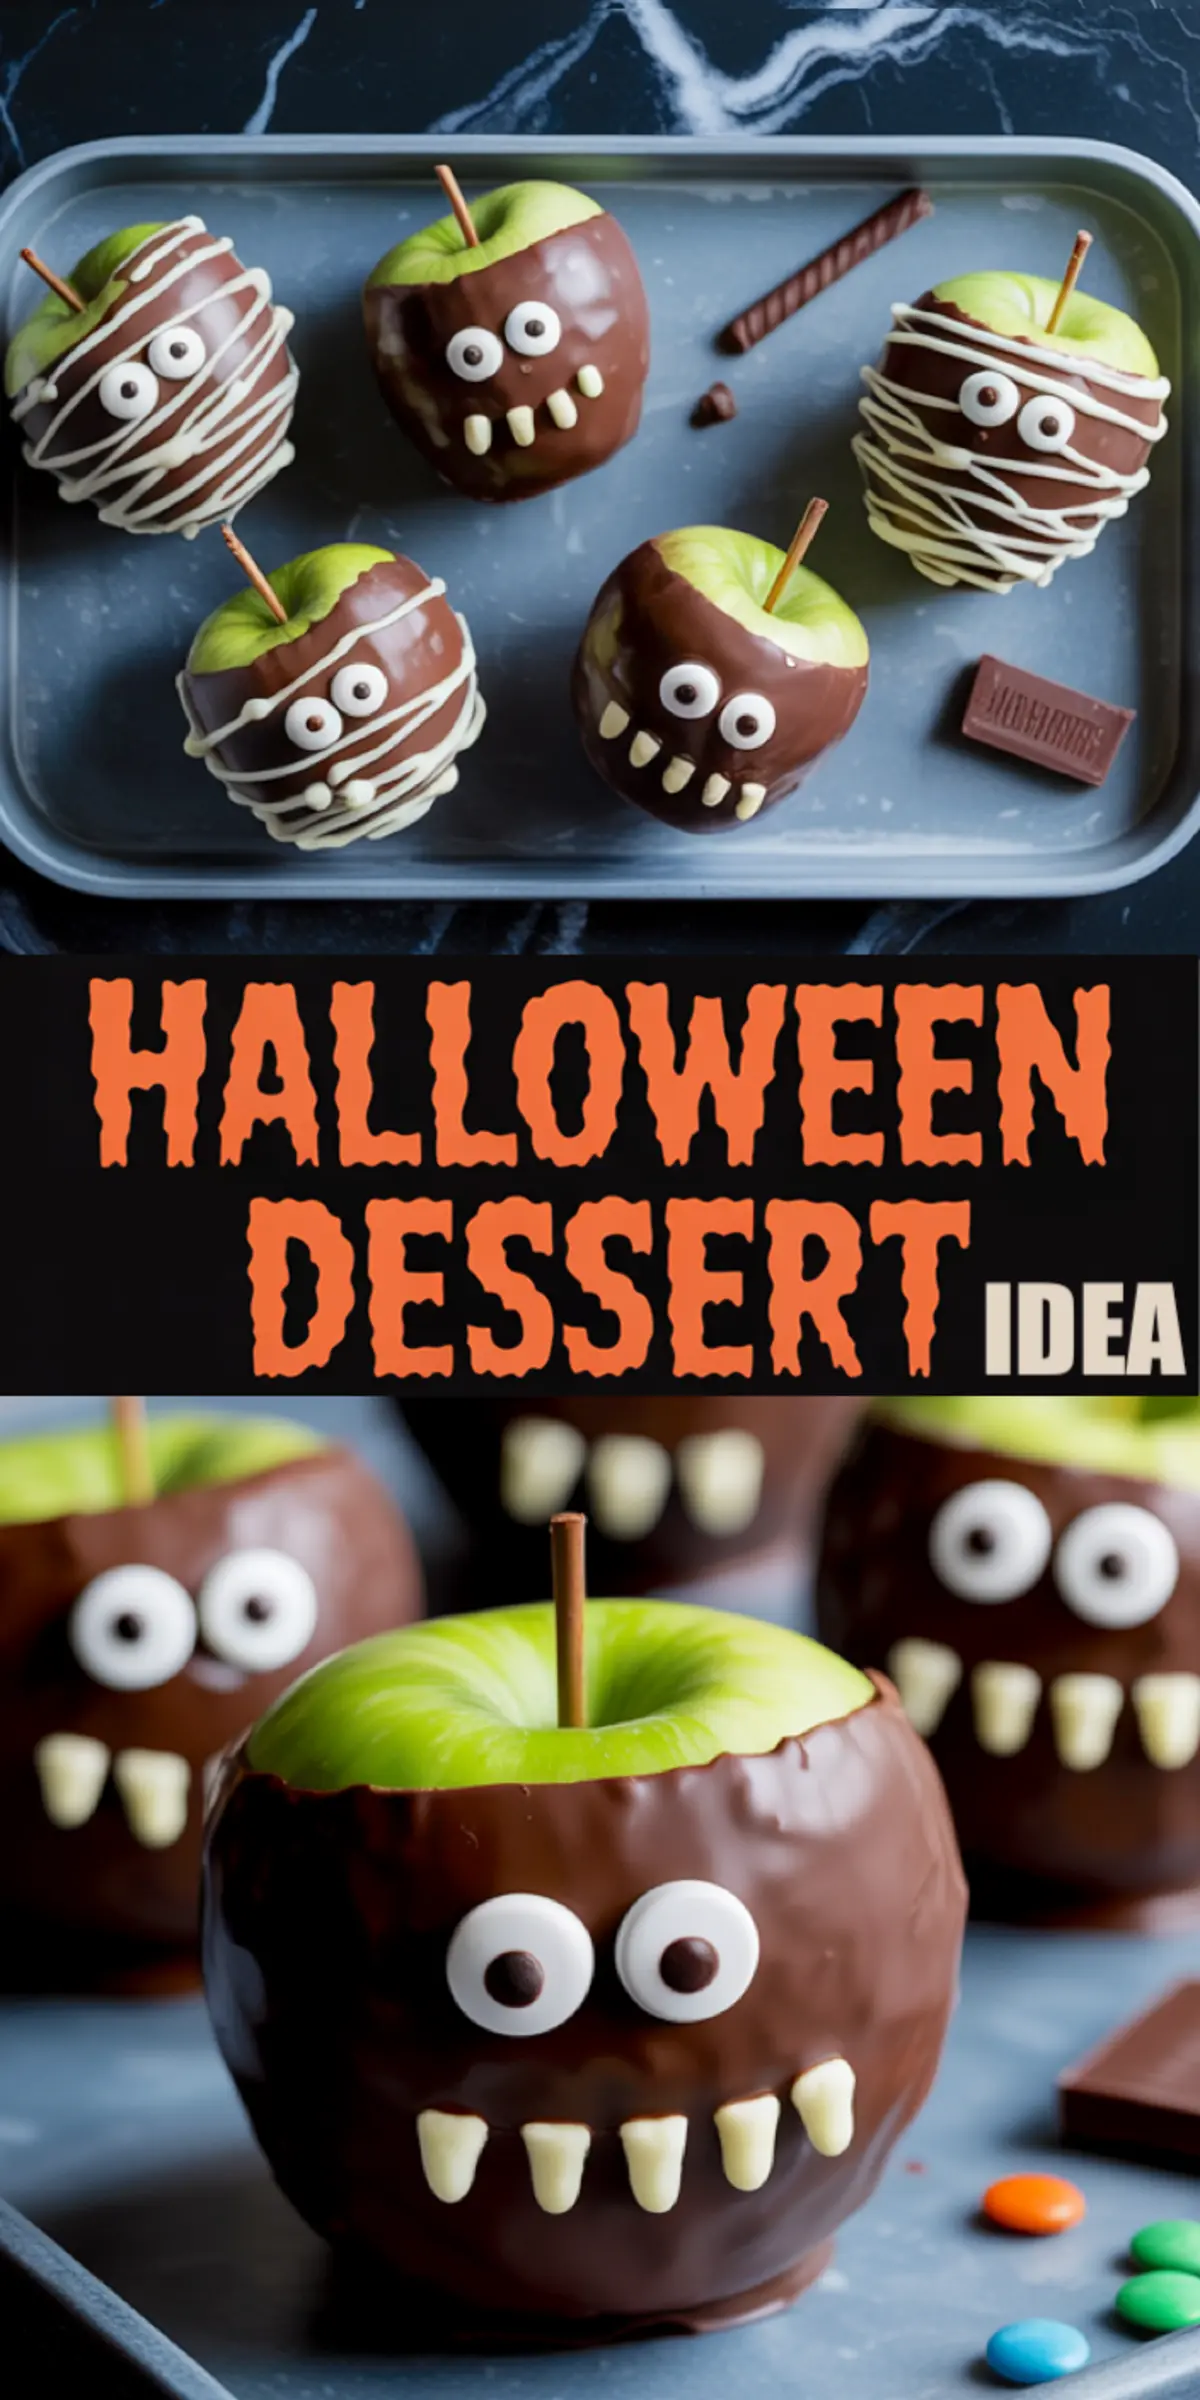
Apples need to be bone-dry. Even a hint of moisture will make the chocolate slide off like a costume after midnight. I use Granny Smith because their tartness punches through the chocolate. But if you prefer something sweeter, Honeycrisp works too.
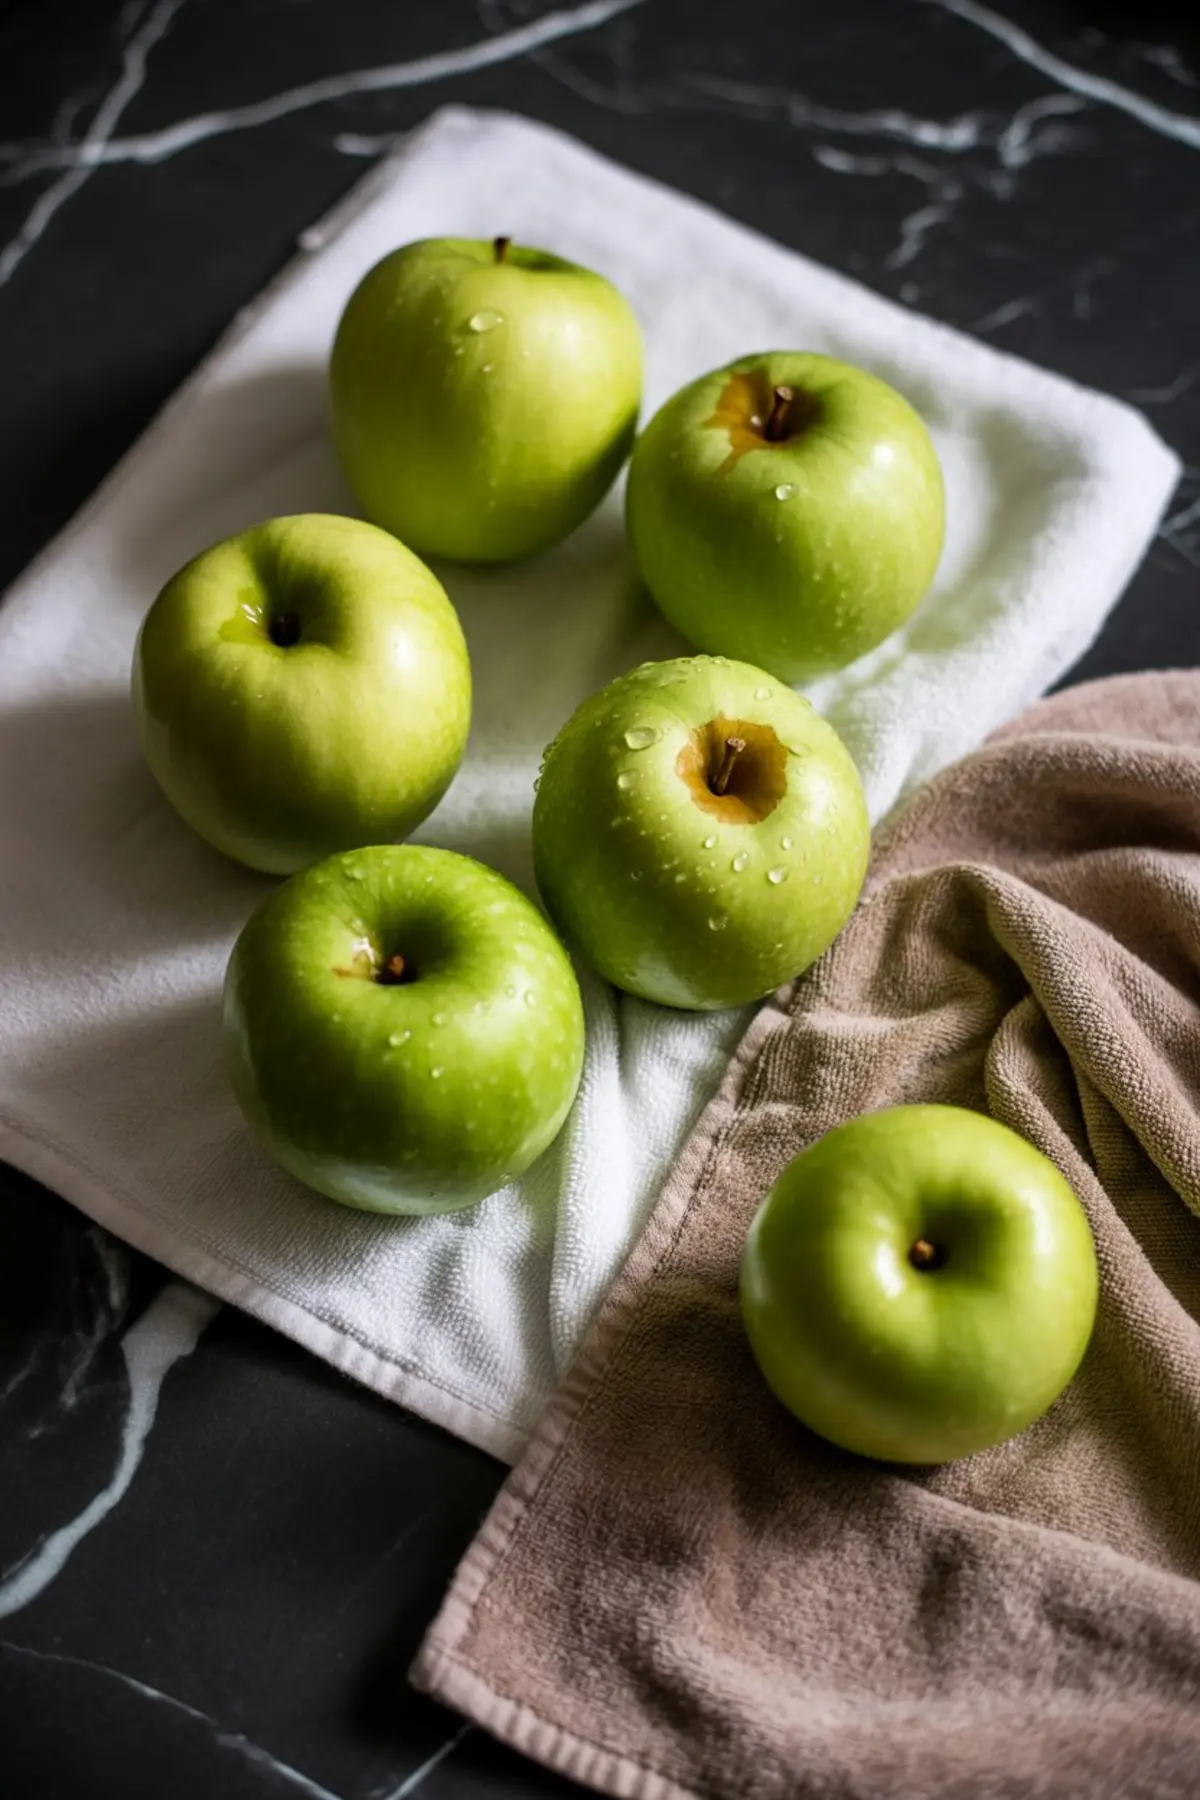
After washing, I rub them down with a towel until they squeak. Any leftover wax ruins the coat. For the sticks, I’ve used everything from popsicle sticks to thick pretzel rods. Pretzels add crunch if you’re planning to eat the whole thing in one go.
This step matters more than you’d think. A dry, chilled apple gives the chocolate the best chance to set cleanly. Especially if you’re decorating them with detail, like candy eyes or white chocolate drizzles. For ideas that keep kids involved, you might also like these Halloween Dirt Cups.
Choosing and Melting the Chocolate
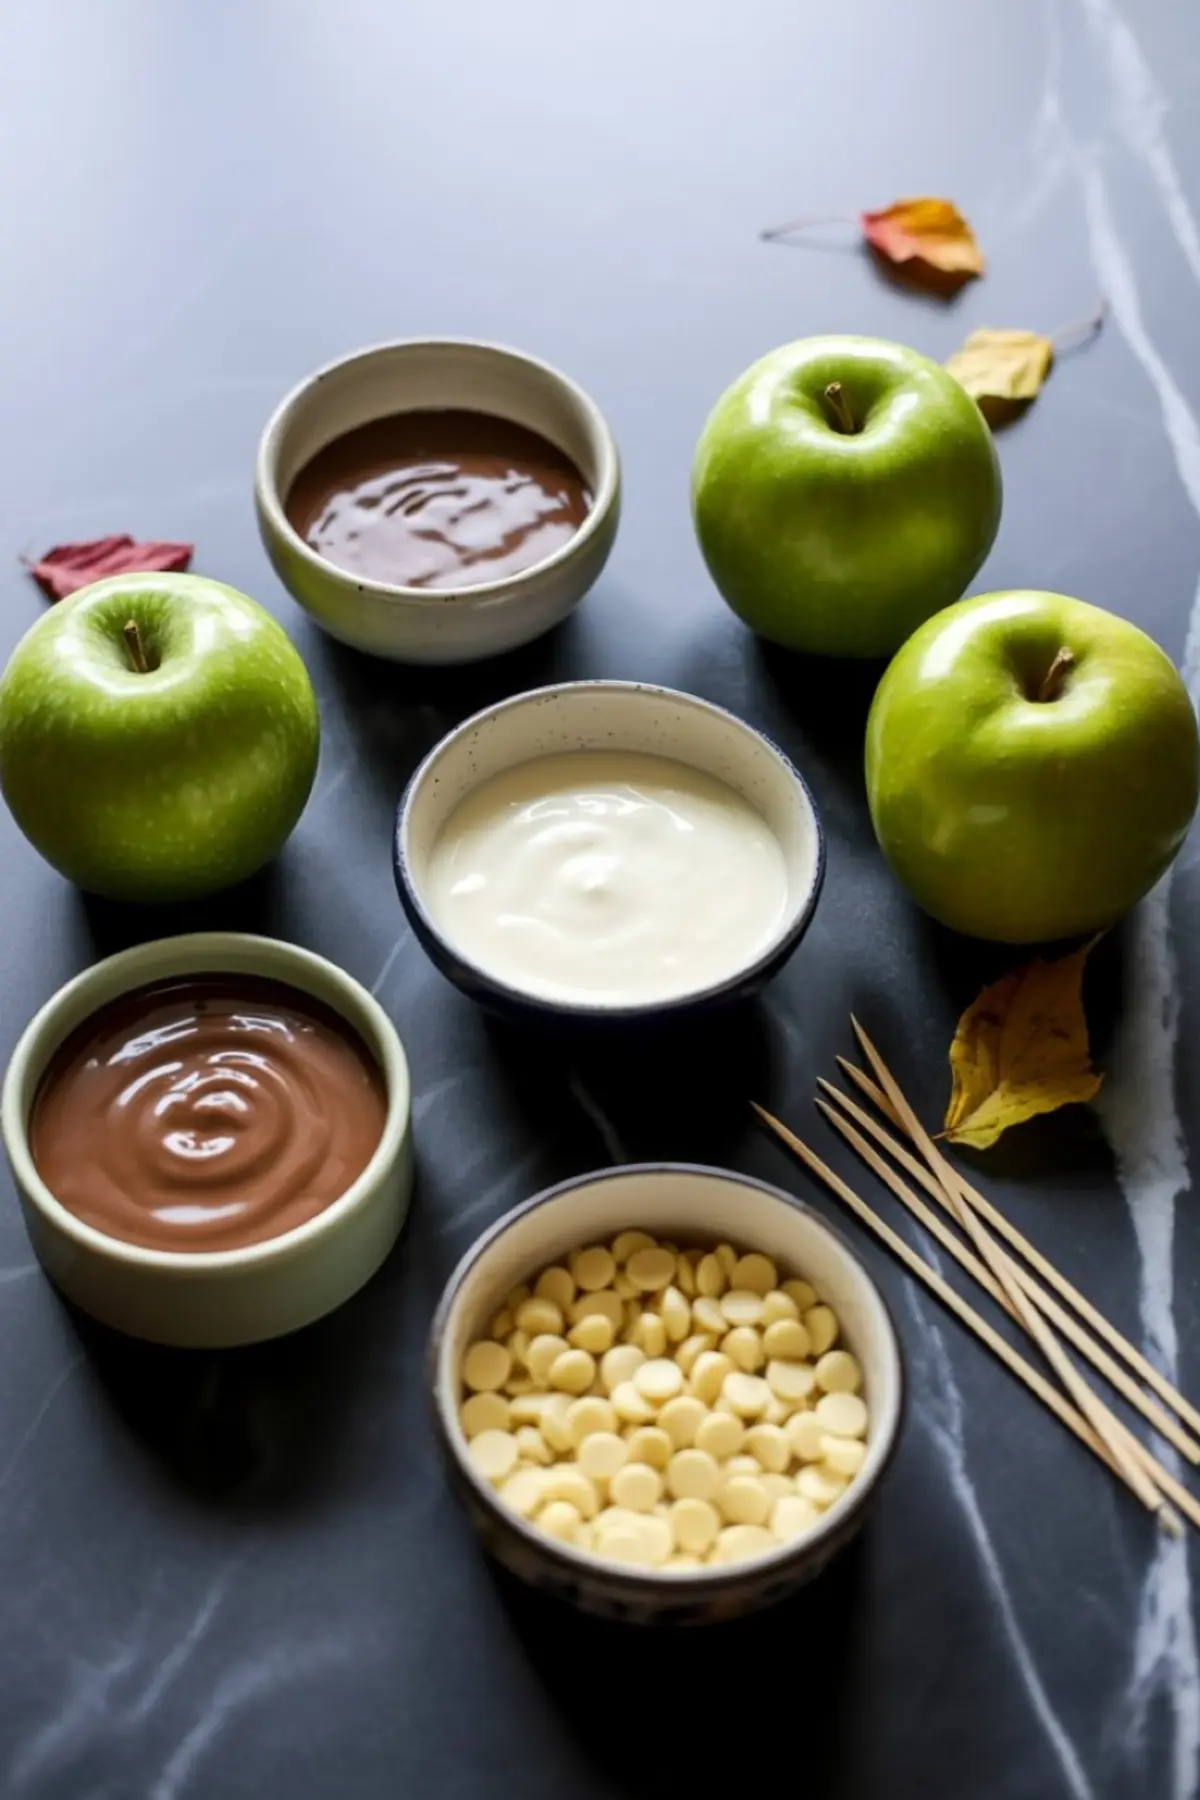
I always use real chocolate bars or chopped dark chocolate, not candy melts. The flavor wins every time. In my Pin Notebook, I’ve noted that milk chocolate brings a nostalgic taste, but dark chocolate adds drama—and drama is the whole point of Halloween dessert ideas.
Use the double boiler method and add a teaspoon of coconut oil if you want that glossy, magazine-photo finish. Skip the microwave unless you stir often and stop before it scorches. Overheated chocolate turns grainy fast.
This is where you’ll find the most control. Smooth chocolate coats better and sets firmer, especially when you’re using candy eyes or almonds as teeth. For a mix of spooky and sweet, these healthy Halloween treats offer good balance on the snack table.
Dipping and Decorating with Halloween Sprinkles and More
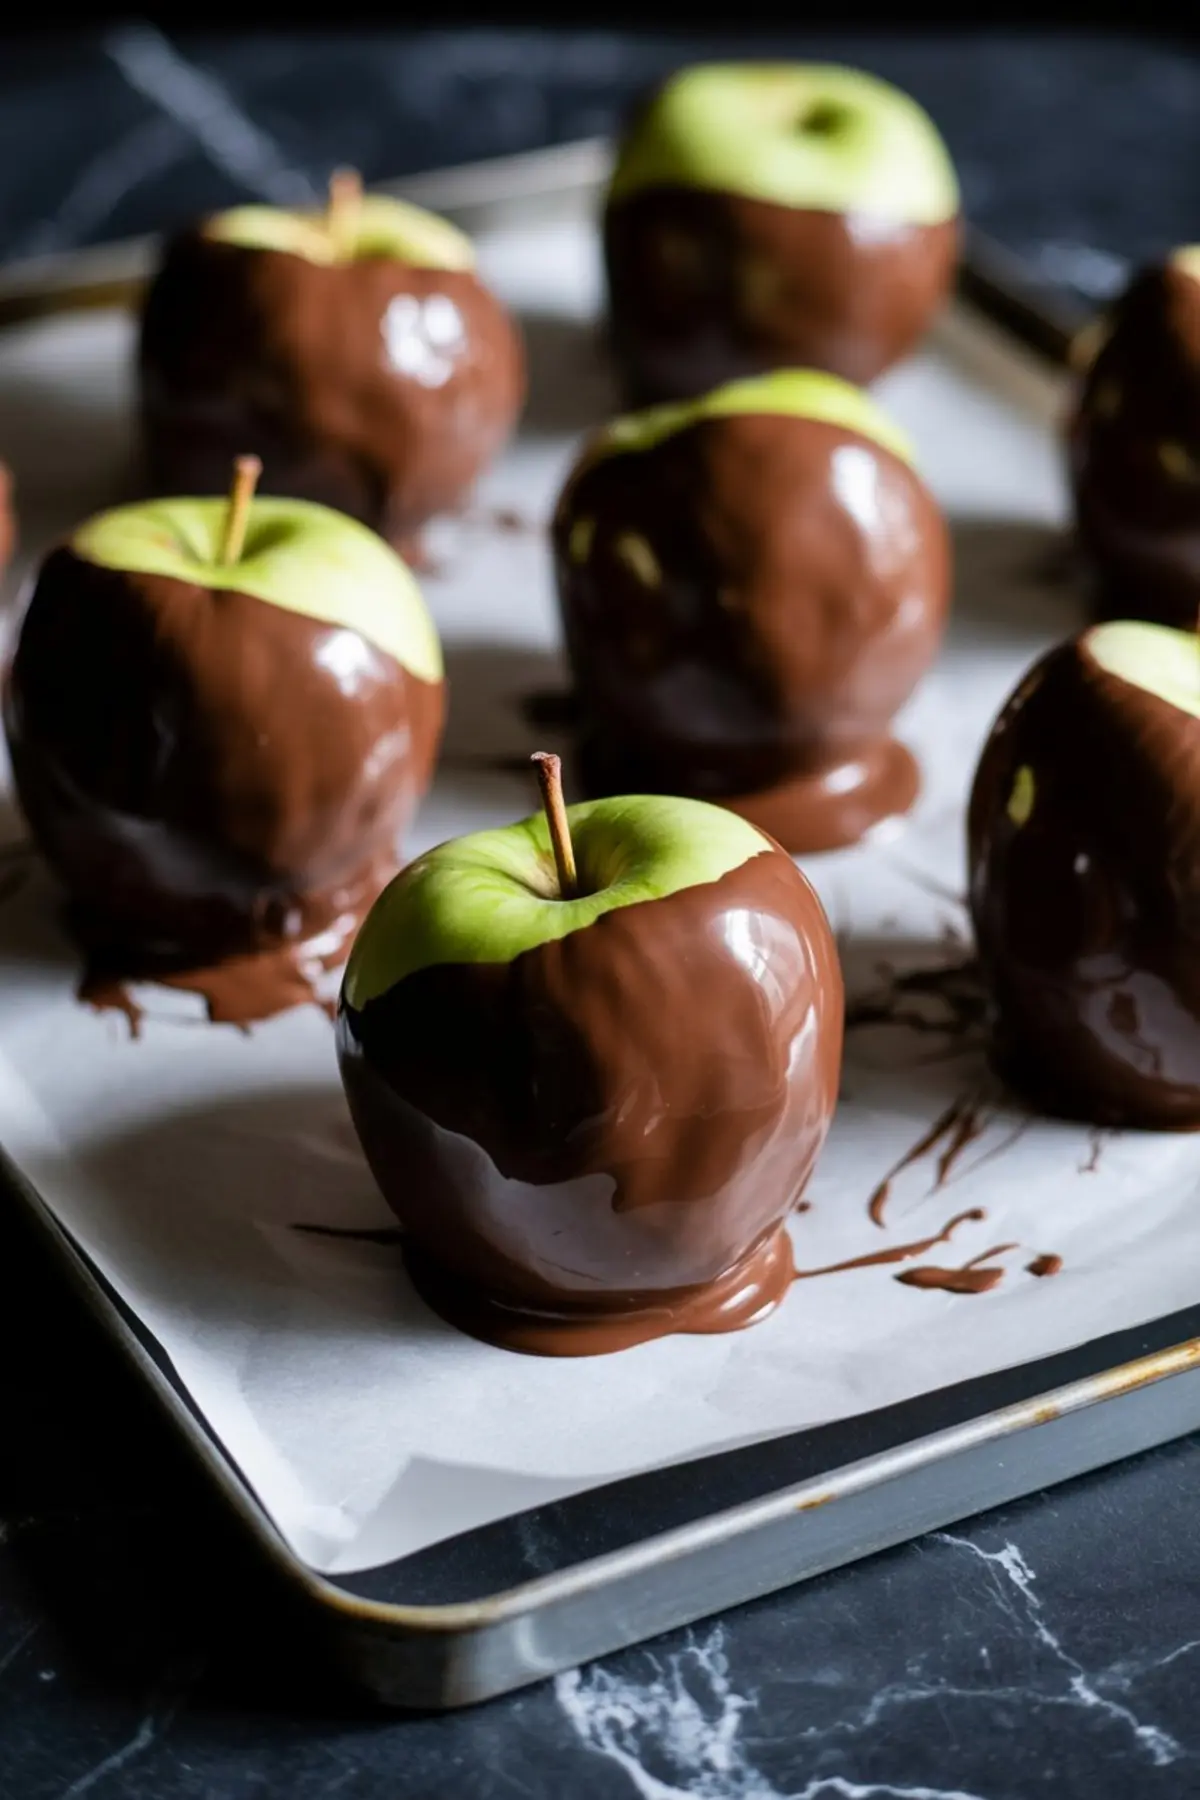
Once your chocolate is ready and your apples are stick-mounted, dip and turn each apple slowly. Gravity helps with an even coat. Let excess drip off. I line a tray with parchment and let each one sit before decorating.
Eyes come next. I press them in while the chocolate is still soft. Uneven placement adds personality. Think goofy, not perfect. Then I add teeth—either white chocolate chips or almond slivers. Sometimes I use both. The chipped ones actually look more fun.
Once I made these alongside a batch of Halloween macarons, and the contrast between glossy apples and delicate cookies made for a beautiful spread.
Creating the Optional Mummy Drizzle
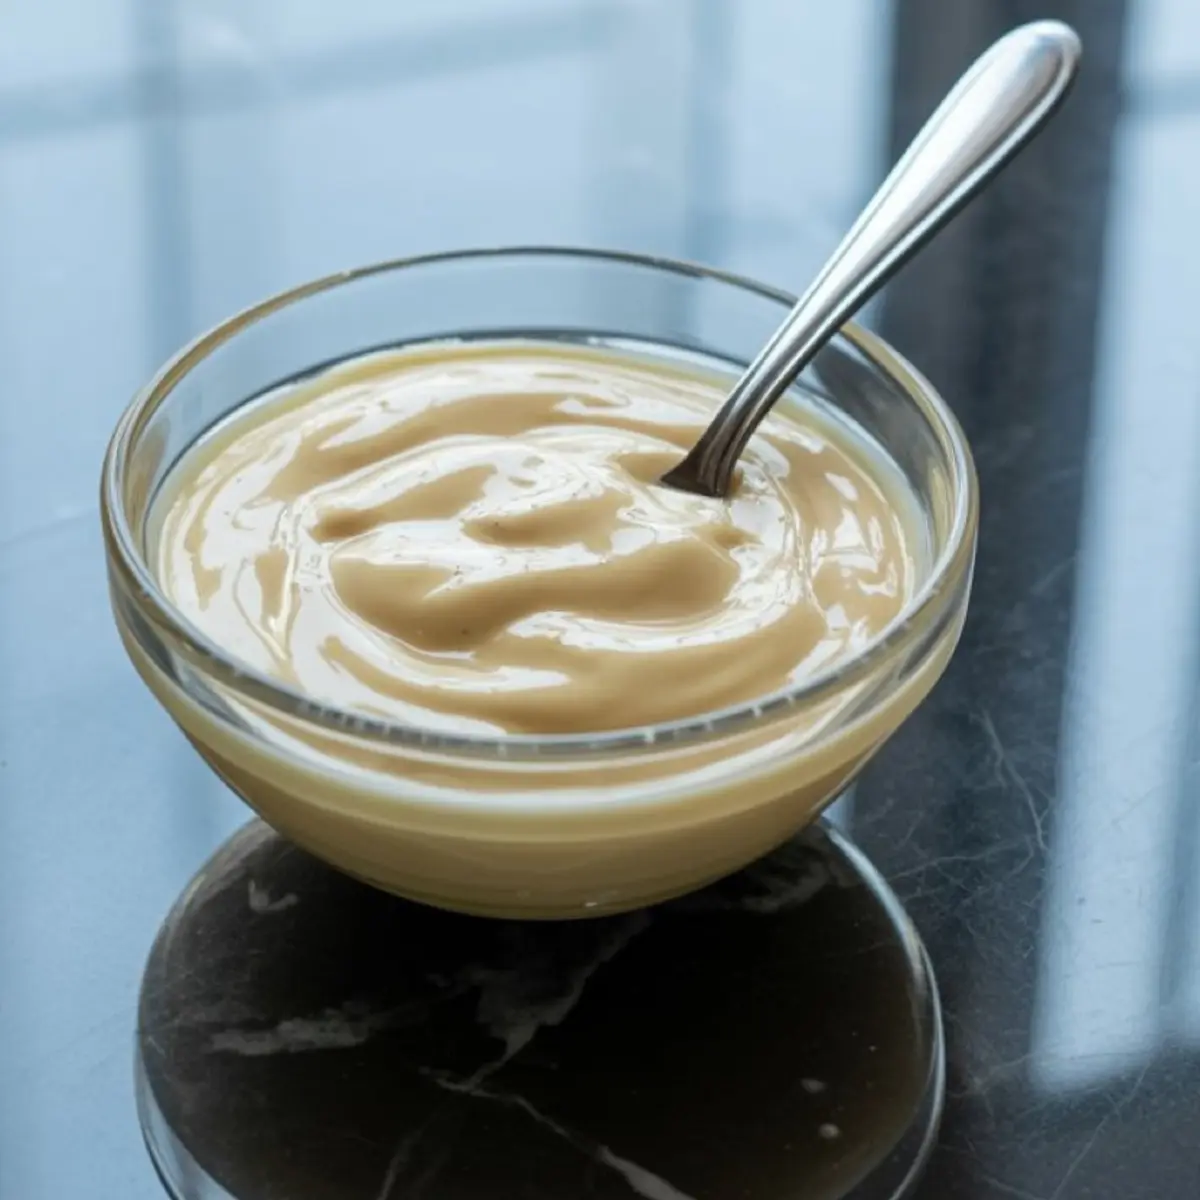
The mummy effect changes everything. Melted white chocolate, piped in thin lines across the apples, transforms them completely. You can spoon it, pipe it, or even use a fork. Each method leaves a slightly different pattern.
If you like themed variety, make half with drizzles and half without. It gives your table more texture. I tried skipping this once to save time, and the apples still looked great but the drizzle made the ones with it disappear first.
The same approach applies if you’re putting these next to easy Halloween cookies. Mix shapes, layers, and sizes to get that full-spread feel.
Letting the Chocolate Set Firmly
After decorating, leave the apples to set at room temperature. If you’re short on time, pop them into the fridge for 10 to 15 minutes. Just don’t leave them too long or the chocolate may sweat when you bring them out.
I’ve stored them in a cool spot overnight and they held up beautifully. They last up to three days, but the crunch and contrast of the fresh apple is best within 24 hours.
If you’re planning a bigger table, place them beside Halloween Oreos for a color contrast. They bring both shape and bite-size variety.
A Quick Comparison From My Pin Notebook
I’ve used both milk and dark chocolate for this recipe, and they change the mood entirely. Milk chocolate makes the apples taste like candy bars. It’s sweeter and more kid-friendly. Dark chocolate sharpens the contrast, both in flavor and looks. Especially with green apples.
If you’re going for spooky Halloween desserts that look dramatic on a plate, dark chocolate holds more impact. If your crowd leans younger, milk might work better.
The same logic applies to the teeth almonds look jagged, chocolate chips look silly. Decide your direction before you start dipping.
The Secret from My Pin Notebook
Here’s the part I hinted at earlier. The dash of magic that changes everything: cinnamon.
Just a pinch stirred into the melted chocolate before dipping adds depth you didn’t expect. It’s subtle, but once you notice it, you won’t go back. I tested it side by side. The batch with cinnamon had more warmth, more character. Especially with the tart apples.
I noted it as a must in the margin of my Pin Notebook. Every fall since, I’ve added it without question.
You can pair these with Halloween cheesecake if you’re setting up a dessert table. The apples add structure, while the cheesecake softens the whole spread.
Save This Halloween Treat for Later
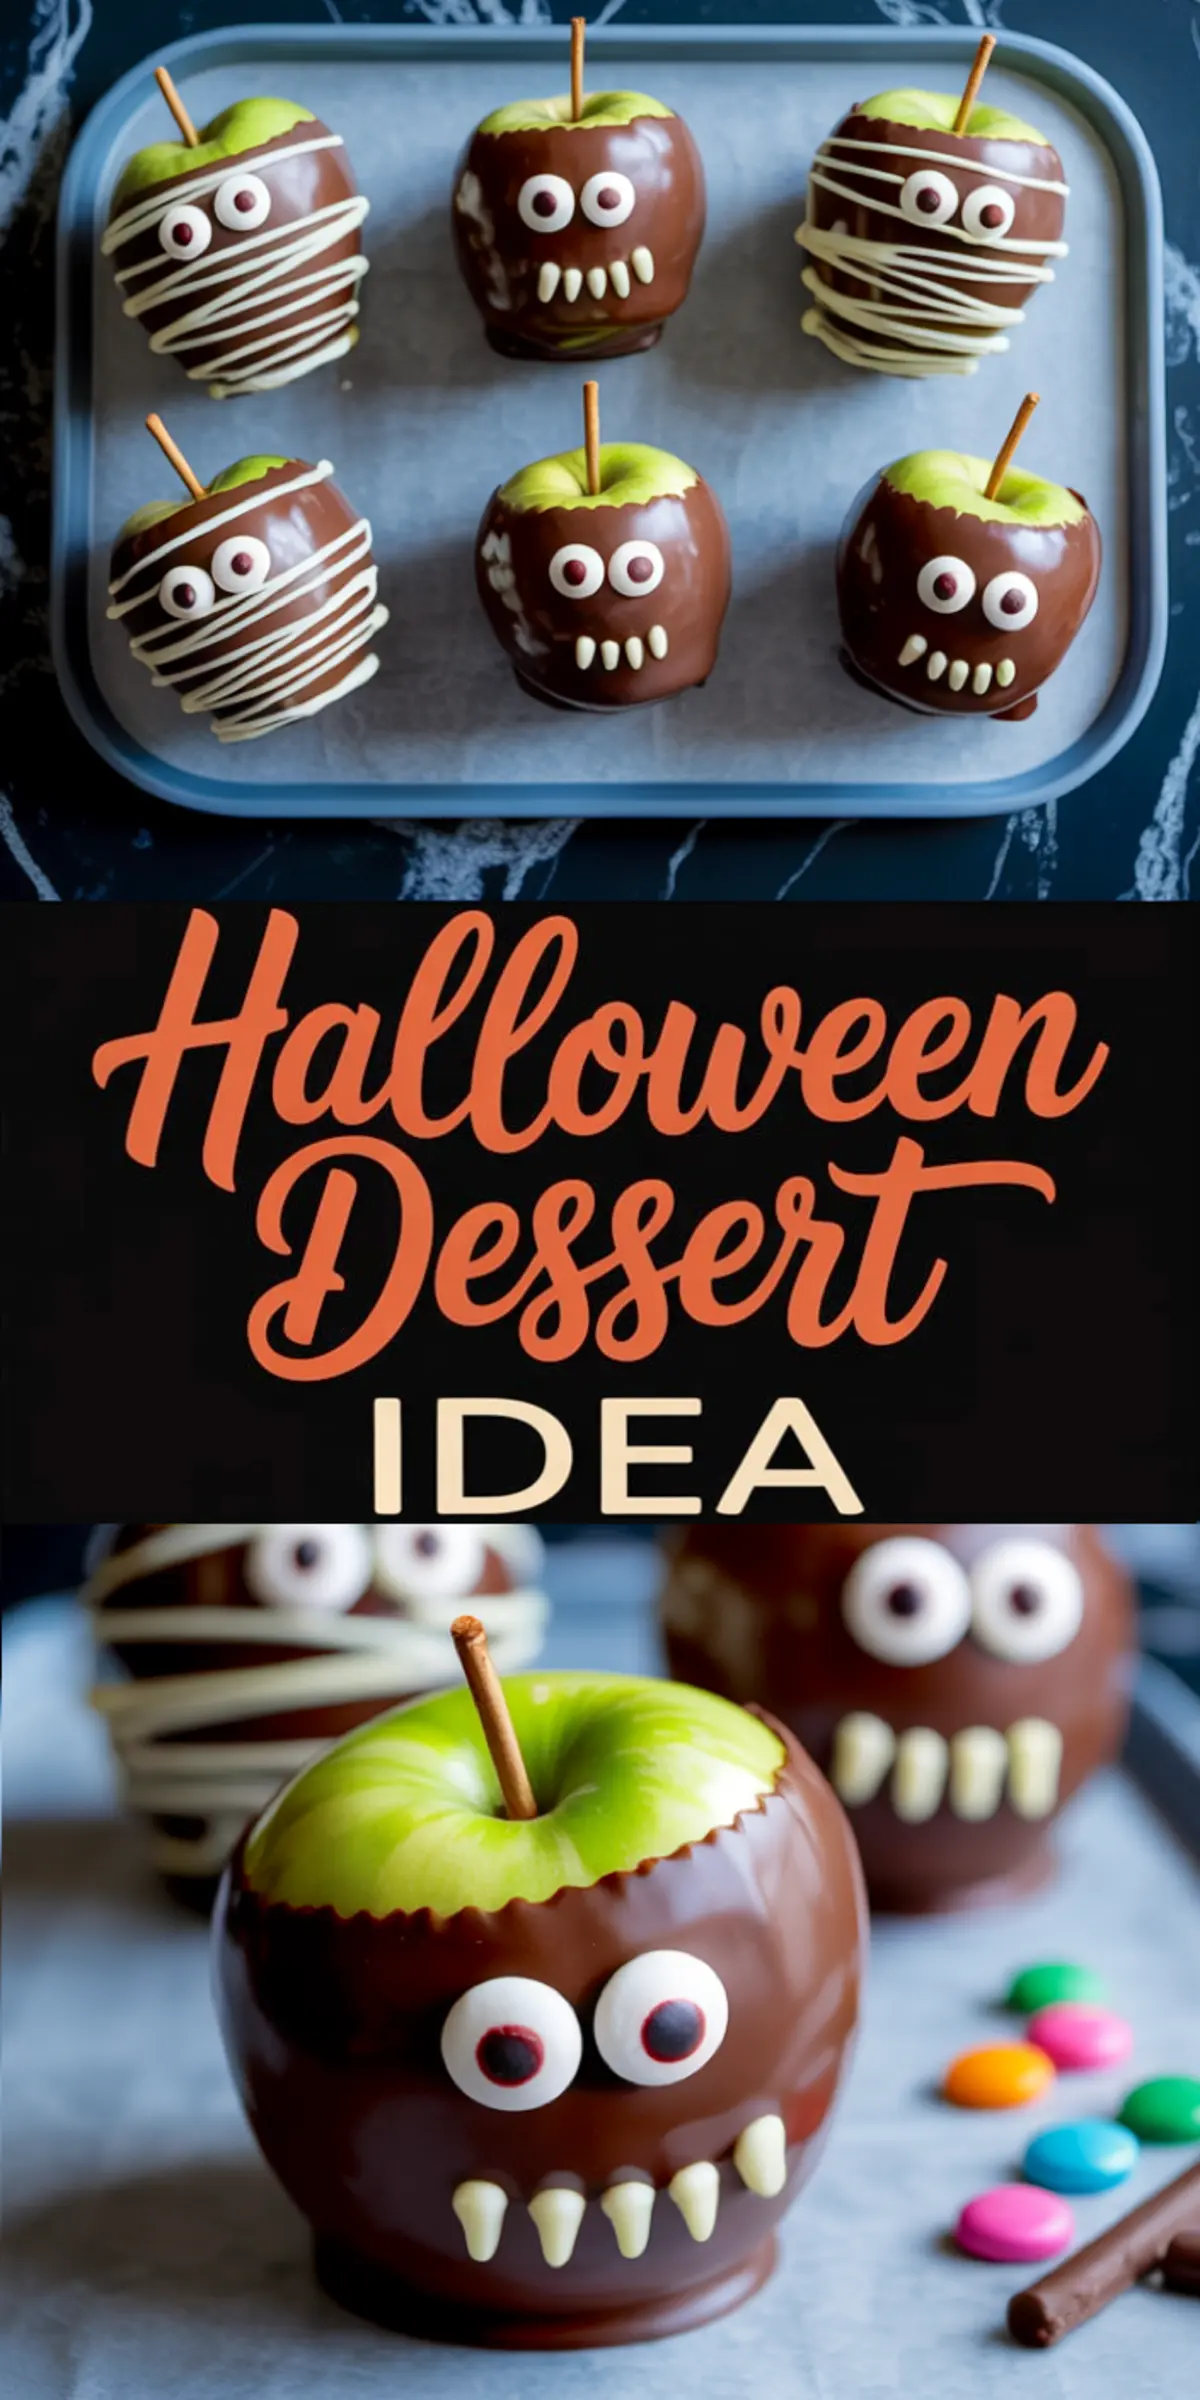
If these Halloween Chocolate Monster Apples inspired a few ideas, save this pin now to your Halloween board.
Leave a comment below and tell me what chocolate you used, or what decorations your little monsters came up with. Did you try the cinnamon trick? Or make a batch with extra teeth?
I’ll be checking in.
Halloween Chocolate Monster Apples
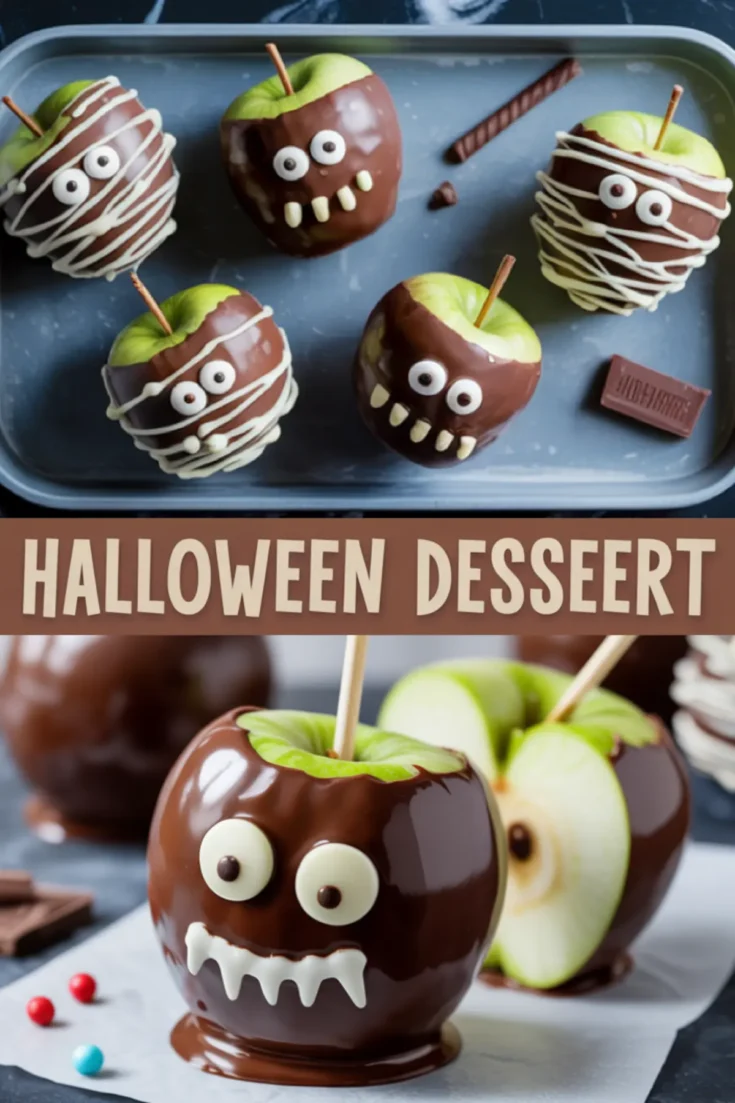
These Halloween Chocolate Monster Apples are a playful fall treat made with crisp apples, melted chocolate, and edible decorations. Each apple is dipped in rich chocolate and customized with candy eyes, silly smiles, and spooky drizzles. They're fun to make with kids and easy to decorate in a variety of monster styles using simple ingredients.
Ingredients
- 6 Granny Smith apples, washed and dried thoroughly
- 12 oz dark or milk chocolate, chopped
- 1 tsp coconut oil (optional, for shine)
- Candy eyes
- White chocolate chips or sliced almonds (for teeth)
- 2 oz white chocolate, for drizzling (optional)
- 6 wooden skewers, popsicle sticks, or pretzel rods
- Parchment paper
Instructions
- PREPARE THE APPLES: Wash and dry the apples thoroughly using a towel to remove any wax or moisture. The surface should be completely dry to help the chocolate adhere properly.
- MELT THE CHOCOLATE: Place chopped dark or milk chocolate in a heatproof bowl over a pot of simmering water (double boiler method). Stir continuously until the chocolate is fully melted and smooth. Add coconut oil if using, and mix to combine.
- INSERT THE STICKS: Push a wooden skewer, popsicle stick, or pretzel rod firmly into the center of each apple. Make sure they are secure and stand upright.
- DIP THE APPLES: One at a time, dip each apple into the melted chocolate, turning gently to coat all sides evenly. Allow excess chocolate to drip off before placing on a parchment-lined tray.
- ADD CANDY EYES: While the chocolate is still soft, press candy eyes into the surface of each apple. Position them unevenly to create fun and spooky monster expressions.
- ATTACH TEETH: Press white chocolate chips or sliced almonds near the base of each apple to form silly teeth. If the chocolate has started to set, reheat slightly and use a small dab to attach pieces.
- CREATE MUMMY DRIZZLE (OPTIONAL): Melt white chocolate and drizzle it over the apples using a spoon, piping bag, or fork to create a wrapped mummy look.
- LET SET: Allow the decorated apples to sit at room temperature until the chocolate is firm. To speed up the process, place the tray in the refrigerator for 10–15 minutes.
Notes
Use tart apples like Granny Smith for contrast, or substitute with Honeycrisp or Pink Lady for a sweeter option. Real chocolate works best for flavor and texture—avoid candy melts for this recipe. If making with kids, allow them to decorate their own monster faces for added fun. Store finished apples in a cool place and consume within 2–3 days for best texture.
Nutrition Information:
Yield:
6Serving Size:
1Amount Per Serving: Calories: 602Total Fat: 31gSaturated Fat: 15gTrans Fat: 0gUnsaturated Fat: 13gCholesterol: 16mgSodium: 86mgCarbohydrates: 74gFiber: 7gSugar: 58gProtein: 9g
