
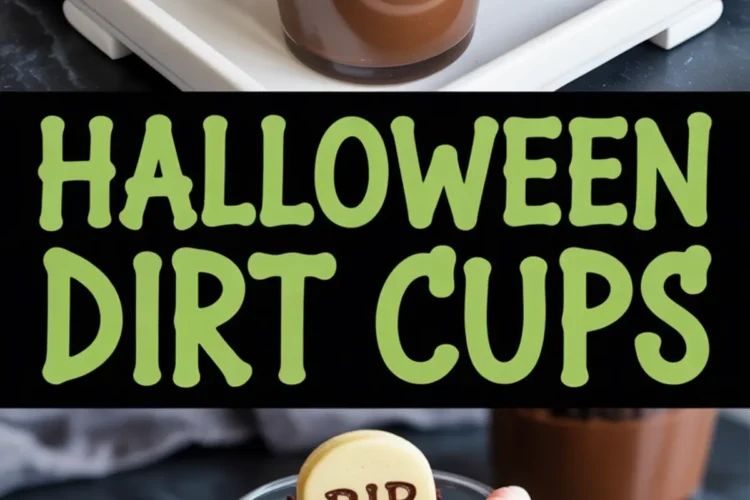
Sometimes it’s the simple things that hit hardest. These Halloween Dirt Cups might look like child’s play, but they deliver nostalgia, texture, and just enough spooky fun to make anyone smile.
You’ll learn exactly how to build the layers for this pudding-and-cookie dessert, how to decorate the cups to match your Halloween vibe, and how to make them look like you spent much more effort than you did.
What sets this version apart is the eerie cookie tombstones. They add more than decoration. They change the bite. When that buttery crunch hits the soft pudding and crumbs, something shifts.
In my notes, I always mark this as a crowd favorite for parties where kids and adults share the table. The trick? A hint of flavor contrast hiding beneath those cookie crumbs. We’ll get there.
But first, the pudding.
How to Make the Creamy Chocolate Pudding Layer
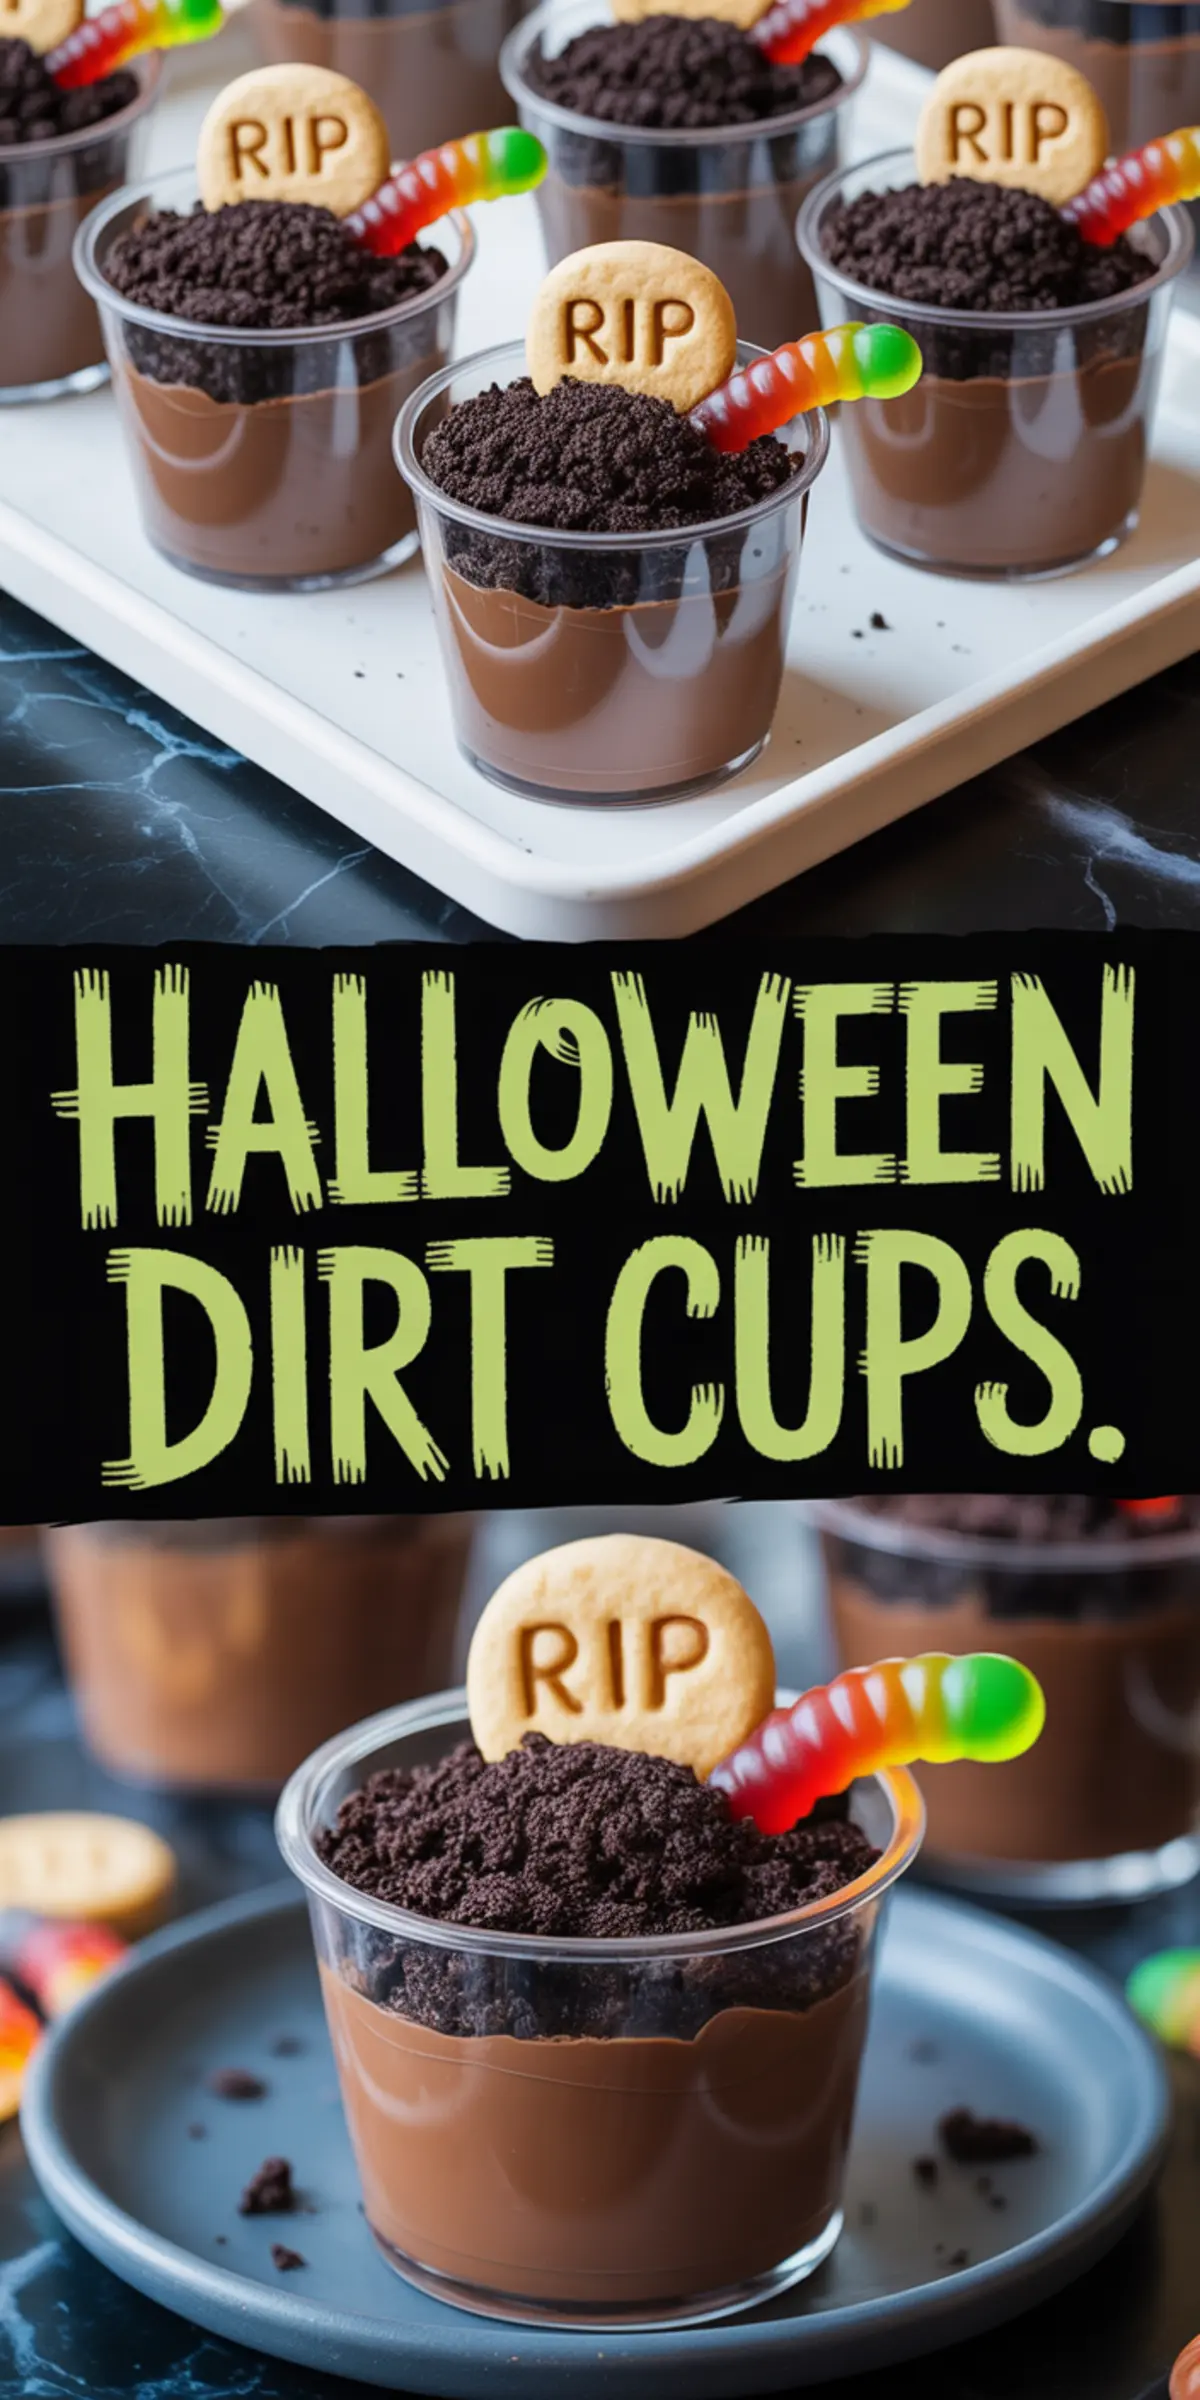
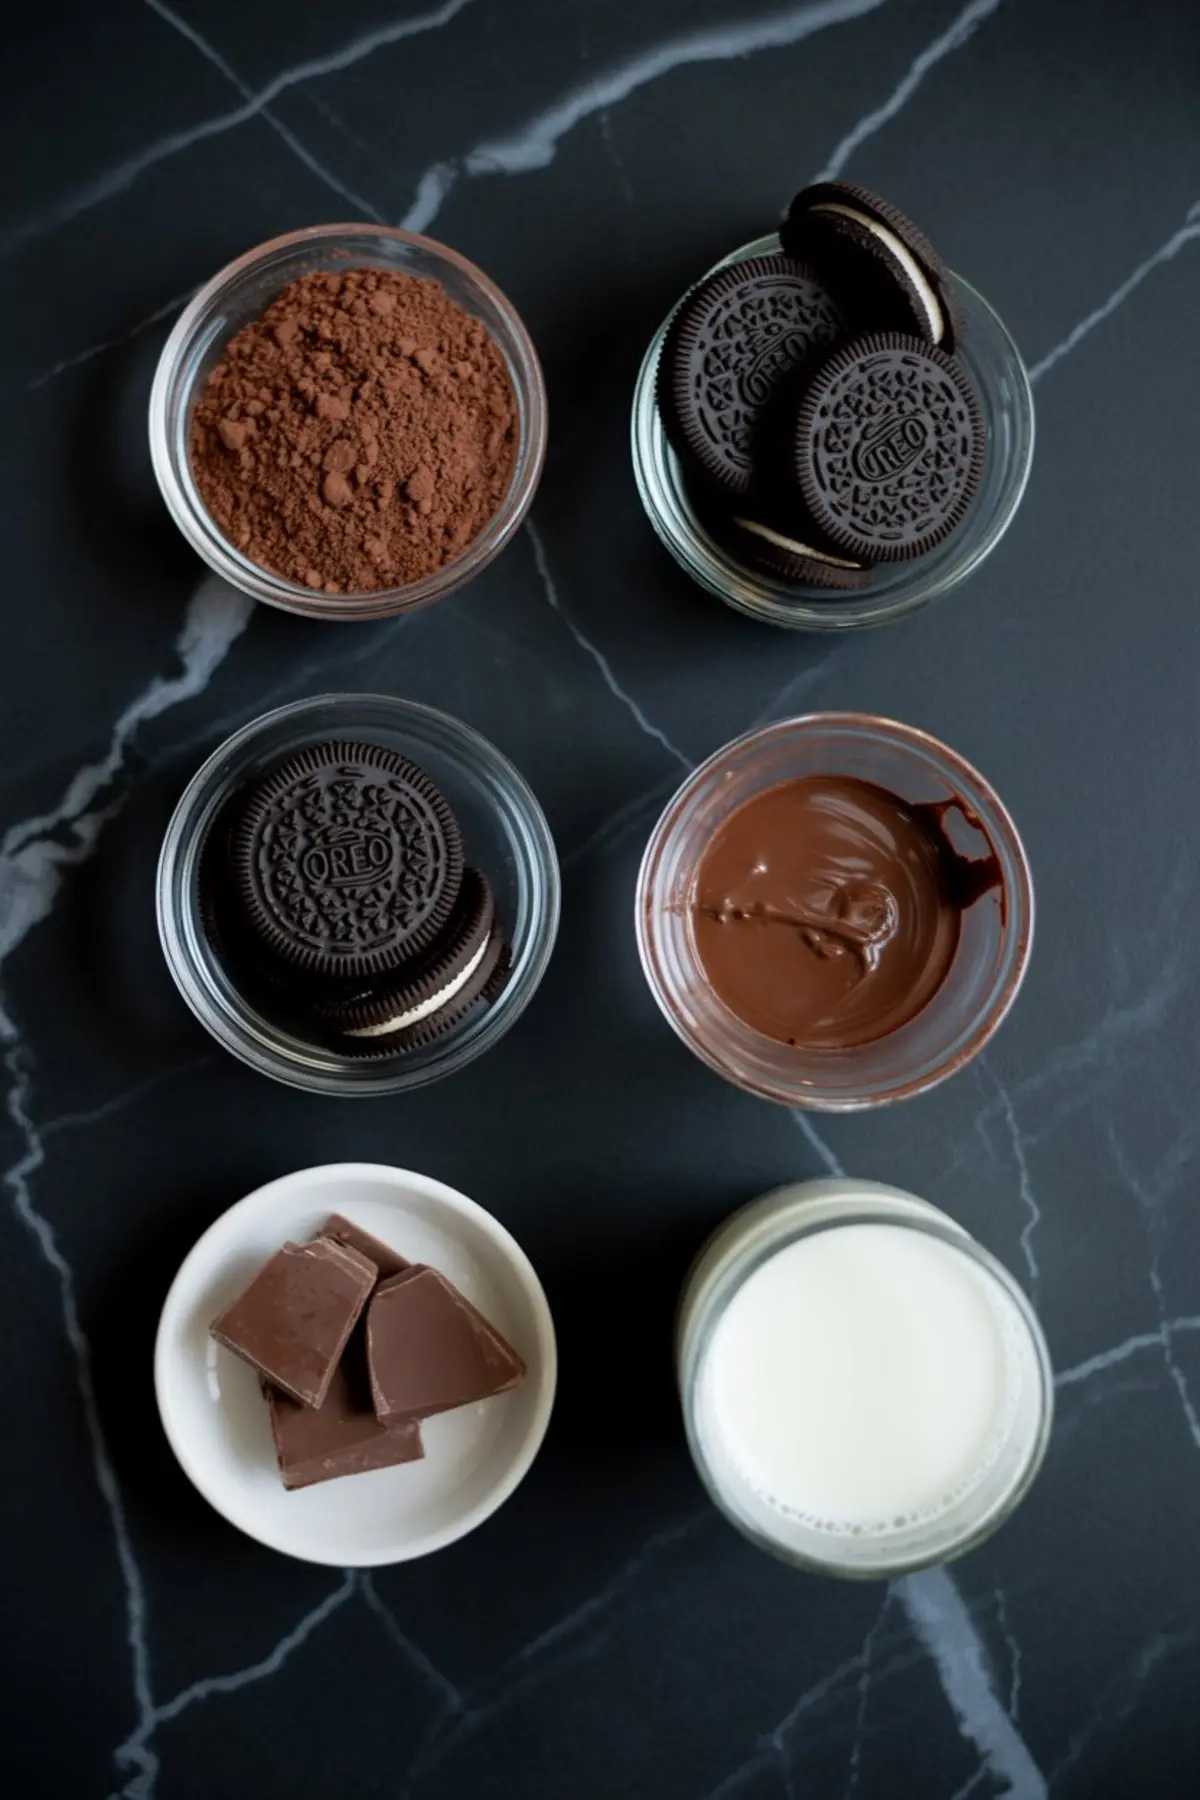
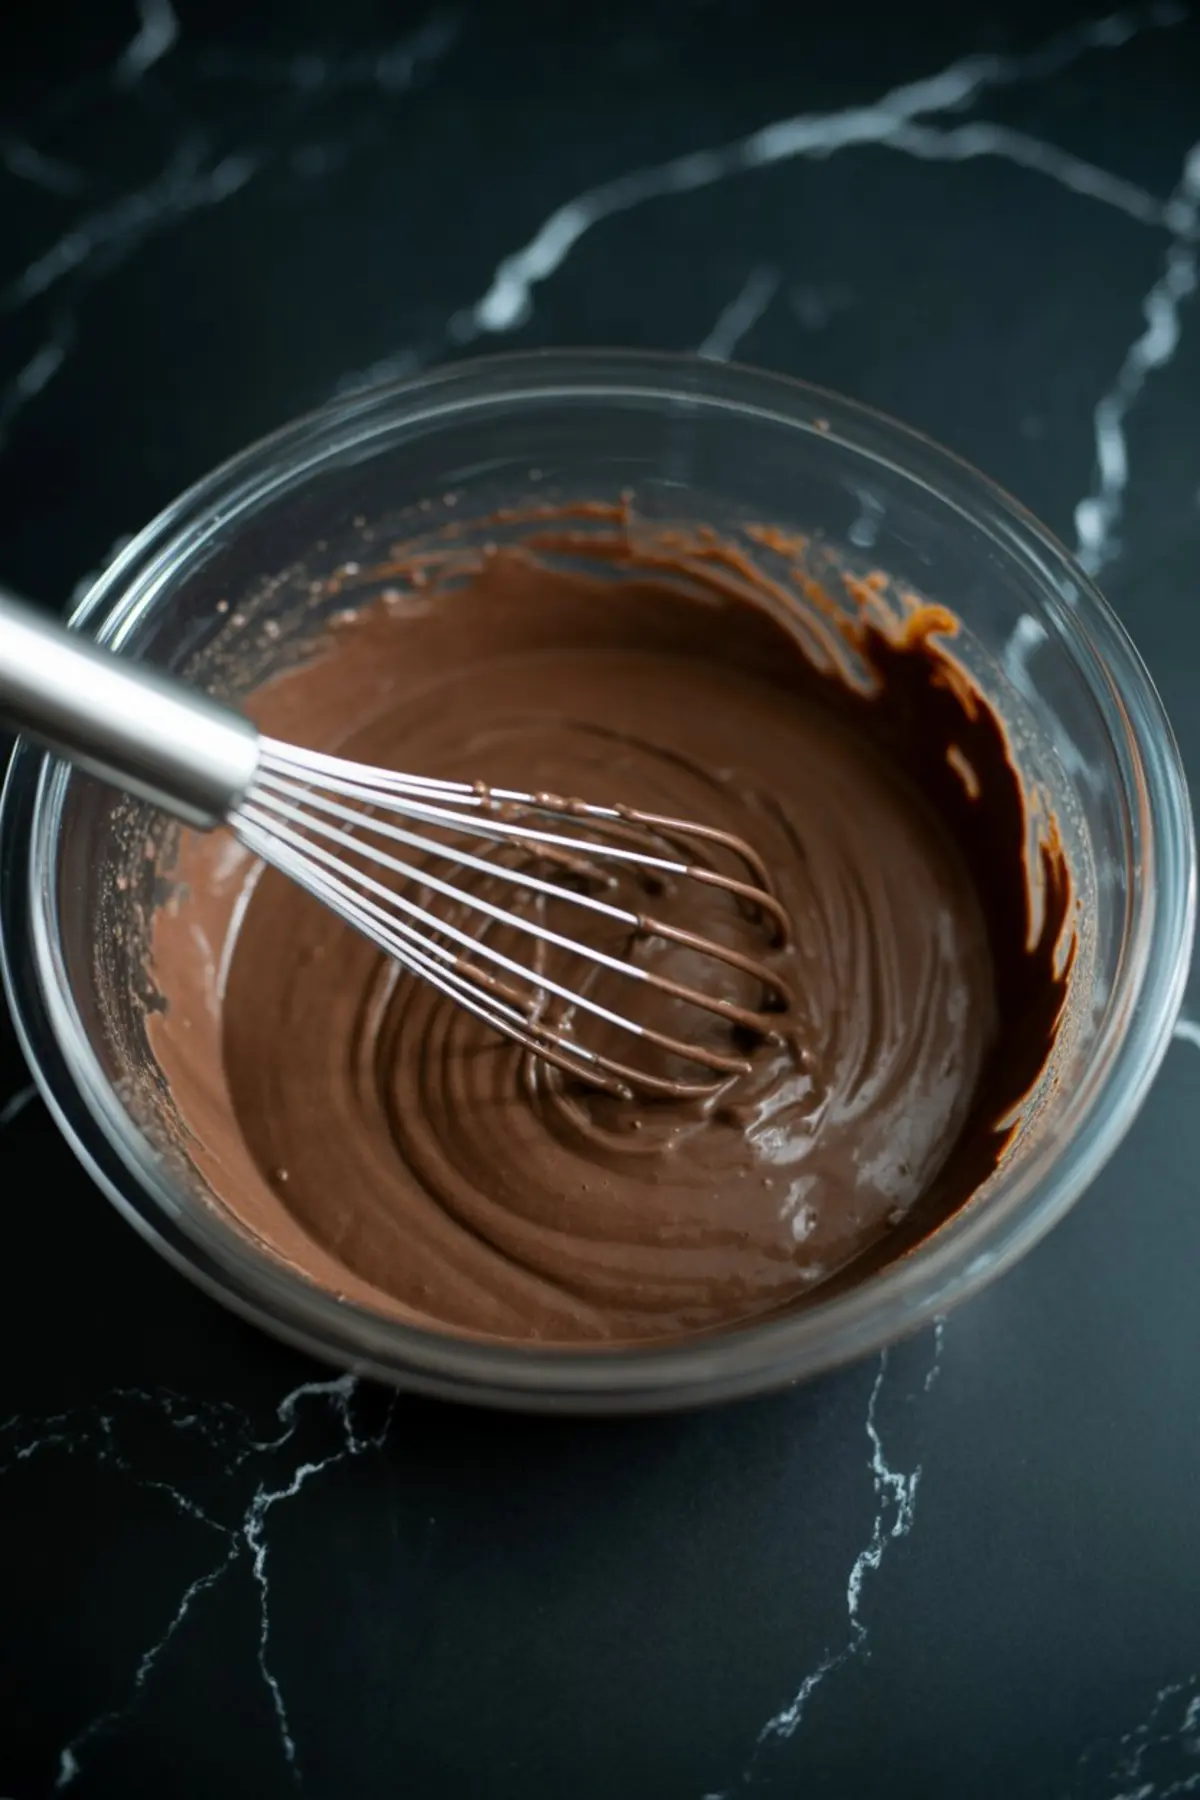
The pudding is what gives these Halloween dirt pudding cups their structure. I use a standard instant chocolate pudding mix with cold milk, whisking for two minutes until it smooths out and darkens.
It takes about five minutes to thicken. I’ve found that if you leave it too long, it starts to lose its pourable texture.
Spoon that pudding into six clear cups. Don’t fill them to the brim. You’ll need room for cookie dirt and tombstone decor. I like to go just over two-thirds full.
One tip I picked up after a few rounds: glass dessert jars or mini mason jars help the layers stand out, especially if you’re serving Halloween desserts for adults. They don’t need to be fancy, just clear enough to show that dark base.
Making the Oreo “Dirt” Topping
This part makes the name. Place your chocolate sandwich cookies in a zip-top bag and take something heavy to them. I use the flat side of my meat tenderizer, but a rolling pin works too. You’re going for coarse crumbs, not fine dust. Leave some bits jagged.
Crushed cookies create the illusion of dirt. They sit right on top of the pudding. Kids love smashing the cookies. If you have little helpers around, this is the part to let them own.
Decorating the Butter Cookie Tombstones
Here’s where the fun kicks in. Use chocolate chips melted gently in the microwave or ready-to-use black icing. I’ve even used edible pens in a pinch. Write simple letters: “RIP,” “BOO,” or a date if you’re feeling clever.
I stick to short words. Longer messages turn to mush unless you have a very steady hand. Once you’ve marked each butter cookie, let the chocolate set for a few minutes. Don’t rush this. If you press the cookies in while the writing’s still wet, it will smear.
Assembling the Halloween Dirt Cups With Gummy Worms
Start with your filled cups. Spoon the crushed cookie dirt on top of each pudding layer. It should look like freshly turned soil. Then take your butter cookie tombstones and press one upright into the back of each cup.
Tuck a gummy worm or two halfway into the cookie layer. Let them peek out like they’re crawling up from the grave. That one detail makes a big difference, especially for dirt cups for kids who like a little silliness with their sugar.
Want a version that looks more dramatic? Check out these Halloween Finger Cookies for even more eerie inspiration.
Serve Chilled or Slightly Set
These dirt cake cups don’t require baking or even chilling, but I usually pop them into the fridge for 10 minutes. It helps the pudding firm just a bit, and the dirt stays in place better.
If you’re making these ahead for a Halloween party, don’t add the tombstones or worms until just before serving. The cookies can soften from the moisture if left too long.
One Useful Comparison: Butter Cookies vs. Graham Crackers
I’ve tested different tombstone bases. Graham crackers crumble too easily. They tend to fall over or break when you press them into the cookie layer. Butter cookies stay crisp longer and handle the writing better. If you’re looking for stability and taste, butter cookies win every time.
You can see the same structured creativity in these Halloween Brownies where the topping adds more than decoration. It anchors the bite.
A Secret Layer for Grown-Up Flavor
Here’s the twist I mentioned earlier. In one of my late-night recipe tests, I added a thin swipe of peanut butter mousse just below the cookie dirt. The salty-sweet contrast gave the whole cup more depth.
That layer turns these into Halloween desserts for adults too. It’s optional, but if you want to elevate your zombie dirt pudding cups, that mousse adds an unexpected second wave of flavor.
You can even adapt it for themed parties by adjusting the mix-ins. Add candy eyeballs for creepier Halloween pudding cups, or use candy bones like I do in my Halloween Jello Shots.
Serving Ideas and Customizations
These are easy to batch. Double the pudding, double the cookies, and you’ve got enough dirt cups dessert for a crowd. I’ve brought them to classrooms, adult gatherings, and Halloween potlucks. Each time, someone asks, “Did you really make these yourself?”
If you want a softer spin, try Halloween Strawberries. They sit lighter but keep the same festive look.
You could also go mini and serve them in shot glasses as dirt cups recipe samplers. This works well if you plan a dessert table with other Halloween Cupcakes in the mix.
Save This Spooky Treat For Later

Pin this recipe now so you don’t forget when the parties start. It’s one of those fast desserts that delivers way more impact than effort. And I’d love to know how yours turned out. Did you add a secret layer? Did the kids eat the tombstones first?
Leave a comment and share your version. Let’s swap some ideas.
Halloween Dirt Cups
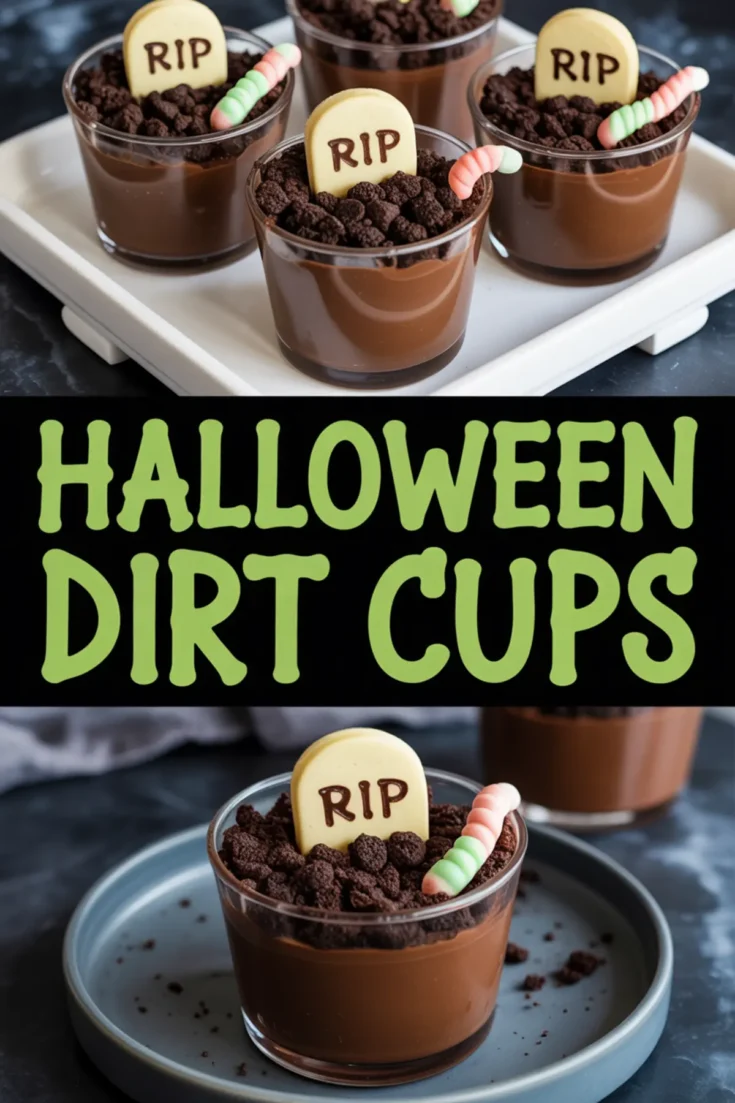
Halloween Dirt Cups are an easy no-bake dessert made with chocolate pudding, crushed sandwich cookies, and gummy worms. This playful treat looks like soil and can be decorated with cookie tombstones and spooky candies for a festive, kid-friendly Halloween dessert.
Ingredients
- FOR THE PUDDING LAYER
- 1 (3.9-ounce) box instant chocolate pudding mix
- 2 cups cold milk
- FOR THE DIRT TOPPING
- 15 chocolate sandwich cookies, crushed
- FOR ASSEMBLY
- 6 gummy worms
- 6 butter cookies (for tombstones)
- 2 tablespoons chocolate chips or black icing (for writing)
Instructions
- PREPARE THE PUDDING: In a large mixing bowl, whisk together the instant chocolate pudding mix and cold milk for 2 minutes until smooth. Let the pudding sit for 5 minutes to thicken.
- FILL THE CUPS: Spoon the thickened pudding evenly into 6 small clear plastic cups, filling each about two-thirds full to leave room for the toppings.
- CRUSH THE COOKIES: Place the chocolate sandwich cookies in a zip-top bag and crush them using a rolling pin or heavy glass until they resemble coarse crumbs. Sprinkle the crushed cookies over the pudding in each cup to create a "dirt" layer.
- DECORATE THE TOMBSTONES: Melt the chocolate chips in a small bowl in the microwave in 20-second intervals, stirring until smooth. Use a toothpick to write "RIP" on each butter cookie. Alternatively, use black icing or edible markers. Allow the writing to set before assembling.
- ASSEMBLE THE DIRT CUPS: Press one decorated cookie upright into each cup to resemble a tombstone. Add one or two gummy worms so they appear to be crawling out of the "grave."
- CHILL OR SERVE: Serve immediately, or chill for 10 minutes to firm up the layers before serving.
Notes
To make these dairy-free, use non-dairy milk and vegan pudding mix. Customize with other Halloween candies like candy eyeballs or bone-shaped sprinkles. For a more advanced version, add a layer of peanut butter mousse between the pudding and cookie crumbs.
Nutrition Information:
Yield:
6Serving Size:
1Amount Per Serving: Calories: 440Total Fat: 17gSaturated Fat: 9gTrans Fat: 0gUnsaturated Fat: 7gCholesterol: 45mgSodium: 306mgCarbohydrates: 64gFiber: 2gSugar: 34gProtein: 8g
