
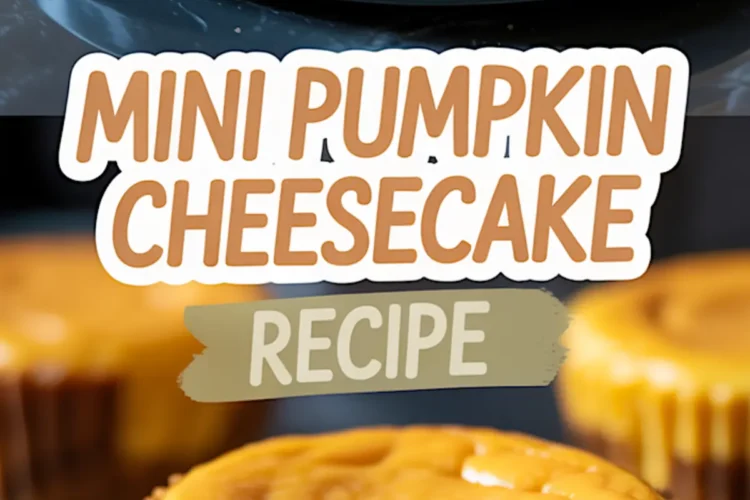
There’s something about small desserts that make you pay closer attention. Maybe it’s the precision. Maybe it’s the promise of just one more bite. These Mini Pumpkin Cheesecakes taught me how to slow down, trust my hands, and stop overmixing.
They’ve become my go-to each October, not because they’re quick, but because they’re reliable. Creamy, gently spiced, and nestled into a crisp gingersnap crust.

You’ll learn exactly how to keep that smooth center, how to avoid cracks, and why the oven door stays open at the end. There’s a little trick inside this recipe. A quiet ingredient that brings the filling together and keeps it mellow. I’ll share that later.
But first, let’s talk about why these belong on your fall dessert table.
They offer the ease of individual pumpkin cheesecake servings with the rich feel of a full pie. They’re portable, portioned, and freeze surprisingly well. I make a batch ahead for weekend visits and holiday trays.
You’ll recognize the warm flavors from pumpkin cheesecake muffins, but here the texture leans creamy and smooth, closer to a custard than cake.
Let’s walk through it.
Gingersnap Cookie Crust for Mini Pumpkin Cheesecake Bites
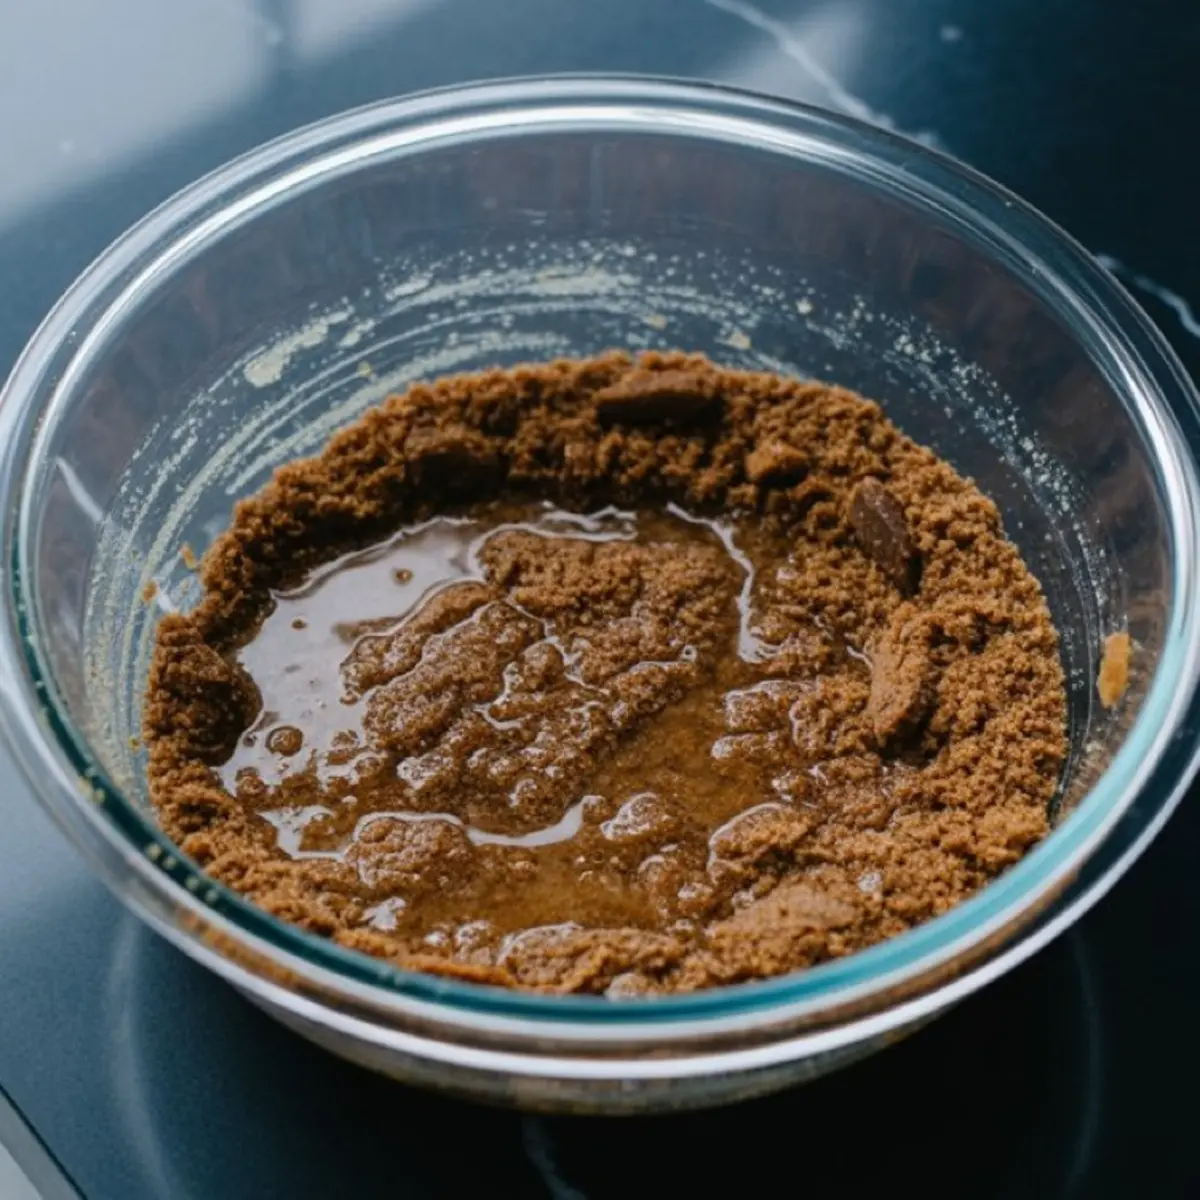
I’ve used graham crackers, I’ve tried shortbread, but gingersnap cookies win every time. Their spice builds a strong base under the pumpkin. The trick is balance. Too much butter, and the crust turns greasy. Too little, and it crumbles.
I crush the cookies finely with a rolling pin. You want a uniform texture that packs well. Mix with brown sugar and melted butter until the crumbs feel like damp sand.
Each liner gets a tablespoon, pressed flat with the bottom of a spice jar. Five minutes in the oven helps them hold. You’ll notice the aroma shifts nutmeg, molasses, that toasty note that signals fall is here.
This crust also works beautifully in no bake pumpkin cheesecake balls, but the baking here brings deeper flavor.
Cream Cheese and Pumpkin Batter That Stays Silky
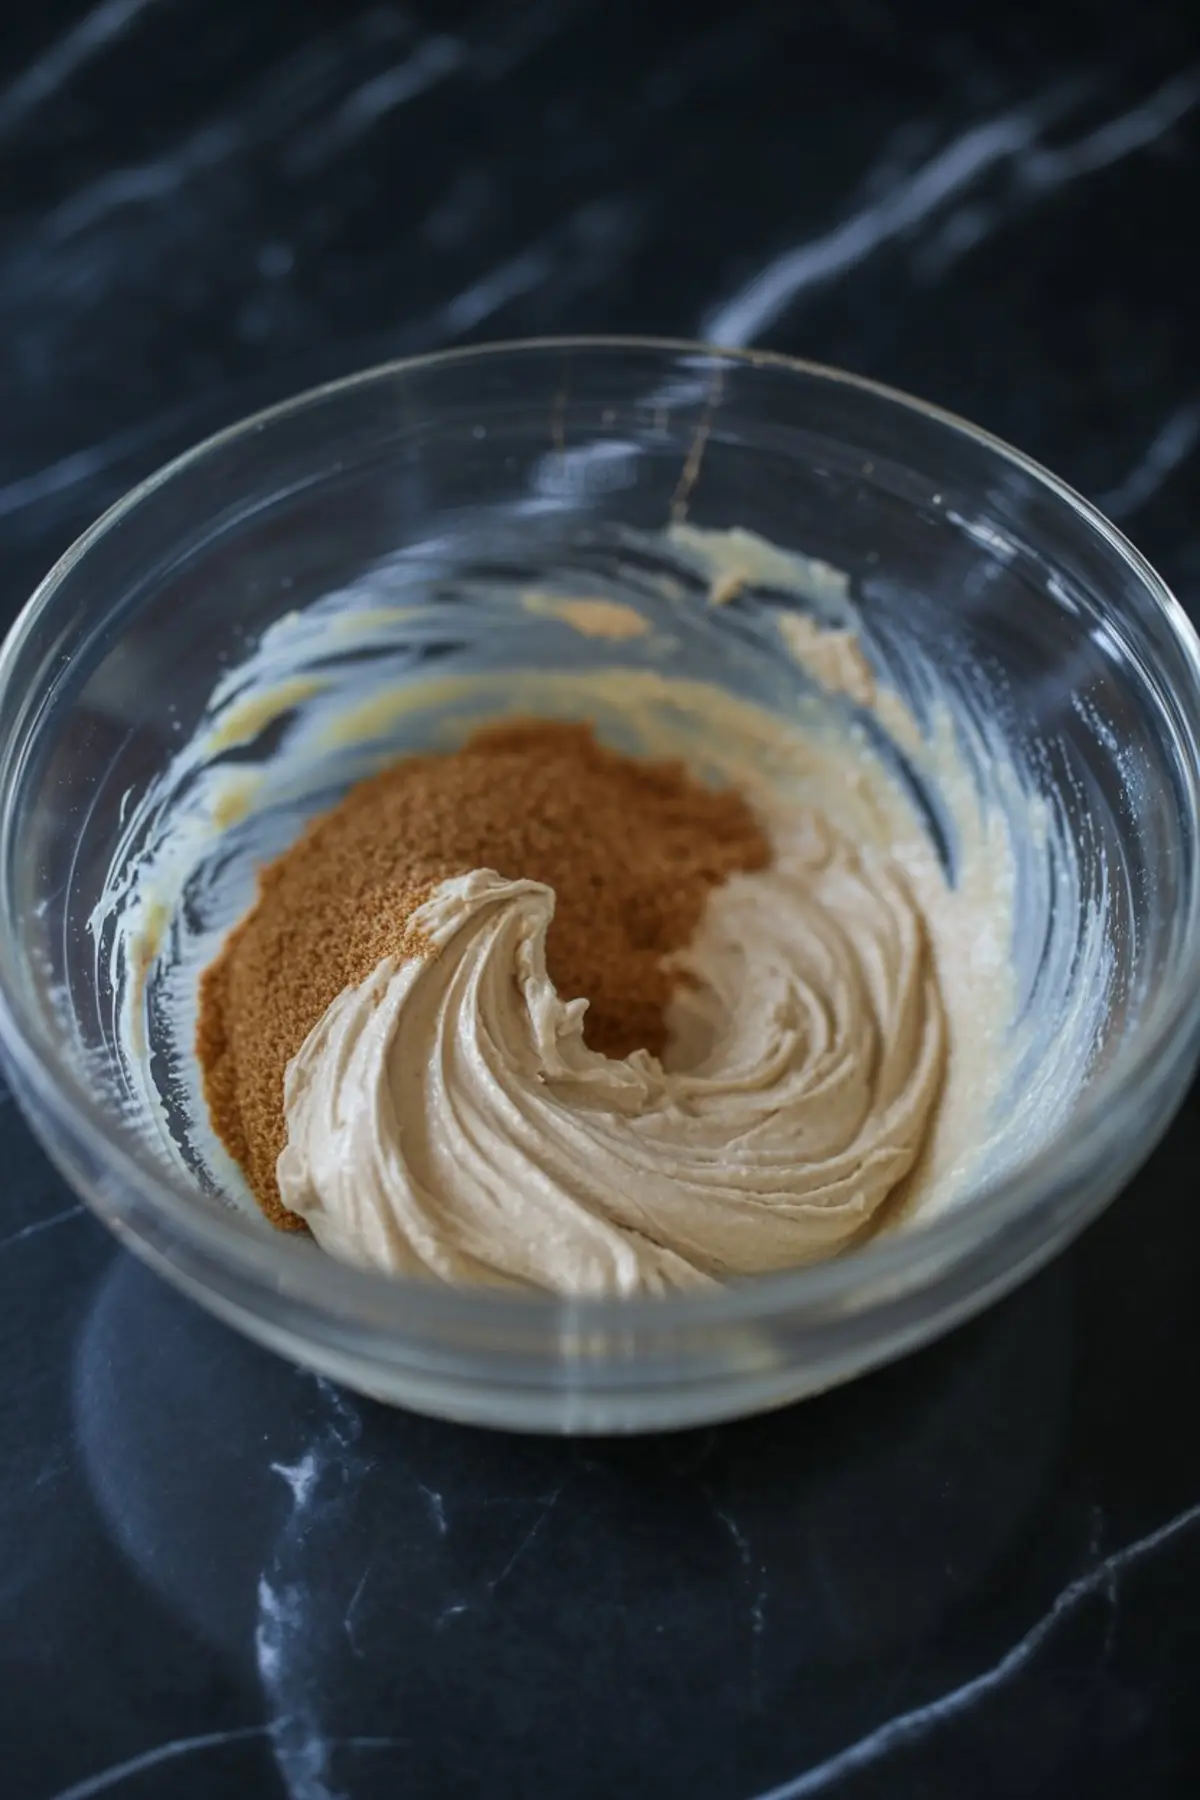
Start with softened cream cheese. Let it sit out long enough to lose its chill. I learned the hard way—cold cream cheese leads to lumpy batter no matter how long you beat. Once smooth, blend in the brown sugar. This adds moisture and depth without overpowering the pumpkin.
Then comes the pumpkin puree. Use canned, not homemade. The consistency matters more than we think. Homemade puree tends to carry too much water, and water gives you soggy bottoms and weepy centers.
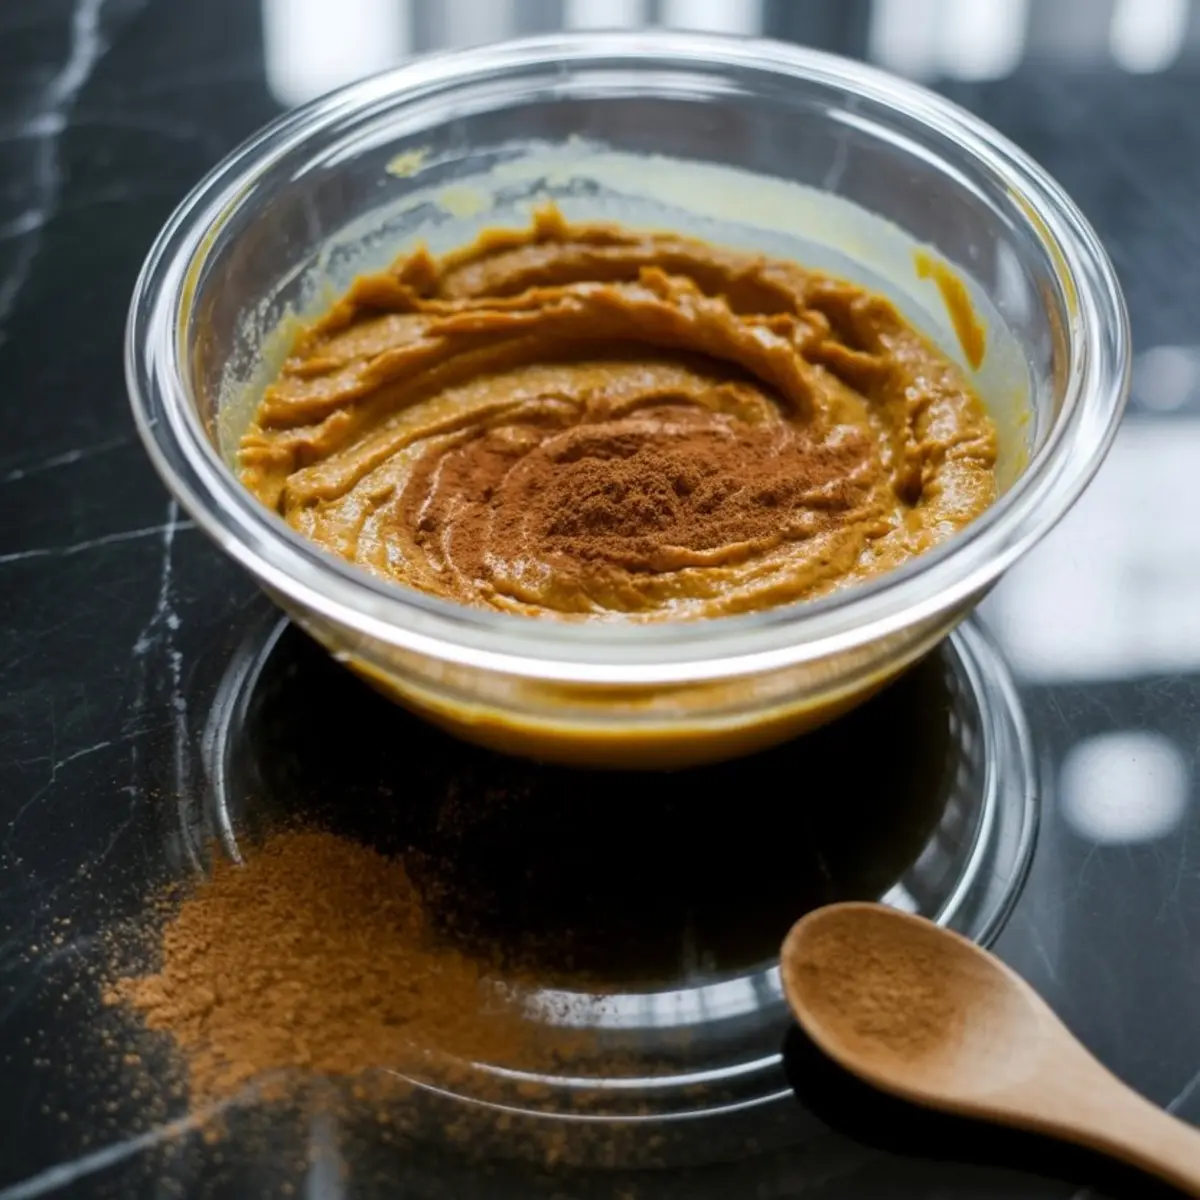
Add vanilla, cinnamon, ginger, and a pinch of nutmeg. This spice mix leans gentle rather than bold. It should support the pumpkin, not mask it. I’ve seen people double the cinnamon. Resist that urge. Trust the mix as written.
I’ve used this same ratio in keto pumpkin cheesecake and was surprised by how well it carried even without sugar.
The Egg Step That Changes Everything
Here’s where patience enters. Add the eggs one at a time. Blend gently. Not quickly, not thoroughly. Just enough to mix. If you whip them too hard, air sneaks in. Air gives you puff, then cracks.
In my Pin Notebook, I wrote, “Treat the eggs like guests at the door. Let them in quietly.” That note has kept my cheesecakes smooth ever since.
The batter should look silky but not frothy. Pour it over the cooled crusts and tap the pan gently to settle. A few bubbles will rise and pop. That’s what you want. A level surface bakes more evenly.
Baking and Cooling for Smooth, Crack-Free Cheesecakes
The oven stays at 325°F. Keep it steady. Don’t peek early. Bake just until the centers hold a slight wobble. Overbaking is the silent mistake.
Now here’s the part most people skip: turn the oven off, crack the door, and let them rest inside. This step prevents a harsh temperature shock. It’s the difference between a cheesecake that splits and one that holds.
After 30 minutes, move the tray to the counter. Let it cool fully. Then chill. A minimum of two hours, but overnight is best. Cold firms the texture and deepens the flavor. These are fall cheesecake recipes that reward waiting.
A Helpful Comparison: Brown Sugar vs White Sugar in Pumpkin Filling
I’ve tested both sugars in this base. White sugar gives you sweetness, but not much else. Brown sugar adds caramel tones and a bit of moisture.
In my notes, the white sugar versions tasted flatter. The brown sugar version, which is what you’ll find in this recipe, holds up better after chilling. It pairs more naturally with the gingersnap crust. If you’re thinking of swapping, don’t. The filling relies on that depth.
The same holds true for pumpkin oatmeal cookies. The brown sugar makes a difference in structure and warmth.
The Flavor Shift: My Secret Ingredient Revealed
Remember the hint from earlier? The quiet trick that smooths everything out? It’s the nutmeg.
Just a whisper of it. An eighth of a teaspoon. Not much, but it pulls the cinnamon and ginger together without stealing the spotlight. Without it, the flavor tastes separate, like ingredients in a row. With it, everything blends.
I’ve made the mistake of leaving it out. The result felt incomplete. The texture was fine, but the taste lacked finish. Nutmeg, in small measure, completes the story.
How to Serve and Store These Mini Fall Desserts
You’ll notice these are sturdy enough to travel. I pack them in shallow containers with parchment between the layers. They freeze well for up to a month, though they rarely last that long.
For serving, I like them plain. No whipped cream, no topping. But if you want a contrast, a tiny dollop of sour cream or crème fraîche cuts the sweetness. Just a thought.
They’ve made their way into my Thanksgiving table next to pumpkin cheesecake, and they always go first. Guests feel less guilty taking one. Then they take another.
Save This and Tell Me How Yours Turned Out
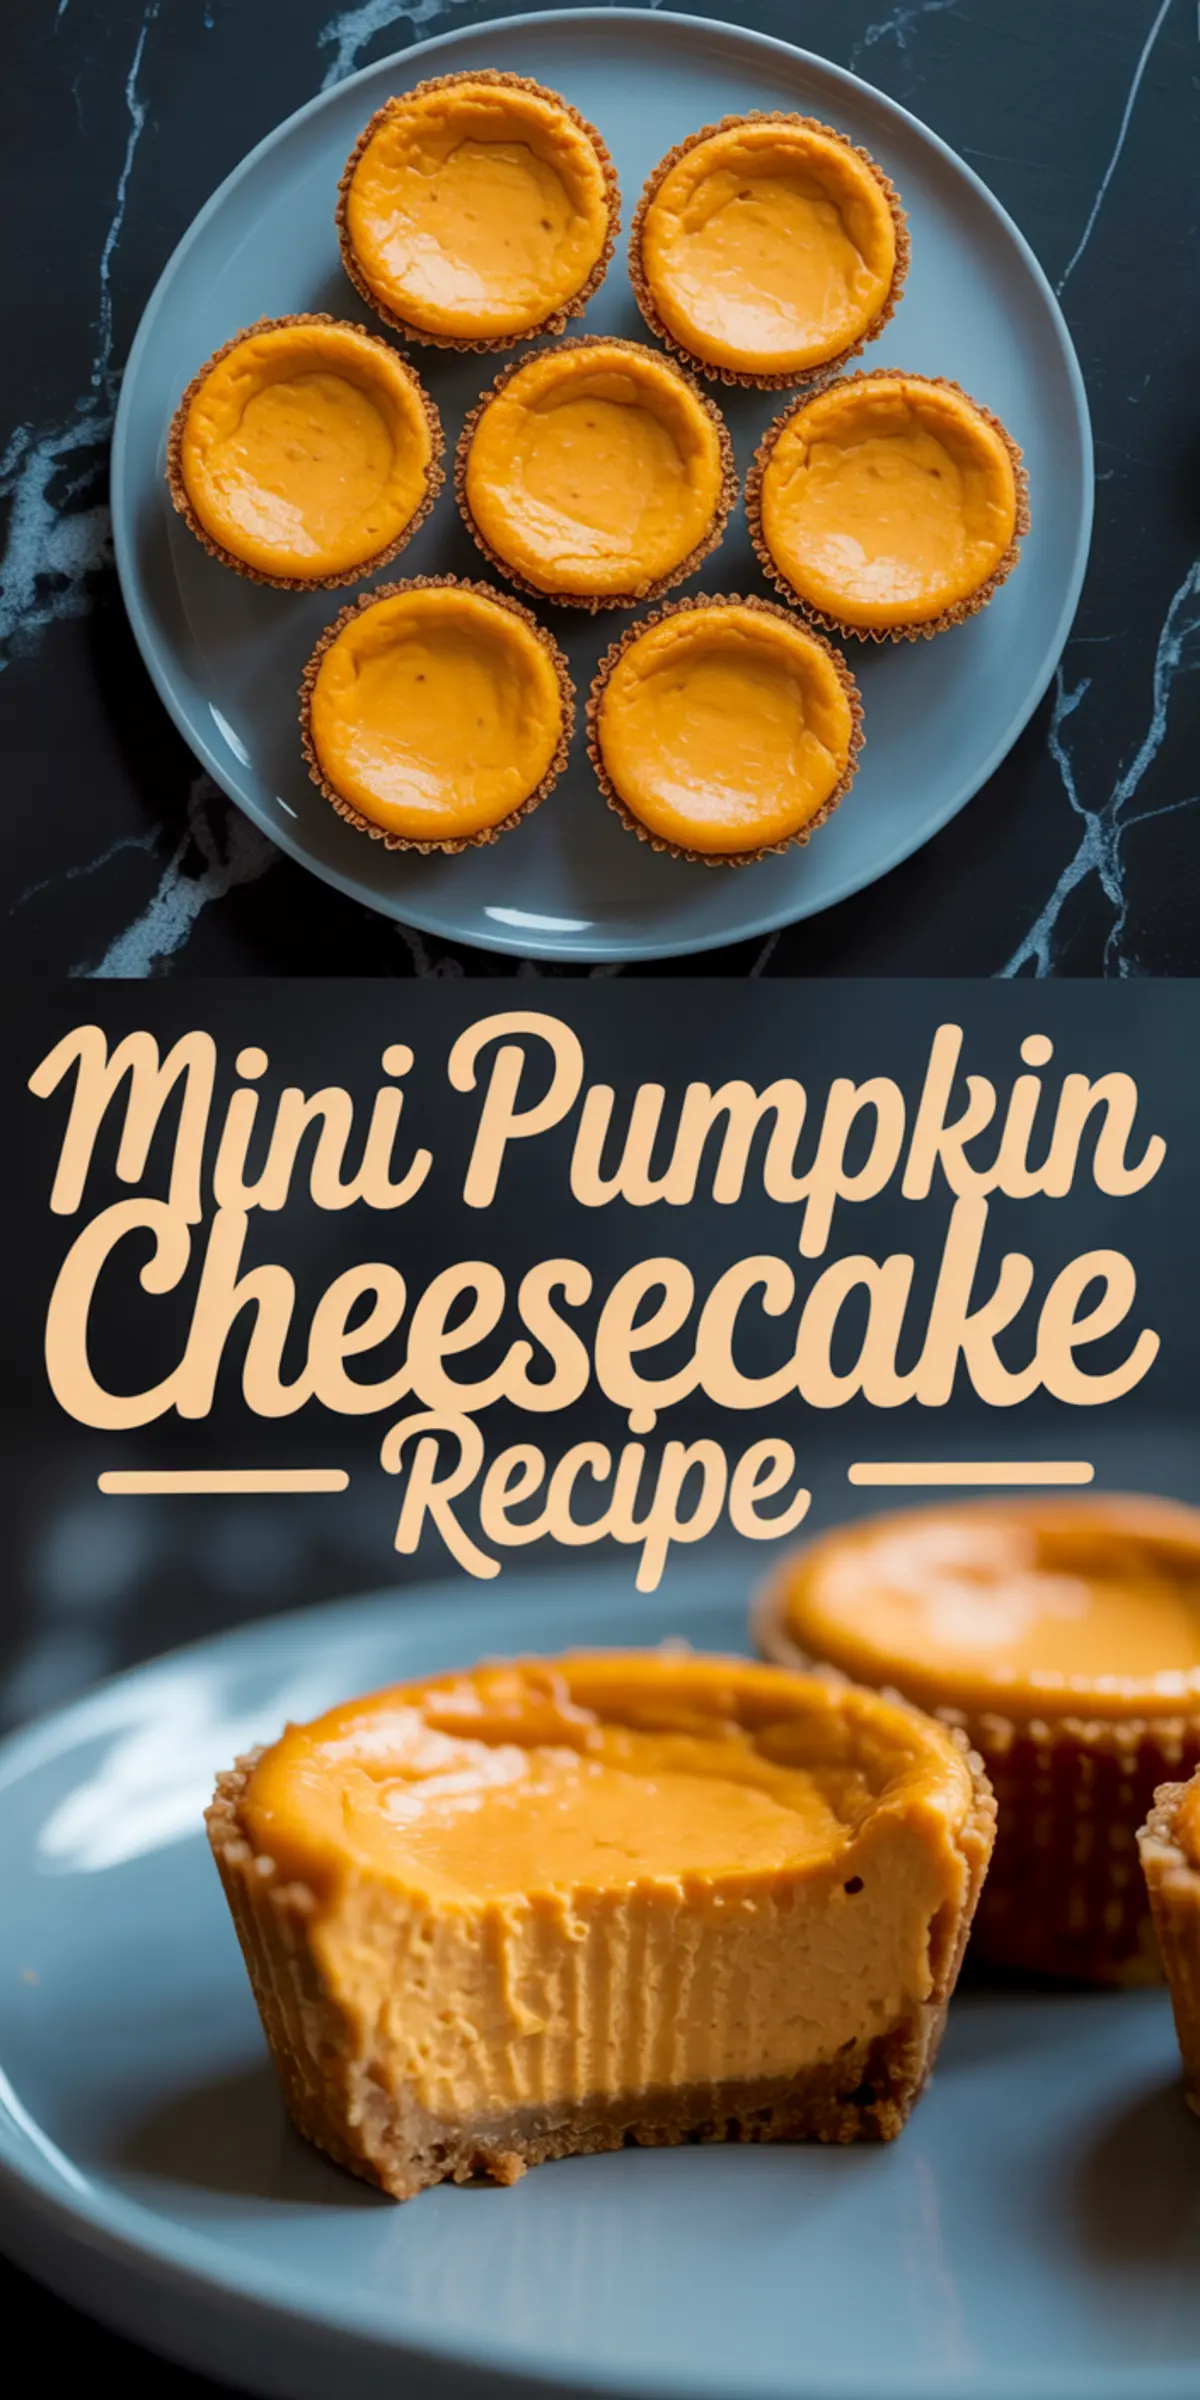
If this easy pumpkin cheesecake recipe finds its way into your fall table, I’d love to know. Did you chill overnight? Did your crust hold?
Tell me in the comments how yours turned out. Or share if you’ve added your own twist. That’s how recipes live on. Pin this now so you don’t lose it during the busy baking weeks ahead. These belong on your mini fall desserts board.
Mini Pumpkin Cheesecake Recipe
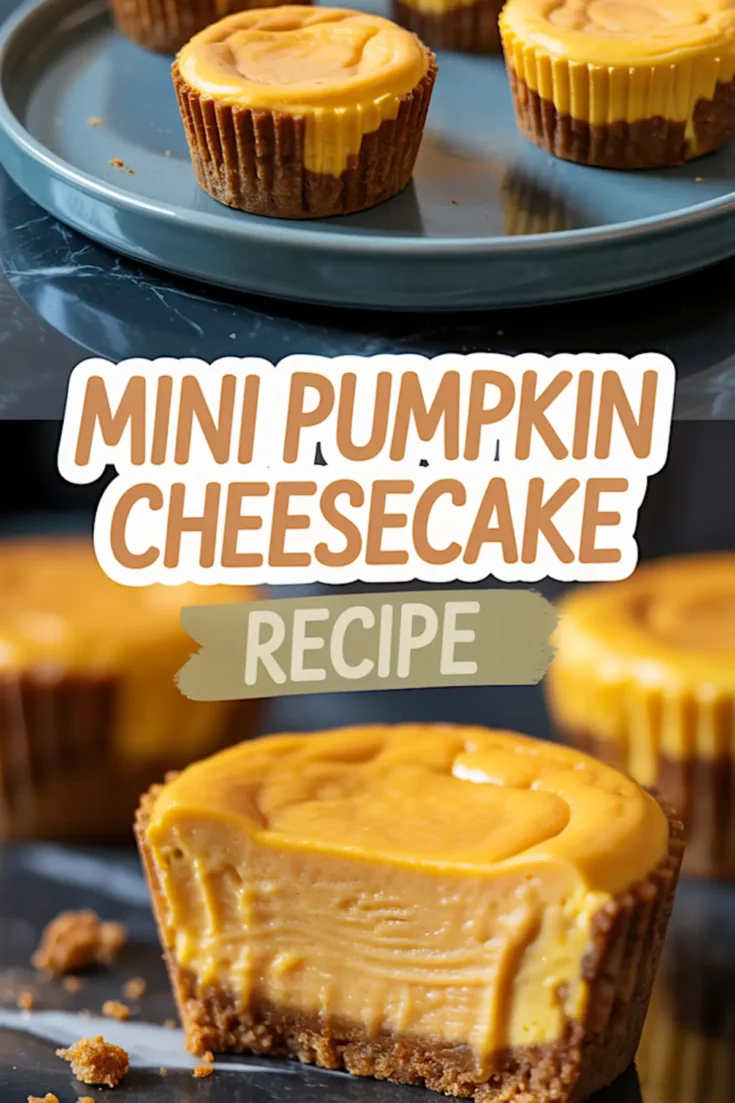
Mini pumpkin cheesecakes combine smooth cream cheese and spiced pumpkin puree in a handheld dessert. A gingersnap crust adds texture and flavor to each bite. These cheesecakes set up with a creamy consistency and mellow flavor after chilling. They're baked in muffin tins for easy serving and portion control.
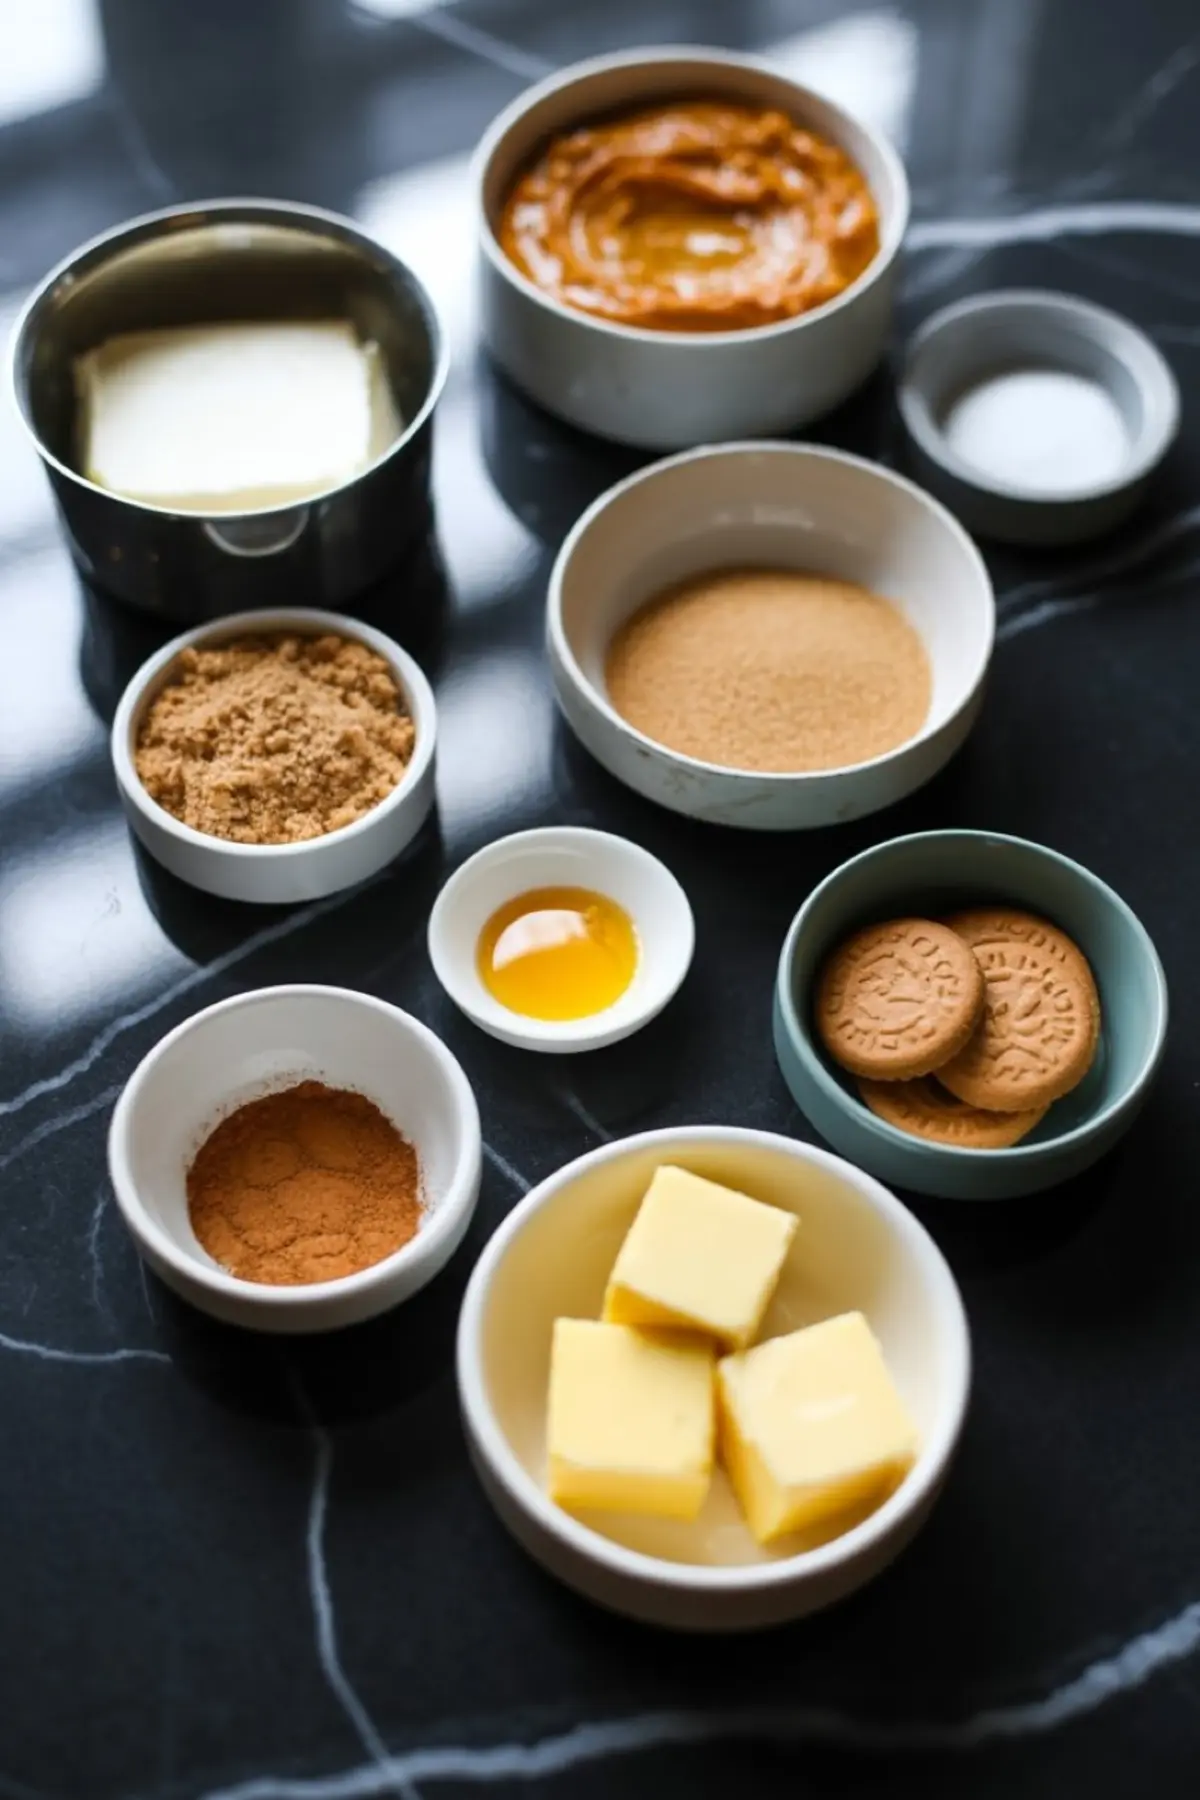
Ingredients
- FOR THE CRUST
- 1 ½ cups crushed gingersnap cookies
- 2 tablespoons brown sugar
- 4 tablespoons unsalted butter, melted
- FOR THE FILLING
- 16 oz cream cheese, softened
- ¾ cup brown sugar, packed
- ¾ cup canned pumpkin puree
- 1 teaspoon vanilla extract
- 1 teaspoon ground cinnamon
- ½ teaspoon ground ginger
- ⅛ teaspoon ground nutmeg
- 2 large eggs
Instructions
- PREHEAT THE OVEN AND PREPARE THE PAN: Preheat the oven to 325°F (163°C). Line a standard 12-cup muffin tin with paper liners, preferably parchment liners for easy removal.
- MAKE THE CRUST: In a bowl, combine crushed gingersnap cookies, brown sugar, and melted butter. Mix until the crumbs are evenly coated and hold together when pinched.
- FORM AND BAKE THE CRUSTS: Spoon about 1 tablespoon of the crust mixture into each liner. Press down firmly using the bottom of a small glass or spoon. Bake for 5 minutes, then remove from the oven and let cool slightly while preparing the filling.
- BEAT THE CREAM CHEESE: In a mixing bowl, beat the softened cream cheese until completely smooth with no visible lumps.
- ADD SUGAR AND PUMPKIN: Add the brown sugar and beat until incorporated. Mix in the pumpkin puree, vanilla extract, cinnamon, ginger, and nutmeg until the mixture is fully blended.
- ADD THE EGGS: Add the eggs one at a time, mixing gently after each addition until just combined. Avoid overmixing to prevent air bubbles.
- FILL THE LINERS: Spoon the filling evenly over the cooled crusts, filling each liner nearly to the top. Tap the muffin tin gently on the counter to release any air bubbles.
- BAKE THE CHEESECAKES: Bake for 18–22 minutes, or until the centers are mostly set with a slight jiggle in the middle.
- COOL IN THE OVEN: Turn off the oven and crack the door open. Let the cheesecakes cool inside for 30 minutes to prevent cracking.
- COOL COMPLETELY: Remove the muffin tin from the oven and allow the cheesecakes to cool completely on the counter.
- CHILL TO SET: Transfer the cheesecakes to the refrigerator and chill for at least 2 hours, preferably overnight, until fully set and firm.
Notes
Use room temperature ingredients for a smoother batter. To crush gingersnaps, use a food processor or place them in a sealed bag and crush with a rolling pin.
