
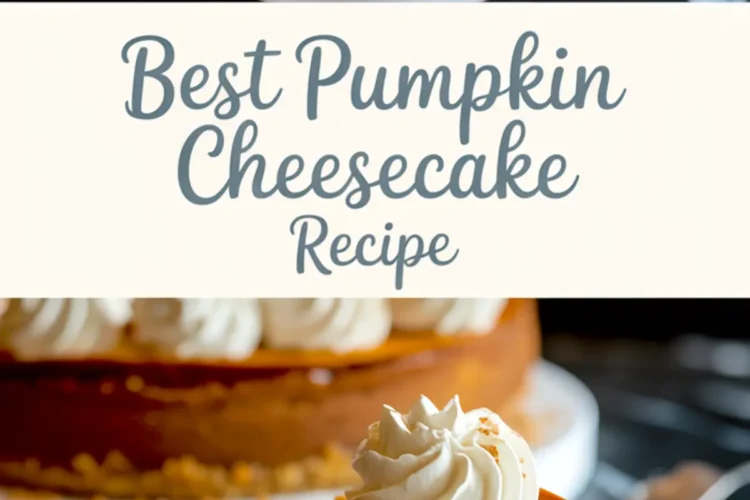
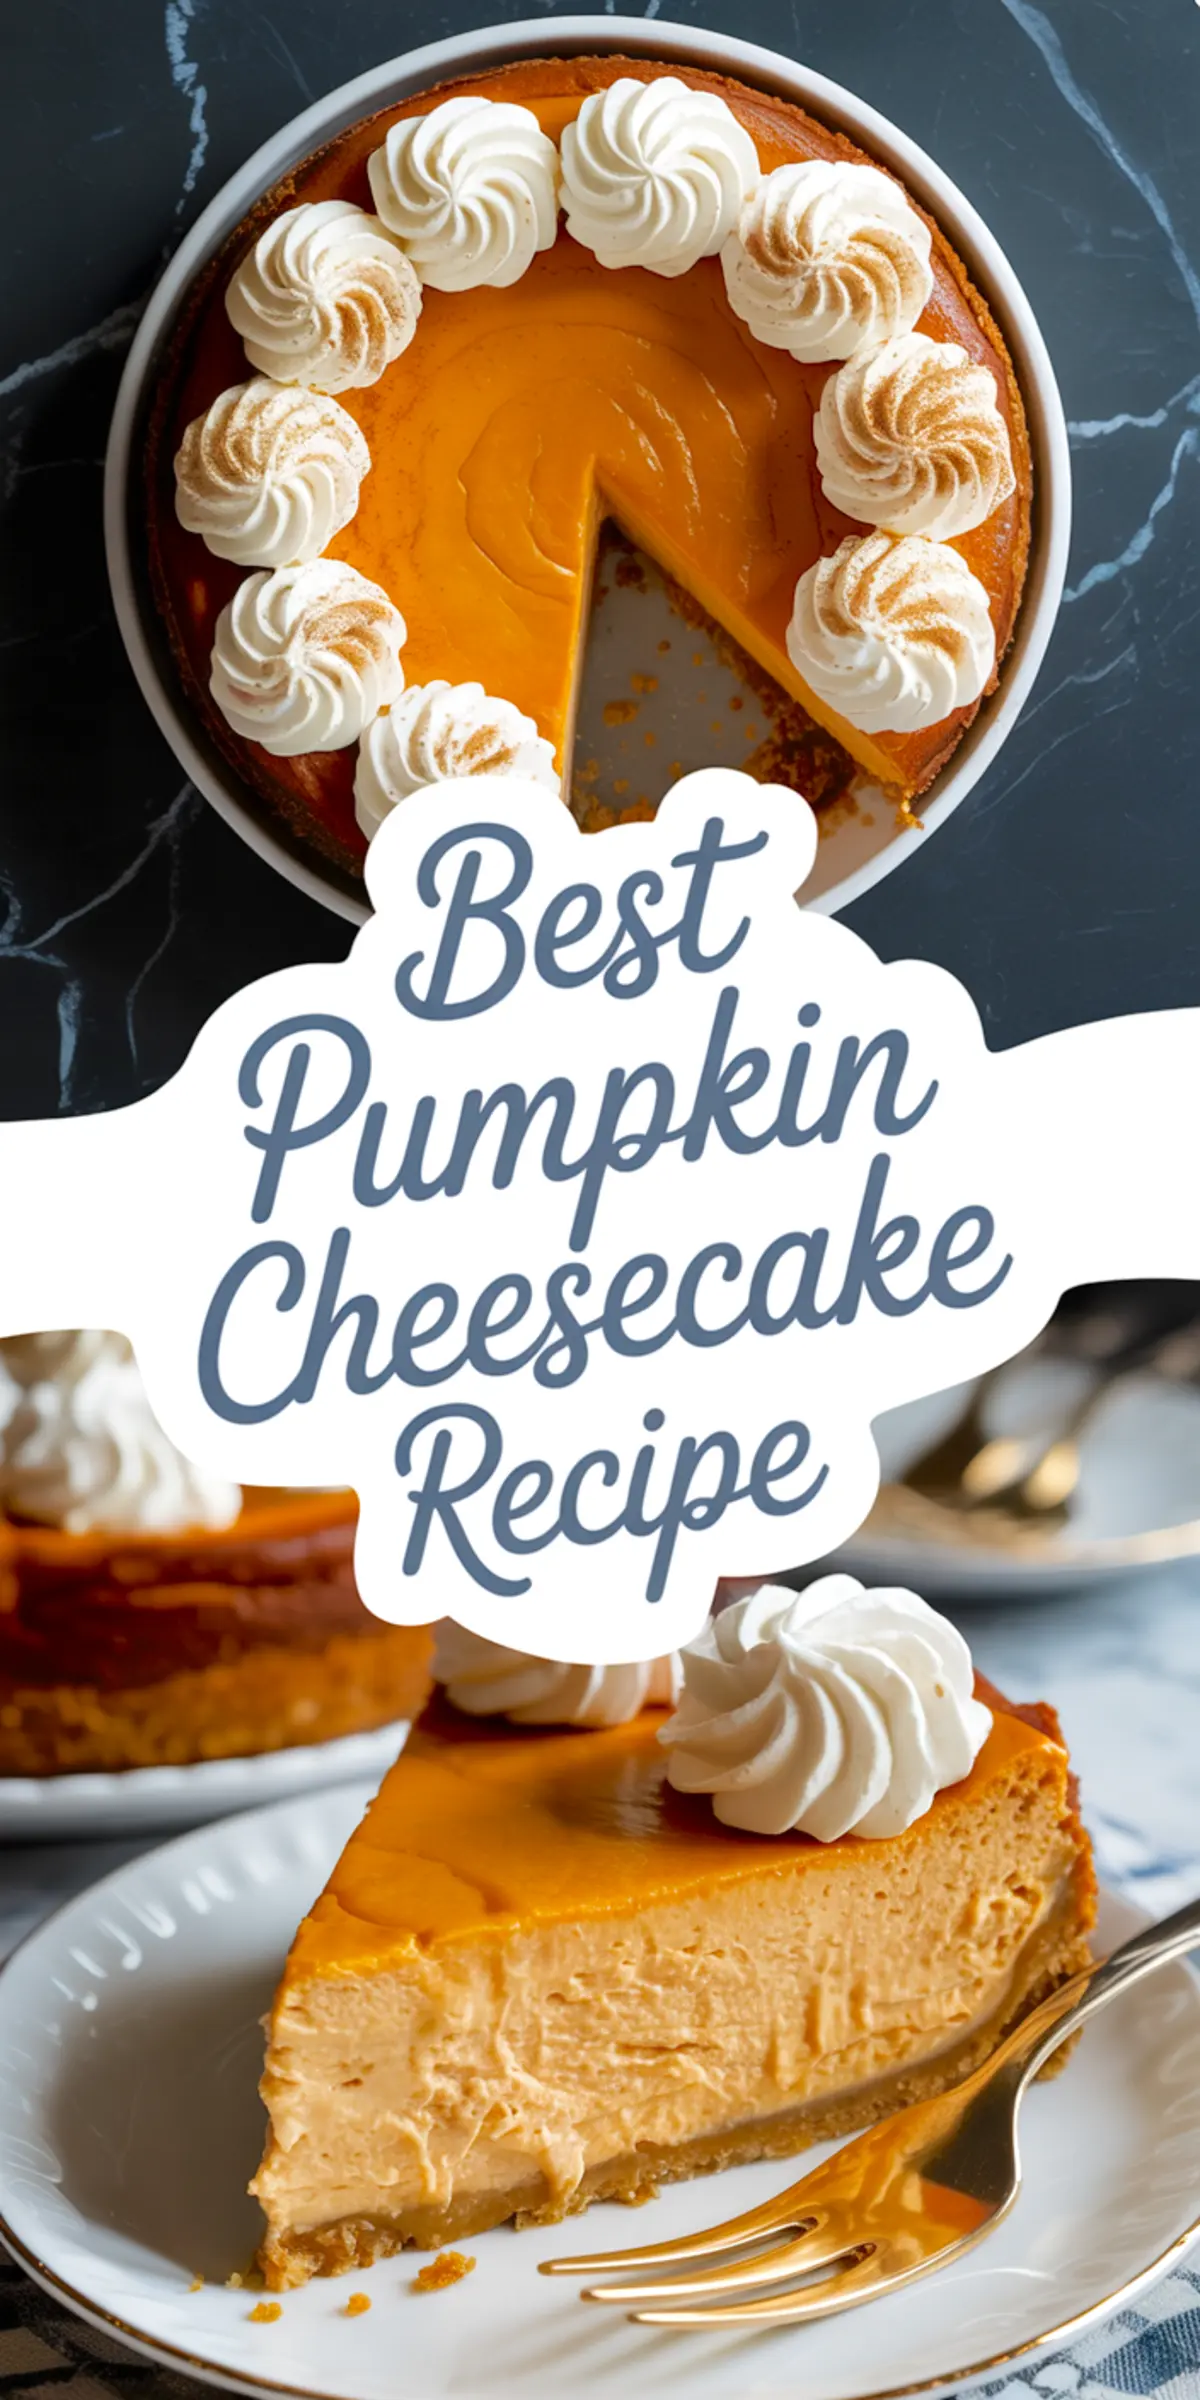
Pumpkin cheesecake doesn’t shout for attention. It sits confidently on the dessert table, sturdy and smooth, delivering rich flavor with quiet ease. This recipe walks you through a classic baked pumpkin cheesecake with a graham cracker crust, steady structure, and warm, balanced spice.
You’ll learn how to keep the texture dense but sliceable, why timing matters more than temperature, and how to avoid the most common mistakes. There’s also one small pantry ingredient in the filling that shifts the balance just right—but we’ll get to that later.
Ingredients That Build Flavor, Not Just Bulk
Full-fat cream cheese forms the base of the filling. Its structure and richness carry the pumpkin without letting it overpower. I’ve tested low-fat versions, and they fall flat—literally and figuratively. If you want clean slices and consistent flavor, full-fat is non-negotiable.
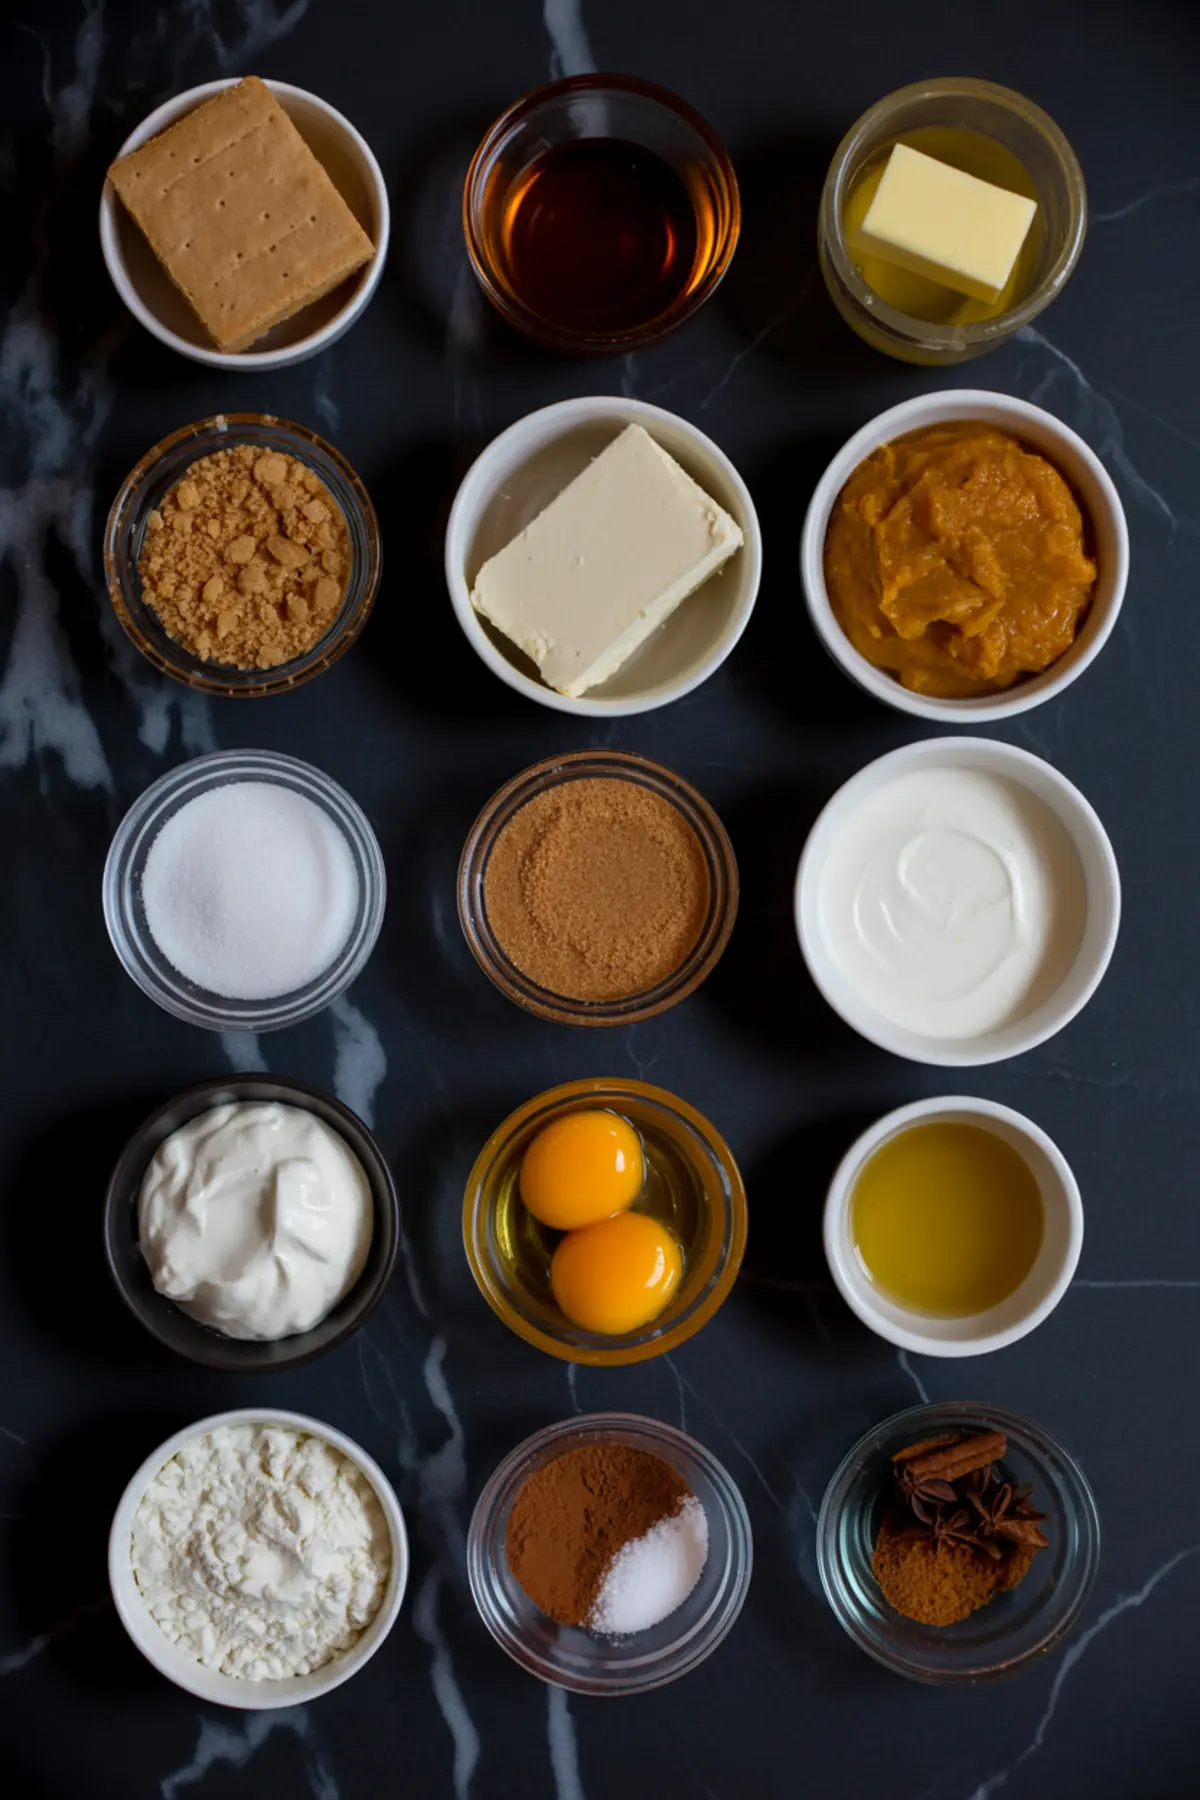
Pumpkin puree brings body and depth. I use canned pumpkin for consistency, not fresh puree. Fresh varies too much in water content. In my Pin Notebook, I’ve noted how even a tablespoon of extra moisture can cause the center to sink after cooling.
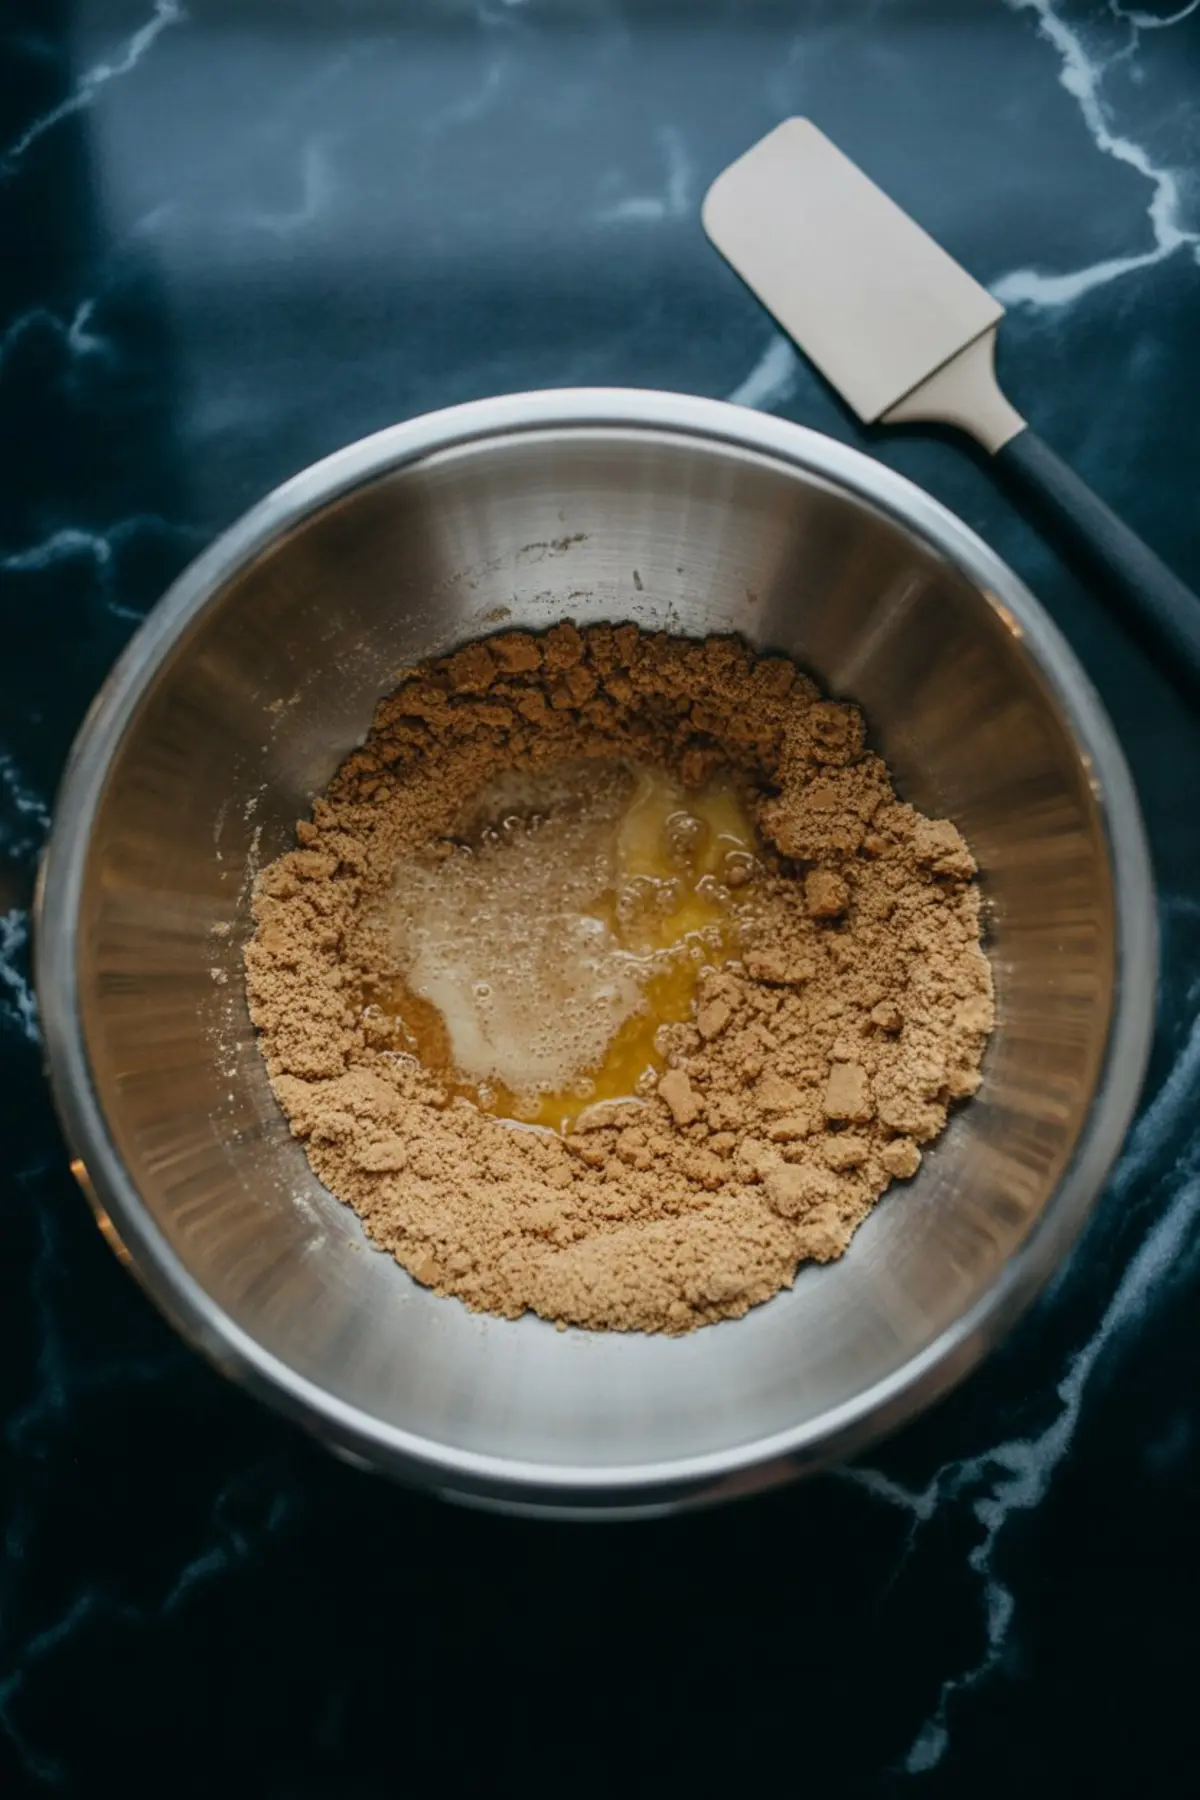
Graham cracker crumbs with just enough sugar and melted butter make up the crust. You want the mixture to clump slightly when pressed between fingers, but never feel greasy. A dry crust will pull away from the filling after chilling.
How to Bake Without Cracks or Gummy Centers
A slow bake with a water bath is essential. I’ve seen people try shortcuts, skipping the foil wrap or rushing the cooling. The result is always the same: cracked tops or dense edges with a raw middle. You need a buffer, and that buffer is steam.
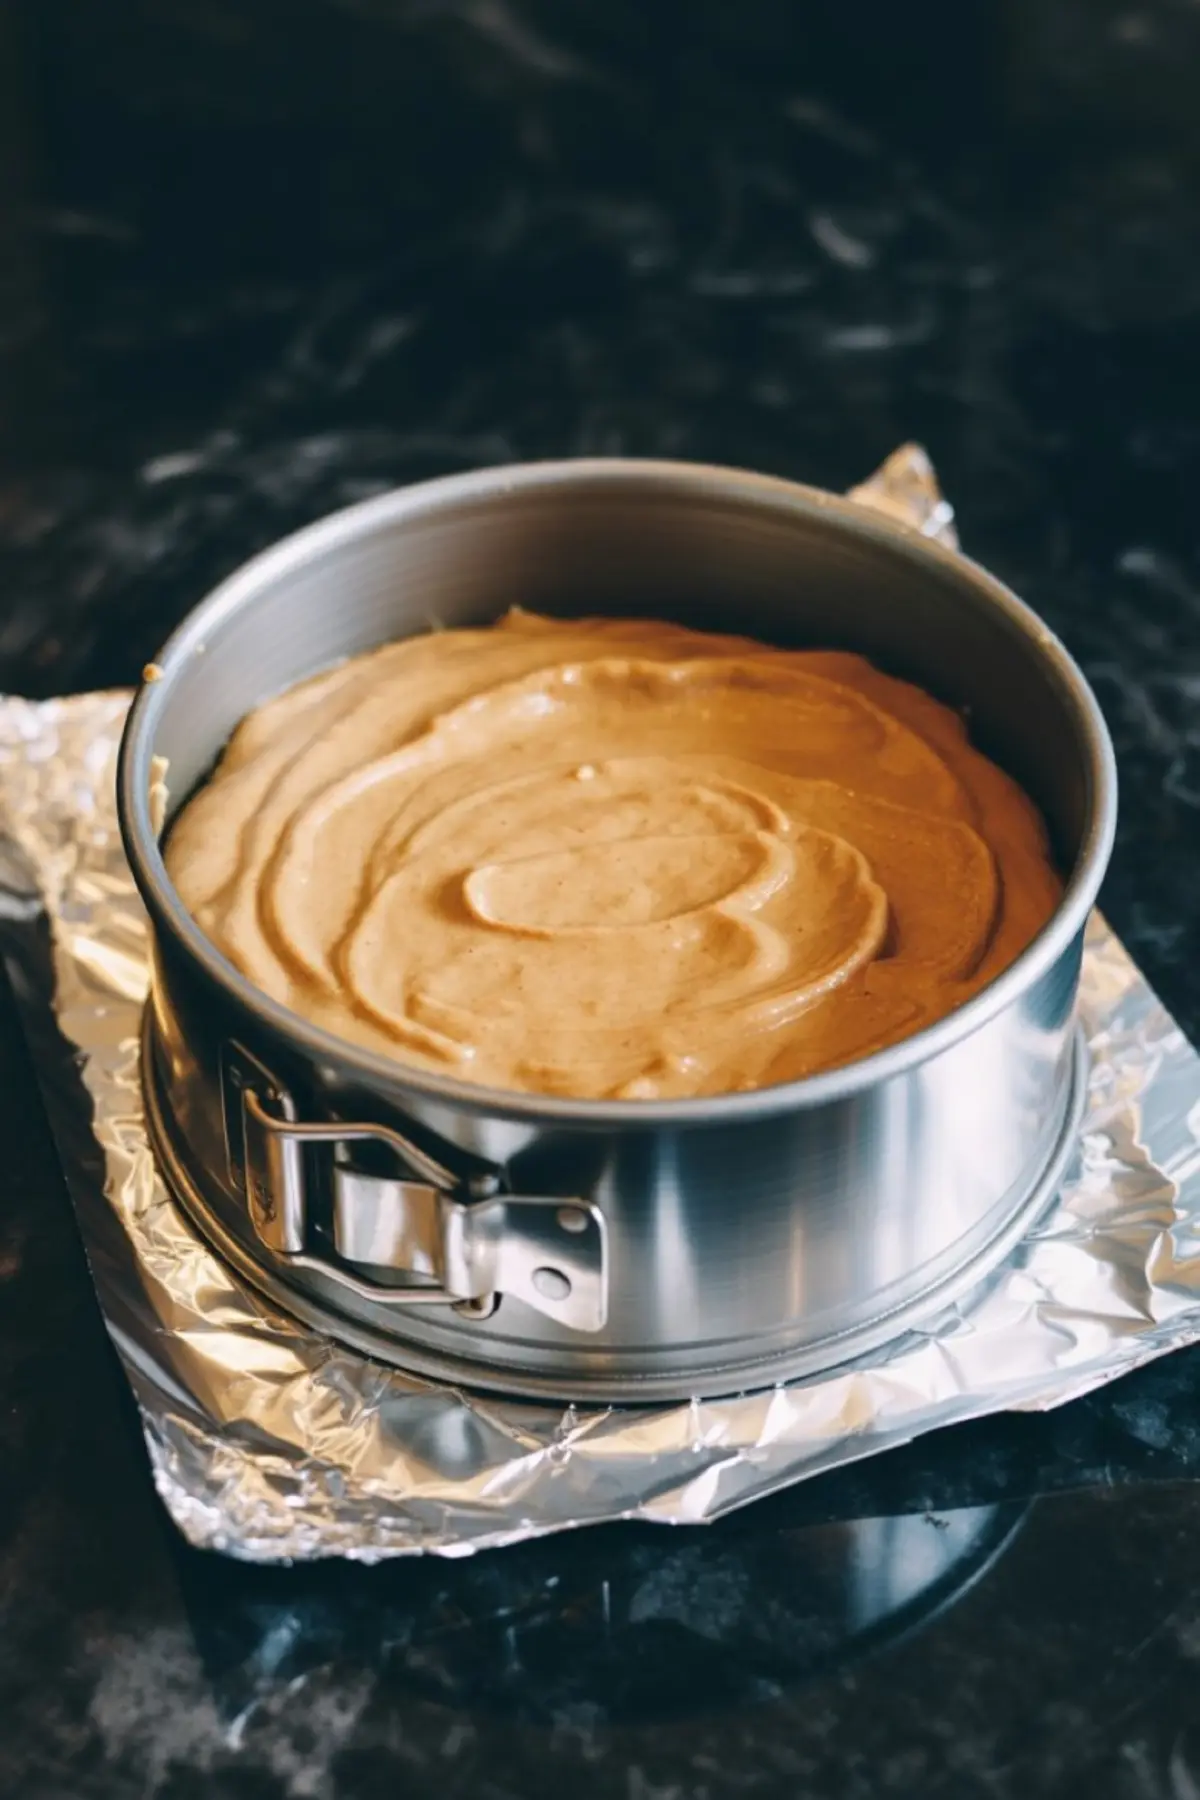
The springform pan should be tightly wrapped with heavy-duty foil. Regular foil tears too easily and leaks. If you’ve ever pulled a soggy-bottom cheesecake from the fridge, you’ll know why that matters.
Once baked, let the cheesecake cool inside the oven with the door cracked. This gradual transition helps prevent shrinkage and surface cracks. I leave mine for exactly one hour. It sets the structure before refrigeration locks in the texture.
Ingredient Comparison: Sour Cream vs. Heavy Cream
Some recipes use heavy cream for extra richness. I’ve tried both and always come back to sour cream. The tang from sour cream cuts through the sweetness and keeps the filling from feeling one-note. In blind tastings I’ve done, the sour cream version always finishes cleaner on the palate. If you want that signature cheesecake flavor that complements pumpkin instead of fighting it, sour cream wins.
Chilling and Slicing: Timing Makes All the Difference
Letting the cheesecake chill overnight transforms it. Flavors settle and deepen, while the texture becomes sliceable without being stiff. I recommend at least eight hours. Ten is even better. Cover it loosely with foil in the fridge to prevent condensation from forming on top.
For clean slices, use a thin knife dipped in hot water and wiped clean between cuts. It’s the smallest step, but it keeps the presentation sharp.
This technique also works beautifully in other variations like my Pumpkin Cheesecake Bars, which follow a similar method in a more casual, portable format.
The Dash of Magic That Changes the Balance
Now for the secret. It’s not fancy. It’s ground cloves—just a pinch. Too much and it overwhelms. Just enough, and it brings out the roasted quality in pumpkin, giving the filling a finish that feels full, not flat. I once left it out by accident and instantly noticed the drop in complexity. Now I measure it carefully with the edge of a butter knife, never guessing.
This same balance of spice works beautifully in deeper, darker versions like Pumpkin Basque Cheesecake where the caramelized top brings a new layer of depth.
Serving Suggestions and Storage Tips
Serve chilled with a dollop of whipped cream if you like contrast, but it stands just fine on its own. If you have leftovers, wrap slices in parchment and store them in an airtight container. They hold for up to four days without texture loss. Freezing works too, but I prefer keeping it chilled for the cleanest finish.
You can also fold this base recipe into mini formats like Pumpkin Swirl Cheesecake cupcakes or Thanksgiving-style Pumpkin Pie Cheesecake trifles for individual servings.
Save This for Your Fall Baking Plans
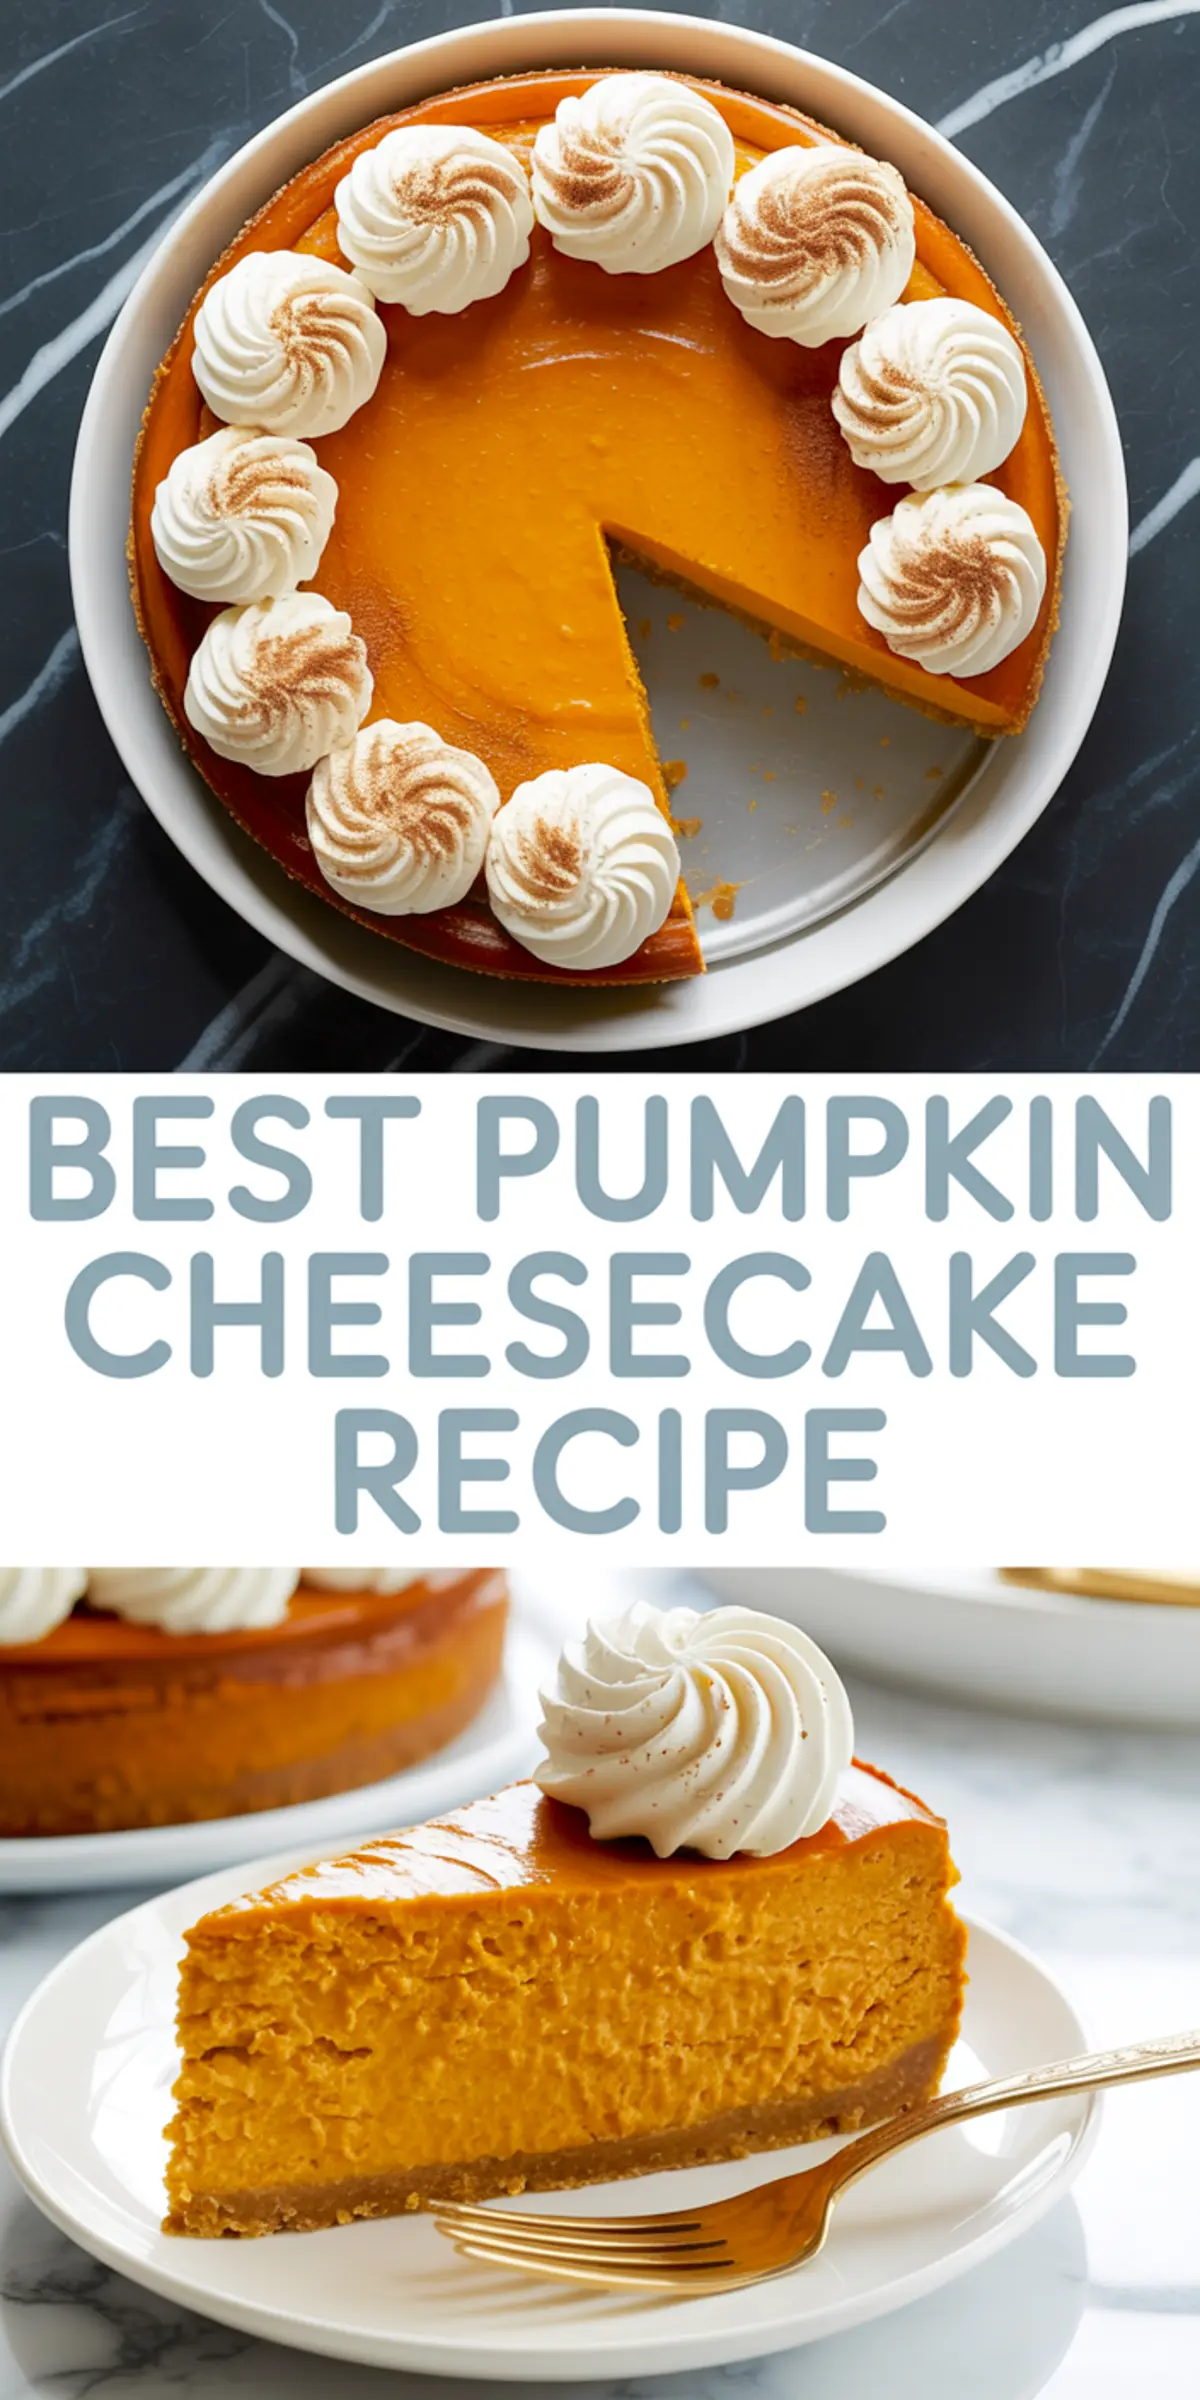
If you’re planning your fall desserts or looking for a reliable Thanksgiving cheesecake, this one deserves a spot on your list. Pin it now so you don’t lose track later.
Have a question or a variation you’ve tried? Share in the comments—I always check and love hearing how others make it their own.
Pumpkin Cheesecake Recipe
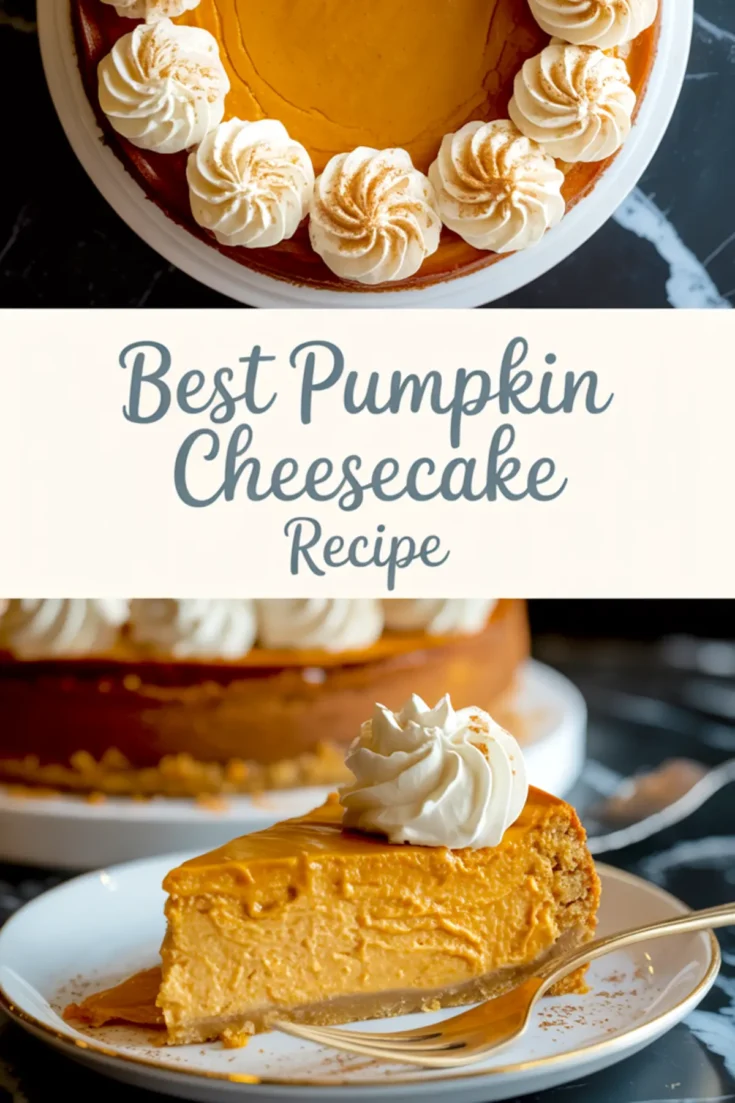
Rich, creamy pumpkin cheesecake with warm spices and a buttery graham cracker crust. The filling is smooth with a gentle tang from cream cheese and a subtle sweetness that balances the pumpkin perfectly. Chilling overnight allows the flavors to fully develop, resulting in a smooth, sliceable cheesecake.
Ingredients
- FOR THE CRUST
- 1 3/4 cups graham cracker crumbs
- 3 tablespoons granulated sugar
- 5 tablespoons unsalted butter, melted
- FOR THE FILLING
- 24 ounces full-fat cream cheese, softened
- 1 cup granulated sugar
- 1 cup canned pumpkin puree
- 1/3 cup sour cream, room temperature
- 3 large eggs, room temperature
- 1 teaspoon pure vanilla extract
- 1 teaspoon ground cinnamon
- 1/2 teaspoon ground ginger
- 1/4 teaspoon ground nutmeg
- 1/8 teaspoon ground cloves
Instructions
PREPARE THE CRUST: Crush the graham crackers into fine crumbs using a food processor or by placing them in a zip-top bag and rolling with a rolling pin. Combine the crumbs with sugar and melted butter, stirring until evenly moistened. Press the mixture firmly and evenly into the bottom of a 9-inch springform pan, using the bottom of a measuring cup to smooth and compact it.
BAKE THE CRUST: Preheat the oven to 325°F (163°C). Bake the crust for 10 minutes. Remove from the oven and allow it to cool while preparing the filling.
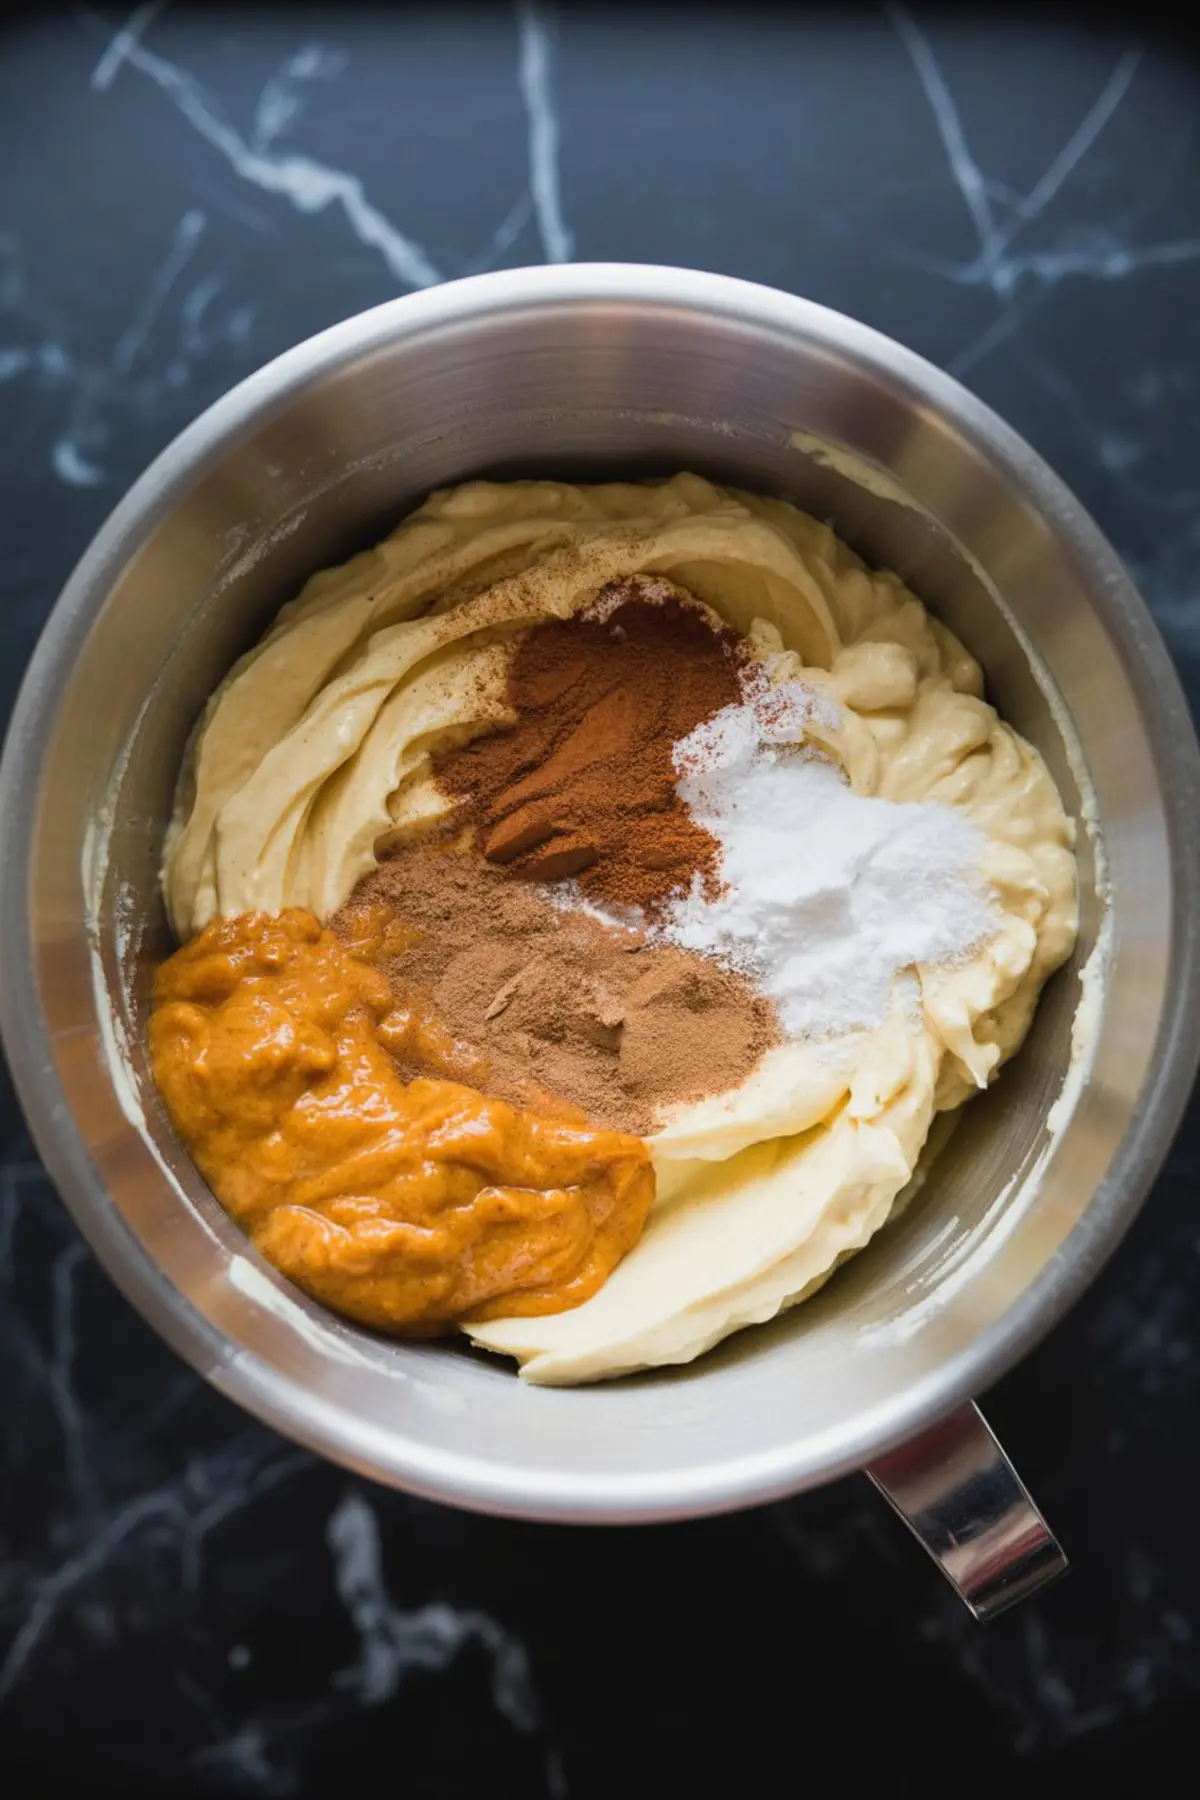
MAKE THE FILLING: Ensure all filling ingredients are at room temperature. In a large mixing bowl, beat the softened cream cheese with sugar until smooth and creamy. Add the pumpkin puree and sour cream, mixing until fully incorporated. Add the eggs one at a time, mixing gently after each addition to avoid incorporating excess air. Stir in the vanilla extract, cinnamon, ginger, nutmeg, and cloves until the mixture is smooth.
ASSEMBLE THE CHEESECAKE: Pour the filling over the cooled crust, spreading it evenly. Gently tap the pan on the counter to release any trapped air bubbles.
PREPARE THE WATER BATH: Wrap the exterior of the springform pan with heavy-duty aluminum foil to prevent leaks. Place the pan inside a larger roasting pan and carefully pour hot water into the outer pan until it reaches halfway up the sides of the springform pan.
BAKE THE CHEESECAKE: Bake at 325°F (163°C) for 60 to 70 minutes, or until the edges are set but the center still jiggles slightly when gently shaken.
COOL THE CHEESECAKE: Turn off the oven and crack the oven door open. Let the cheesecake cool in the oven for 1 hour to prevent cracking.
CHILL THE CHEESECAKE: After cooling, transfer the cheesecake to the refrigerator and chill for 8 to 12 hours before serving to allow the flavors to develop and the texture to firm.
Notes
Use full-fat cream cheese for the best texture. Ensure all ingredients are at room temperature to achieve a smooth filling. Avoid overmixing after adding the eggs to prevent incorporating too much air, which can cause cracks.
Nutrition Information:
Yield:
12Serving Size:
1Amount Per Serving: Calories: 410Total Fat: 28gSaturated Fat: 16gTrans Fat: 0gUnsaturated Fat: 9gCholesterol: 120mgSodium: 256mgCarbohydrates: 35gFiber: 1gSugar: 26gProtein: 6g
