
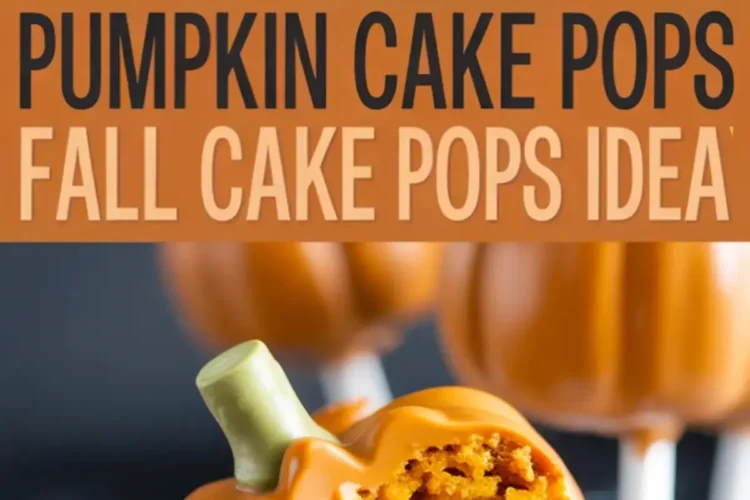
Fall desserts hold a special kind of magic, don’t they? You can smell it before you even open the oven door. Cinnamon. Nutmeg. A hint of cloves. The kind of warmth that doesn’t come from heat, but from memory.
These Pumpkin Cake Pops tap straight into that feeling. Not just because they’re cute or seasonal. But because they bring everything you love about spiced pumpkin cake, moist crumb, subtle sweetness, that deep orange color into one small, satisfying bite you can hold by a stick.
You’ll learn exactly how to make them from scratch, shape them right, coat them clean, and finish with a clever little stem that pulls the whole illusion together.
They’re part dessert, part project. And somewhere in that combination is the joy. A little hidden detail adds something unexpected too. I’ll share that twist further down, but let’s just say the inside is softer than you think.
And the dough? It’s smoother than most cake pops you’ve tried.

How to Make Moist Pumpkin Cake for Cake Pops
This isn’t a shortcut recipe using store-bought mix. The flavor here starts from the base, where pumpkin puree does more than just color the cake. it brings a rich texture that stays moist even after baking and crumbling.
I’ve found that combining granulated and brown sugar creates better depth. White sugar alone gives you sweetness. Brown sugar gives you softness. And you need both to balance the spices.
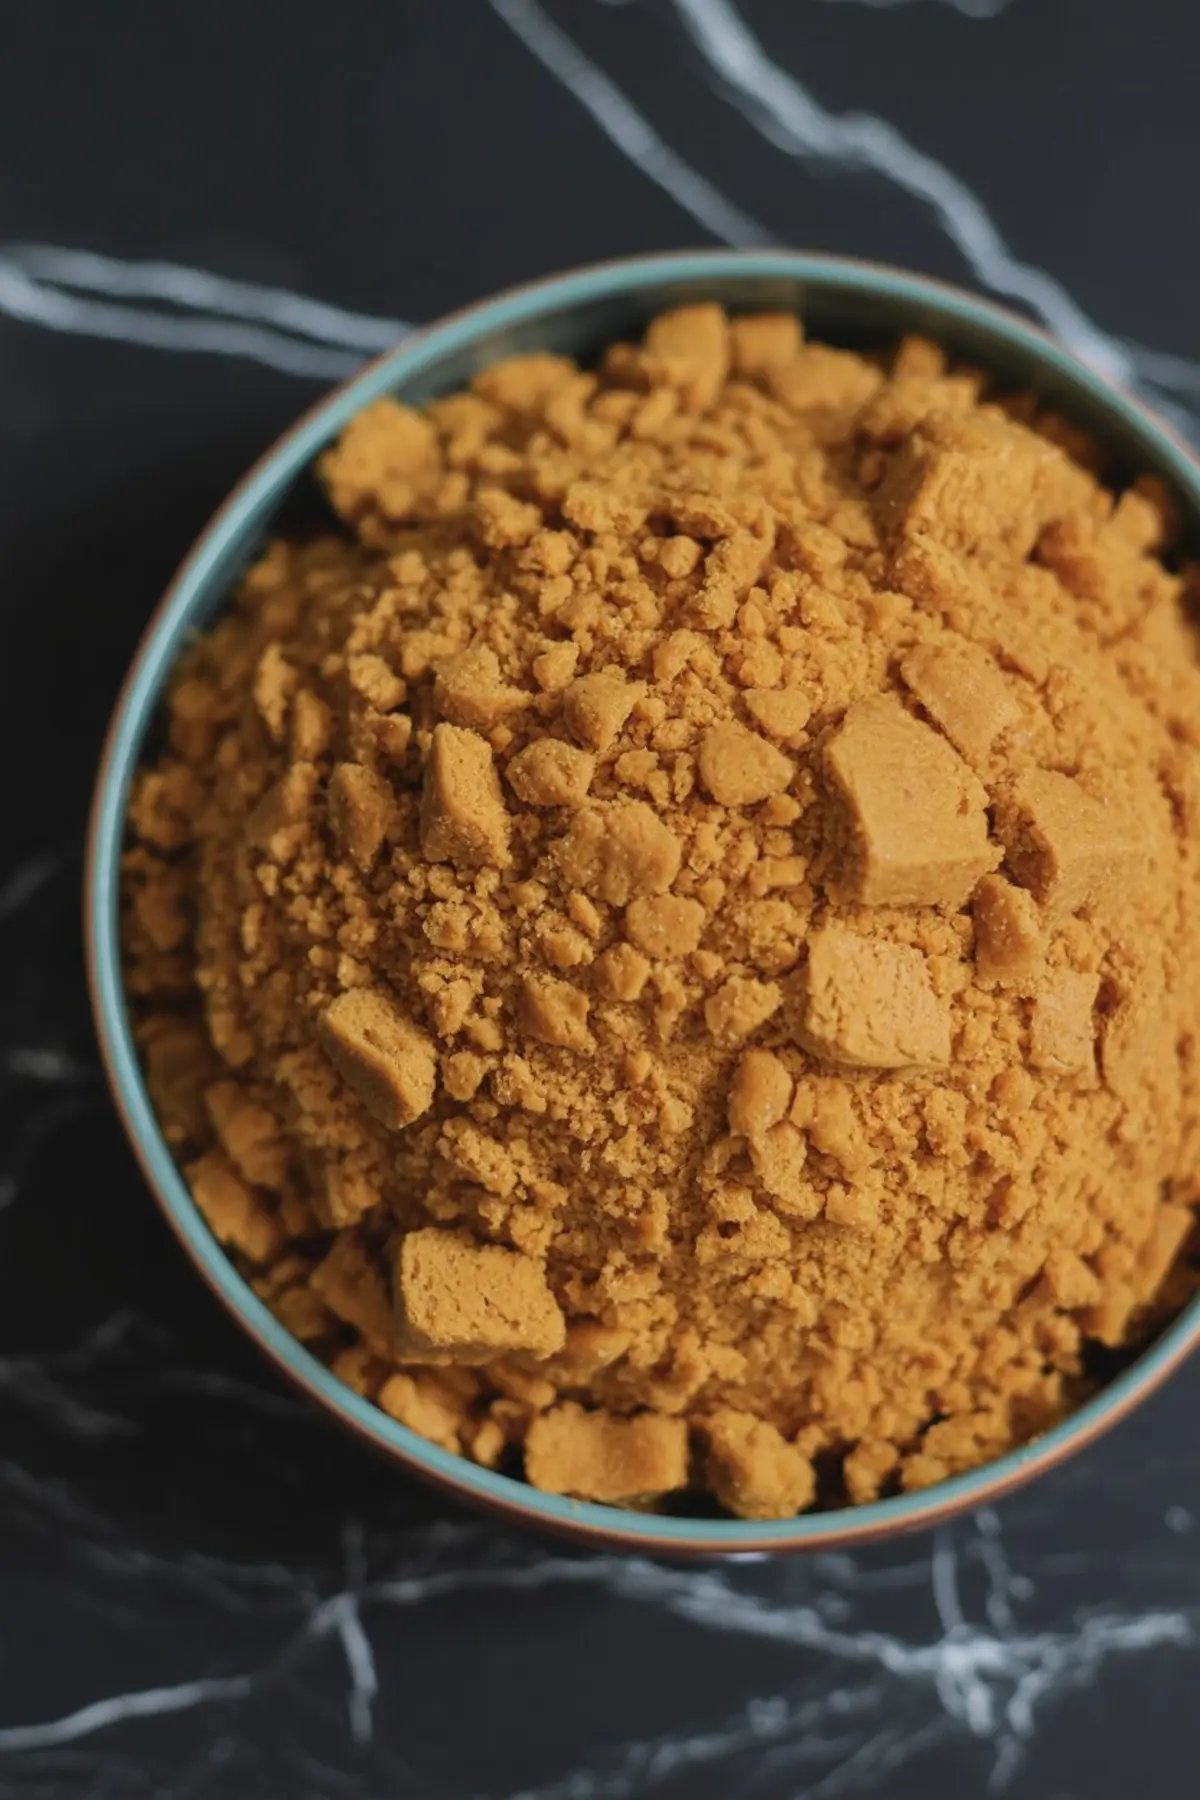
For oil, stick with vegetable or canola. Butter adds flavor, but it firms up too much when chilled and makes the dough crack when shaping later. I’ve tested both. My notes say: “butter makes it tasty, but stubborn.” For this recipe, oil wins.
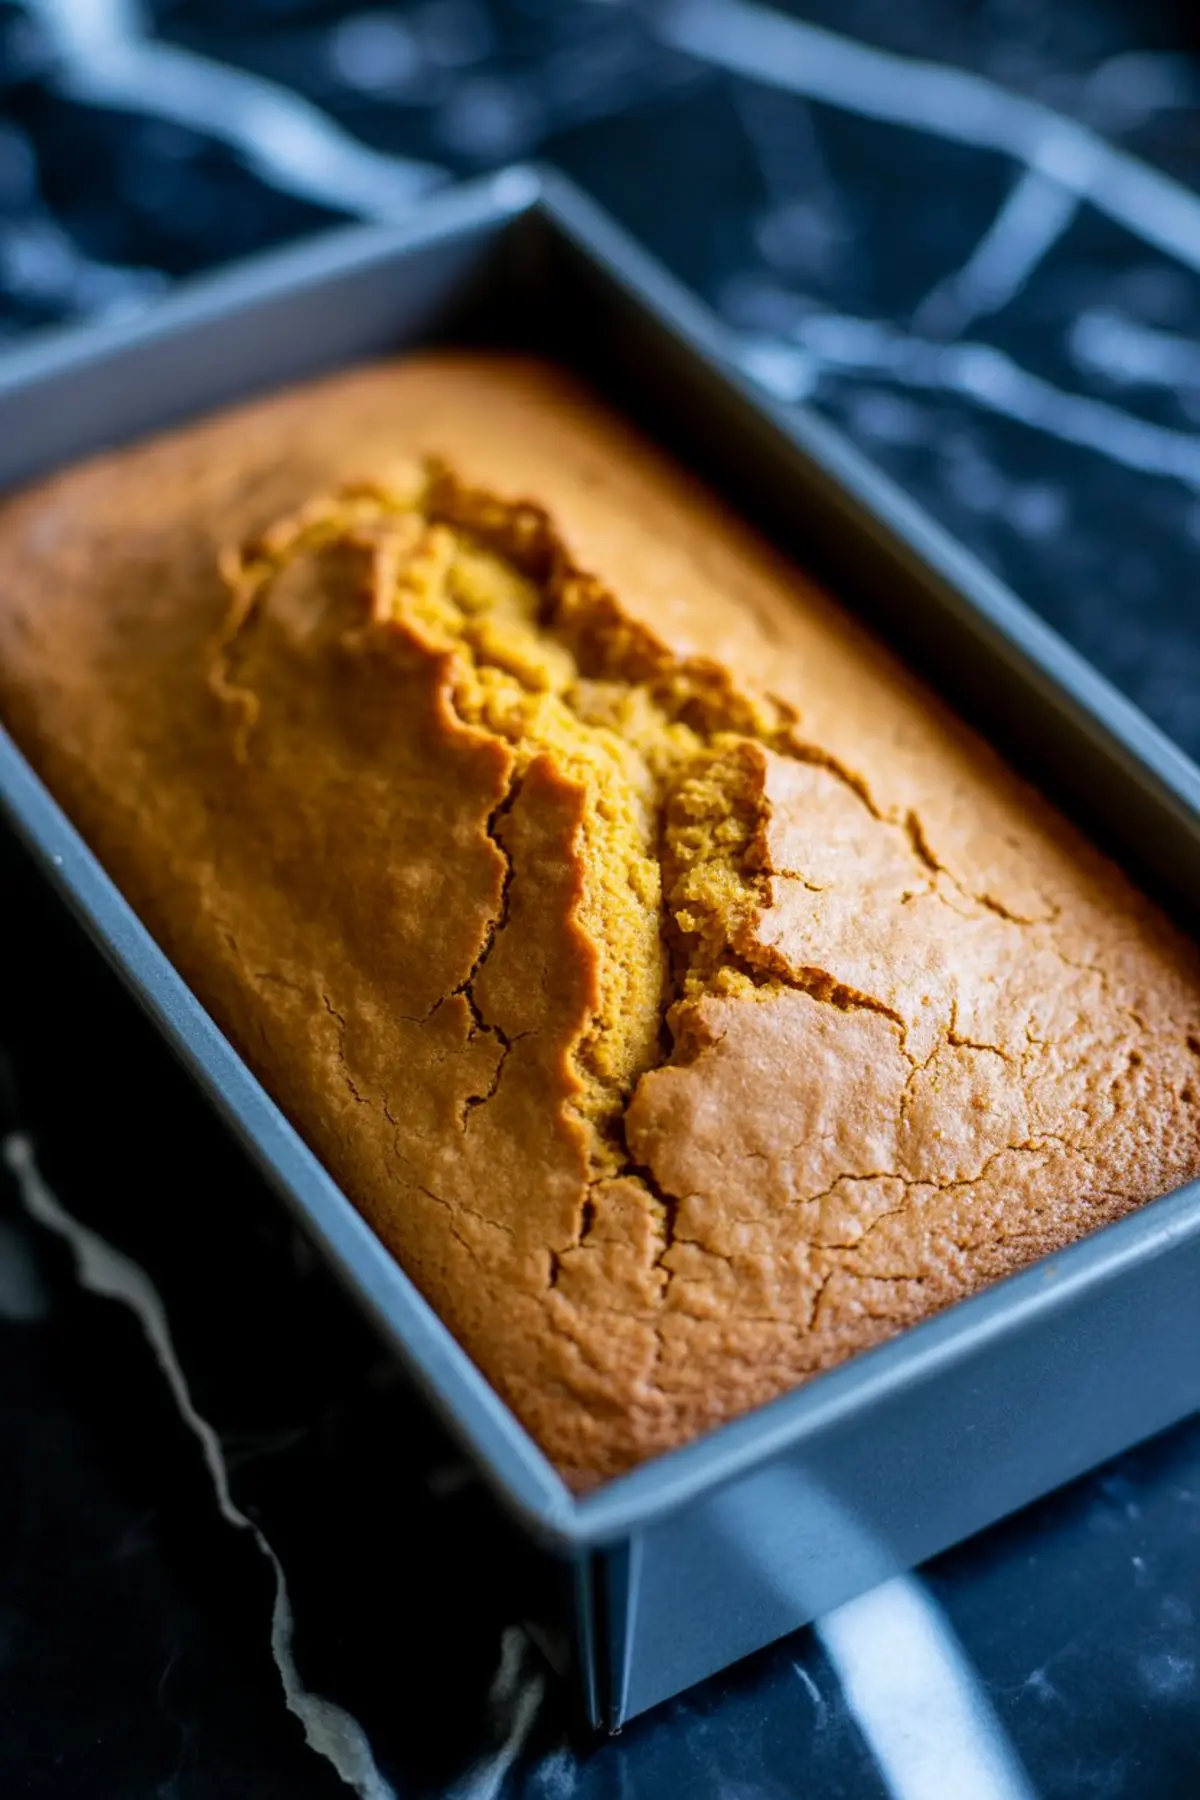
The eggs bind everything and also help the cake bake evenly. You’ll notice a very smooth batter once you combine the wet and dry ingredients. It’s quick, but don’t rush it. Stir until the flour disappears, then stop.
You’ll bake this in a 9×13-inch pan at 350°F. Let it cool fully. That’s non-negotiable if you want smooth cake pop dough later. Warm cake crumbles unevenly and sticks to your hands.
Want another Halloween treat to go with these? Try these halloween finger cookies for a spooky contrast on your table.
How to Shape and Prep the Pumpkin Cake Pop Dough
Once the cake cools, the texture will already feel right light, but firm enough to crumble into fine sand. You can do this by hand, or with a stand mixer. Either works. The trick is to keep the texture consistent.
Now for the key decision point: frosting. I use cream cheese frosting for its flavor, but too much makes the dough sticky. Add a spoonful at a time. You’ll want a dough that holds its shape when pressed but doesn’t leave any residue on your fingers.
This step is where patience pays off. Roll each ball between your palms until it’s smooth. Then flatten the top and bottom gently to mimic a squat pumpkin.
Use a toothpick to press vertical lines down the sides. Don’t try for symmetry. Real pumpkins are irregular and so should yours be. This detail makes them more charming than any mold could.
Need more fun Halloween dessert recipes? These halloween brownies go great with cake pops and have a similar make-ahead vibe.
Candy Coating Tips for Halloween Cake Pops
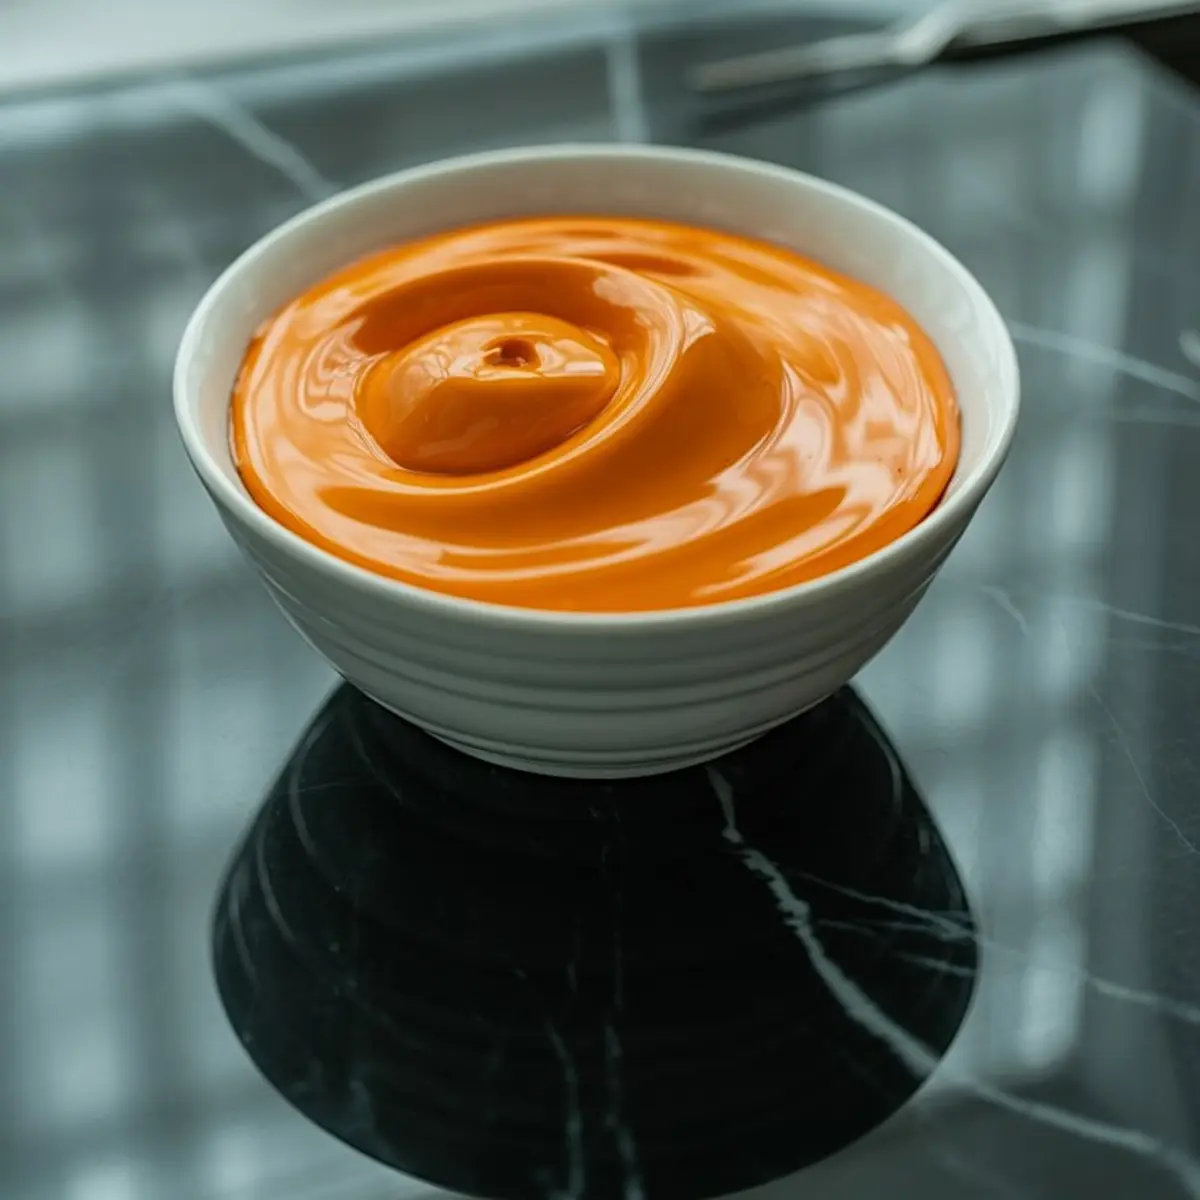
This is where things can go sideways if you’re not careful. Melting candy melts is more delicate than it looks. I melt mine in 30-second bursts, stirring each time. If it seizes, add a teaspoon of vegetable oil and stir slowly.
Before dipping, chill your shaped pumpkin balls for about 30 minutes. This helps them stay on the stick and hold their shape.
Dip the tip of each lollipop stick into melted coating first, then insert it into each ball. This acts like glue once it sets.
Then dip the full pop into the melted orange candy. Gently turn and coat. Tap off the excess against the side of the bowl. Too much coating causes drips. Too little won’t cover the details. The rhythm of the dip makes all the difference.
Want a no-bake option for Halloween that’s just as fun? These halloween dirt cups are great for kids to help with and don’t require any oven time.
Decorate the Cake Pops to Look Like Mini Pumpkins
Before the coating sets, press a small piece of green candy onto the top for a stem. I use softened green Tootsie Rolls, shaped by hand. Candy clay or green licorice also works.
Once decorated, stand them upright in a foam block or a mug filled with sugar. This lets the coating dry smoothly without any flat spots.
You can store them in an airtight container at room temperature for up to 3 days, or refrigerate for longer. I find the texture best on day two, when the coating firms and the center settles just enough.
Looking for more fall-themed mini desserts? These mini pumpkin cheesecakes are another make-ahead favorite that deliver great texture and flavor in a bite-sized form.
The Secret Ingredient That Changes the Texture
You might have guessed the cake is soft. But what makes it truly satisfying is the texture of the dough after you mix in the frosting.
That’s where the secret comes in. A touch of extra pumpkin puree, just a tablespoon or two, added right before shaping, gives the center a smoother finish. You won’t find this step in most Halloween cake pops recipes, but it gives these an almost truffle-like bite that melts in your mouth.
It’s subtle, but that’s the kind of detail I love adding in my Pin Notebook. One small change that makes everything feel a little more special.
I’ve used this same trick for other easy desserts, and it always gets noticed.
Final Notes and Pinterest-Friendly Tips
These pumpkin cake pops are ideal for any autumn gathering. From Halloween cake pops ideas to Thanksgiving cakepops for the dessert table, they travel well and hold up for days.
If you’re brainstorming other Fall cake pops ideas, consider using chocolate candy melts for a darker pumpkin patch theme, or mix in some crushed graham crackers for a pie-style variation. The basic dough is forgiving, so once you master the texture, the rest is easy to adapt.
You can also use this base recipe for Halloween cake pops easy formats, like pushing them into a styrofoam pumpkin as a centerpiece or wrapping them in cellophane as party favors.
Save and Share Your Cake Pop Creations

If these Pumpkin Cake Pops made your fall a little more delicious, save this post to your Thanksgiving Cakepops or Fall Cake Pops Ideas board for easy access.
Let me know in the comments how yours turned out, or if you have any tricks of your own for shaping and coating.
Your ideas always make this space better.
Pumpkin Cake Pops Recipe

Soft pumpkin spice cake combines with a touch of cream cheese frosting to create a dough that's easy to shape and decorate. Each pop is dipped in a smooth orange candy coating and topped with a green candy stem for a festive fall treat.
Ingredients
- FOR THE CAKE
- 1 ½ cups canned pumpkin puree
- 1 cup granulated sugar
- ½ cup packed light brown sugar
- ¾ cup vegetable oil
- 4 large eggs
- 2 cups all-purpose flour
- 2 teaspoons baking powder
- 1 teaspoon baking soda
- ½ teaspoon salt
- 2 teaspoons ground cinnamon
- ½ teaspoon ground nutmeg
- ¼ teaspoon ground cloves
- ¼ teaspoon ground ginger
- FOR THE CAKE POPS
- 1 batch pumpkin cake, cooled
- ½ cup cream cheese frosting
- FOR DECORATION
- Orange candy melts (about 12 oz)
- Green Tootsie Rolls or green candy clay
- Lollipop sticks
- Toothpicks
Instructions
- PREHEAT AND PREPARE: Preheat the oven to 350°F (175°C). Grease and flour a 9x13-inch baking pan to prevent sticking and ensure even baking.
- MIX WET INGREDIENTS: In a large bowl, whisk together the pumpkin puree, granulated sugar, brown sugar, vegetable oil, and eggs until smooth and fully combined.
- COMBINE DRY INGREDIENTS: In a separate bowl, whisk together the flour, baking powder, baking soda, salt, cinnamon, nutmeg, cloves, and ginger until evenly distributed.
- MAKE THE BATTER: Add the dry mixture to the wet ingredients and stir just until no dry streaks remain. Do not overmix to keep the cake tender.
- BAKE THE CAKE: Pour the batter into the prepared pan and bake for 30 to 35 minutes, or until a toothpick inserted into the center comes out clean. Let the cake cool completely before handling.
- CRUMBLE THE CAKE: Once cool, break the cake into fine crumbs using your hands or a stand mixer. The texture should resemble damp sand.
- ADD FROSTING: Mix in the cream cheese frosting, one spoonful at a time, until the mixture holds together when pressed. The dough should be moist but not sticky or wet.
- FORM THE BALLS: Roll the mixture into balls about 1 to 1.5 inches in diameter. Lightly flatten the top and bottom of each ball to start the pumpkin shape.
- CREATE PUMPKIN RIDGES: Use a toothpick to press gentle vertical lines down the sides of each ball, starting from the top center and curving downward to mimic a pumpkin’s ridges. Rotate as needed to create an even shape.
- INSERT STICKS: Melt a small amount of orange candy melts and dip the tip of each lollipop stick into the coating, then insert it halfway into each shaped ball. Chill for 30 minutes to firm up.
- COAT WITH CANDY: Melt the remaining orange candy melts in a microwave-safe bowl, heating in 30-second intervals and stirring until smooth. Dip each chilled cake pop into the coating, turning to coat evenly. Gently tap off excess.
- ADD STEMS: While the coating is still wet, press a small piece of green Tootsie Roll or candy clay onto the top of each pop to act as a stem.
- LET SET: Stand the cake pops upright in a foam block or a mug filled with sugar. Allow them to cool and harden completely before serving or packaging.
Notes
If using homemade cream cheese frosting, make sure it’s thick and not too soft to keep the dough from becoming too wet. Store finished cake pops in an airtight container at room temperature for up to 3 days or refrigerate for longer storage.
Nutrition Information:
Yield:
24Serving Size:
1Amount Per Serving: Calories: 224Total Fat: 10gSaturated Fat: 2gTrans Fat: 0gUnsaturated Fat: 8gCholesterol: 36mgSodium: 184mgCarbohydrates: 31gFiber: 1gSugar: 20gProtein: 3g
