
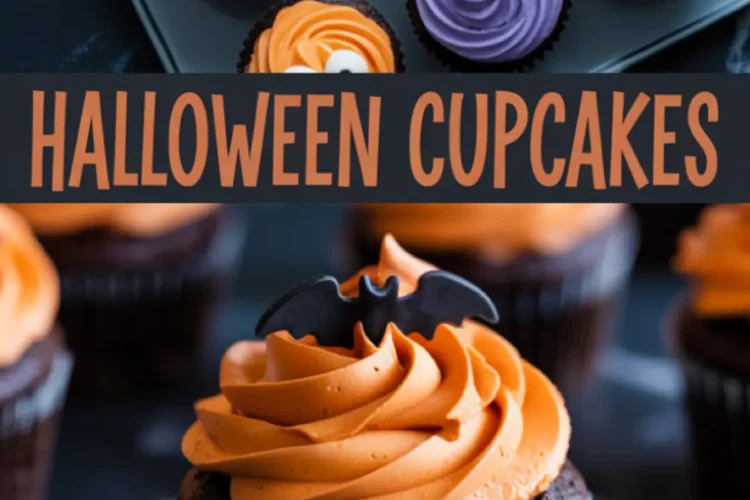
There’s something about Halloween that invites a little mischief in the kitchen. You want spooky treats that still taste like they came from a proper bakery. That’s exactly where these Halloween chocolate cupcakes come in.
You’ll learn how to make a rich, moist chocolate base and top it with buttercream swirls that scream Halloween without looking too polished. I’ve baked these with my niece every year since she could hold a spoon. There’s color, there’s chocolate, and there’s just enough chaos in the frosting to make each one feel like its own tiny monster.
You’ll also get the unexpected dash that turns the chocolate base from good to deeply satisfying. It’s in the liquid, and I’ll explain later why I always choose one version over the other. Stick with me.
Ingredients for Moist Halloween Cupcakes with Cocoa Richness
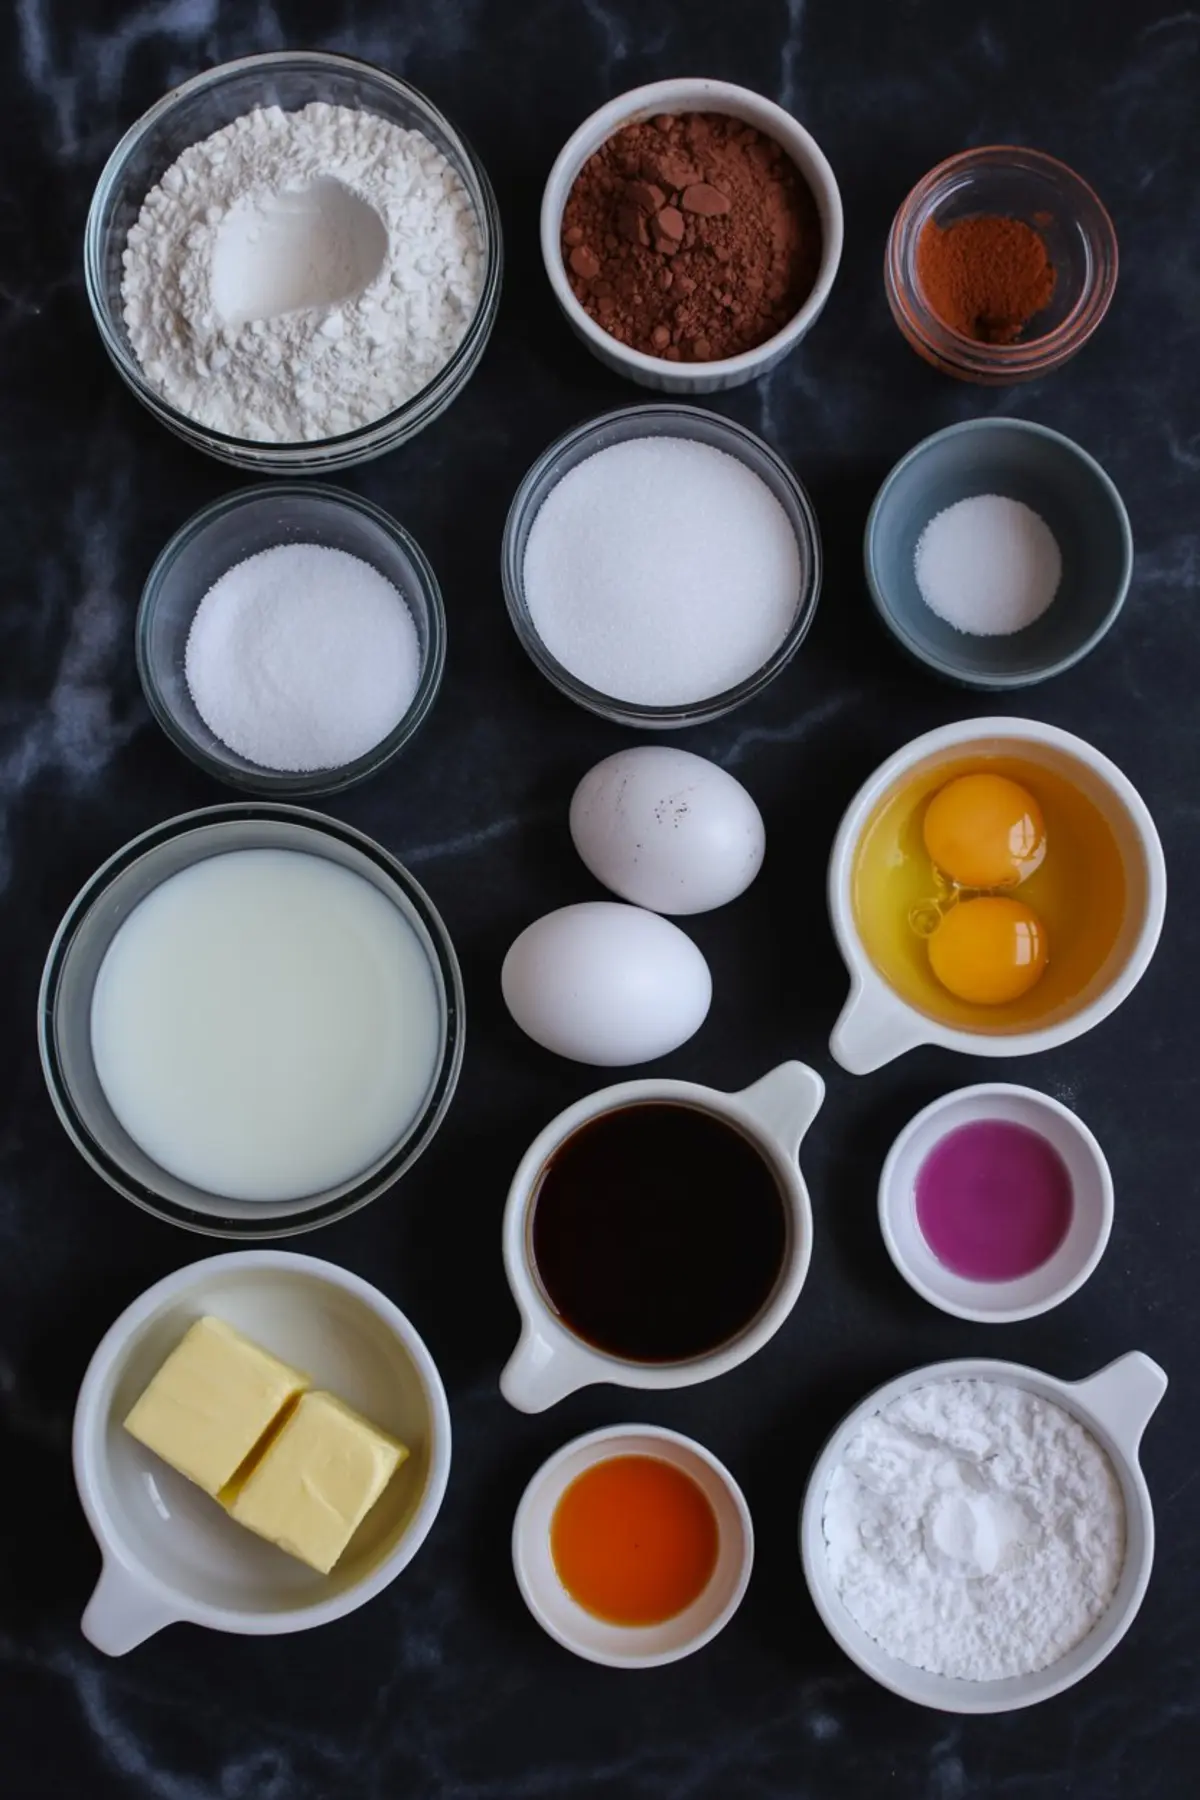
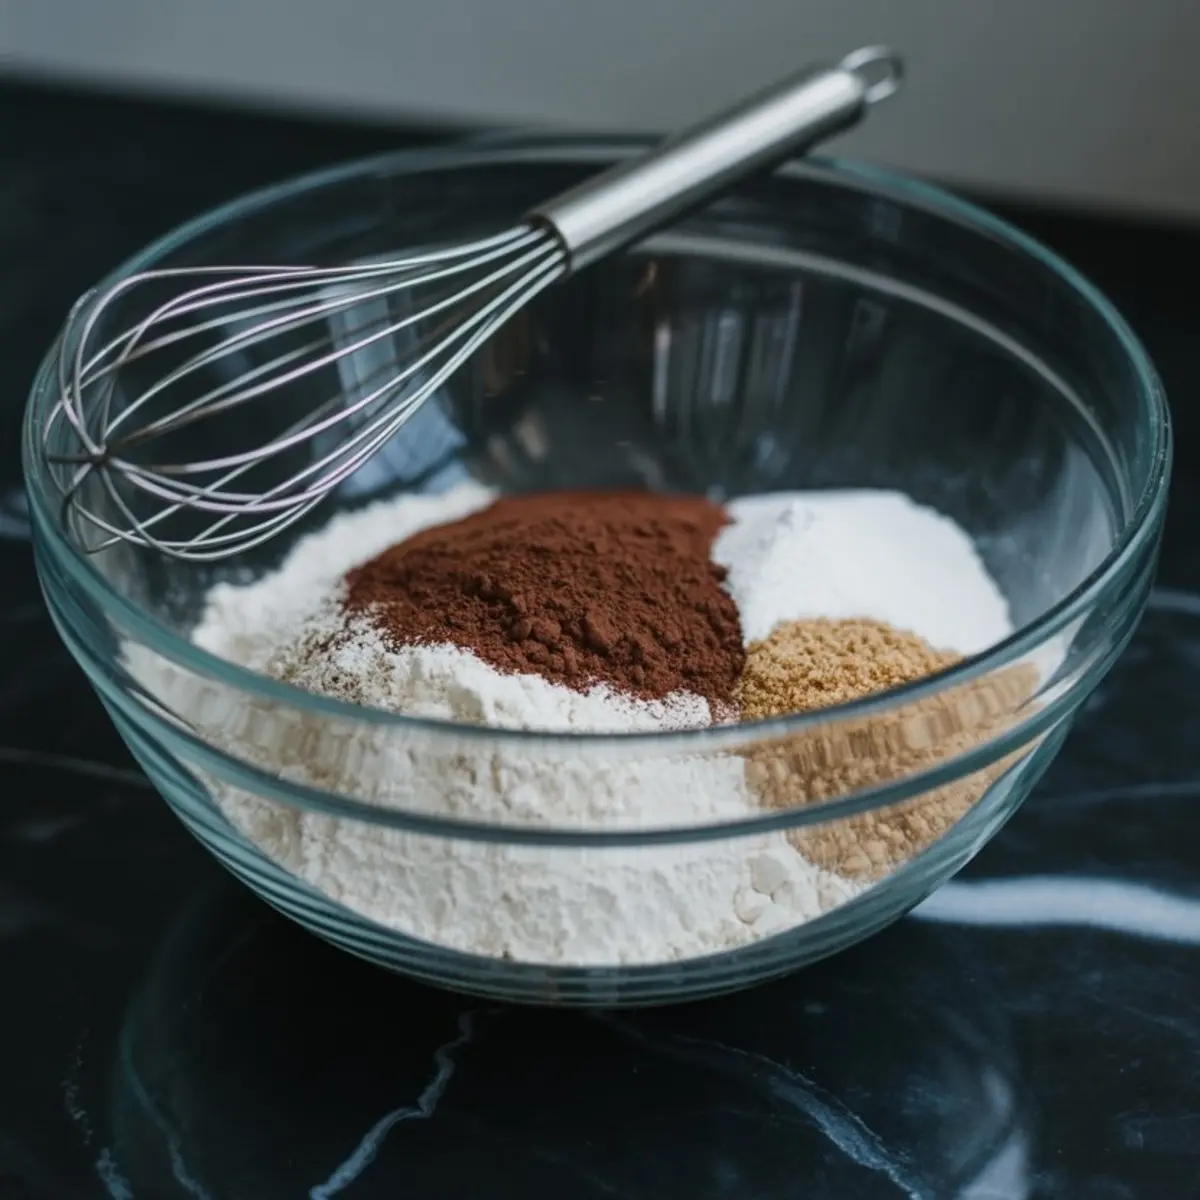
The flour and cocoa powder are sifted together in one bowl to keep the batter light. Use unsweetened cocoa, not Dutch-processed. That’s important. Dutch cocoa won’t react properly with the baking soda, and you won’t get the same lift.
I’ve tried this recipe with both milk and buttermilk. Buttermilk gives you a slight tang and keeps the crumb extra tender. If you have it, use it.
The oil keeps the cupcakes moist longer than butter would. It also plays nicely with the hot water or coffee you’ll add at the end. I always reach for brewed coffee. It deepens the chocolate without tasting like coffee. If you’re nervous, just use hot water.
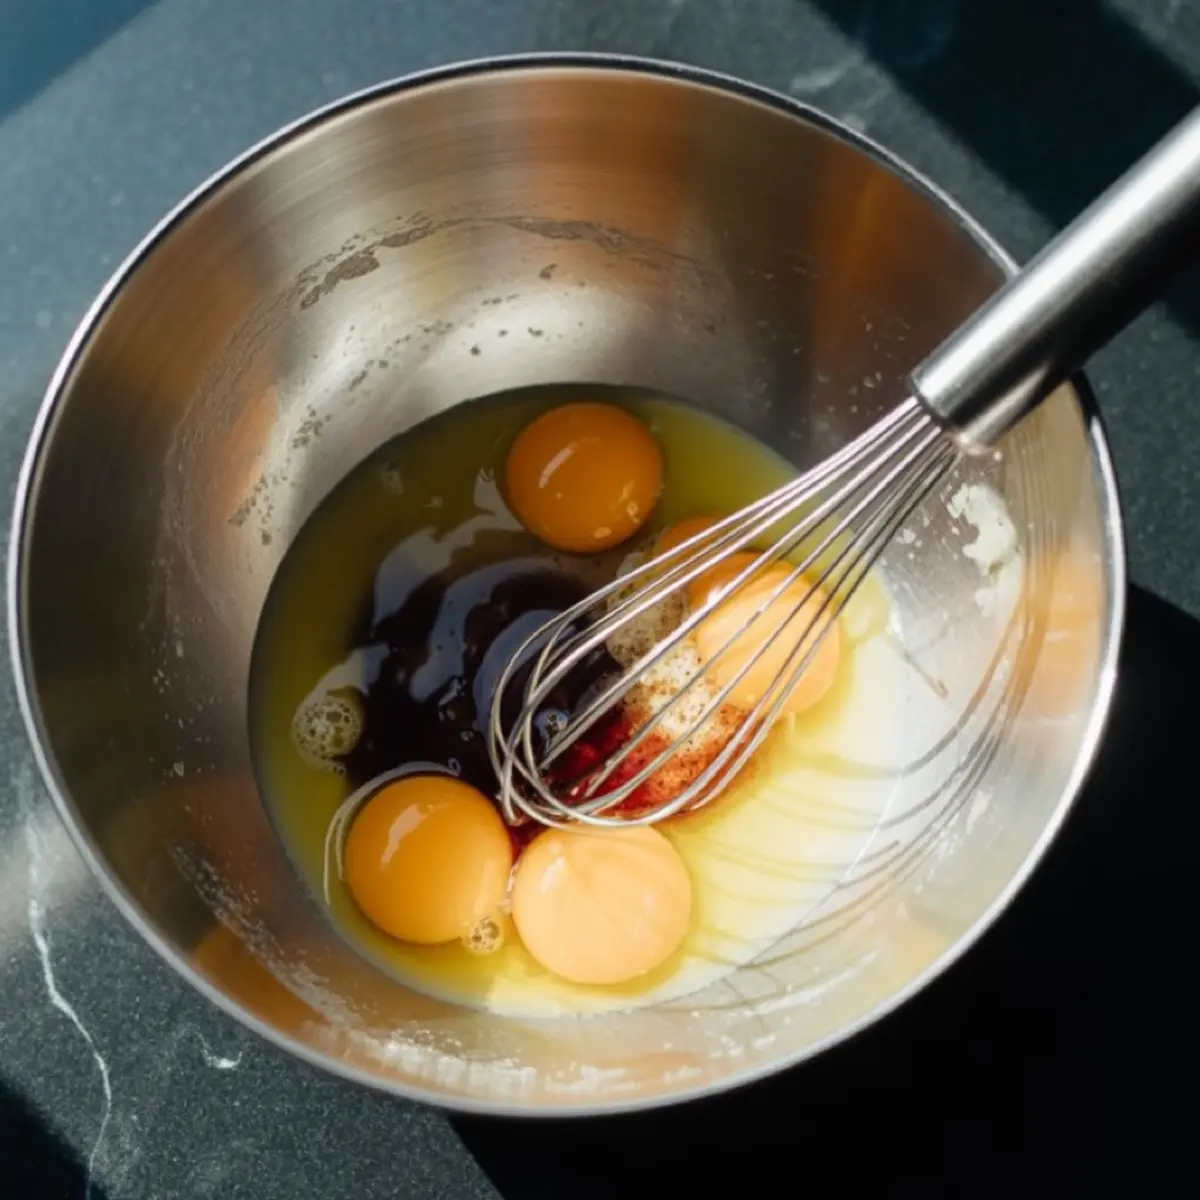
The rest is straightforward: eggs for structure, sugar for sweetness, vanilla for warmth. Whisk the dry and wet separately, then bring them together gently. Don’t overmix.
These Halloween finger cookies pair perfectly if you want a creepy dessert platter.
Why You Add Hot Water (or Coffee) to Chocolate Cupcake Batter
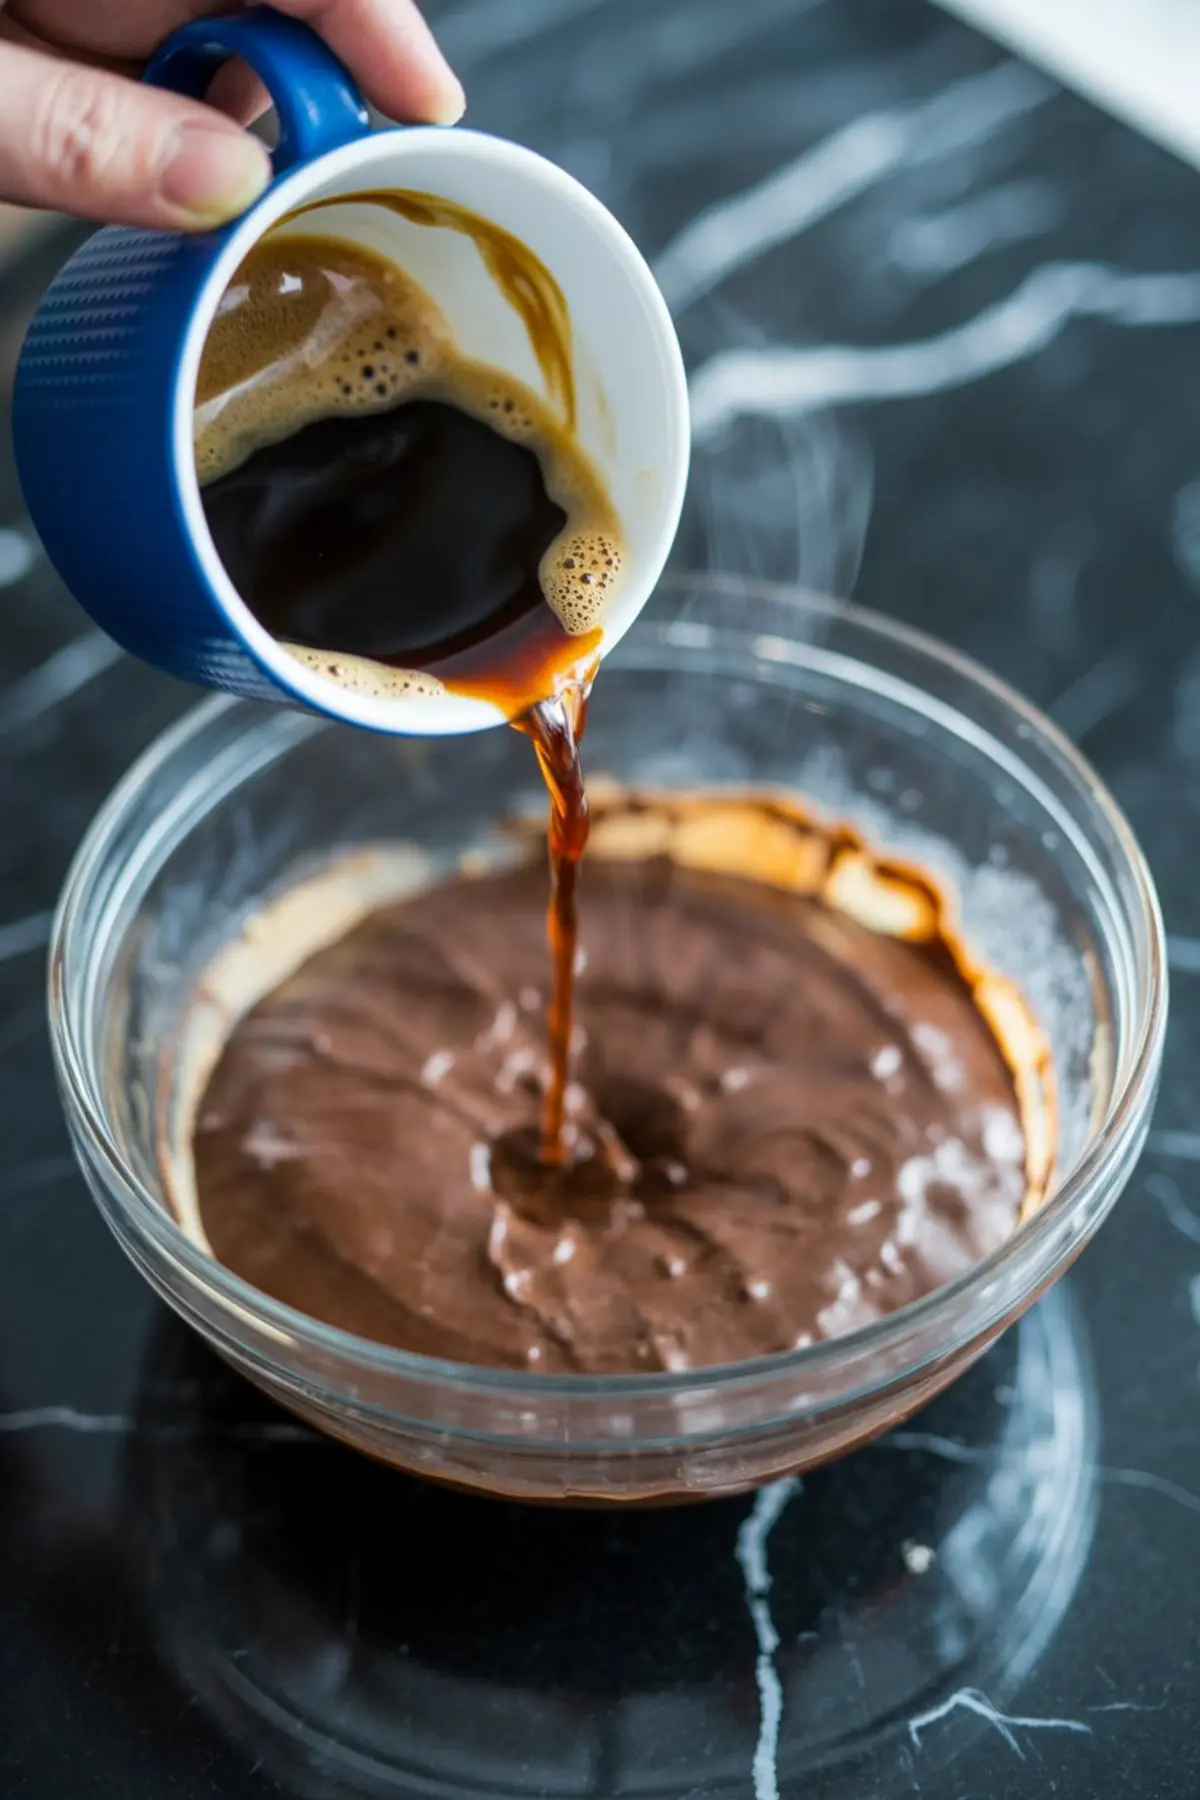
Once you mix the dry and wet, the batter feels thick. Adding hot water or hot brewed coffee thins it just enough to pour smoothly without becoming runny. This step helps bloom the cocoa powder, enhancing the flavor. You’ll notice the batter gets glossy.
Here’s my honest note from the Pin Notebook: water works fine, but coffee? That’s the magic. Use a mild roast, nothing too acidic. I once tried cold brew concentrate by mistake. Don’t do that. Way too strong.
Divide the batter between lined muffin cups. Aim for two-thirds full. Overfilling leads to mushroom tops that crack instead of dome.
These Halloween brownies use a similar cocoa base if you’re looking to bake a full spooky spread.
Baking and Cooling the Cupcakes to Set the Texture
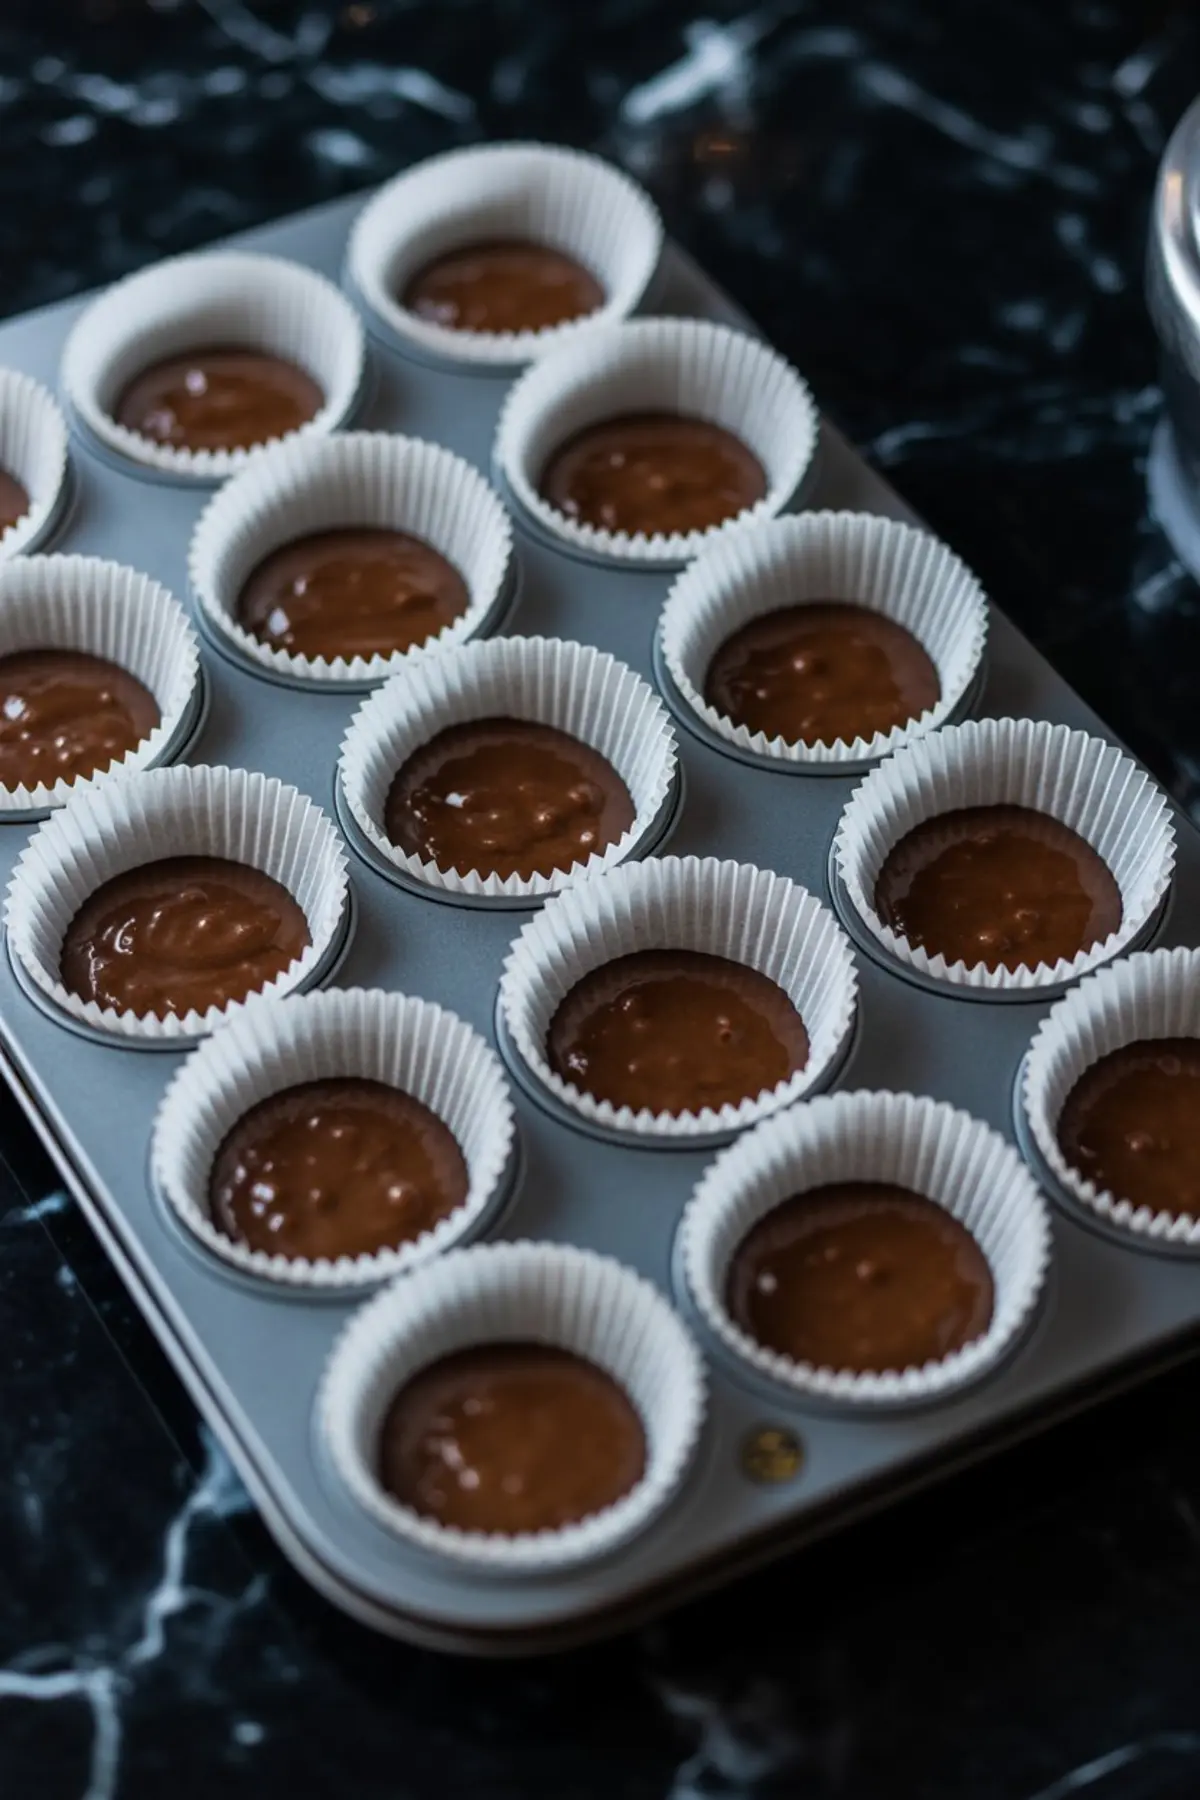
Bake the cupcakes in a preheated oven until the tops spring back to a light touch. For me, 19 minutes is the sweet spot. Set a timer.
Let them cool in the pan for 5 minutes, then move them to a rack. If you frost warm cupcakes, the buttercream melts and slides. Wait until fully cooled.
If you’ve got extra batter, bake a second round or use a mini muffin pan for Halloween mini cupcakes. Those disappear first at any party.
Want to bring more color? Try these Halloween strawberries next. Dipped fruit adds a fresh note alongside all the cake.
Making Colorful Buttercream for Halloween Swirl Cupcakes
Start with room temperature unsalted butter. Beat it long enough to turn light and fluffy. Then add powdered sugar slowly. Otherwise, you’ll wear it.
Once the frosting smooths out, add vanilla extract and just enough cream or milk to make it pipeable. You want it to hold its shape but not feel stiff. Add one spoon at a time.
Divide the frosting in two bowls. I go for orange and purple. Gel food coloring gives a vivid hue without changing the texture. Liquid food coloring can thin your frosting too much.
Don’t have piping bags? I’ve used a zip bag with the corner cut off more than once. It still swirls.
These Halloween dip ideas round out any themed table if you’re hosting.
Swirling and Decorating Your Spooky Cupcakes
Spoon the colored frosting side by side in a single piping bag. This gives you a dual-color swirl. Use a star tip if you want those ridged edges that catch the light.
Pipe from the outside edge in a circle to the center. Apply steady pressure. You’ll get the hang of it after one or two.
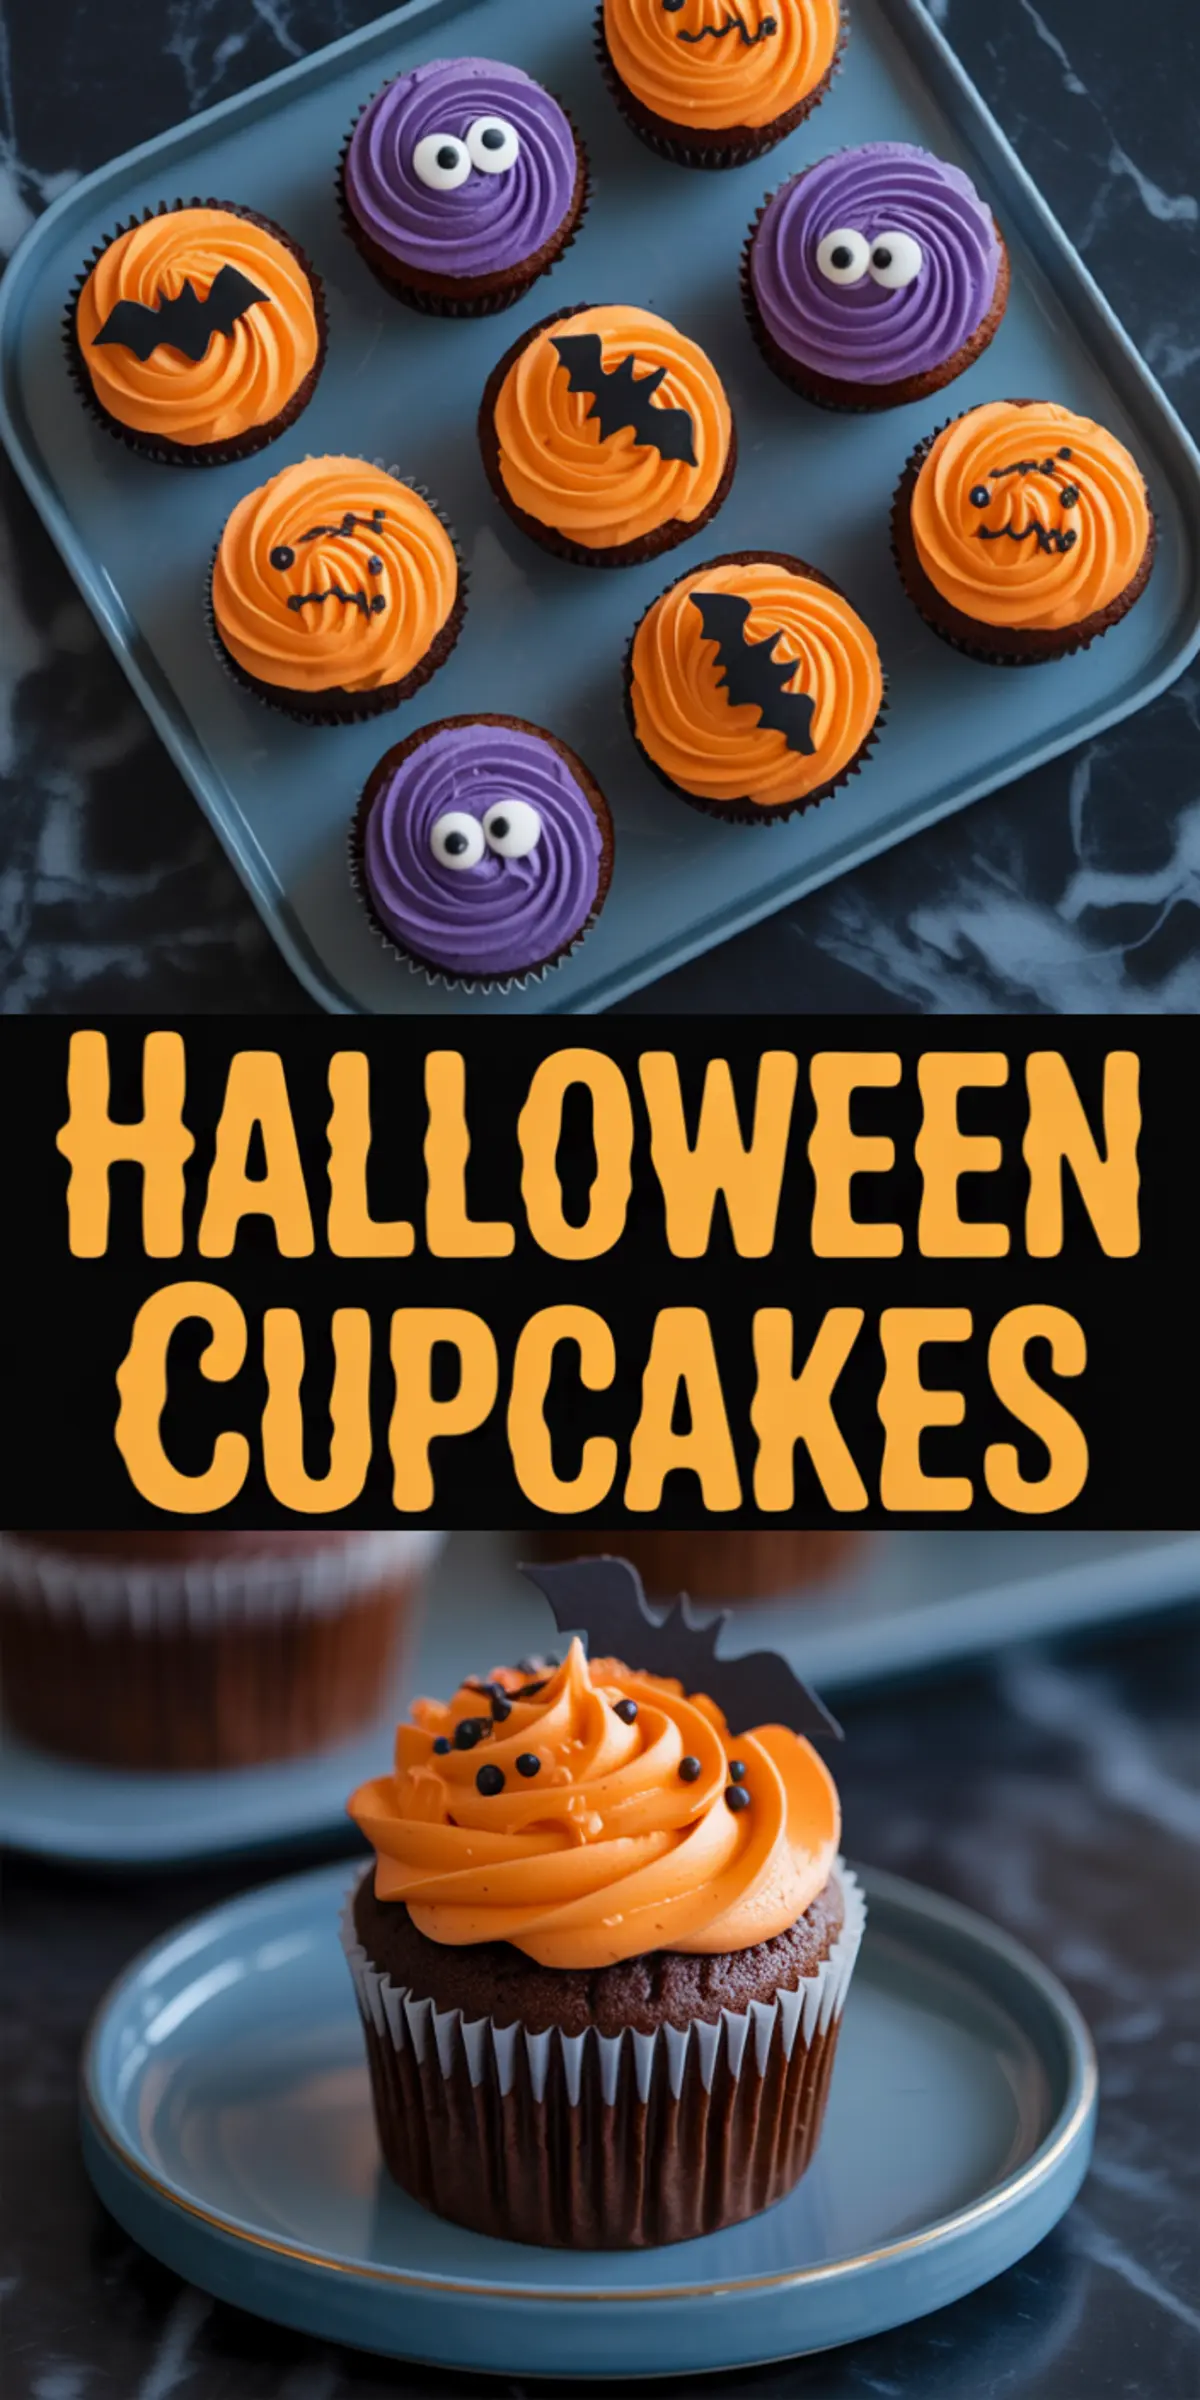
Top with candy eyeballs, edible bats, or Halloween sprinkles. Kids love helping with this part. So do grown-ups, honestly.
For themed drinks, I recommend this Halloween coffee. The flavor pairs well with chocolate.
The Secret Ingredient That Brings the Chocolate Depth
Let’s circle back. I hinted earlier at something unexpected that lifts these cupcakes. It’s the brewed coffee.
Hot water gives structure, but coffee adds flavor depth. It’s subtle. No one will say, “Oh, there’s coffee in here,” but they’ll ask why your cupcakes taste richer than others. That’s the trick.
If you’re making spooky cupcakes for adults or older kids, this makes a difference. I’ve compared batches side by side. Every time, the coffee version disappears first.
Final Thoughts and a Little Invitation

These chocolate cupcakes hit the Halloween dessert ideas list with style. They work for themed bake sales, school parties, or an evening of scary movies. You don’t need to be a professional to pull them off.
Make them once, and they’ll find their way into your yearly traditions.
Save this to your Halloween board on Pinterest so you don’t forget. And if you make them, I’d love to hear. Did you go for bats or eyeballs? Did you choose coffee or water? Drop a comment and let’s swap notes.
Halloween Chocolate Cupcakes Recipe
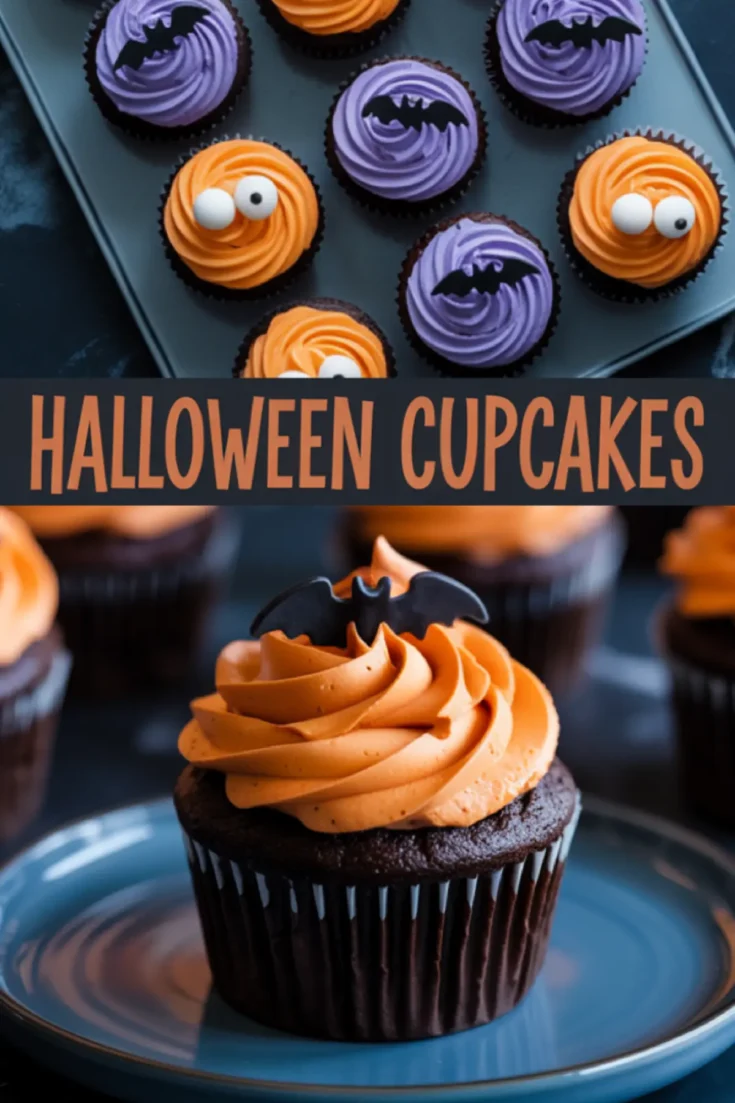
These chocolate Halloween cupcakes have a moist, rich base and colorful, swirled buttercream on top. They’re decorated with candy eyeballs, edible bats, and festive sprinkles, making them playful and easy to customize. The batter comes together in one bowl, and the buttercream is simple to color and pipe.
Ingredients
- All-purpose flour – 1 cup (120g)
- Cocoa powder (unsweetened) – 6 tablespoons
- Baking soda – 1/2 teaspoon
- Baking powder – 1/2 teaspoon
- Salt – 1/2 teaspoon
- Granulated sugar – 3/4 cup (150g)
- Eggs – 2 large
- Milk or buttermilk – 1/2 cup
- Vegetable oil – 1/4 cup
- Vanilla extract – 1 teaspoon
- Hot water or brewed coffee – 1/2 cup
- FOR THE FROSTING
- Unsalted butter, room temperature – 1 cup (2 sticks)
- Powdered sugar – 3 1/2 cups (420g)
- Vanilla extract – 1 teaspoon
- Heavy cream or milk – 2 to 3 tablespoons
- Orange gel food coloring – as needed
- Purple gel food coloring – as needed
- FOR THE DECORATIONS
- Candy eyeballs
- Edible bat toppers
- Halloween-themed sprinkles or sugar shapes
Instructions
- PREHEAT THE OVEN: Set the oven to 350°F (175°C) and line a standard 12-cup muffin tin with Halloween-themed cupcake liners.
- COMBINE DRY INGREDIENTS: In a large mixing bowl, whisk together the flour, cocoa powder, baking soda, baking powder, salt, and sugar until evenly combined.
- WHISK WET INGREDIENTS: In a separate bowl, beat the eggs, milk, oil, and vanilla extract until smooth and well blended.
- MAKE THE BATTER: Pour the wet ingredients into the dry ingredients and stir until the mixture is mostly smooth with no visible streaks of flour. Avoid overmixing.
- ADD HOT WATER OR COFFEE: Slowly pour in the hot water or coffee while stirring gently. The batter will become thinner and smoother. Mix just until fully incorporated.
- FILL THE CUPCAKE LINERS: Divide the batter evenly among the liners, filling each about two-thirds full.
- BAKE THE CUPCAKES: Bake in the preheated oven for 18 to 20 minutes. The cupcakes are done when the tops spring back lightly when touched.
- COOL THE CUPCAKES: Remove the cupcakes from the oven and let them cool in the pan for 5 minutes. Then transfer them to a wire rack to cool completely.
- MAKE THE BUTTERCREAM: In a large bowl, beat the butter on medium speed until light and fluffy, about 3 minutes. Gradually add powdered sugar and beat until smooth. Mix in the vanilla extract and 2 tablespoons of cream or milk, adding more if needed to reach a smooth, pipeable consistency.
- TINT THE FROSTING: Divide the frosting evenly between two bowls. Tint one bowl orange and the other purple, adding a small amount of gel food coloring at a time until the desired color is reached.
- PREPARE TO PIPE: Fit a large piping bag with a star tip. Spoon the orange frosting on one side and the purple frosting on the other, keeping them side by side to create a swirl effect.
- FROST THE CUPCAKES: Pipe a swirl of frosting onto each fully cooled cupcake using steady pressure and a circular motion.
- DECORATE: Finish by adding candy eyeballs, edible bat toppers, and Halloween-themed sprinkles or sugar shapes as desired.
Notes
If using brewed coffee, choose a mild roast for a subtle flavor boost. For extra color precision, use gel food coloring instead of liquid to avoid thinning the frosting. Store cupcakes in an airtight container at room temperature for up to 2 days or refrigerate for longer freshness. Let chilled cupcakes sit at room temperature for 15 to 20 minutes before serving.
