

Something funny happens when a tray of Halloween Oreos hits the table.
Grown-ups start sneaking them before the party even starts. Kids lean over them like treasures. And somehow, every last cookie disappears before the punchbowl runs dry.
I’ve made these more times than I can count, and each time, someone asks how they’re done. So today, I’m walking you through my Halloween Oreo recipe with decorating ideas that feel festive, fun, and entirely doable.
You’ll learn how to dip, decorate, and design these Oreo Halloween treats using candy melts, candy eyes, and a few simple tools. No baking. No stress. Just bold colors, edible characters, and a method that invites creativity.
Prepping these for a classroom party or adding them as a centerpiece to your dessert table, they are the spooky treats you can count on.
There’s also one subtle trick I use to keep the candy coating smooth and vibrant every time. I’ll share that at the end.
Let’s build some monsters.

Ingredients for Colorful Halloween Oreo Desserts
You’ll need classic or double-stuffed Oreos, though I’ve found the double-stuffed ones are easier to handle when dipping. They stay firm, don’t break as easily, and offer that thick, satisfying center when bitten.
Candy melts in orange, purple, white, and black (or dark chocolate) form the base. You’ll melt each color in its own bowl and adjust the texture with a little coconut oil if needed. Candy melts can get clumpy if overheated, but adding half a teaspoon of oil at a time helps keep the flow just right.

Set out candy eyes in different sizes. A mix makes it more playful. For mummies and pumpkins, stick with small ones. For monsters, the bigger the better. You can also bring in other Halloween-themed food-safe decorations if you like — sprinkles, edible glitter, or novelty icing shapes.
I keep black icing in a squeeze bottle for control. Piping bags work too, but they’re messier to refill mid-decorating. In my notes, I’ve found bottles keep the lines neater, especially when making pumpkin faces or spider webs.
If you like these hands-on Halloween dessert ideas, you might enjoy these Halloween finger cookies. They’re shaped like witch fingers and never fail to spook the kids.
How to Melt and Prep Your Workstation
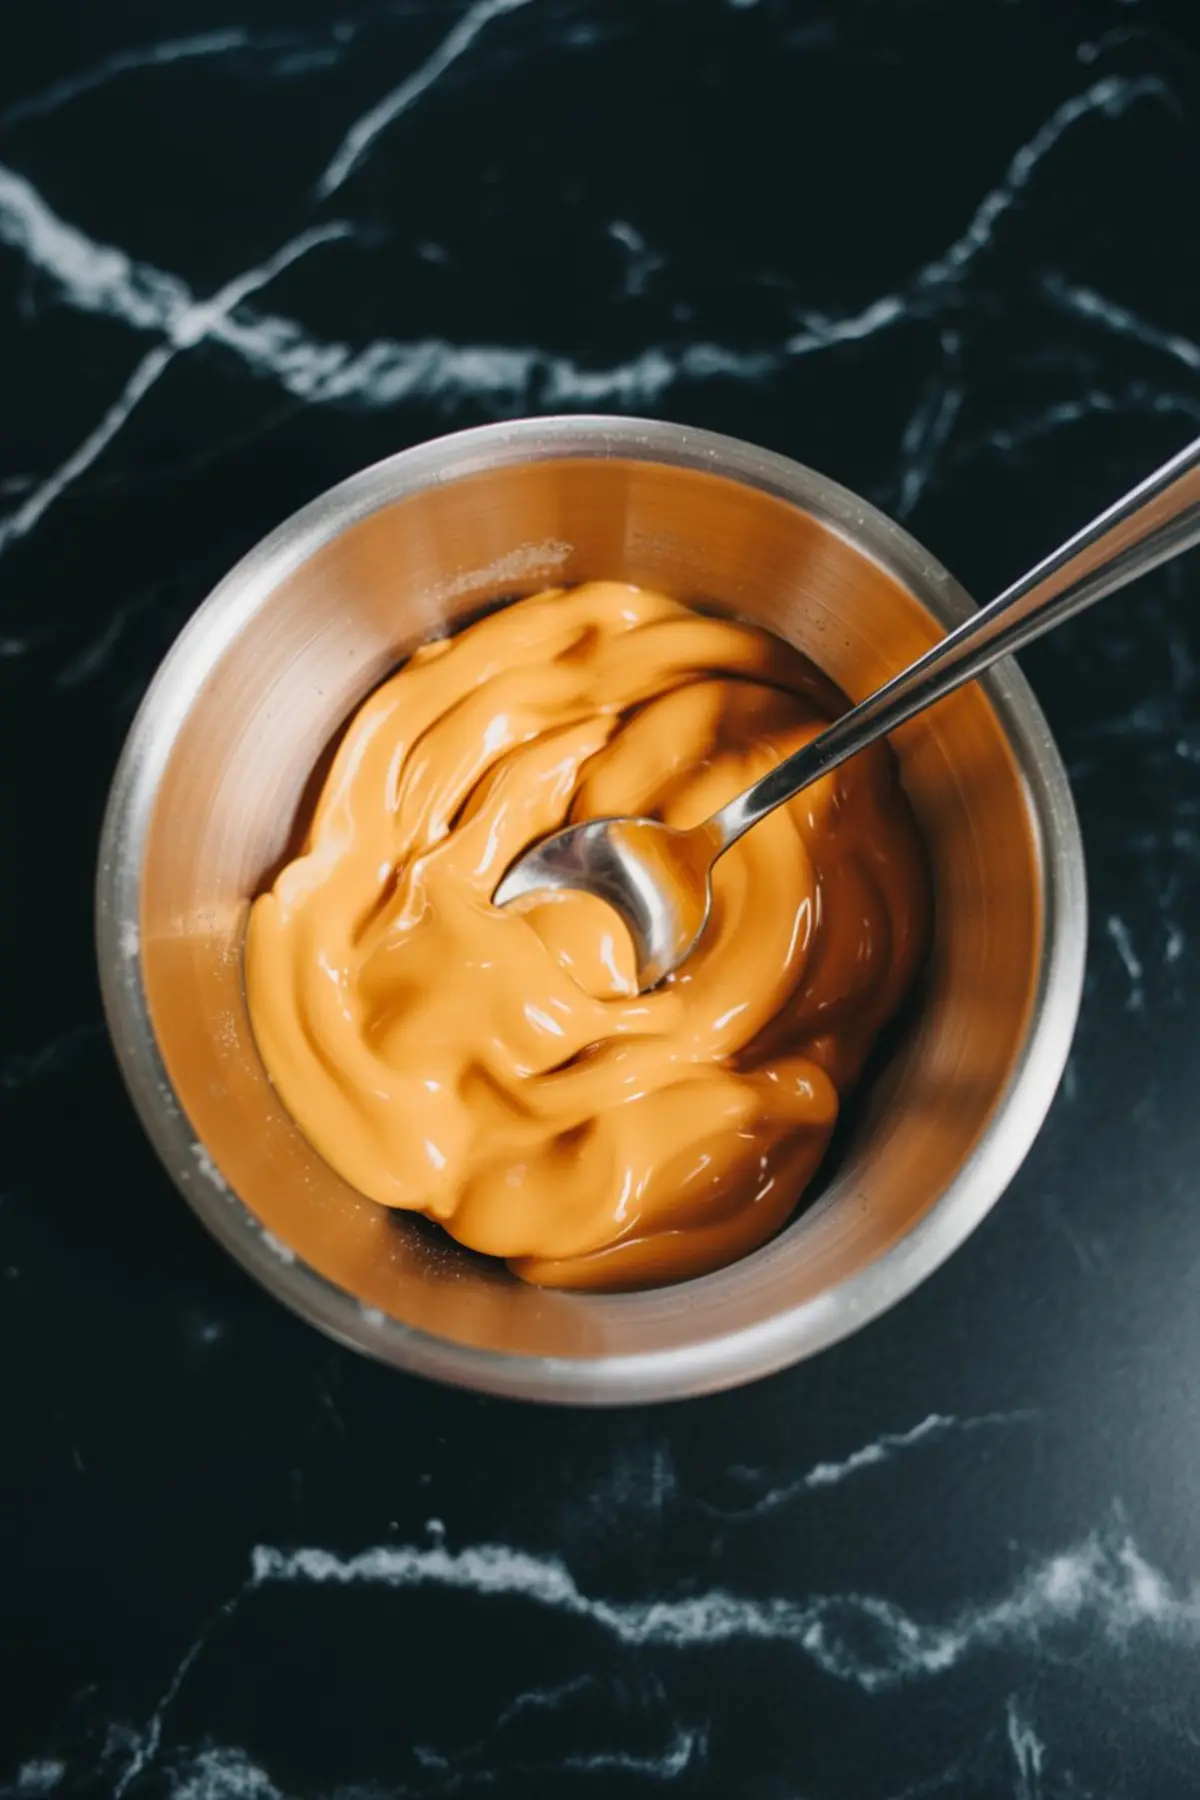
Before anything, line a large tray with parchment. This gives you a ready landing spot for dipped cookies and keeps cleanup easy. Lay out your candy melts in separate bowls and prep your piping tools.
Microwave each bowl of candy melts in 30-second intervals, stirring between rounds. I usually start with orange, since the pumpkin designs take a little more time.
If the coating looks thick, I stir in a small amount of coconut oil. Just enough to make it glide — not enough to thin it out completely.
You want a consistency that coats smoothly but doesn’t drip endlessly.
Place everything within arm’s reach: Oreos, decorations, tools. The smoother your setup, the easier the process. That’s the kind of baking habit I’ve learned to trust. A cluttered station leads to smudged icing and candy melt that cools too quickly.
For more spooky snacks, I keep these Halloween brownies in rotation every October.
How to Dip and Decorate Halloween Oreo Pops
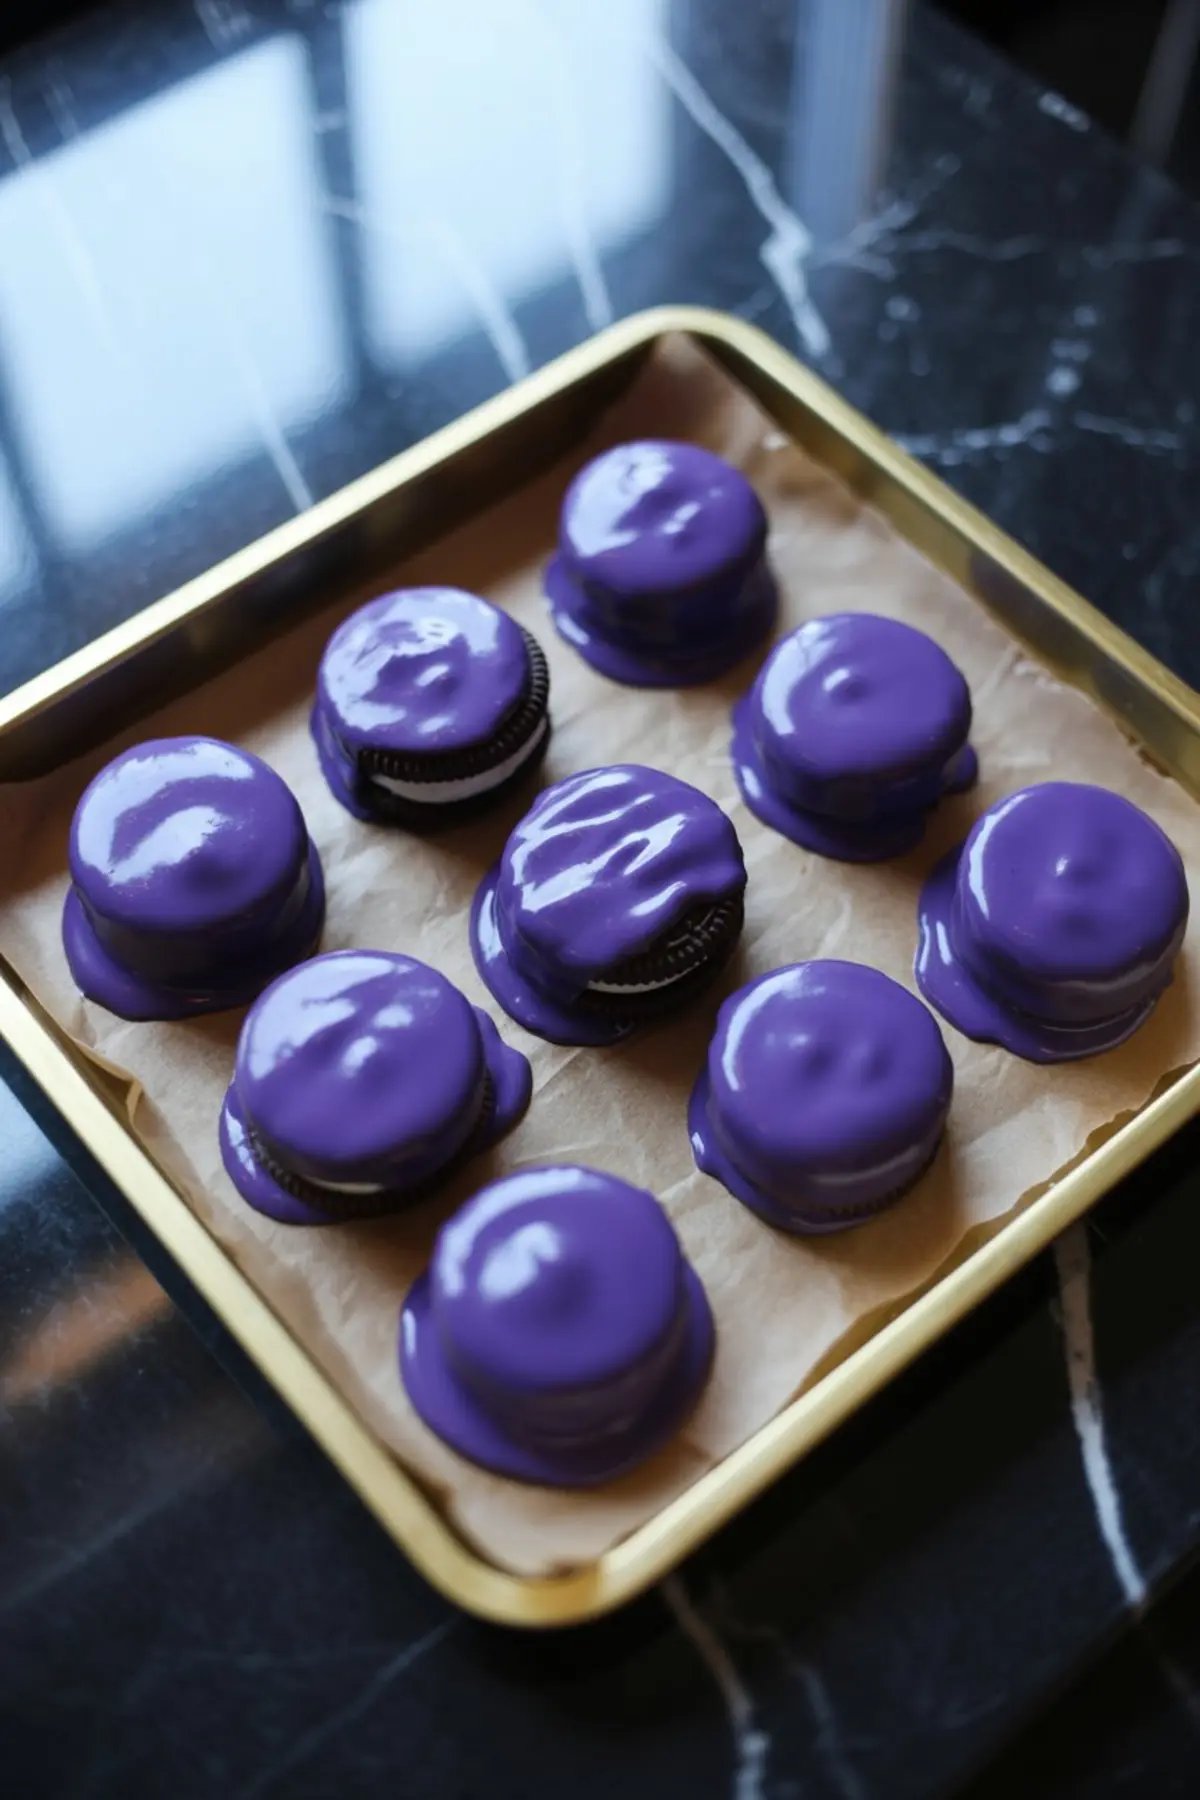
Use a fork or dipping tool to lower each Oreo into the melted candy. Turn it gently if needed. Lift it out and tap the edge of the bowl lightly to release excess coating. Then place it on the parchment.
While the coating is still soft, decorate. Don’t wait. This part moves quickly. If you’re making pumpkins, pipe faces on the orange ones.
For mummies, drizzle white melt in a zigzag and add eyes. Monsters love the purple or green coating with oversized candy eyes and scribbles of black chocolate.
Sometimes I mix the colors, swirl two bowls slightly, and create a marbled monster effect. Messy hands, but beautiful results. Kids really love this part.
I always return to these Halloween cupcakes when I need another simple but showy bake.
Let Them Set and Store Correctly
Leave your tray of decorated cookies out until the candy coating firms. This usually takes about 30 minutes at room temperature. If you need to move faster, pop the tray into the fridge for 10–15 minutes. That’s what I do if I’m making them right before a party.
Once the coating sets, the cookies can be moved without smudging. Store them in an airtight container. They keep well for up to a week, though I rarely have leftovers after day two.
If you’re making several batches, layer them with parchment in a wide tin.
For something with a little punch, I often serve these alongside Halloween Jello shots for the grown-up crowd.
Comparison Note: Classic vs. Double-Stuffed Oreos
I’ve tested both styles and always come back to the double-stuffed. The extra filling creates more structure, especially once coated. The classic Oreos sometimes separate mid-dip or feel too flat once decorated.
If you’re decorating with heavier details like thick icing or chunky candy eyes, the double-stuffed handles it better.
That said, if you prefer a thinner cookie-to-coating ratio, stick with the original.
I’ve written this down in my Pin Notebook more than once: thicker Oreos, smoother dipping.
The Secret Ingredient I Swear By
So here’s the magic trick. Add just a little coconut oil to your candy melts.
It’s not for flavor. It’s for texture. Candy melts alone can go from smooth to clumpy fast. But coconut oil, in the smallest amount, transforms them into a silky, glossy dip that coats evenly and sets clean. You’ll notice it most with the white and dark chocolate melts. I usually warm the oil slightly before stirring it in.
And once you try it, you’ll never go back.
If you’ve never worked with dipped Oreos before, you’ll be surprised by how simple the process becomes with this one addition.
Pin and Share Your Spooky Creations
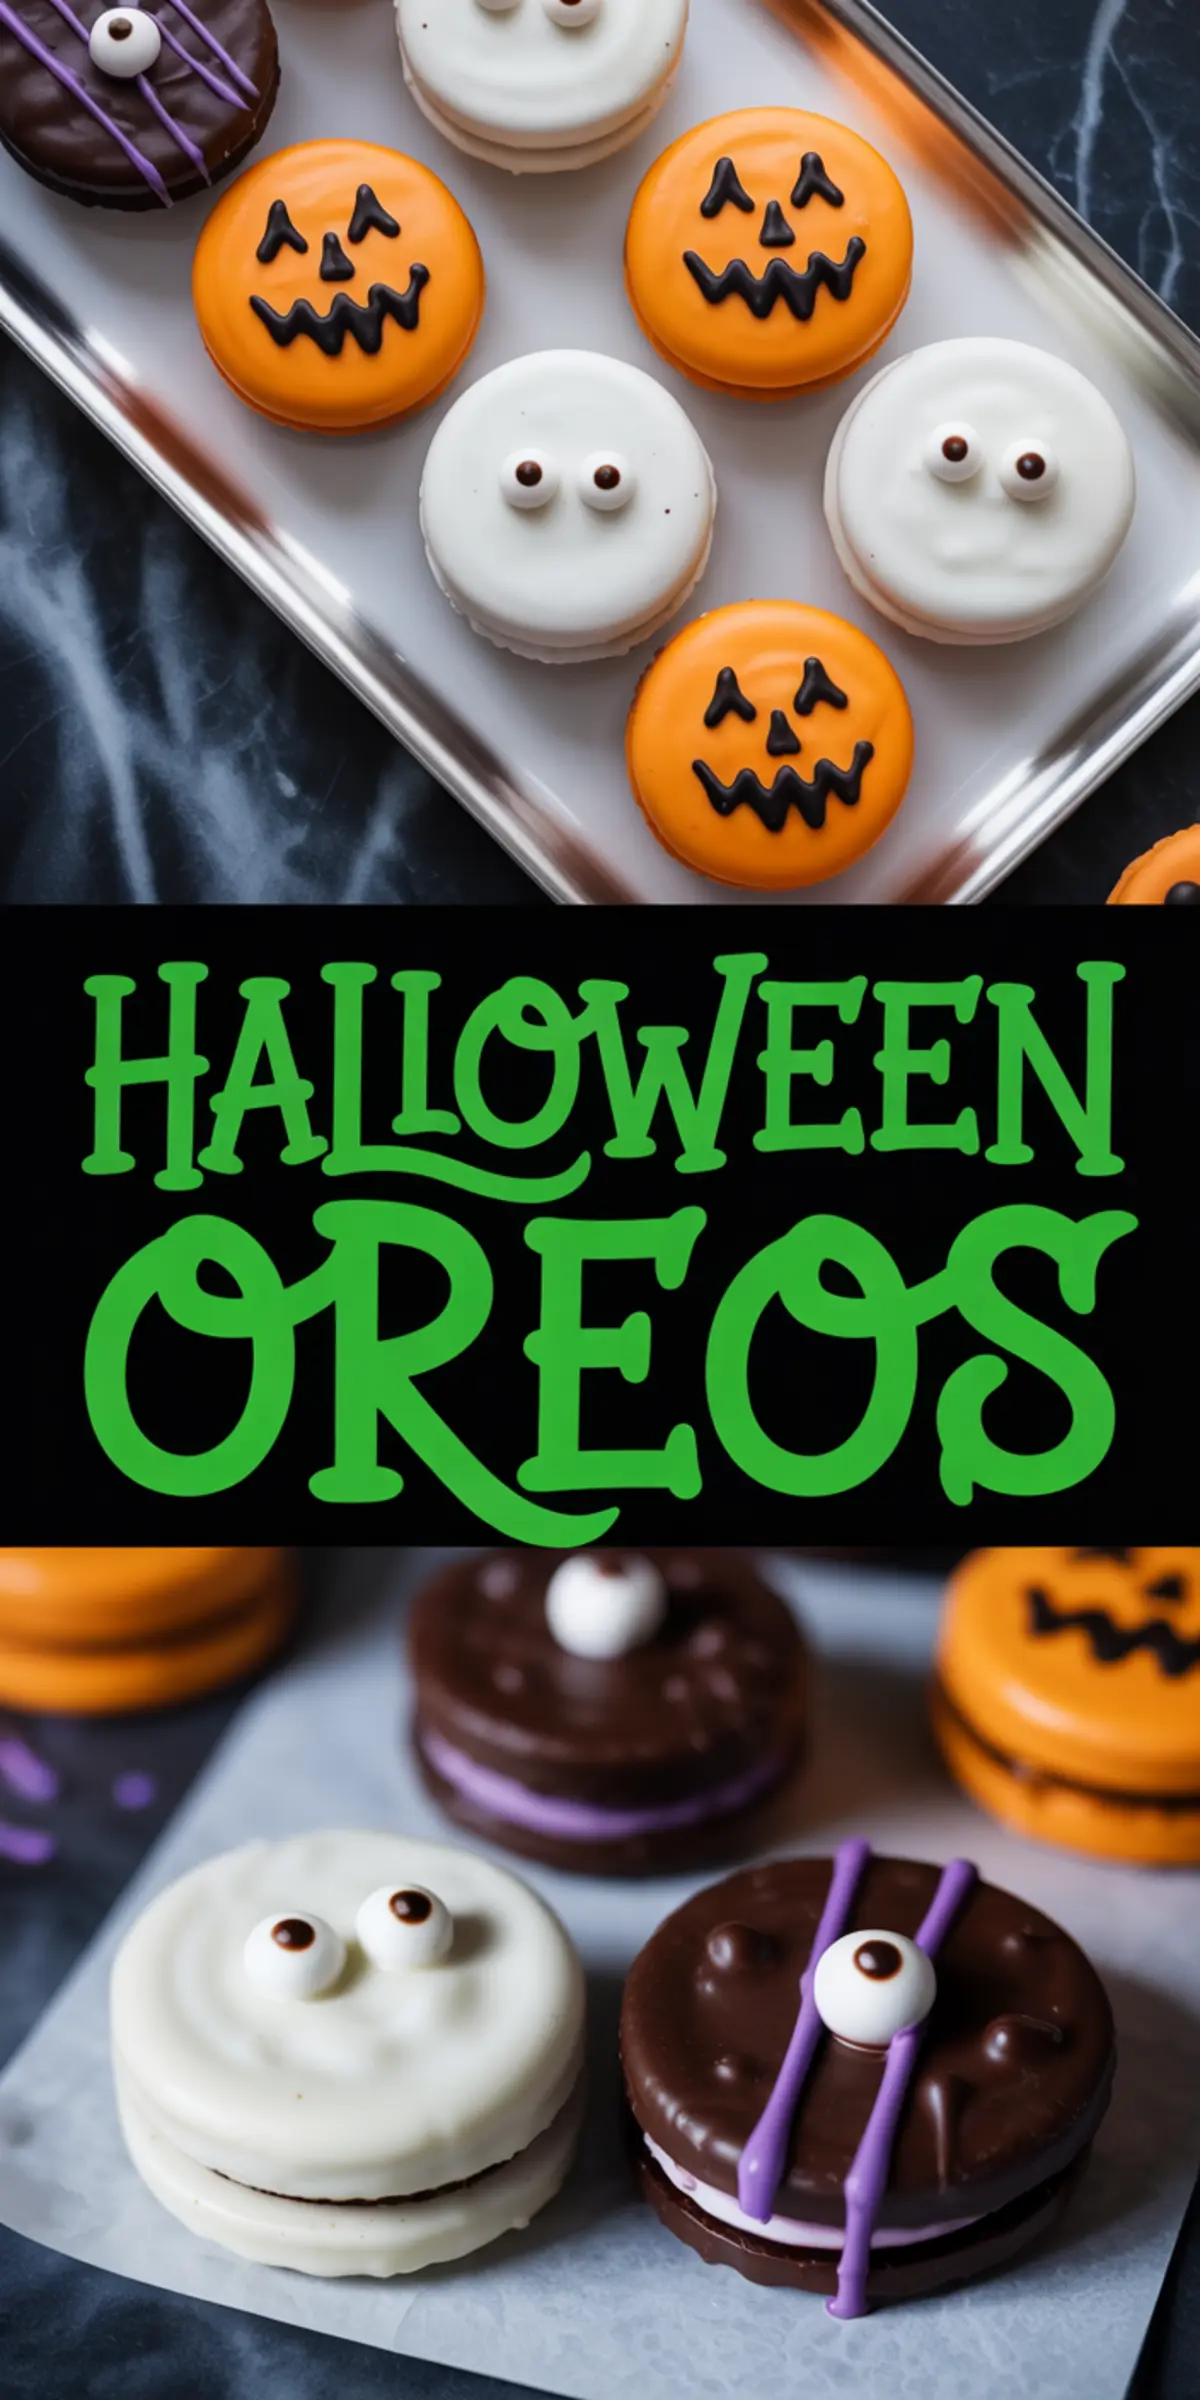
If these Halloween Oreo desserts found their way onto your party table, I’d love to hear which faces you made. Did the mummy win over the monster? Did the pumpkin grin or scowl?
Leave a comment below to share your favorite combo, or ask anything you’re unsure about. Let’s keep this fun, creative, and community-driven.
And don’t forget to pin this guide to your Halloween board for later. The ideas here are too good to lose track of.
Halloween Oreos Recipe

These decorated Halloween Oreos are dipped in colorful candy melts, topped with candy eyes, and decorated with playful icing designs. They’re quick to assemble, easy to customize, and always disappear fast from the tray. No baking is required, and the decoration process is simple enough for kids or casual weeknight fun.
Ingredients
- FOR THE COOKIES
- 24 classic or double-stuffed Oreo cookies
- 1 cup orange candy melts
- 1 cup white candy melts
- 1 cup purple candy melts
- 1 cup dark chocolate or black candy melts
- 1–2 teaspoons coconut oil, as needed
- Assorted candy eyes (small, large, or novelty)
- Black icing in a piping bag or squeeze bottle
- Optional: additional icing colors, sprinkles, or edible decorations
Instructions
- PREPARE YOUR WORKSPACE: Line a large baking tray with parchment paper and set out small bowls for each color of candy melts and decorations. This will make the dipping and decorating process smooth and efficient.
- MELT THE CANDY: Place each color of candy melts in separate microwave-safe bowls. Microwave in 30-second intervals, stirring between each round, until smooth and fully melted. If the texture is too thick, stir in ½ teaspoon of coconut oil at a time to thin and smooth it out.
- DIP THE OREOS: Use a fork or dipping tool to submerge an Oreo into one of the melted candy bowls. Lift it out and gently tap the fork on the edge of the bowl to remove excess chocolate. Transfer the coated cookie to the prepared tray.
- DECORATE WHILE WET: While the coating is still soft, press candy eyes into place and begin decorating. For pumpkin faces, use black icing to pipe on expressions over orange-coated Oreos. For mummies, drizzle white candy melt in zigzag lines across a white-dipped Oreo and add two eyes. For monsters, use purple or green melts, candy eyes, and chocolate drizzles to create fun characters.
- LET THE COOKIES SET: Allow the decorated cookies to cool at room temperature until the chocolate firms up completely. To speed up the process, place the tray in the refrigerator for 10–15 minutes.
- SERVE OR STORE: Once the cookies are fully set, transfer them to a serving platter or store in an airtight container at room temperature for up to one week.
Notes
Use food-safe piping bags or squeeze bottles for precise decorating. Avoid using spoons for faces, as it leads to smudged or uneven designs. For best results, allow candy melts to cool slightly before piping details to prevent runny icing.
Nutrition Information:
Yield:
24Serving Size:
1Amount Per Serving: Calories: 175Total Fat: 6gSaturated Fat: 4gTrans Fat: 0gUnsaturated Fat: 2gCholesterol: 1mgSodium: 22mgCarbohydrates: 29gFiber: 1gSugar: 20gProtein: 1g
