

Some desserts land on the table and everybody leans in.
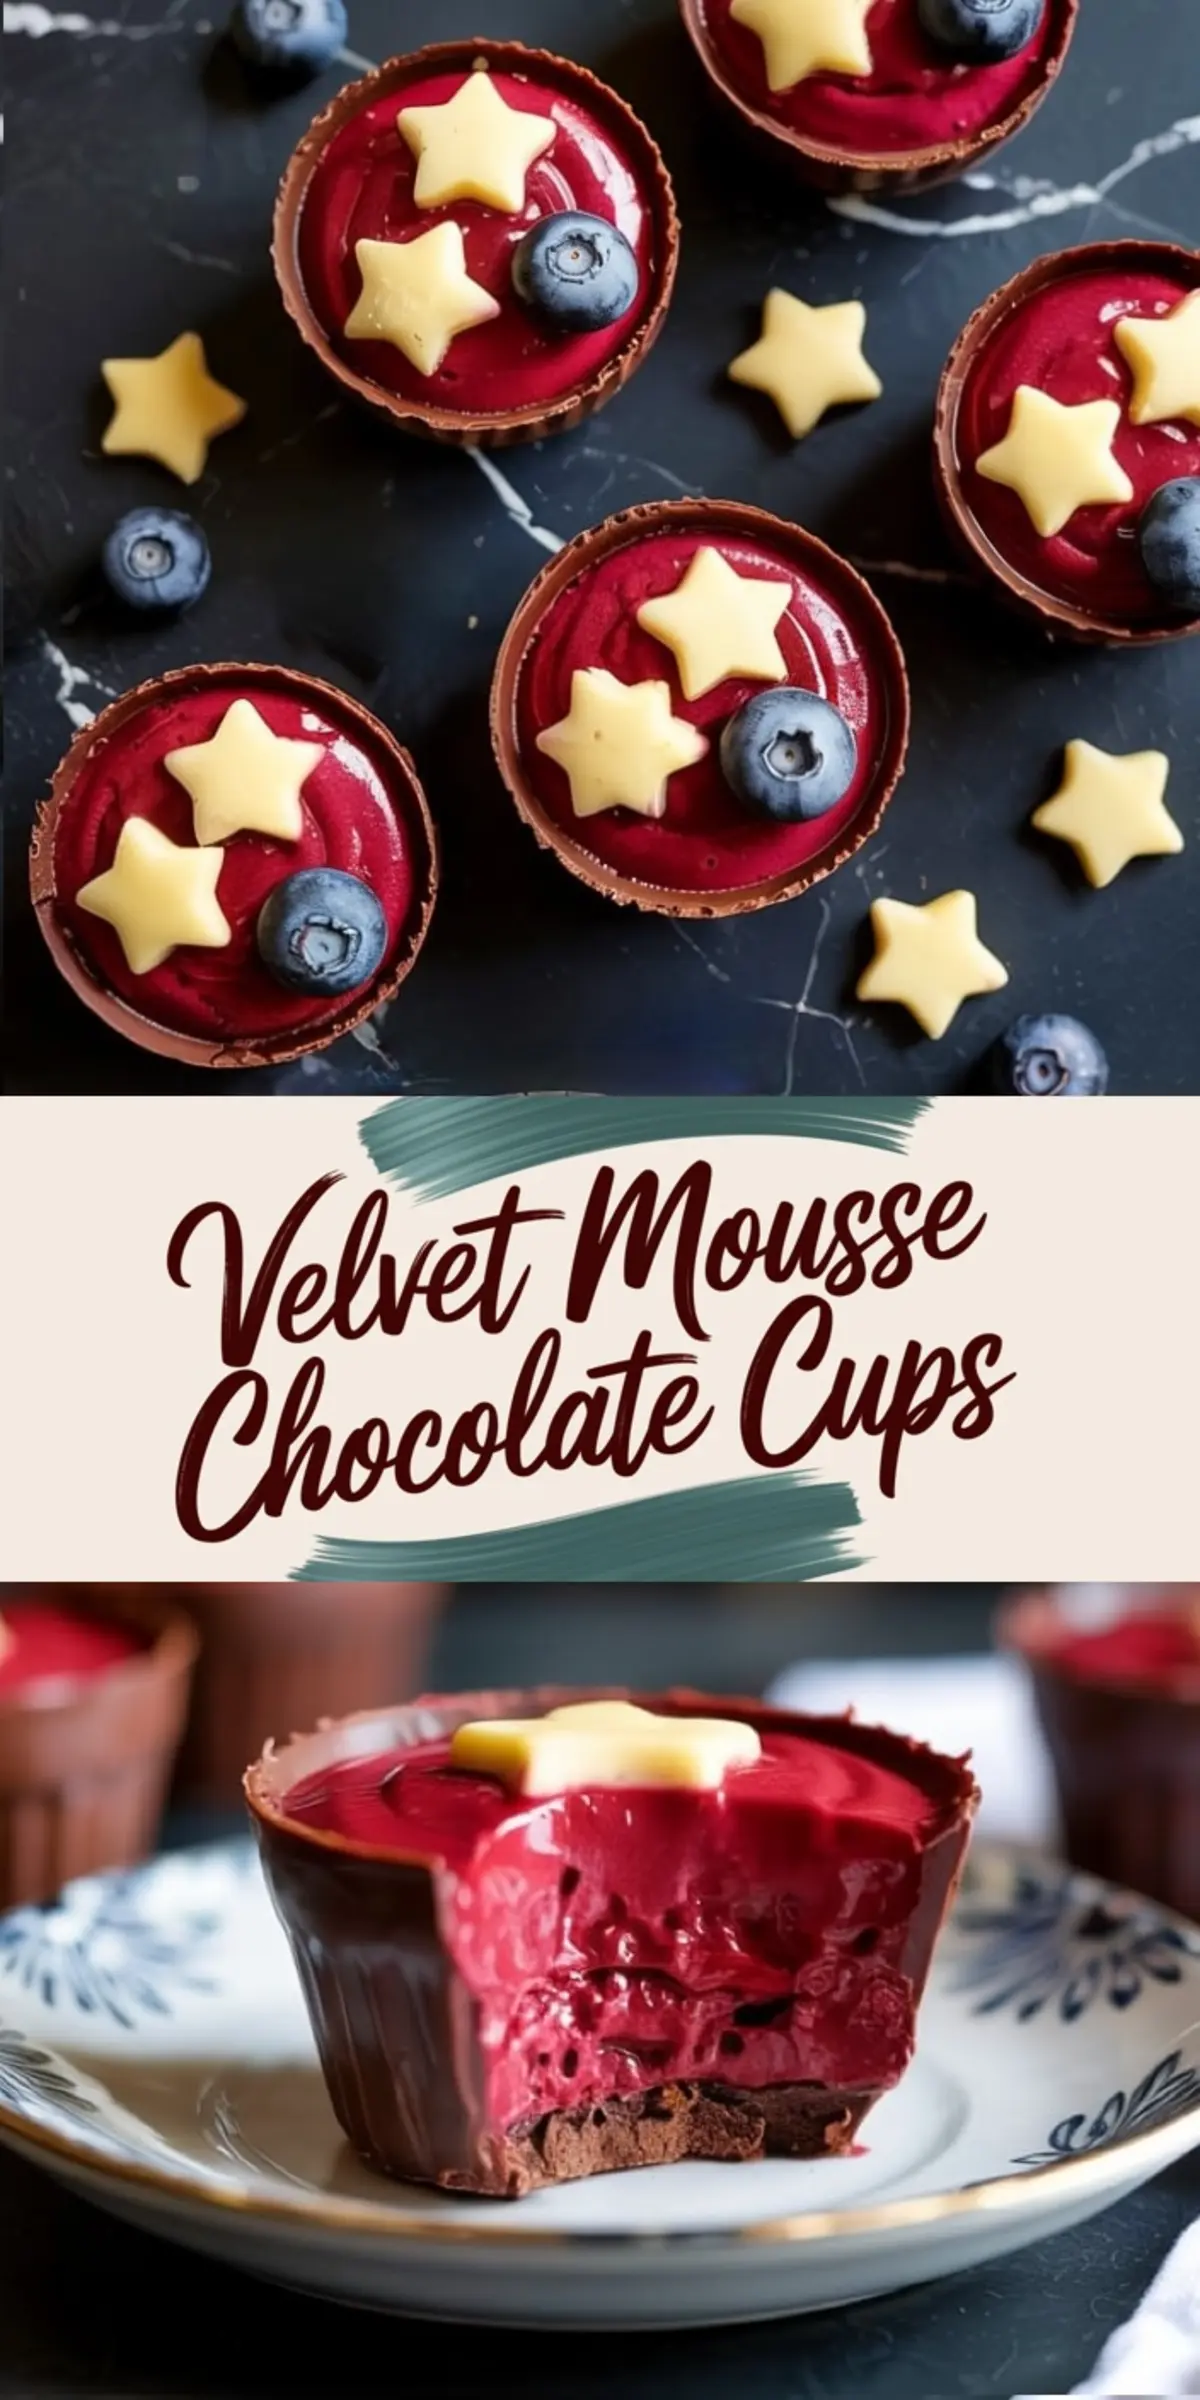
You feel the buzz, the smiles, the curiosity. These Patriotic Velvet Mousse Chocolate Cups have done that for me, year after year. Today, you will learn exactly how to make them — and you will walk away knowing why skipping the oven for this recipe gives you a cool, creamy edge at any summer gathering.
This dessert brings together everything I look for on a hot day: silky mousse, a crisp chocolate shell, and just enough fruit to brighten the bite. It skips the fuss of baking while still delivering a full-on celebration feel.
And tucked inside the mousse? There’s a dash of unexpected magic that gives it a deeper flavor most red velvet desserts miss. I’ll tell you about it soon, but first, let’s build it together.
How to Make the Red Velvet Mousse for Chocolate Cups
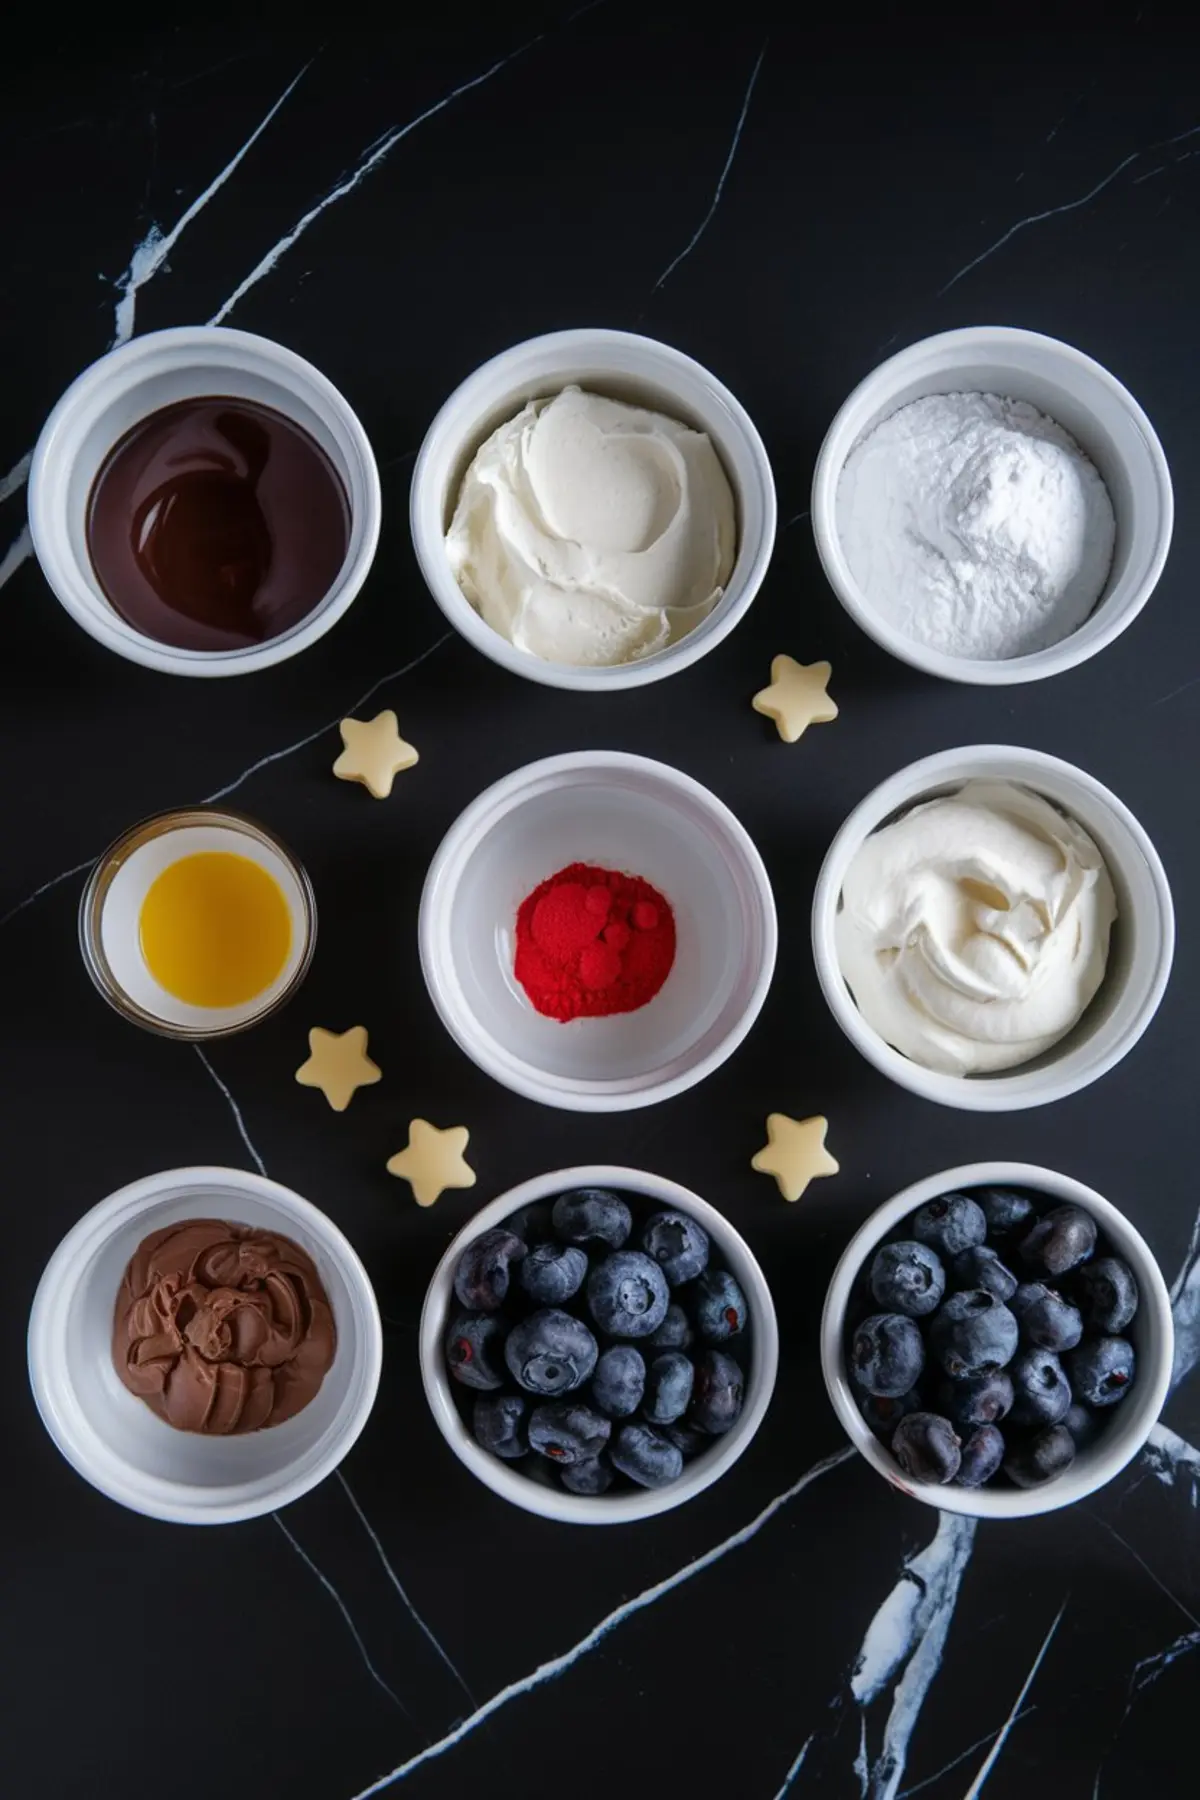
Softened cream cheese starts the mousse on the right foot. I beat it until it turns fluffy, then blend in powdered sugar, cocoa powder, and a splash of vanilla.
This base tastes like the memory of every red velvet cake slice you ever loved, but lighter.
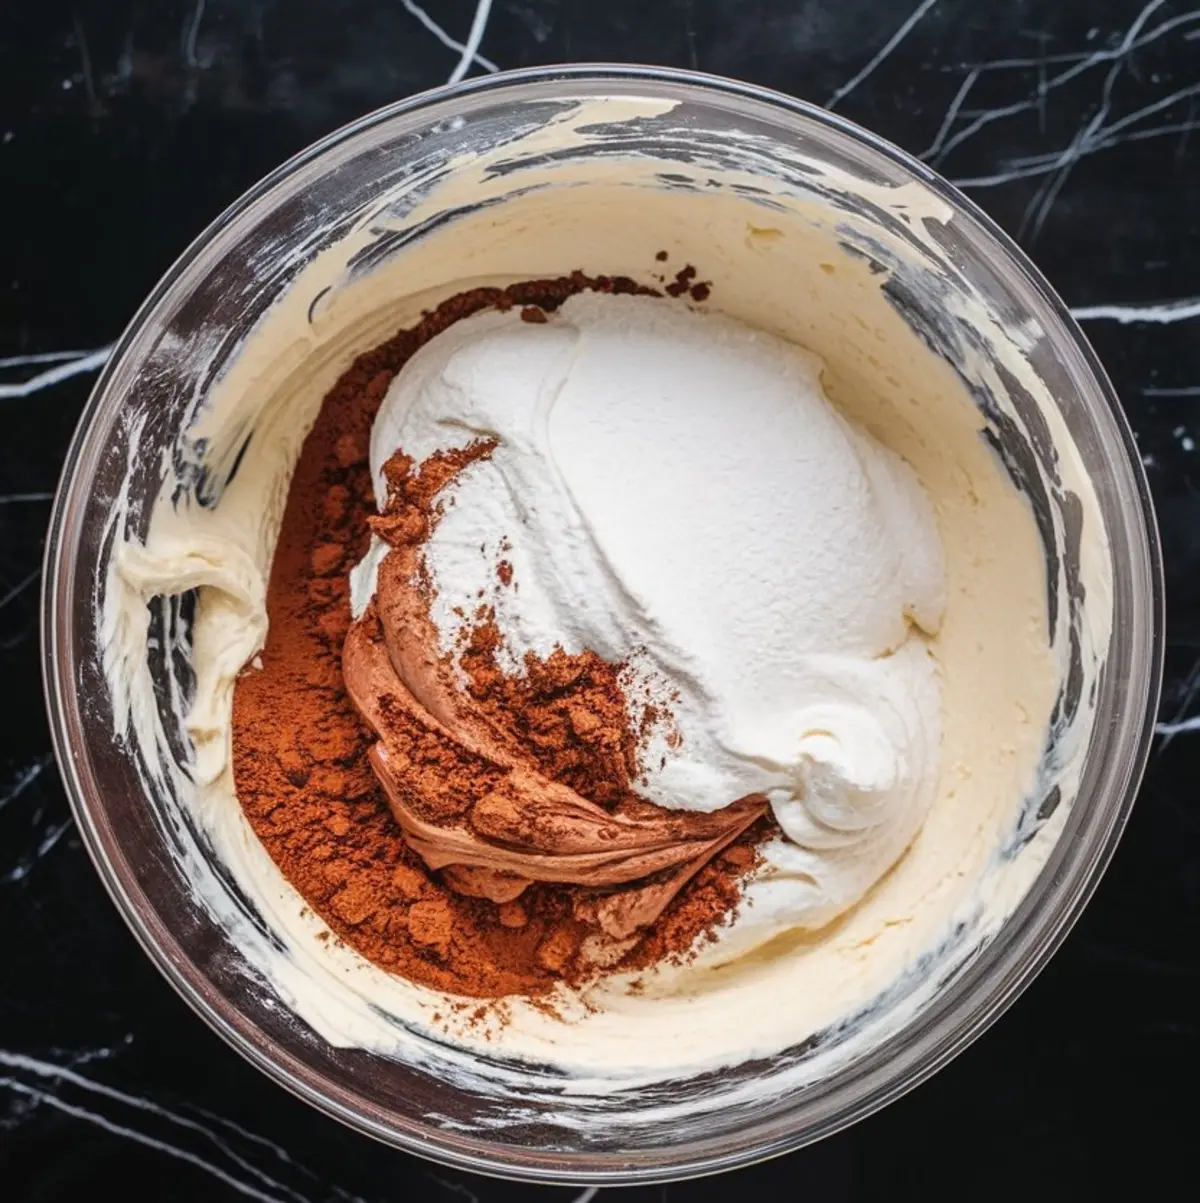
In my Pin Notebook, where I record all my recipe tweaks and secrets, I always note: “Don’t rush this step.” Cream cheese needs that extra minute or two of mixing to get truly smooth. It makes a difference later when folding everything together.
Building the Whipped Cream for Airy Red Velvet Texture
Heavy whipping cream changes everything. I whip it separately to stiff peaks, careful not to overdo it. Overwhipped cream turns grainy fast, and no one wants that tangled into their mousse.
I have tried using store-bought whipped cream before to save time. In my notes? Never again. Homemade whipped cream makes the mousse cloud-like without weighing it down.
Whisking it fresh gives you a structure that holds its shape inside the chocolate cups, even after hours of chilling.
Have you ever had a mousse that slumps or melts too fast? Fresh whipped cream avoids that sad fate.
Creating the Chocolate Cups Without a Baking Sheet
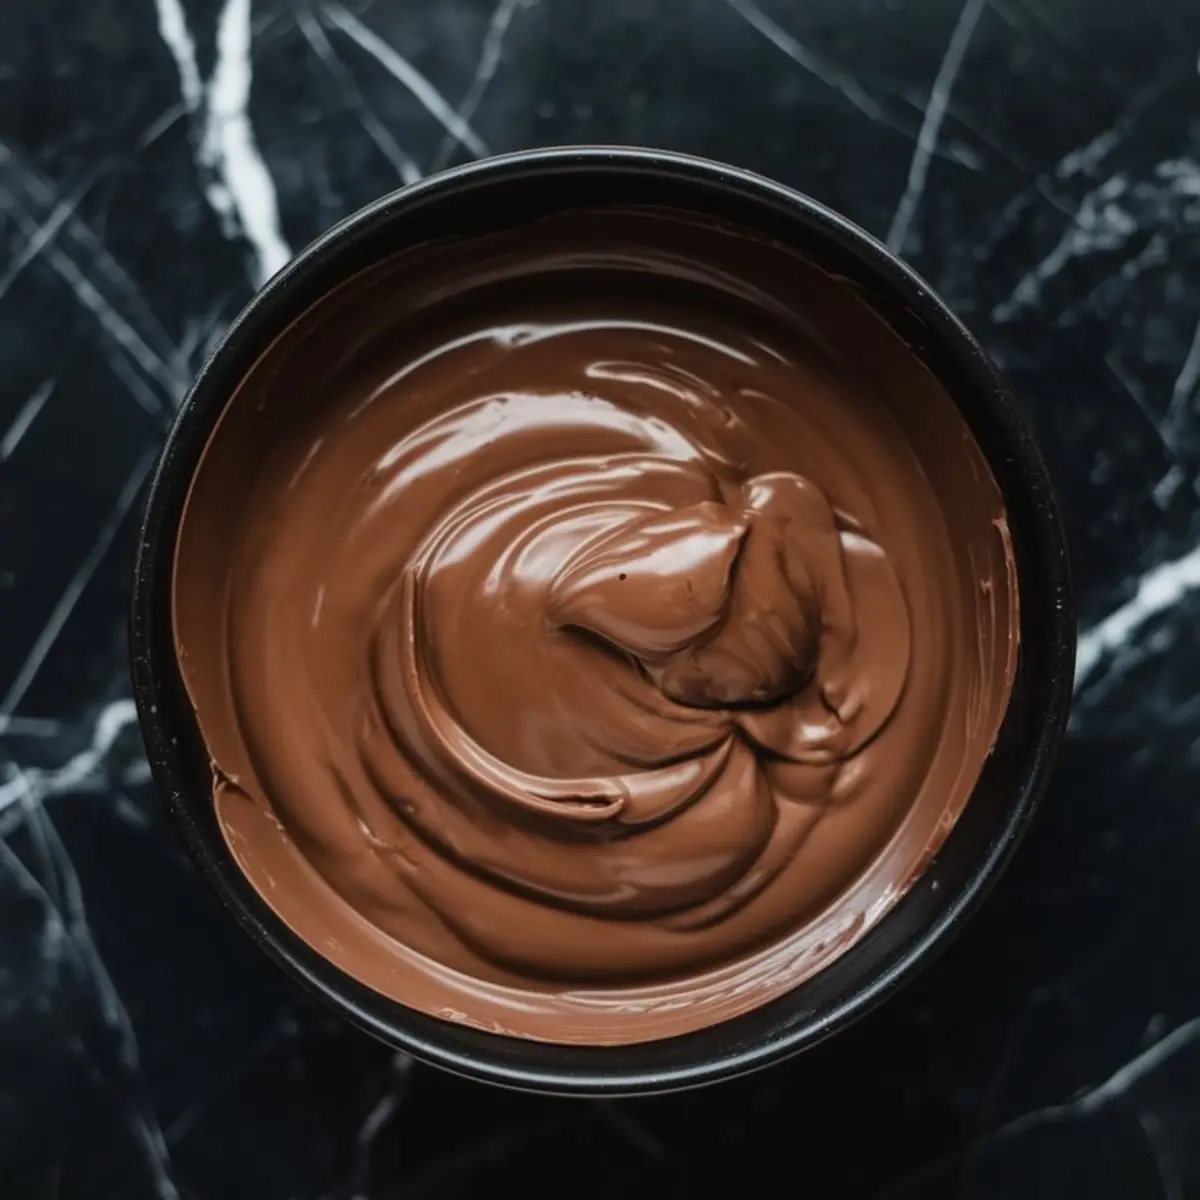
Melted milk chocolate forms the cups themselves. I prefer a two-layer method: pour once, chill, then pour again.
This small extra step gives the cups enough strength to hold the mousse without cracking in your hands. My cat Whiskers once knocked over a single-layer chocolate cup sitting on the counter — it crumbled before I could even scold him. Lesson learned. Double-coating is a must.
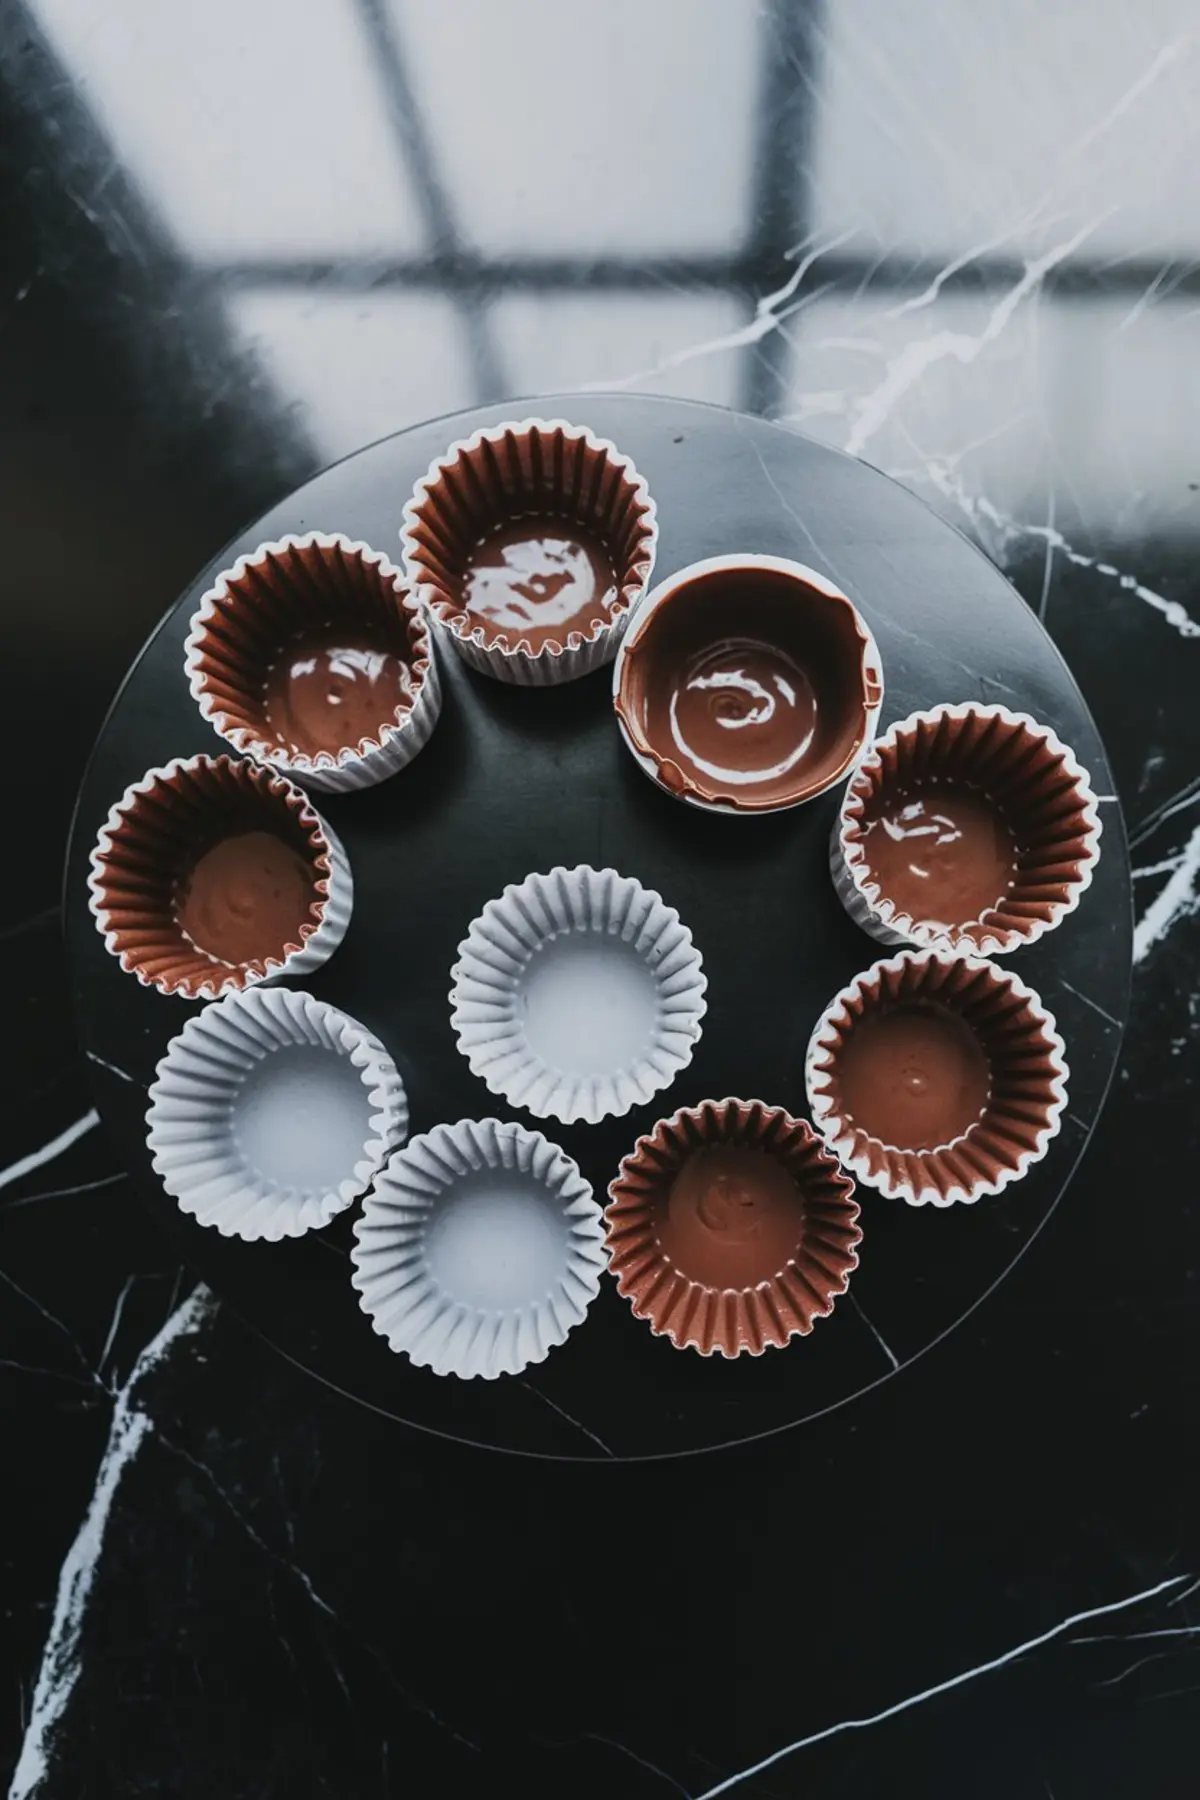
Use silicone cupcake molds if you have them. They peel off like a dream compared to paper liners.
Assembling the Red, White, and Blue Fourth of July Mousse Cups
Once the chocolate sets, I spoon or pipe the mousse inside the cups.
For a fancier look, I load a piping bag with a star tip and swirl the mousse high. Then I add a few fresh blueberries and a couple of white chocolate stars to each cup.
The stars? Just melted white chocolate poured into tiny molds, chilled until firm. They snap cleanly and give the cups that bright, crisp contrast of color and texture.
Secret Ingredient That Makes These Red Velvet Mousse Cups Stand Out
Remember that dash of unexpected magic I promised?
It’s melted white chocolate folded into the mousse. Not sprinkled. Not drizzled. Folded.
This sneaky addition brings an extra layer of richness and smoothness that regular red velvet desserts usually miss. In my Pin Notebook, I call it “velvet glue.” It ties everything together without shouting over the cocoa flavor.
You can skip it, but once you taste the difference, you won’t want to.
Fresh Blueberries vs. Canned for Decorating
A quick note on the topping. I’ve tested both fresh and canned blueberries for this recipe.
Fresh blueberries stay firmer, brighter, and offer a clean pop when you bite into the mousse cup. Canned blueberries, though convenient, slump and weep juice after a few hours in the fridge.
I always reach for fresh when I want the dessert to still look lively after traveling to a barbecue or picnic.
What about you? Do you usually pick fresh berries, or do you find canned easier for gatherings?
Storing and Serving Tips for Velvet Mousse Chocolate Cups on Fourth of July
These mousse cups need about 30 minutes in the fridge before serving.
They can sit overnight if needed, making them a stress-free make-ahead dessert. Just be sure they are in a single layer and lightly covered, so condensation doesn’t spoil the chocolate shell.
I like to serve them directly from a chilled tray. On hot days, they hold their shape better and feel even more refreshing.
If you love chilled desserts, you might also enjoy my Funfetti Dip or these colorful Patriotic Meringue Kisses.
And for a fruity Fourth of July spread, Patriotic Fruit Pizza pairs beautifully alongside these mousse cups.
Why You’ll Want to Keep This Red Velvet Chocolate Mousse Cups Recipe
This dessert gives you everything you want for a summer gathering: easy prep, cool serving temperature, and a crowd-pleasing, festive look.
The mousse holds its shape, the chocolate stays crisp, and the red, white, and blue colors shine without fading. Plus, you can make them ahead without a second thought.
If you want more make-ahead summer desserts that travel well and impress every time, these mousse cups will become one of your favorites.

Save and Share Your Red Velvet Mousse Cups!
I would love if you saved this recipe to your favorite Pinterest board — it helps others find fun, make-ahead desserts too!
And if you try these 4th of July Velvet Mousse Chocolate Cups, drop a comment below. Tell me how it turned out or if you made your own little twist.
Whiskers and I will be waiting to hear!
4th of July Velvet Mousse Chocolate Cups

These Red Velvet Chocolate Mousse Cups combine silky, tangy mousse with a crisp chocolate shell, finished with fresh blueberries and white chocolate stars. They are festive, rich, and easy to prepare, making them a great choice for summer gatherings. The mousse is creamy and airy with just the right hint of cocoa, capturing the essence of red velvet without the need for baking. Serve chilled for a refreshing dessert that will stand out on any celebration table.
Ingredients
- For the chocolate cups
- 2 cups high-quality milk chocolate chips or chopped milk chocolate
- Silicone cupcake molds or sturdy paper liners
- FOR THE RED VELVET MOUSSE
- 8 oz cream cheese, softened
- 1/2 cup powdered sugar
- 1 cup heavy whipping cream
- 1/2 cup white chocolate, melted
- 2 tablespoons unsweetened cocoa powder
- 1 teaspoon vanilla extract
- Red gel food coloring, enough to achieve a deep red shade
- FOR DECORATION
- Fresh blueberries
- White chocolate stars (made by melting white chocolate and pouring into small star molds)
Instructions
- MAKE THE CHOCOLATE CUPS: Melt the milk chocolate gently in the microwave, stirring every 20 seconds until smooth and glossy. Spoon a generous amount into each cupcake mold and rotate it around to coat the sides evenly. Pour out any excess chocolate and place the molds in the refrigerator to set for about 20 minutes. Repeat with a second layer of chocolate to ensure the cups are sturdy, then chill again until firm.
- PREPARE THE MOUSSE BASE: In a large bowl, beat the cream cheese with an electric mixer until light and fluffy. Add the powdered sugar, unsweetened cocoa powder, and vanilla extract, and continue beating until the mixture is smooth and creamy.
- WHIP THE CREAM: In a separate bowl, whip the heavy whipping cream to stiff peaks using clean beaters. Be careful not to overwhip.
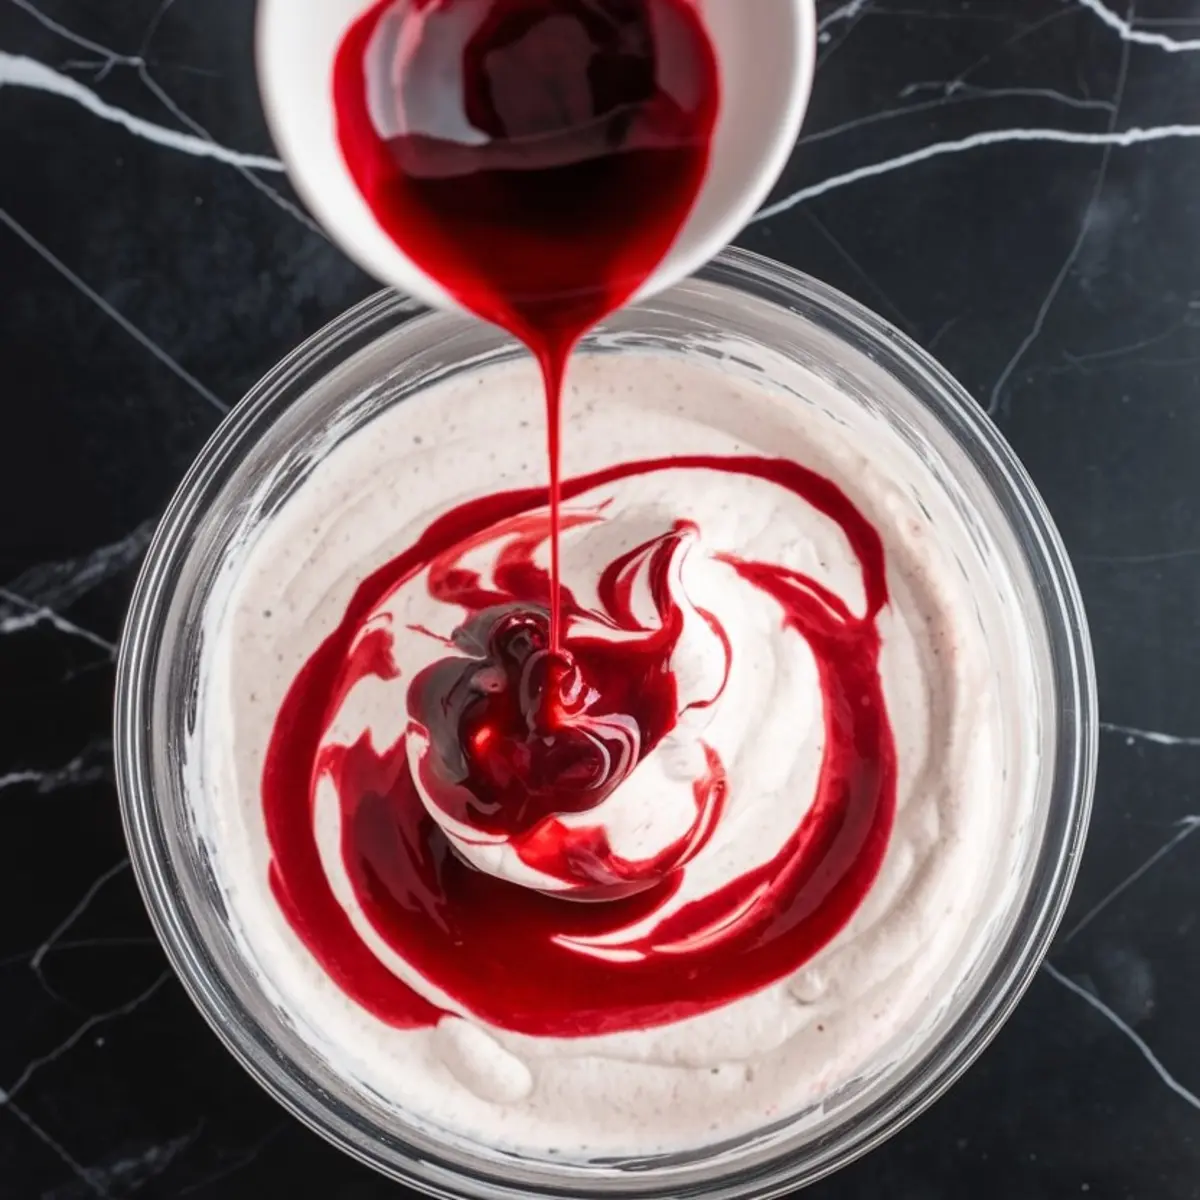
- FOLD THE MOUSSE: Gently fold the whipped cream into the cream cheese mixture using a spatula, working slowly to preserve the airiness. Add the melted white chocolate and fold again until fully incorporated. Add enough red gel food coloring to achieve a deep, vibrant red color, folding gently to combine.
- ASSEMBLE THE MOUSSE CUPS: Carefully remove the chilled chocolate cups from the molds. Fill each cup with the red velvet mousse using a spoon or a piping bag fitted with a star tip for a decorative swirl.
- DECORATE THE CUPS: Top each mousse cup with a few fresh blueberries and a couple of white chocolate stars to create a festive red, white, and blue look.
- CHILL BEFORE SERVING: Place the filled mousse cups back into the refrigerator for at least 30 minutes to set before serving.
Notes
Use high-quality chocolate for the best results. Skipping a second chocolate layer can lead to fragile cups, so be sure to double-coat. These mousse cups can be made one day ahead and stored in the refrigerator until ready to serve.
Nutrition Information:
Yield:
8Serving Size:
1Amount Per Serving: Calories: 808Total Fat: 54gSaturated Fat: 32gTrans Fat: 0gUnsaturated Fat: 17gCholesterol: 120mgSodium: 213mgCarbohydrates: 72gFiber: 3gSugar: 64gProtein: 11g
