
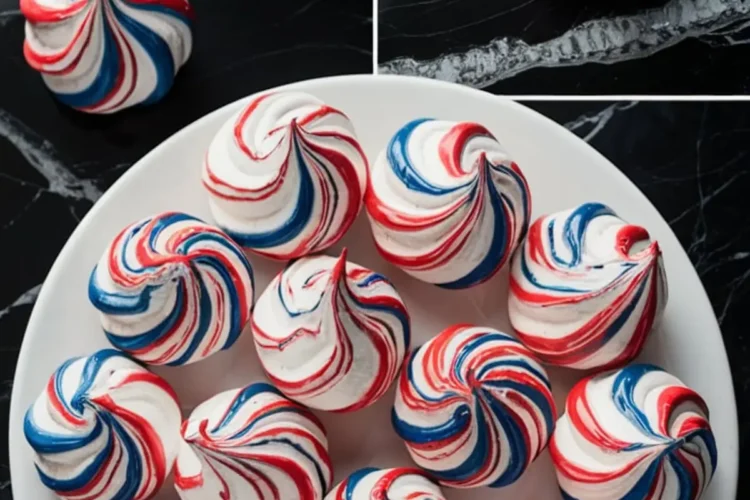
Some cookies are about comfort. Others are about color.
These Patriotic Meringue Kisses? They’re about control.
That first time I piped red, white, and blue swirls, I held my breath like I was threading a needle.
But when they came out of the oven—crisp, weightless, and glowing like summer fireworks—I knew I had something I could share at every Fourth of July gathering from here on.
This post will walk you through each step of making these light, airy cookies that melt on your tongue.
You’ll learn how to keep your meringue smooth, how to stripe the bag without mess, and how to make colors pop without bleeding.
There’s also a small twist waiting. Something I add that lifts the whole cookie—but I’ll hold onto that until we’re ready.
Let’s begin.
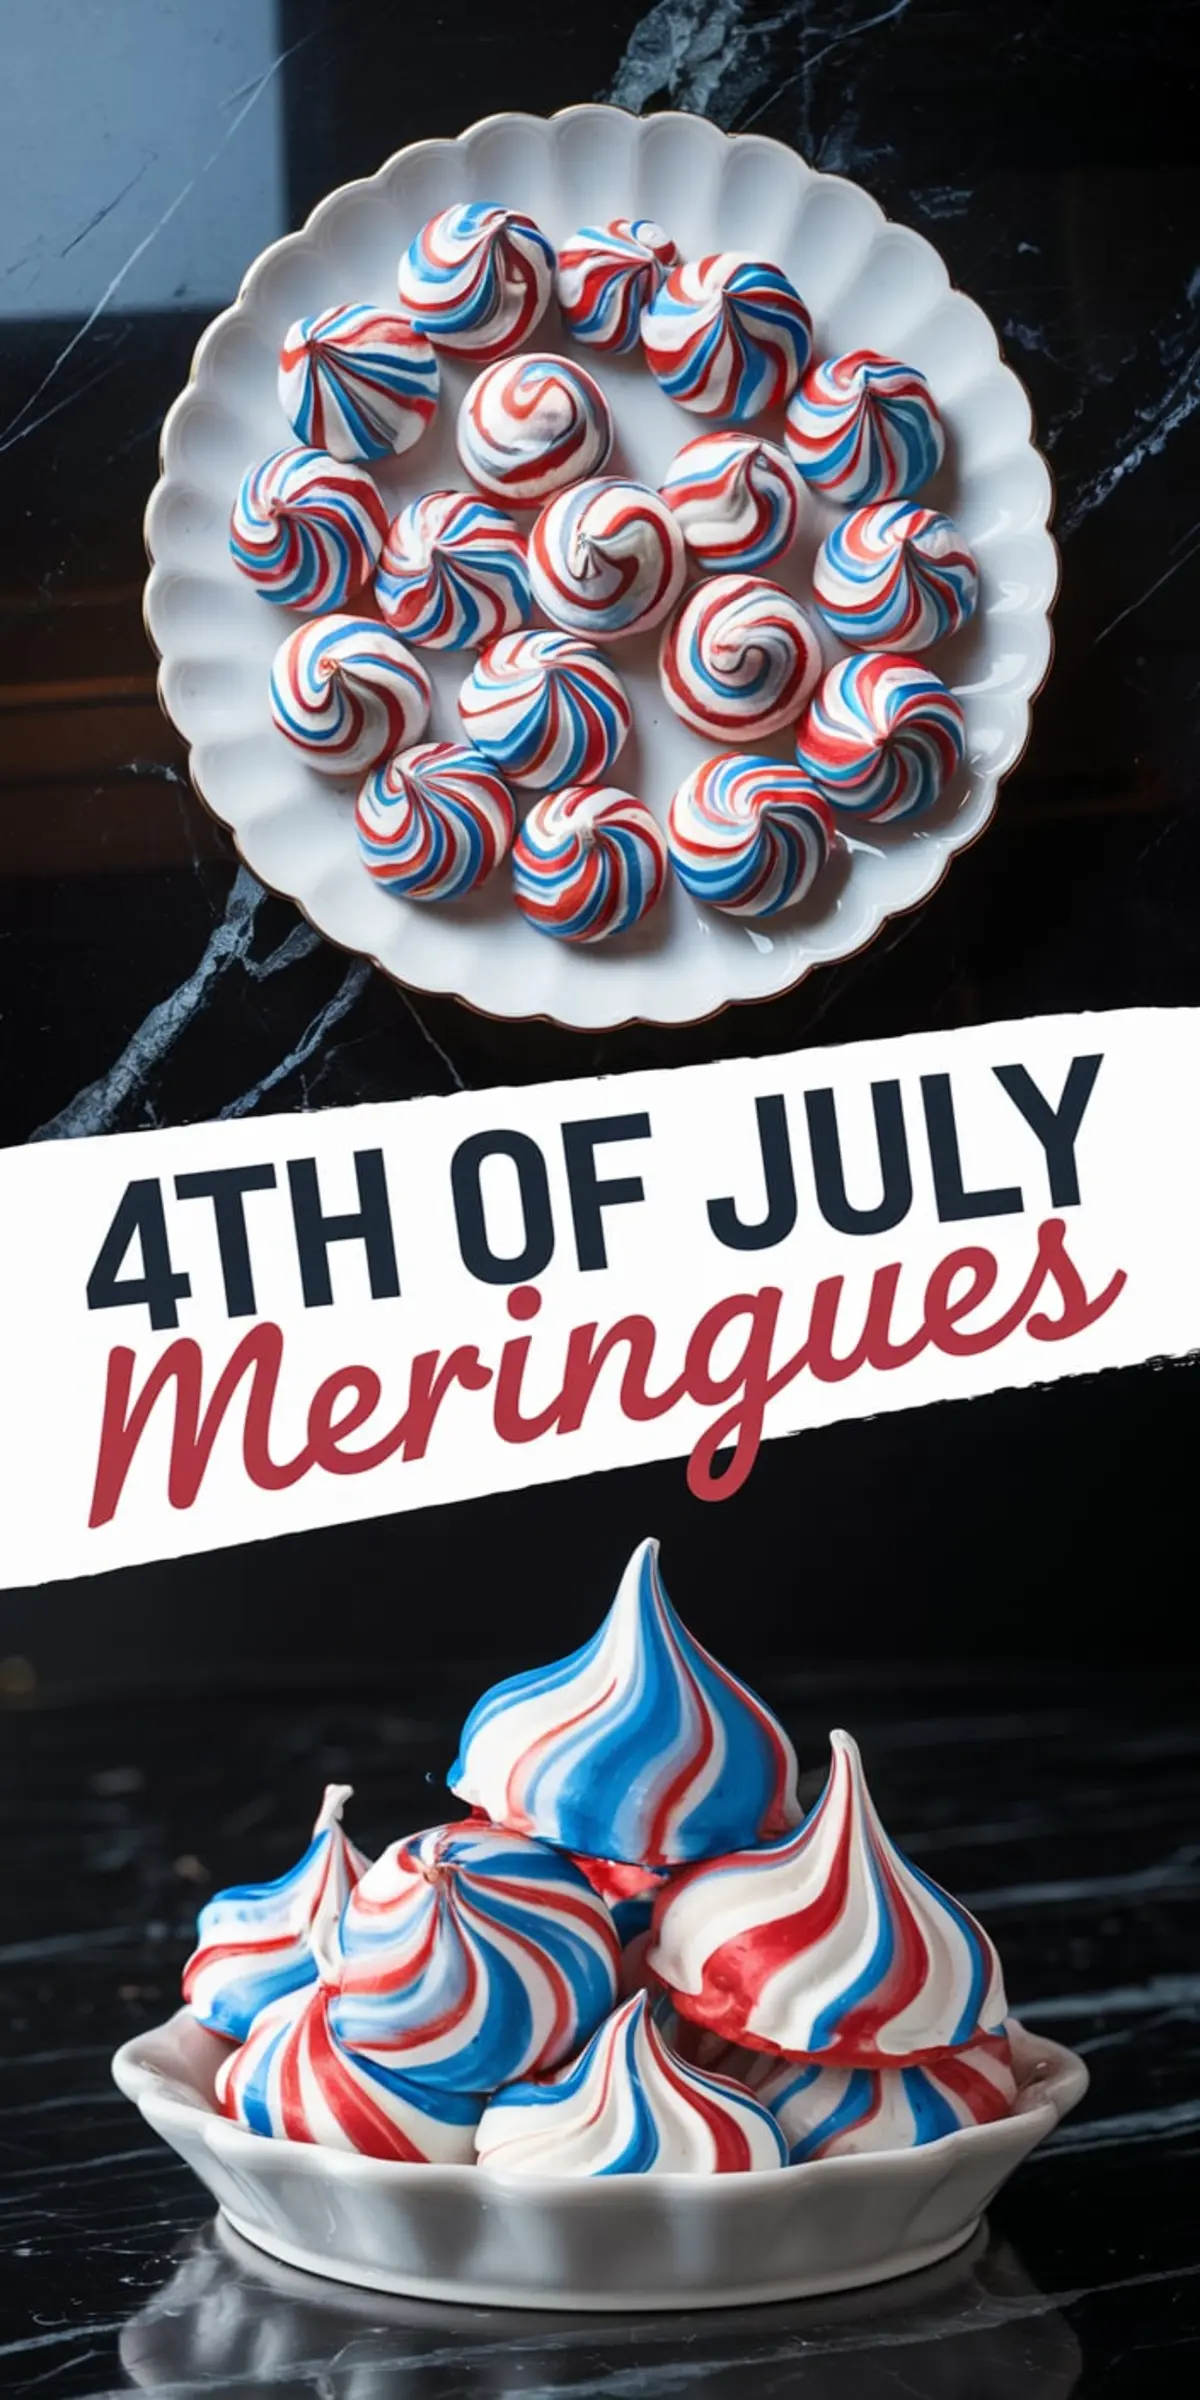
Making Red, White, and Blue Meringue Kisses That Actually Melt in Your Mouth
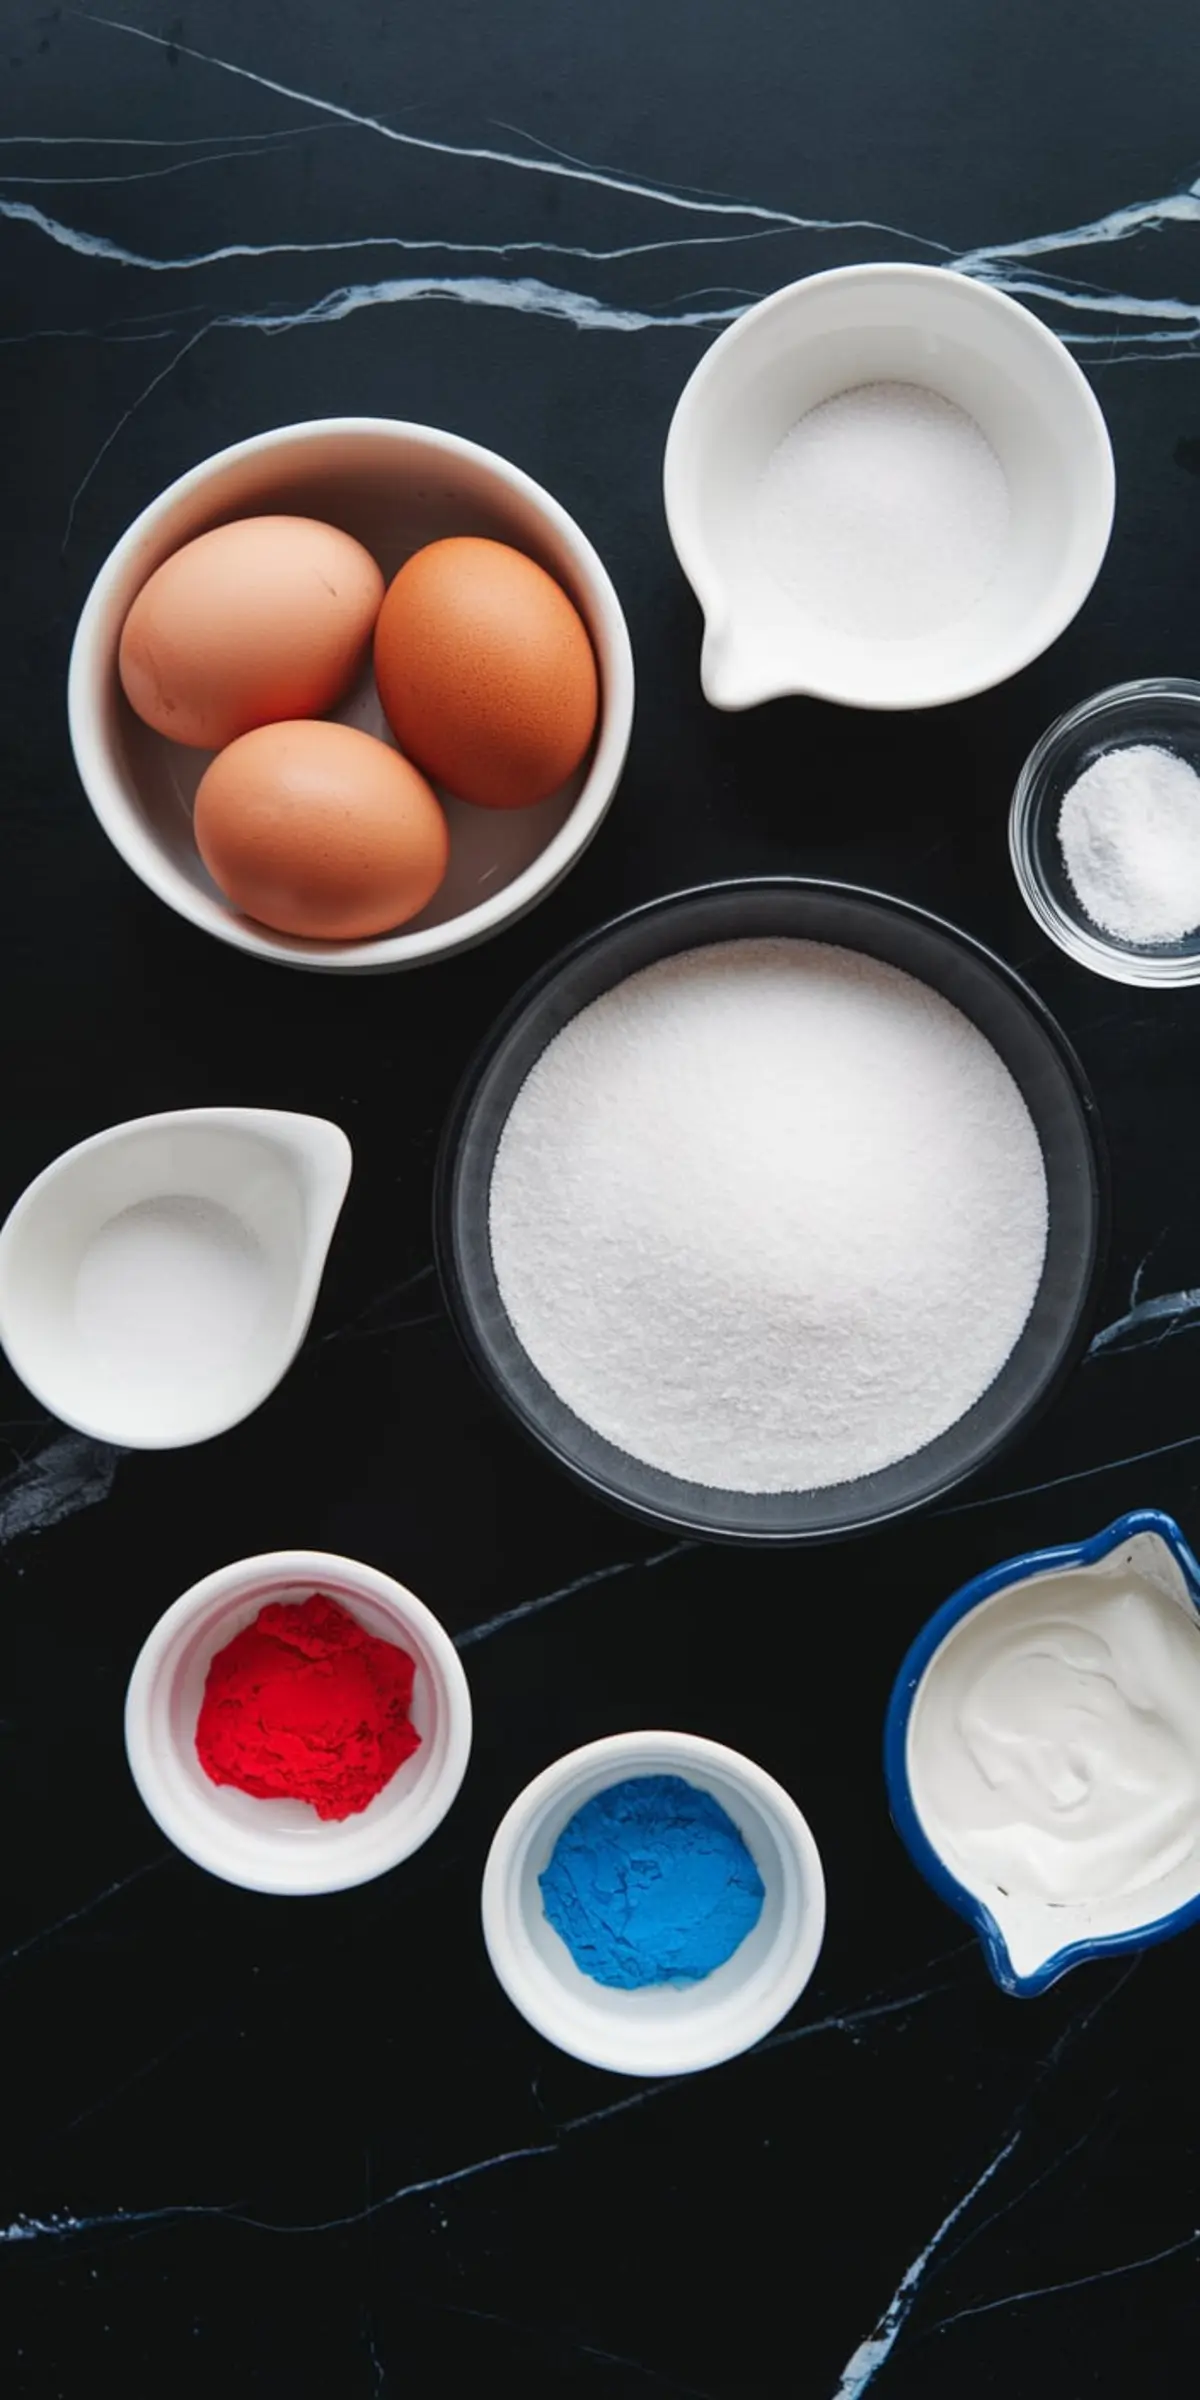
Start with four room-temperature egg whites.
Always room temp. Cold whites will whip slower and risk collapsing before they hold their shape.
Add a pinch of salt and cream of tartar.
That bit of acid helps stabilize the foam. If I’m out, I reach for lemon juice—bright, clean, and always in my fridge.
I whip until soft peaks appear—cloudy and soft like sea foam.
That’s when the sugar joins.
Use Superfine Sugar for Smooth, Crack-Free Meringues
This matters more than you’d expect.
Granulated sugar takes too long to dissolve and can leave grit behind.
In my Pin Notebook, I’ve written this trick in bold:
If all I have is granulated sugar, I pulse it in the blender for 10 seconds. No more. I want tiny crystals—not powder.
I add it slowly, a spoonful at a time, while the mixer runs.
That slow addition helps the sugar dissolve completely and makes the meringue glossy and stable.
I test readiness by rubbing a bit between my fingers.
It should feel smooth, not grainy.
How to Stripe the Piping Bag for Bold Color Without Smudging
This is where the magic begins.
I use a clean paintbrush to draw thin stripes of red and blue gel food coloring up the inside of the bag.
Gel coloring matters. Liquid food dye adds water—and water is the enemy here.
It breaks down the foam and makes the kisses spread.
Once striped, I spoon in the stiff meringue carefully, trying not to drag the spatula along the sides.
Then I fit my favorite star tip (Wilton 1M works best) and start piping small swirls onto parchment-lined trays.
I leave a little space between each kiss—not because they spread, but to help them dry evenly.
Bake Low and Slow for Light, Dry, and Shiny Swirls

My oven stays at 200°F.
It’s low, yes—but heat isn’t what cooks these. Time is.
I set the timer for 1 hour and 15 minutes. I don’t open the door. Not even once.
After the timer beeps, I turn off the oven and leave them inside for another hour.
That slow cool down prevents cracks.
Think of it like letting a cake rest—only lighter, quieter.
Storage Tips for Crispy, Non-Sticky Meringues
Once fully cooled, I lift them gently off the parchment.
They should come off clean and dry. If they stick, they needed more time in the oven.
I store them in an airtight container at room temp.
They’ll stay crisp for about a week—as long as it’s not humid.
Meringue and moisture don’t mix.
On rainy days, I skip them entirely. They never turn out right.
Fresh Lemon Juice vs. Cream of Tartar: A Simple Swap That Changes the Flavor
Here’s something from my tests.
Cream of tartar is more neutral. But lemon juice—when used sparingly—adds a light citrus lift.
It won’t make your kisses taste like lemon meringue.
But if you know it’s there, you’ll feel a slight brightness that softens the sweetness.
I use lemon when I plan to serve these with fresh berries or lemonade.
For more traditional settings—like large Fourth of July parties—I keep it classic with cream of tartar.
Both work. It just depends on the mood.
And That Unexpected Ingredient? A Dusting of Edible Glitter Sugar
This is what I meant by magic.
After piping the swirls, I lightly tap edible glitter sugar across the tray. Just a whisper.
Not sprinkles—those melt.
This sugar sparkles without changing texture. It catches light like fireworks on a warm July night.
I’ve used this trick since the first year I brought these to a 4th of July BBQ.
Kids noticed first. Then adults asked where I bought them.
I smiled and said, “They’re homemade,” while clutching my Golden Spoon behind my back like a secret.
That spoon’s been with me through every recipe on this blog. If you’ve baked with me before, you already know.
A Perfect Make-Ahead Summer Dessert for Crowds and Celebrations
These meringue kisses check every box for summer dessert ideas:
They’re colorful. They’re light. They hold up without refrigeration.
They’re also easy to scale.
Double the batch for a big Fourth of July party. Or make them small and serve alongside Fourth of July drinks.
Use them to decorate cakes, fill treat bags, or pile into bowls beside other 4th of July food desserts.
If you’re hosting, they’ll look sharp next to fruit kabobs or cupcakes.
Save This for Your Board and Share How Yours Turned Out
Planning your 4th of July desserts for a crowd? These kisses won’t melt like ice cream or fall apart like pie crust.
They’re easy to prep ahead, easy to store, and easy to share.
Save this to your “Fourth of July Recipes” or “Summer Desserts” Pinterest board so you don’t forget it.
And if you try it, come back and tell me how it went.
Did you try lemon instead of tartar? Did you add your own sparkle?
I’d love to hear what worked—and what didn’t. Let’s build something sweet together.
Patriotic Meringue Kisses
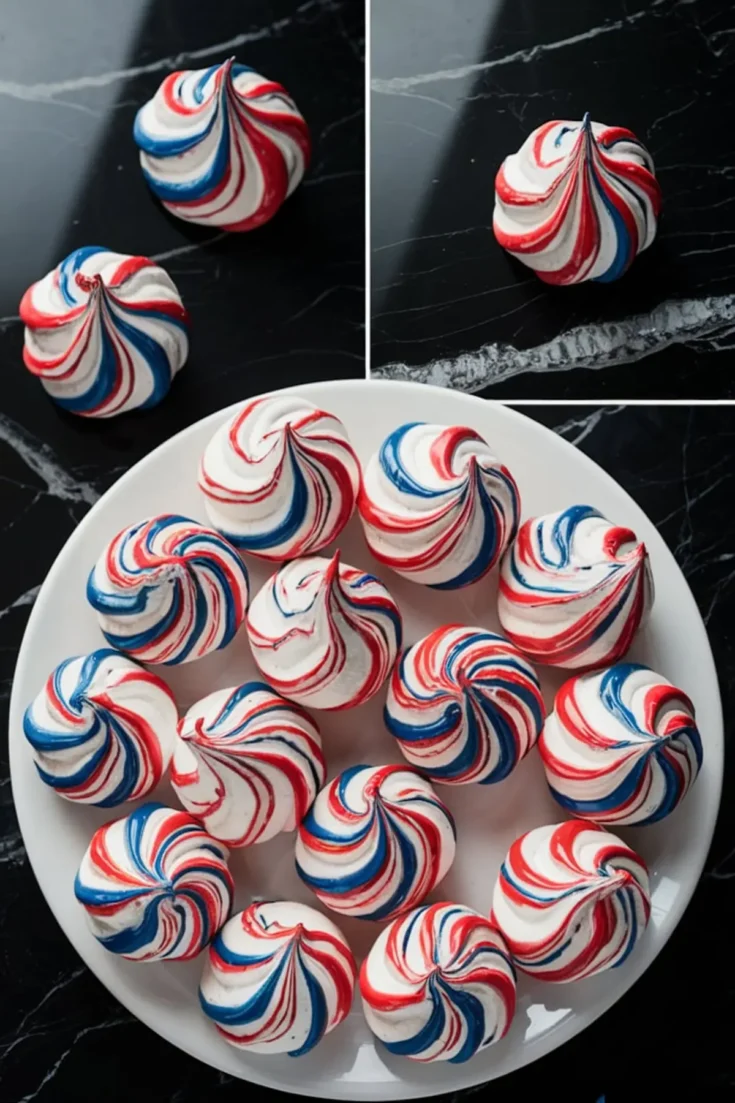
Red, white, and blue meringue kisses bring color and crunch to summer gatherings. These light, crisp swirls are made with whipped egg whites, sugar, and a touch of food coloring. They bake low and slow until dry, giving you airy bites that melt in your mouth.
Ingredients
- 4 large egg whites, at room temperature
- 1 cup superfine sugar (or granulated sugar pulsed in a blender)
- 1/4 teaspoon cream of tartar (or 1/2 teaspoon lemon juice or vinegar)
- Pinch of salt
- Red gel food coloring
- Blue gel food coloring
Instructions
- PREHEAT THE OVEN: Set your oven to 200°F (93°C) and line two baking sheets with parchment paper for best crispness.
- PREPARE THE MIXING BOWL: Use a clean, dry metal or glass mixing bowl. Avoid plastic, as it can hold onto fat, which interferes with meringue formation.
- WHIP THE EGG WHITES: Add the egg whites, cream of tartar, and a pinch of salt to the bowl. Beat on medium speed until soft peaks form.
- ADD THE SUGAR: Begin adding sugar one tablespoon at a time, beating well after each addition. Continue whipping until the meringue becomes glossy and holds stiff peaks. Check by rubbing a small amount between your fingers—it should feel smooth, not gritty.
- PREPARE THE PIPING BAG: Using a clean food-safe paintbrush or skewer, paint vertical stripes of red and blue gel food coloring inside a piping bag fitted with a large star tip (such as Wilton 1M).
- FILL THE BAG: Carefully spoon the stiff meringue into the piping bag, avoiding excessive smudging of the colored stripes.
- PIPE THE MERINGUES: Pipe small swirls onto the prepared baking sheets, spacing them about one inch apart. They won’t spread, but need airflow to bake evenly.
- BAKE: Place the trays in the oven and bake for 1 hour 15 minutes. Do not open the oven during this time.
- COOL IN OVEN: After baking, turn off the oven and let the meringues cool inside for 1 hour. This helps them finish drying and prevents cracking from sudden temperature changes.
- REMOVE AND STORE: Once fully cooled, remove the meringues from the parchment. Store in an airtight container at room temperature for up to one week.
Notes
Use gel food coloring for bold stripes that won’t water down the meringue. If you don’t have superfine sugar, pulse granulated sugar in a blender for 10–15 seconds. Avoid making these on humid days for best results.

Hi, I love the way these look absolutely beautiful! I want to make them to give out to co-workers for the 4th of July. How would you suggest I package them! I live in Florida so humidity is always high. thank you
Thanks, Nikki! These are perfect for gifting. Since you’re in Florida where humidity can be tricky, I’d recommend packing the fully cooled meringues in small airtight containers with a couple of silica gel packets (the kind labeled food-safe) to help keep them crisp. I’ve also used clear cellophane treat bags, but only if they’re sealed tight and given the same day. Humidity is no joke with meringue, I’ve lost a few batches to it myself.