
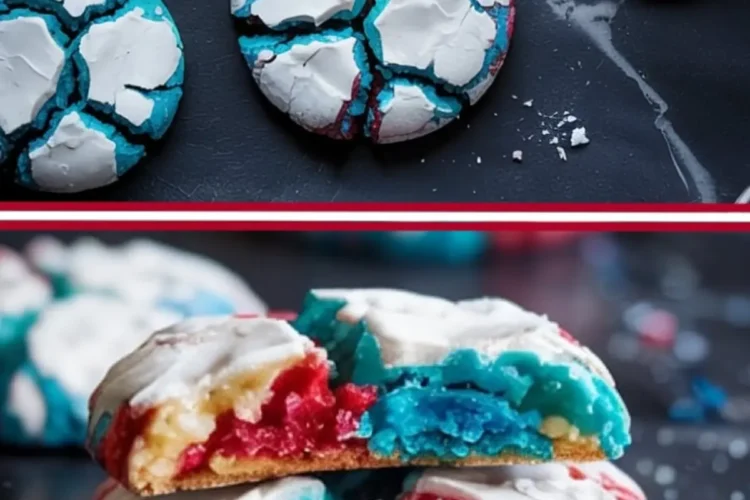
Every summer, I come back to these cookies.
Not because they’re the flashiest dessert at the table, but because they never get left behind. Their marbled red, white, and blue look festive enough to catch eyes. But it’s their soft, buttery bite that keeps people coming back for seconds, thirds, and then quietly sneaking a fourth on a napkin.
You’re here because you want to make something that people remember, right?
These 4th of July Patriotic Crinkle Cookies aren’t just sugar and food coloring. They’re a small baking trick with a big payoff. You’ll learn how to create bold, beautiful cookies that actually taste rich and buttery instead of flat and overly sweet like so many dyed doughs tend to be.
And there’s a subtle twist I add, something small but clever. That gives these cookies a more satisfying bite.
I’ll share it after the steps.

The Ingredients That Build Soft, Chewy Centered Cookies
Every good cookie starts with a reliable base.
I use all-purpose flour, baking powder, and a bit of salt to structure the dough without making it too dense. The two teaspoons of baking powder might look generous, but they create that puffed, crinkled top that makes this cookie recipe worth repeating.
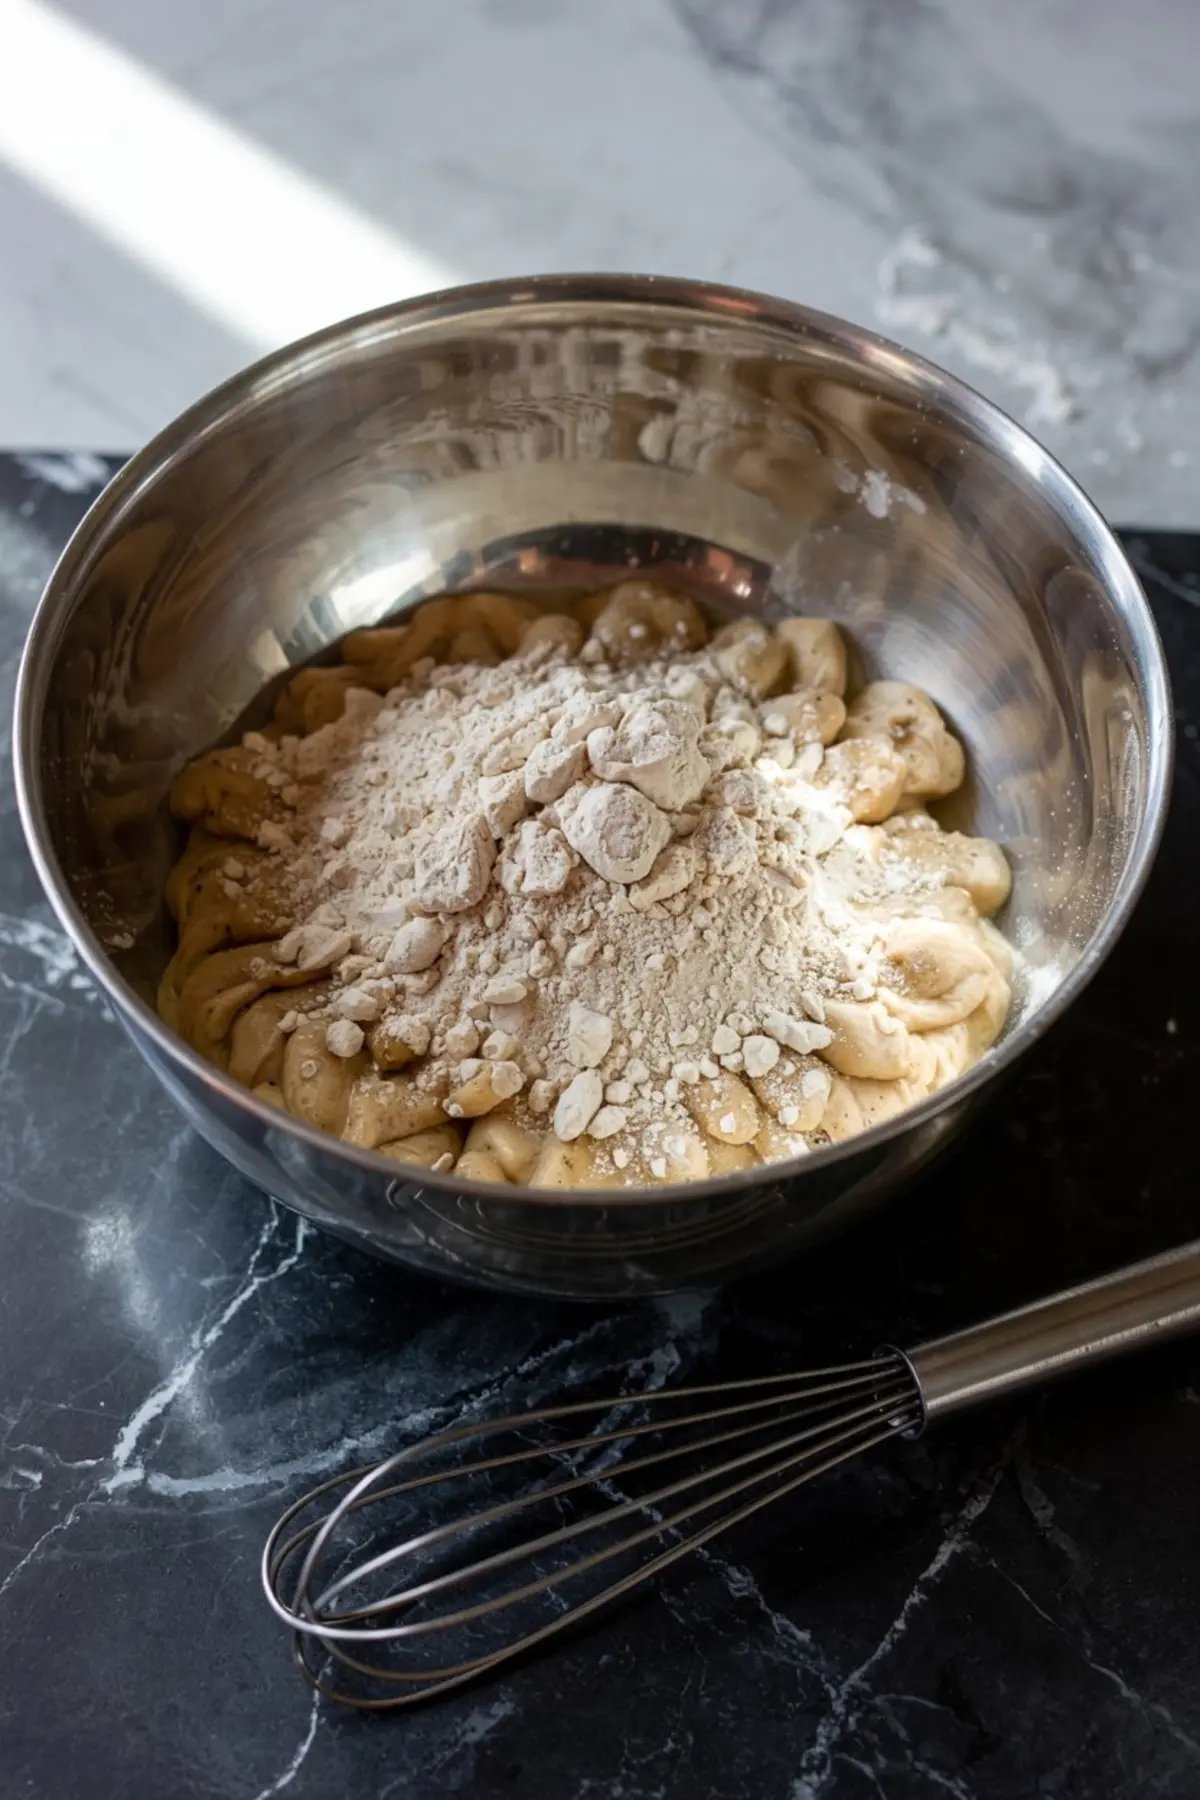
Room temperature butter and granulated sugar get creamed until they fluff up. That process traps air—critical for a cookie that cracks gently as it bakes.
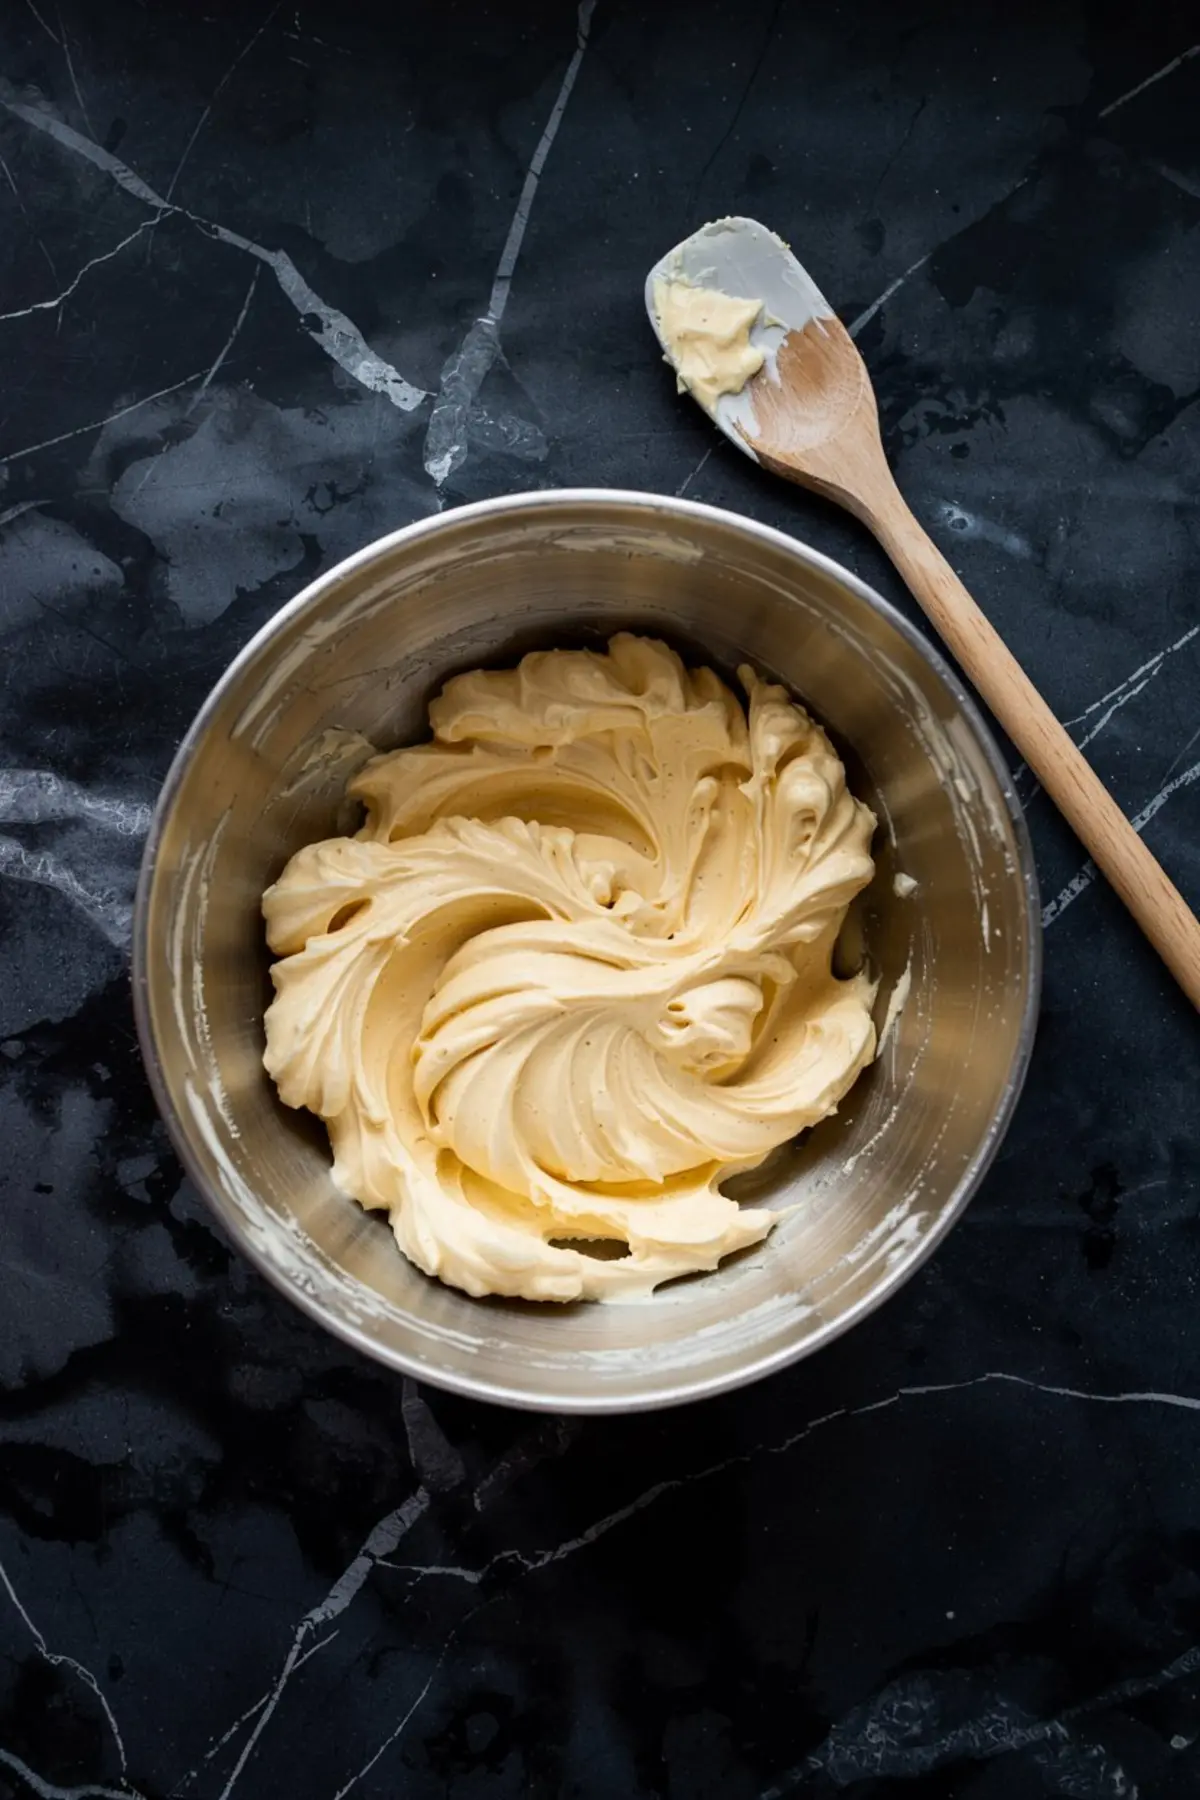
The eggs bring moisture, while the vanilla adds roundness. I don’t use almond extract or lemon here, it muddies the butter-forward flavor. Trust the vanilla. Let it do its job quietly.
And then comes the color.

Red and blue gel food coloring mix into divided batches of the dough. One stays plain—your white. The gels hold their brightness without making the dough wet or sticky like liquid food dye does.
In my Pin Notebook, I’ve written this note again and again next to this recipe: “Don’t skimp on powdered sugar!” That’s what gives the cookies their iconic crinkled coating.
The Step that Turns This into a Holiday Showstopper
Once you’ve got three bowls of dough – red, blue, and plain, it’s time to pinch.
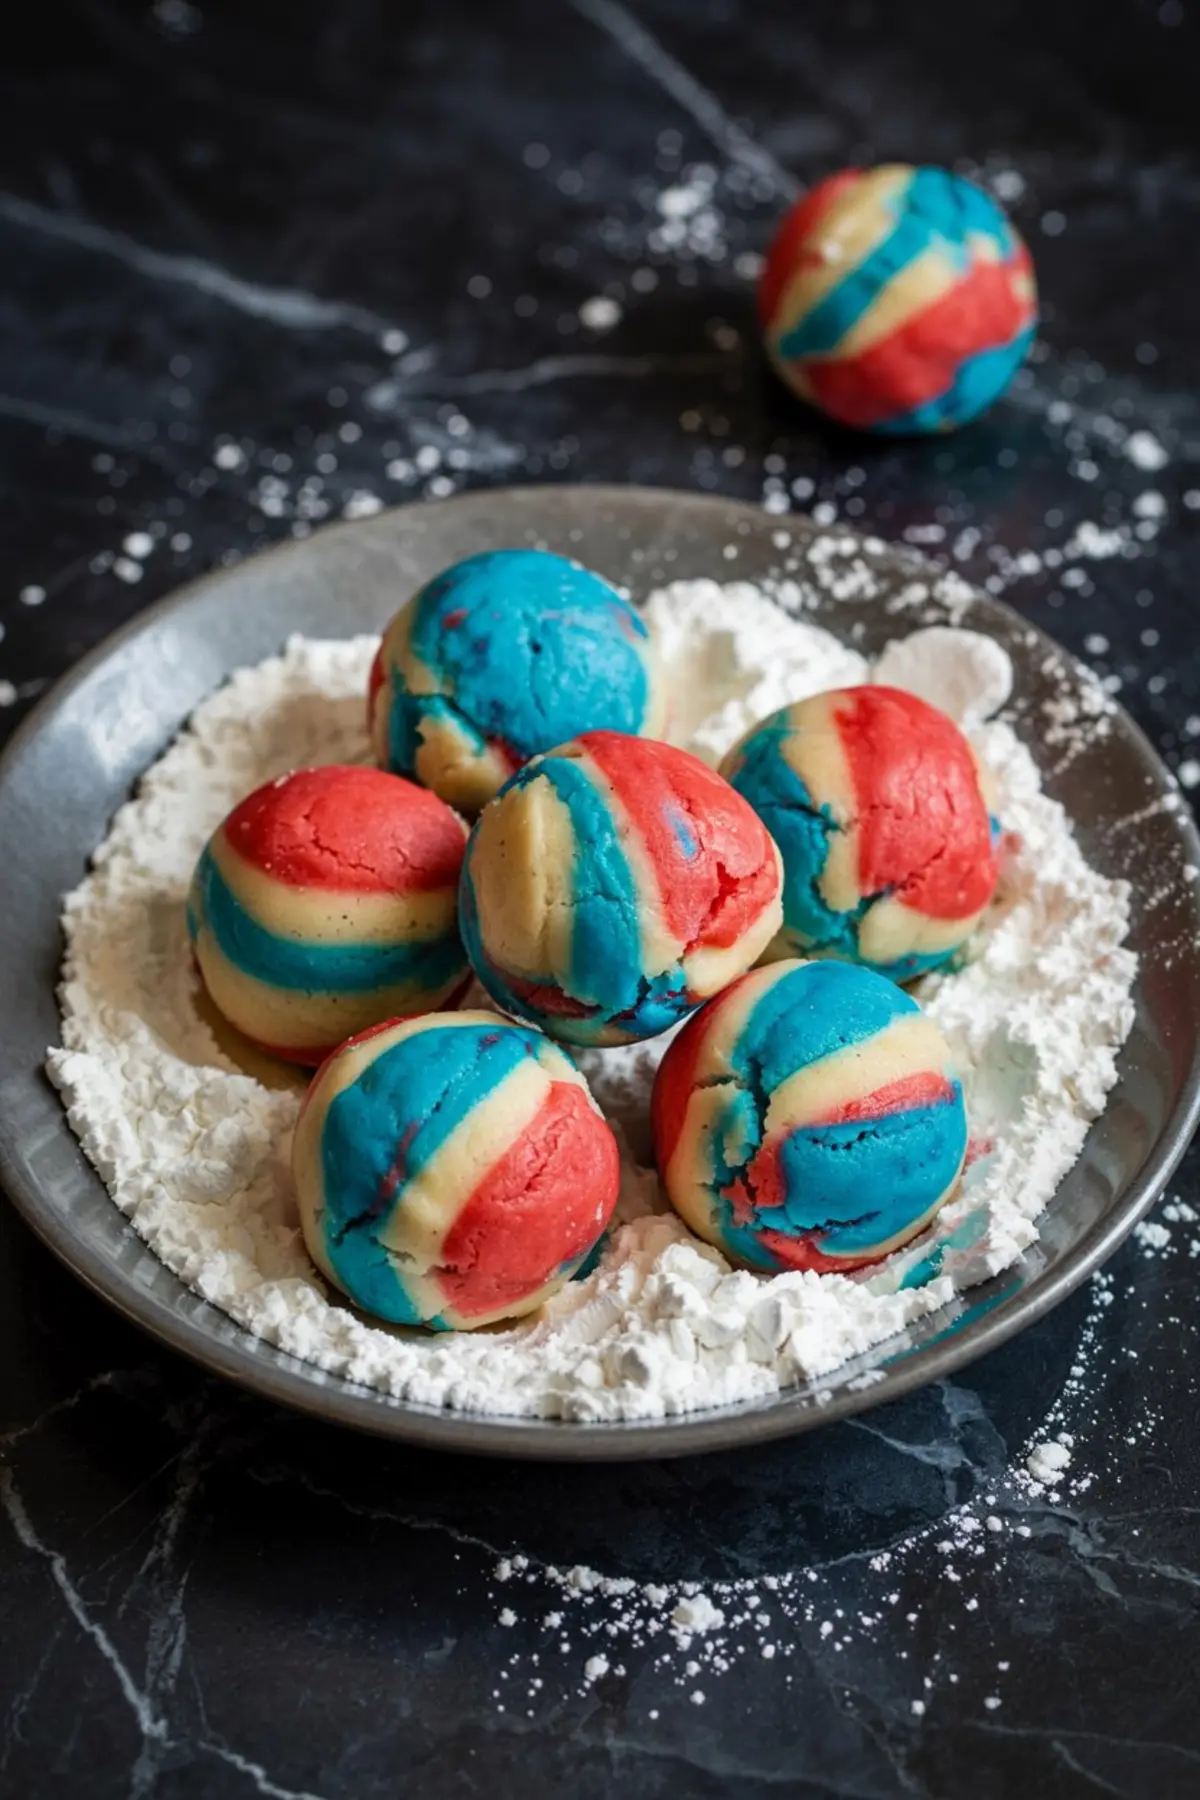
This is where the fun comes in. Grab a bit from each color and gently roll them into a single ball. I don’t twist or marble it too much. Just a few rolls in the palm are enough to let the edges blur without blending the colors completely.
Then roll the whole thing in powdered sugar like it’s a snowball.
Here’s where that crinkle happens. The sugar sits on top, and when the cookies puff up in the oven, the cracks appear naturally. No need to fuss.
I bake these on parchment-lined trays, spaced out well. They need room. The cookies spread slightly but hold their shape enough to keep the marbled look intact.
Ten to twelve minutes is the sweet spot in my oven. At ten minutes, they look puffed and cracked but still feel a little soft in the center. I leave them on the hot baking tray for five more minutes before transferring to a rack. That finish time on the tray sets the base without overbaking.
A Simple Dough, A Big Result: Here’s What Makes This Recipe Work
You might wonder if chilling the dough matters.
I’ve tested both ways, and here’s what I found: if your kitchen is cool, you can skip chilling. But if it’s summer—and I mean real summer, with sticky counters and open windows—chill the dough for 15 minutes before rolling. It helps hold the shape and prevents spreading.
Now, here’s a decision you’ll face: butter or oil?
Oil can make cookies softer, but in this recipe, I stick with unsalted butter every time. The flavor matters. Butter gives a depth that oil can’t mimic. In the past, I tried swapping in a bit of neutral oil, but I missed that mellow richness. The powdered sugar and vibrant dyes need a buttery backdrop, or they take over.
My Favorite Part? The Secret Ingredient That Makes a Difference
Now, let me tell you what I hinted at earlier.
I add a half teaspoon of lemon zest to the plain (white) dough.
That tiny amount doesn’t taste like lemon. Instead, it lifts the vanilla and brings a gentle brightness that keeps the cookie from feeling too heavy.
It’s my dash of magic, written right in the corner of the July section in my Pin Notebook. I found it by accident, years ago, after grating lemon for another recipe and wiping my hand on a towel before rolling cookie dough. I tasted the difference before I realized what I’d done.
If you try this once, you won’t forget it.
Other Red, White & Blue Chocolate Desserts You Might Love
If you like these cookies, you’ll probably want to add more treats to your table that feel just as festive.
You could try these Patriotic Velvet Mousse Chocolate Cups—they’re elegant but surprisingly simple.
Or go bold with Fourth of July Chocolate Churros if you want something with crunch.
For something quick but eye-catching, I love this Patriotic Firecracker Chocolate Bark.
And if you want something you can make ahead, Patriotic Chocolate Cannoli have been a hit at every party I’ve brought them to.
Save This Recipe and Tell Me How It Went
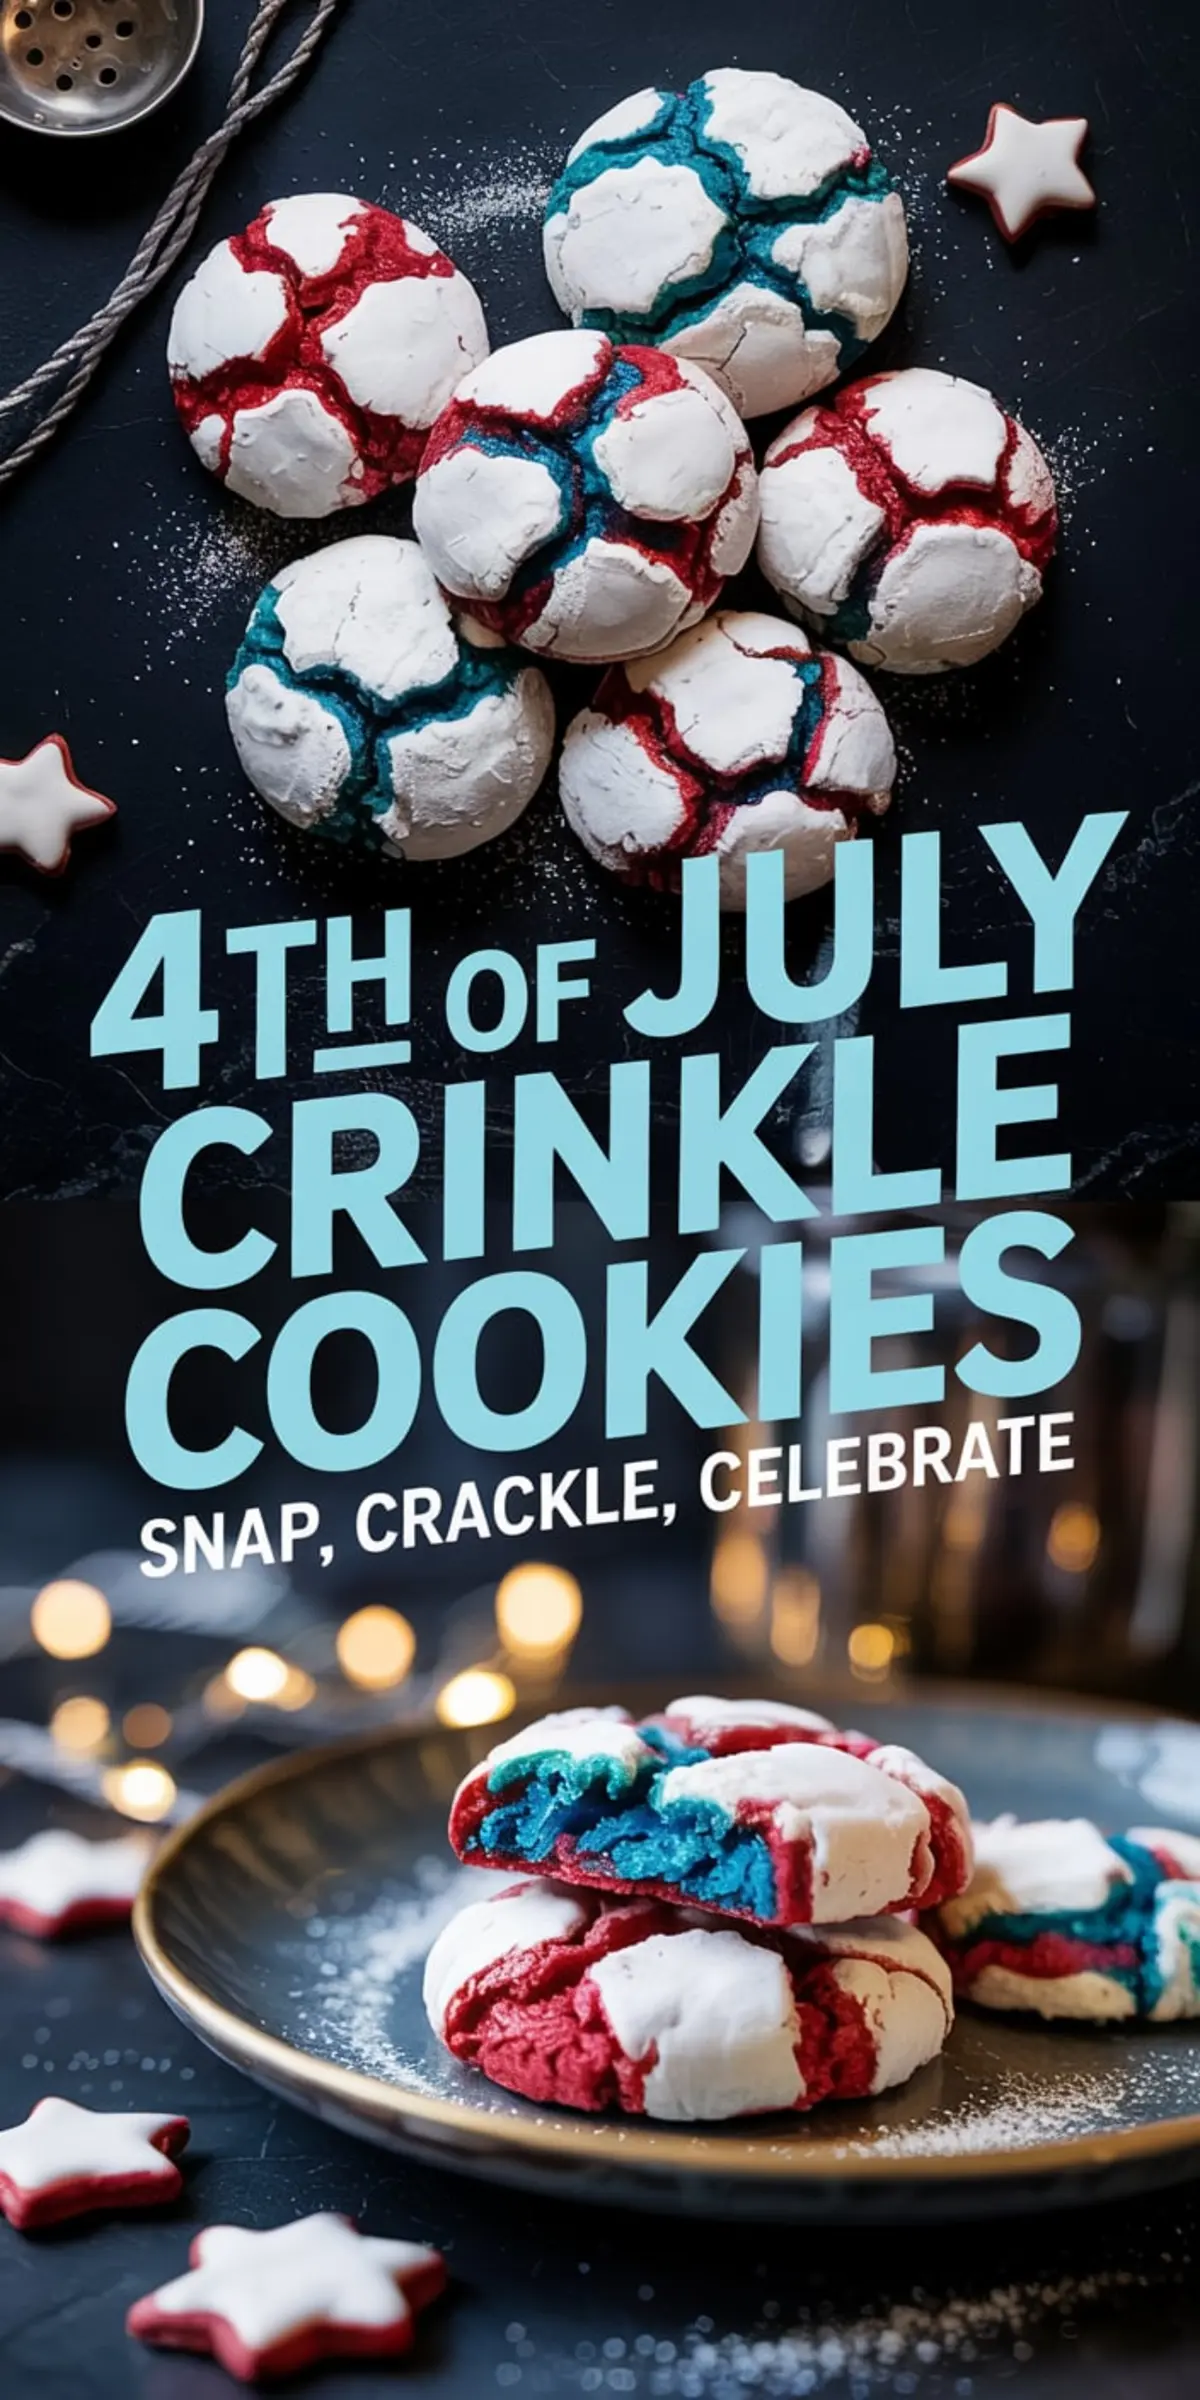
If these cookies found a spot on your summer dessert table, save this Pin so you can return to it each year. Add a note in your own baking notebook, or borrow my trick and add lemon zest—you won’t regret it.
I’d love to know how they turned out. Did your red, white, and blue swirl the way you hoped? Did your family notice the soft lemon lift?
Share your questions or tips in the comments below. We’re building a little baking circle here, and your voice matters.
Patriotic Crinkle Cookies
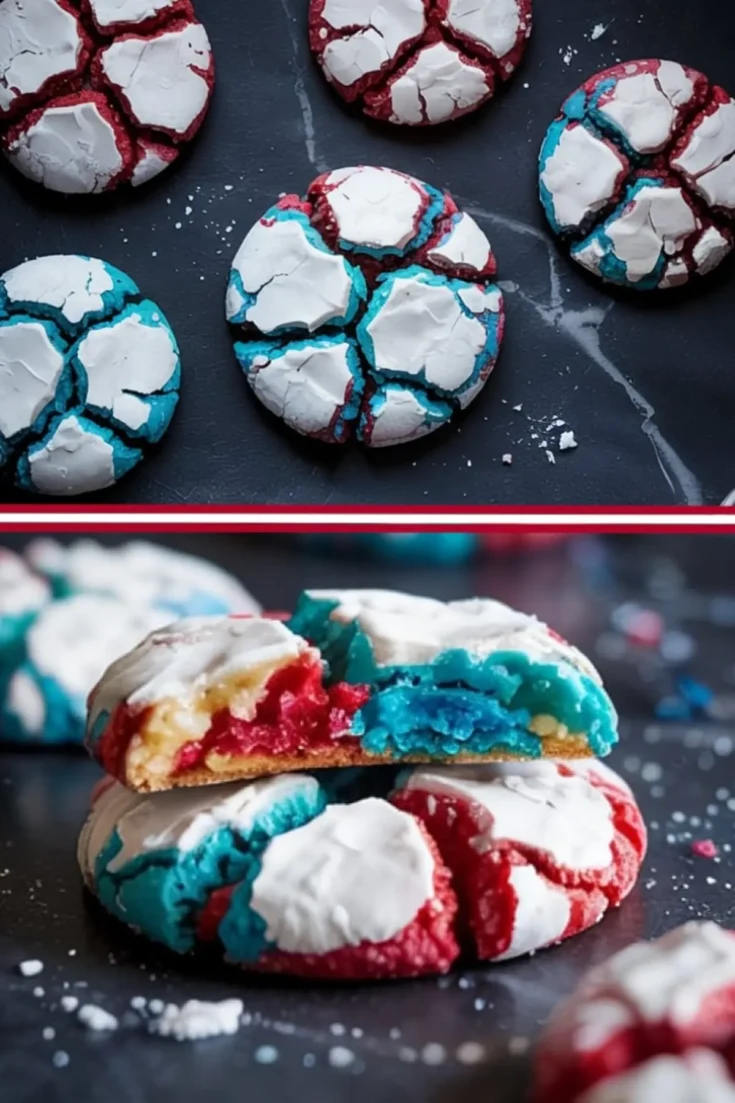
4th of July Crinkle Cookies bring a festive touch to any summer gathering. These colorful cookies have a soft, chewy center wrapped in a crisp powdered sugar shell. The red, white, and blue doughs swirl together to create a beautiful marbled effect without losing their rich buttery flavor. Perfectly balanced sweetness and a tender texture make them a crowd favorite for the holiday.
Ingredients
- FOR THE DOUGH
- all-purpose flour 2 cups (240g)
- baking powder 2 teaspoons
- salt 1/2 teaspoon
- unsalted butter, room temperature 1/2 cup (113g)
- granulated sugar 1 cup (200g)
- large eggs, room temperature 2
- vanilla extract 2 teaspoons
- FOR THE COLORING
- red gel food coloring
- blue gel food coloring
- FOR COATING
- powdered sugar 1 cup (120g)
Instructions
- CREAM THE BUTTER AND SUGAR: In a large bowl, beat the butter and granulated sugar together with a hand mixer or stand mixer on medium speed until light and fluffy, about 2 to 3 minutes.
- ADD THE EGGS AND VANILLA: Add the eggs one at a time, beating well after each addition. Then add the vanilla extract and mix until combined, forming a smooth and creamy base.
- WHISK THE DRY INGREDIENTS: In a separate bowl, whisk together the flour, baking powder, and salt until evenly combined.
- COMBINE WET AND DRY INGREDIENTS: Gradually add the dry ingredients to the butter mixture, mixing on low speed just until combined. Do not overmix to maintain a soft dough texture.
- DIVIDE AND COLOR THE DOUGH: Divide the dough evenly into three bowls. Leave one bowl plain. Add red gel food coloring to the second bowl and blue gel food coloring to the third bowl, mixing each until fully dyed.
- FORM MULTICOLOR DOUGH BALLS: Pinch off a small piece from each colored dough and gently press them together to form a single ball. Roll the ball lightly between your palms until the edges blur slightly but the colors remain distinct.
- COAT WITH POWDERED SUGAR: Roll each dough ball thoroughly in powdered sugar to coat completely, ensuring a generous layer that will create the crinkle effect during baking.
- ARRANGE ON BAKING SHEET: Place the coated dough balls on a parchment-lined baking sheet, spacing them about 2 inches apart to allow for spreading.
- BAKE: Bake in a preheated 350°F (175°C) oven for 10 to 12 minutes, or until the cookies are puffed, cracked, and set around the edges while remaining soft in the center.
- COOL: Let the cookies cool on the baking sheet for 5 minutes before transferring them to a wire rack to cool completely.
Notes
If your kitchen is warm, chilling the dough for 15 minutes before rolling can help prevent excessive spreading during baking. Use gel food coloring for the best vibrant colors without altering the dough texture.
Nutrition Information:
Yield:
24Serving Size:
1Amount Per Serving: Calories: 172Total Fat: 7gSaturated Fat: 3gTrans Fat: 0gUnsaturated Fat: 3gCholesterol: 26mgSodium: 131mgCarbohydrates: 26gFiber: 0gSugar: 13gProtein: 2g

What food coloring do you use for such vibrant colors? I used Betty Crocker color gels and mine came out pink, white and turquoise! I can never get true red and blue.
Hi Katie! I’ve had the same issue with grocery store gels turning out muted. For the bold red and blue in these cookies, I used AmeriColor and Chefmaster gel colors. They’re super pigmented, and you don’t need much. With red especially, I always add a little at a time and let it sit for a few minutes, it deepens as it rests. That helps avoid the pink phase it goes through at first. 💙❤️
Hello!!! Can these be made ahead and frozen?
Yes, these can be made ahead and frozen. Let the cookies cool completely, then freeze them in an airtight container with parchment between layers. The powdered sugar coating can soften a bit after thawing, so I’d add a fresh light dusting before serving if you want them to look crisp again.
Can these be made with vegan butter or I Can’t Believe It’s Not Butter?
Hi Kathy! A stick-style vegan butter should work best here. I would avoid the soft tub spreads if you can, because they usually have more water and can make the cookies spread more. If you use I Can’t Believe It’s Not Butter, use the baking sticks rather than the tub, and chill the dough for 20 to 30 minutes before rolling if it feels soft. The flavor will be a little less buttery, but the cookies should still bake up well.
Hi, has anyone made these with an all purpose gluten free flour?
Hi Aimee! I have not tested this dough with gluten-free flour yet, but a 1:1 all-purpose gluten-free baking flour would be the best place to start. I would chill the dough well before rolling and watch the first tray closely, since gluten-free blends can spread or dry a little differently.
Ok, just got done making these for a 250th party and I’m so disappointed. I’ll start by saying I’m not a baker, love to cook no patience for baking, so I’m sure it’s me. These cookies don’t look anything like yours and my husband says they taste good, but I feel they are lacking something, I didn’t add the lemon zest, but was expecting a more butter cookie flavor, to me they are very bland. I’m just not sure where I went wrong. I’ll pass them out to neighbors in hopes they never ask me to bake anything, lol. Tomorrow I’ll try a cake to take to the party, lol. Wondering if 1/2 cup butter was enough, I do use good Irish butter, so don’t think that’s it, maybe more vanilla, I don’t know. I tried.
Hi Diane — the 1/2 cup of butter is correct, and Irish butter should work well here. The flavor is intentionally mild, but I can see why it felt flat without the lemon zest. There’s also a mismatch I need to fix: the post mentions 1/2 teaspoon lemon zest in the plain dough, but that note didn’t make it into the recipe card. You can add that next time, and an extra 1/2 teaspoon vanilla is fine if you want a stronger vanilla-butter flavor. For the sugar coating, chill the shaped dough briefly if it feels warm, then roll each ball very generously in powdered sugar — a second coating right before baking gives a much whiter crackle and helps it stay visible. Your husband saying they taste good still counts, but I’m sorry this batch didn’t match what you expected.
P.S., yours in the picture almost look painted, mine look like all the sugar fell off.