
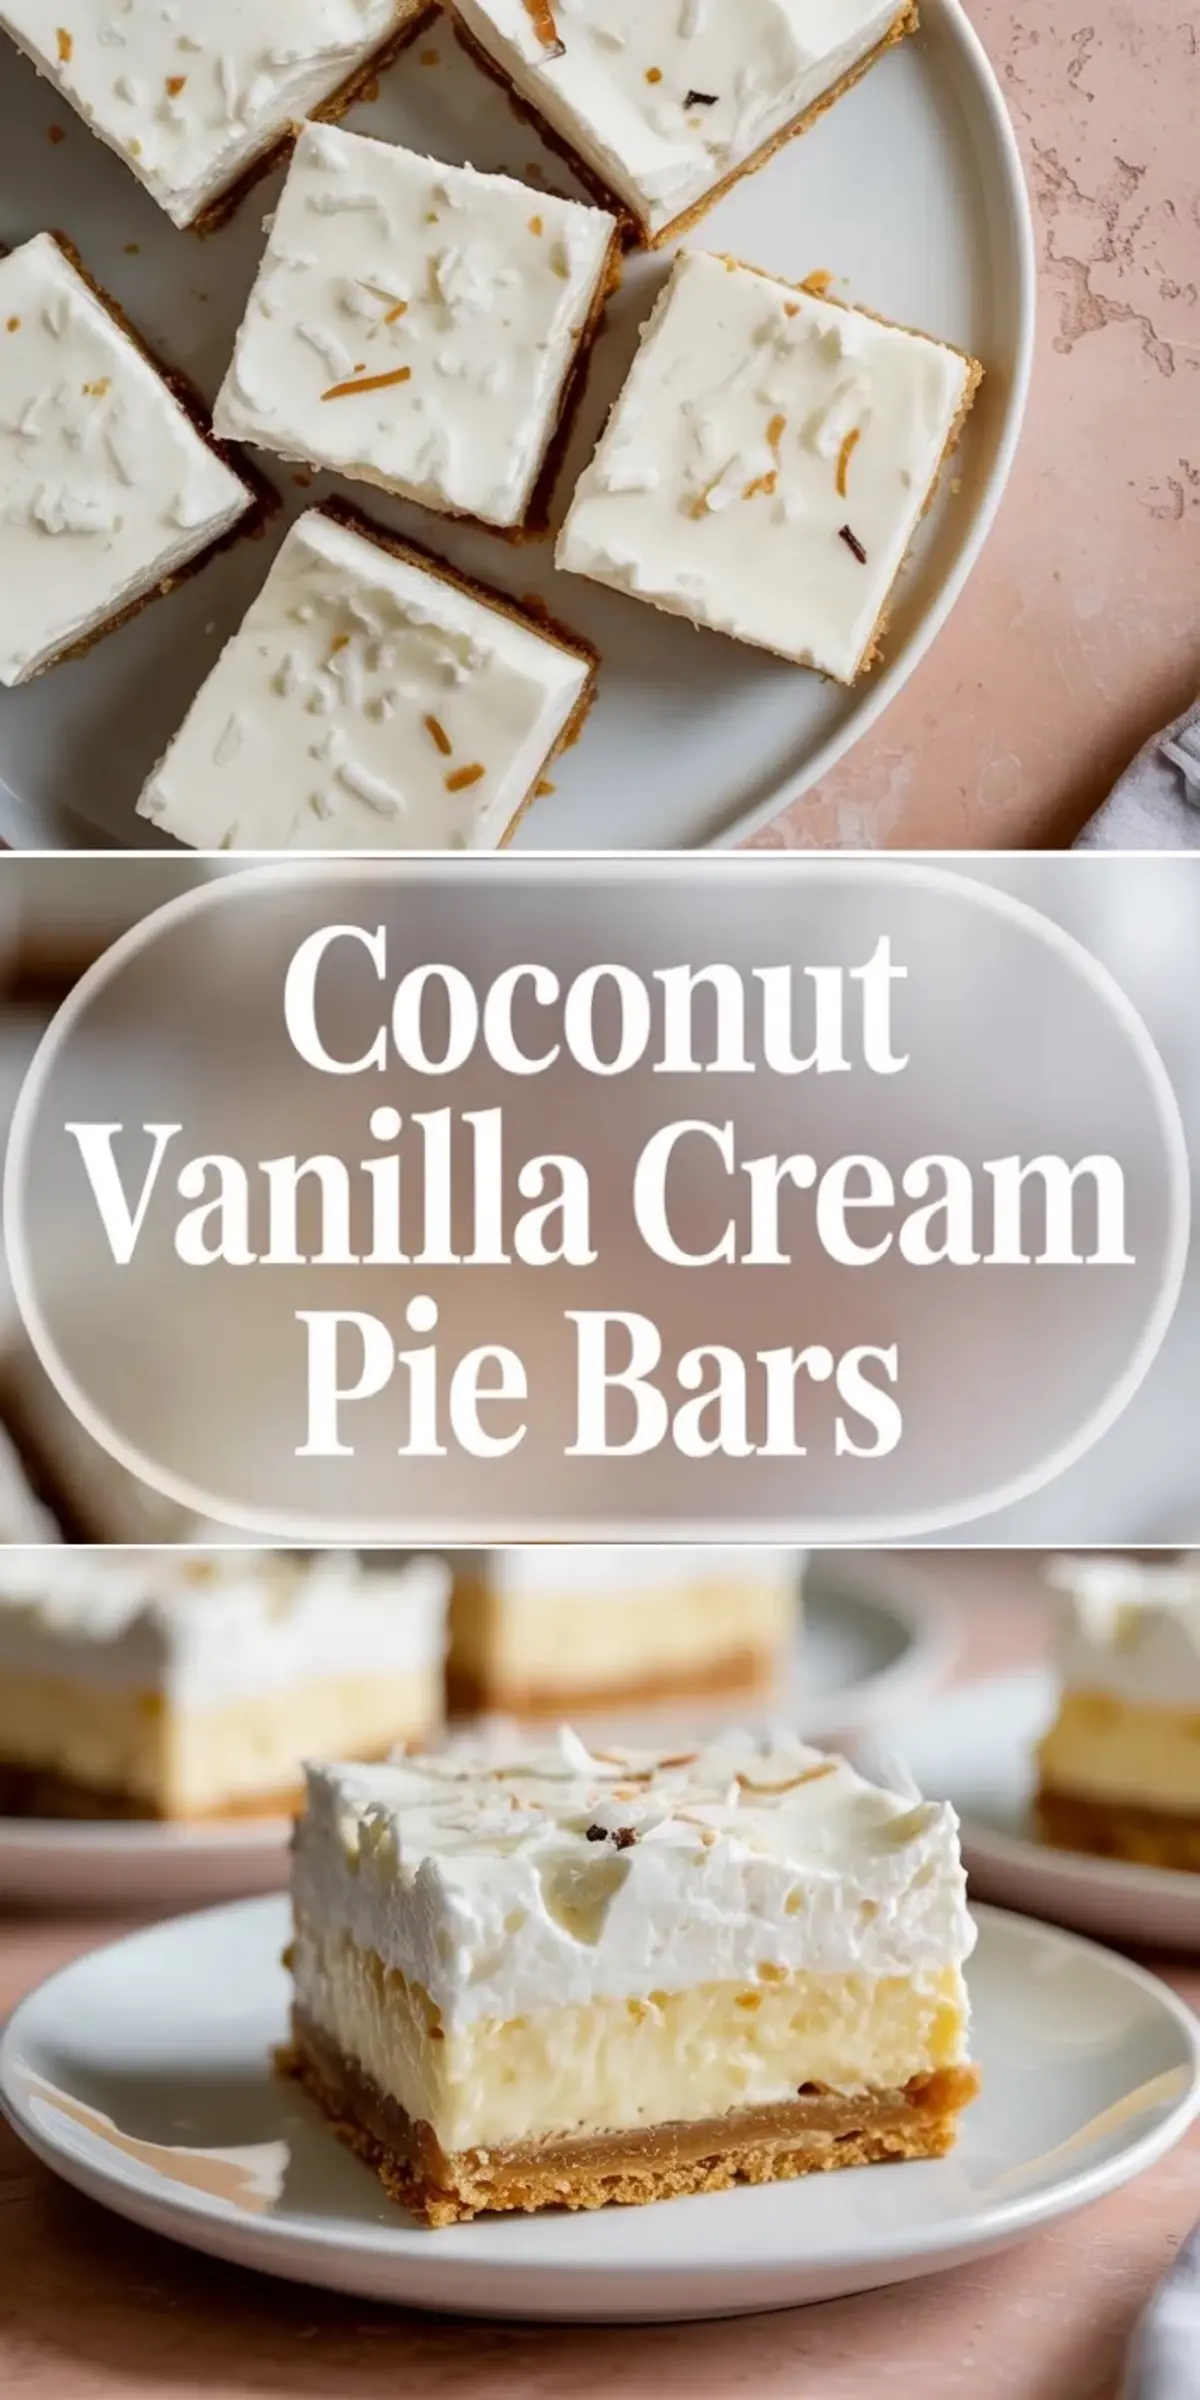
Coconut cream pie bars give you the cool creamy feel of coconut cream pie in a pan that is much easier to make, chill, and slice. The graham cracker base keeps the bars sturdy, the vanilla-coconut filling stays soft and fluffy, and the toasted coconut on top gives the whole pan the finished look people expect from a dessert that is meant to feel a little special.
They are also practical. Instead of dealing with a pie crust and a full round pie, you build clean layers in a square pan and let the fridge do most of the work. That makes these coconut cream pie bars especially useful for summer gatherings, potlucks, holiday dessert trays, or any time you want something chilled that still feels rich enough to count as a real dessert.
Why The Graham Cracker Crust Works
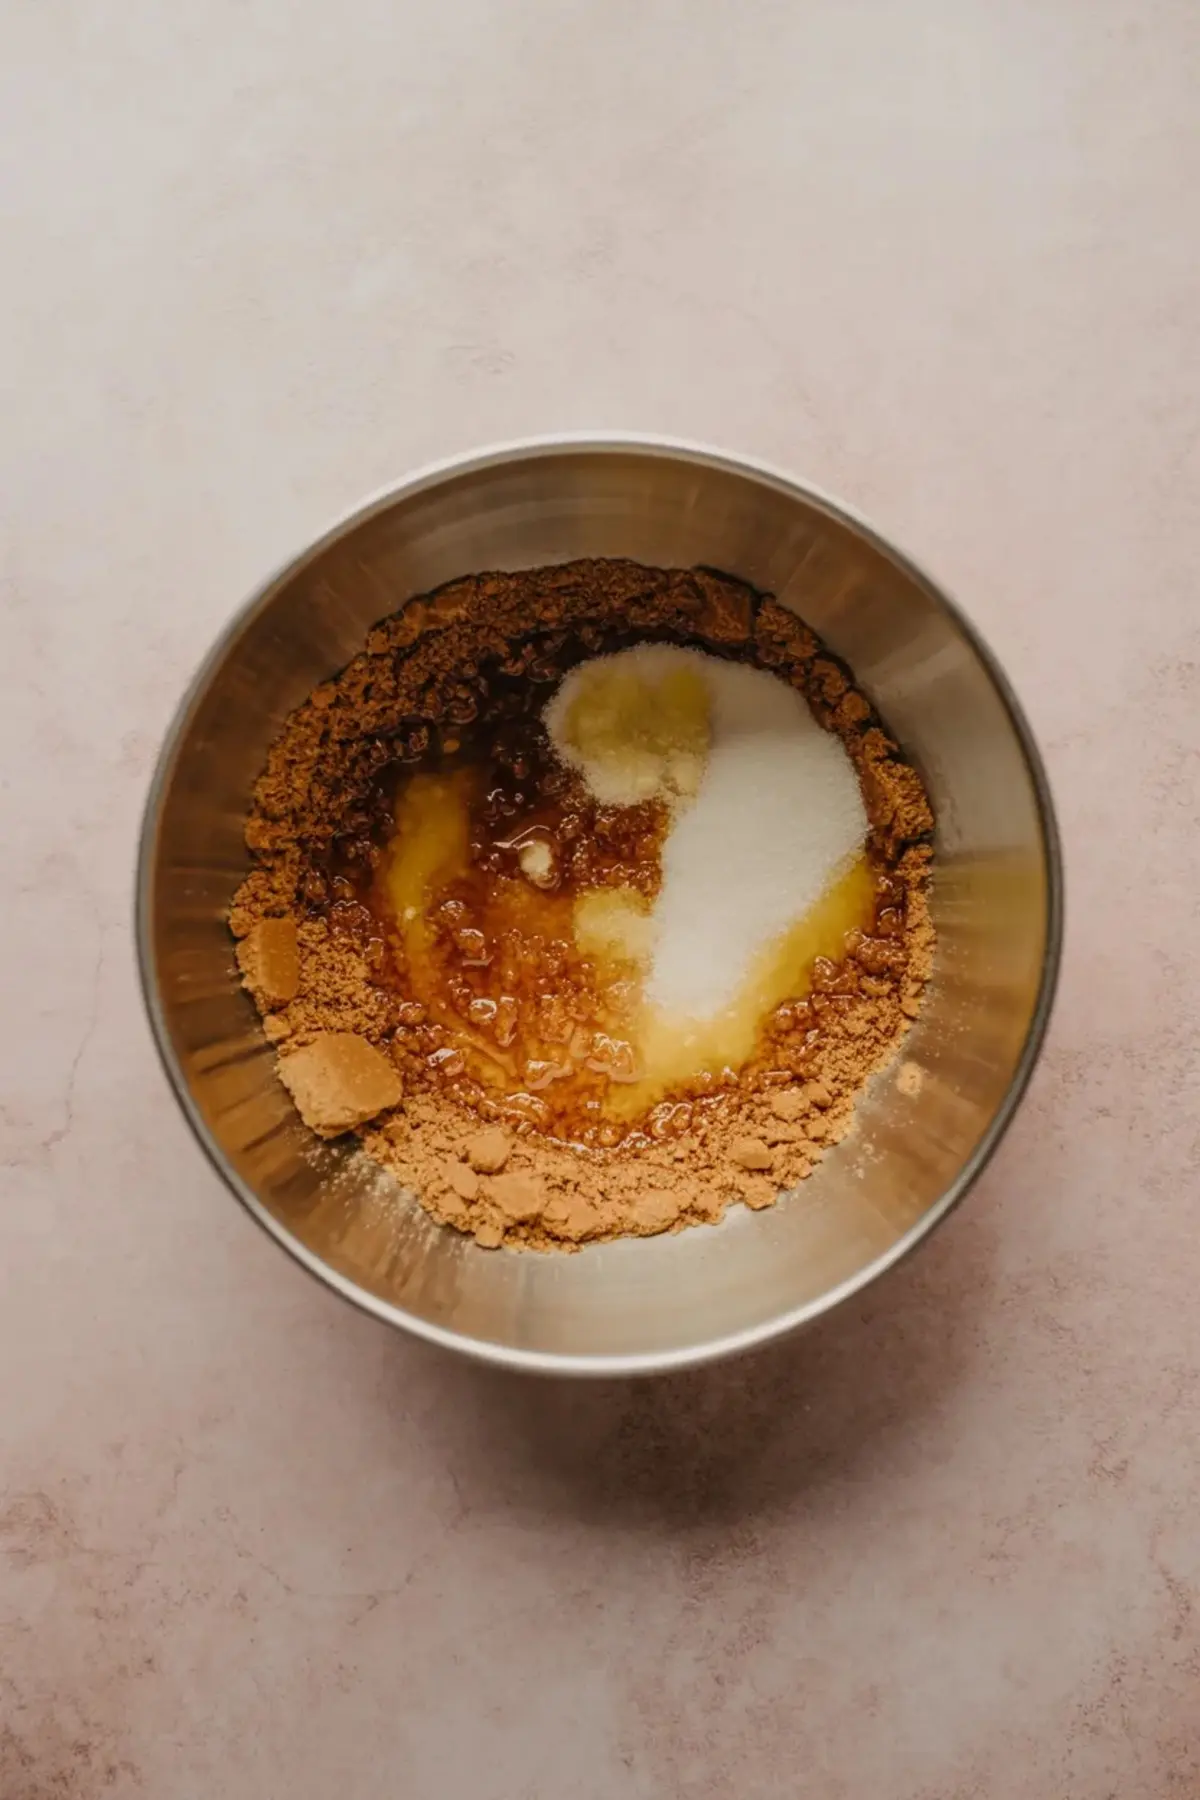
The crust matters more than it looks. Graham cracker crumbs, butter, and a little sugar give you a base that stays firm enough to hold the creamy layers without turning hard or heavy. A short bake helps the crust set so it does not soften too much once the filling goes on.
The filling is where these bars start feeling like coconut cream pie instead of just a pudding dessert. The cream cheese layer gives the pan structure and a smoother, richer bite, while the vanilla pudding and coconut bring the soft pie-style center. That mix keeps the bars light enough to serve cold but still stable enough to cut into squares.
What Makes The Filling Feel Like Pie
Coconut should show up in more than one way here. Shredded coconut in the filling gives the bars texture, while toasted coconut on top adds the nutty finish that makes the flavor feel deeper and more complete. If the topping is skipped, the bars still work, but they lose some of the contrast that makes them feel like a finished coconut dessert instead of a chilled cream square.
Most of the ingredients are simple, which is part of the appeal. Graham crumbs, butter, cream cheese, powdered sugar, pudding mix, milk, whipped topping, vanilla, and coconut are all doing clear jobs. Nothing here is complicated, but the order matters because each layer needs to stay distinct once the bars are chilled and sliced.
How To Build Clean Layers
When you build the pan, make sure the crust is fully cool before adding the cream cheese layer. If the crust still holds warmth, the filling can soften too much and the layers lose some definition. Spread each layer gently so the surface stays even from corner to corner.
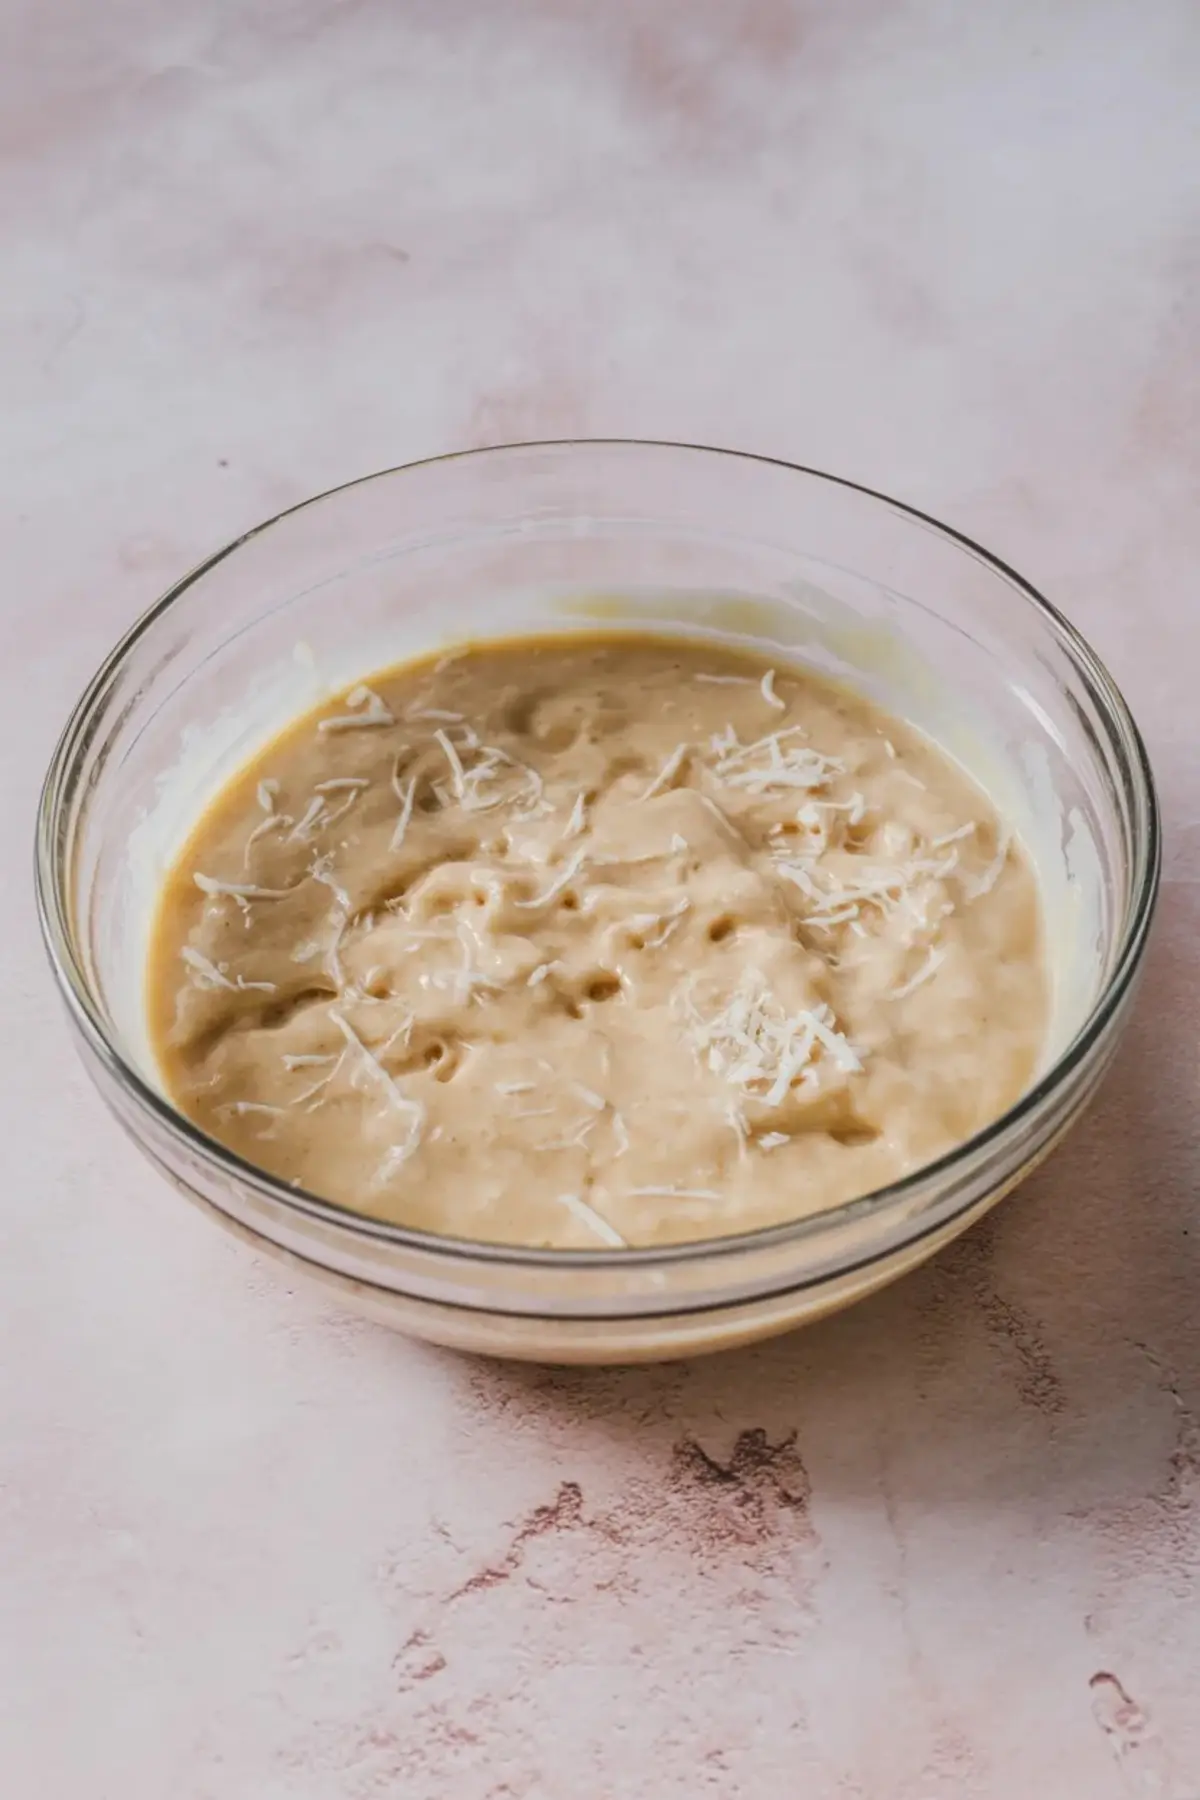
The pudding layer should be thick enough to spread, not loose enough to pour. Once it firms up slightly, you can smooth it over the cream layer without dragging the lower layer around. That small timing choice makes a big difference in how clean the finished bars look after chilling.
Serving And Texture Tips
Whipped topping gives the pan that classic coconut cream pie finish. You can leave it softly swirled or smooth it flat, but the toasted coconut should go on after the top layer is settled so it stays visible and does not sink in. Once chilled long enough, the bars cut best with a sharp knife wiped clean between slices.
If you want another chilled dessert with the same make-ahead convenience, Strawberry Swirl No-Bake Cheesecake Bars are a good fruit-forward next save. For another coconut dessert with more chew and less creaminess, Coconut Toffee Bars take things in a firmer cookie-bar direction. And if you want a richer pie-style dessert, Banana Caramel Cream Bars land in a similar creamy slice-and-serve lane.
Storage Notes
These bars need enough fridge time to fully set, so they are a better make-ahead dessert than a last-minute one. The extra wait is worth it because the layers slice cleaner, the crust holds better, and the topping stays more polished once everything has had time to firm up.
Save This Recipe
Store the bars chilled and cover the pan well so the topping stays fresh. They are best within a few days while the crust still has some texture and the coconut topping still tastes bright. Save these coconut cream pie bars for warm-weather dessert tables, holiday trays, or any time you want an easy pan dessert that looks more involved than it really is.
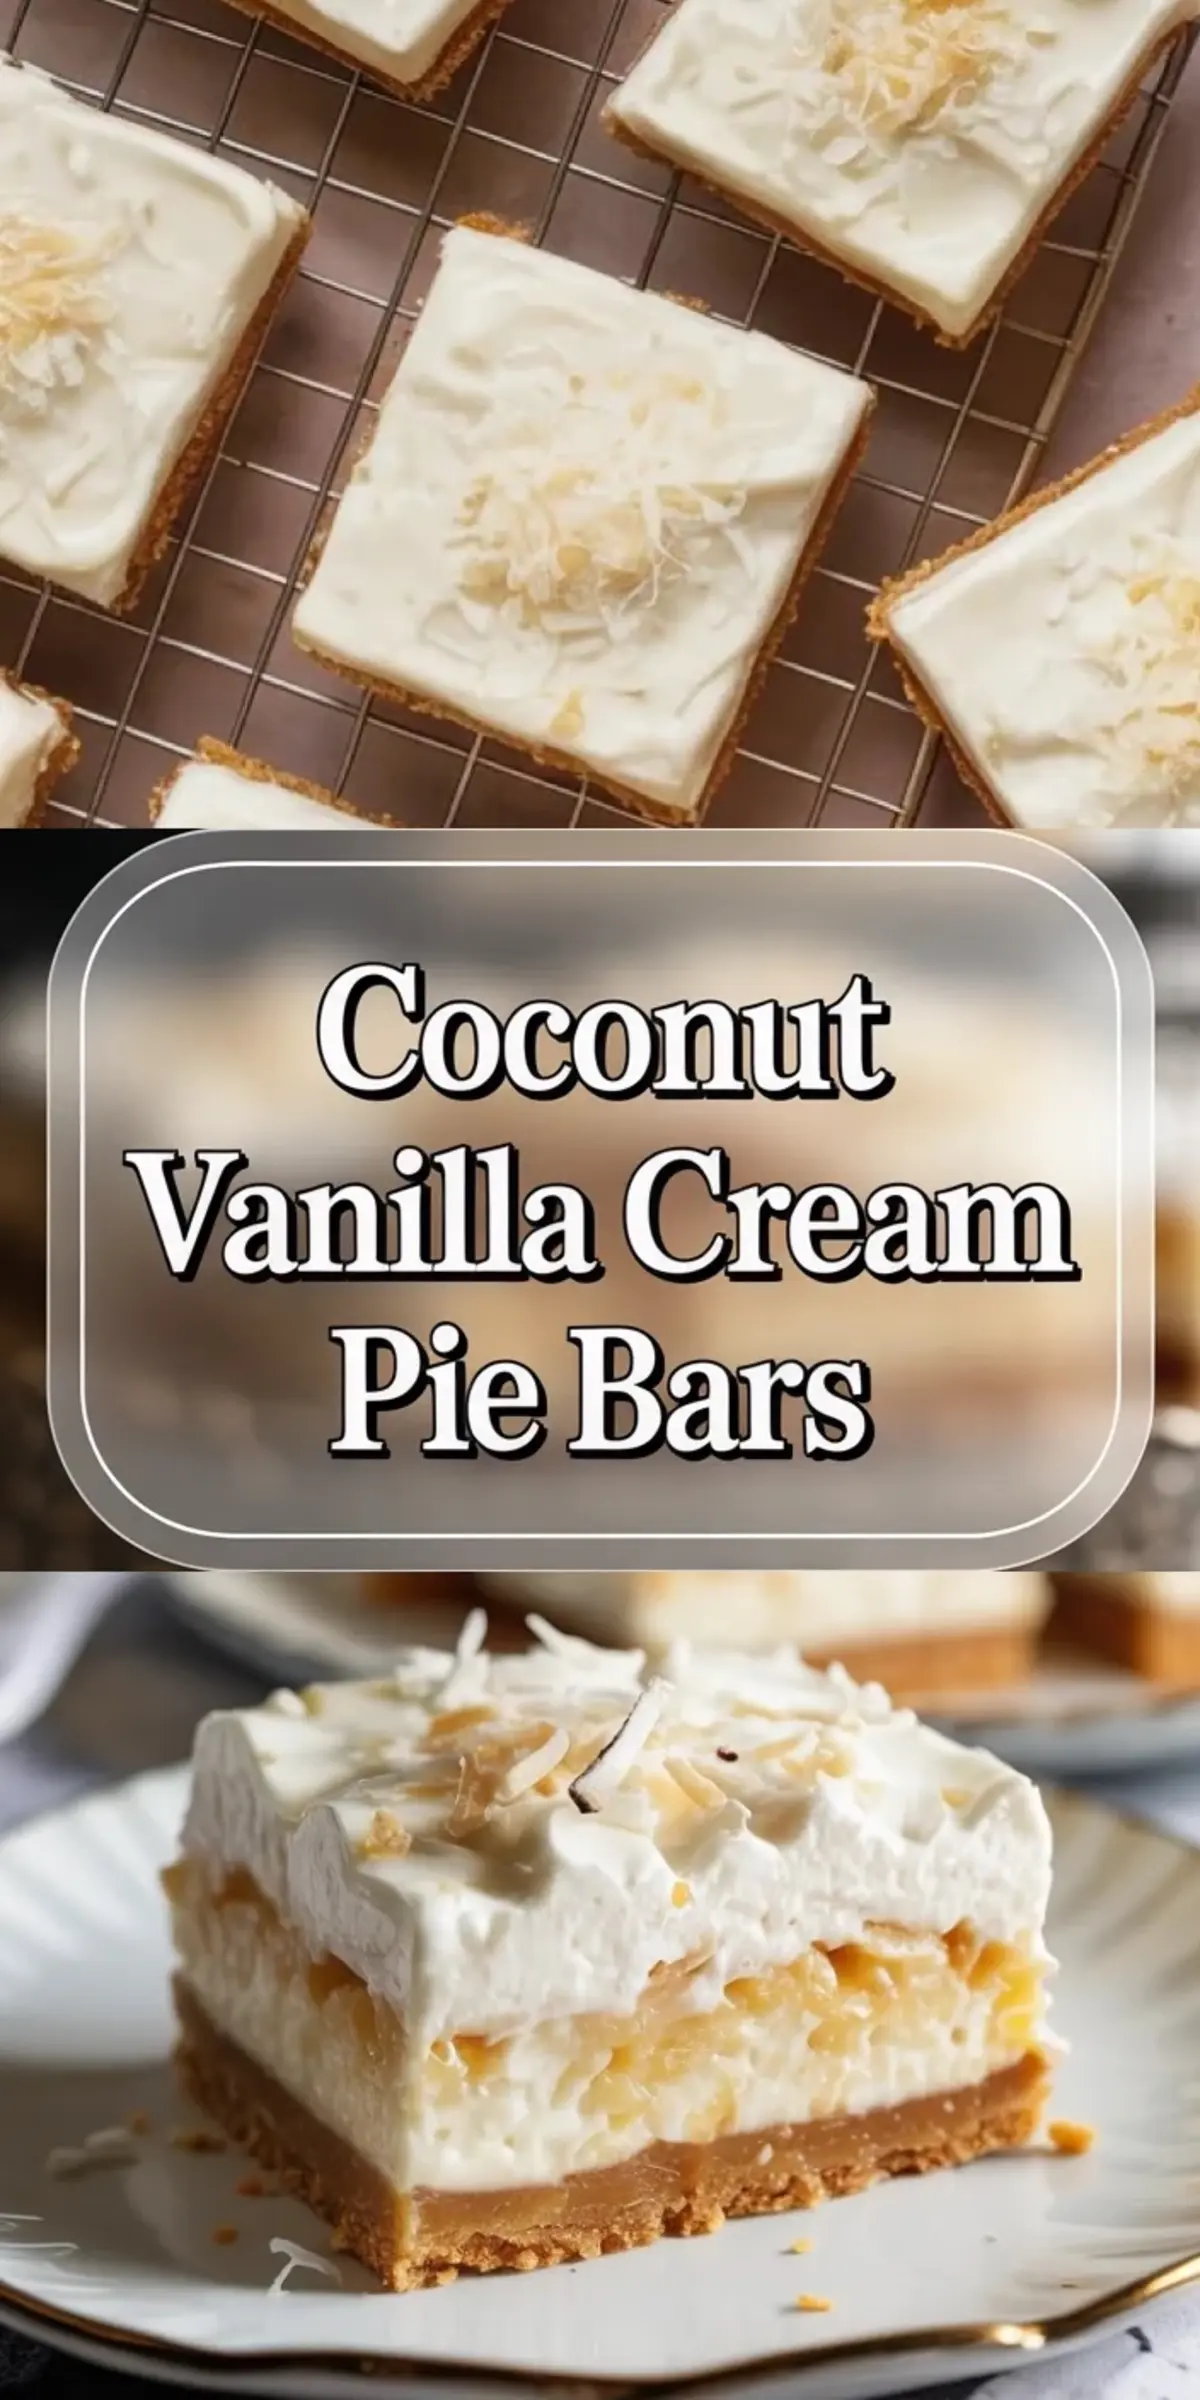
Coconut Vanilla Cream Pie Bars
These coconut cream pie bars layer a buttery graham cracker crust with a soft vanilla cream filling, a coconut pudding layer, and a light whipped topping finished with toasted coconut. They bring the flavor of coconut cream pie into an easy chilled bar dessert that slices neatly once set and works well for potlucks, summer gatherings, and make-ahead dessert trays. The crust keeps the bars sturdy, the filling stays cool and creamy, and the toasted coconut on top gives each square the little bit of texture that makes the whole pan feel more complete.
Ingredients
- FOR THE CRUST
- 2 cups graham cracker crumbs
- 1/2 cup unsalted butter, melted
- 1/4 cup granulated sugar
- FOR THE CREAM FILLING
- 1 package (8 oz) cream cheese, softened
- 1 cup powdered sugar
- 1 teaspoon vanilla extract
- 1 container (8 oz) whipped topping or freshly whipped cream
- FOR THE COCONUT LAYER
- 1 package (3.4 oz) instant vanilla pudding mix
- 1 1/2 cups cold milk
- 1 cup sweetened shredded coconut
- FOR THE TOPPING
- Extra whipped topping
- 1/4 cup toasted coconut flakes
Instructions
PREPARE THE CRUST: Preheat the oven to 350°F (175°C). Combine graham cracker crumbs, melted butter, and sugar in a mixing bowl and stir until the mixture resembles wet sand. Press the mixture firmly and evenly into a 9×9-inch baking dish to form a compact base. Bake for 8–10 minutes, then remove from the oven and allow it to cool completely before adding the next layer.
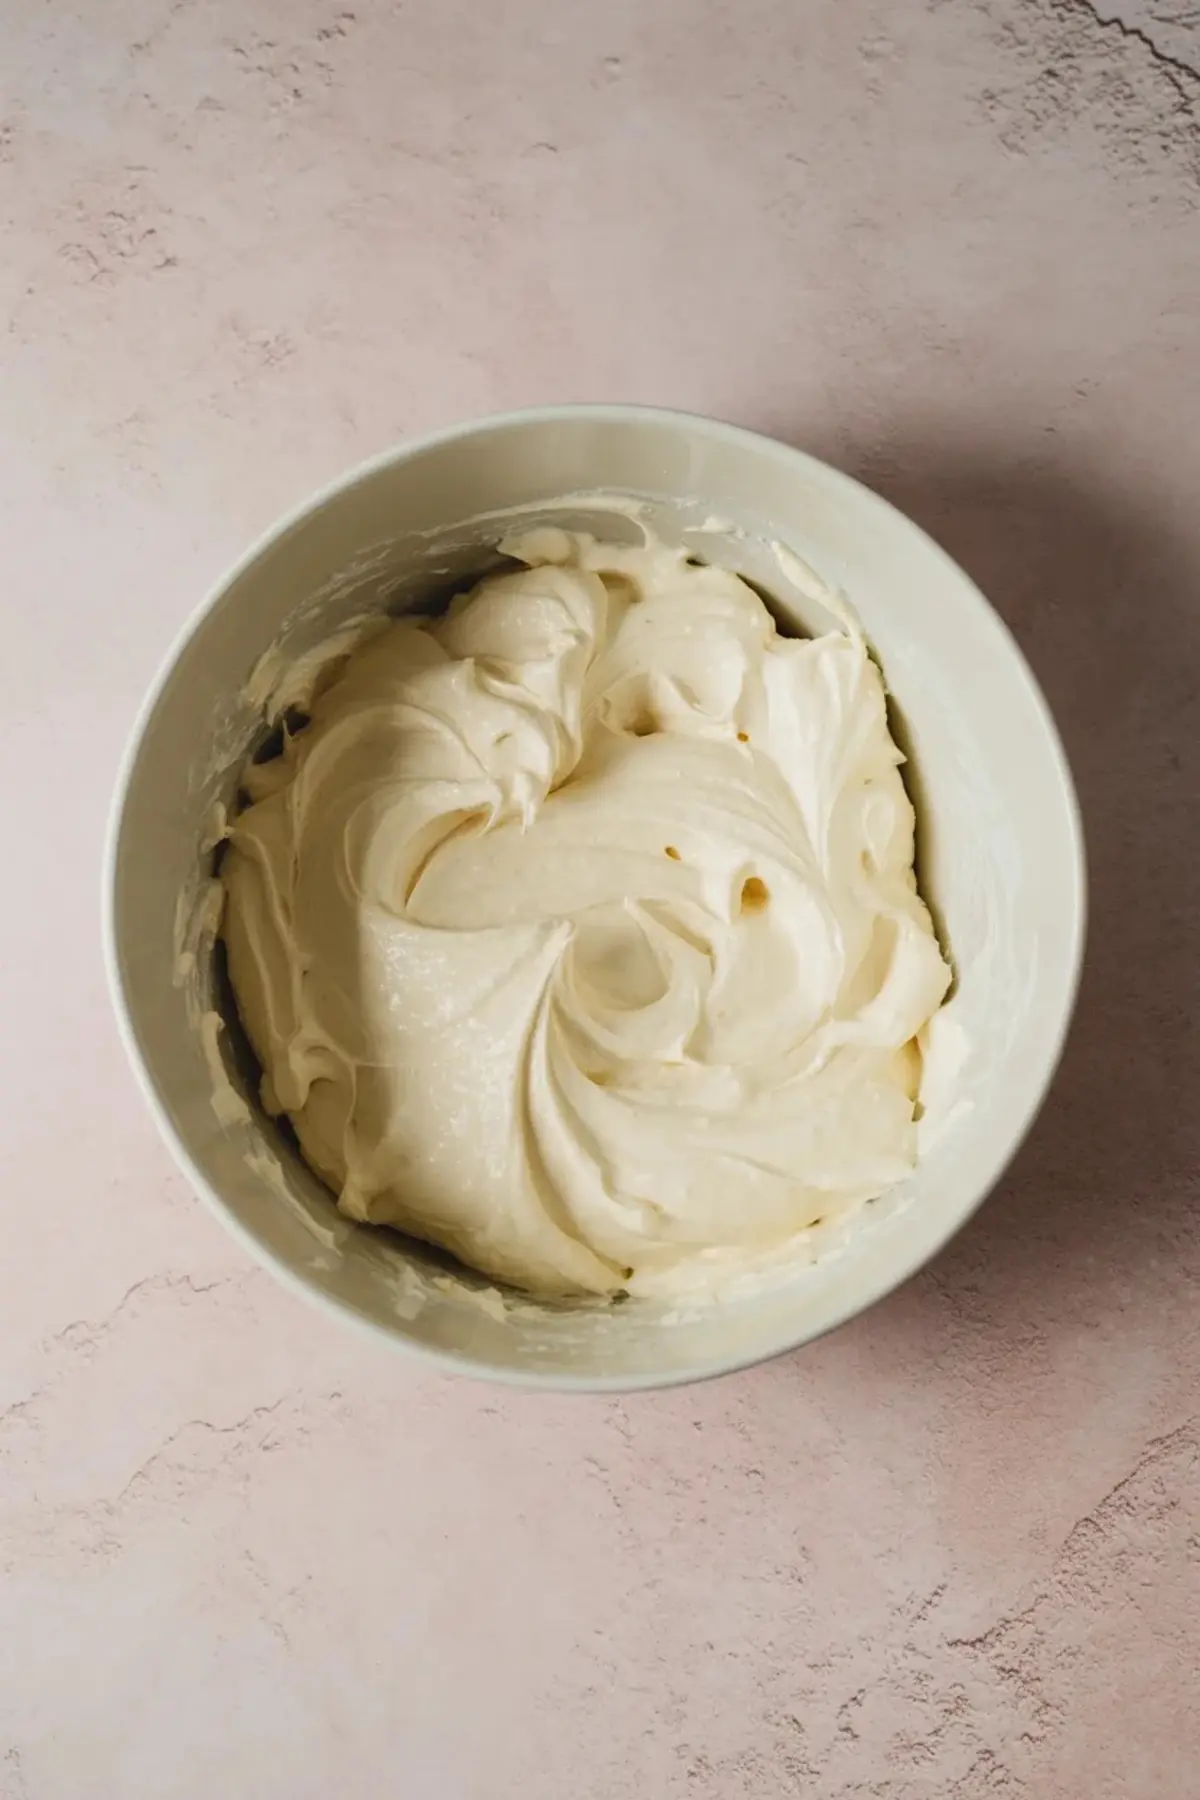
MAKE THE CREAM CHEESE LAYER: Beat the softened cream cheese in a large bowl until smooth and free of lumps. Add powdered sugar and vanilla extract, then continue mixing until fully combined and creamy. Gently fold in the whipped topping using a spatula to maintain a light texture. Spread the mixture evenly over the cooled crust, smoothing the surface.
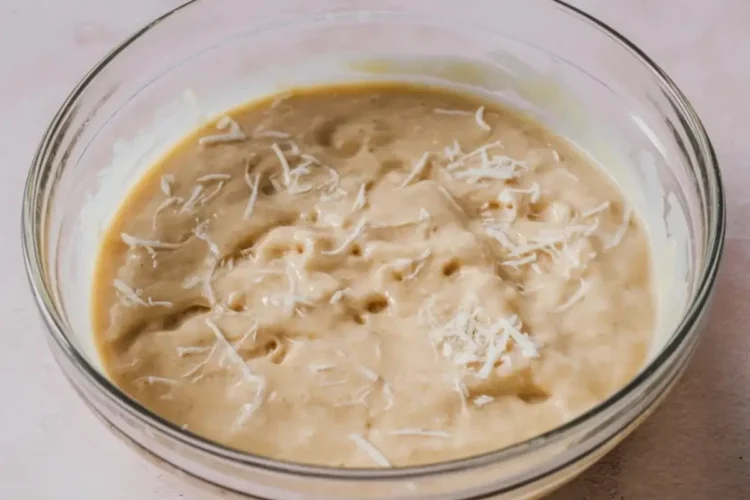
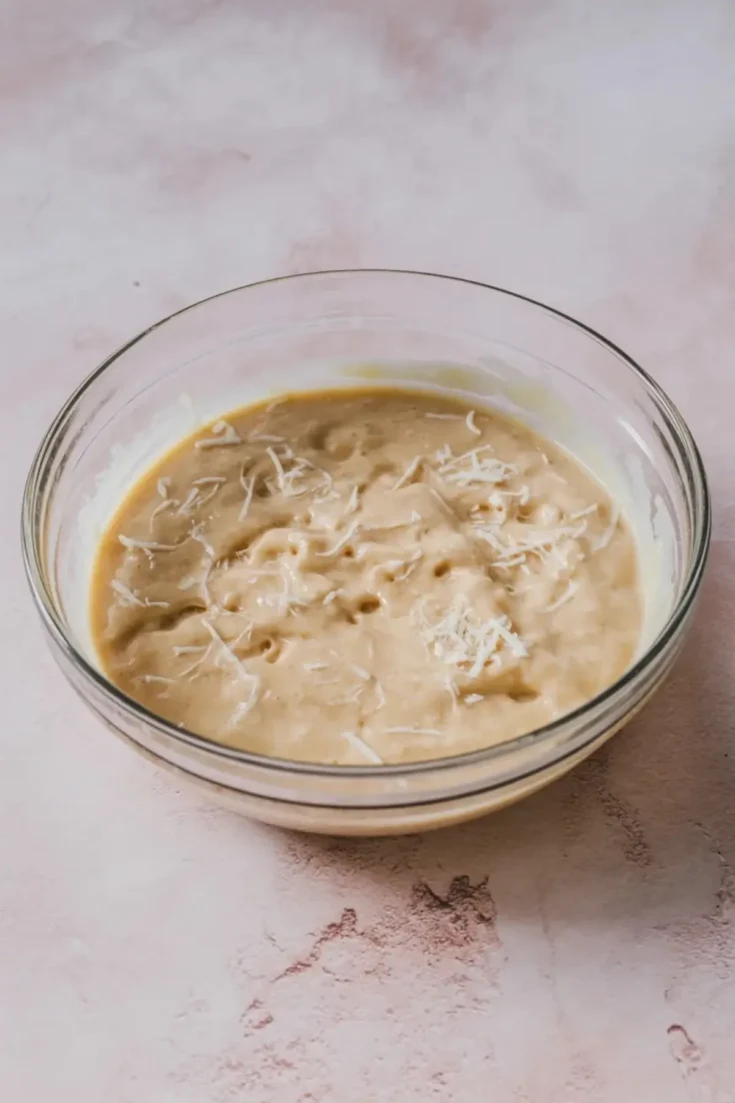
PREPARE THE COCONUT PUDDING LAYER: In a separate bowl, whisk together the instant vanilla pudding mix and cold milk until the mixture thickens. Fold in the shredded coconut to evenly distribute texture and flavor. Spread the pudding mixture carefully over the cream cheese layer, smoothing it without disturbing the layer beneath.
ADD THE FINAL TOPPING: Spread a layer of whipped topping over the pudding layer, creating a smooth finish or soft swirls for texture. Sprinkle toasted coconut flakes evenly across the top to add a light crunch and enhance the coconut flavor.
CHILL AND SET: Place the dish in the refrigerator and chill for at least 4 hours or until fully set. Once firm, slice into bars with clean cuts and serve chilled for best texture and flavor.
Notes
For cleaner slices, chill overnight and use a sharp knife wiped clean between cuts.
Toast coconut flakes in a dry pan over medium heat until lightly golden, stirring frequently to prevent burning.
