
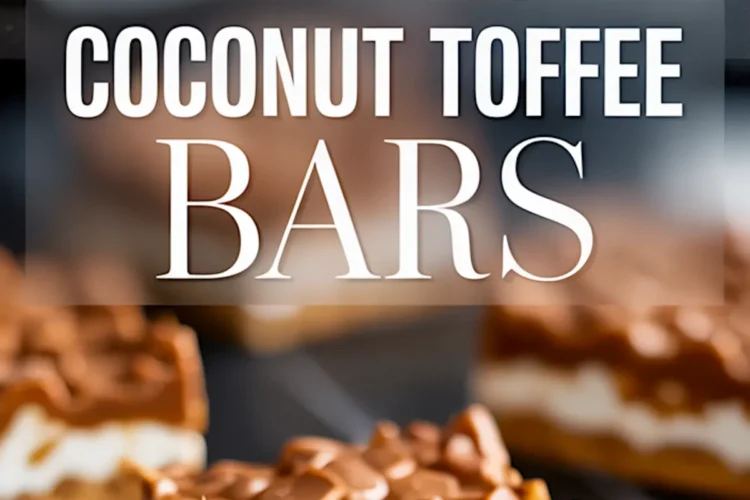
The scent of toasted coconut and caramel sugar always reminds me of December. These Coconut Toffee Bars bring the kind of flavor that feels both familiar and new. The base is buttery and crisp, the middle soft with cream cheese, and the top finishes with a warm layer of homemade toffee.
This isn’t a candy bar. It isn’t cheesecake either. It sits somewhere in between, holding the best of both.
You’ll learn exactly how each layer behaves. Why the crust needs sweetness and salt. Why the filling works better without baking. And how timing the toffee layer makes or breaks the texture. These bars travel well, slice cleanly, and hold their shape on a dessert table. More importantly, they taste even better cold from the fridge the next day.
In my notes, I called them cold weather blondies at first. That was before I added the secret I’ll share later. A finishing detail that changed everything for me. It’s small, but it matters.
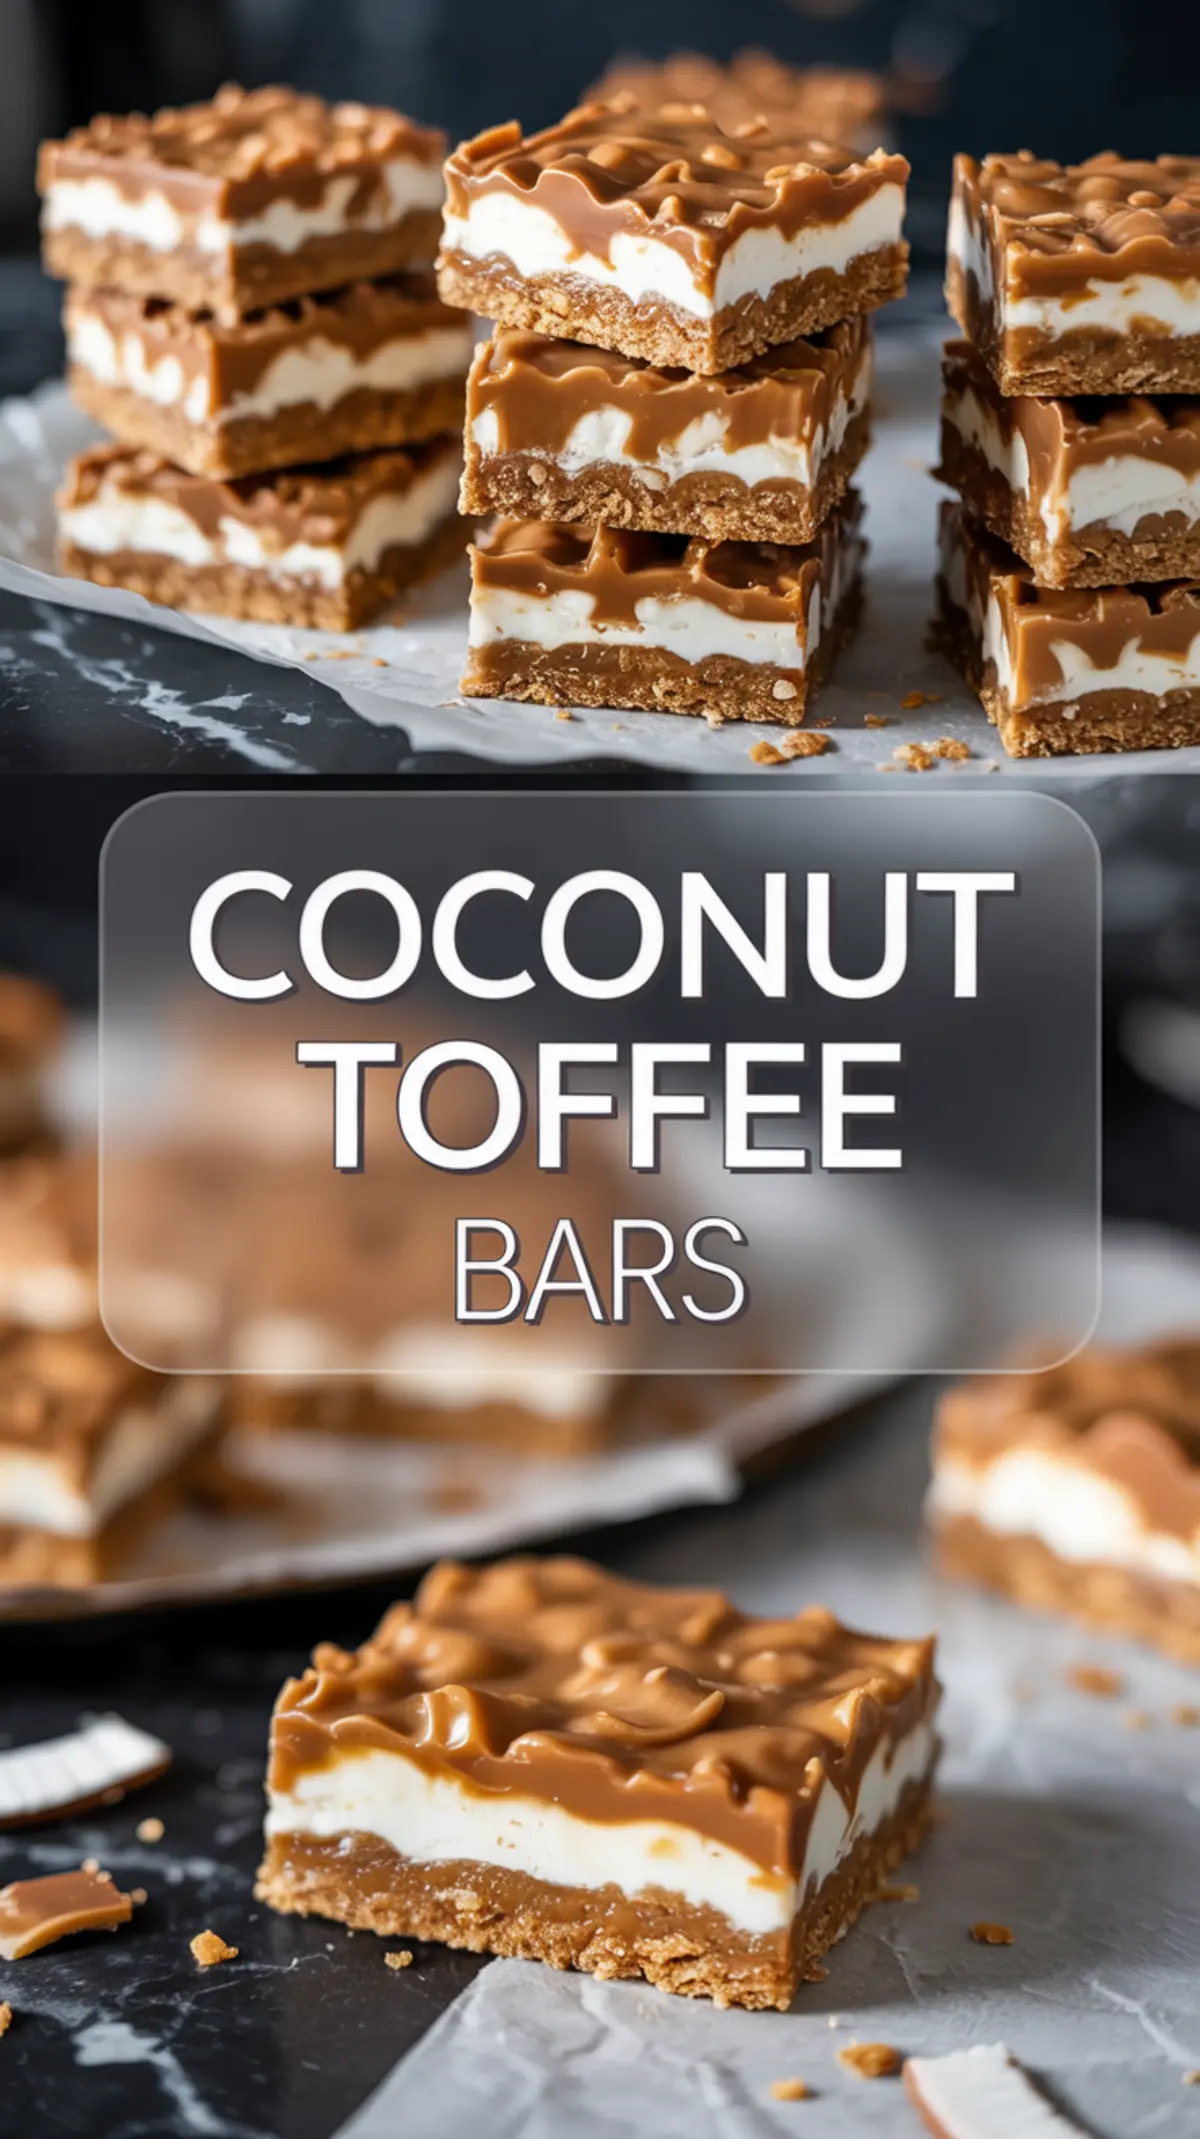
Ingredient Notes with Purpose
Graham cracker crumbs do more than fill space. They lock in the melted butter and give the crust a firm bite once baked. I never add sugar here. The toffee brings enough sweetness later, and doubling up makes the bars cloying.
Shredded coconut, sweetened and fine, is my choice every time. It toasts in the oven as the crust bakes. That small change in color and texture adds more than you’d expect. I tested unsweetened once and the result fell flat. Sweetened coconut binds better and brings out a deeper flavor after chilling.
Butter shows up twice. First to bind the crust. Then to create the glossy toffee layer. I always use unsalted to avoid interference with the filling’s smooth vanilla notes. Using salted butter in either place introduces a sharpness that dulls the cream cheese.
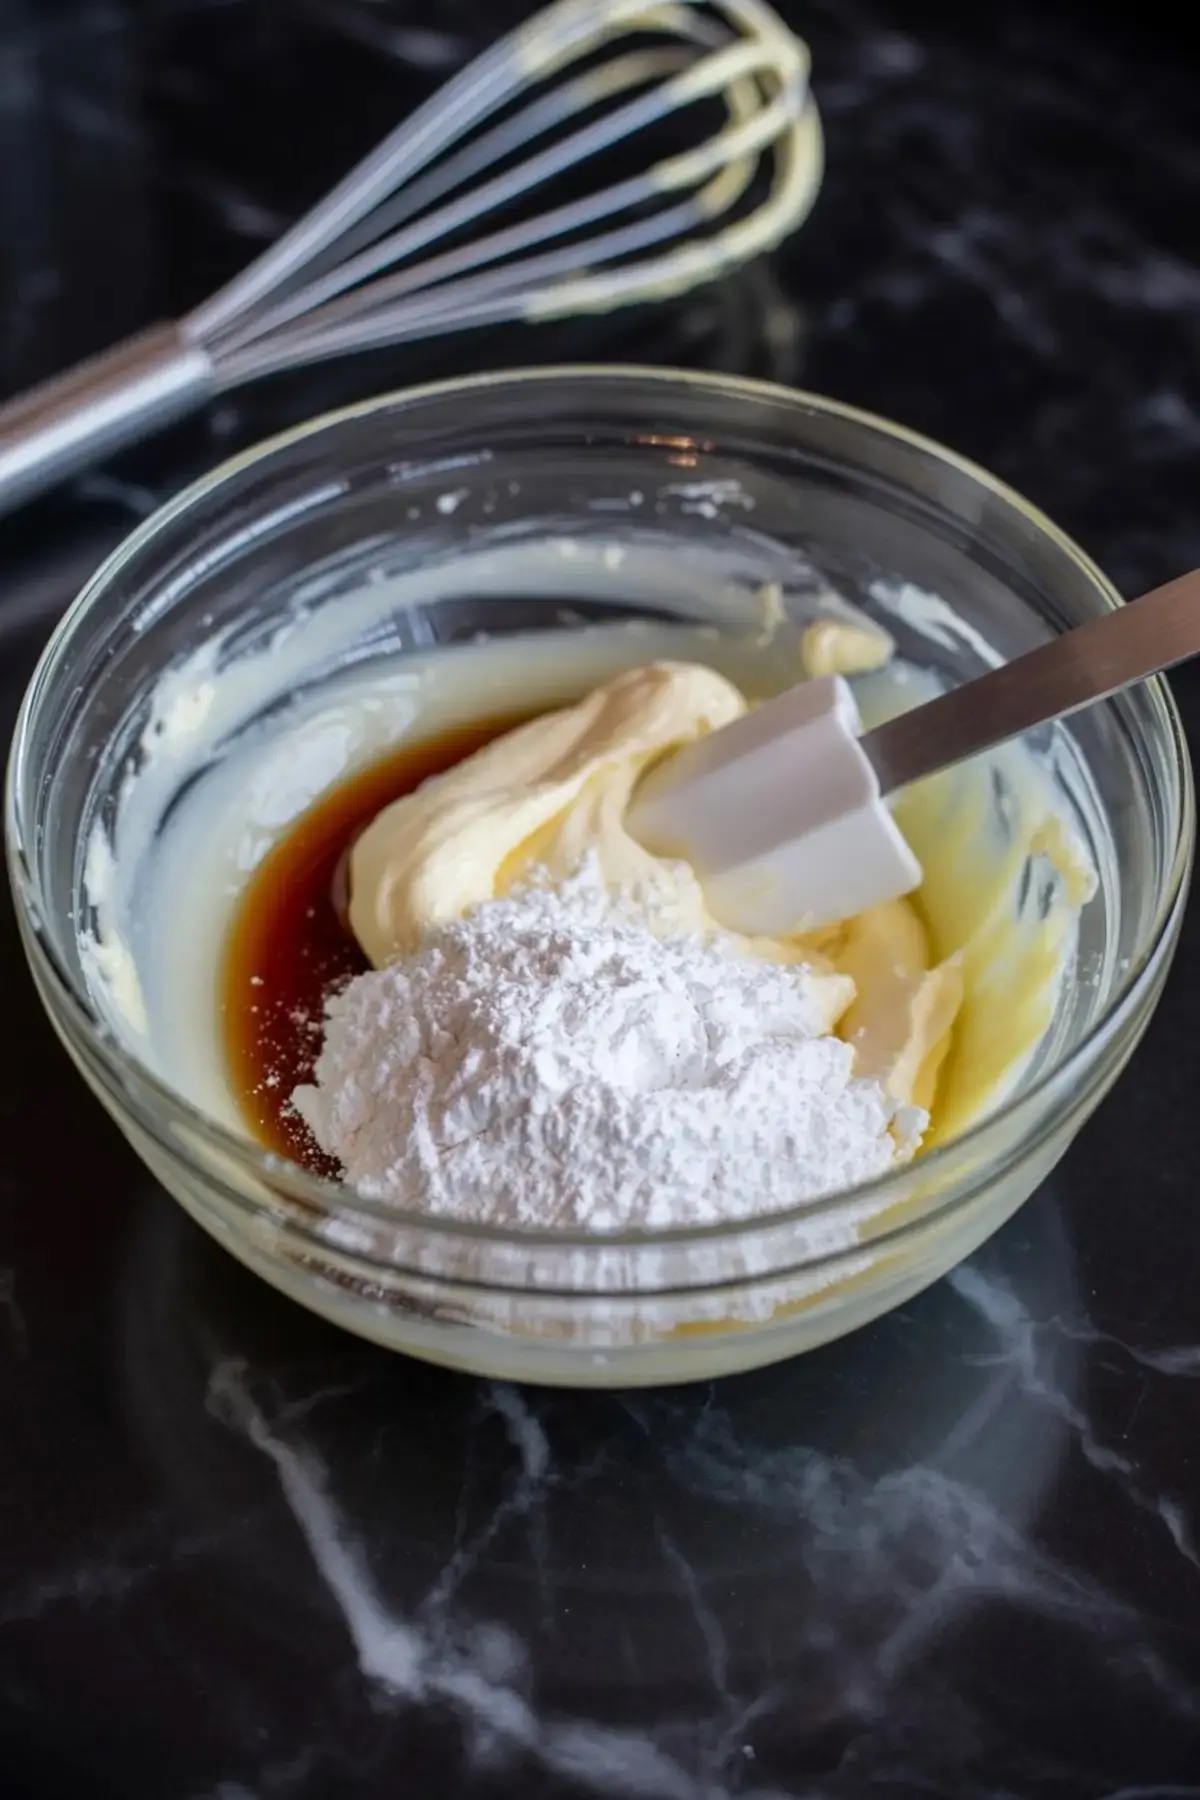
Cream cheese becomes the middle layer. It stays soft but structured when mixed with powdered sugar and vanilla. You don’t bake it. That’s important. It rests over a cooled crust so the layers stay distinct. The vanilla rounds out the tang. No lemon. No citrus. Just soft, balanced sweetness.
A Method That Rewards Patience
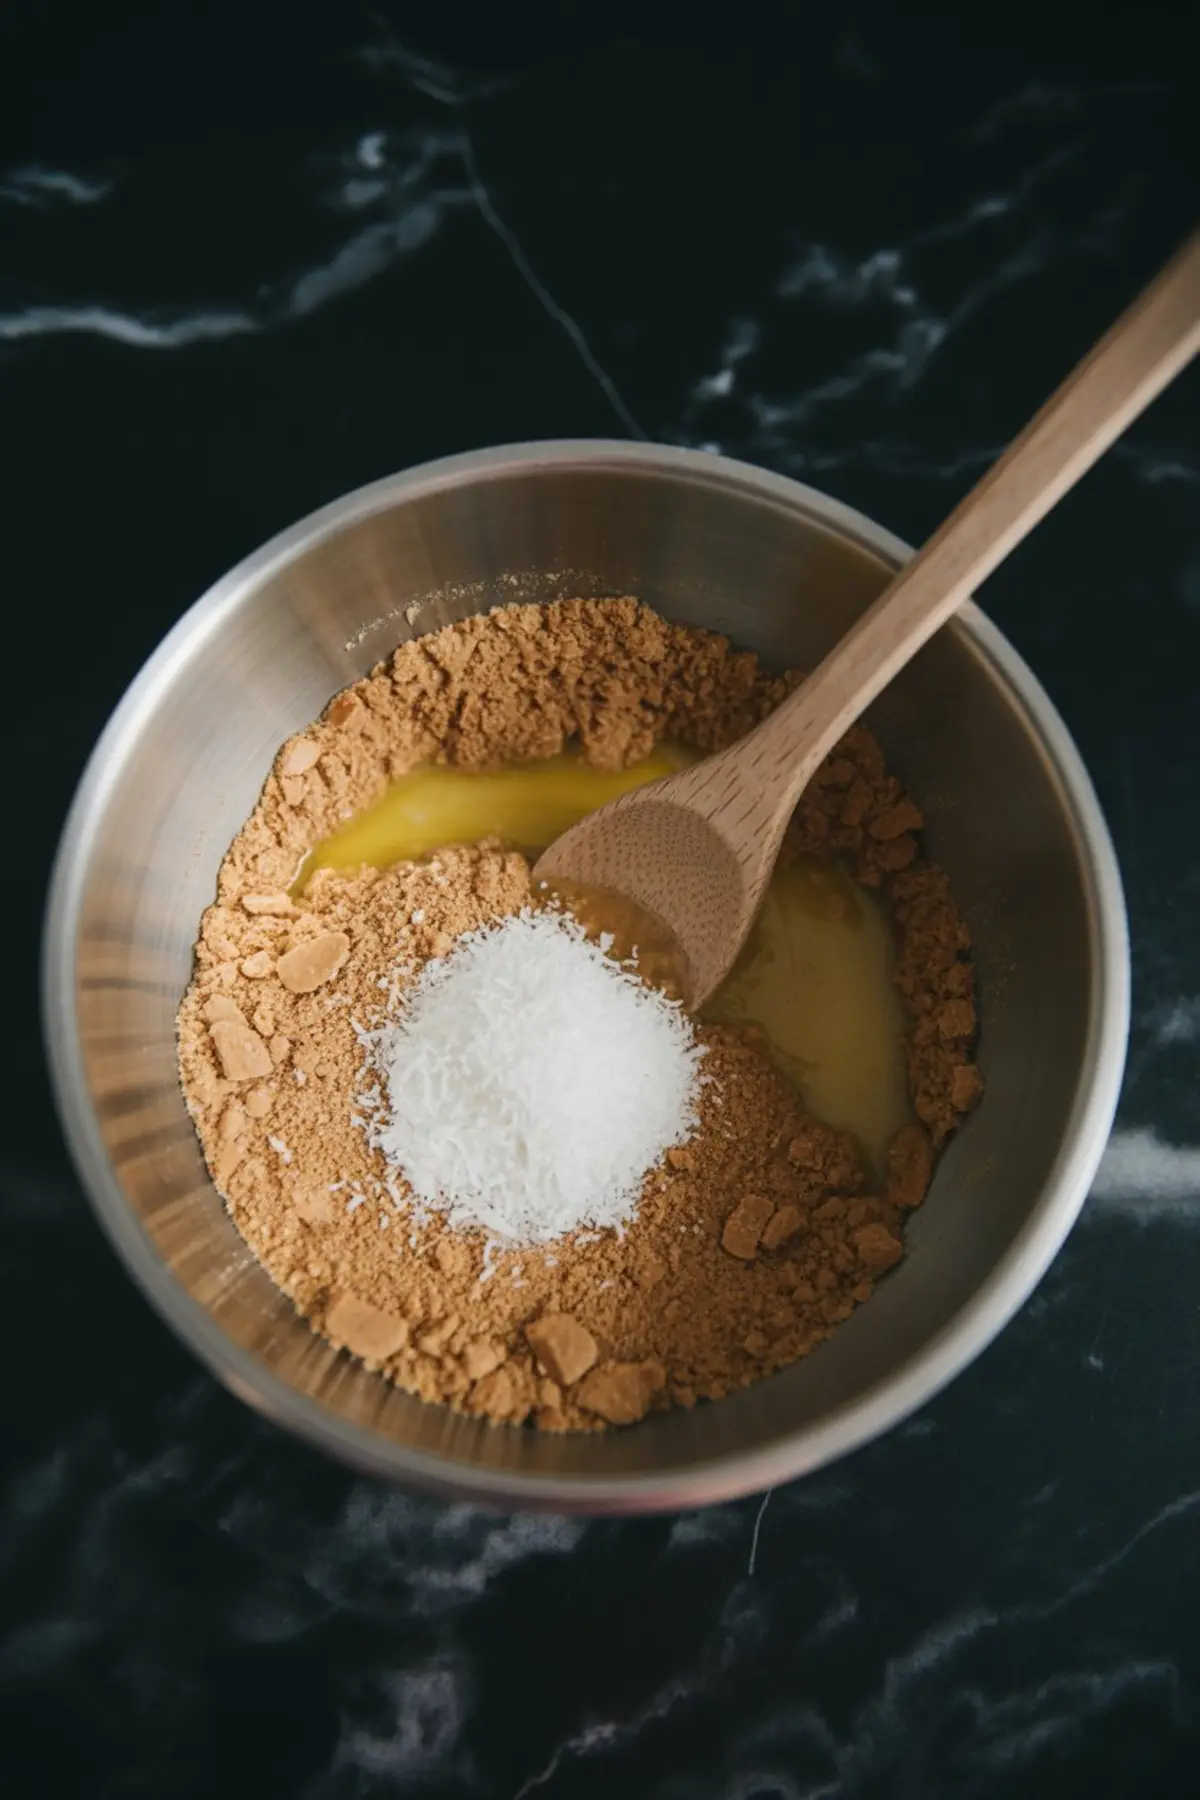
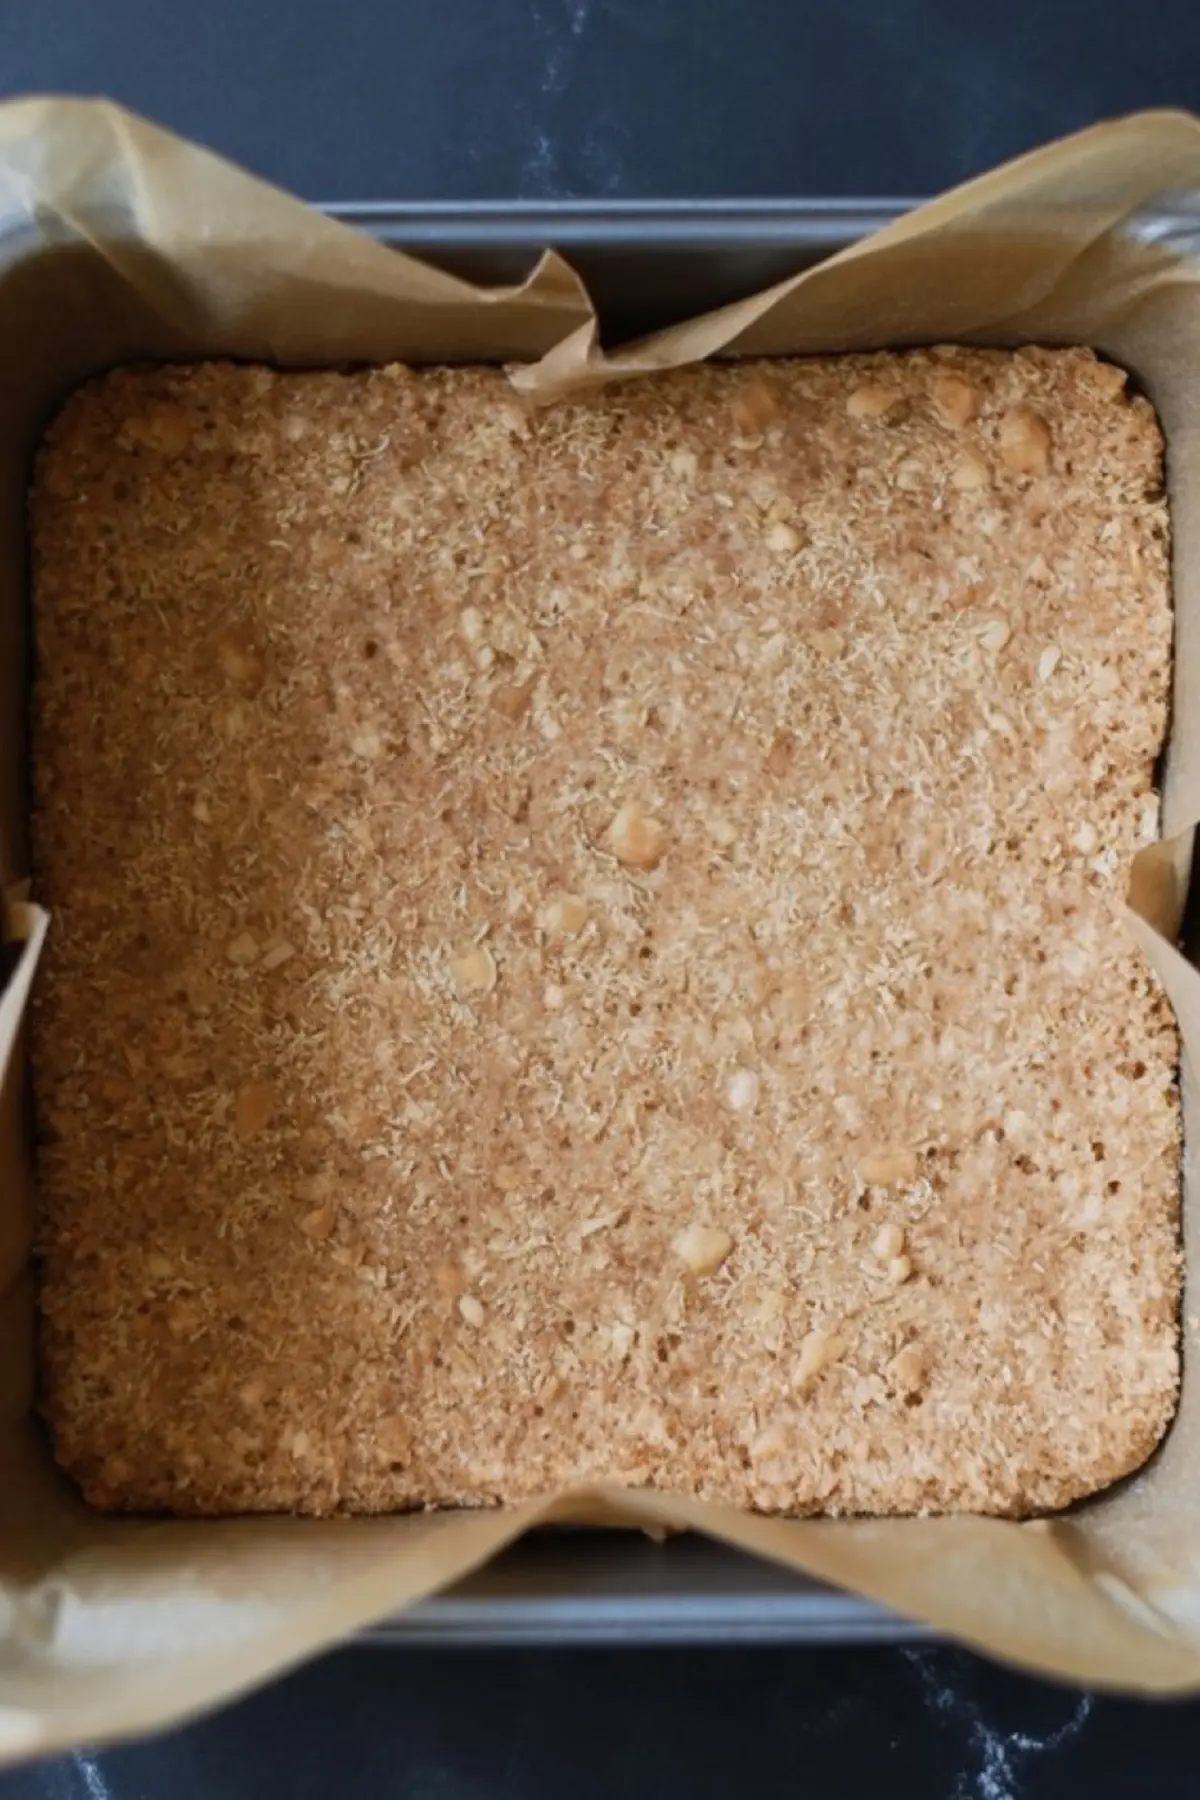
The crust comes first. Combine the crumbs, coconut, melted butter, and salt. Mix just until the texture turns into damp sand. Press it into a lined pan using the flat bottom of a glass. Hands don’t work as well here. Bake for 10 minutes. The goal isn’t color but cohesion. Let it cool fully before you move forward.
The filling takes a quick beat with a hand mixer. Once smooth, it spreads easily over the cooled crust. I use an offset spatula and work from the center out. Keep it flat and even. Chill it briefly while you prepare the toffee.
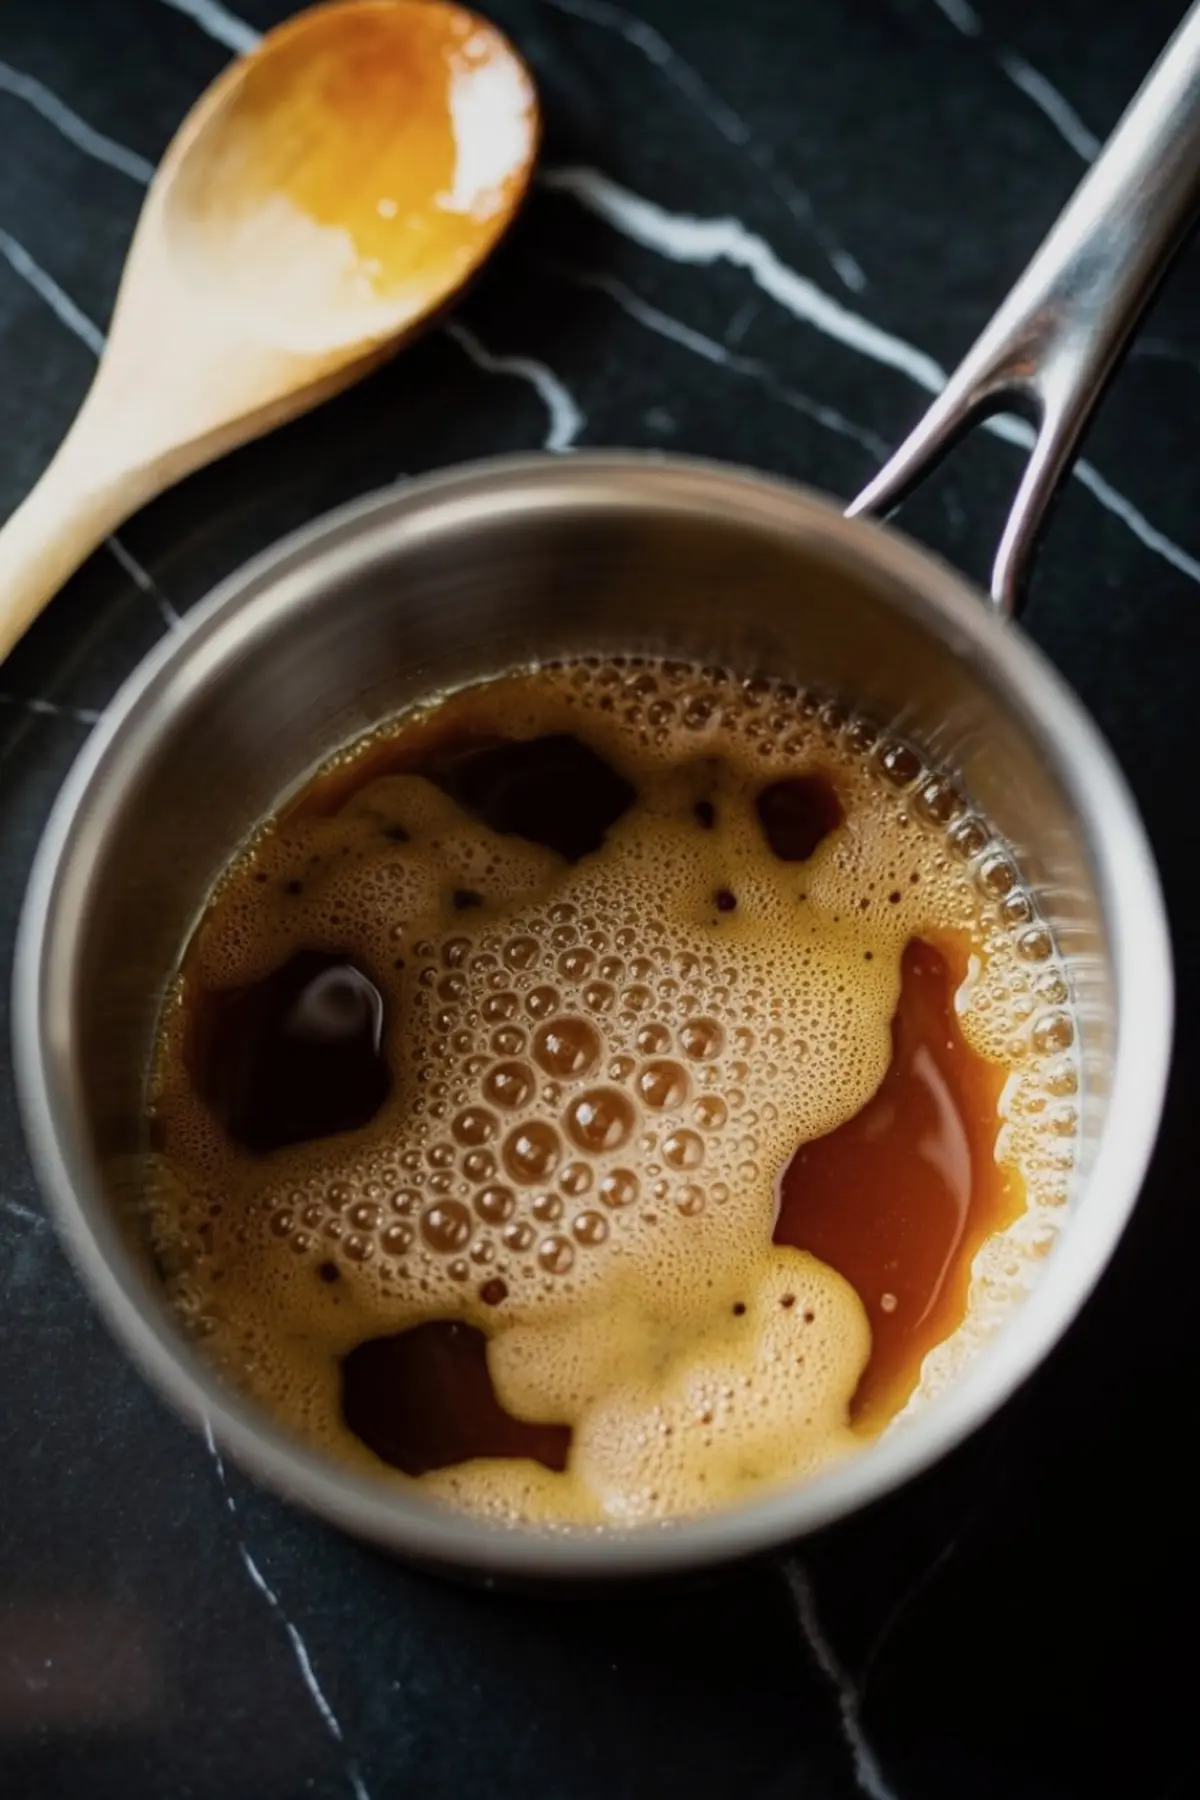
Toffee sounds harder than it is. Melt butter, stir in brown sugar, and keep it bubbling. Don’t walk away. Let it boil gently for three minutes until it turns shiny and thick. Cool it slightly so it doesn’t melt the cream cheese layer when poured. This moment changes the outcome. Pour too hot and the filling swirls. Pour too cold and it sits like a lump. Warm and fluid is the mark.
Why I Stopped Using Store-Bought Toffee Topping
I used to top bars like these with jarred caramel or premade toffee. It felt quicker. Cleaner. But every time I did, the bars turned sticky. The topping bled into the cream cheese or left a chewy mess the next day. Then I boiled my own.
The difference was immediate. Homemade toffee cooled into a flexible top layer. It cracked slightly when sliced but held together beautifully. I press in chocolate-covered toffee bits while it’s still warm. That final texture, somewhere between soft crackle and creamy bite, made me never go back to the store-bought version again.
If you’re wondering whether to use regular toffee bits or the chocolate-coated ones, I’ve tried both. The plain ones feel lighter, but the chocolate-coated toffee adds contrast. It stands up better to the sweetness of the filling and doesn’t disappear into the base. In my experience, the chocolate coating prevents the topping from going soggy by the second day.
Chill and Cut Like You Mean It
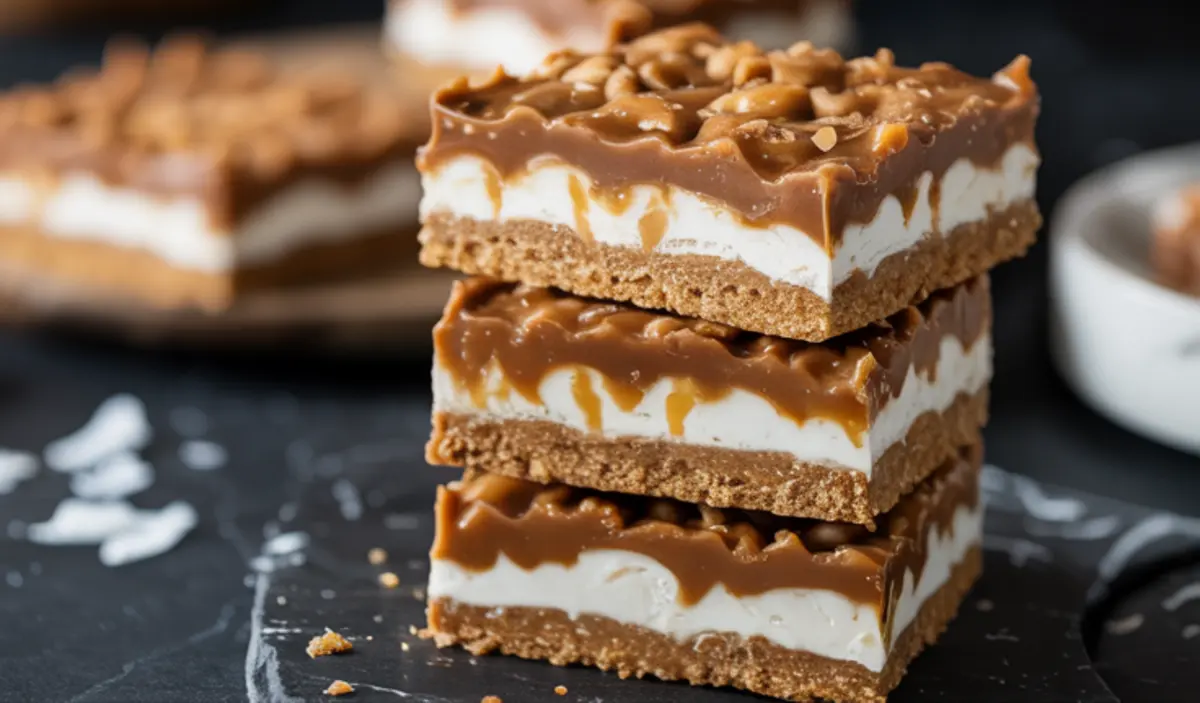
Four hours in the fridge is non-negotiable. Overnight is better. The layers firm up and slice without drag. Use a long, sharp knife dipped in hot water. Wipe between cuts. The clean lines make a difference, especially if you’re boxing these for a holiday treat.
Store the bars chilled. They’ll hold for five days in an airtight container. The base stays crisp. The top softens slightly but keeps its shape.
That Extra Element I Promised
Right before chilling, I press in a small pinch of flaky salt over the top. Just a touch. It lands somewhere unexpected and brings the brown sugar flavor forward. You don’t taste salt. You taste balance. Without it, the bars feel good. With it, they feel finished.
If you’ve made my Coconut Snowball Cheesecake Bites before, you know I often finish with something cool or sharp. This time, it’s subtle. A soft salt edge. A background note that makes the coconut warmer.
More Holiday Desserts to Try Next
If these Coconut Toffee Bars make your table, you might also enjoy layering textures in desserts like Eggnog Tiramisu Cups. They share the same cold-set creaminess with a festive flavor base. Or you could try something crisp and snappy like Candy Cane Fudge Snowballs, which lean more into contrast and color.
For those who prefer bolder caramel tones, I still recommend my Christmas Cracker Toffee for its brittle snap and ease of scaling for larger batches.
Save This One for Later and Share How It Went
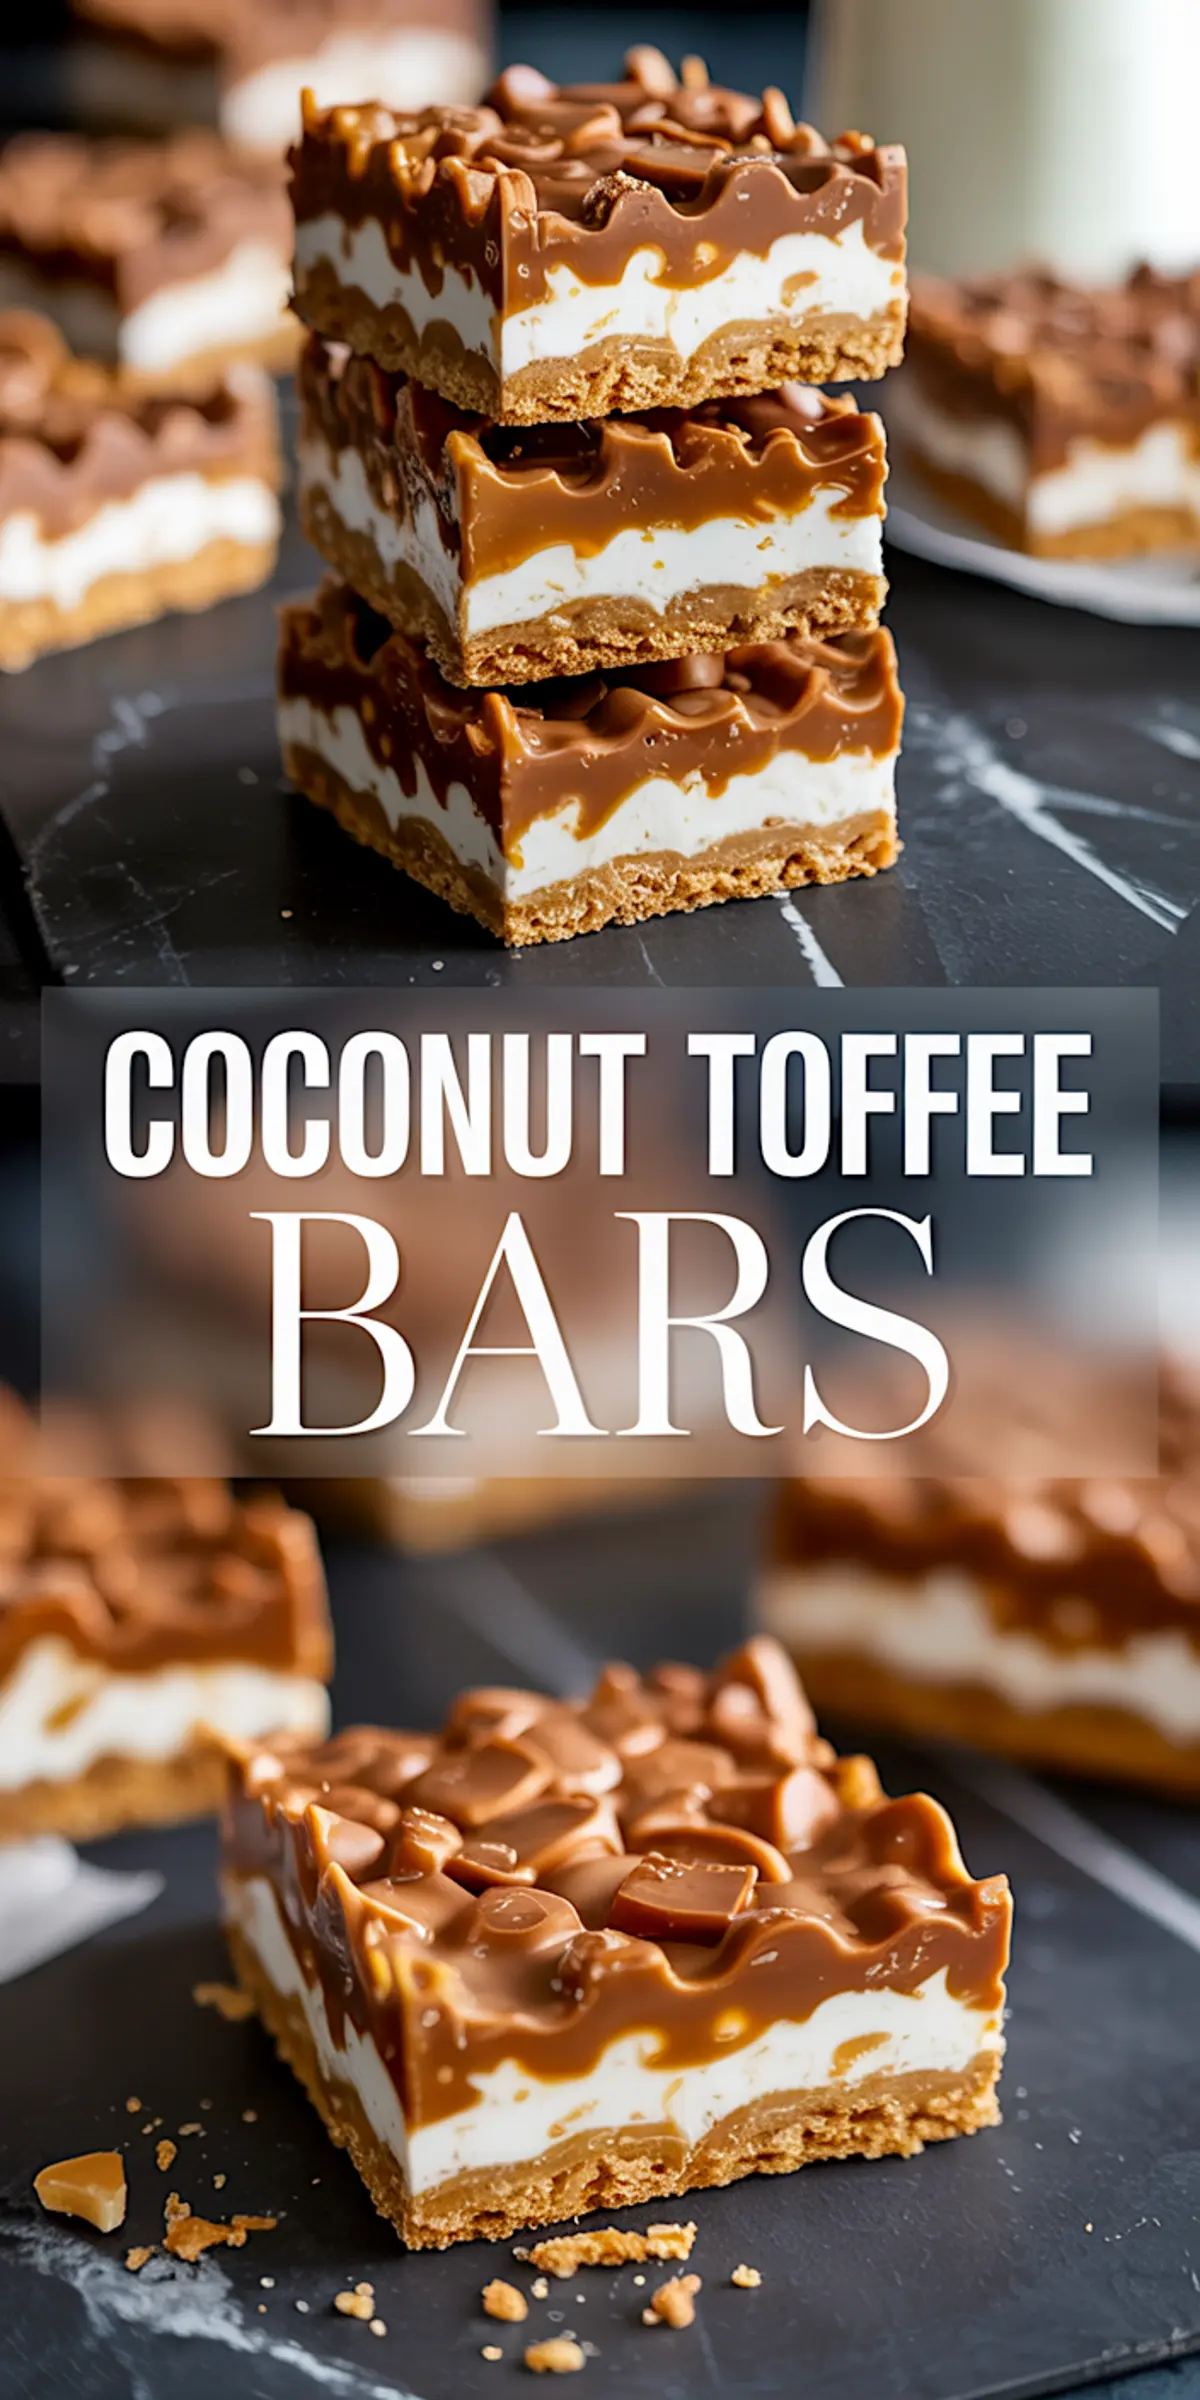
Pin this recipe so it’s waiting for you next December when the coconut bags come back to the front of the pantry. Or sooner, if you need something sweet and stacked to bring to a gathering. These bars hold up well on the table and even better in memory.
Tried it? Tell me how it went in the comments. Did you use the flaky salt? Did you swap the topping? I’d love to hear your variations. This community keeps these recipes alive and evolving.
Coconut Toffee Bars Recipe
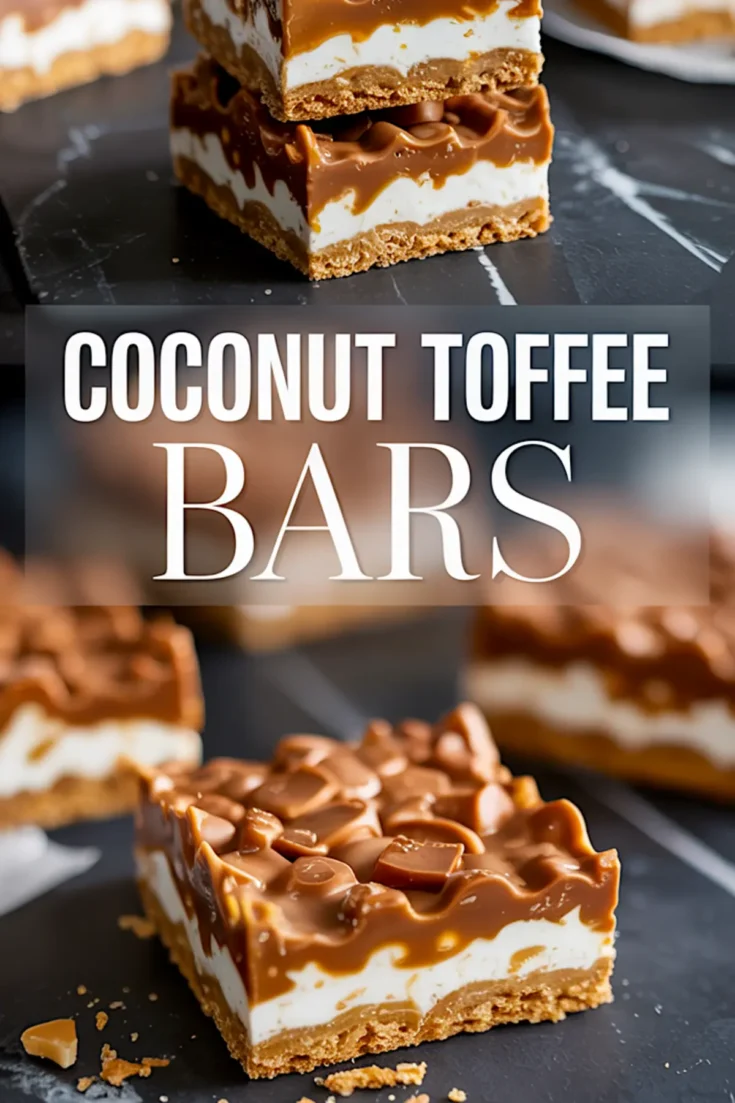
These Coconut Toffee Bars are the perfect sweet treat for the holidays! Made with crunchy toffee bits, shredded coconut, and a buttery base, they deliver the perfect balance of chewy and crisp. Whether you’re baking for a Christmas party or prepping dessert bar recipes for gifting, these coconut desserts are a festive favorite. Simple to make and impossible to resist, this toffee bar recipe brings a delicious twist to classic holiday flavors. A must-add to your seasonal coconut recipes or holiday baking list!
Ingredients
- 1½ cups graham cracker crumbs
- ¾ cup sweetened shredded coconut
- ½ cup unsalted butter, melted
- ¼ teaspoon salt
- 8 oz cream cheese, softened
- 1 cup powdered sugar
- 1 teaspoon vanilla extract
- ½ cup unsalted butter (for the toffee)
- ½ cup packed brown sugar
- ¾ cup toffee bits or chopped chocolate-covered toffee
Instructions
- PREPARE THE CRUST: Preheat the oven to 350°F (175°C). In a medium bowl, combine graham cracker crumbs, shredded coconut, melted butter, and salt. Mix until the texture resembles wet sand. Press the mixture into a parchment-lined 9x9 inch baking pan, smoothing it into an even layer using the bottom of a measuring cup or glass. Bake for 10 minutes, then remove from the oven and allow it to cool completely.
- MAKE THE CREAM CHEESE FILLING: In a separate bowl, beat softened cream cheese and powdered sugar until smooth using a handheld mixer or a sturdy whisk. Add vanilla extract and mix again until fully incorporated. Spread the mixture evenly over the cooled crust using an offset spatula or the back of a spoon, smoothing it to the edges for a uniform layer.
- PREPARE THE TOFFEE LAYER: In a small saucepan over medium heat, melt the butter and add brown sugar. Stir continuously until the mixture begins to bubble. Let it boil gently for about 3 minutes, stirring constantly, until it thickens and turns glossy. Remove from heat and allow to cool slightly—about 1 minute—so it doesn't melt the cream cheese layer on contact.
- ADD THE TOFFEE AND TOPPING: Slowly drizzle the warm toffee over the cream cheese layer, tilting the pan gently to help spread it evenly without using a utensil. While the toffee is still warm, sprinkle toffee bits or chopped chocolate-covered toffee over the top. Press them in slightly to help them adhere.
- CHILL AND SLICE: Transfer the pan to the refrigerator and chill for at least 4 hours, preferably overnight, until fully set. Once chilled, remove from the pan and use a sharp knife dipped in hot water to cut into 16 even bars.
Notes
Bars can be stored in an airtight container in the refrigerator for up to 5 days. For cleaner slices, wipe the knife between cuts. Toffee bits can be swapped with crushed chocolate-covered almonds or caramel chips.
Nutrition Information:
Yield:
16Serving Size:
1Amount Per Serving: Calories: 318Total Fat: 22gSaturated Fat: 14gTrans Fat: 0gUnsaturated Fat: 7gCholesterol: 57mgSodium: 144mgCarbohydrates: 29gFiber: 1gSugar: 24gProtein: 2g
