

Memories of my aunt’s kitchen linger whenever I think about bright, wiggly treats. I remember the sunlight streaming in as she whisked together layers of colorful gelatin, humming her favorite tune. I still recall the sweet aroma, which signaled a joyous celebration on the horizon.
I experimented with that concept years later, determined to keep that same spark of delight. I carefully observed how each level of gelatin set, revealing a rainbow inside a single slice. I never imagined a dessert could feel so playful and satisfying.
I began mixing different flavors, taking mental notes on how each hue blended. I wanted something that burst with spring cheer at every forkful. Friends asked for my approach, and I felt proud each time I saw their eyes widen in surprise.

Easter Jello Pie Ingredients and Steps
The recipe focuses on a simple structure with a crumbly graham cracker base, layered gelatin fillings, and a smooth whipped finish. My instructions in the recipe card guide you through everything from dissolving each packet in boiling water to adding cold water and whipped topping. You can decide which Jello flavors to combine, mixing and matching any bright colors that speak to your taste.
I enjoy blending berry tones with lemon or lime to achieve a festive pattern. Each layer needs its own chill time, so patience pays off in achieving distinct stripes. The sense of accomplishment grows once you see that final multi-hued masterpiece.
I often hear people asking, “Will it hold together?” My answer is a confident nod, because the cold water and whipped mixture help the layers solidify. You can trust the straightforward steps and rely on the recommended chill times for a neat finish.
A Secret Dash That Changes Everything
Whiskers occasionally prowls around the kitchen as I stir each Jello portion. He meows in a way that suggests he wants his own taste, though he settles for extra pets instead. That small interruption used to distract me, yet it made me realize a subtle flavor booster was missing.
I began jotting recipes in my Pin Notebook, detailing all the minor tweaks. I made a note that a sprinkle of lemon zest in the final whipped topping brightens the entire pie. That pinch of citrus is the hush-hush touch that elevates the entire dessert.
I carefully incorporate it during the final swirl of homemade whipped cream. My Golden Spoon, inherited from Aunt Marian, feels right in my hand as I fold in the zest. You can decide whether to add this spark, yet it really surprises anyone who takes the first bite.
Why Easter Jello Pie Shines

Family gatherings deserve a showstopper that is easy to prepare. This no-bake dessert delivers eye-catching layers without turning the oven on. It offers a playful color contrast for spring tables, celebrating the season with a cheerful glow.
Kids love the gelatin texture and fun surprises with each slice. Adults appreciate the nostalgic flavor combination, reminding them of simpler days. Guests can’t help but lean in, waiting for their slice and admiring the bright layers.
The whipped topping and decorative flourishes add a creative side to this dessert. Mini chocolate eggs, pastel sprinkles, or edible flowers bring extra flair. You can add white chocolate shavings for a sweet finishing detail that complements the fruity notes.
More Easter Treats to Explore
The mood of spring continues with other delightful ideas.
Mini Easter Egg Lava Cakes satisfy those who crave a molten center and chocolaty goodness.
Easter Rice Krispie Treats bring crunchy fun into any party spread.
Another indulgent option is Easter Chocolate Truffles for a smooth, melt-in-your-mouth experience. These recipes work well together if you plan a full dessert table. Guests will appreciate the varied textures and flavors, each offering a different slice of springtime cheer.
Achieving Eye-Catching Layers
A methodical approach makes every stripe shine. Dissolve the gelatin thoroughly in boiling water first, then gently stir in cold water. Let each layer chill until slightly firm before adding the whipped mixture, which keeps the colors crisp.
Pour the next portion slowly to avoid a messy blend. Use a spoon if you prefer a gentler flow, holding it just above the set layer. The top remains smooth, and the lines stay bold, so each slice shows off a neat cross-section.
Timing remains the biggest factor. Keep track of the chill period for each stage. The result is a dessert that demands admiration and offers a luscious mouthfeel.
Flavor Pairs for a Fresh Twist
Strawberry, raspberry, and cherry evoke vibrant red shades. Lemon or pineapple adds a citrus brightness that contrasts well with the berry tones. Grape or lime can contribute a playful splash of color, broadening the rainbow of layers.
Whipped topping adds a creamier offset to the sharper fruity flavors. The final swirl of homemade cream carries that hint of lemon zest if you follow my secret dash. That small addition can uplift the entire experience, leaving everyone intrigued.
Balance matters, so think about how sweet or tangy you prefer your dessert. Mix strong flavors like blue raspberry with a calmer lemon. The spectrum of options remains wide open, letting you personalize each batch to your liking.
Serving Tips for a Festive Look
Presentation means a lot, especially during spring gatherings. A decorative border of whipped cream or a scattering of pastel sprinkles can catch everyone’s eye. You can also pipe small florets across the surface, placing mini chocolate eggs in the center for a burst of cheer.
Choose a sharp knife warmed by running under hot water. Wipe it dry before slicing through those delicate layers. That small prep step yields a clean cut every time, and your slices appear neat and photo-ready.
You can store leftovers in the refrigerator for up to three days. Keep them covered to maintain their texture. Avoid freezing because the gelatin might weep upon thawing, and that can compromise the lovely layers.
Wrap-Up: Save This Easter Dessert on Pinterest
Sharing dessert successes fosters a sense of unity in the kitchen. Feel free to pin this Easter Jello Pie on your board for future gatherings or spring-inspired parties. Let others marvel at the brilliant stripes and easy method that make it such a timeless favorite.
Your comments on how it turns out or any surprises you encounter spark a lively discussion. People learn from each other’s small modifications, creating fresh ideas for the next sweet treat. Feedback keeps the tradition growing, so don’t hesitate to share your voice.
Friends who taste this dessert often ask for your secret. You can point them to the lemon zest, or keep them guessing until they piece it together on their own. That hidden twist can turn an already bright dessert into a truly memorable highlight.
Easter Jello Pie

A no-bake layered dessert featuring fruity gelatin and a creamy texture on a buttery graham cracker crust. The vibrant colors make it a festive addition to any spring gathering.
Ingredients
- FOR THE CRUST:
- 2 cups graham cracker crumbs
- ¼ cup granulated sugar
- ½ cup unsalted butter, melted
- FOR THE JELLO LAYERS:
- 4 different flavors of Jello (choose from strawberry, raspberry, cherry, lemon, pineapple, lime, blue raspberry, or grape)
- 4 cups boiling water (1 cup per Jello flavor)
- 4 cups cold water (1 cup per Jello flavor)
- 2 cups whipped topping, divided into four portions
- FOR THE WHIPPED TOPPING:
- 1 cup heavy whipping cream
- 2 tablespoons powdered sugar
- ½ teaspoon vanilla extract
- FOR DECORATION (OPTIONAL):
- Mini chocolate eggs
- Pastel-colored sprinkles
- Edible flowers
- White chocolate shavings
- Additional whipped cream for piping
Instructions
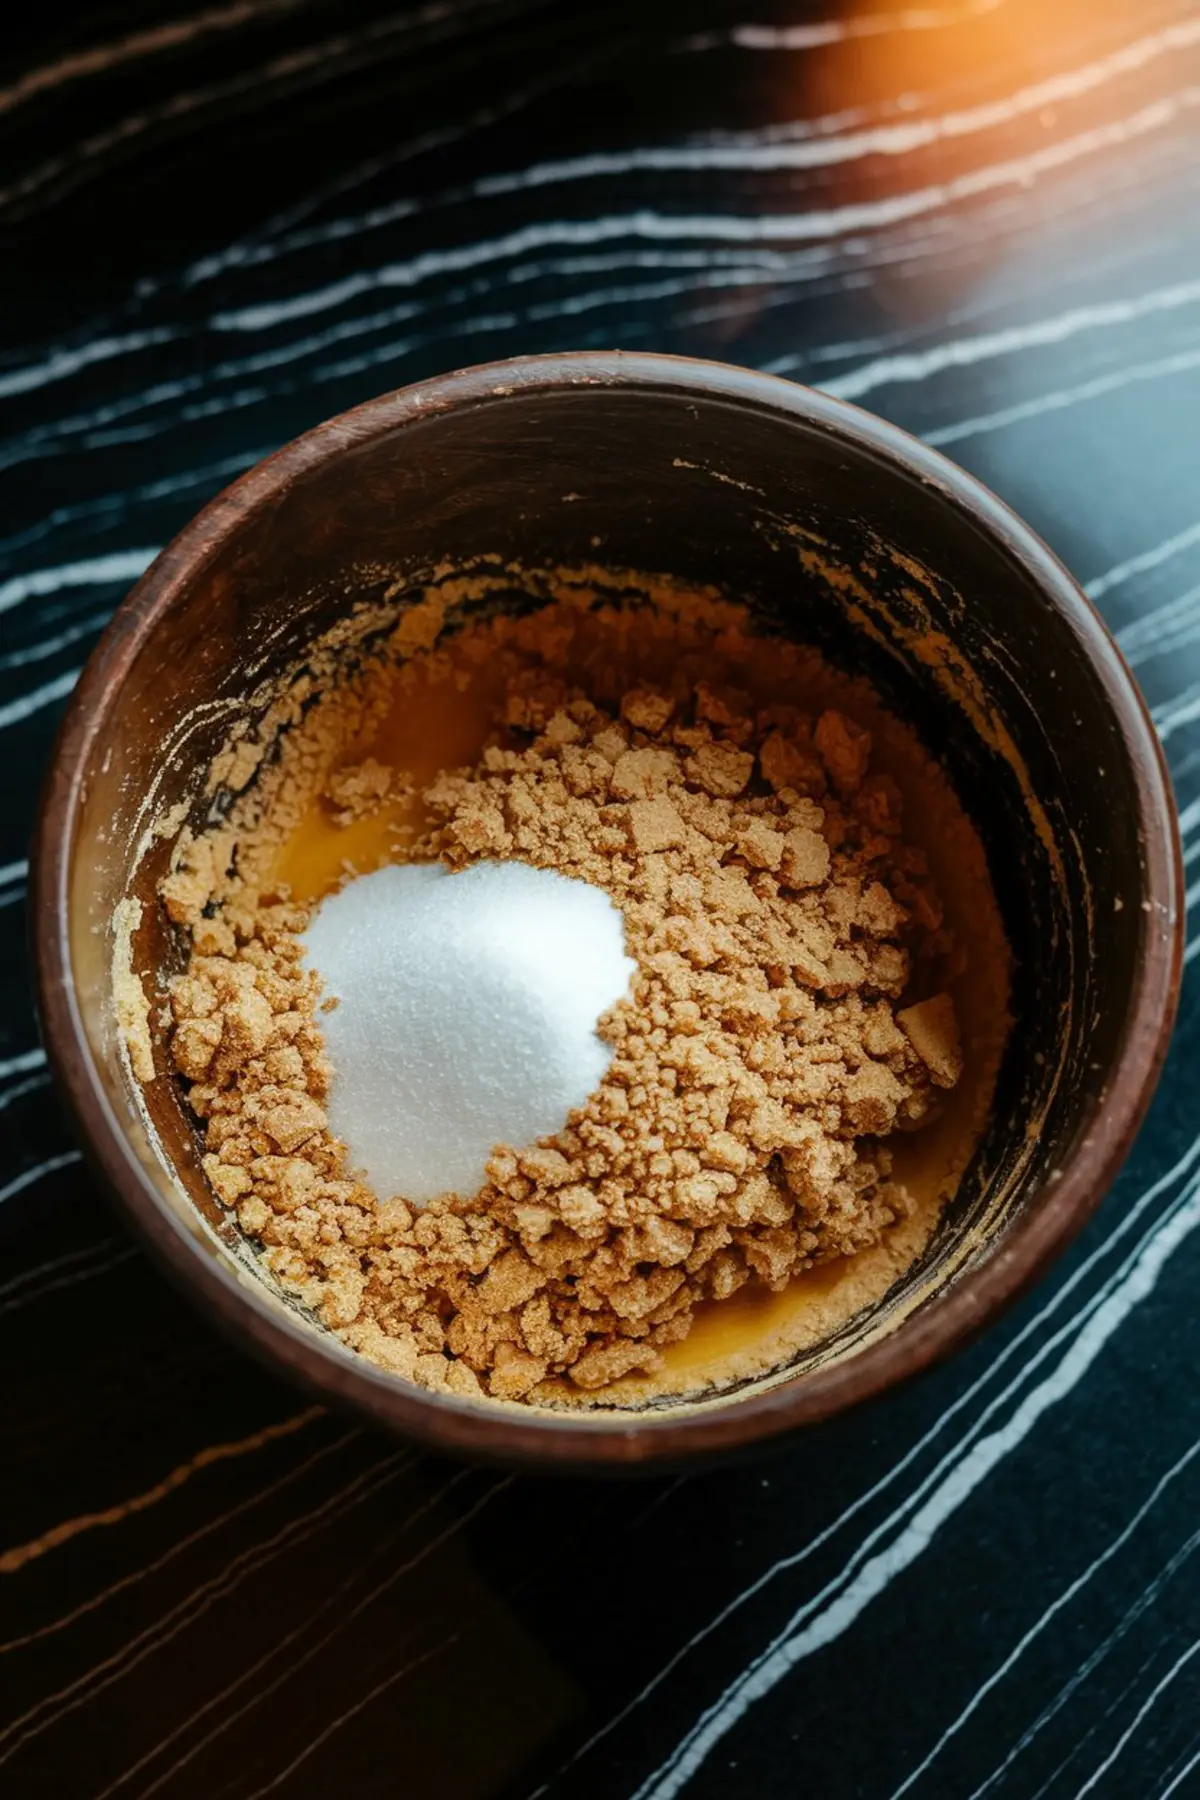
- MAKE THE CRUST: Crush graham crackers into fine crumbs using a food processor or by placing them in a sealed bag and crushing them with a rolling pin. In a mixing bowl, combine the crumbs with sugar and melted butter, stirring until the mixture resembles wet sand. Press the mixture evenly into the bottom and up the sides of a 9-inch pie dish, using the back of a spoon or the bottom of a measuring cup to compact it firmly. Chill the crust in the refrigerator for at least 30 minutes while preparing the filling.
- PREPARE THE FIRST JELLO LAYER: Dissolve one flavor of Jello in 1 cup of boiling water, stirring until fully dissolved. Add 1 cup of cold water and mix well. Pour half of the liquid into the prepared crust and refrigerate for about 30 minutes, or until slightly firm.
- ADD THE FIRST FLUFFY LAYER: Mix the remaining half of the Jello with ½ cup of whipped topping, stirring until smooth and creamy. Pour this over the first set layer and refrigerate for another 30 minutes.
- REPEAT FOR REMAINING LAYERS: Prepare each additional Jello flavor the same way, creating alternating clear and whipped Jello layers. Ensure each layer is firm before adding the next by chilling for at least 30 minutes between additions.
- CHILL THE PIE: Once all layers are set, refrigerate the pie for at least 4 hours or overnight for best results.
- MAKE THE WHIPPED TOPPING: In a mixing bowl, beat heavy whipping cream, powdered sugar, and vanilla extract until stiff peaks form. Use immediately or refrigerate until ready to decorate.
- DECORATE AND SERVE: Pipe or spread the whipped topping over the pie. Add decorations such as mini chocolate eggs, sprinkles, edible flowers, or white chocolate shavings. Slice and serve chilled.
Notes
For best results, allow the pie to chill overnight to ensure all layers are fully set. Each layer requires enough time to firm up before adding the next to maintain distinct, clean layers. If a layer is too soft, the next one may blend into it instead of forming a sharp separation.
To achieve smooth and even layers, gently pour each new layer over the back of a spoon held just above the previous layer. This helps distribute the liquid evenly without disturbing the set Jello underneath.
If using homemade whipped topping instead of store-bought, be sure to whip it to stiff peaks before incorporating it into the Jello mixture. Soft peaks may result in a runnier consistency, affecting the texture of the fluffy layers.
A sharp knife dipped in warm water and wiped dry between cuts will help achieve clean, precise slices. Serve chilled, as the texture is best when the pie remains cold.
For decoration, use pastel-colored sprinkles, mini chocolate eggs, or white chocolate shavings to enhance the festive look. Edible flowers can add a delicate, spring-inspired touch. Keep any additional whipped cream for piping refrigerated until ready to use.
Leftovers should be stored covered in the refrigerator for up to 3 days. Avoid freezing, as the gelatin layers may become watery upon thawing.
Nutrition Information:
Yield:
10Serving Size:
1Amount Per Serving: Calories: 386Total Fat: 28gSaturated Fat: 17gTrans Fat: 0gUnsaturated Fat: 9gCholesterol: 56mgSodium: 139mgCarbohydrates: 32gFiber: 1gSugar: 21gProtein: 3g
