

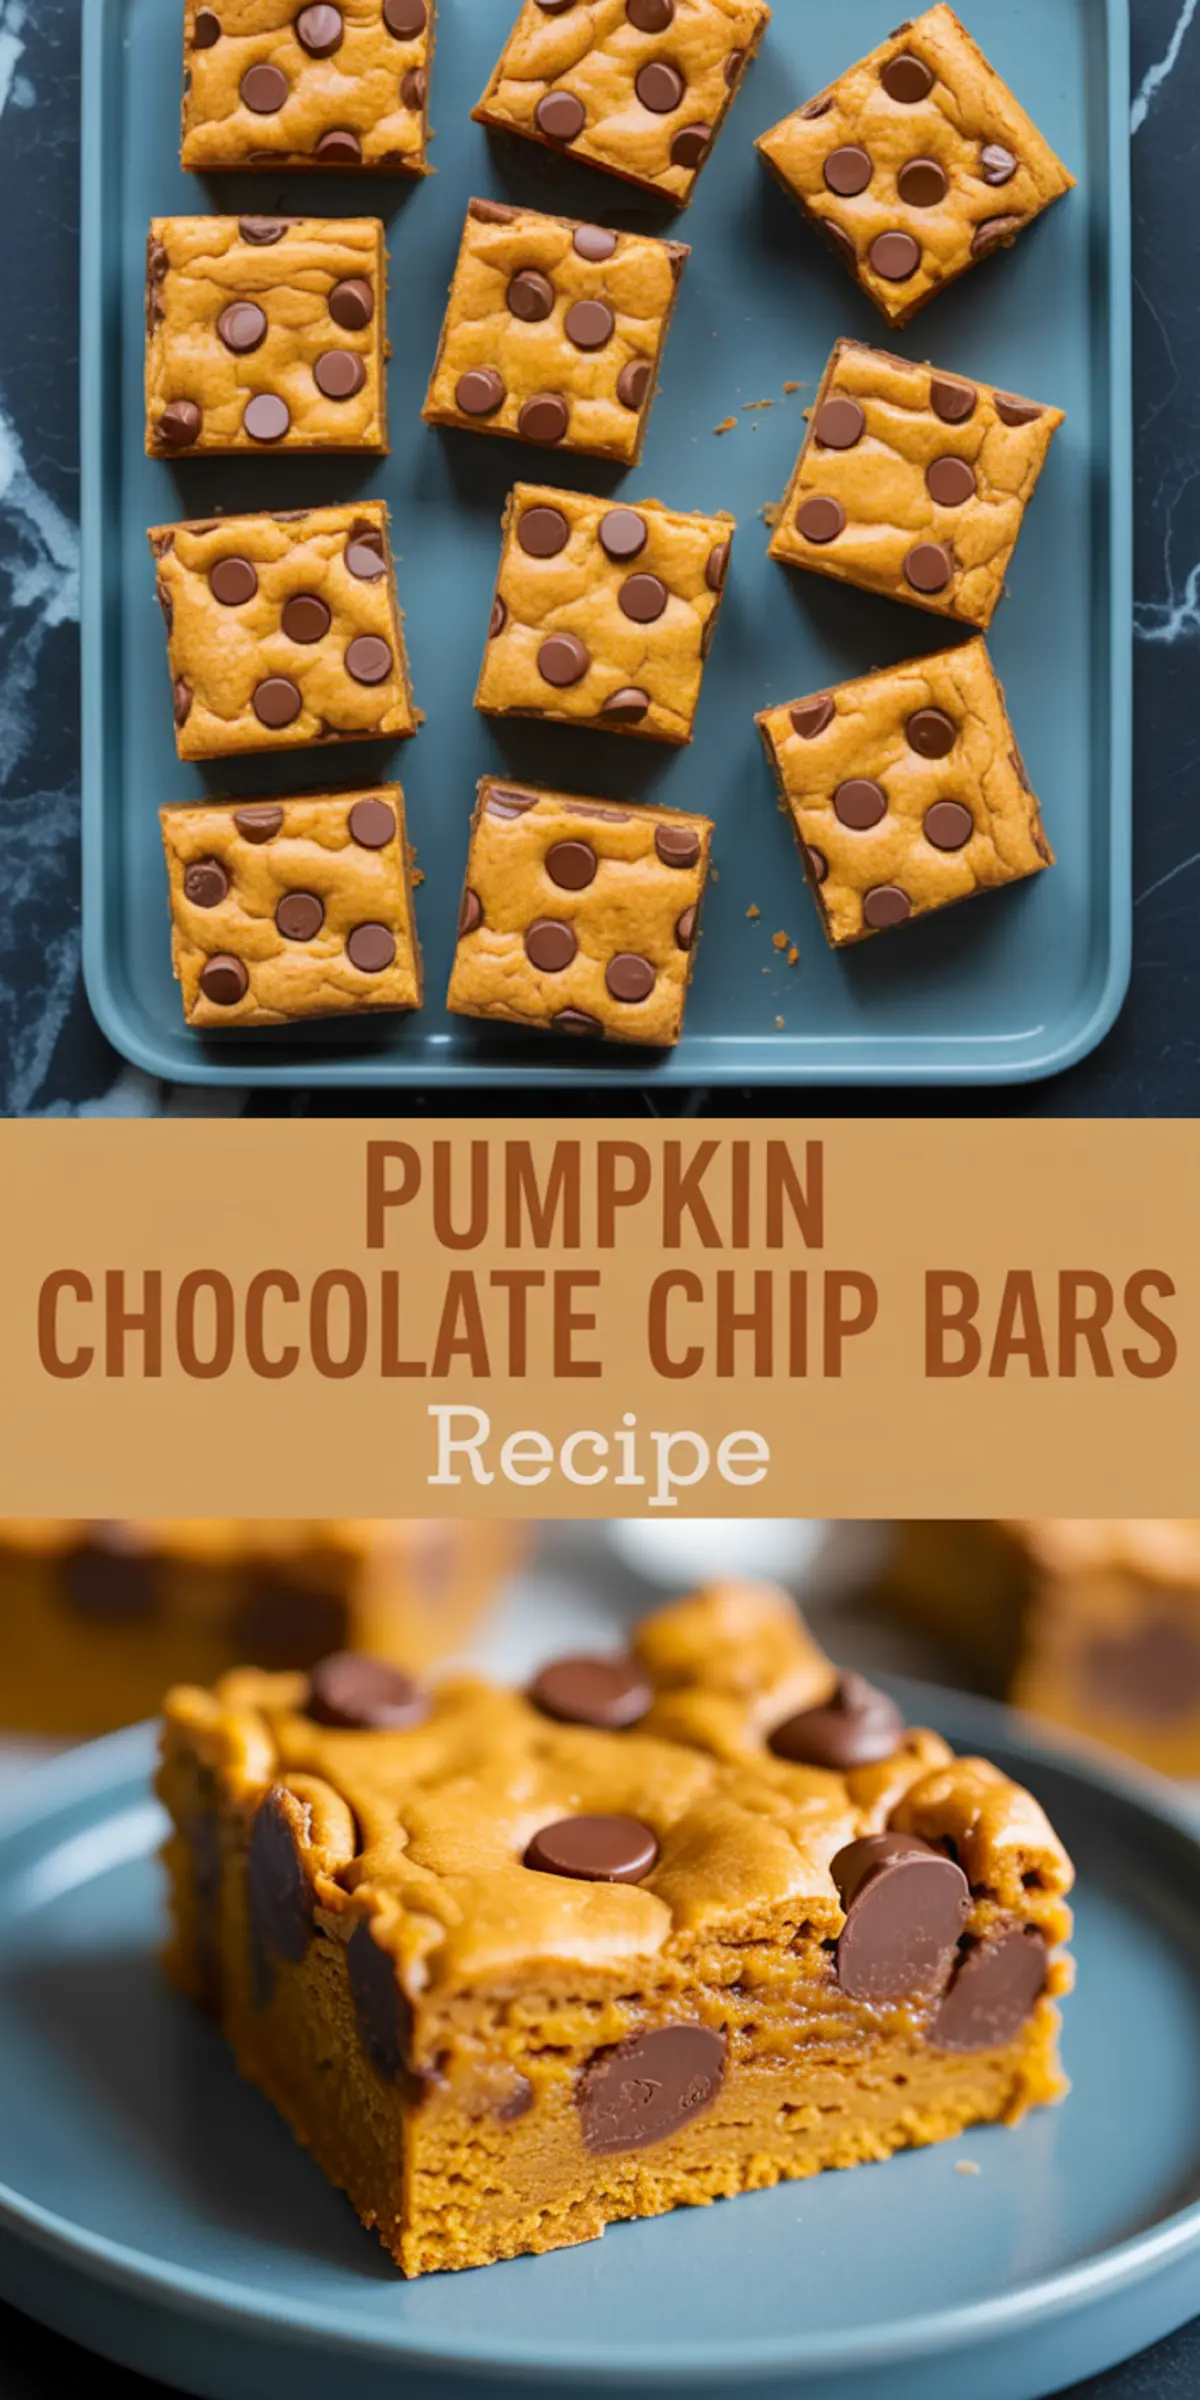
Pumpkin desserts often lean heavily on spice, yet these Pumpkin Chocolate Chip Bars tell a different story. Instead of cinnamon and nutmeg, the focus rests on the pumpkin itself, with rich chocolate adding warmth and depth. The result is a bar that feels both simple and memorable, one you’ll want to bake more than once this season. You’ll learn how to make these moist, cake-like squares with confidence, plus discover a little surprise that makes them stand out.
There’s something deeply comforting about recipes that skip the fuss and let the main ingredients shine. I’ve baked countless pumpkin treats, and these bars are the ones that friends request most often. They hold their shape, cut neatly, and pack beautifully, which makes them a smart choice if you’re bringing a tray to a fall gathering or need an easy dessert for a weeknight treat.
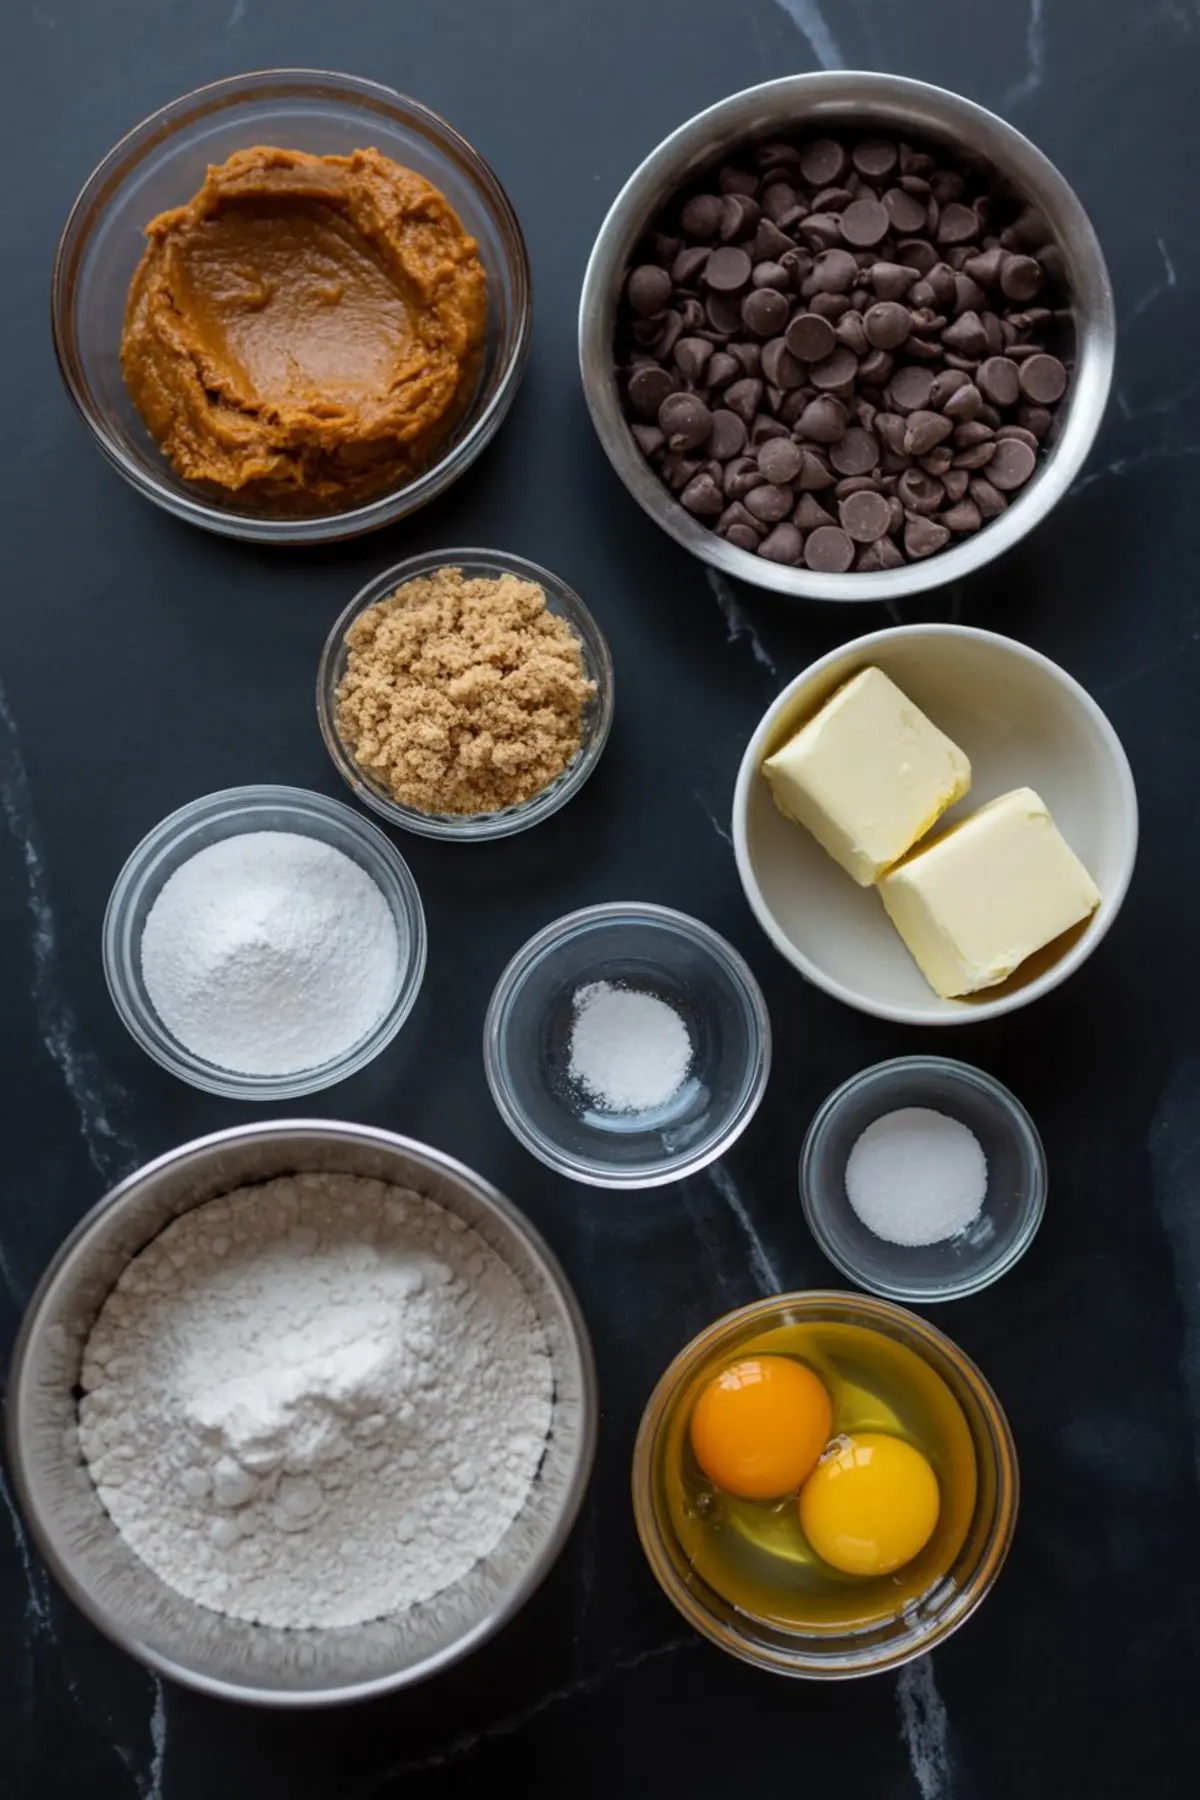
Ingredients for Pumpkin Chocolate Chip Bars
The base comes together with simple pantry staples. Pumpkin purée, eggs, melted butter, and brown sugar form the heart of the batter. Flour, baking powder, and a pinch of sea salt give structure, while semi-sweet chocolate chips bring a mellow sweetness in every bite. A touch of vanilla adds softness without overpowering the pumpkin.
I’ve tried both dark chocolate and semi-sweet chips in my notes. Semi-sweet blends better with the pumpkin, keeping the flavor balanced. Dark chocolate creates a bolder bite but can sometimes overwhelm the gentle sweetness of pumpkin. For these bars, I always return to semi-sweet.
If you’re a fan of pumpkin breakfast bakes, you may also enjoy these pumpkin oatmeal cookies. They share the same soft, moist quality but with a heartier texture from oats.
Step-by-Step Method
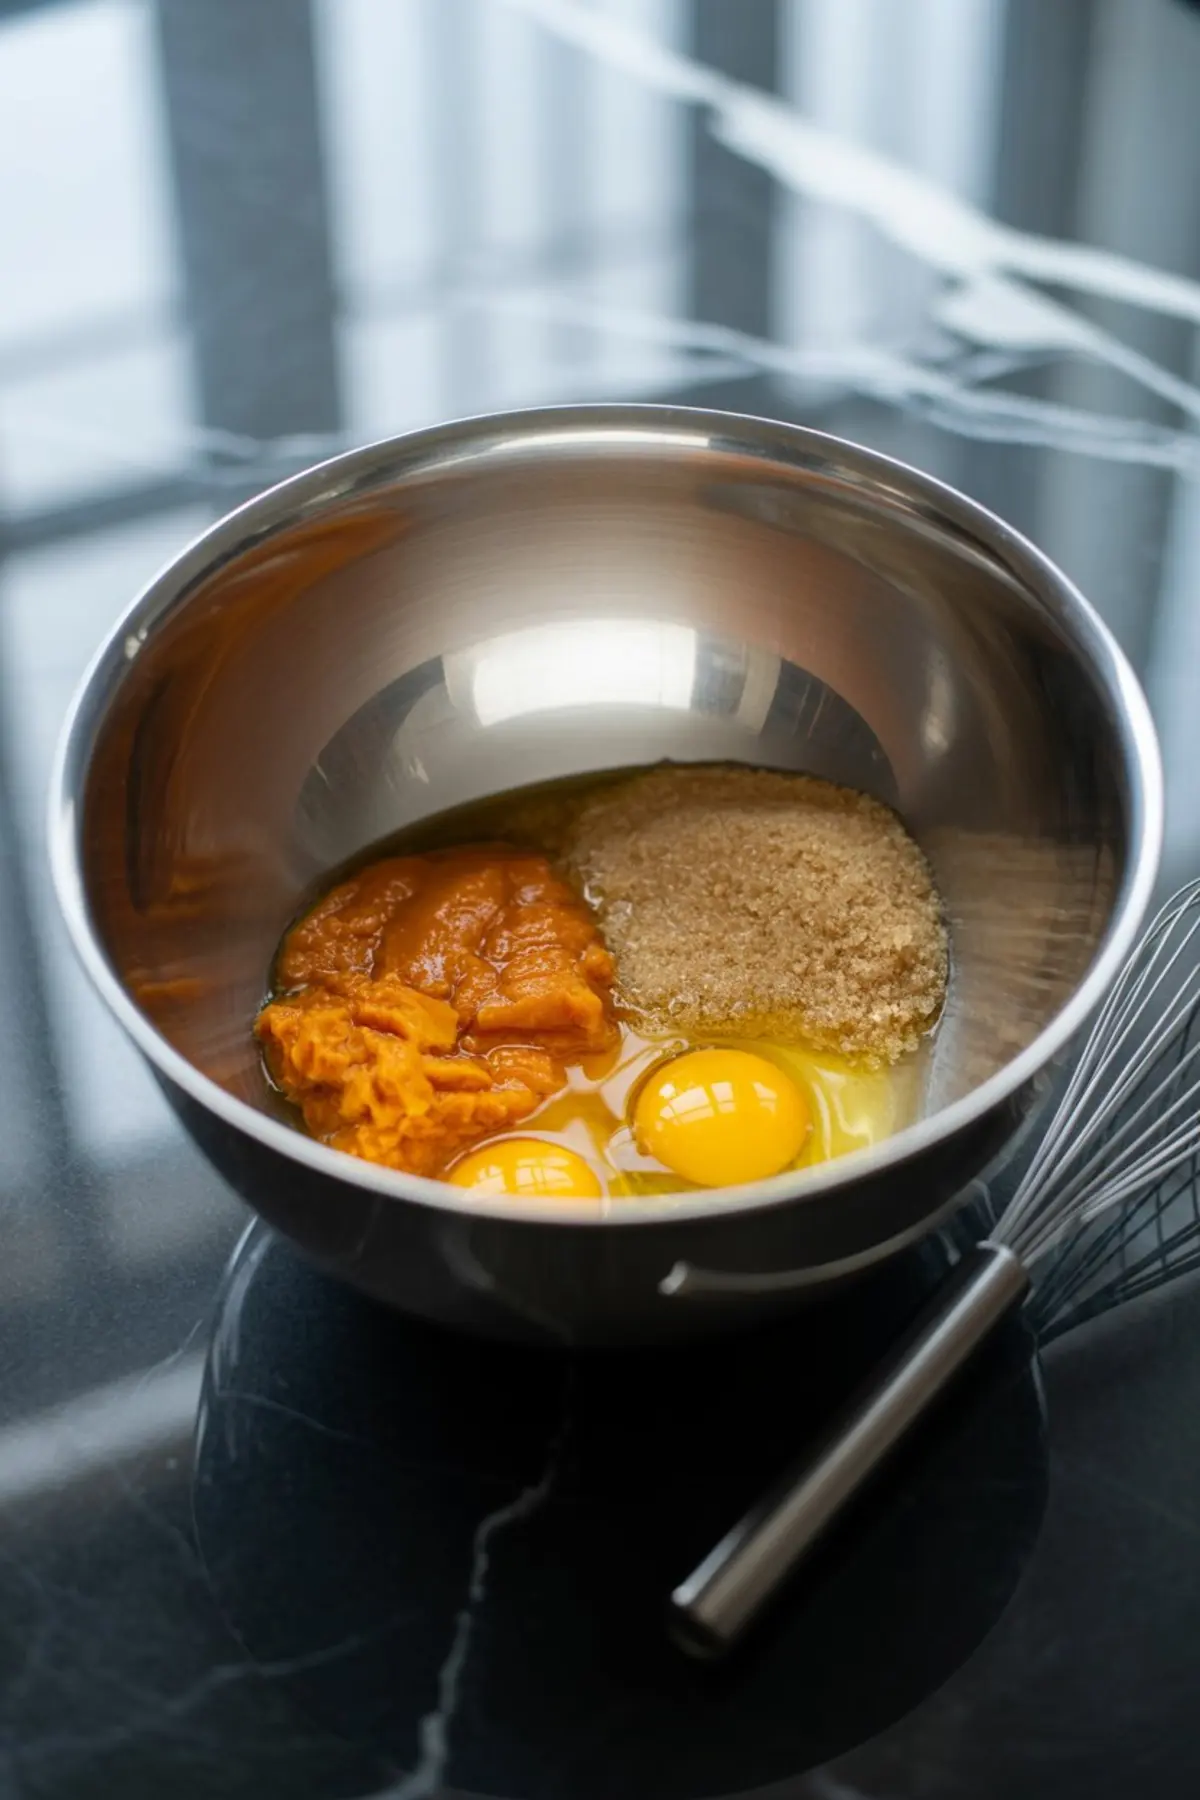
Start by preheating the oven to 350°F and preparing a 9×13-inch baking pan. A sheet of parchment helps lift the bars out cleanly once cooled. In a large bowl, whisk pumpkin, eggs, melted butter, and brown sugar until smooth. You’ll notice the batter feels rich but not heavy.
In a smaller bowl, whisk flour, baking powder, and salt until blended. Slowly fold this mixture into the wet ingredients, taking care not to overmix. Too much stirring can lead to a dense texture, and you want these bars to stay tender.
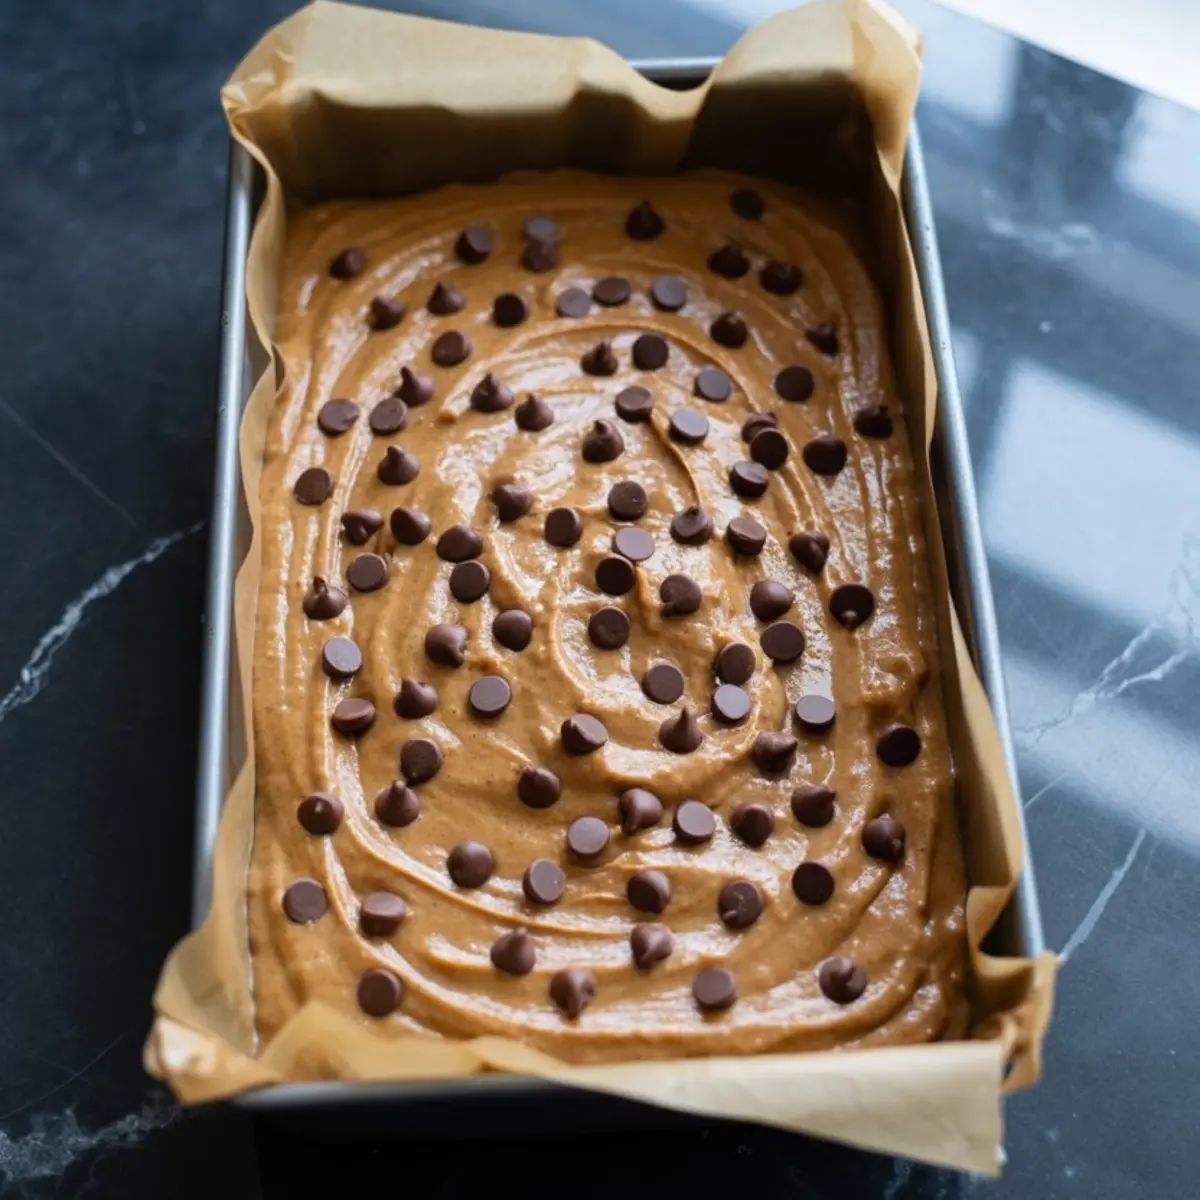
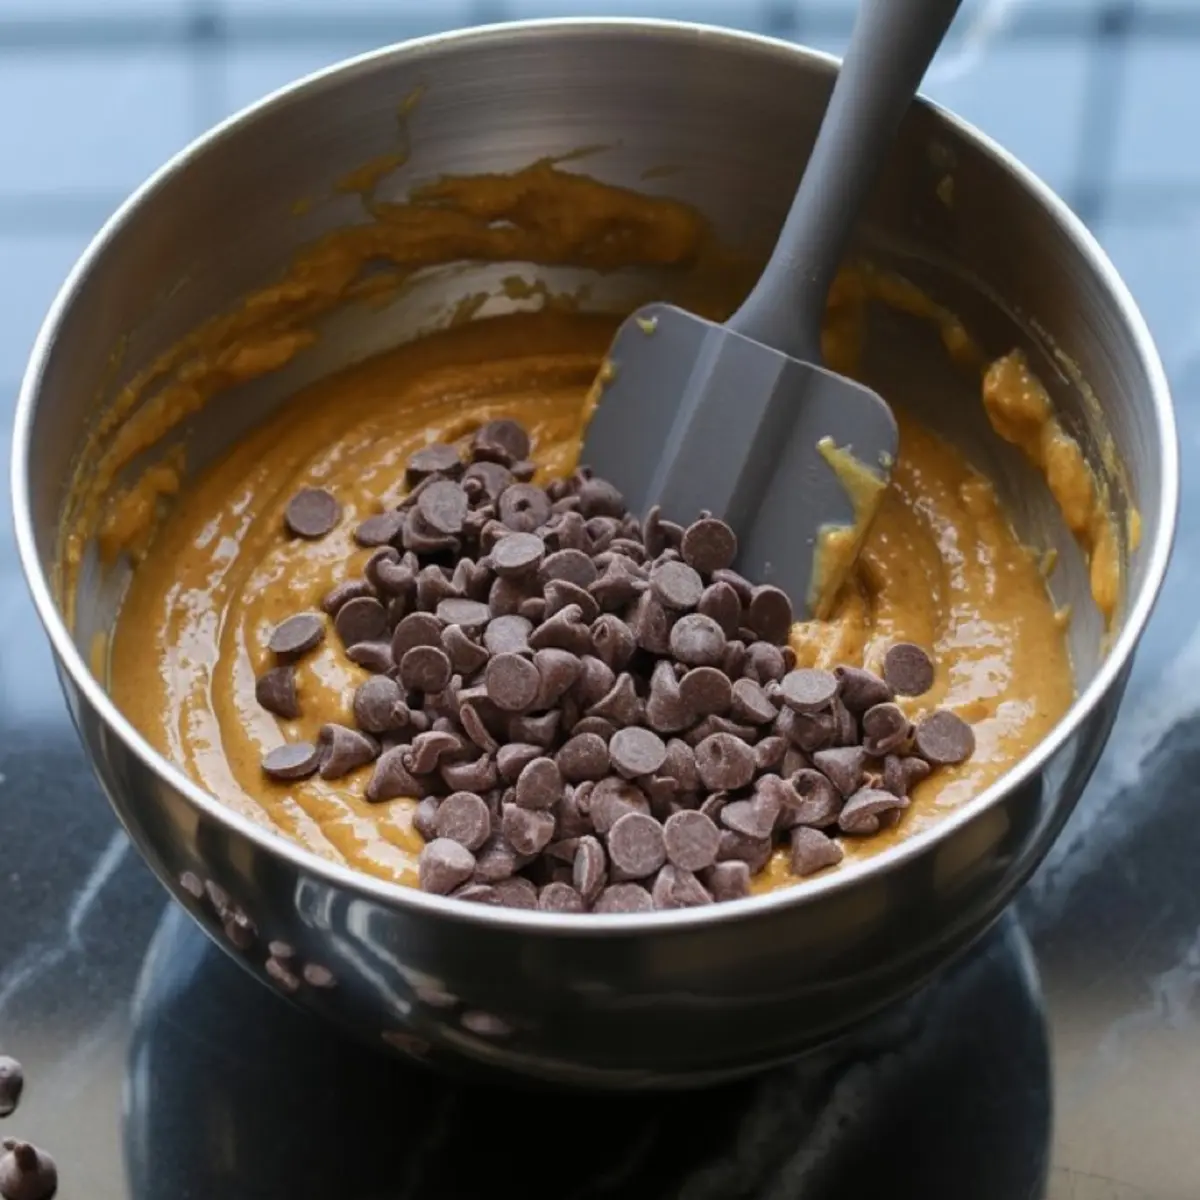
Once combined, fold in most of the chocolate chips, reserving a handful for the top. Spread the thick batter evenly in the pan and scatter the remaining chips over the surface. Bake until a toothpick in the center comes out with moist crumbs but no raw batter.
For another easy fall bake with pumpkin and cream cheese, take a look at these Pumpkin Cream Cheese Muffins. They’re a lovely option if you want something portable and individually sized.
Cooling and Cutting the Bars
Cooling plays a bigger role than most people realize. These bars need to rest fully in the pan before slicing. Cutting too early can cause them to crumble, while cooling gives them a soft but stable texture. Once cooled, use a sharp knife to cut into even squares or rectangles, depending on how you’d like to serve them.
At this point, I like to add one extra detail that keeps guests guessing. A light drizzle of melted chocolate across the top, just before serving, ties the whole dessert together and adds a bakery-style finish. That’s the little dash of magic I hinted at earlier.
If you enjoy spiced versions, you might like this Pumpkin Spice Cake. It uses cinnamon and cloves to create a classic flavor, while these bars keep the pumpkin as the star.
Storage and Serving Tips
These bars keep well in an airtight container at room temperature for up to four days. Refrigeration extends their life to a week, and they also freeze beautifully. I’ve stored slices in my freezer and found them just as moist weeks later, ready for a quick dessert or a sweet snack.
For breakfast-style treats, you could compare them to pumpkin scones. The scones feel lighter and pair well with coffee, while these bars lean sweeter and more dessert-focused.
You can serve the bars plain or add a scoop of vanilla ice cream for a cozy fall dessert. They also travel well, making them a dependable choice for potlucks or bake sales. The pumpkin squares cut easily and don’t crumble in a container, which saves time and worry when packing.
Save and Share These Pumpkin Chocolate Chip Bars
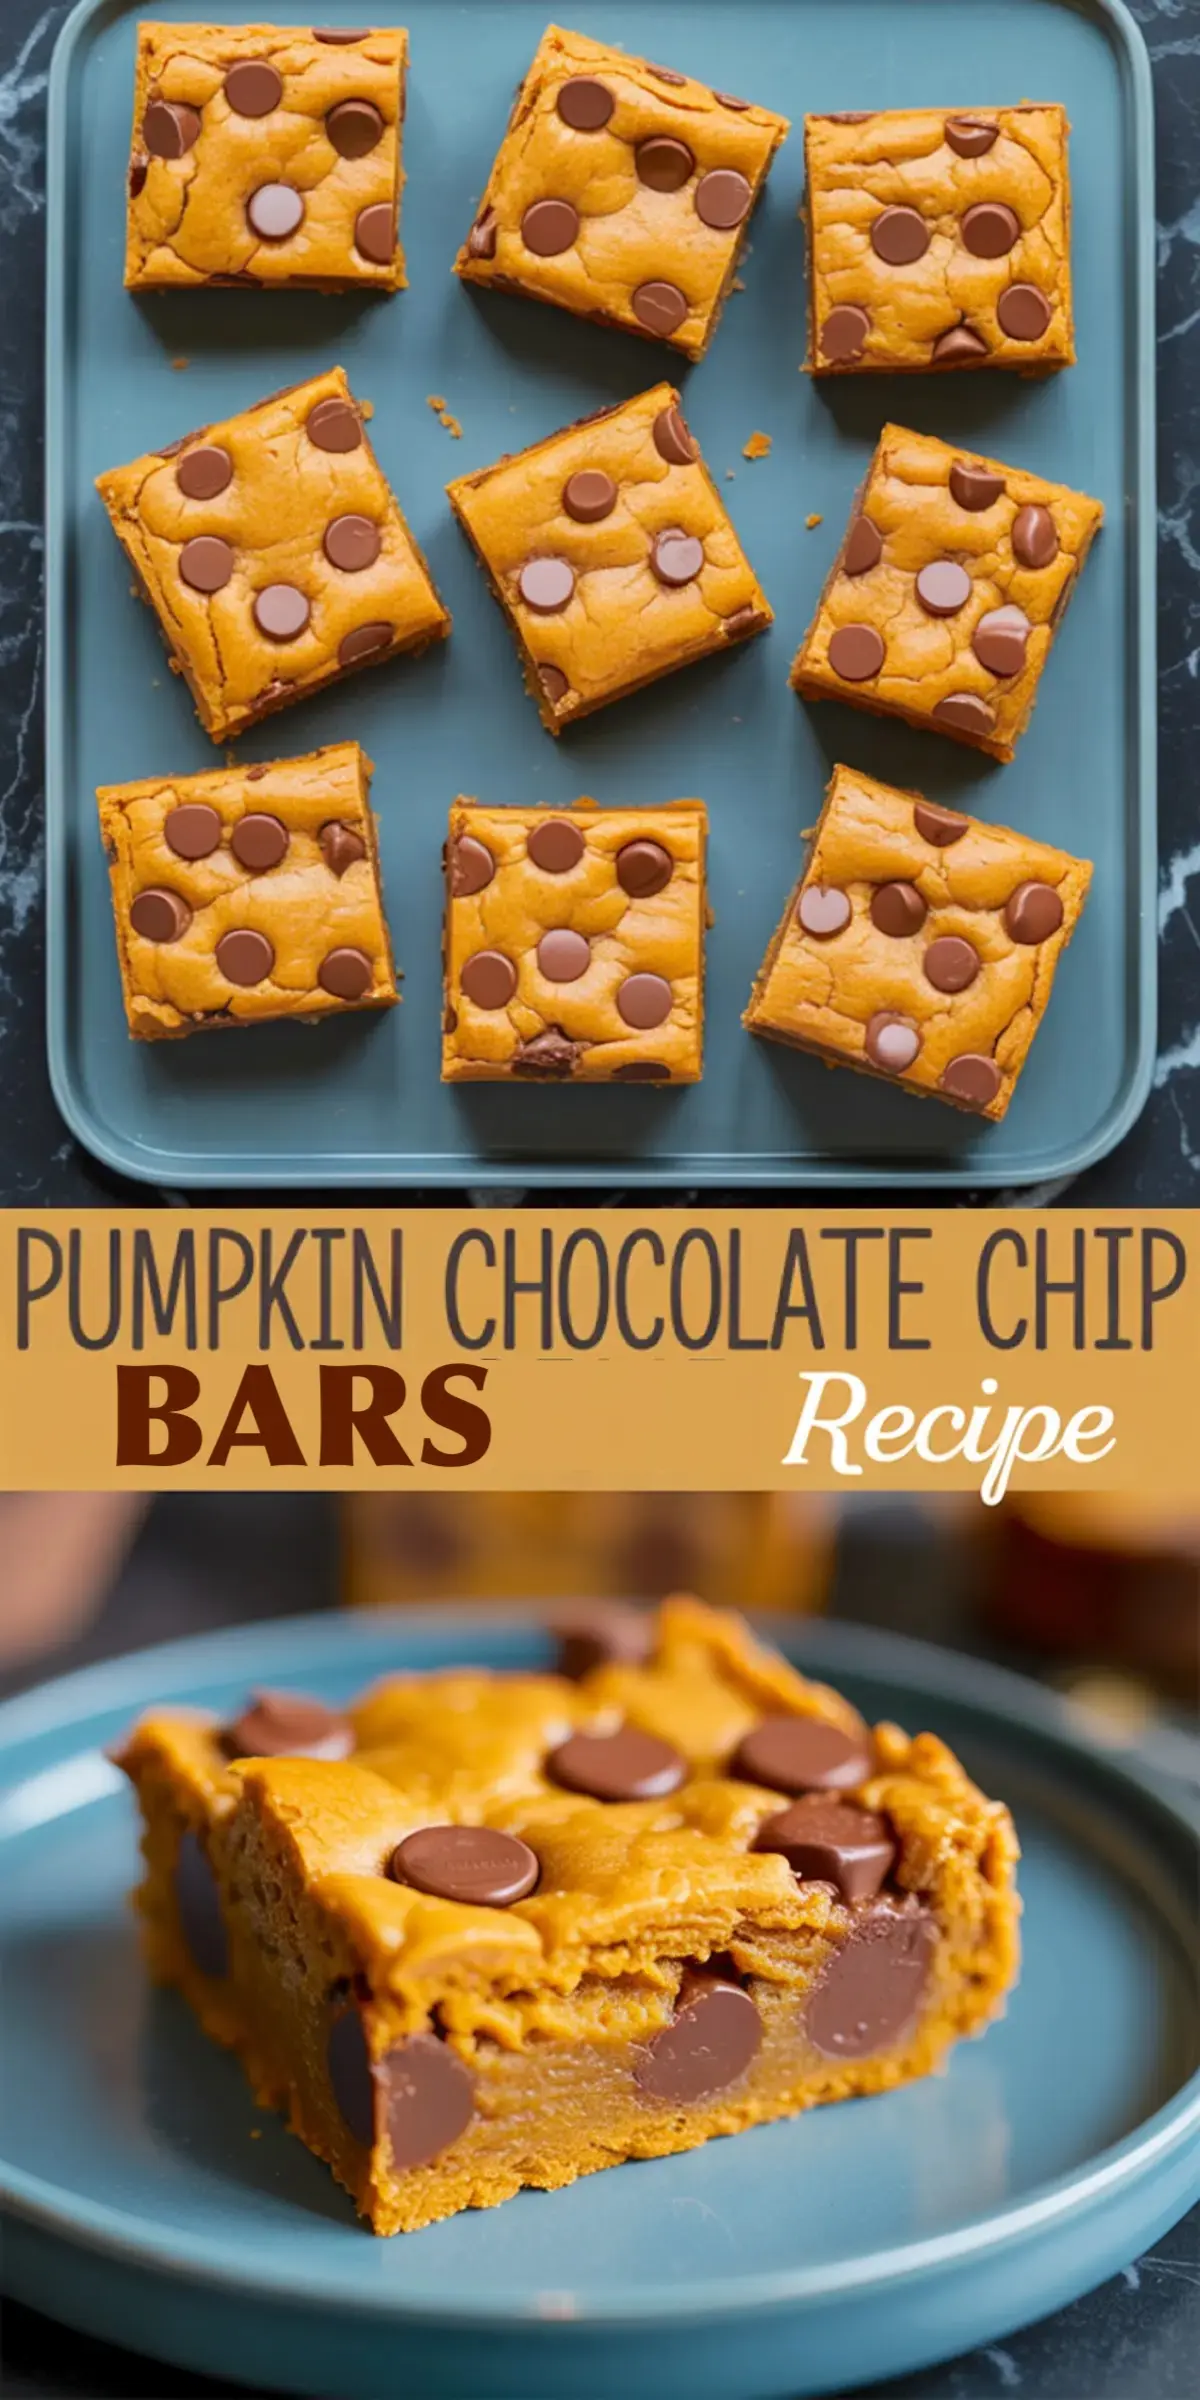
I’d love to know how your batch turns out. Do you prefer them plain, or do you add a little chocolate drizzle on top like I do? Share your thoughts in the comments so we can trade ideas. And don’t forget to save this recipe to your Pinterest boards for later. It’s the kind of fall dessert you’ll want to return to again and again.
Pumpkin Chocolate Chip Bars
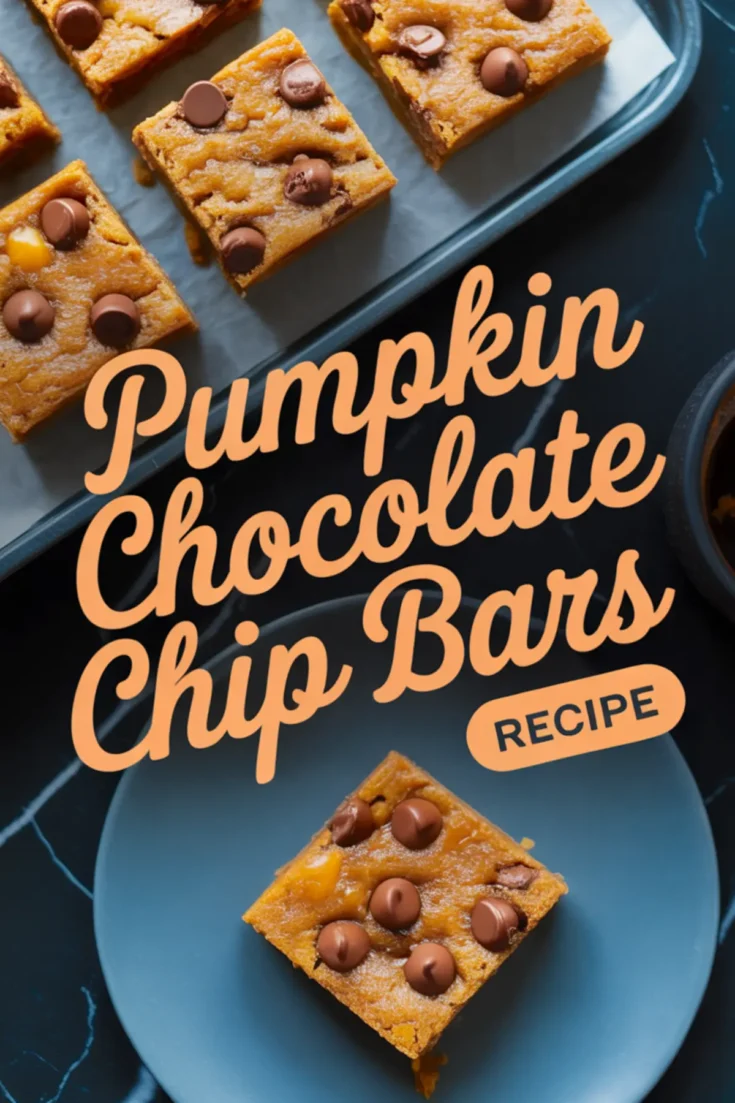
A thick, moist pumpkin bar with a soft, cake-like texture and rich chocolate chips throughout. This recipe skips the traditional pumpkin pie spices and lets the natural pumpkin and chocolate flavors shine. The batter is easy to mix by hand, and the bars hold together well, making them great for sharing or packing.
Ingredients
- canned pumpkin puree (not pumpkin pie filling) – 1 cup
- large eggs, room temperature – 2
- unsalted butter, melted and cooled slightly – 1/2 cup (1 stick)
- light brown sugar, packed – 1 cup
- all-purpose flour – 1 1/2 cups
- baking powder – 1 teaspoon
- fine sea salt – 1/2 teaspoon
- semi-sweet chocolate chips – 1 cup, divided (plus extra for topping if desired)
- vanilla extract (optional) – 1 teaspoon
Instructions
- PREHEAT THE OVEN: Set your oven to 350°F (175°C). Grease a 9x13-inch baking pan or line it with parchment paper for easier removal.
- MIX THE WET INGREDIENTS: In a large mixing bowl, combine the canned pumpkin, eggs, melted butter, and brown sugar. Whisk or stir until smooth and fully blended.
- COMBINE THE DRY INGREDIENTS: In a separate medium bowl, whisk together the flour, baking powder, and salt until well mixed.
- ADD DRY TO WET: Gradually add the dry ingredients into the wet mixture, stirring gently just until the flour disappears. Do not overmix, as this can make the texture rubbery.
- FOLD IN CHOCOLATE CHIPS: Stir in about 3/4 cup of the chocolate chips, reserving the rest for topping. The batter will be thick.
- SPREAD INTO PAN: Transfer the batter to the prepared baking pan. Use a spatula to press and spread it evenly into all corners. Sprinkle the reserved chocolate chips on top and gently press them into the surface.
- BAKE: Place the pan in the oven and bake for 28–32 minutes. The bars are done when a toothpick inserted in the center comes out with a few moist crumbs but no raw batter.
- COOL COMPLETELY: Let the bars cool fully in the pan. This helps them set and gives them a better texture when sliced.
Notes
Bars can be stored in an airtight container at room temperature for up to 4 days or refrigerated for up to a week. They also freeze well for longer storage.
Nutrition Information:
Yield:
16Serving Size:
1Amount Per Serving: Calories: 204Total Fat: 10gSaturated Fat: 6gTrans Fat: 0gUnsaturated Fat: 3gCholesterol: 39mgSodium: 112mgCarbohydrates: 28gFiber: 1gSugar: 18gProtein: 3g
