
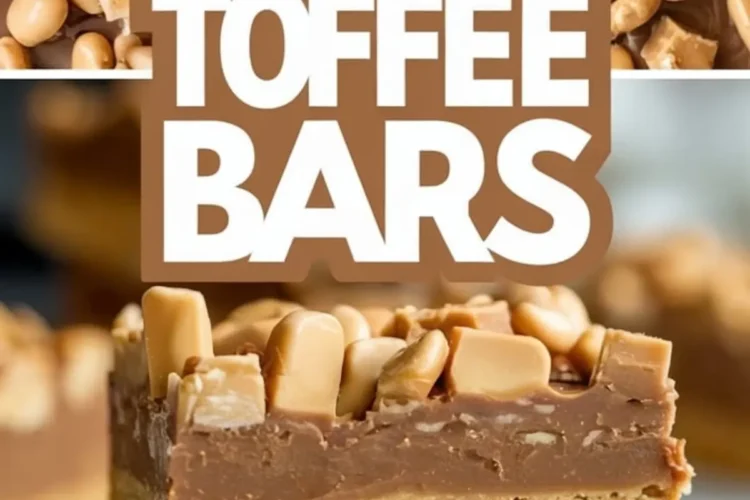
I first met toffee bars at a dusty little bake sale down the road from my childhood home. The table groaned under trays of brownies and cookies, but those golden squares caught my eye, promising something sweet and simple. I took a bite and felt the world slow down—the buttery base, the smooth chocolate, and that crunch of toffee stayed with me for years. Now, I make my own, and I’ve added a dash of magic—a secret ingredient that lifts these bars into something unforgettable. Curious yet? Stick with me, and I’ll share it soon.
This dessert pulls you in with its ease and rewards you with every bite. You start with a yellow cake mix, a box of possibility that turns into something special with just a few steps. I’ve spent years tweaking this recipe, and I’m excited to walk you through it.

Crafting the Buttery Cake Mix Base
You begin with that yellow cake mix, a humble start that feels like a hug from the past. Mix it with melted butter and an egg, and watch it become a dough that’s soft yet sturdy. I press it into the pan with my fingers, and my cat, Whiskers, hops up to supervise, his whiskers twitching as if he knows something good is coming.
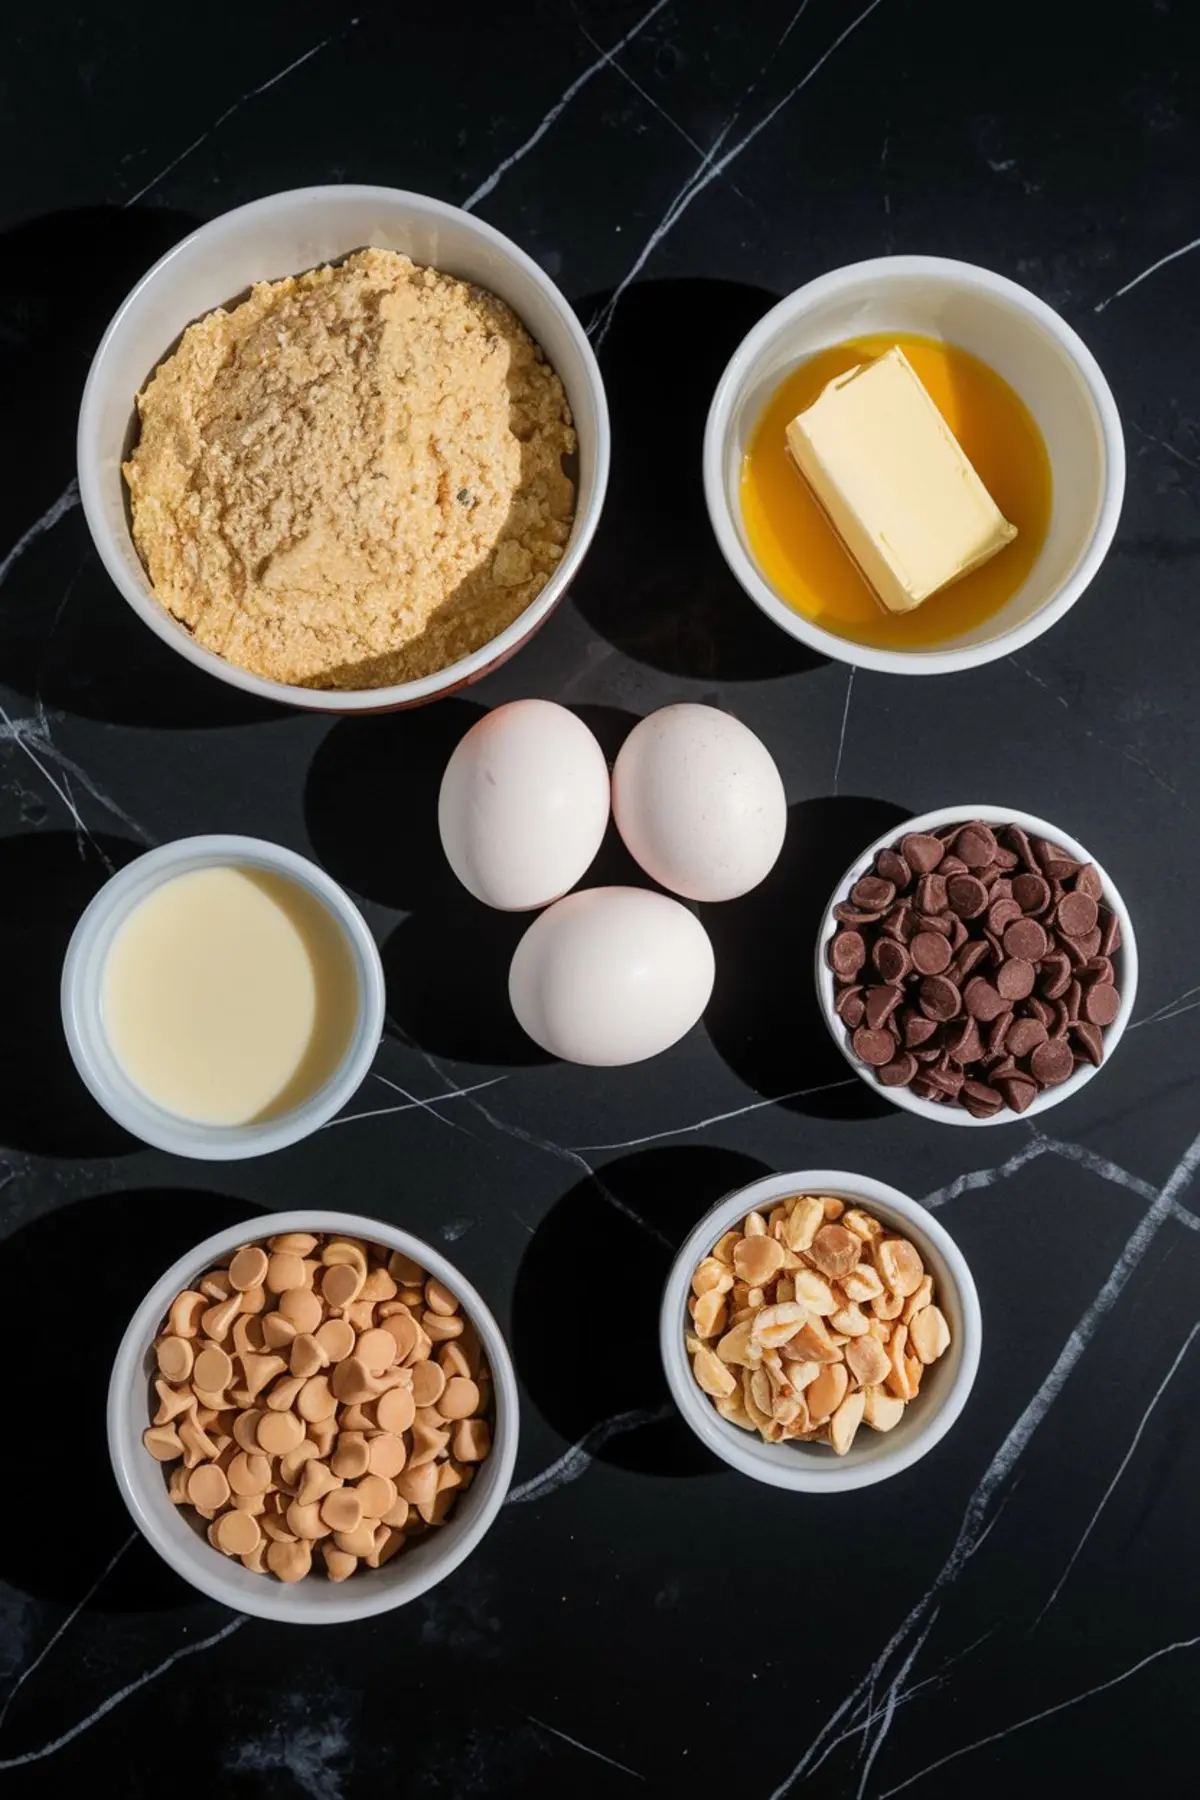
The dough spreads out evenly, filling the dish with a promise of what’s ahead. Slide it into the oven, and soon the kitchen smells like warm butter and anticipation. You don’t need fancy tools—just your hands and a little patience while it bakes to a light golden shade.
Melting Chocolate into Creamy Bliss
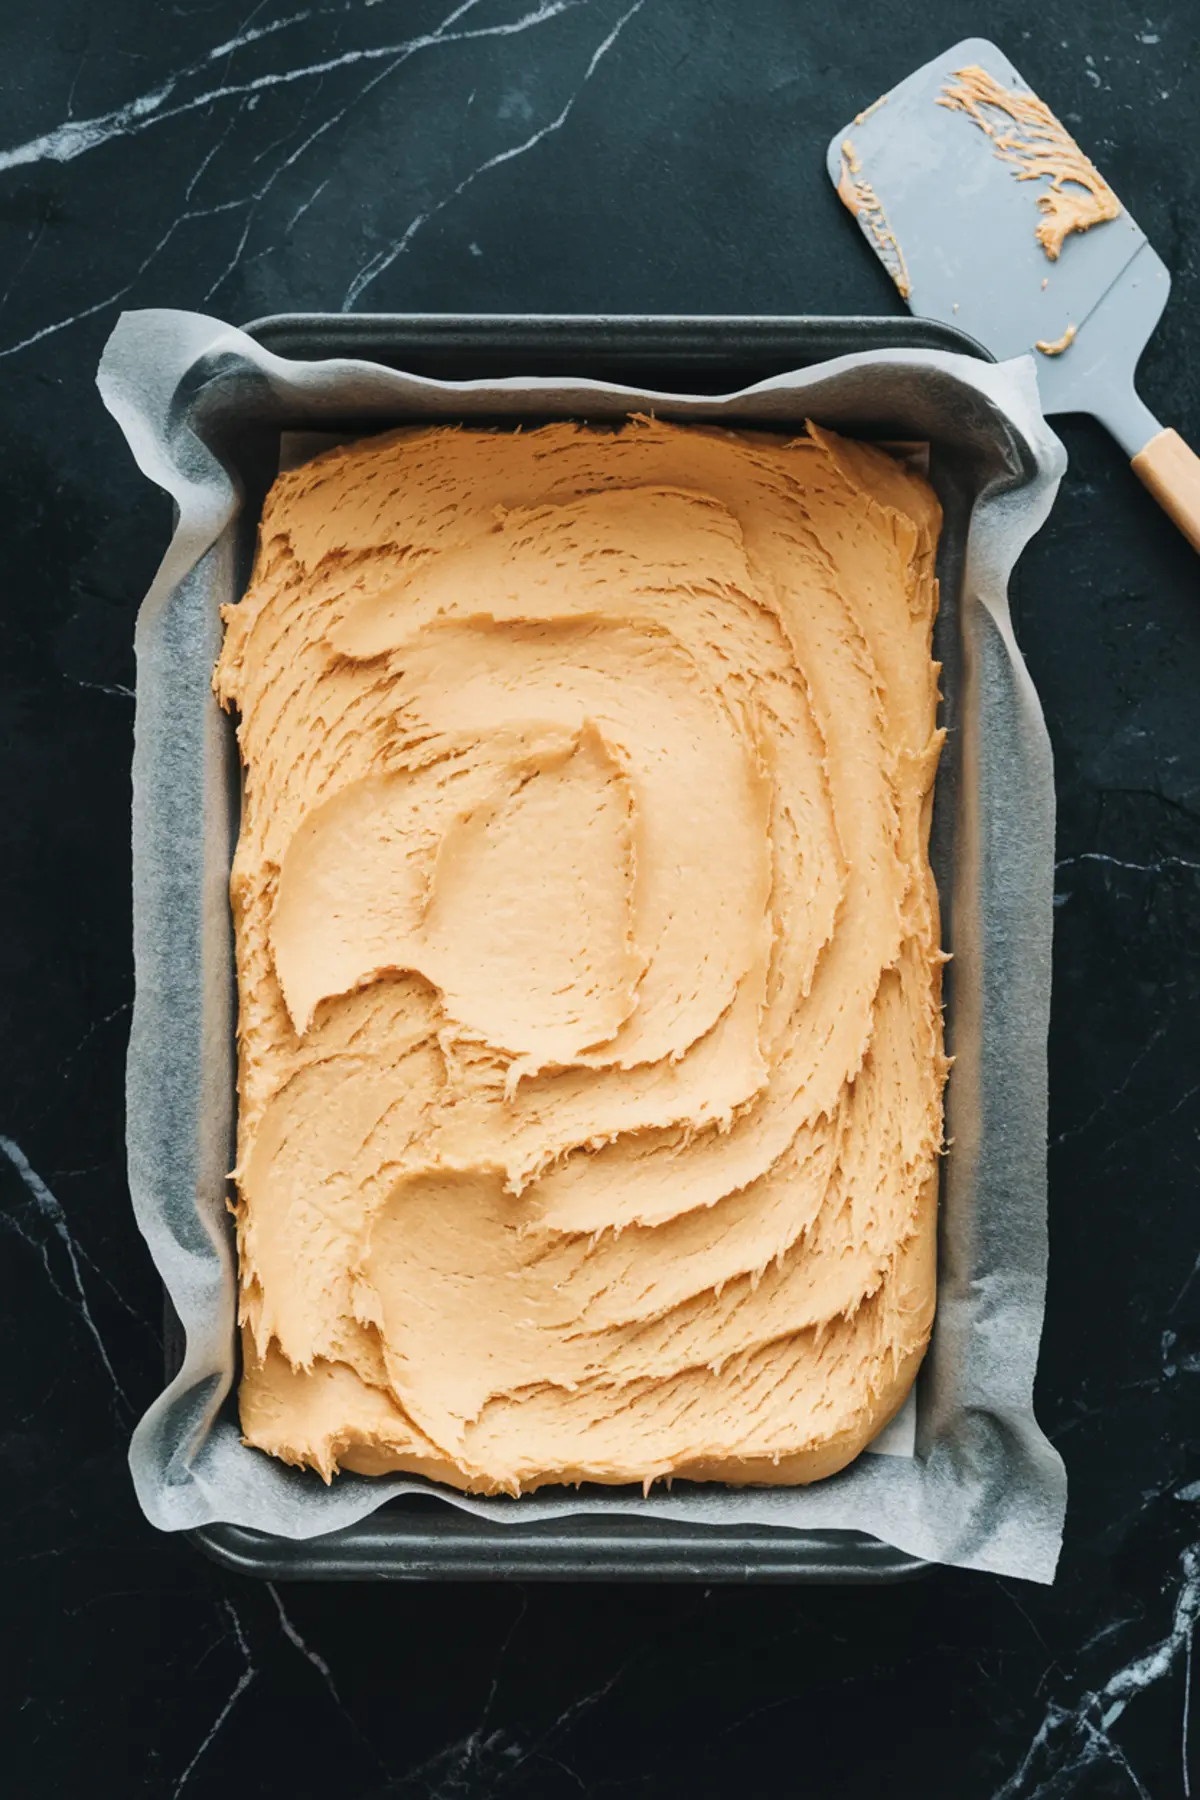
While the base bakes, you turn to the chocolate. Milk chocolate chips melt in the microwave, and I stir them with my Golden Spoon, a treasure from my aunt Marian that’s seen more recipes than I can count. The spoon glides through, turning chips into a glossy pool, and then you add sweetened condensed milk for that rich, creamy kick.
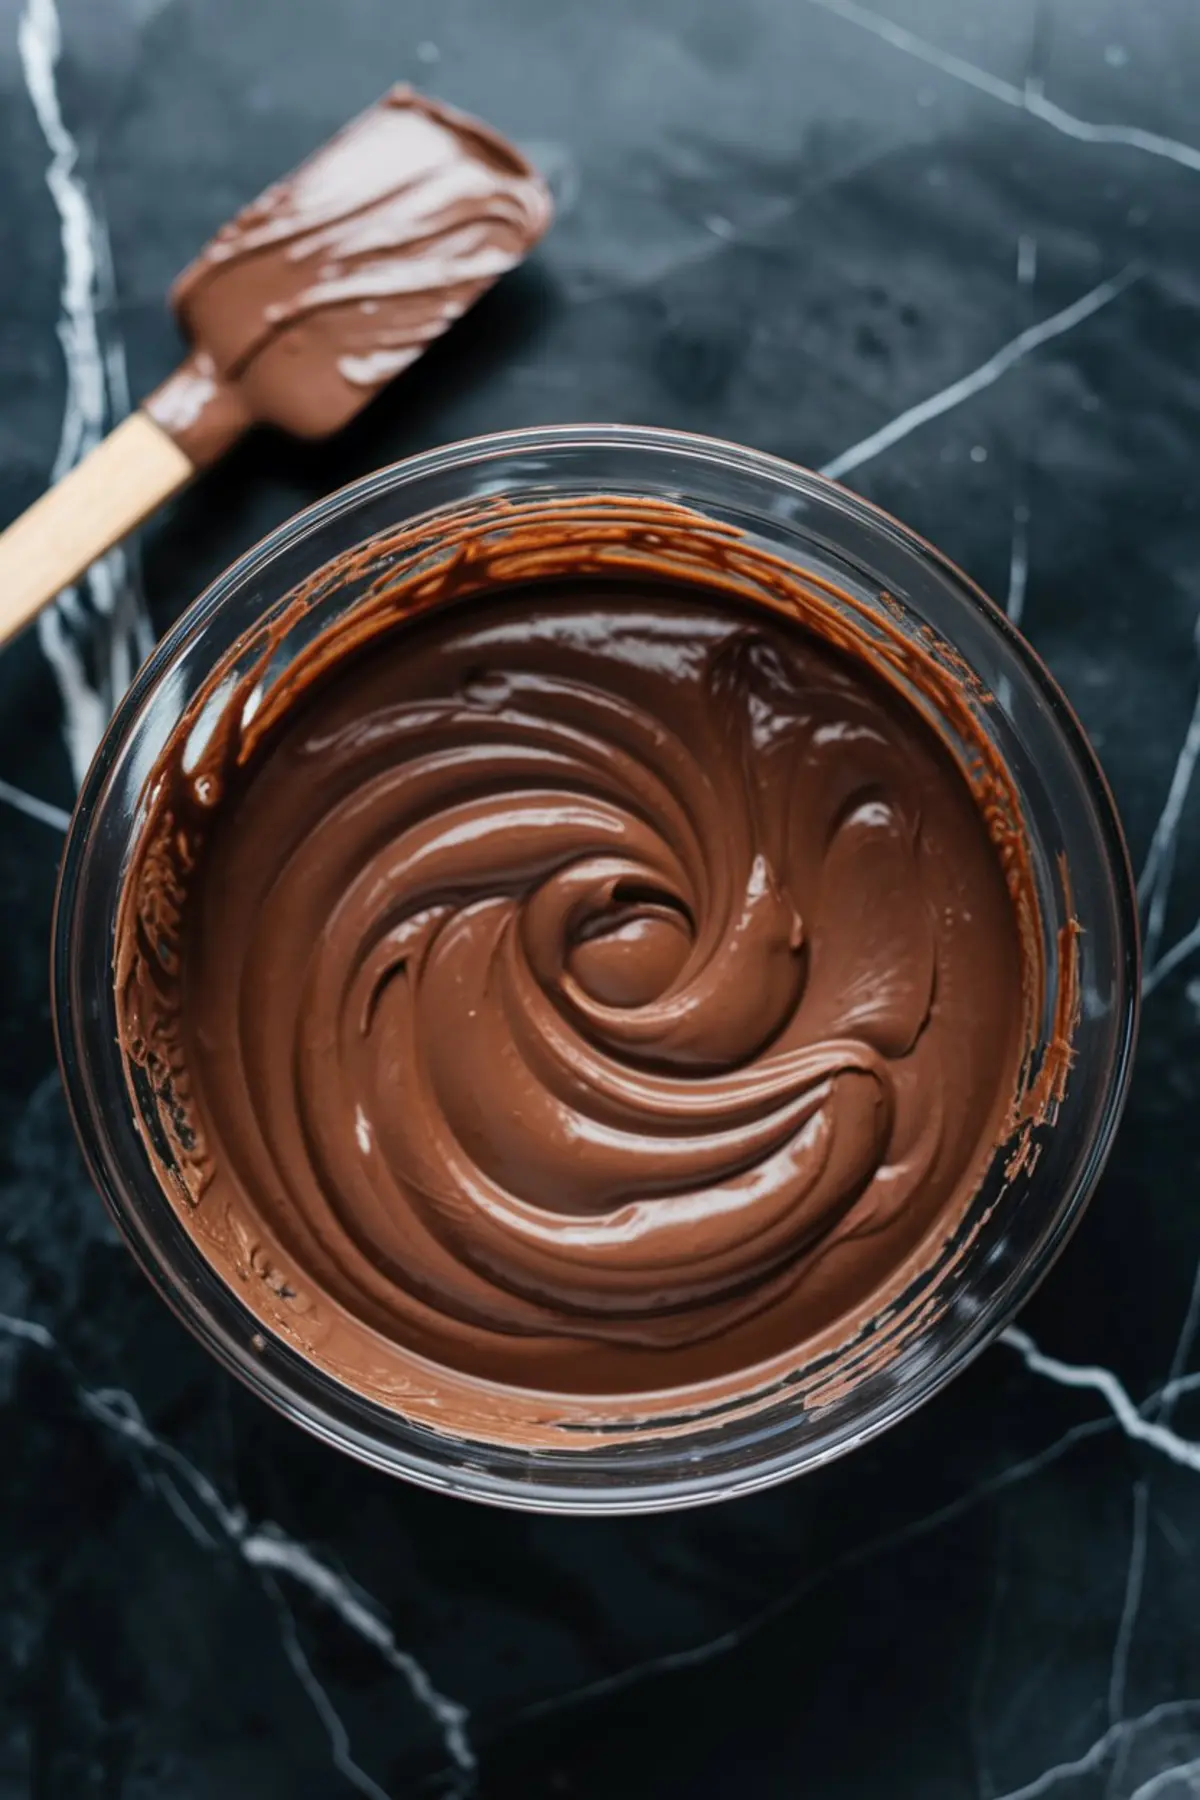
Pour this over the warm crust, and it settles like a blanket, smooth and inviting. What’s better than chocolate that flows so easily? You spread it out, and the bars start to take shape right before your eyes.
Adding Crunch with Toffee and Nuts
Now you sprinkle on the toffee bits and nuts—peanuts or cashews, whatever you’ve got. The toffee softens into the chocolate, blending sweet with sticky, while the nuts bring a snap that keeps every bite lively. I love this step; it’s like decorating a cake, but simpler and faster.
Back into the oven they go, just long enough to lock everything together. Can you smell it yet? The kitchen fills with a scent that makes you hungry for the first taste.
Cooling and Cutting the Bars
You pull the pan out, but hold off—let these bars cool completely. I know waiting feels tough; I’ve stood there tapping my foot, dying to dig in. A quick chill in the fridge sets the layers firm, and then you slice them into neat squares that show off every level of flavor.
The knife glides through, revealing the crust, the chocolate, and that toffee-nut topping. Have you ever cut a dessert and felt proud of how it looks? These bars make that moment happen.
The Secret Dash of Magic
Here’s the trick I hinted at earlier: I stir a tiny pinch of sea salt into the chocolate layer. That little bit of salt wakes up the sweetness, making the toffee sing and the chocolate deepen. People taste these bars and ask what makes them so good, and I just smile—this is it.
After that first bite, I grab my Pin Notebook, where I, Chloe, scribble all my recipe secrets. This salt twist goes down in ink, a small note that changes everything. Try it yourself—does it surprise you how much difference it makes?
More Desserts to Love
If quick sweets call your name, check out my other recipes. My Strawberry Mochi Recipe brings a chewy delight, while the Creamsicle Cheesecake cools you down with creamy citrus. For even faster fixes, try the 3 Ingredient Peanut Butter Fudge or the Peanut Butter Dates with Chocolate Drizzle.
These toffee bars fit right in—simple, delicious, and ready to share. Which one will you make next?
Share Your Toffee Bar Story

I love these Cake Mix Toffee Bars for their ease and that salty-sweet magic. They work for picnics, lazy afternoons, or whenever you need a treat fast. Give them a go, and save this pin to your dessert board so you’ve got it handy.
How did yours turn out? Did you swap the nuts or tweak the salt? Drop your thoughts in the comments below—I read every one and love hearing from you. Let’s build a little community right here, sharing our kitchen wins and ideas!
Cake Mix Toffee Bars Recipe
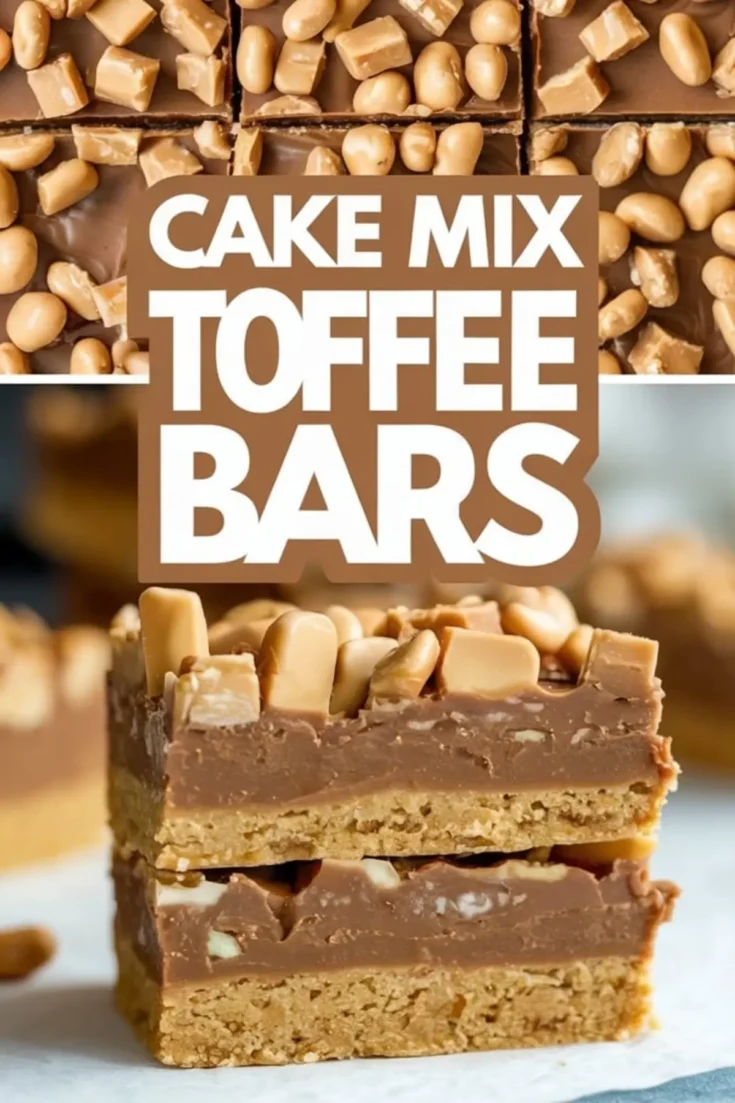
Yellow cake mix creates a buttery crust, while a layer of melted chocolate and sweetened condensed milk adds richness. Toffee bits and nuts provide a crunchy finish.
Ingredients
- 1 box yellow cake mix (about 15.25 oz)
- ½ cup unsalted butter, melted
- 1 large egg
- 1 can (14 oz) sweetened condensed milk
- 2 cups milk chocolate chips
- 1 cup toffee bits
- ½ cup chopped peanuts or cashews (optional)
Instructions
- PREPARE THE BASE LAYER: Preheat the oven to 350°F (175°C). Grease a 9x13-inch baking dish and line it with parchment paper, leaving some overhang for easy removal. In a large mixing bowl, combine the cake mix, melted butter, and egg. Stir until a thick dough forms. Press the dough evenly into the prepared baking dish, ensuring it covers the bottom completely. Bake for 10–12 minutes, or until the crust starts to set and turns lightly golden brown.
- MELT AND SPREAD THE CHOCOLATE LAYER: While the base is baking, melt the chocolate chips in a microwave-safe bowl in 30-second intervals, stirring in between until smooth. Stir in the sweetened condensed milk until fully combined. When the crust comes out of the oven, immediately pour the warm chocolate mixture over it. Use a spatula to spread it evenly, creating a smooth layer.
- ADD THE TOFFEE AND NUTS: While the chocolate is still warm, sprinkle the toffee bits and chopped nuts evenly over the top. The residual heat from the chocolate will slightly soften the toffee, helping it adhere. Return the pan to the oven and bake for 10 more minutes to set the topping.
- COOL AND SLICE: Let the bars cool completely at room temperature. For best results, refrigerate for about 30 minutes before slicing to firm up the layers. Use a sharp knife to cut into squares or rectangles, then serve.
Notes
For cleaner slices, wipe the knife with a damp cloth between cuts. Bars can be stored in an airtight container at room temperature for up to 3 days or in the refrigerator for up to a week. For a variation, use dark chocolate chips or swap the nuts for shredded coconut.
Nutrition Information:
Yield:
16Serving Size:
1Amount Per Serving: Calories: 409Total Fat: 21gSaturated Fat: 12gTrans Fat: 0gUnsaturated Fat: 7gCholesterol: 48mgSodium: 303mgCarbohydrates: 51gFiber: 1gSugar: 36gProtein: 5g
