
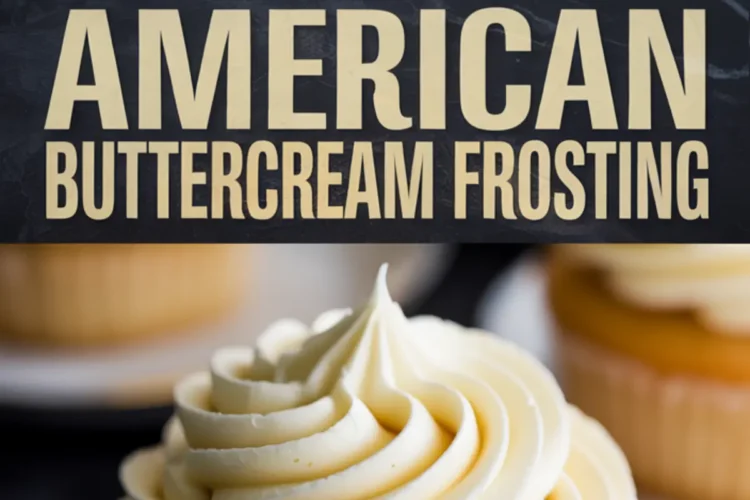
Buttercream frosting has carried more birthdays, weddings, and holiday cakes than I can count. It is the kind of frosting that holds steady on a hot day yet softens with the warmth of a fork. You’ll learn how to make this American buttercream frosting recipe the way I keep it in my Pin Notebook. My notes will give you confidence, because I’ve tested it across cakes, cupcakes, and even cookies.
The goal is to help you understand not just how to mix it, but why each ingredient shapes the outcome. You’ll see why this cake frosting recipe belongs in your own kitchen binder. And I’ll share the unexpected little element I add at the end that changes everything. Think of it as the frosting’s quiet dash of magic.
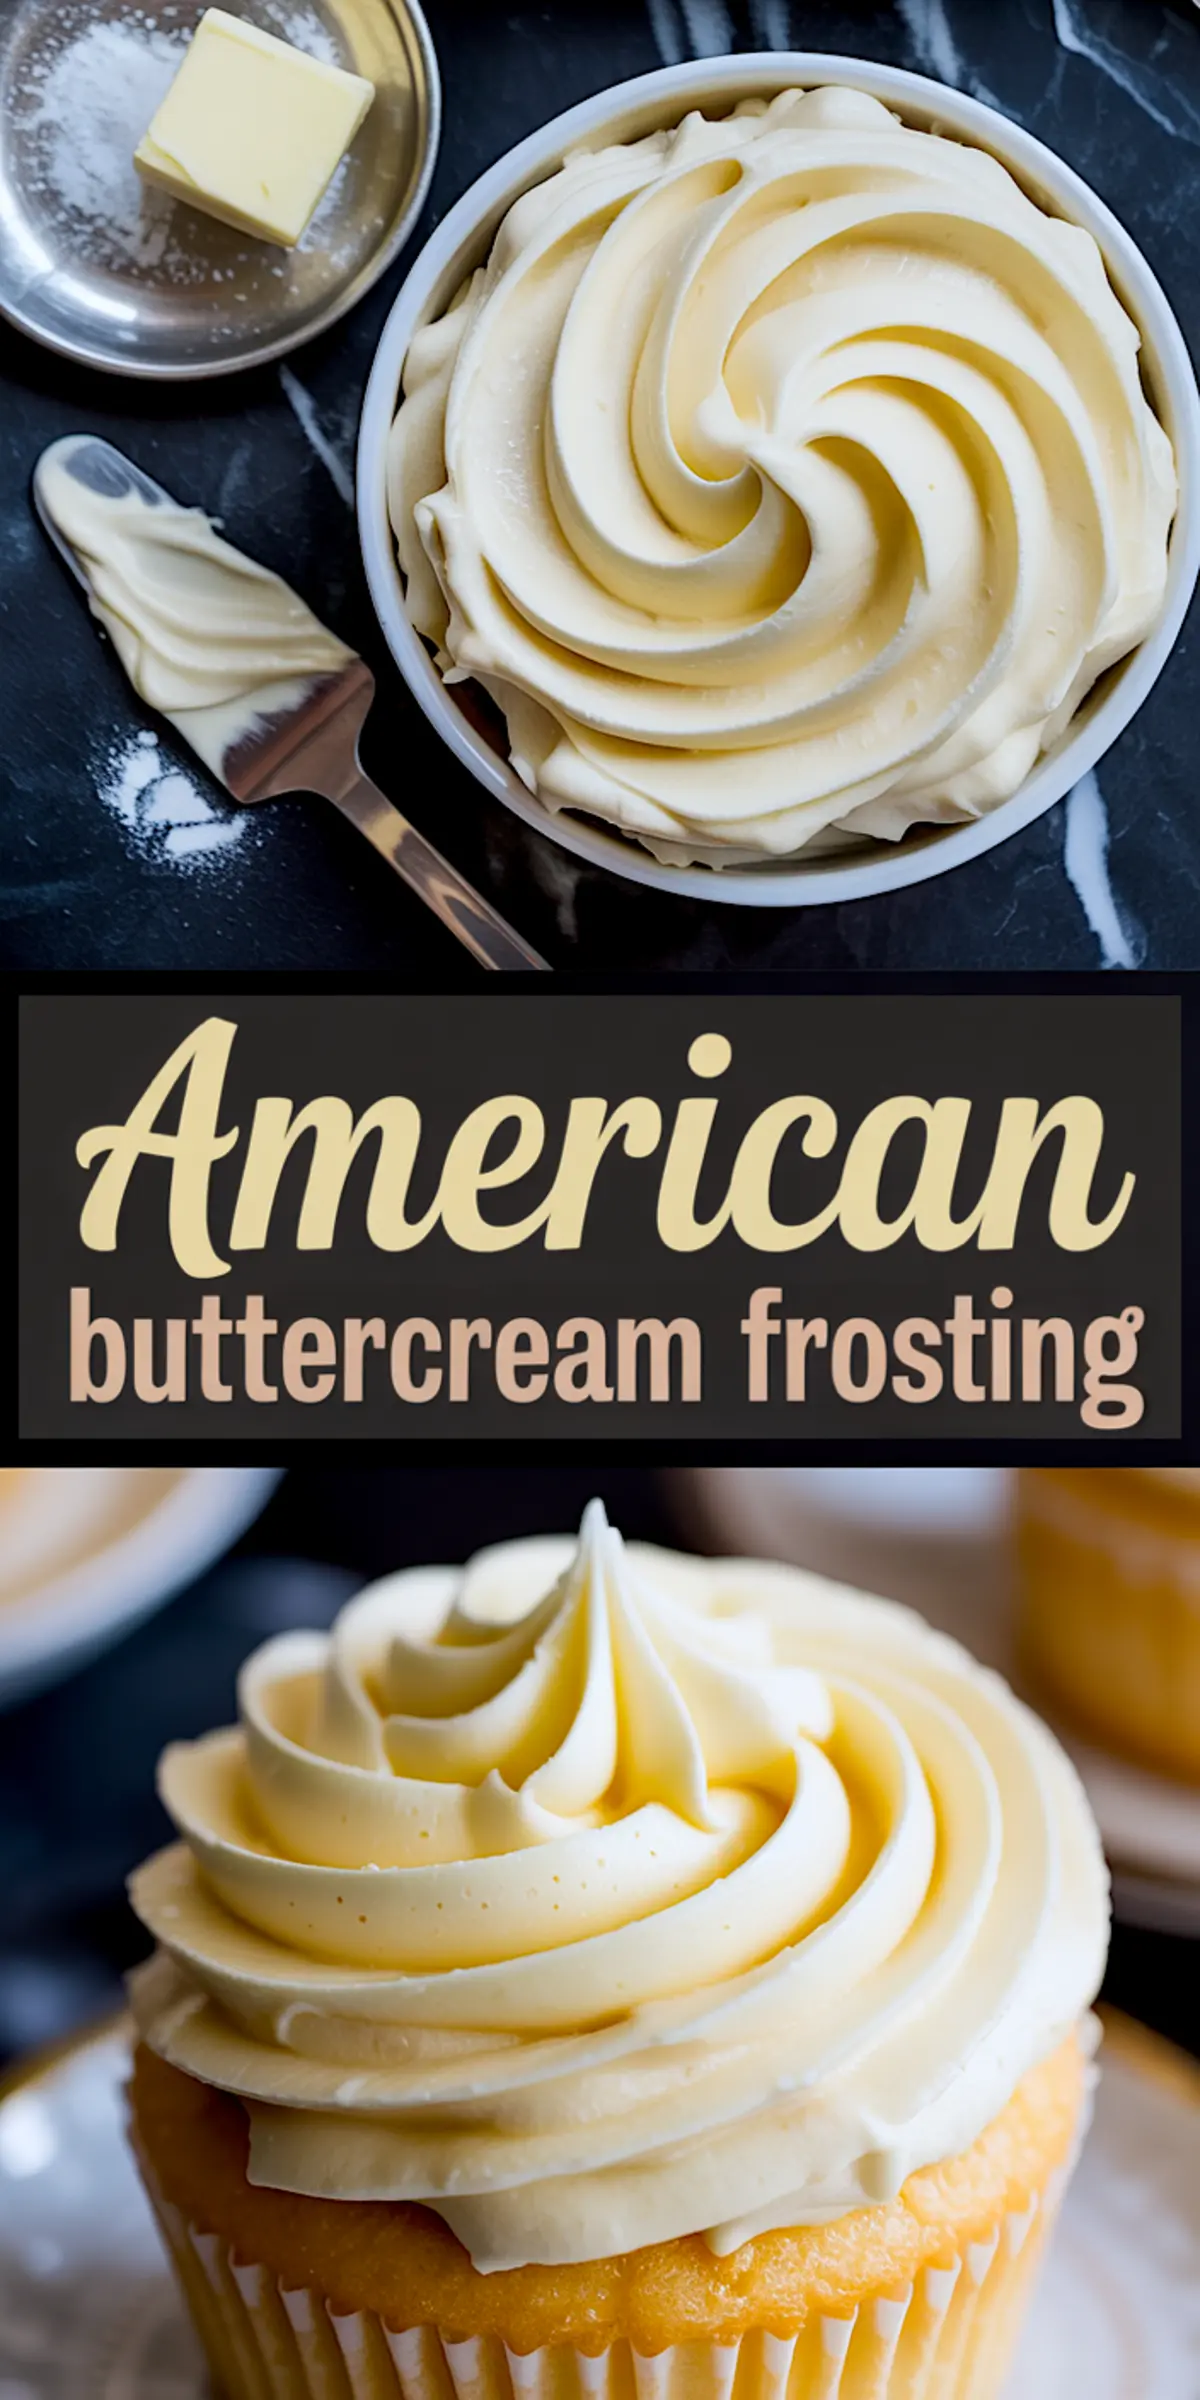
Why American Buttercream Frosting Works Every Time
American buttercream frosting feels approachable because it only asks for butter, powdered sugar, vanilla, cream, and salt. Each piece of the puzzle plays a distinct role. Butter sets the structure, powdered sugar sweetens and thickens, and cream softens the texture. Vanilla rounds out flavor, and the pinch of salt saves it from being cloying.
This American buttercream recipe wins over beginners because it comes together fast. But it also wins over experienced bakers like me because it behaves consistently. You can pipe swirls that stay tall or spread it across a layer cake without it sliding. I’ve seen recipes promise fluffy texture only to turn greasy, which is why my notes matter here.
I’ll sometimes compare this frosting to the cream cheese buttercream frosting I use for carrot cake. Cream cheese buttercream frosting brings tang, while American buttercream keeps a pure sweetness. That choice changes the character of the dessert completely.
A Closer Look at Each Ingredient
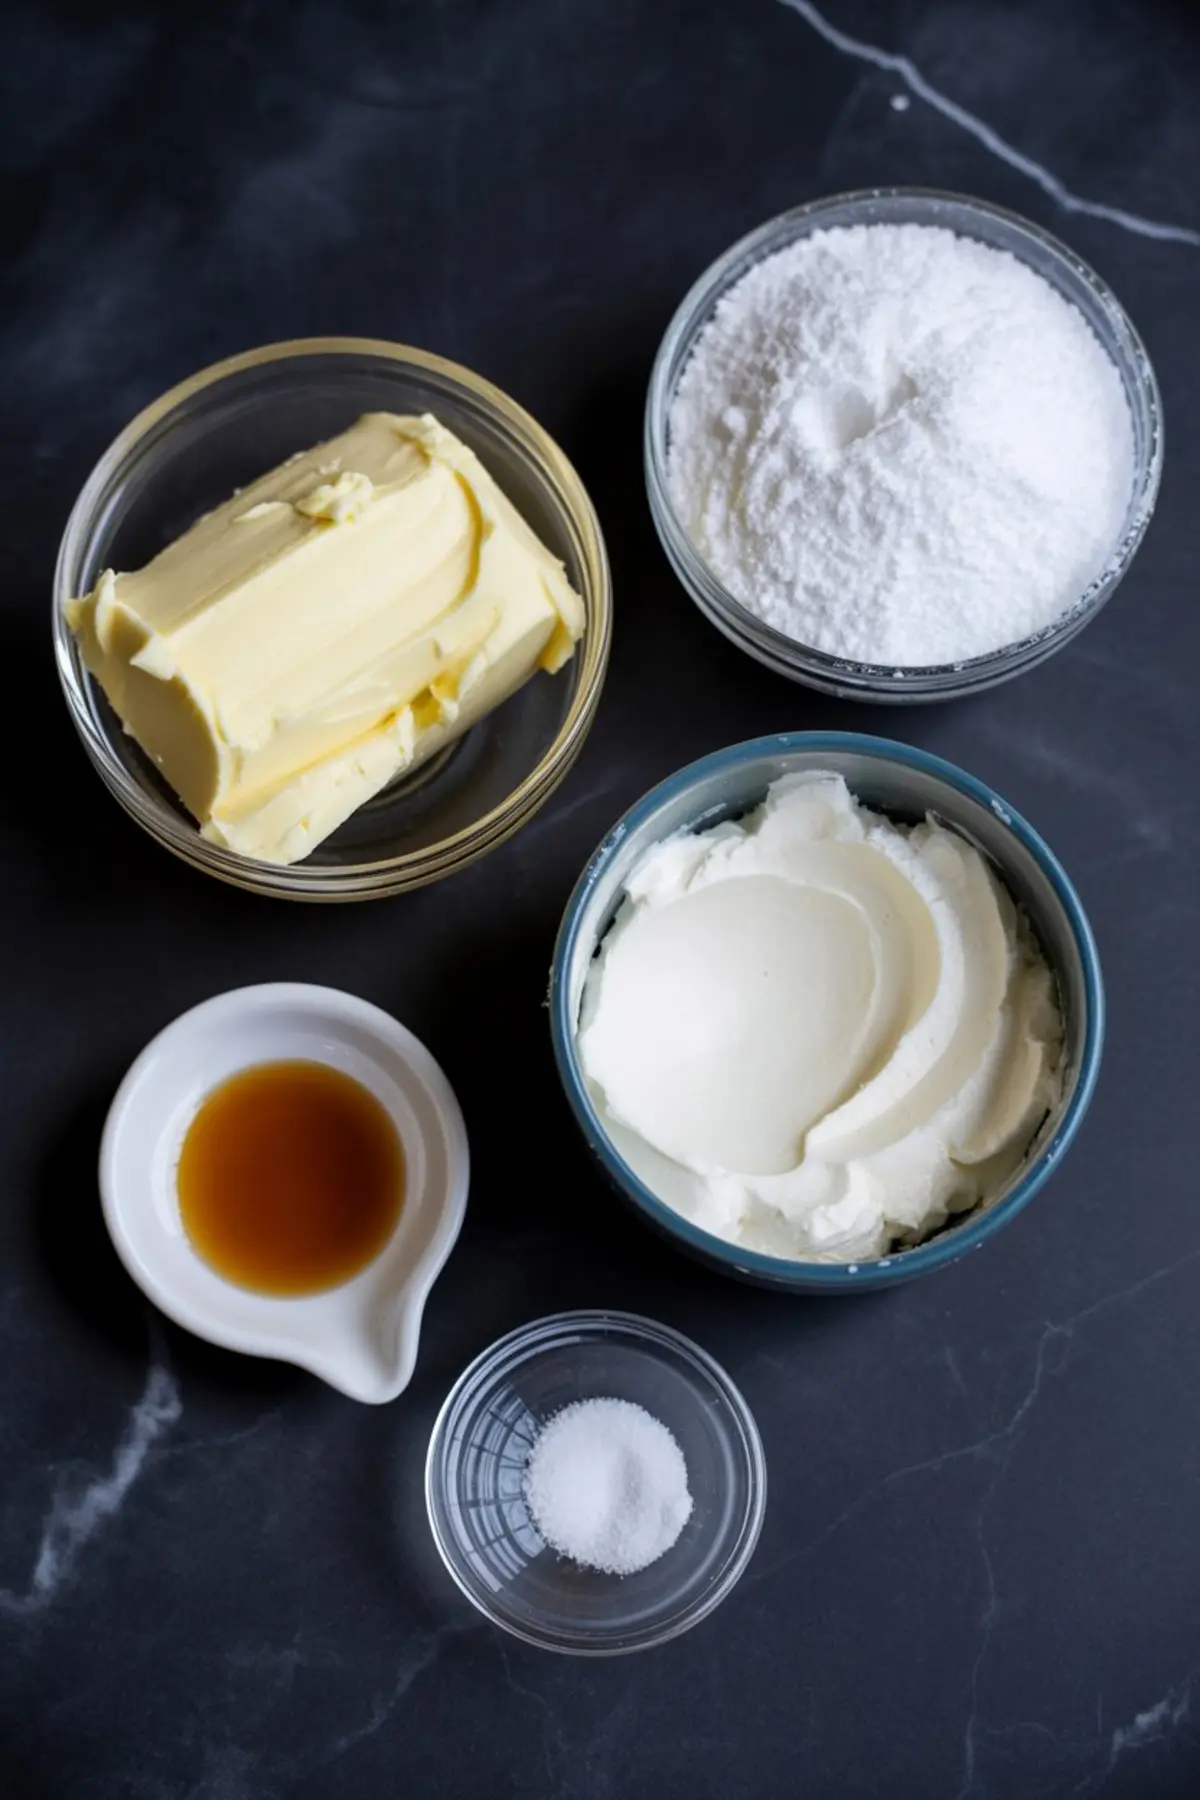
Butter deserves the spotlight first. Room temperature butter creates volume when beaten. I’ve written in my Pin Notebook more times than I can count: cold butter refuses to whip, melted butter collapses, but soft butter transforms into pale fluff.
Powdered sugar holds secrets too. Freshly sifted sugar prevents clumps that ruin smooth piping. I once skipped sifting on a rushed afternoon, and the lumps stayed no matter how much I whipped. That lesson earned a permanent underline in my notes.
Vanilla may seem like a background flavor, yet it shapes the entire profile. Pure extract, not imitation, sets a deeper warmth. This matters if you’re layering the frosting on something like a vanilla sponge or chocolate cupcake. Vanilla balances both.
Cream or milk changes more than consistency. Cream adds richness, milk keeps things lighter. In practice, cream makes a frosting that clings to piping bags without drooping. Milk creates an easier spread for casual sheet cakes. The choice depends on your goal.

Salt feels like a detail, but a single pinch brightens the whole bowl. Without it, sweetness drags. With it, the frosting sharpens and feels balanced.
For those who love exploring styles, compare this with Italian buttercream frosting. That recipe uses cooked sugar syrup for silkiness. American buttercream skips the syrup for speed, which makes it the best frosting for weeknight bakes.
Beating Butter Into Fluff
The first step seems obvious: beat the butter. Yet how you do it makes all the difference. I use the paddle attachment and let it go for several minutes. The butter changes color, shifting from yellow to pale cream. That transformation shows the air working through. If you stop early, the frosting will always feel dense.
There’s a rhythm I follow here. I beat, then scrape the bowl, then beat again. The extra scrape prevents uneven pockets. You’d be surprised how often frosting fails from butter clinging untouched to the bottom.
Adding Powdered Sugar Without the Cloud
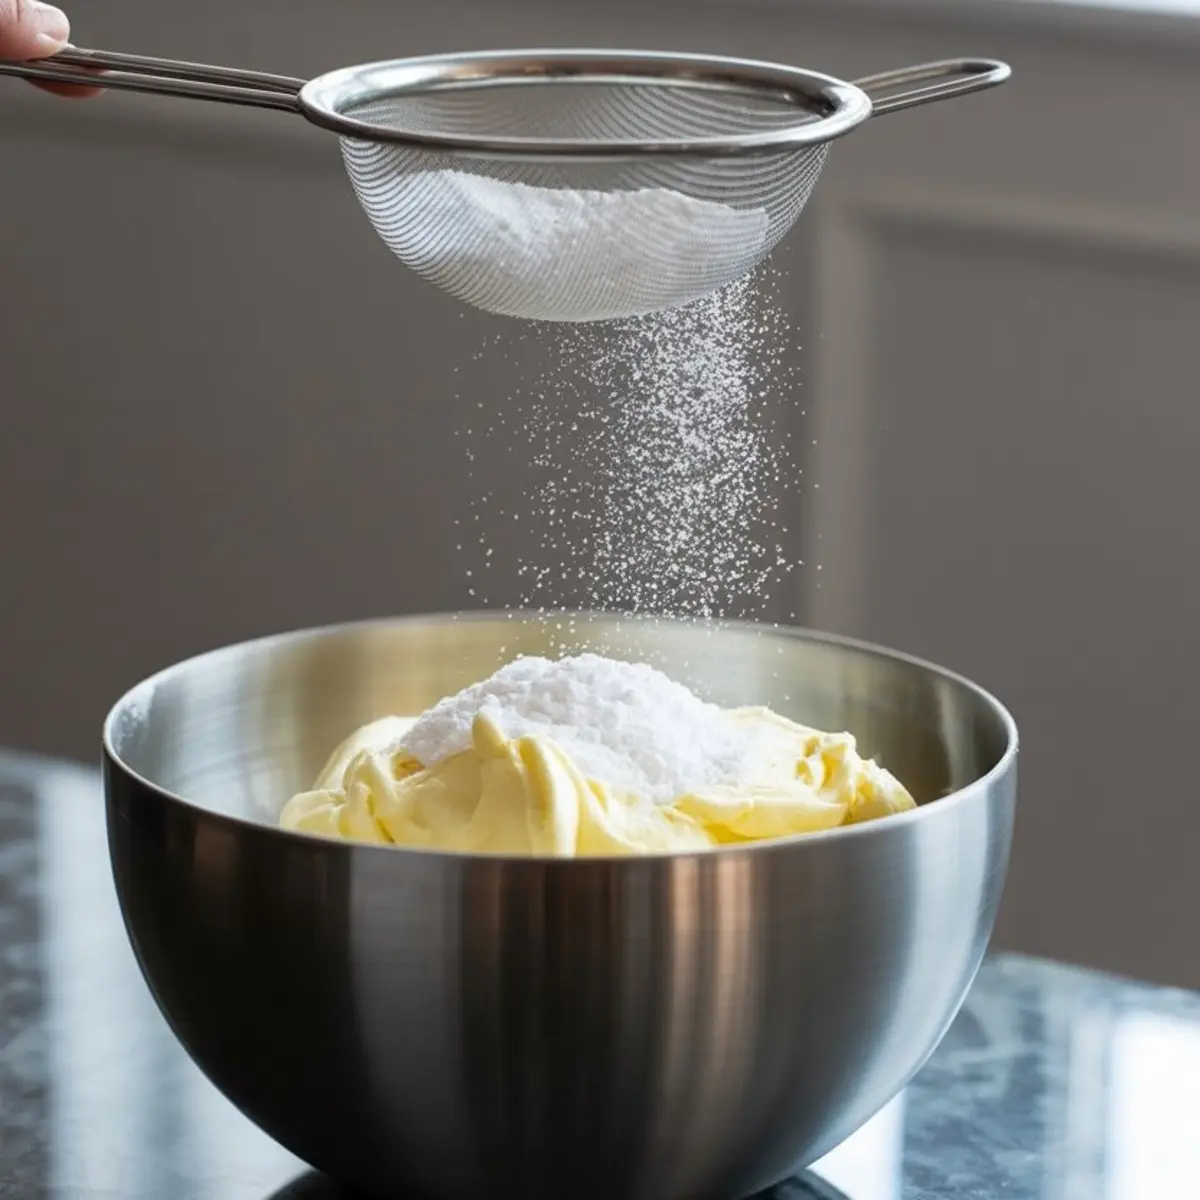
The next step means working sugar in gradually. A full dump creates a cloud that coats everything, and the texture stays gritty. Adding one cup at a time gives the mixer a chance to dissolve the sugar. Patience pays off here.
I once tested speeding up by tossing it all in at once. The result looked fine at first glance, but the grit stayed even after extra whipping. My notes say in bold letters: never rush the sugar.
For a broader frosting guide, you can read about buttercream frosting. That page breaks down how sugar interacts with fat in different styles, which deepens the understanding.
Blending Vanilla and Cream
The moment vanilla hits the bowl, the aroma changes the air. It signals the frosting is nearing its final stage. Adding cream or milk a tablespoon at a time controls texture. Less liquid means sturdy peaks for cupcakes. More liquid means easy spreading across a layer cake.
This is where I’ve often compared cream with milk. Cream creates frosting that pipes like a dream, with swirls standing tall. Milk makes it softer, and while spreading feels easy, the piping bags sag faster. Both have value, but I lean on cream for showy finishes.
That same logic appears in my lemon buttercream frosting. Citrus demands cream for body, or else the acid thins the structure.
Whipping To the Finish
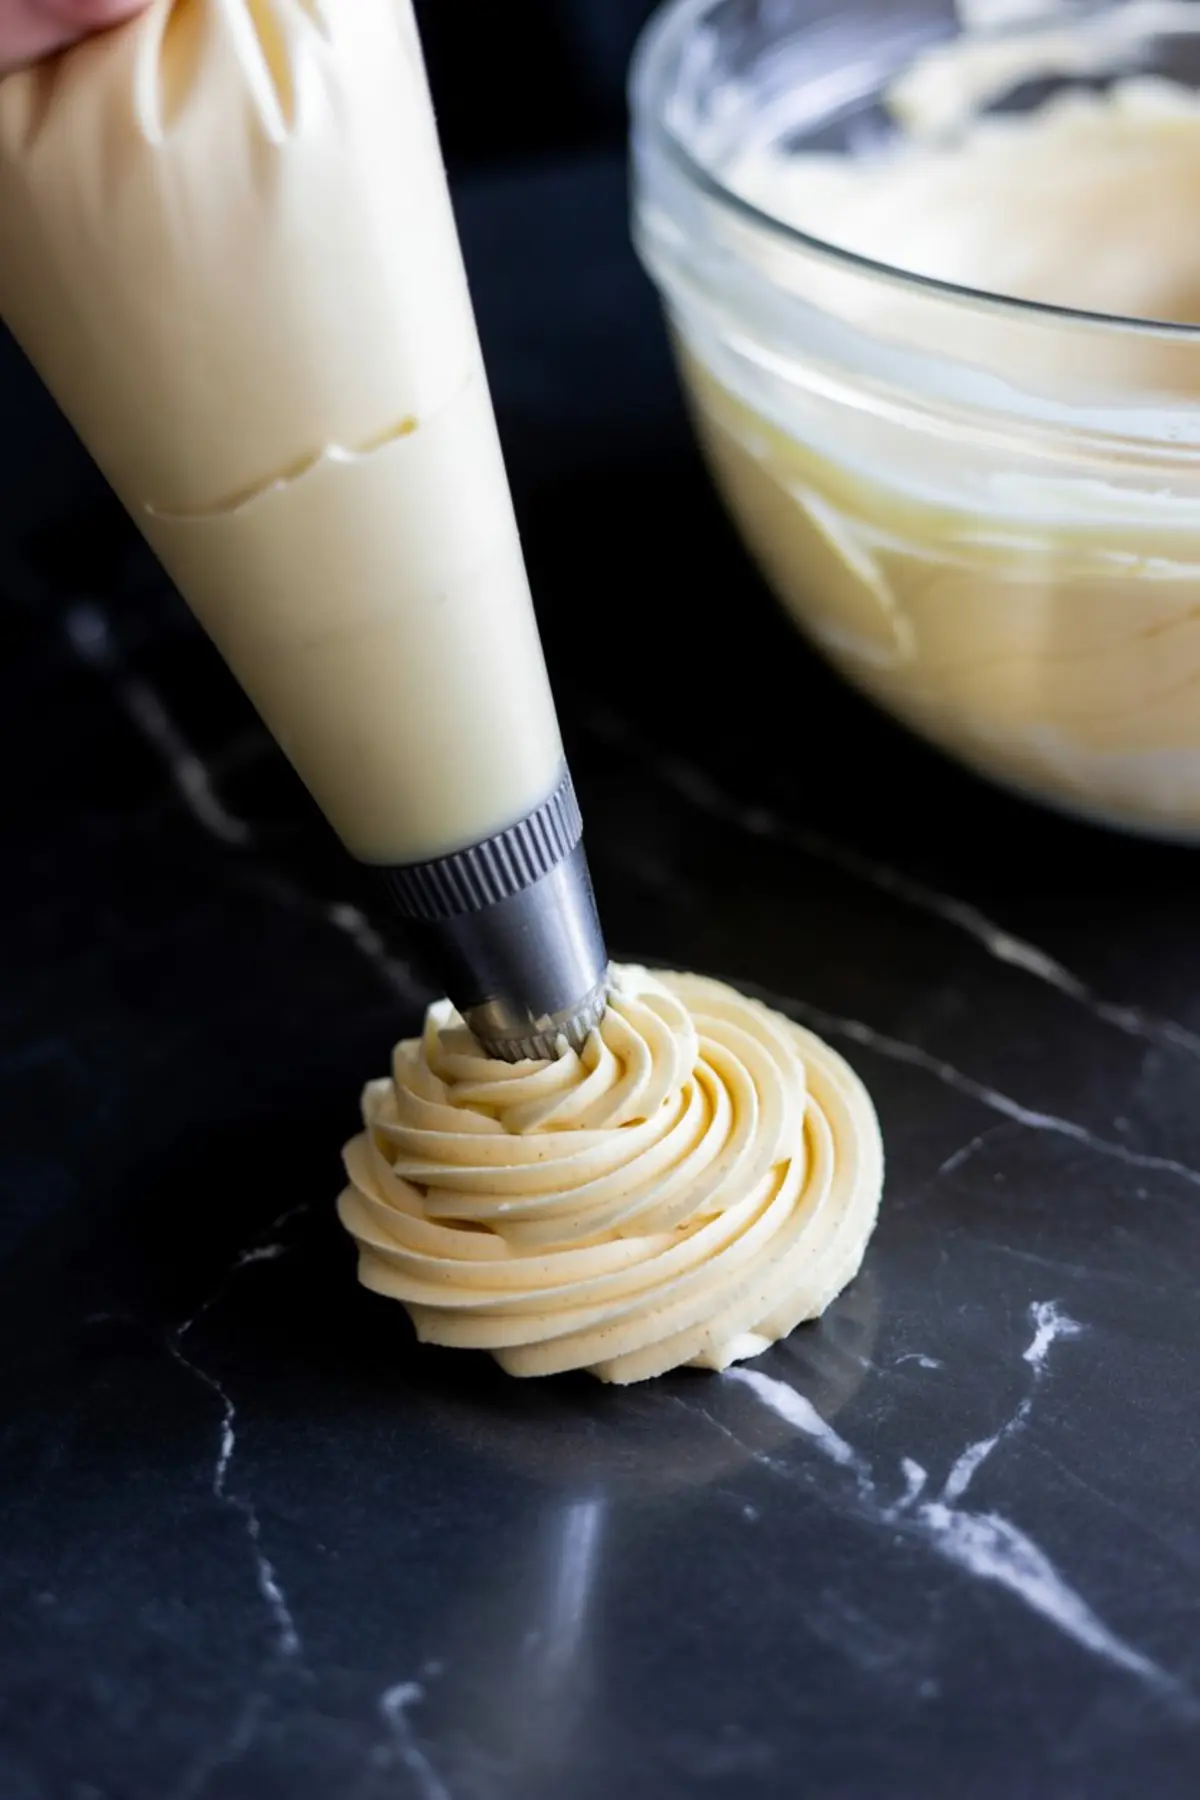
The last whip takes the frosting from smooth to cloudlike. A few minutes at higher speed builds volume without breaking the structure. You know it’s ready when the frosting clings to the beater and refuses to slide.
At this point, I taste and adjust with salt. That small detail makes everything brighter. And here comes the quiet dash of magic I mentioned earlier. A few drops of almond extract folded in at the end. Not enough to dominate, but just enough to deepen the vanilla and give people a moment of pause when they taste it.
If you want to experiment further, explore styles like Italian buttercream frosting. The contrast shows how technique shifts texture, while the core sweetness stays comforting.
Storage Notes That Save Time
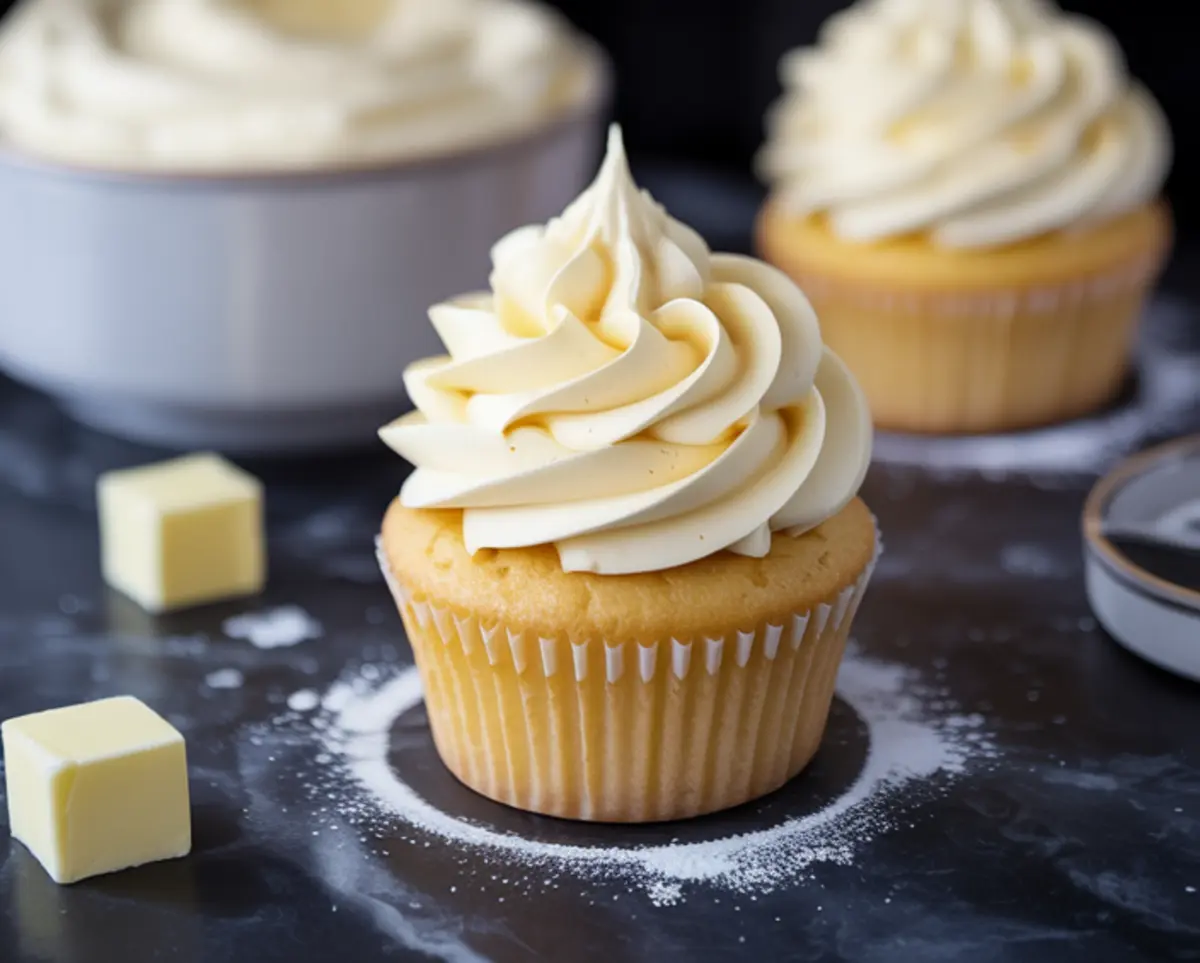
This frosting sits happily at room temperature for a day or chilled for a week. My Pin Notebook says to always re-whip if stored cold. Skipping that step leaves the texture heavy, while a quick beat revives it.
Food coloring fits here too, but gel works best. Liquid coloring breaks the structure and thins the frosting, a mistake I’ve made more than once.
Save and Share Your American Buttercream Frosting
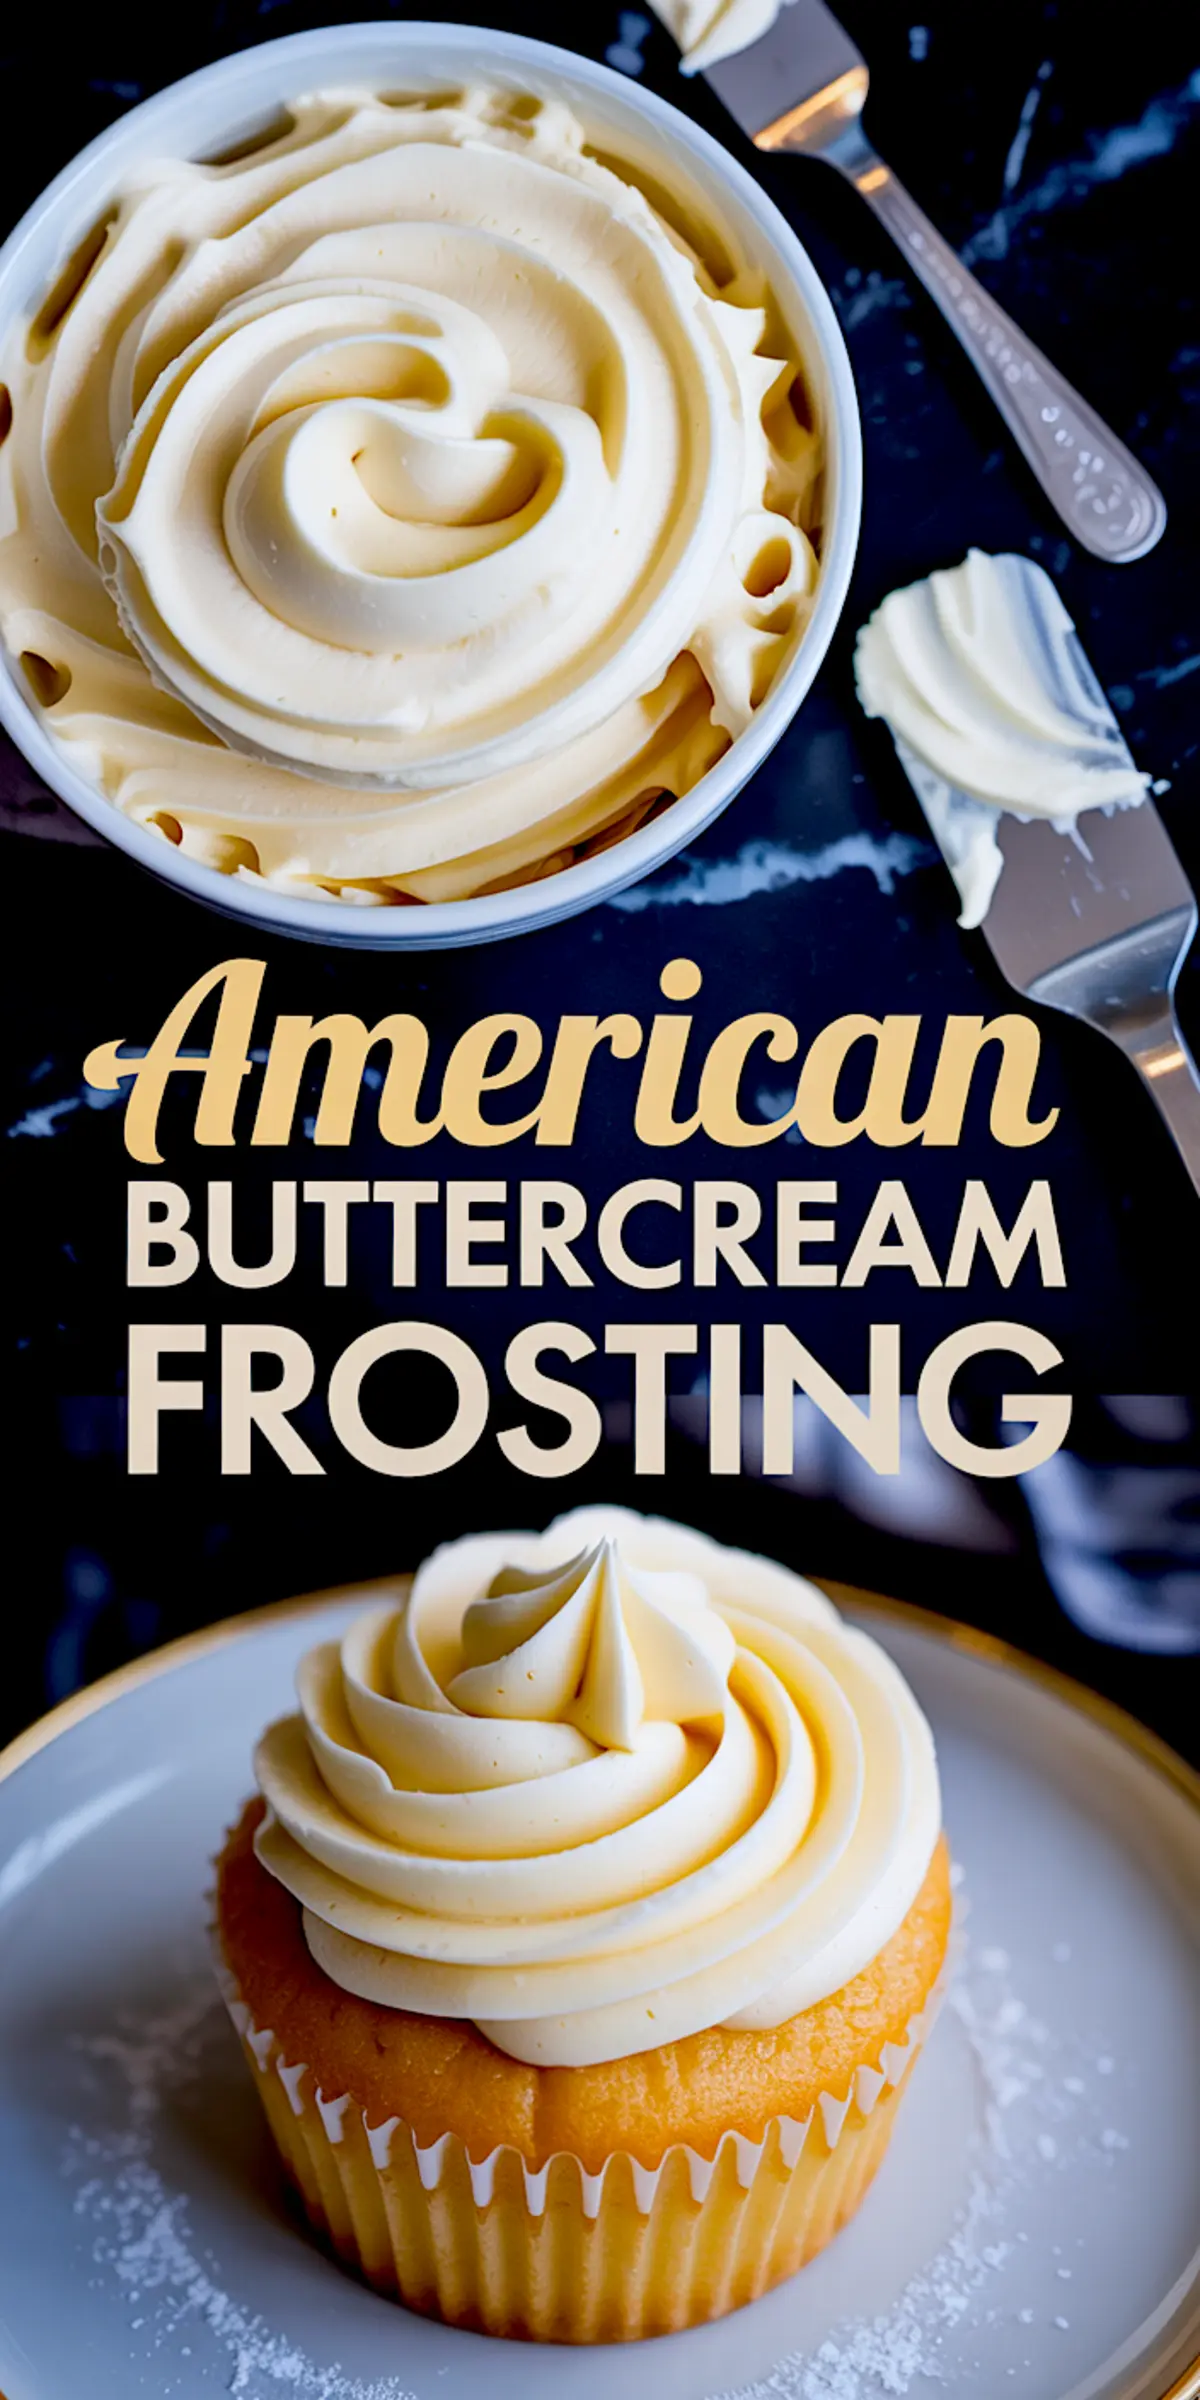
This easy American buttercream recipe belongs in your kitchen. You can spread it across a birthday cake, swirl it on cupcakes, or keep a bowl nearby for cookie sandwiches. The best buttercream frosting adapts, and this one does exactly that.
Save this recipe to your Pinterest board so it’s there when you need it. And come back to share in the comments how it turned out for you. Did you try the almond extract? Did you pick cream or milk? I’d love to hear what made it yours.
American Buttercream Frosting Recipe
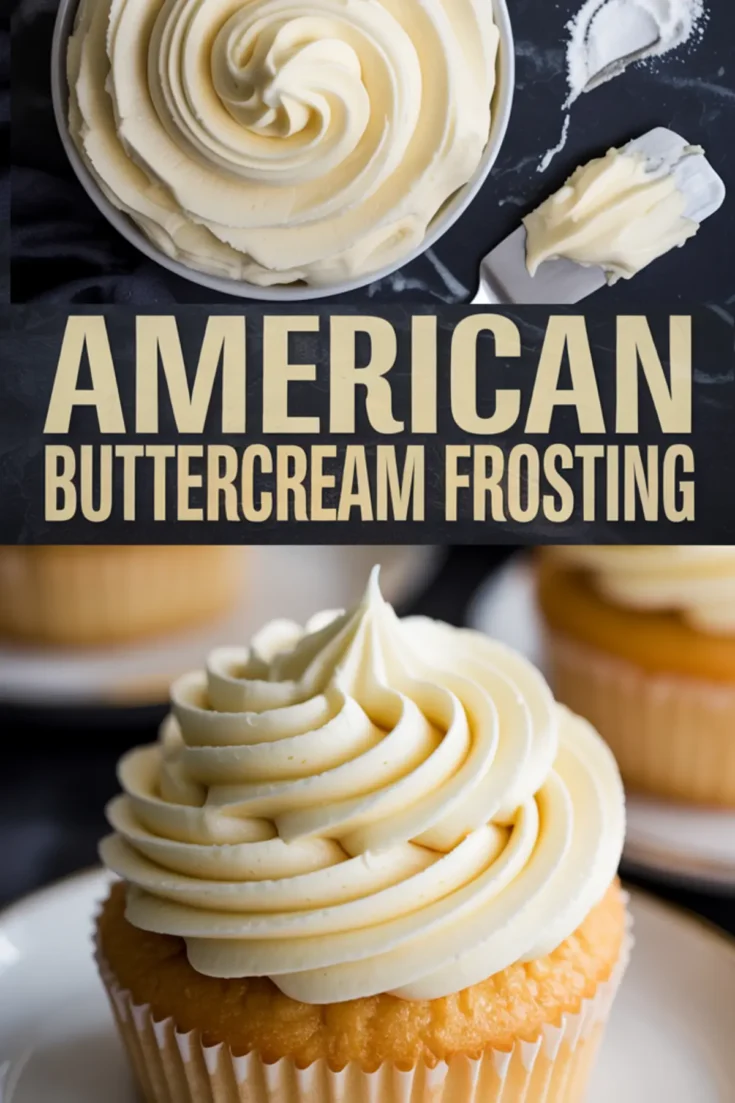
American buttercream frosting blends butter, powdered sugar, and vanilla into a sweet, creamy frosting that spreads easily and holds its shape. I use this for layer cakes, cupcakes, and anytime I want something sturdy but smooth. It’s my go-to American buttercream recipe when I need results fast. The texture pipes well, and a quick whip makes it fluffy without turning greasy. This American buttercream frosting recipe is beginner-friendly and endlessly adaptable—add cocoa, citrus, or espresso for variations. If you’re after the best buttercream frosting that works across everything from cupcakes to big layer cakes, save this one. It belongs in any list of cake frosting recipe favorites for all seasons.
Ingredients
- 1 cup (2 sticks) unsalted butter, at room temperature
- 3 ½ to 4 cups powdered sugar, sifted
- 1 tablespoon pure vanilla extract
- 2 to 4 tablespoons heavy cream or whole milk
- Pinch of salt, to taste
Instructions
- BEAT THE BUTTER: In a stand mixer fitted with the paddle attachment, beat the room temperature butter on medium speed for 3 to 5 minutes until pale, fluffy, and smooth. Scrape down the sides of the bowl halfway through to ensure even mixing.
- ADD THE SUGAR: Gradually add the sifted powdered sugar, about 1 cup at a time, mixing on low speed after each addition to prevent a sugar cloud. Increase speed to medium once incorporated and beat until fully combined and smooth before adding more.
- ADD VANILLA AND CREAM: Pour in the vanilla extract and begin adding the cream or milk 1 tablespoon at a time, mixing on medium speed. Adjust the amount of cream based on your desired consistency—less for piping, more for spreading.
- WHIP UNTIL FLUFFY: Increase mixer speed to medium-high and whip the frosting for 3 to 4 minutes until light, airy, and smooth. The frosting should hold its shape and cling to the beater without sliding off.
- ADJUST FLAVOR: Taste the frosting and add a pinch of salt if it tastes too sweet. Mix well to fully incorporate.
- OPTIONAL COLORING: If using food coloring, add gel coloring now and mix until the color is evenly distributed. Avoid liquid food coloring, which can thin the frosting.
Notes
Frosting can be stored in an airtight container at room temperature for up to 1 day or refrigerated for up to 1 week. Let it come to room temperature and re-whip before using if refrigerated.
