
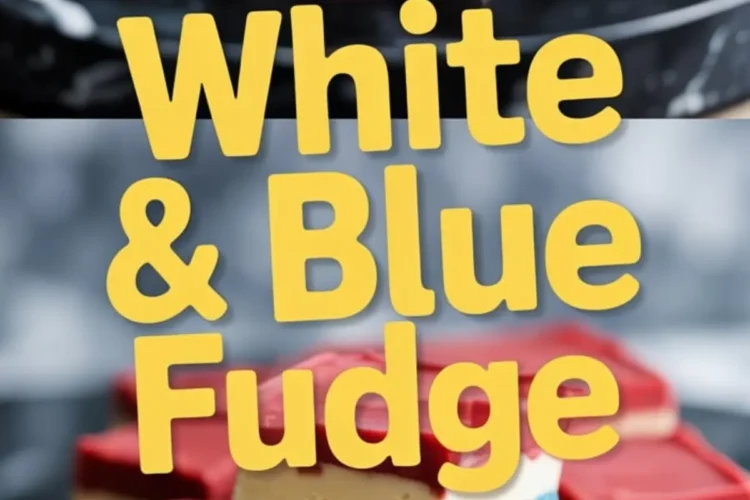
You’ll learn exactly how to layer white chocolate fudge in bold red, white, and blue. You’ll also see how one small change in method brings it all together without cracking, slipping, or melting in your hands.
This recipe has become my go-to for holiday trays, care packages, and those backyard tables where desserts need to sit out and still hold strong.
You won’t just get a creamy, colorful sweet treat. You’ll get clean lines, smooth cuts, and a flavor balance that never feels too sweet. I’ll show you the method I recorded in my Pin Notebook after testing the layering five different ways.
There’s also a surprising little detail folded into the white layer. It’s barely noticeable on paper but gives the whole batch a finish that keeps people reaching for more.
Let’s walk through it together.

Ingredients for Red, White and Blue Fudge Squares
Start with the white chocolate chips. They melt faster and smoother than bars, especially when mixed with sweetened condensed milk and butter.
I use the same base for each layer: two cups of chips, half a cup of condensed milk, and a tablespoon of unsalted butter. The consistency turns silky before it thickens on cooling, which means your layers stay distinct.

Vanilla extract rounds it all out. Each layer gets half a teaspoon. The white layer skips food coloring entirely. The other two need just a few dabs of gel coloring. Go easy at first. It’s easier to add more than fix a too-dark batch.
First Step: How to Set the Blue Fudge Layer Cleanly

This bottom layer sets the tone for your slice.
Use low heat and stir constantly. You want the chocolate to melt, not scorch. Once it looks smooth, remove it from the heat and stir in your vanilla and blue coloring.

Pour that into a lined pan and spread it evenly. I tap the pan gently on the counter to level the layer. Then I chill it for 20 to 25 minutes. The key is to stop just before it hardens completely. If it gets too stiff, the next layer won’t bond well.
Middle Layer: Keeping the White Chocolate Smooth
Melt your next batch of chocolate, condensed milk, and butter in a clean saucepan.
This one’s the calm center—no color added, just vanilla. The trick here is temperature. If your blue layer is too firm or your white layer too warm, they won’t sit well.
Pour slowly. Don’t dump it all in at once. Let it flow, then use an offset spatula to nudge it into the corners. Back into the fridge it goes.
Final Layer: The Red That Shines Without Bleeding
This is where most people mess up the look.
The red layer uses the same base, but the food coloring makes a difference. Gel gives strong color without thinning the mixture. Stir it in off the heat after your chocolate has melted.
Check your white layer before you pour. Press gently with your finger. If it gives just a little, it’s ready. Spread the red layer carefully and chill the whole pan for at least 2 hours.
A Comparison That Matters: Chips vs. Chocolate Bars
I’ve tried both. Chocolate bars melt unevenly and need more stirring. Chips give me a faster, smoother result. That texture really matters when you want straight, even lines and no streaks between colors.
If you ever see little dots or swirls in fudge, it’s usually from rushed melting or overheated bars. Chips keep things consistent.
My Trick for Slicing Neatly Every Time
Use a sharp knife dipped in hot water and wiped dry. Between each slice, repeat the dip and wipe.
This small routine makes a big difference. It helps the blade glide through without dragging the colors down or smearing the edges.
I also chill the whole fudge slab again just before slicing. A firm texture means more control and cleaner cuts.
The Secret I Recorded in My Pin Notebook
It’s in the white layer.
One day I ran low on extract and used a few drops of almond extract along with the vanilla. The result? A barely-there nuttiness that adds depth to the center and makes the red and blue stand out more.
Now I add a drop of almond to the white layer every time.
You’d never call this an almond fudge. But something about that whisper of flavor rounds out the sugar and gives each bite more character.
Try These Other 4th of July Dessert Recipes
Need more festive treats for the table? You’ll love these:
Fourth of July Strawberries — dipped, drizzled, and full of crunch.
Red White Blue Bark — easy to break, even easier to share.
Firecracker Cake — bold inside and out.
Patriotic Ice Cubes Idea — perfect for cooling down your Red, White & Boozy Shot.
Save This Recipe and Share Your Results
Pin this 4th of July fudge recipe for your dessert board. It keeps well in the fridge and travels beautifully in small boxes.
Leave a comment below if you try it. Let me know how the layers worked out or what small twist you added. I love seeing how you bring these to life.
4th of July White Chocolate Fudge

A layered patriotic fudge made with white chocolate and food coloring for festive red, white, and blue stripes. Each batch sets creamy and firm, perfect for celebrations.
Ingredients
- FOR THE BLUE LAYER
- 2 cups white chocolate chips
- 1/2 cup sweetened condensed milk
- 1 tablespoon unsalted butter
- 1/2 teaspoon vanilla extract
- Blue gel food coloring
- FOR THE WHITE LAYER
- 2 cups white chocolate chips
- 1/2 cup sweetened condensed milk
- 1 tablespoon unsalted butter
- 1/2 teaspoon vanilla extract
- FOR THE RED LAYER
- 2 cups white chocolate chips
- 1/2 cup sweetened condensed milk
- 1 tablespoon unsalted butter
- 1/2 teaspoon vanilla extract
- Red gel food coloring
Instructions
- PREPARE THE PAN: Line an 8x8 or 9x9-inch square pan with parchment paper, leaving enough overhang on the sides to lift out the fudge once it's set.
- MAKE THE BLUE LAYER: In a medium saucepan over low heat, melt 2 cups white chocolate chips, 1/2 cup sweetened condensed milk, and 1 tablespoon butter, stirring constantly until fully smooth. Remove from heat and stir in 1/2 teaspoon vanilla extract and enough blue gel food coloring to reach a vibrant shade. Pour the mixture into the prepared pan and spread evenly. Tap the pan gently to level the surface. Chill for 20–25 minutes until just firm enough for the next layer.
- MAKE THE WHITE LAYER: In a clean saucepan, repeat the same process with 2 cups white chocolate chips, 1/2 cup sweetened condensed milk, and 1 tablespoon butter. Stir until smooth, then add 1/2 teaspoon vanilla extract. Do not add food coloring. Pour over the chilled blue layer and smooth the surface. Chill for another 20–25 minutes until the layer is set.
- MAKE THE RED LAYER: Again, melt 2 cups white chocolate chips, 1/2 cup sweetened condensed milk, and 1 tablespoon butter over low heat, stirring until smooth. Remove from heat and stir in 1/2 teaspoon vanilla extract and enough red gel food coloring for a bold red tone. Pour the mixture over the white layer, smooth the top, and chill the entire pan for at least 2 hours or until completely firm.
- SLICE AND SERVE: Once fully set, lift the fudge out of the pan using the parchment overhang. Use a sharp knife dipped in hot water and dried between cuts to slice cleanly into 36 squares. Store covered in the refrigerator until ready to serve.
Notes
Use gel food coloring for strong, clear color without affecting texture. Chips melt more smoothly than bars and help create a uniform consistency. For best slicing results, work with a chilled knife and clean it between cuts.
Nutrition Information:
Yield:
36Serving Size:
1Amount Per Serving: Calories: 201Total Fat: 11gSaturated Fat: 7gTrans Fat: 0gUnsaturated Fat: 4gCholesterol: 13mgSodium: 42mgCarbohydrates: 24gFiber: 0gSugar: 23gProtein: 3g
