
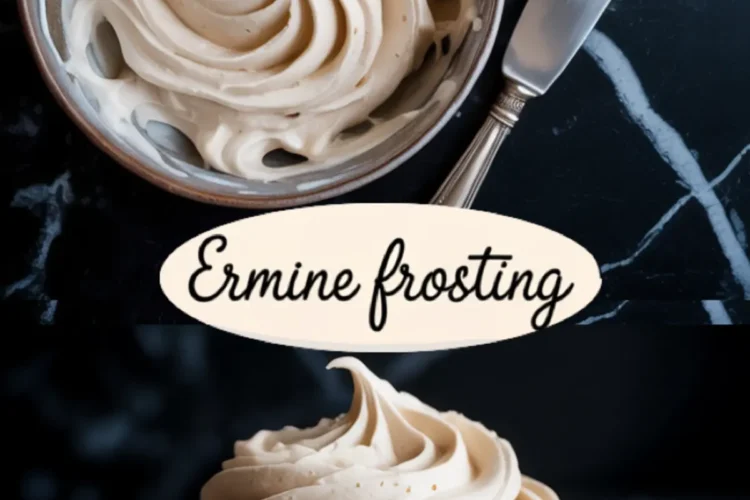
Soft enough to whisper on a cupcake, yet sturdy enough to hold its shape like a promise. That’s what this ermine frosting delivers.
You’ll learn how to make this cooked flour frosting the old-school way, with just milk, sugar, butter, and time. No powdered sugar. No shortcuts. You’ll see how it behaves, how it transforms, how it rewards your patience with a texture so light it could almost float.
Ermine frosting is often mentioned as “that one you put on red velvet.” But to me, it’s more than that. It’s the kind of frosting that feels like someone showed you a secret they only share with those who really want to learn. In my notes, I call it the quiet frosting because it doesn’t try to shout with sugar. It hums. And it holds.
There’s one step in here that unlocks the whole thing. You might skip past it if I don’t warn you. I’ll walk you through it below.
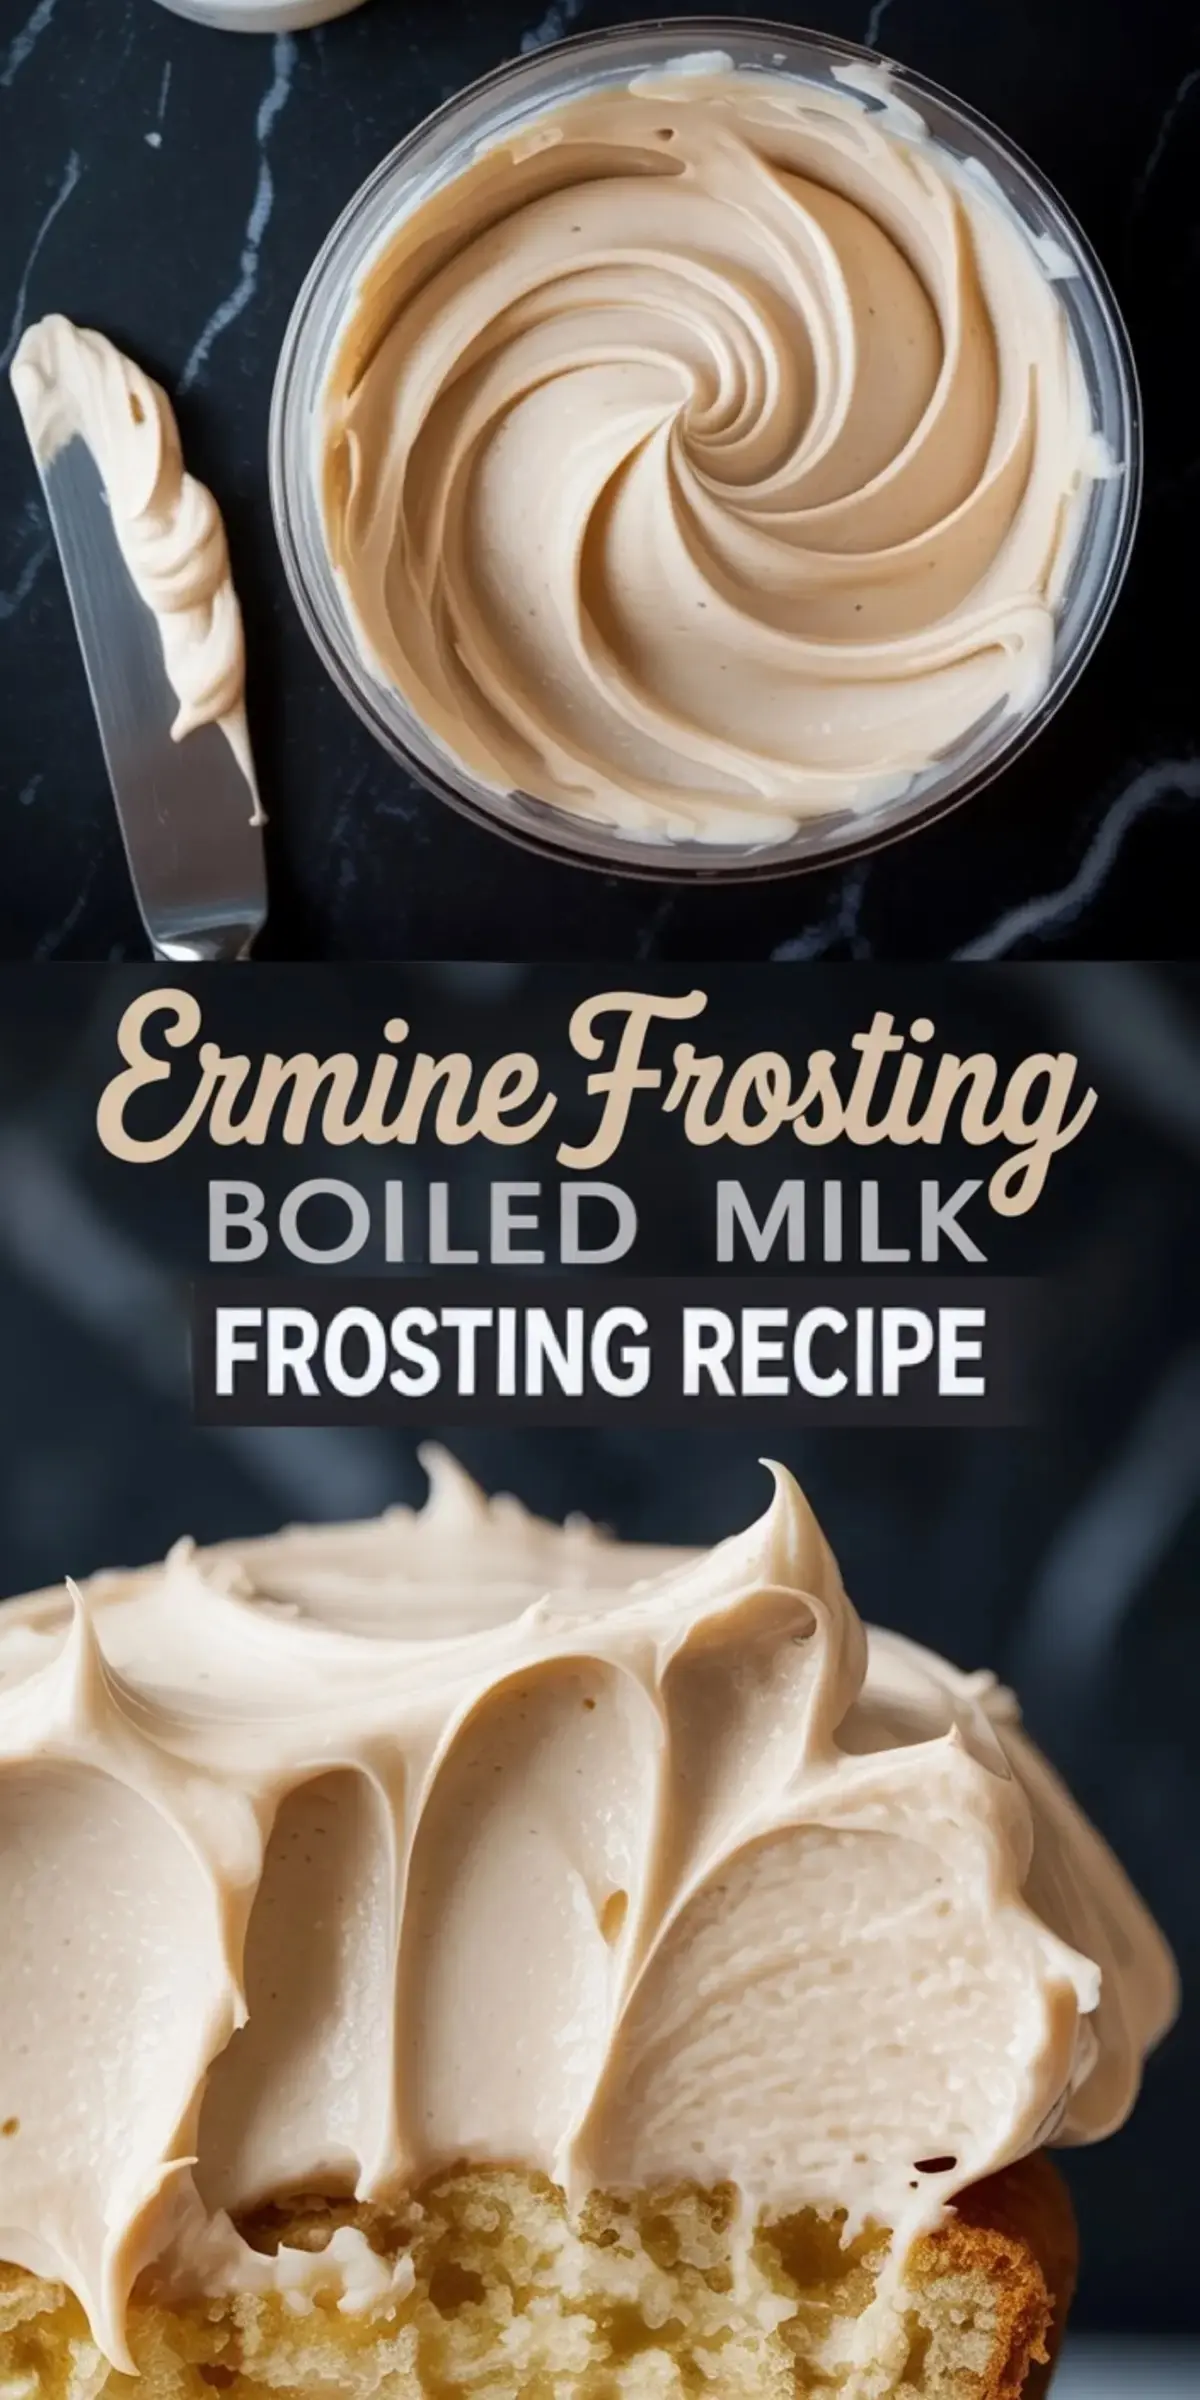
Why This Homemade Ermine Frosting Recipe Works
This is a homemade frosting that begins with cooked flour and milk instead of powdered sugar. That’s where the silkiness begins.
It’s an old method, but it gives you control. You’re not relying on store-bought textures. You’re building your own texture slowly, steadily.
The flour thickens the milk into a custard-like base. No grit. No clumps. Just a smooth paste that binds with butter and sugar in a way that’s impossible to replicate using shortcuts.
I’ve seen frosting recipes easy enough for beginners that still taste flat. This one doesn’t. The flavor blooms gradually. You taste butter, but softly. Sugar, but not harshly. Then a wash of vanilla comes in, and everything settles.
This ermine buttercream is stable. It holds up on warm days if kept cool. It pipes neatly without clogging your tip. And it spreads on cakes like a soft brushstroke.
It’s a classic for red velvet, yes. But I use it just as often for chocolate cakes, pumpkin bars, even on cookies with a swirl of cinnamon underneath. If you’ve ever tried my maple frosting before, you’ll notice how this one feels cooler and silkier by contrast. You can find that maple frosting recipe here if you’re looking to compare: Maple Frosting
Ingredient Breakdown: Why Each Choice Matters
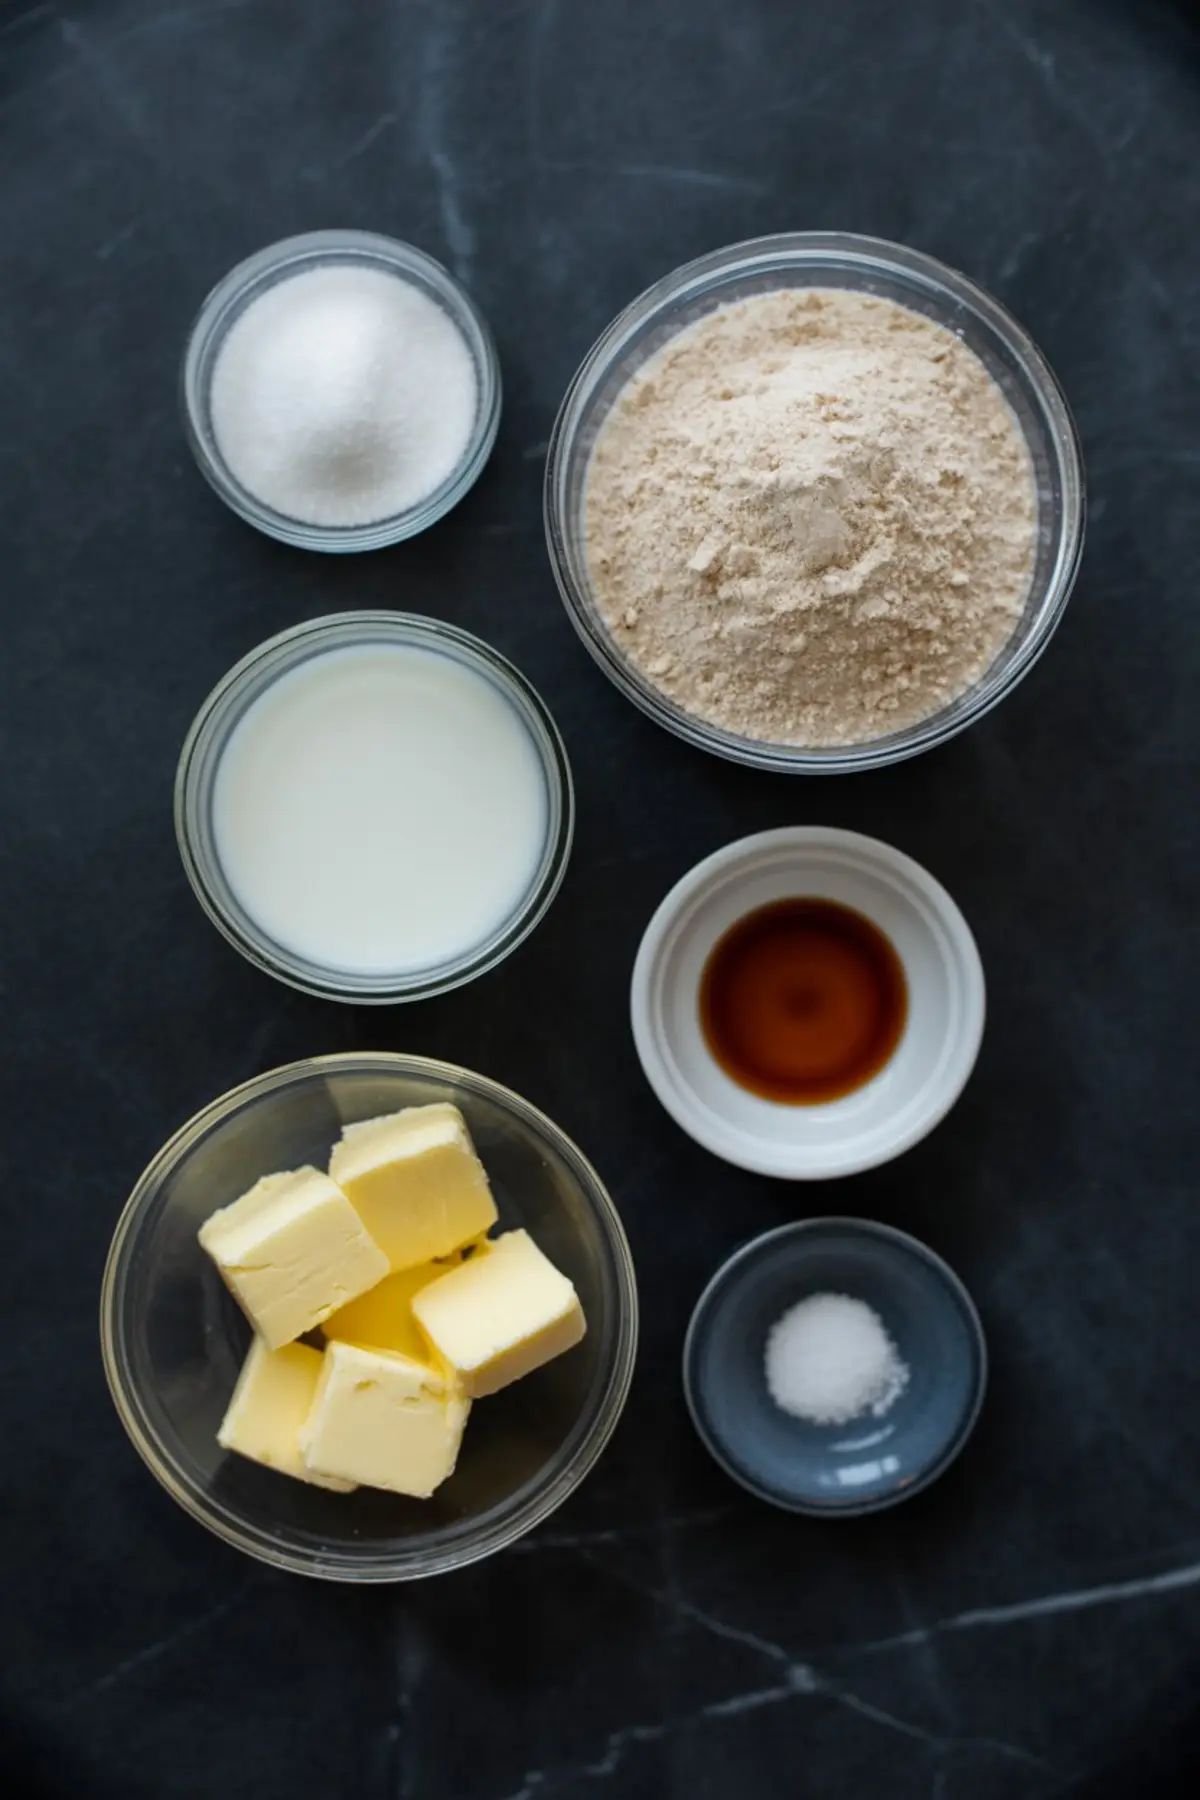
Whole Milk
This isn’t filler. It creates the backbone of the frosting. Without milk, you’d have sweetened butter. With it, you get smooth volume and a tender texture. I always choose whole milk for its extra richness.
All-Purpose Flour
This does the thickening. I whisk it into the milk before heating to avoid lumps. Once the bubbles rise, I keep going for another minute. That’s where the pudding texture forms, and the base earns its place.
Granulated Sugar
This ingredient brings just the right texture. Unlike powdered sugar, it dissolves slowly into the butter. That delay creates lightness, not grit. I’ve used both types and always come back to granulated for the structure it adds. If you’re after a smoother finish, a quick pulse in the processor works. But honestly, long mixing gets you there too.
If you’re after something tangier, my cream cheese frosting might be the better fit. That version cuts sweetness with depth.
Here’s the link: Cream Cheese Frosting
Unsalted Butter
Room temperature is key. Soft, not melting. I cube it first so the mixer can whip evenly. That extra surface area means more air, more lift. It transforms the base into something almost weightless.
Vanilla Extract and Salt
These finish the balance. Vanilla adds the note that tells you it’s frosting, not just sweet butter. And salt tightens the flavor, cuts the sugar, and brings it all forward. Don’t skip it.
Step One: Cook the Base Like a Custard

The first step is where most people hesitate. Flour and milk in a saucepan doesn’t feel like frosting yet. But you have to trust it.
I whisk them cold until lump-free. Then I turn on the heat and keep whisking. No breaks. It starts to bubble slowly. Once it thickens to a pudding texture, I let it go just one minute more, then remove it from the heat.
I always transfer the base into a wide shallow bowl. That helps it cool faster. Then I press plastic wrap against the surface so no skin forms. And I wait. It must be fully cool before going into the butter.
Step Two: Beat the Butter Like You Mean It
This part is simple, but it shapes everything.
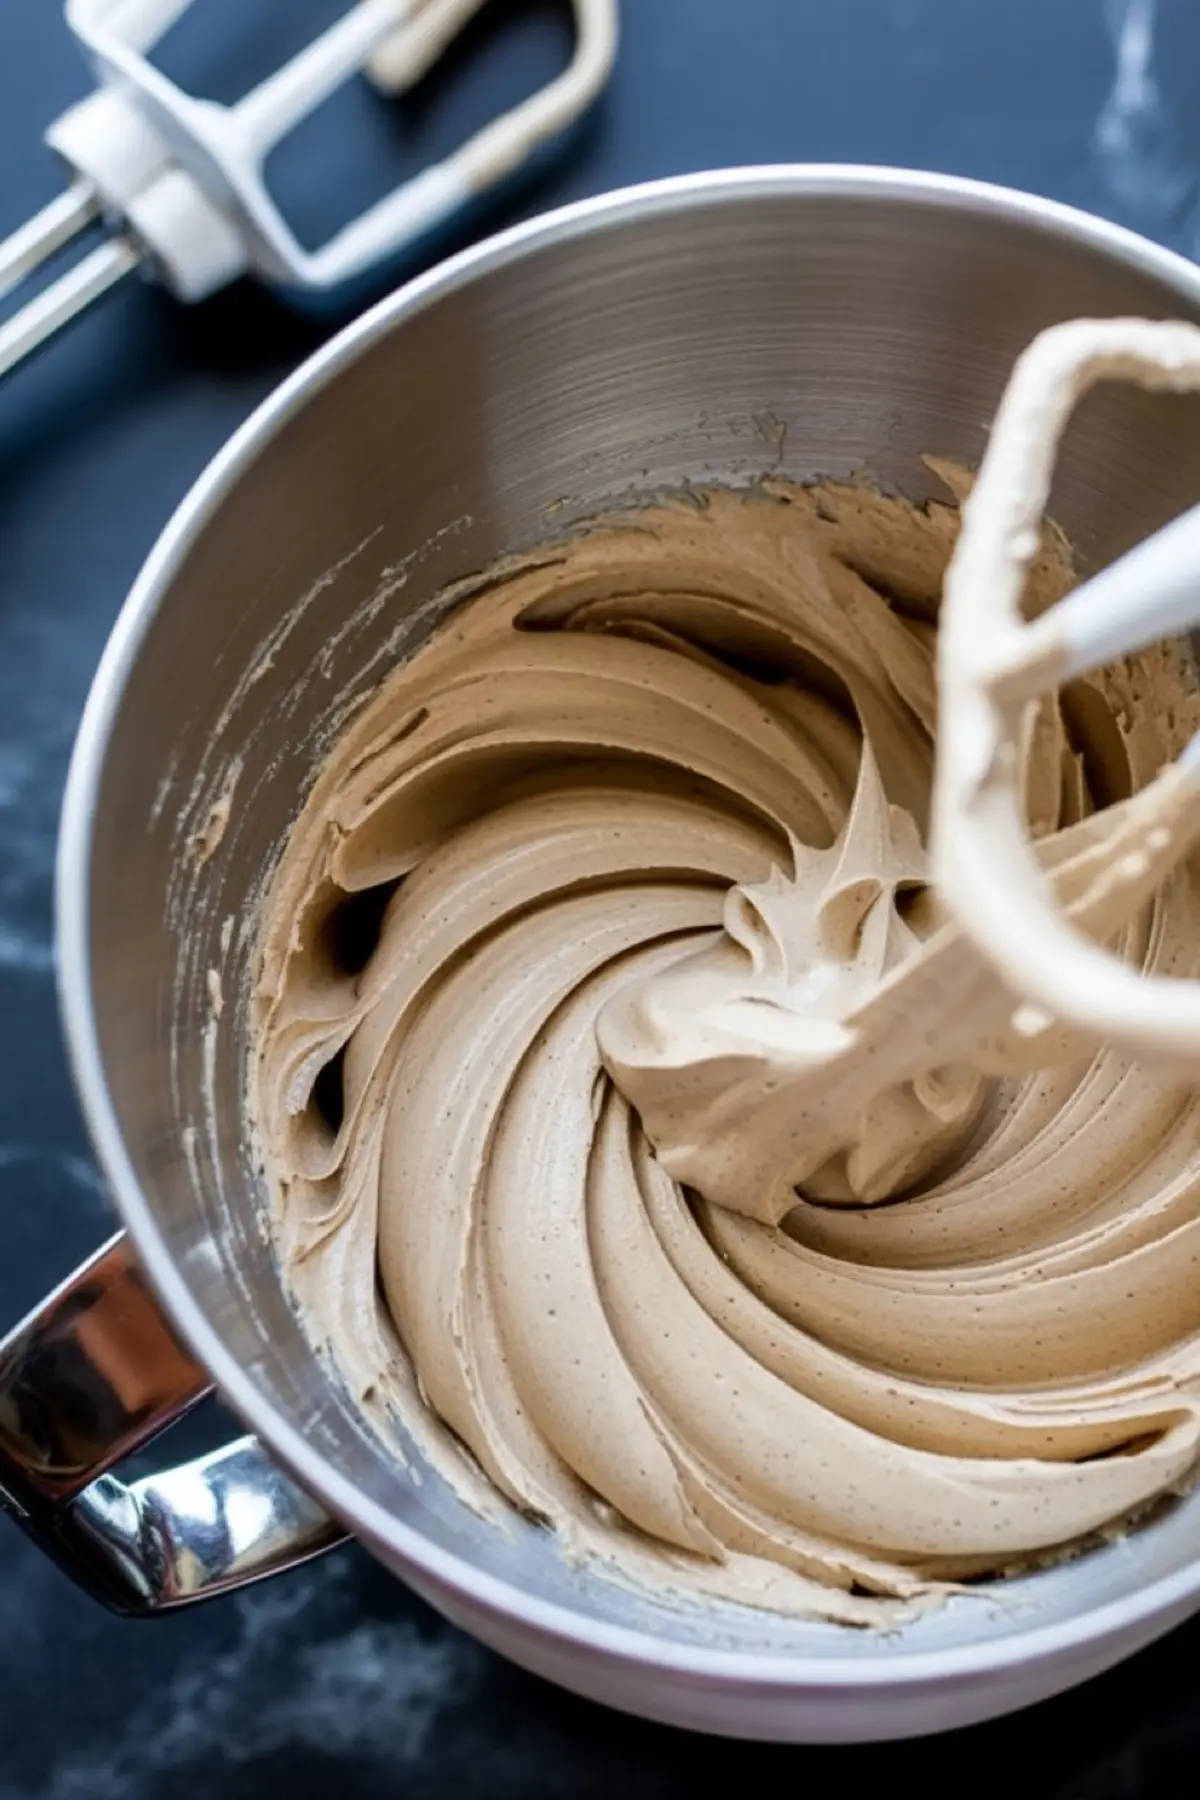
I beat the butter for four minutes until it’s pale and fluffy. Then I slowly add the sugar, one spoonful at a time. Rushing it ruins te texture. I stop to scrape the bowl often. When it starts to look like thick whipped cream, I know I’m close.
This is where texture takes over. If you’ve ever made whipped cream frosting, you’ll notice the difference immediately. Whipped cream feels airy but loose. Ermine holds structure without weight. For comparison, here’s the link: Whipped Cream Frosting
Step Three: Bring It All Together, Even When It Looks Wrong
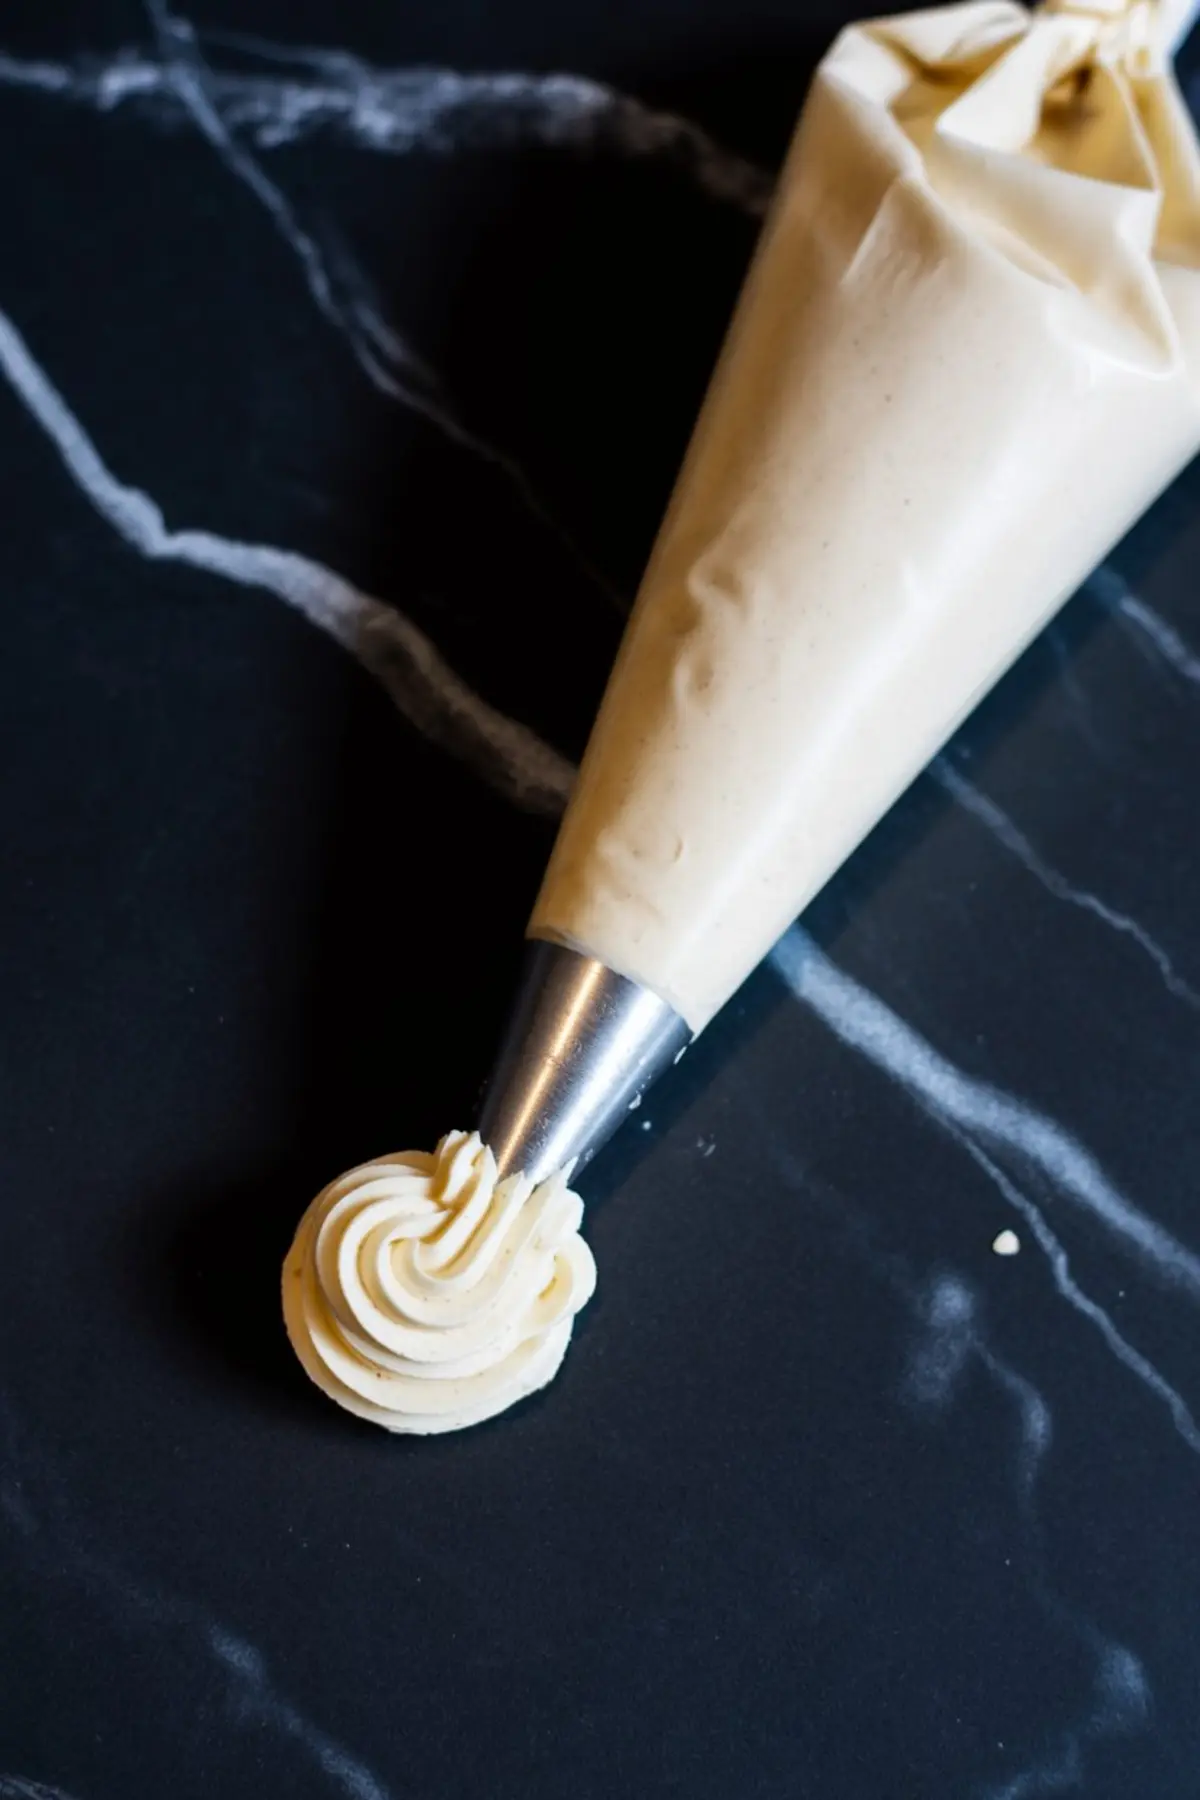
Once the base is cool, I add it to the butter mixture one spoonful at a time. And I keep mixing. It will look wrong at first. Broken. Curdled. Like you missed a step.
Don’t panic.
That’s normal. After a few more minutes, it pulls together. The mixture flattens and thickens into something smooth. Almost like satin. When it hits that point, I know I can stop.
Then I add vanilla and salt. One final mix. That’s it.
Creamy vs. Gritty: Real Comparison That Affects Texture

I’ve tested this with superfine sugar and standard granulated. If you beat long enough, the difference shrinks. But the temperature of the butter matters more.
Cool butter resists sugar. Room temp lets it melt into the mix.
For a softer mouthfeel, use slightly warmer ingredients and beat longer. For a frosting with a tiny bit of texture left, cooler butter gives you that. I prefer a whisper of grain on chocolate cupcakes, where contrast matters. But for sugar cookies or clean piping lines, smooth wins.
If you need sharp finishes and stiff details, you may prefer a different base like royal icing. Here’s my go-to: Royal Icing Recipe
The Hidden Magic: My Unexpected Touch
Here’s the part I teased earlier.
After everything’s combined, I add one tablespoon of sweetened condensed milk. Just one.
It doesn’t change the structure. It adds a low note of richness. Almost like caramel or cream that cooked too long but in the best way. I’ve written it in my Pin Notebook next to a big gold star. Because once I tried it, I never made ermine frosting without it again.
Try it once. You’ll know what I mean.
Save This Recipe and Share What You Made
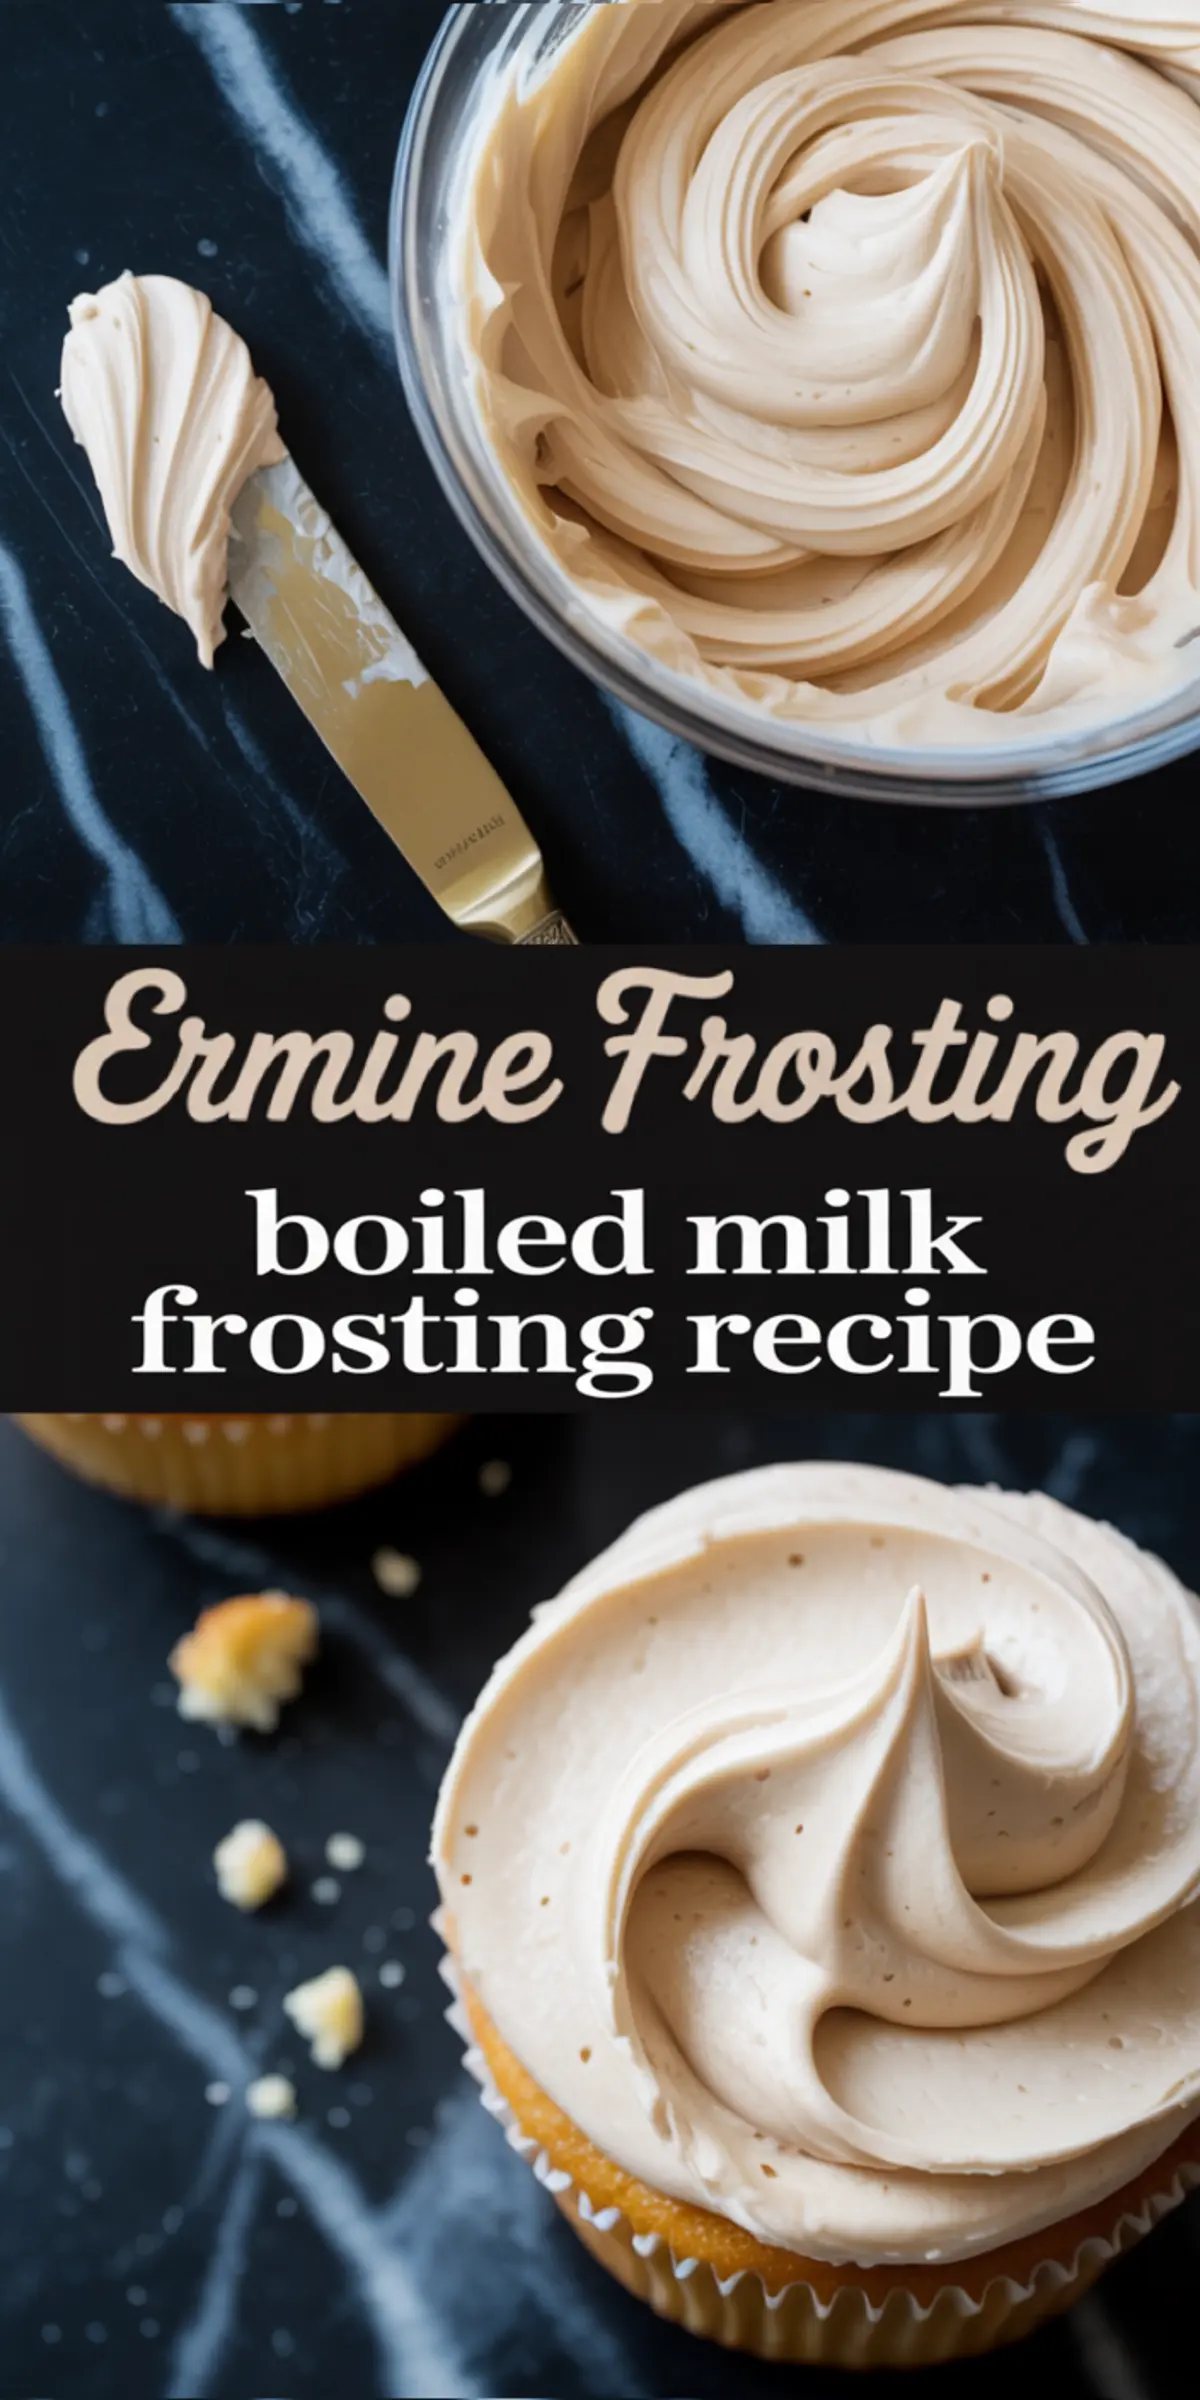
This ermine frosting recipe might become your favorite. It has the softness of whipped cream, the strength of buttercream, and a flavor that feels like something old and true.
Save it to your Pinterest board so you have it on hand next time you need a homemade frosting that behaves exactly how you want it to.
If you try it, I’d love to hear. Did you add the condensed milk? Did it surprise you?
Tell me in the comments. Share how you used it. And if you have questions, don’t hold back. I’ll be checking in.
Ermine Frosting Recipe
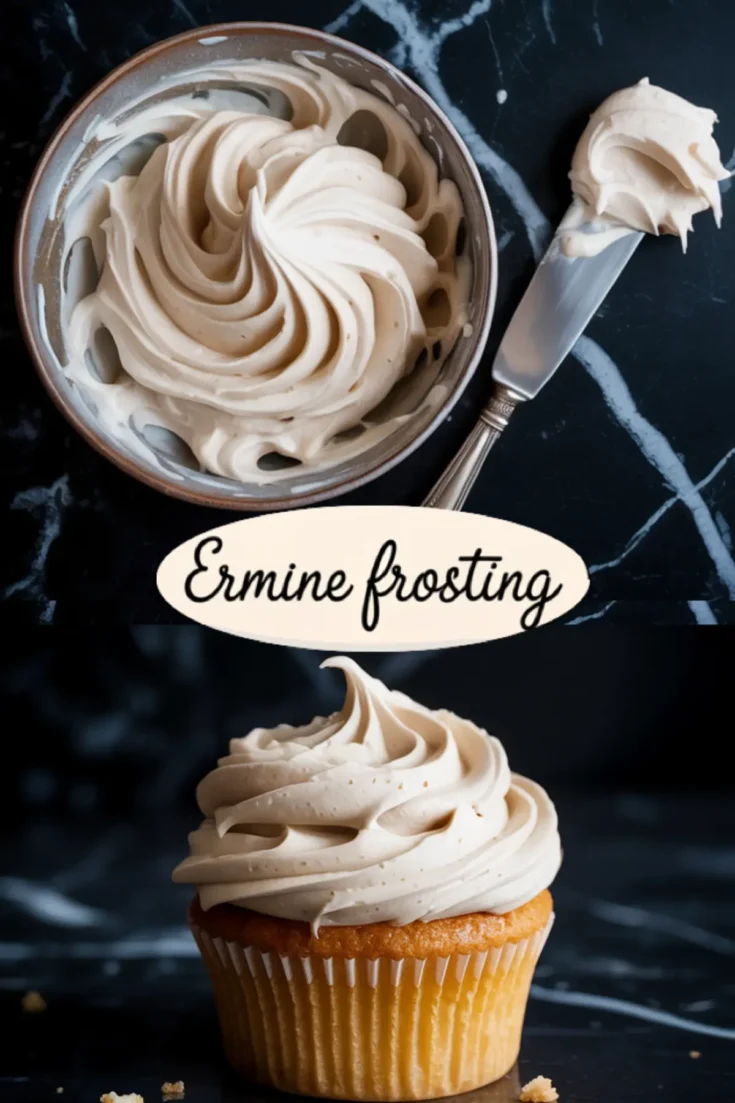
This silky smooth Ermine Frosting Recipe—also known as Ermine Buttercream—is a classic, old-fashioned favorite for a reason. Made without powdered sugar, it’s a cooked flour-based homemade frosting that whips up into a cloud-like texture, perfect for piping onto cupcakes or slathering over cakes. If you’re searching for a unique yet simple cake frosting recipe or exploring different frosting recipes easy enough for beginners, this is the one to try. This homemade ermine frosting recipe is especially great with red velvet or chocolate cake. Add this recipe for ermine frosting to your cupcake frosting rotation for something deliciously different!
Ingredients
- Whole milk – 1 cup (240 ml)
- All-purpose flour – 5 tablespoons (40 g)
- Granulated sugar – 1 cup (200 g)
- Unsalted butter, room temperature and cubed – 1 cup (226 g)
- Vanilla extract – 1 ½ teaspoons
- Salt – ¼ teaspoon
Instructions
- MAKE THE MILK-FLOUR BASE: In a small saucepan, whisk together the flour and milk until smooth and lump-free. Set the pan over medium heat and cook, whisking constantly, until the mixture thickens to a pudding-like consistency, about 5 to 8 minutes. Once large bubbles begin to appear, continue cooking and whisking for 1 more minute, then remove from heat.
- COOL THE MIXTURE COMPLETELY: Transfer the hot milk-flour mixture to a shallow bowl. Press a piece of plastic wrap directly onto the surface to prevent a skin from forming. Let it cool at room temperature or refrigerate until completely cool before proceeding.
- BEAT THE BUTTER: In a large mixing bowl, beat the cubed butter using a hand or stand mixer on medium-high speed until pale and fluffy, about 3 to 4 minutes.
- ADD THE SUGAR: Gradually add the granulated sugar to the butter, beating well after each addition. Continue beating until the mixture is light and airy, about 4 to 5 minutes total.
- INCORPORATE THE COOKED BASE: Add the cooled milk-flour mixture one spoonful at a time while beating on medium speed. The mixture may look separated at first, but keep mixing—it will come together into a smooth, fluffy frosting.
- FINISH THE FROSTING: Add the vanilla extract and salt. Beat for another 30 seconds, or until the frosting is silky and holds soft peaks. The final texture should be light, spreadable, and smooth like satin.
Notes
Ensure the milk-flour base is fully cooled before adding it to the butter to prevent curdling. Granulated sugar provides a slightly textured sweetness—if you prefer a smoother finish, you can briefly pulse the sugar in a food processor before using, though this is optional. Store frosting in an airtight container in the refrigerator for up to 3 days. Bring to room temperature and re-whip before using.
Nutrition Information:
Yield:
1Serving Size:
1Amount Per Serving: Calories: 2711Total Fat: 192gSaturated Fat: 119gUnsaturated Fat: 63gCholesterol: 512mgSodium: 662mgCarbohydrates: 242gFiber: 1gSugar: 213gProtein: 14g
