
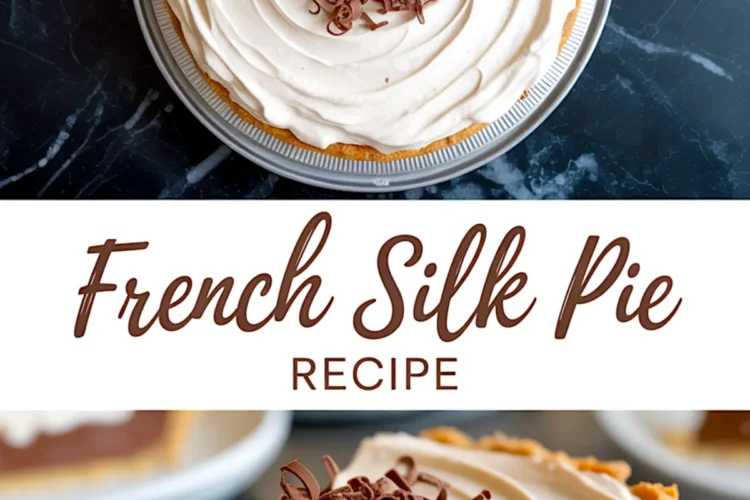
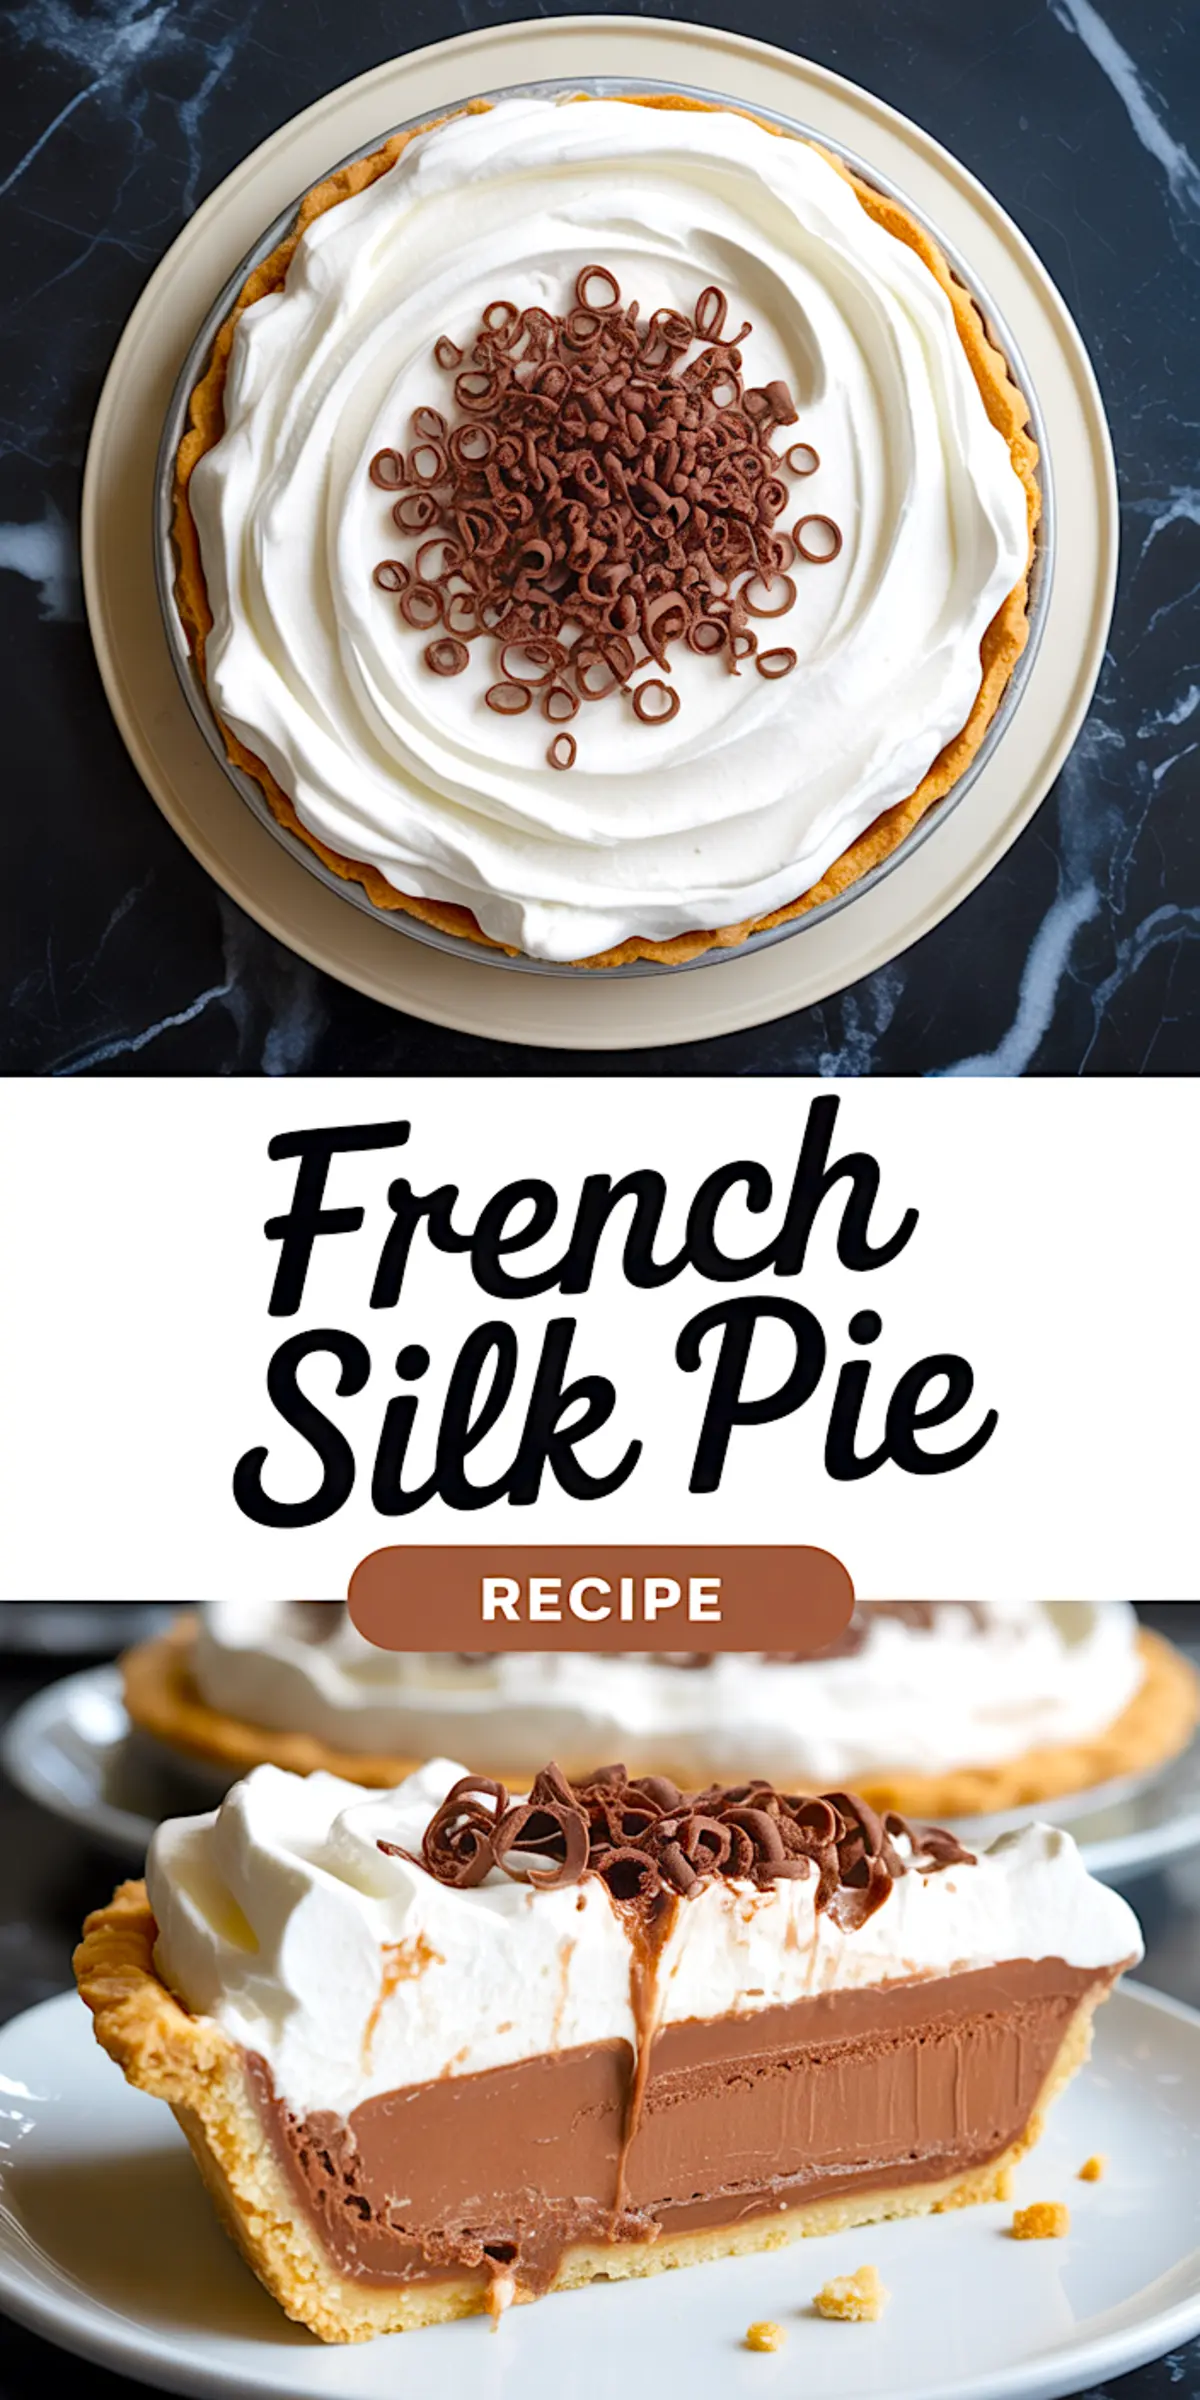
There’s a pie that doesn’t shout for attention but never leaves a slice behind. This French Silk Pie doesn’t use flourishes or fluff. It earns your trust by doing one thing well: rich, creamy, deep chocolate that feels like velvet and cuts like a dream.
You’re going to learn how to make a proper French Silk Pie from scratch—no shortcuts, no instant pudding, no guesswork. I’ll walk you through the exact steps, the beating times that matter, the butter that should be room temp but not slick, and the chocolate that needs to cool, not clump. This recipe builds confidence. Once you see how it holds its shape straight out of the fridge, you’ll know it worked.
The filling has a smoothness that sets it apart. It’s more structured than mousse but less heavy than ganache. That balance comes from mixing, not magic.
But there is a dash of something unexpected that makes it work even better. I’ll tell you what it is after we walk through the steps together.
Let’s begin.
The Pie Crust You Choose Makes a Difference
Start with a 9-inch crust that’s already baked and cooled. I’ve used both store-bought and homemade. A homemade pie crust gives you more control and flavor, especially when it’s well-chilled before baking.
I usually blind-bake it the day before and let it sit overnight. If you’re curious how it compares to a graham cracker crust, here’s my take: graham crusts crumble under pressure and melt into the filling, while pastry crusts give the slice structure. You want that contrast—the soft interior with a crisp edge.
That shell becomes the quiet foundation for everything else to shine.
Creaming Butter and Sugar the Right Way
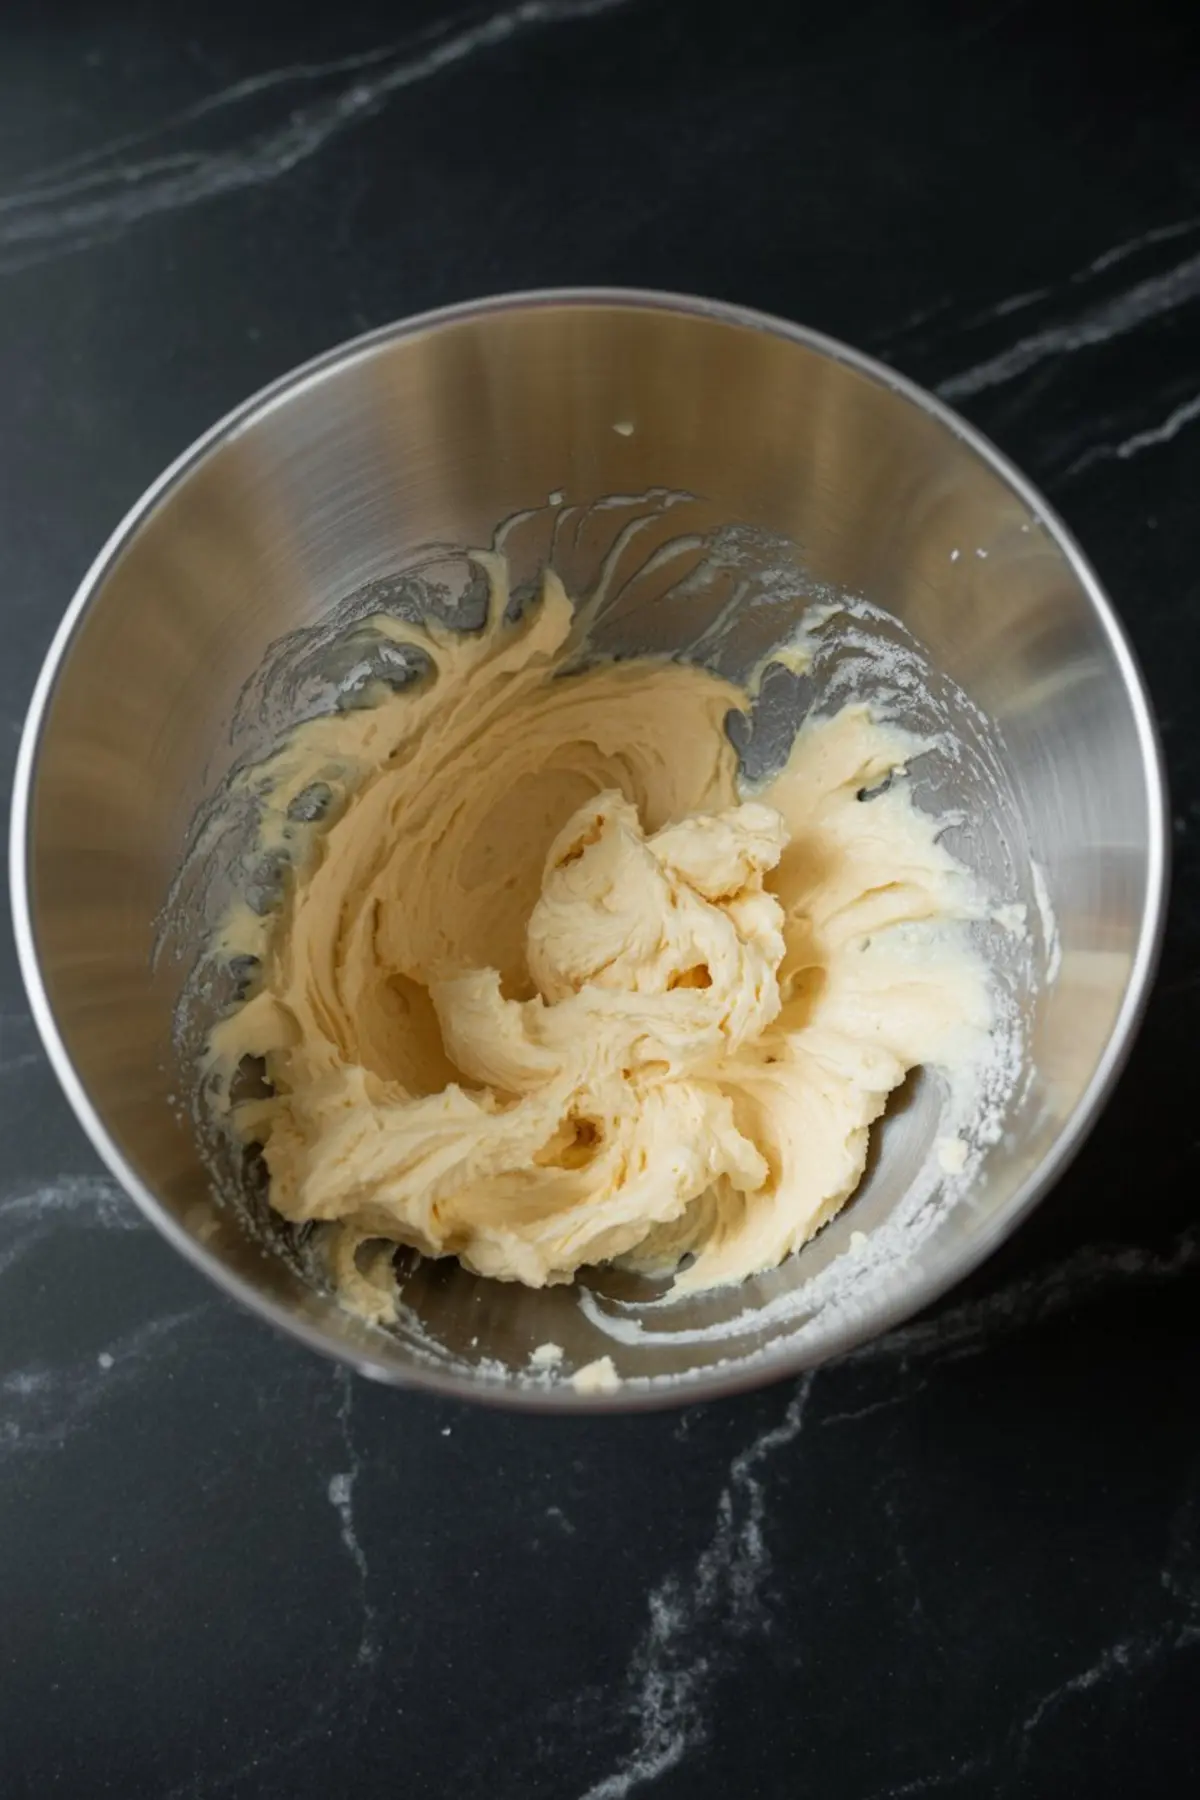
This step takes five minutes, no less. You need the butter soft but still cool to the touch. It shouldn’t look oily. Beat it with sugar until the mixture turns pale and fluffy.
You’re not just mixing here. You’re aerating. That’s what gives the final filling its body.
Set a timer if you have to. I always do. It makes the difference between a slice that stands and one that slumps.
Add the Chocolate and Vanilla Gradually
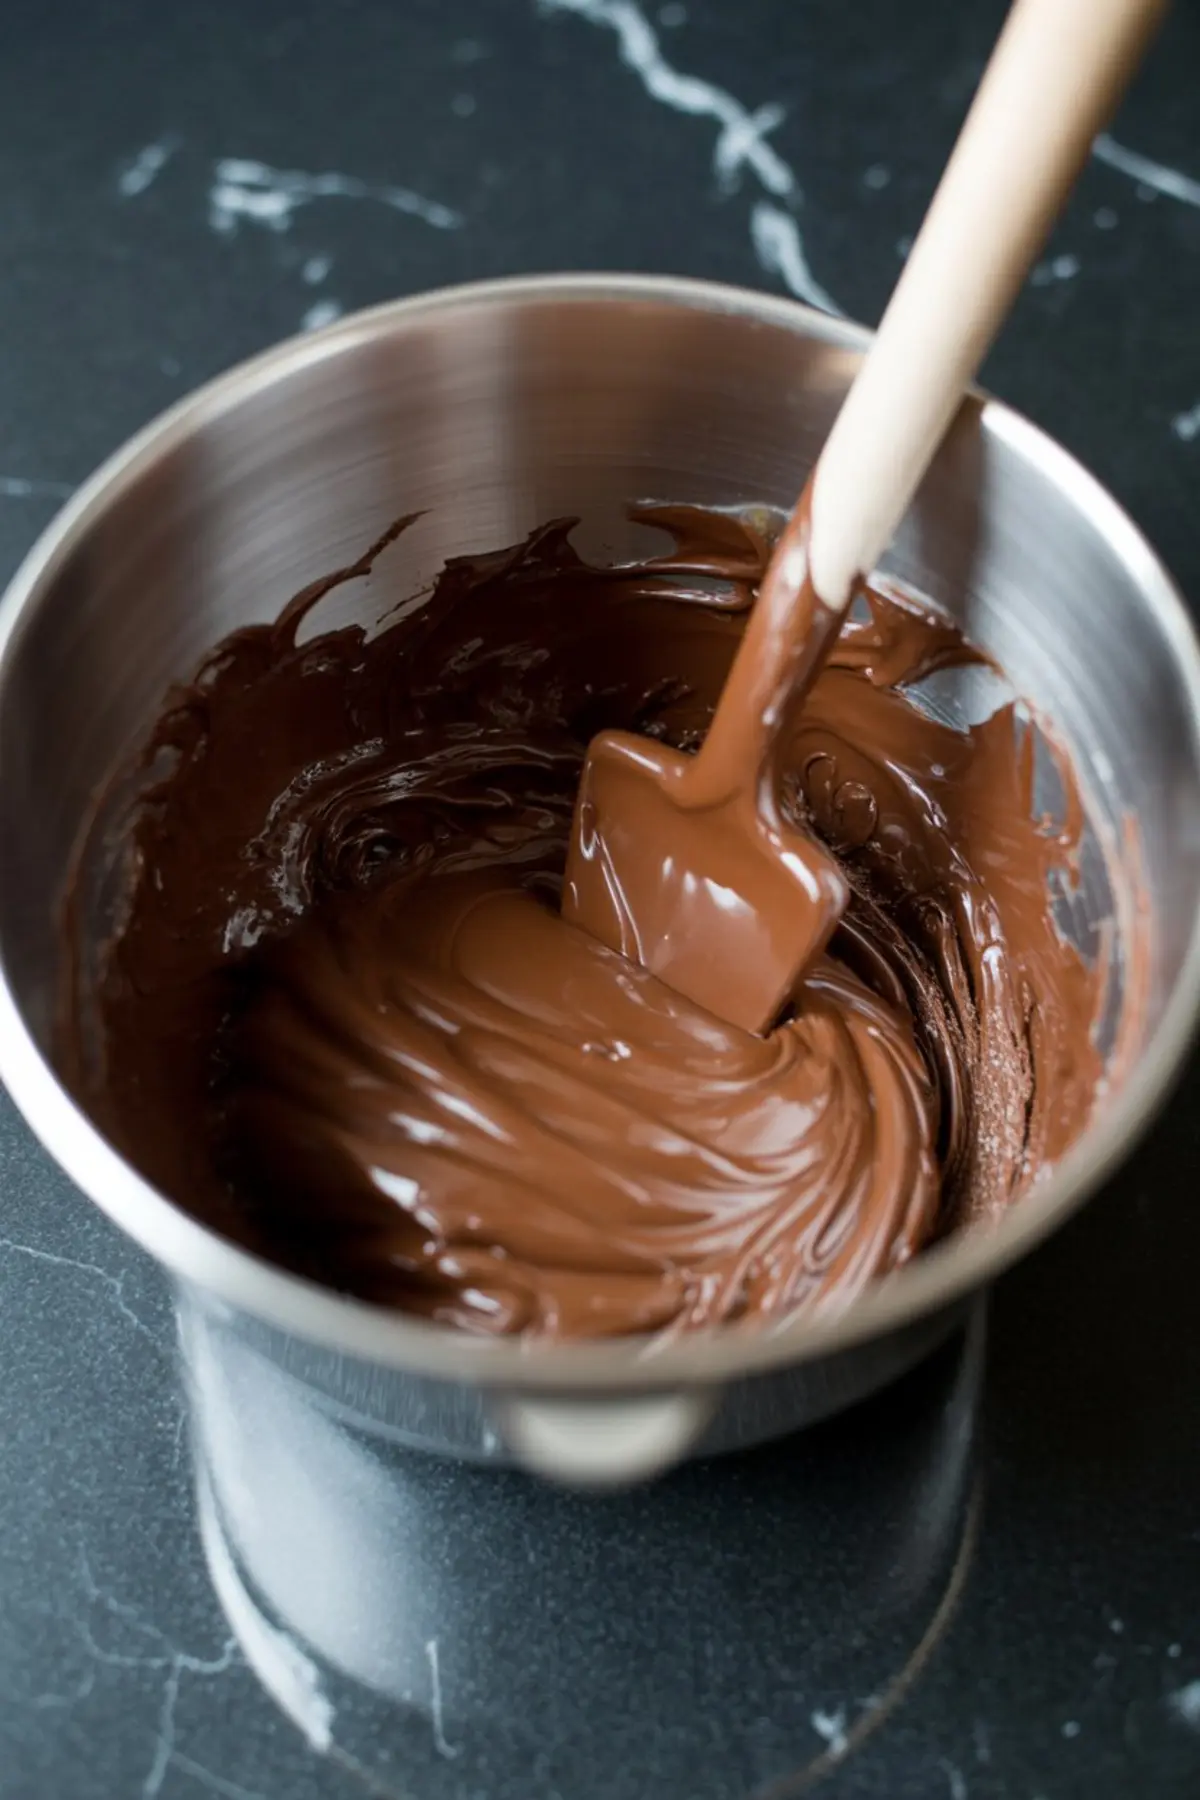
Use melted semisweet baking chocolate—not chips—and make sure it’s completely cooled before you add it to the butter mix.
If the chocolate is warm, it will melt the butter and ruin the texture. I’ve made that mistake once. Never again.
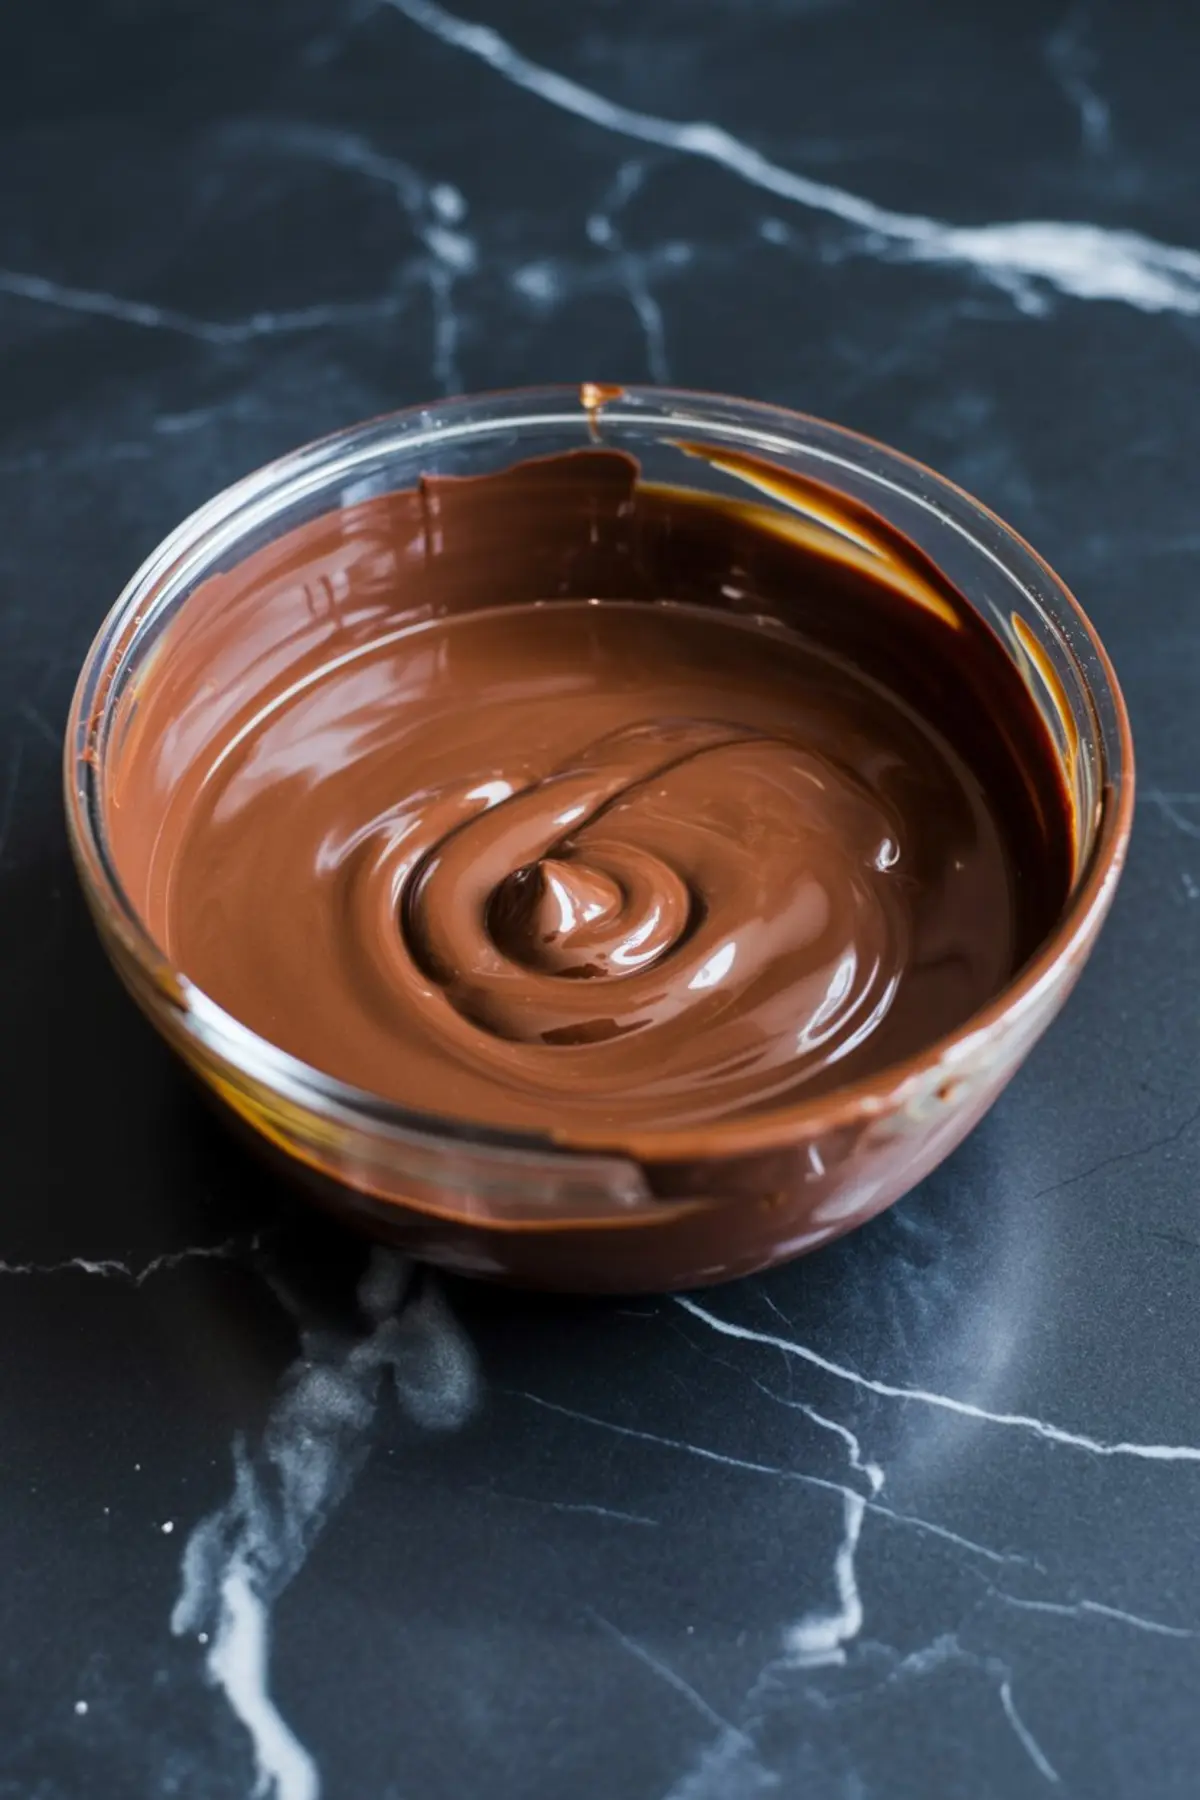
Pour it in slowly while the mixer runs, then add vanilla. The color deepens and the whole bowl smells like the start of a chocolate silk pie, thick and shiny.
The Egg Technique That Sets This Pie Apart
Each egg needs to be added one at a time. No rushing. Beat each one for 2 to 3 minutes before adding the next.
You’ll see the mixture thicken after every addition. It turns darker, glossier, and firmer with each egg. By the last one, it should hold soft peaks and resemble mousse.
This is the part where people usually cut corners. Don’t. The long mixing is what gives French Silk Pie its name.
Filling the Shell and Letting It Set
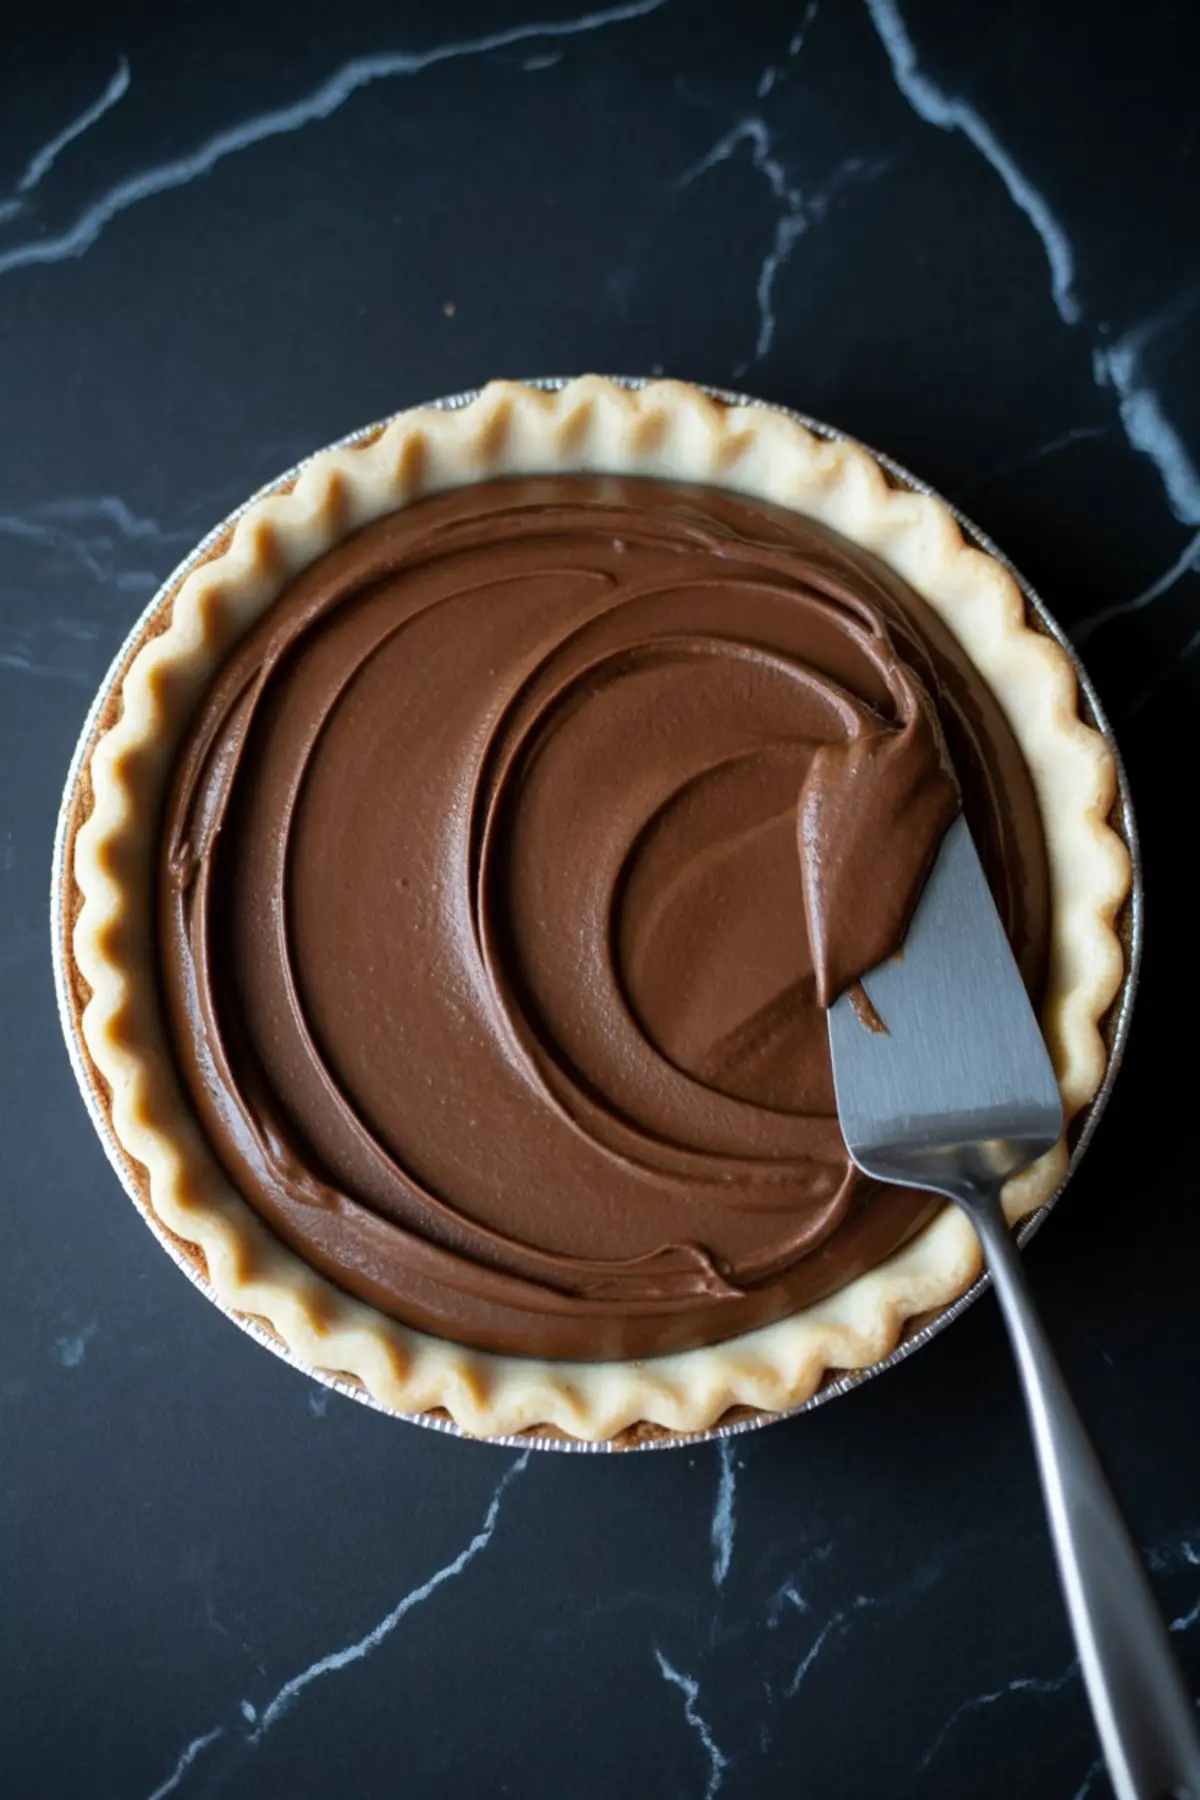
Use a spatula to gently spoon the chocolate filling into the crust. Don’t pour. It’s too thick for that.
Smooth the top gently. Then chill for at least 4 hours. Overnight is even better.
The wait is part of the recipe. It sets the texture and lets the chocolate and butter bond properly.
Whipped Cream That Lifts the Whole Slice
Make your whipped cream just before serving. I use a chilled metal bowl and beat the cream with sugar and vanilla until it holds soft peaks.
Don’t go stiff. That takes the grace out of it. You want it soft enough to spread but firm enough to hold a curl.
Then shave chocolate over the top using a vegetable peeler. Those ribbons catch the light and hint at what’s underneath.
A French tart may be elegant, but French Silk Pie delivers with less fuss and more comfort.
A Comparison You’ll Want to Know
I’ve tested this filling with bittersweet and semisweet chocolate. Semisweet works better for most people. It gives the richness you expect without bitterness.
Bittersweet can go too dark and flatten the sweetness of the whipped cream topping. If you’re making this for guests who love classic desserts like apple pie or custard pie, semisweet keeps it balanced.
Keep the bittersweet for a ganache or an eclair pie. This one benefits from a touch of softness.
The Final Touch That Changes Everything
Here’s the dash magic I mentioned earlier. I once added a tiny pinch of sea salt to the chocolate after melting it, just out of habit. It changed the whole pie.
The salt doesn’t make it salty. It rounds out the chocolate and brings forward the butter. It makes the flavor bloom.
Ever since, I’ve written it into my own recipe notes. Just a small pinch, added before mixing the chocolate into the butter.
Try it. You’ll notice the difference after the first bite.
Save and Share This Slice of French Comfort
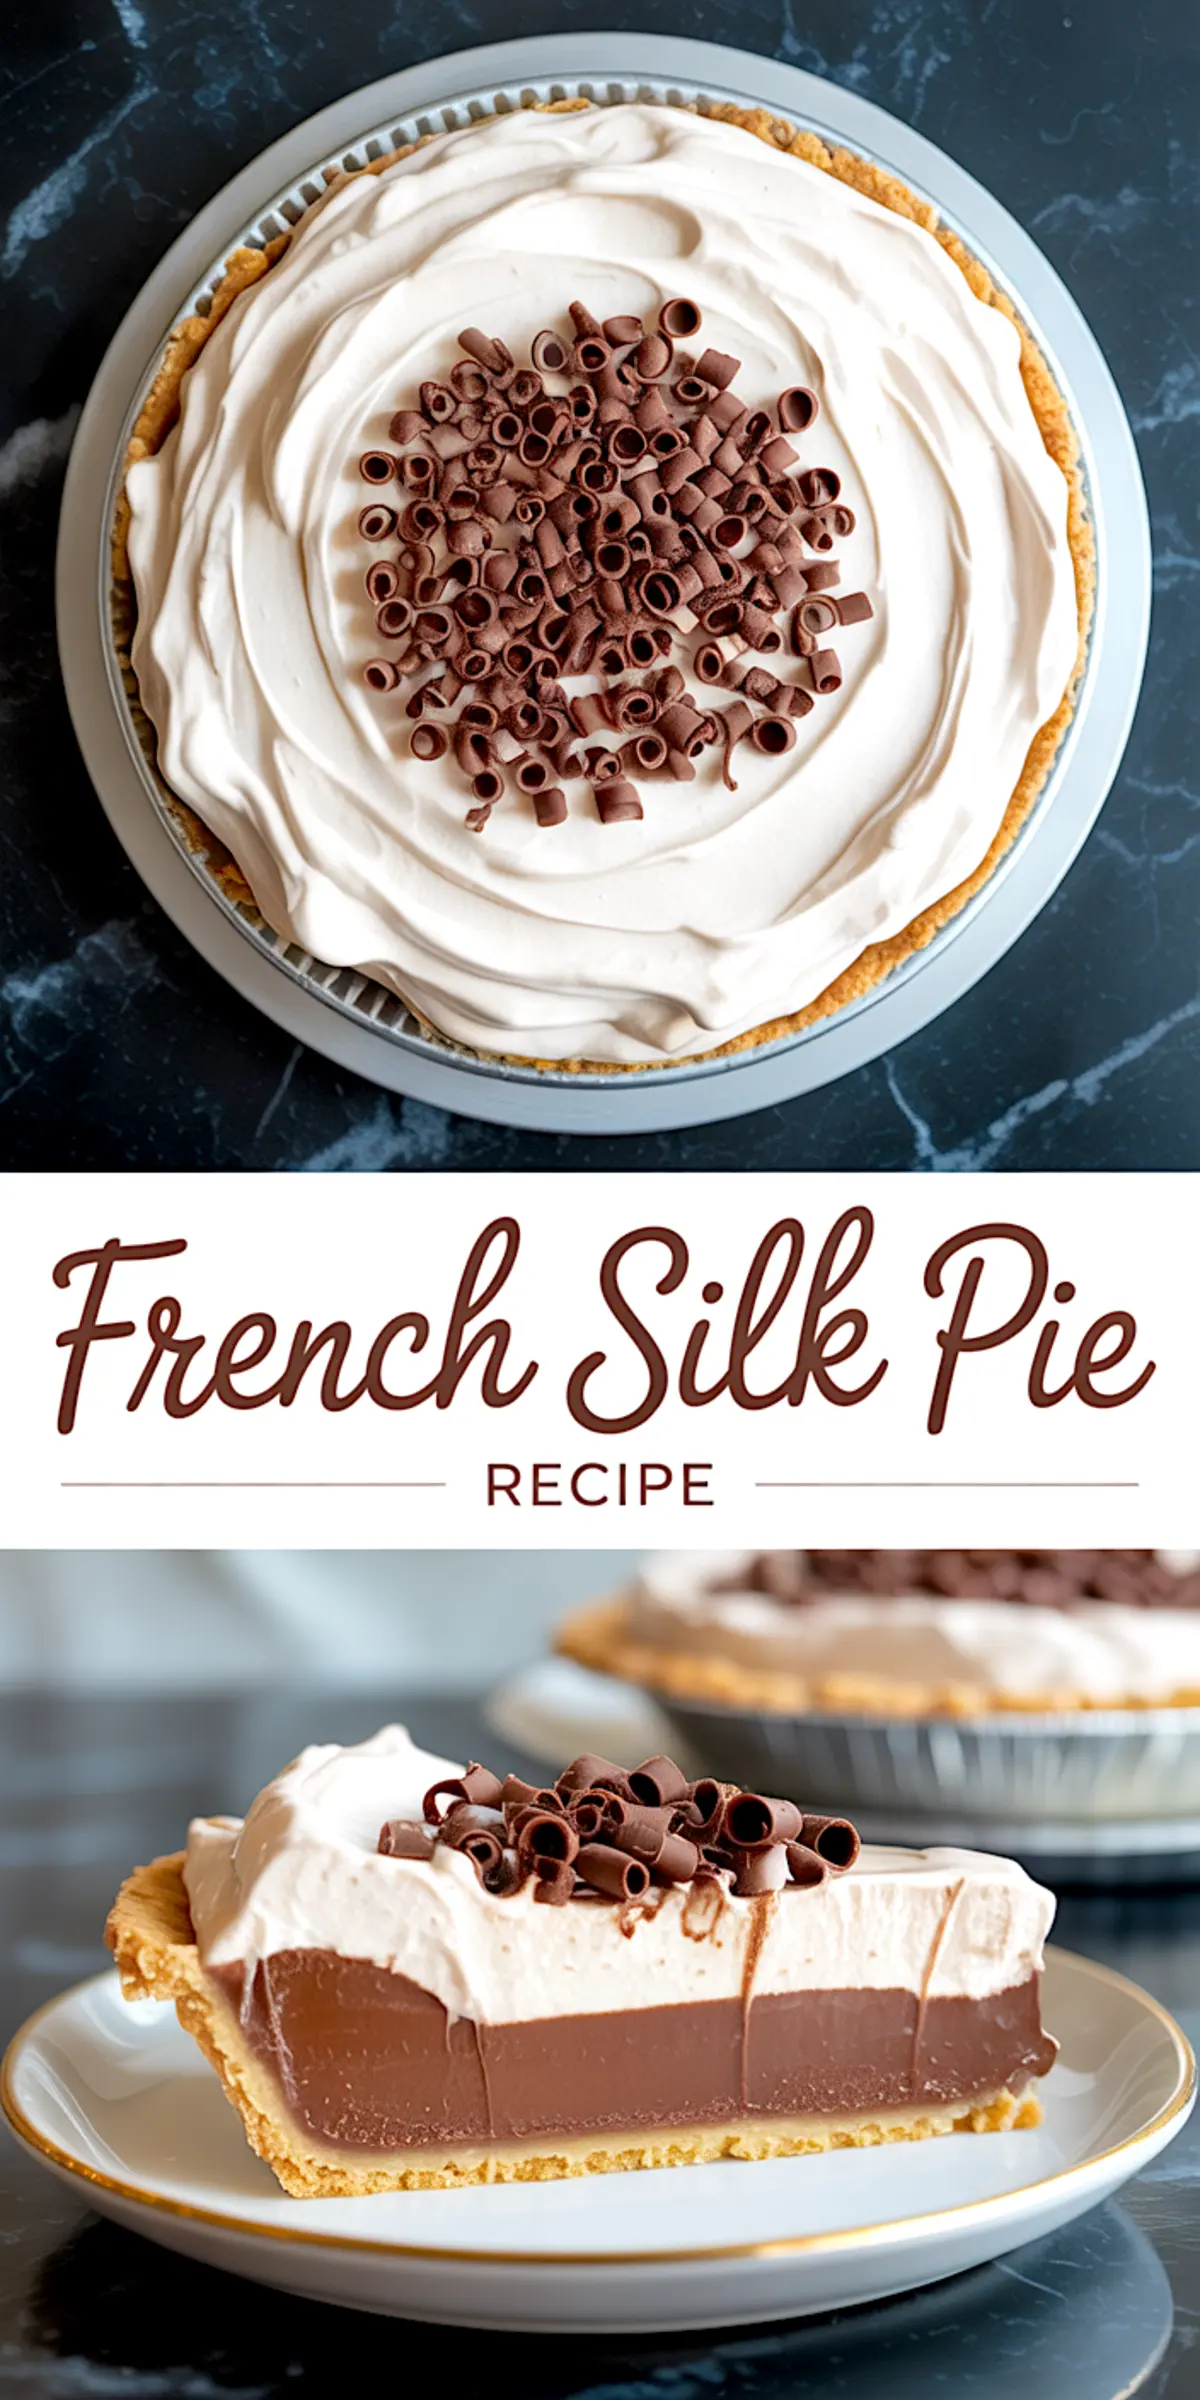
If you keep one chocolate pie recipe in your collection, let it be this one. It slices clean. It holds firm. And it never leaves leftovers on the plate.
I always keep mine in the fridge for one more reason: a cold slice of French Silk Pie at midnight is its own kind of poetry.
Pin this now so you can find it later, especially during holidays or birthdays.
And if you try it, I’d love to hear how it went. Did you use semisweet or bittersweet? Did you try the salt trick?
Drop your comments below and share your tweaks. Your feedback keeps this recipe alive for everyone who finds it next.
French Silk Pie Recipe
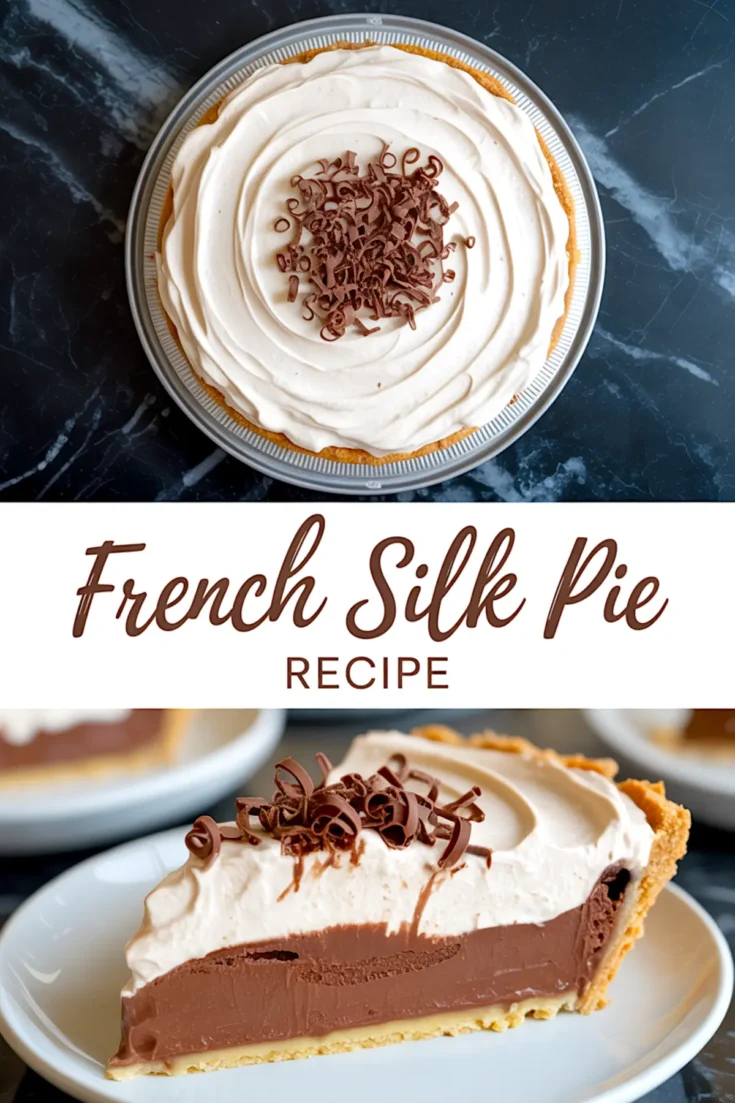
French Silk Pie has a smooth chocolate filling made with butter, sugar, chocolate, and eggs, set inside a flaky pre-baked crust and topped with lightly sweetened whipped cream and chocolate curls. The pie is rich but balanced, with a dense, mousse-like texture that slices cleanly once fully chilled. The filling depends on long mixing times for proper structure and is not baked, so high-quality ingredients are essential.
Ingredients
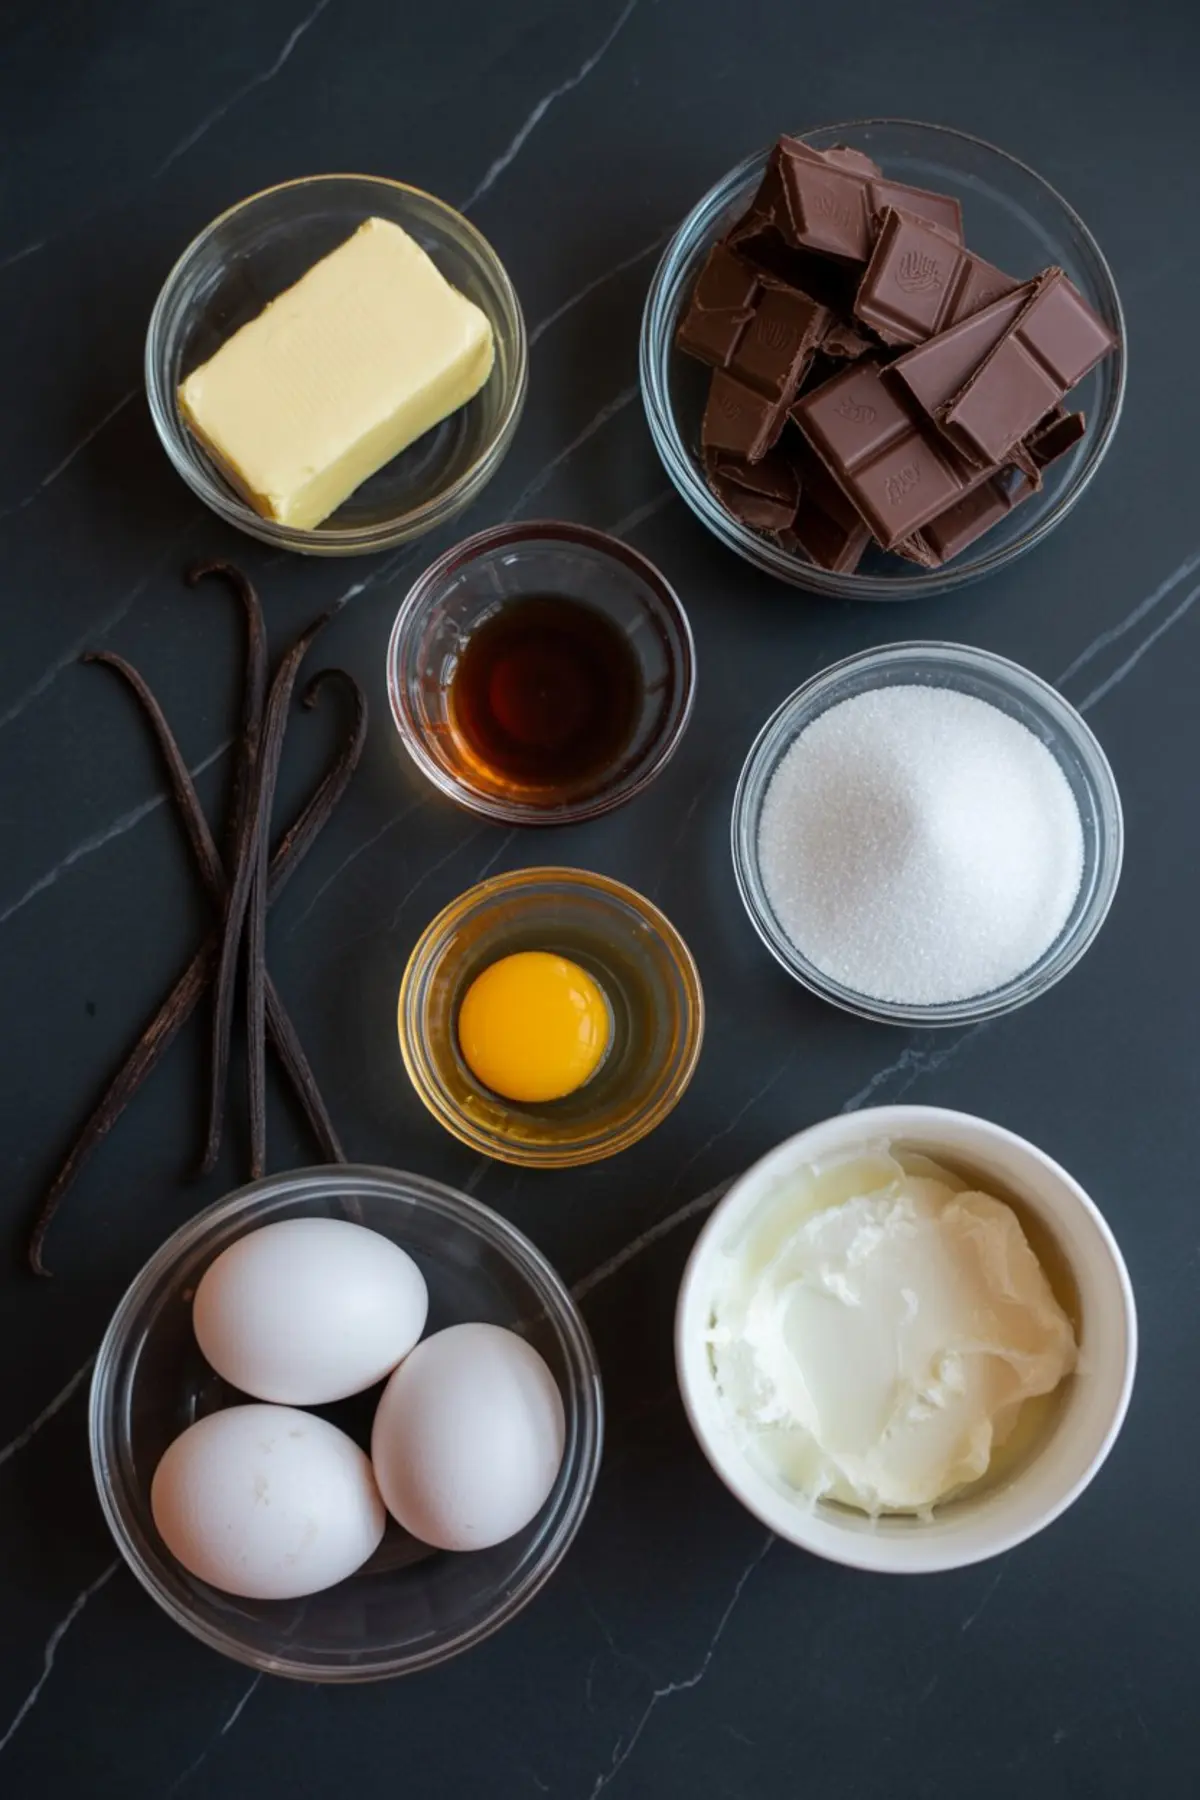
- FOR THE PIE FILLING
- 1 pre-baked 9-inch pie crust, fully cooled
- 3/4 cup (1 1/2 sticks) unsalted butter, at room temperature
- 1 cup granulated sugar
- 4 ounces semisweet baking chocolate, melted and cooled
- 2 teaspoons vanilla extract
- 3 large eggs (pasteurized, if preferred)
- FOR THE WHIPPED CREAM TOPPING
- 1 cup heavy cream
- 2 tablespoons granulated sugar
- 1/2 teaspoon vanilla extract
- Chocolate curls, for garnish
Instructions
- CREAM THE BUTTER AND SUGAR: In a large mixing bowl, beat the room-temperature butter and granulated sugar together using a stand mixer or hand mixer on medium speed until pale, fluffy, and light—about 5 full minutes. The texture should resemble frosting.
- ADD THE CHOCOLATE AND VANILLA: With the mixer on low speed, gradually pour in the melted, cooled chocolate. Add the vanilla extract. Increase the speed to medium and beat until the mixture is fully combined and glossy.
- INCORPORATE THE EGGS ONE AT A TIME: Add one egg and beat on medium speed for 2 to 3 minutes. Repeat with the remaining eggs, one at a time, beating for 2 to 3 minutes after each addition. The mixture should become thicker and darker with each egg, and by the end, it should hold soft peaks and have a mousse-like texture.
- FILL THE PIE SHELL: Spoon the filling gently into the cooled, pre-baked pie crust. Use an offset spatula to spread it evenly and smooth the top. Do not pour—the filling should be thick and airy.
- CHILL THE PIE: Cover the pie loosely with plastic wrap and refrigerate for at least 4 hours, or overnight. The filling should firm up enough to slice cleanly.
- MAKE THE WHIPPED CREAM: Just before serving, whip the heavy cream, sugar, and vanilla extract together in a cold bowl using a hand mixer or whisk until soft peaks form. Do not overbeat.
- TOP AND GARNISH: Spread the whipped cream over the chilled pie in soft swirls. Use a vegetable peeler to shave a bar of chocolate into curls, and scatter them over the whipped cream.
- SLICE AND SERVE: Use a clean, sharp knife to slice the pie, wiping the blade between each cut for neat slices. The filling should be dense yet creamy, holding its shape well.
Notes
Use pasteurized eggs if you are concerned about consuming raw eggs. Make sure the melted chocolate is fully cooled before adding to the butter. A metal mixing bowl helps the whipped cream whip faster and hold better texture. Store leftovers chilled, covered, for up to 3 days.
Nutrition Information:
Yield:
8Serving Size:
1Amount Per Serving: Calories: 483Total Fat: 29gSaturated Fat: 15gTrans Fat: 0gUnsaturated Fat: 11gCholesterol: 107mgSodium: 169mgCarbohydrates: 50gFiber: 3gSugar: 33gProtein: 7g
