

I still remember the first time this cake graced my table. My friend Sara had surprised me with a single slice wrapped in crinkled parchment. One bite introduced me to a flavor that felt deep and comforting. Cocoa had mingled with a smooth, fruity note, and my curiosity soared.
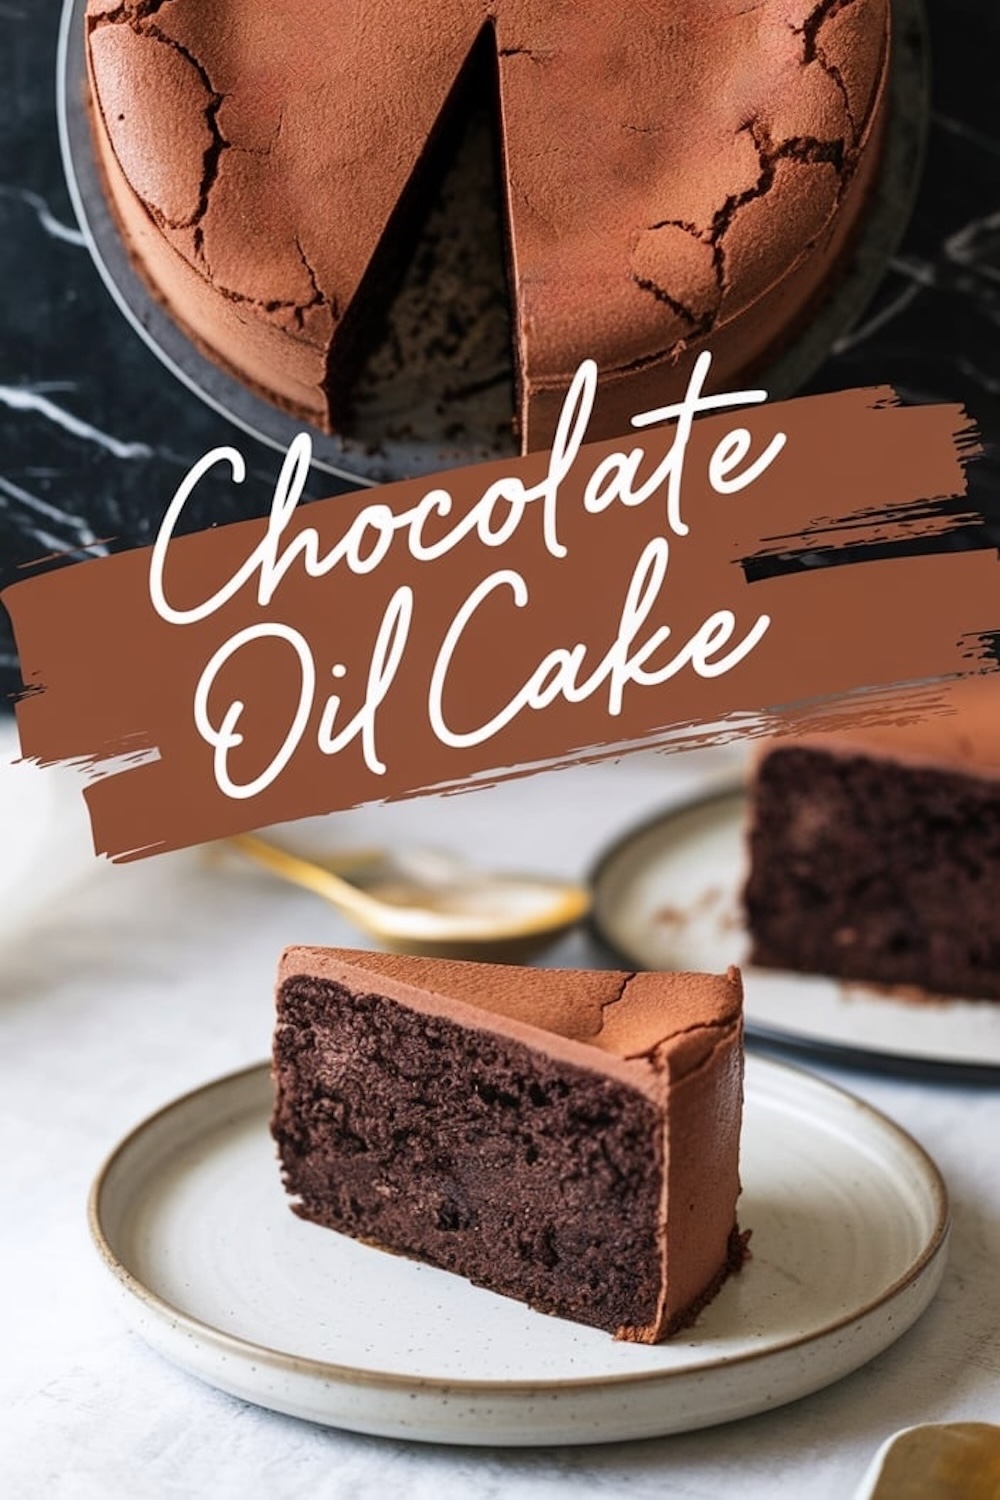
That taste left me wondering how a cake could have such balanced moistness. A discovery followed when I tried to recreate it in my own kitchen, only to stumble upon a secret that brought me a step closer to a velvety result. A tiny dash made all the difference, and I can’t wait to show you how it fits into the final product.
Gather the Ingredients for a Satisfying Base
A clean workspace and a sturdy bowl set the stage. Flour, sugar, and cocoa powder wait on my counter like old friends ready to merge. I often start this process by placing the olive oil and brewed coffee together, giving them a few stirs.

The warm touch of liquid pairs well with sugar. Your wrist might tire from whisking, but that gentle motion invites the sugar to dissolve and mingle with the oil. Eggs break into the mix, one by one, bridging all the flavors. A quick swirl of vanilla draws everything closer, boosting the aroma that rises from the bowl.
Blend the Dry Elements with Care
I reach for the cocoa powder, sifting it with flour, baking powder, baking soda, and a touch of salt. Some folks add a slight shake of cinnamon as well. Careful blending ensures no lumps remain. A few seconds of sifting can protect the batter from unneeded clumps. Powder flies about in tiny clouds sometimes, but a steady hand keeps the mess to a minimum. This step forms the backbone of the cake’s shape and texture.
Merge Wet and Dry Mixtures
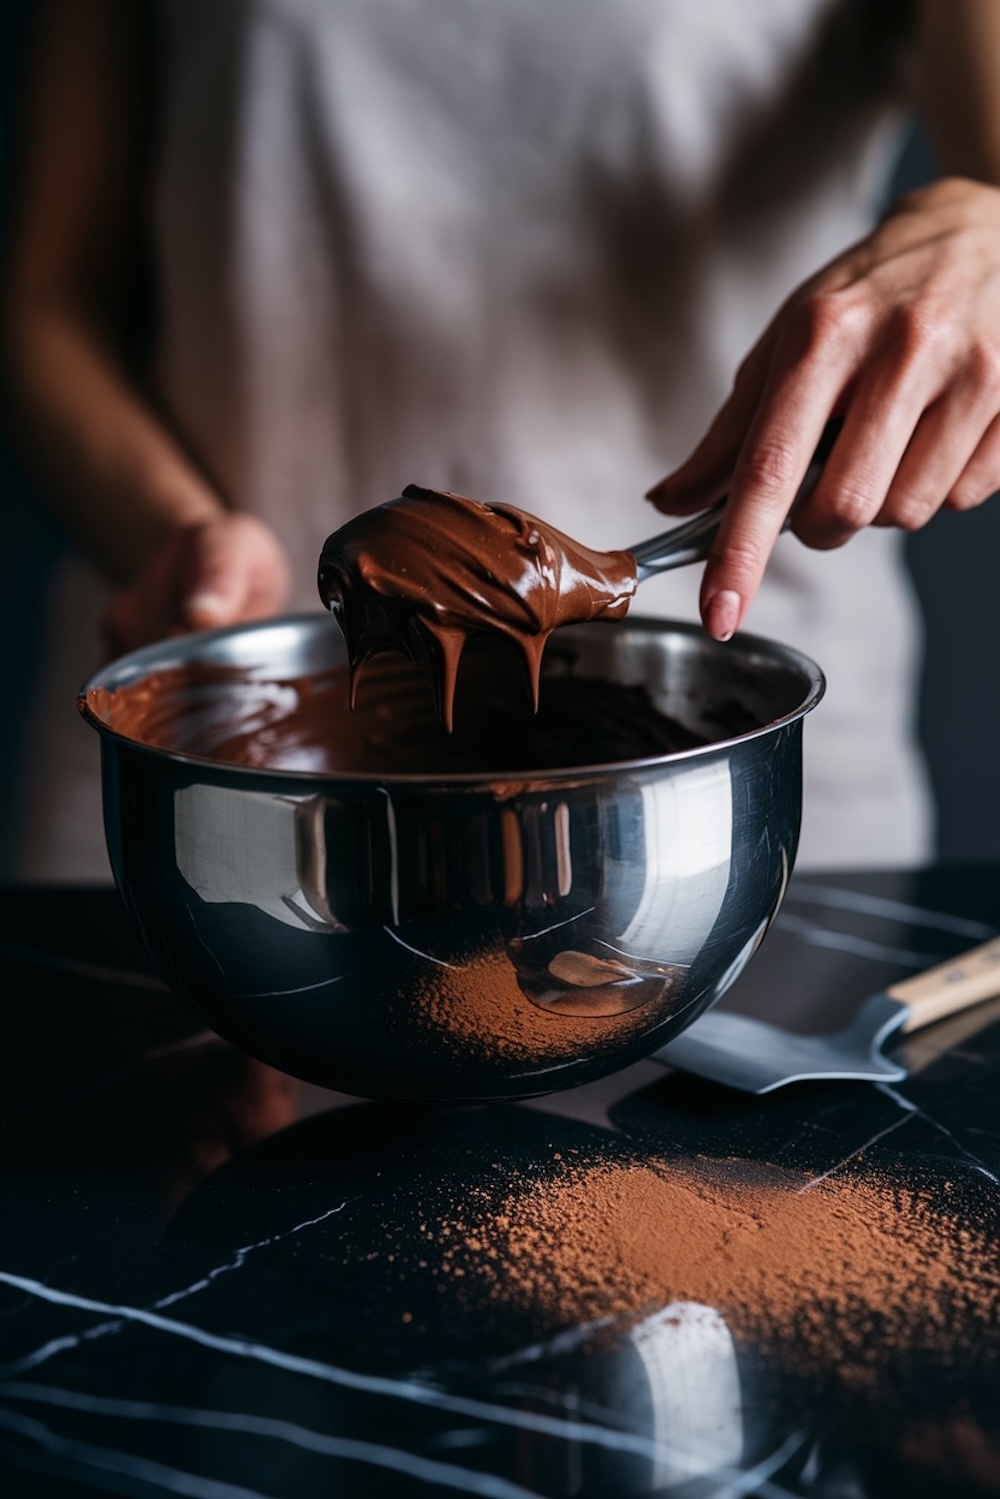
I pull the bowl of wet ingredients close and slowly fold in the dry portion. Gentle strokes with a sturdy spatula bring the two worlds together. A smooth batter emerges, thick but not heavy. This is the moment to check for streaks of dry flour. A few extra stirs usually fix that. Overmixing can lead to a dense result, so watch for that final swirl when the batter looks glossy and even.
Bake for a Deep, Decadent Taste
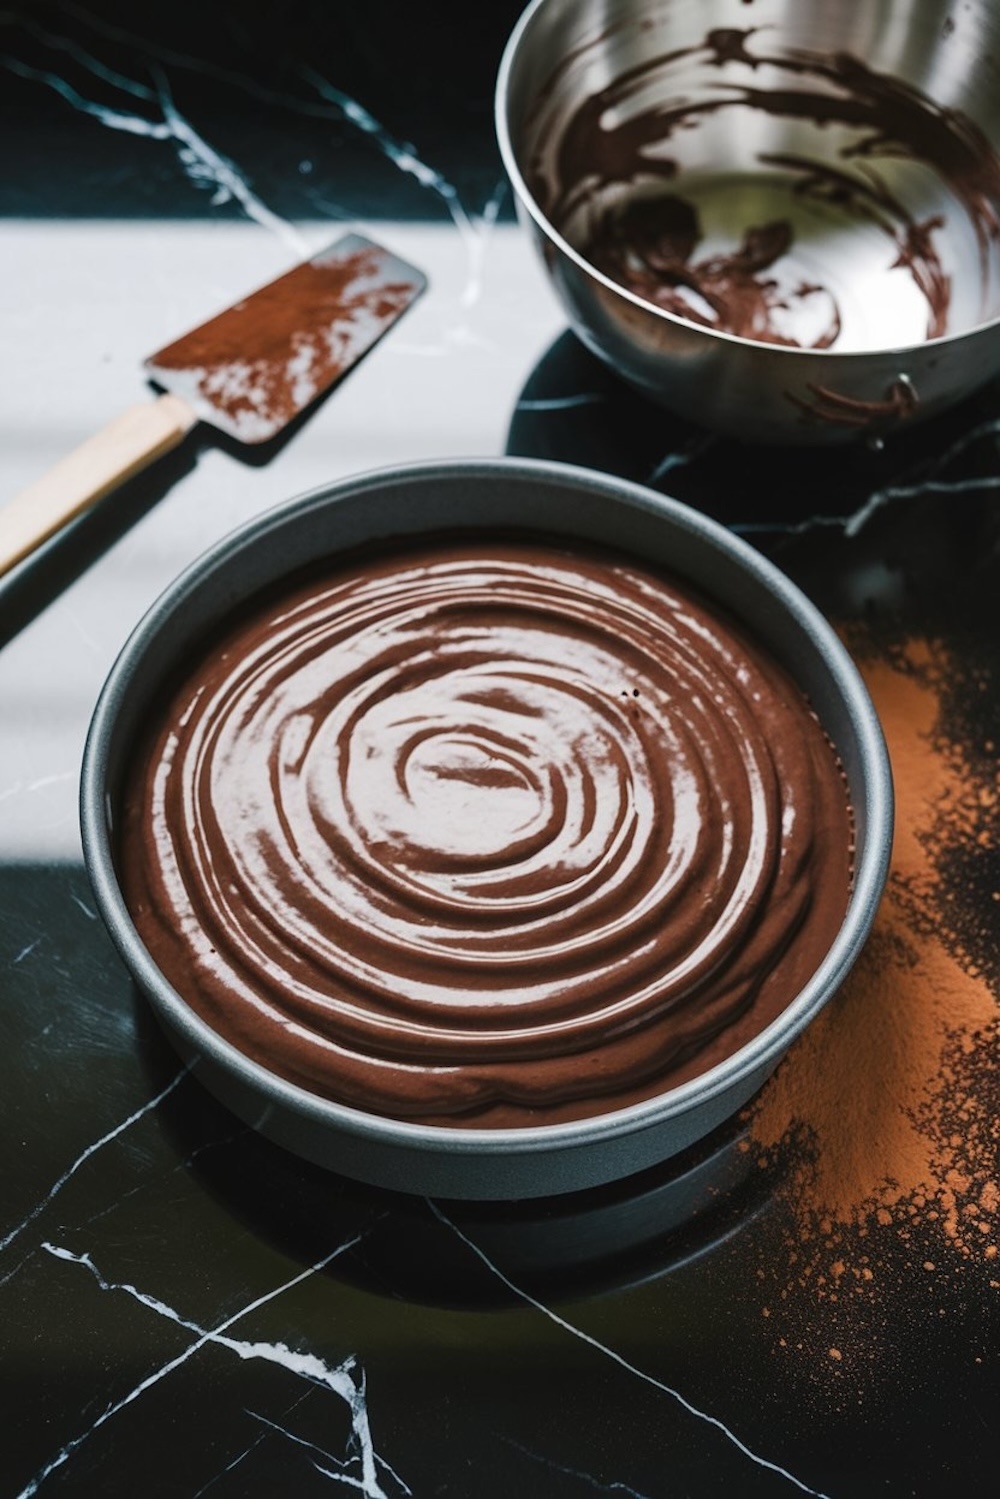
My oven stands ready at 325°F (160°C). A springform pan greased with olive oil welcomes the batter. A line of parchment at the bottom adds security, preventing sticky mishaps. A steady pour guides the batter into the pan.
The wait begins as the cake bakes for about 40 to 50 minutes. I stay alert for the gentle aroma that wafts through the kitchen. A toothpick test confirms doneness if it comes out clean or with moist crumbs. A short rest of fifteen minutes inside the pan helps the cake set. A wire rack then takes over for a thorough cool-down.
Finish with a Silky Chocolate Layer
I warm cream on the stovetop, taking care not to scorch it. Dark chocolate waits in a heatproof bowl, chopped into small pieces that melt smoothly. The cream drapes over the chocolate and sits a moment before I stir. The glossy mixture offers a light reflection of the kitchen lights. An even spread on top of the cooled cake seals the deal. A few minutes on the counter leads to a soft set, while the fridge creates a firmer layer.

The Dash Magic: A Subtle Boost to Flavor
I promised a secret at the start. That unexpected element turns out to be the brewed coffee, which can also be swapped with warm water if coffee isn’t your thing. Coffee amplifies the depth of cocoa, smoothing every bite. That slight bitterness complements the sugar without overpowering the cake.
My Pin Notebook, where I store every tweak, has been a faithful witness to these experiments. Notes scrawled in the margins remind me to adjust the coffee ratio if I crave a sharper flavor. A personal flourish can also come from a flavored olive oil, such as orange-infused, but standard olive oil works well for a general audience.
A Few Personal Insights
My cat Whiskers wanders around the kitchen whenever I start baking. He senses the slight hum of the oven and settles by my feet. That comfortable presence makes me smile. Another ritual involves my Golden Spoon. My aunt passed it down, and I guard it with enthusiasm, swirling batters and tasting sauces with it at every chance. I hope to pass it to the next cook in our family one day. These small traditions add a sense of warmth to my process.
Some nights, I want an even richer dessert. A slice of this chocolate olive oil cake pairs well with fruit or whipped cream. I also suggest exploring other chocolate wonders if you crave more variety.
My Chocolate Mousse Cake has an airy texture that contrasts beautifully with this cake’s moist crumb. Another option would be a denser approach, like my Flourless Chocolate Cake that focuses on pure chocolate essence. If brownies call your name, I recommend the ChocolateCheesecake with Brownie Base for a creamy bite. Those seeking a no-oven approach can try the Chocolate Fudge Cakethat sets in the fridge.
Serving Suggestions and Simple Adjustments
A standard method involves slicing this cake into wedges and serving it on a flat plate. My preference is a small sprinkling of powdered sugar on top. Others add fresh berries or a drizzle of caramel sauce for extra contrast. A floral pattern of raspberries across the top can look appealing at gatherings. Leftovers keep well at room temperature for three days, but the fridge extends that timeline. I slide any extra slices into an airtight container.
Those wanting a dairy-free option can rely on coconut cream instead of heavy cream. The dark chocolate should be dairy-free as well. The result stays close to the original without compromising flavor. Any leftover slices freeze decently in a sealed container, though that approach can slightly change the texture of the chocolate coating. Thawing on the counter works well if you want a quick snack.
I pay attention to the cake’s crumb when testing new variations. The olive oil does wonders for tenderness, so I rarely reduce the amount. Swapping coffee for water changes the sweetness level, but the difference stays subtle. My notes in the Pin Notebook let me track these small adjustments and keep them ready for the next baking session.
Enjoy Now and Remember to Pin for Later
Please save this recipe to your Pinterest board. A single pin can help you revisit these steps whenever your chocolate cravings surge. I also want to hear your experiences in the comments. Let me know how the cake turned out, or ask any question that comes to mind. Let’s build a spot for dessert lovers to share their baking stories and tips.
Chocolate Olive Oil Cake Recipe
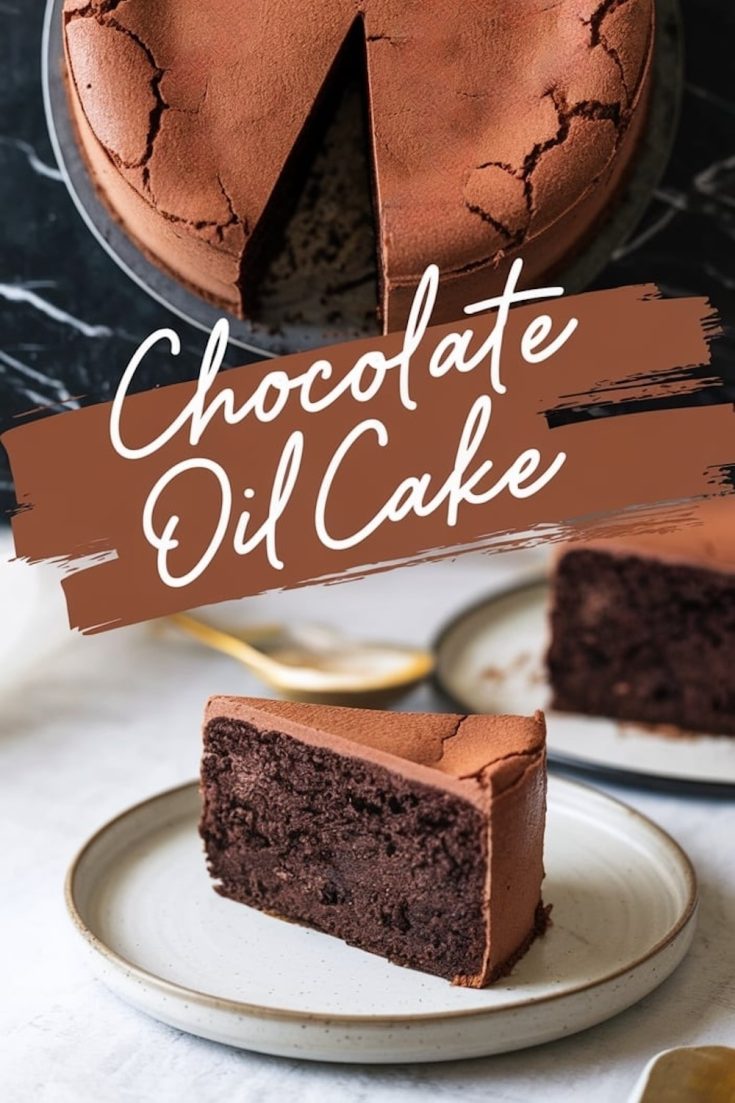
This chocolate olive oil cake combines the rich, deep flavor of cocoa with the fruity notes of olive oil, creating a perfectly tender cake. Topped with a silky chocolate layer, it’s simple to make and offers a beautiful balance of sweetness and texture.
Ingredients
- FOR THE CAKE:
- 1 cup (240 ml) extra-virgin olive oil
- 3/4 cup (180 ml) brewed coffee or warm water
- 3/4 cup (150 g) granulated sugar
- 3/4 cup (150 g) brown sugar, packed
- 3 large eggs, at room temperature
- 1 teaspoon pure vanilla extract
- 1/2 cup (50 g) unsweetened cocoa powder
- 1 3/4 cups (220 g) all-purpose flour
- 1 teaspoon baking powder
- 1 teaspoon baking soda
- 1/2 teaspoon salt
- 1/4 teaspoon ground cinnamon (optional)
- FOR THE CHOCOLATE LAYER:
- 1/2 cup (120 ml) heavy cream
- 1/2 cup (85 g) dark chocolate, chopped
Instructions
- PREHEAT AND PREPARE: Preheat the oven to 325°F (160°C). Grease a 9-inch springform pan with olive oil and line the bottom with parchment paper to prevent sticking.
- MIX THE WET INGREDIENTS: In a large bowl, whisk together the olive oil, brewed coffee (or warm water), granulated sugar, and brown sugar until the mixture is smooth. Add the eggs one at a time, whisking well after each addition. Stir in the vanilla extract to combine.
- COMBINE DRY INGREDIENTS: In a separate bowl, sift together the unsweetened cocoa powder, all-purpose flour, baking powder, baking soda, salt, and cinnamon (if using). Sifting helps ensure the batter is lump-free.
- MIX WET AND DRY INGREDIENTS: Gradually fold the dry mixture into the wet ingredients using a spatula. Mix gently until the batter is smooth and no dry streaks remain, being careful not to overmix.
- BAKE THE CAKE: Pour the batter into the prepared pan and spread it evenly. Bake for 40–50 minutes, or until a toothpick inserted into the center comes out clean or with a few moist crumbs. Allow the cake to cool in the pan for 15 minutes before carefully removing the springform ring. Let it cool completely on a wire rack.
- PREPARE THE CHOCOLATE LAYER: While the cake cools, heat the heavy cream in a small saucepan over low heat until it just begins to simmer. Remove from heat and pour the cream over the chopped dark chocolate in a heatproof bowl. Let it sit for 2 minutes, then stir until the mixture is smooth and glossy.
- ADD THE CHOCOLATE LAYER: Spread the melted chocolate mixture evenly over the cooled cake. Allow it to set at room temperature for about 20 minutes, or refrigerate for a firmer texture. Slice and serve.
Notes
For added flavor, try using flavored olive oil, such as orange or vanilla-infused.
Store the cake in an airtight container at room temperature for up to 3 days, or refrigerate for longer freshness.
To make the cake dairy-free, substitute the heavy cream with coconut cream and ensure the chocolate is dairy-free.
